
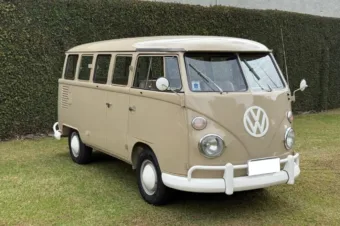
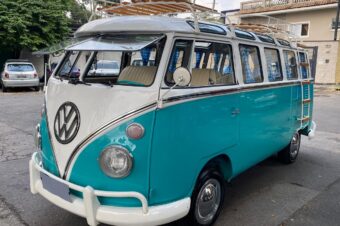
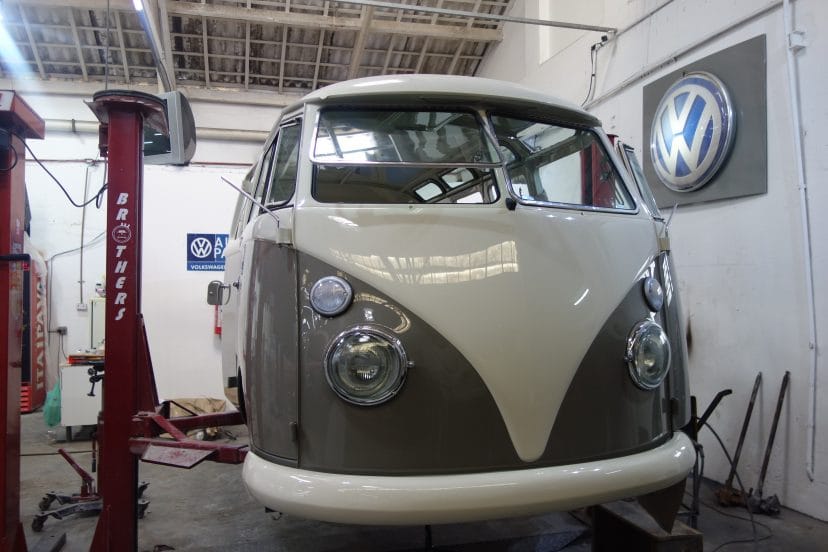
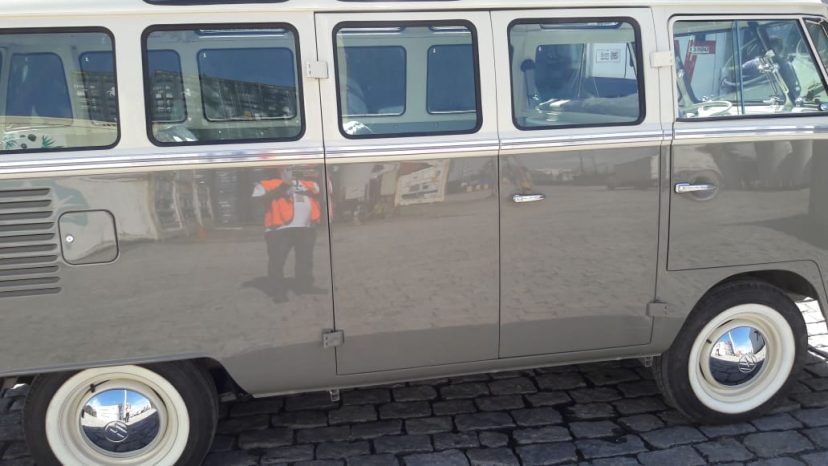
See all the photos of this beautiful Samba bus from our restoration workshop!
- Stage 1: Arrival
- Stage 2: Stripping
- Stage 3: Undercarriage
- Stage 4: Window frame restoration
- Stage 5: Motor housing
- Stage 6: Front panels and floors
- Stage 7: Side panels and Doors
- Stage 8: Door and Window Posts
- Stage 9: Underside Finishing
- Stage 10: Paint Preparation
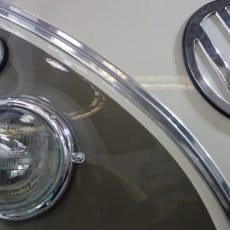
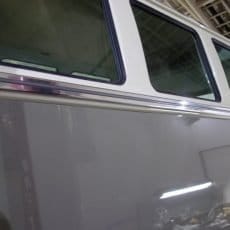
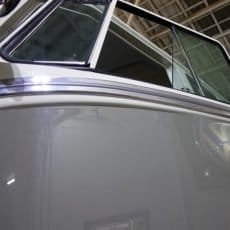
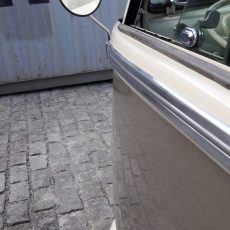
- Stage 11: Painting
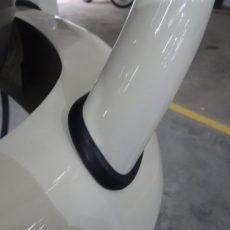
- Stage 12: Polishing
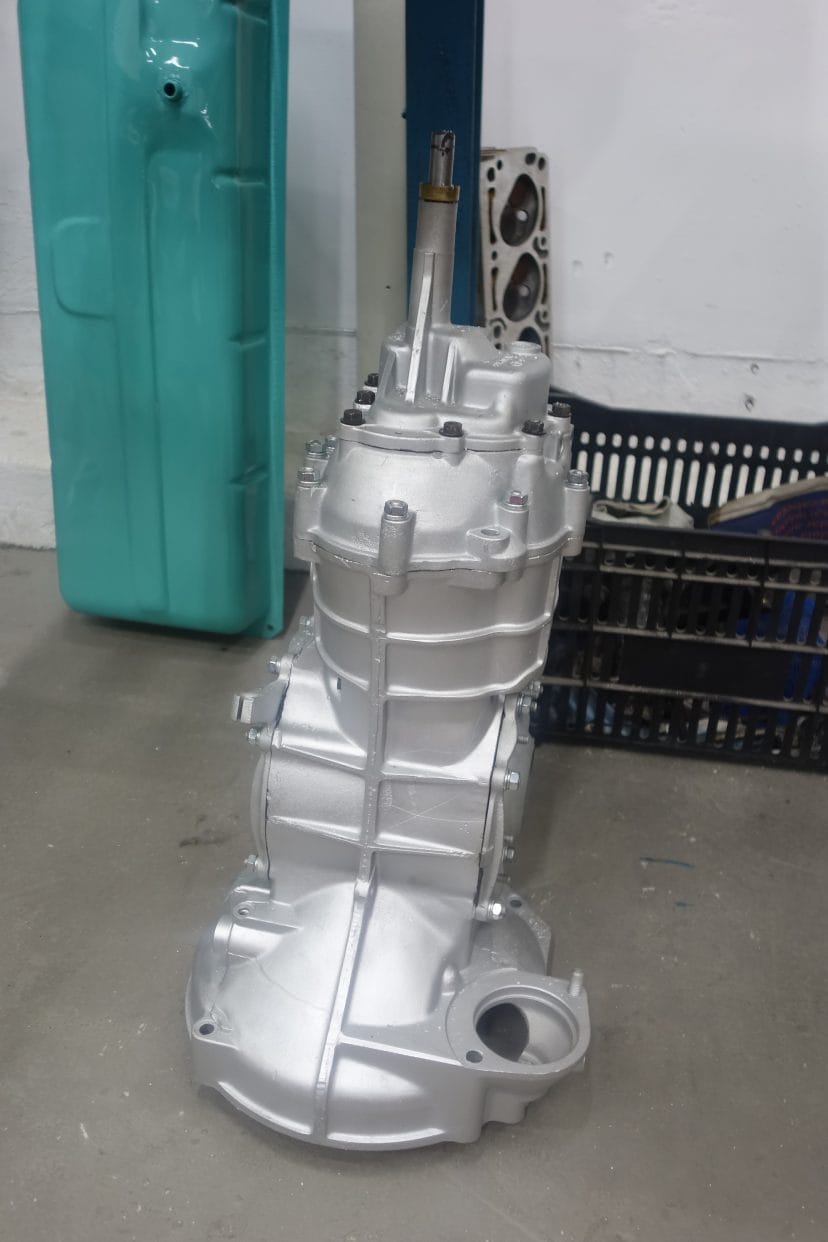
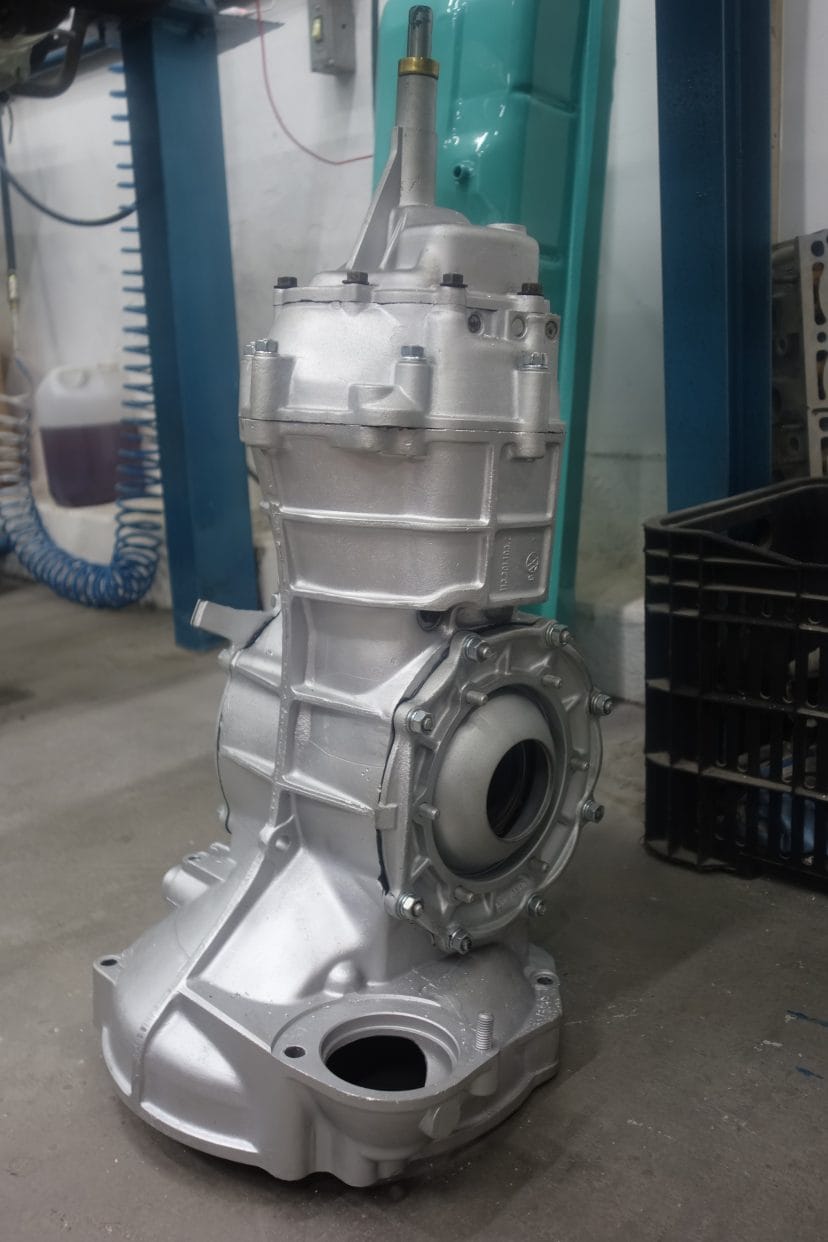
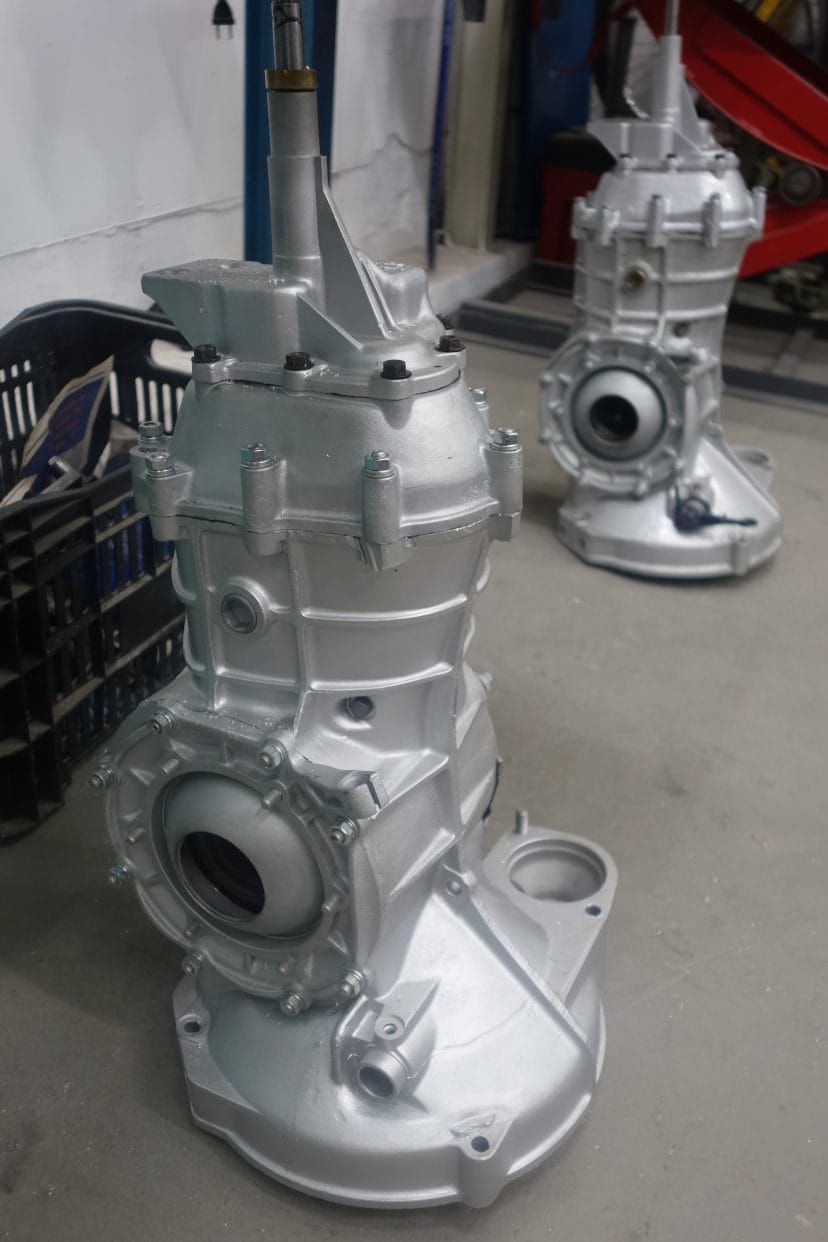
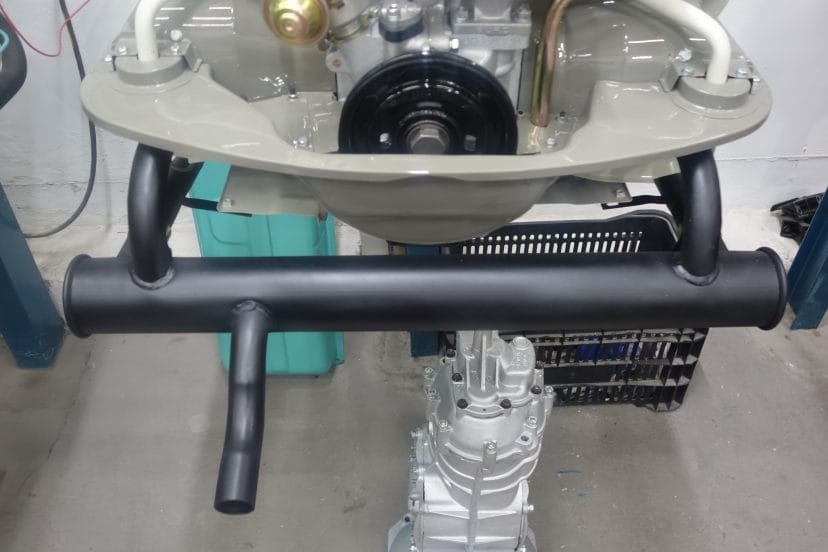
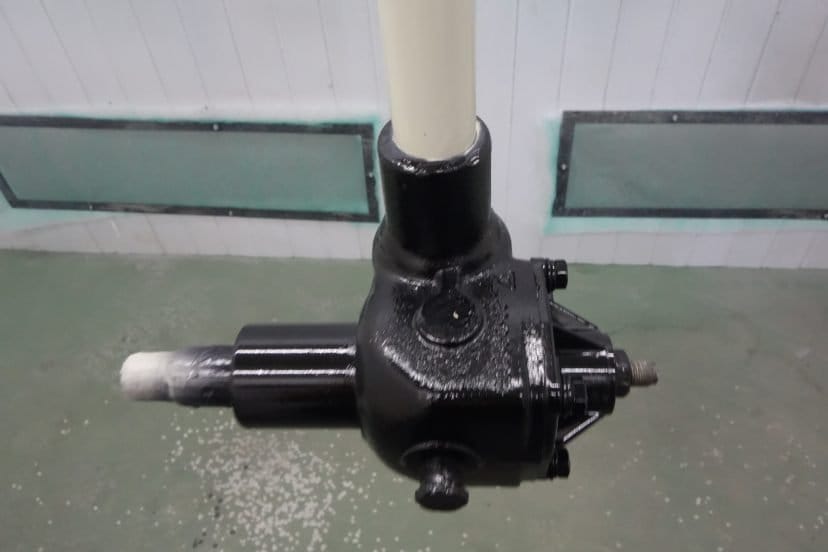
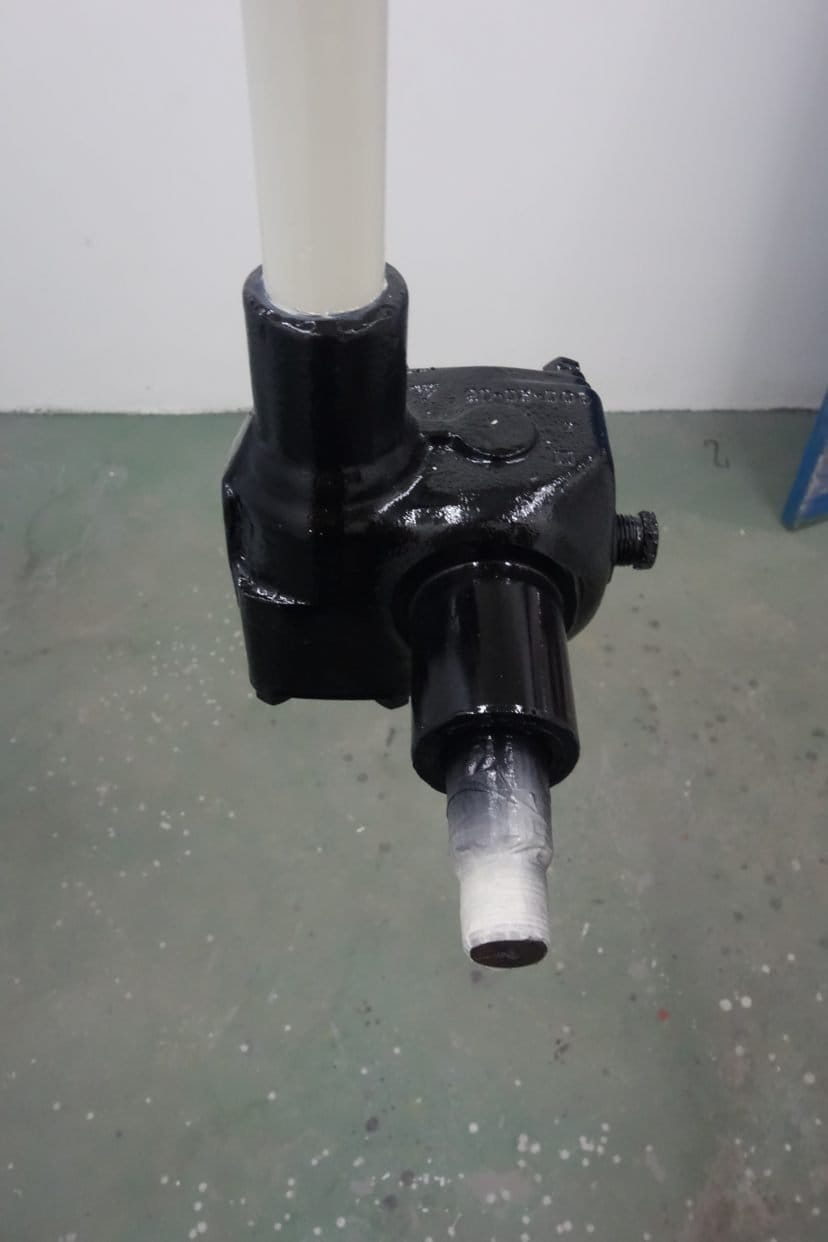
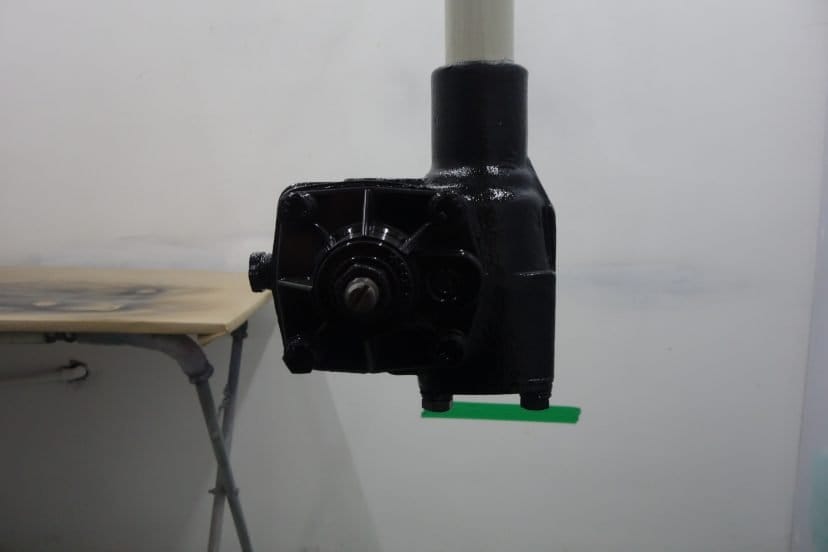
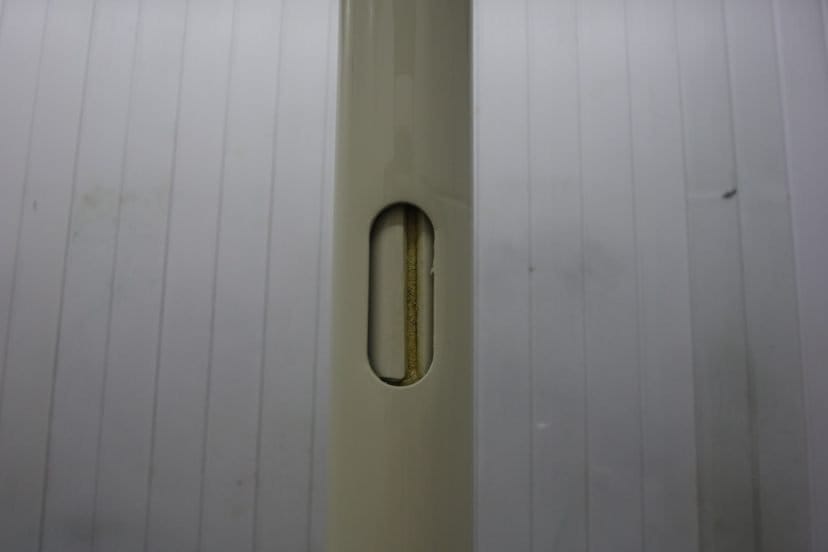
- Stage 13: Mechanical (Video)
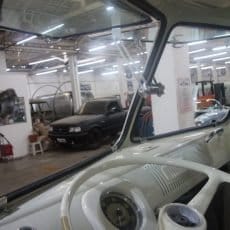
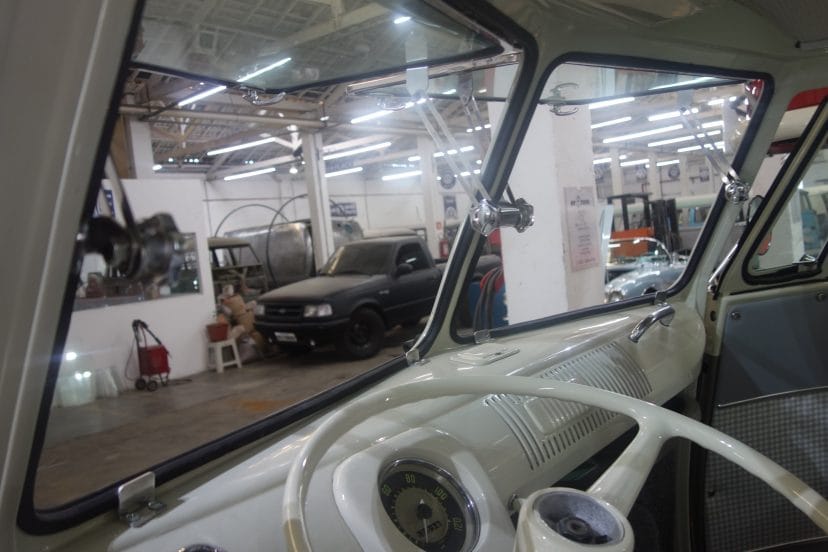
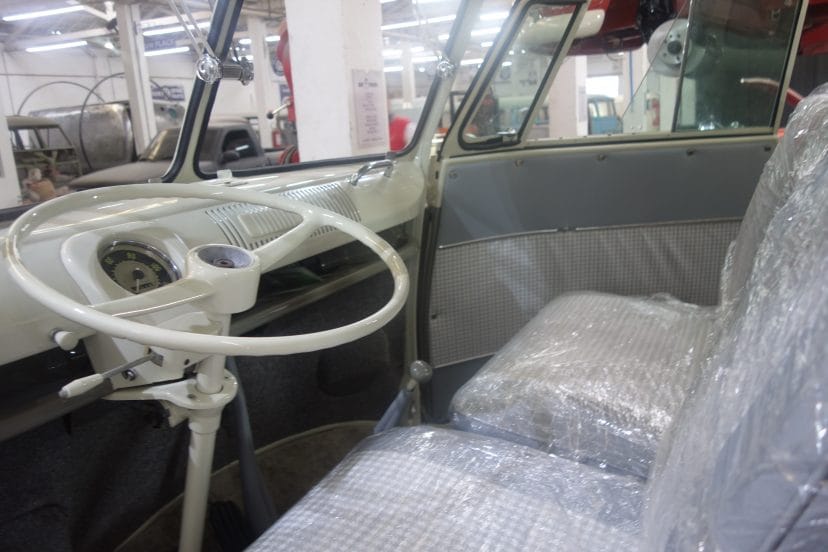
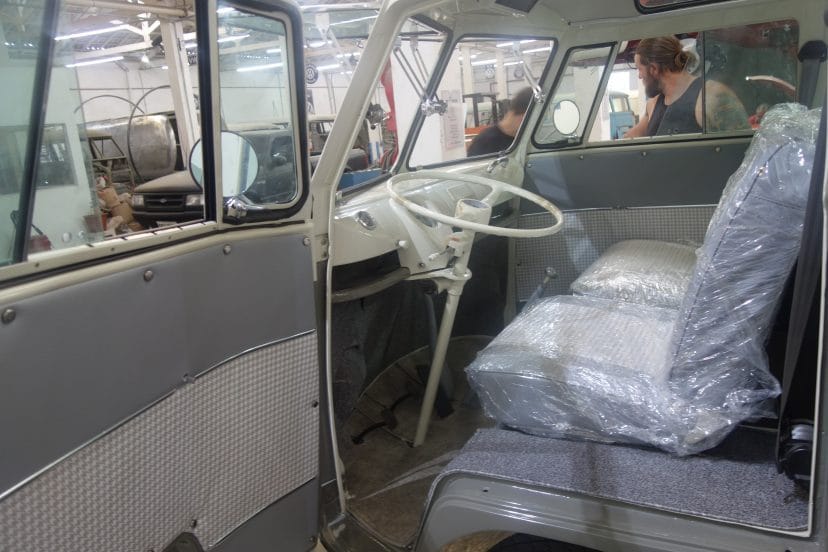
- Stage 14: Assembly
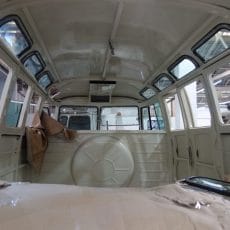
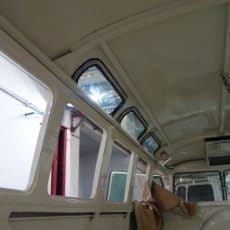
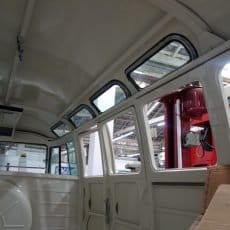
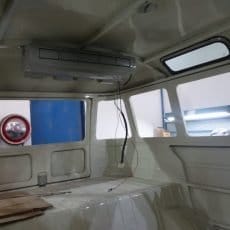
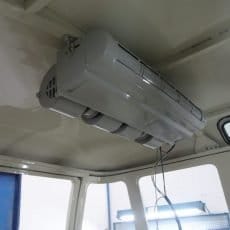
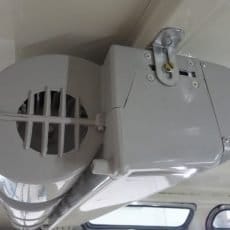
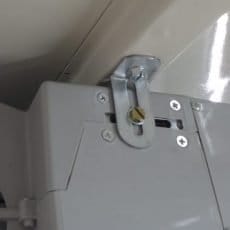
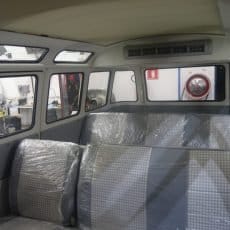
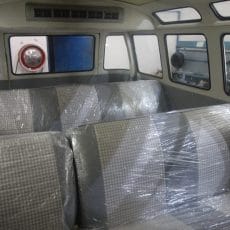
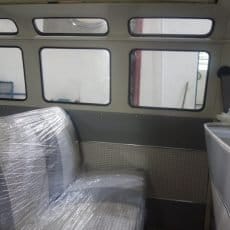
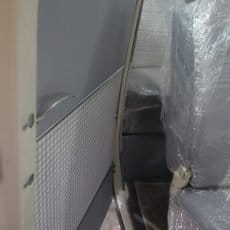
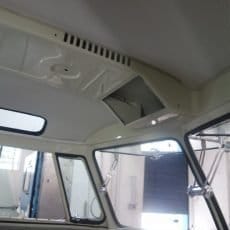
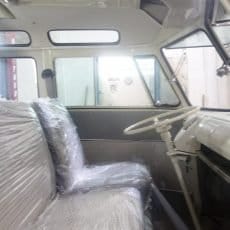
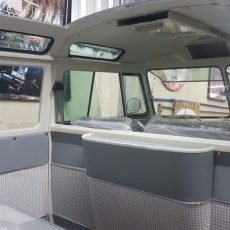
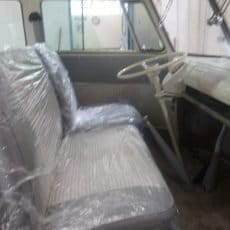
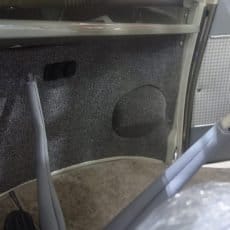
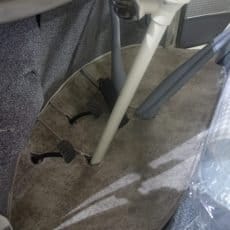
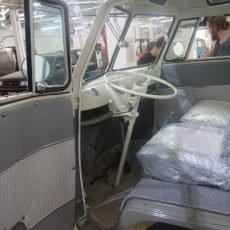
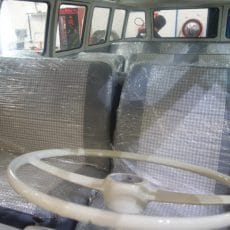
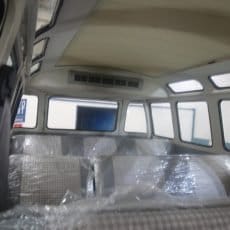
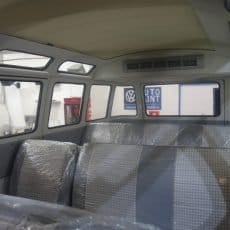
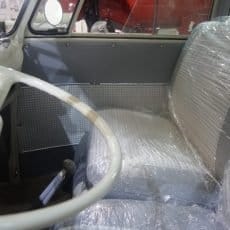
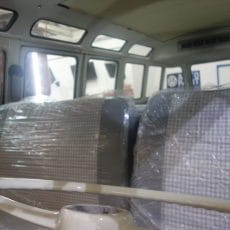
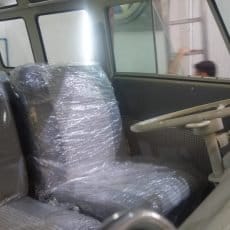
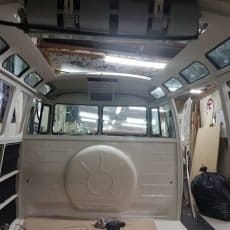
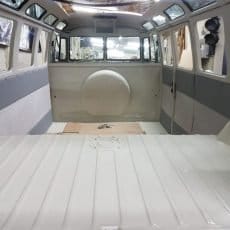
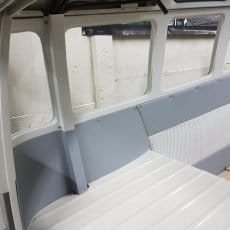
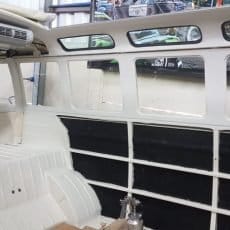
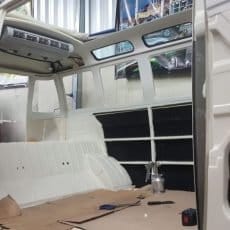
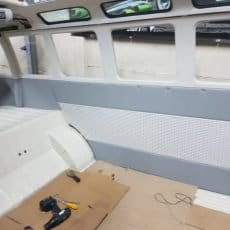
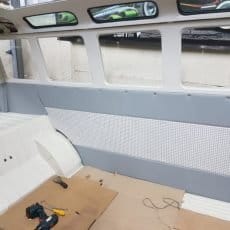
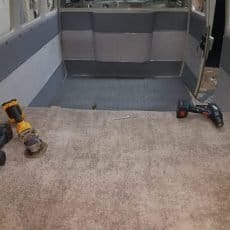
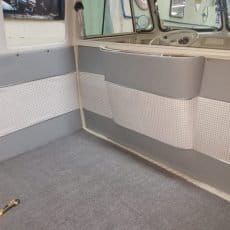
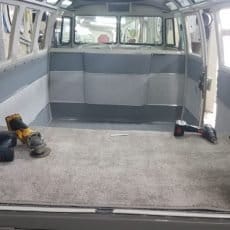
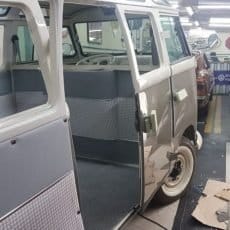
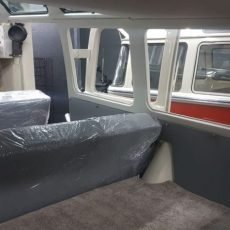
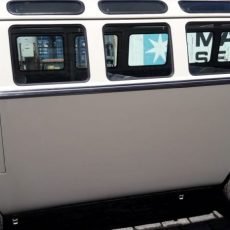
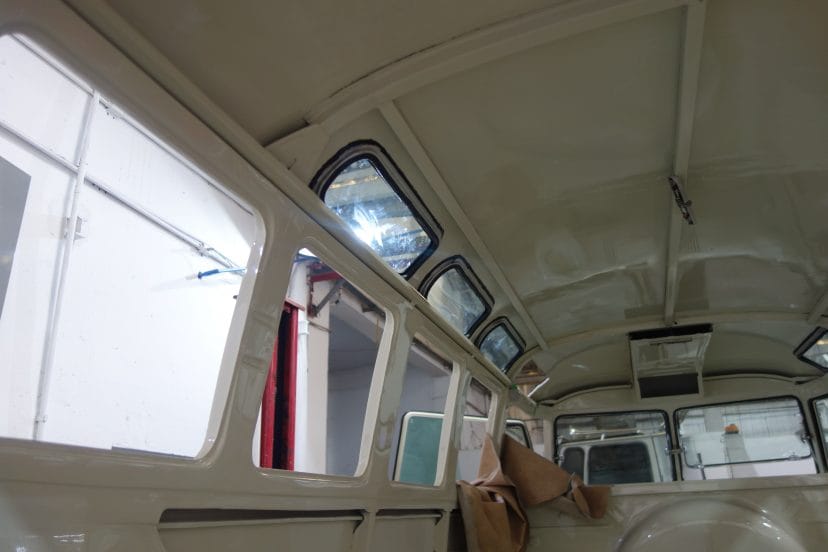
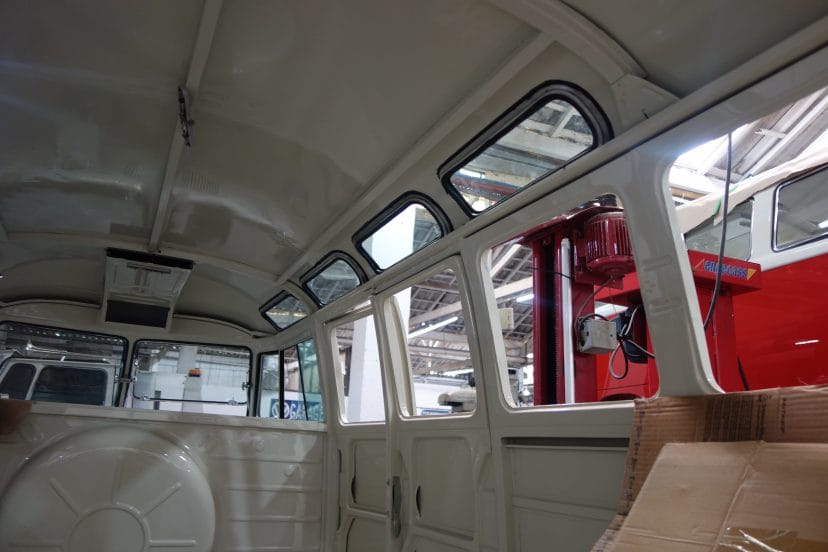
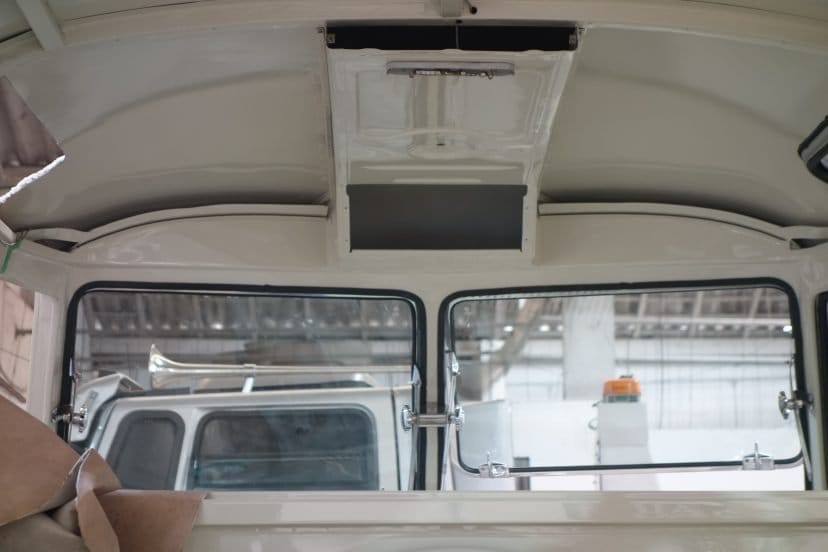
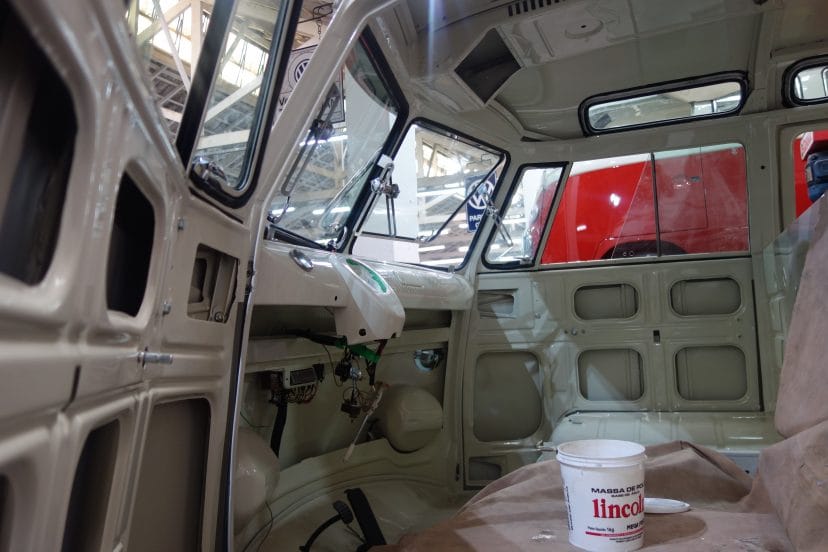
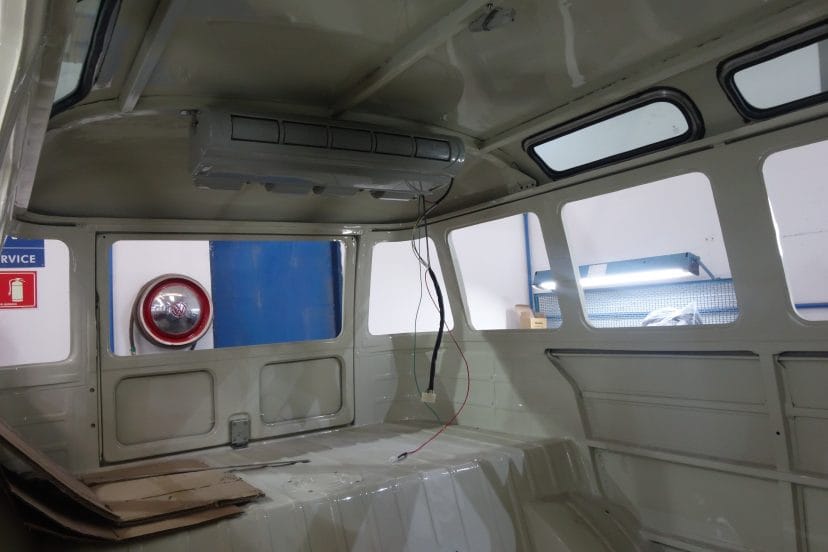
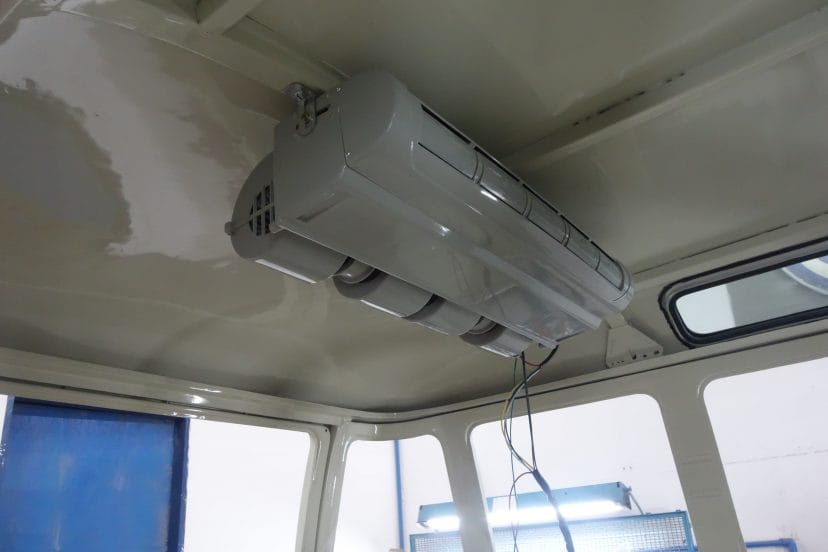
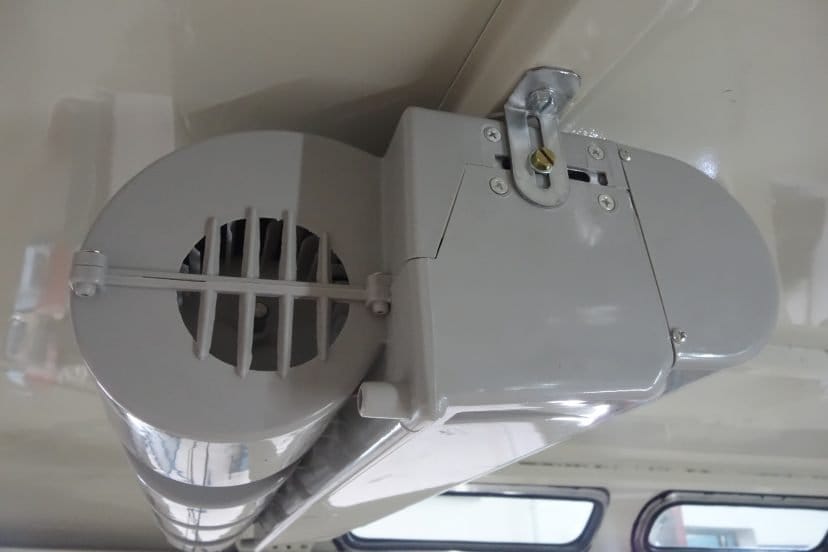
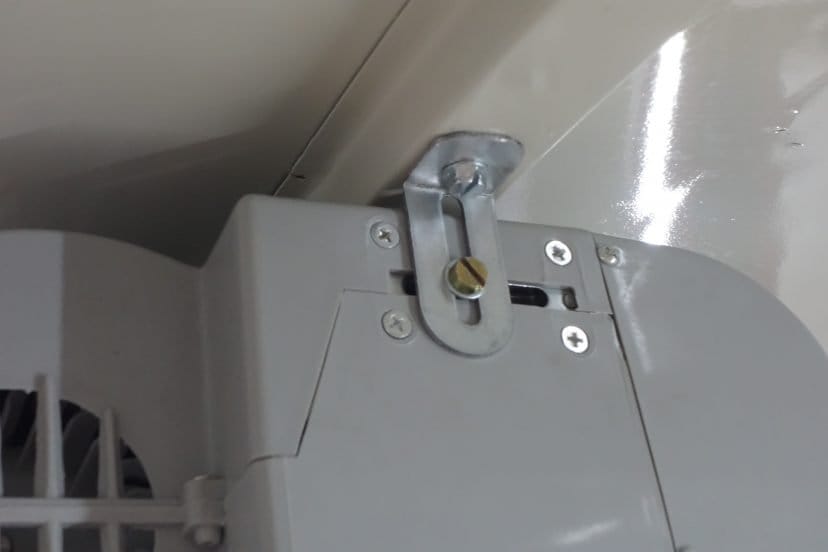
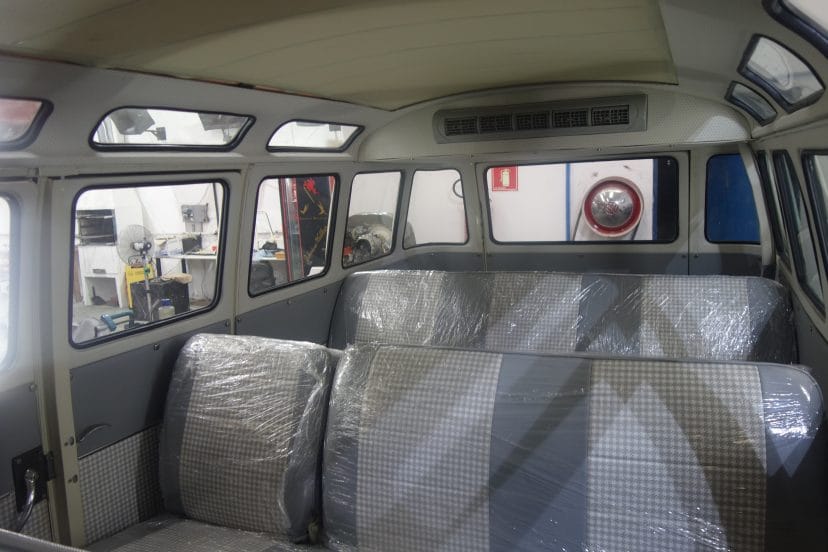
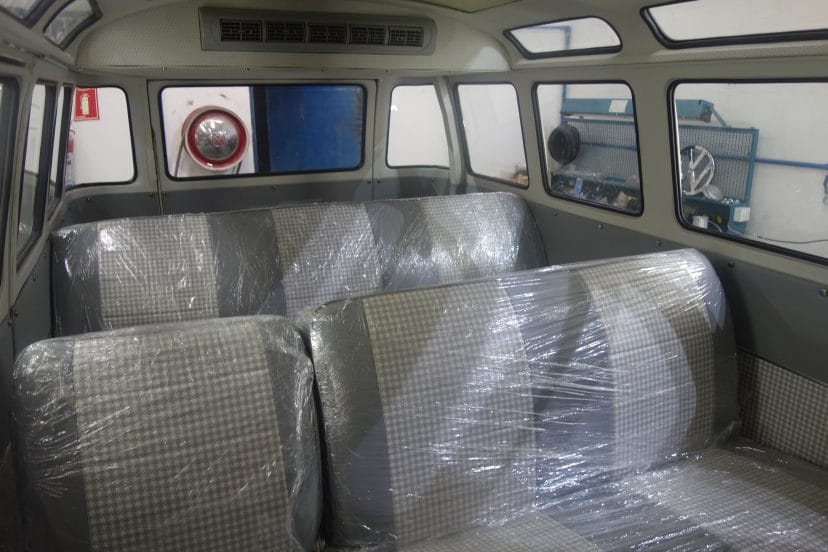
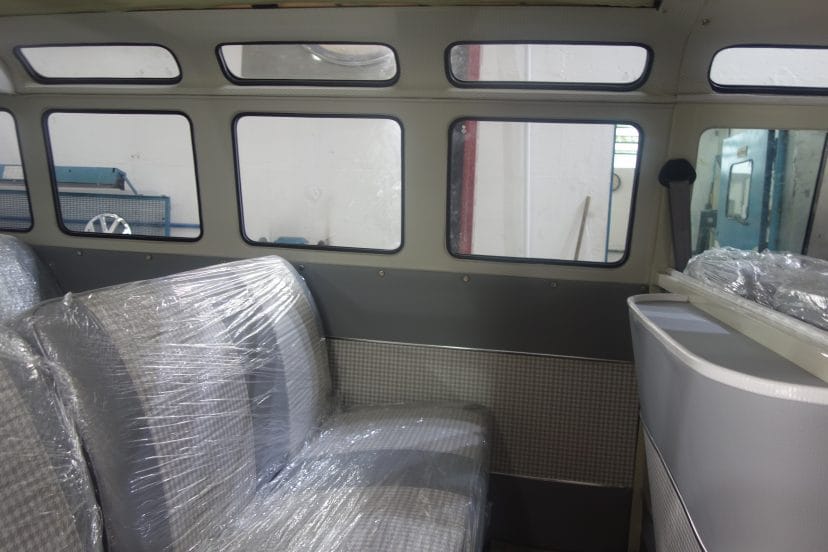
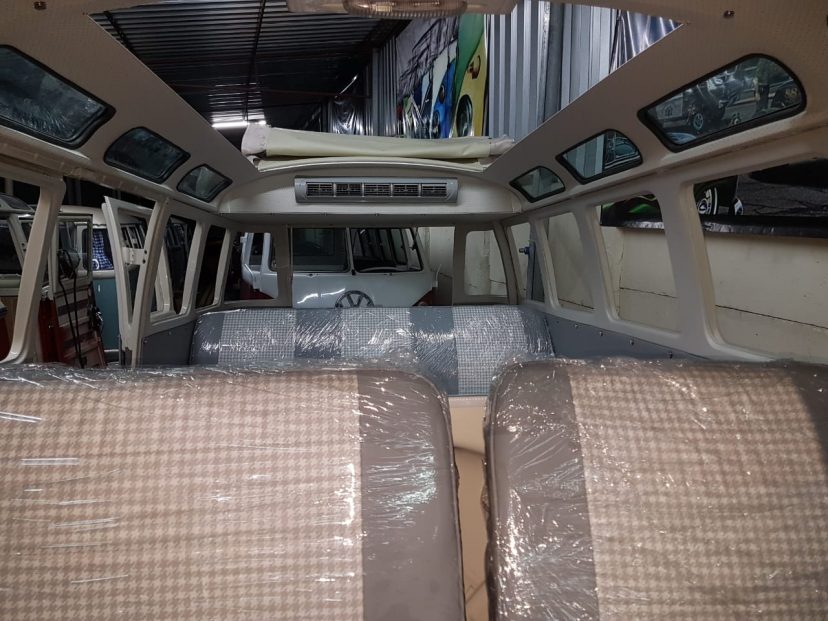
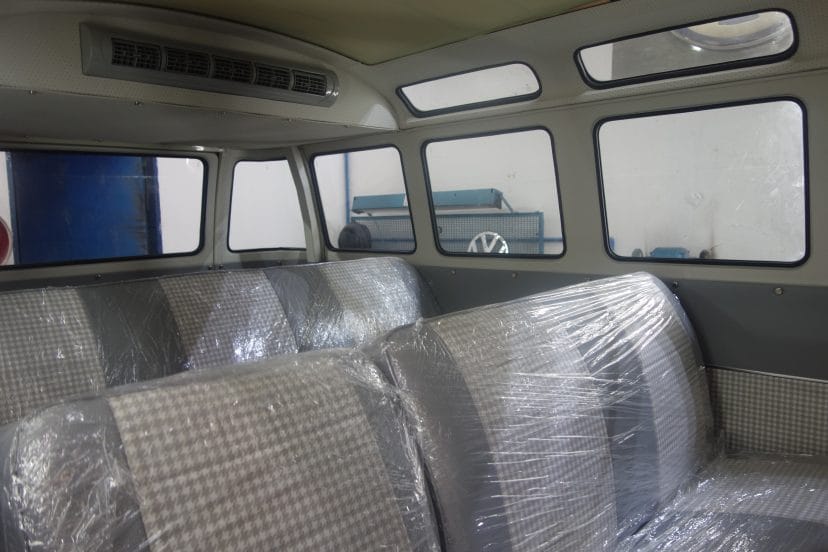
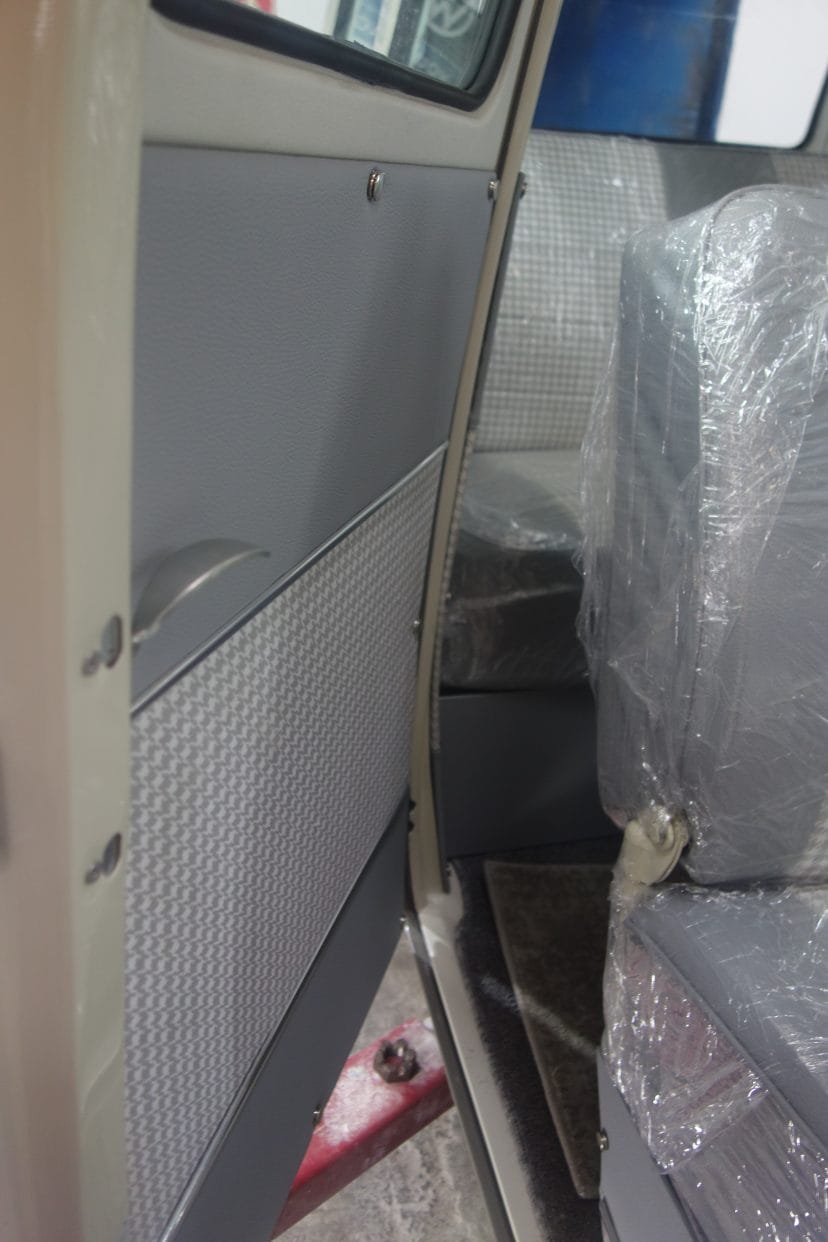
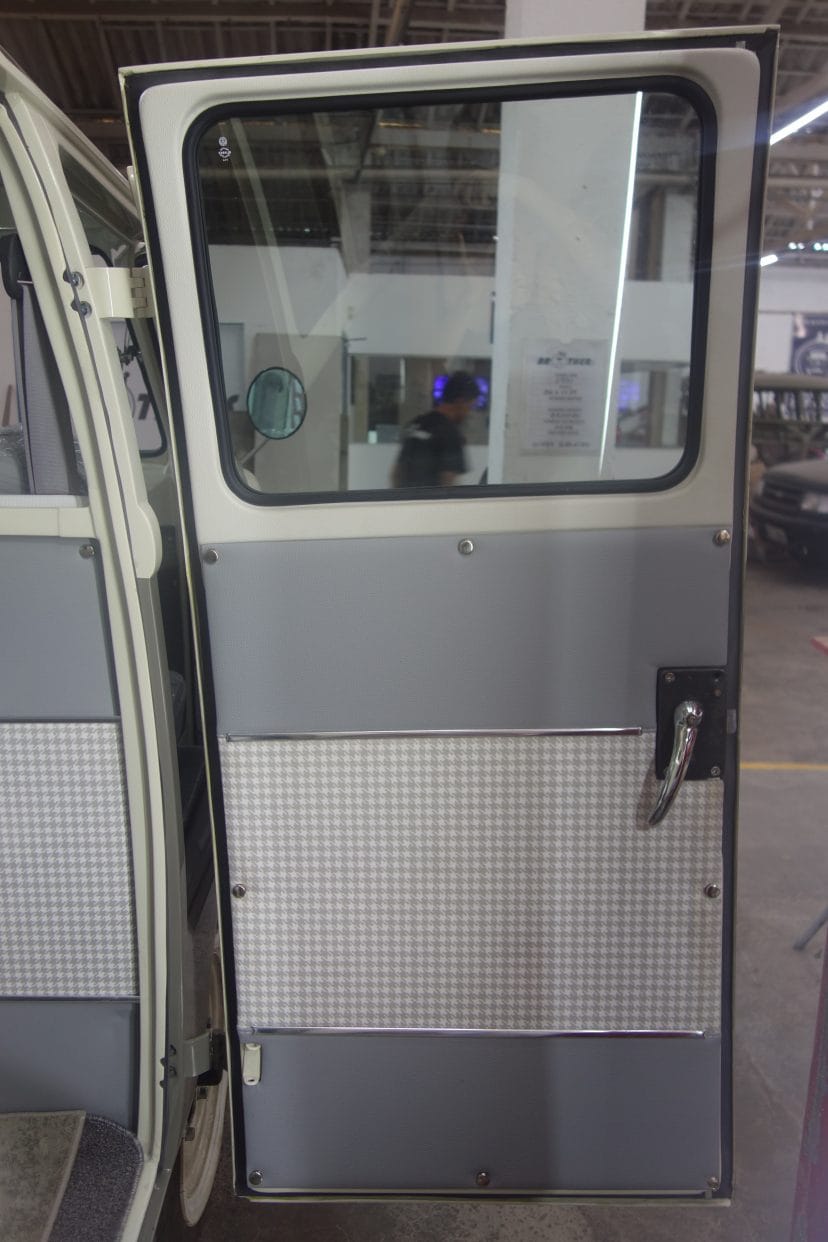
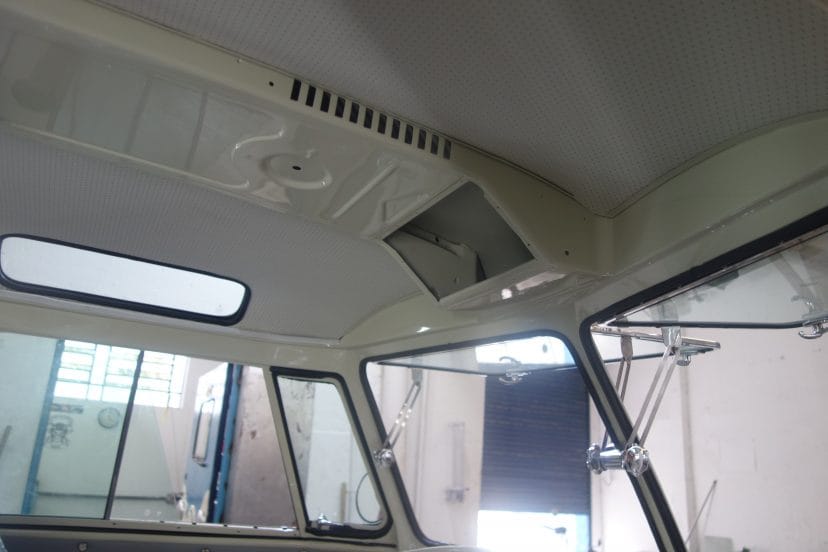
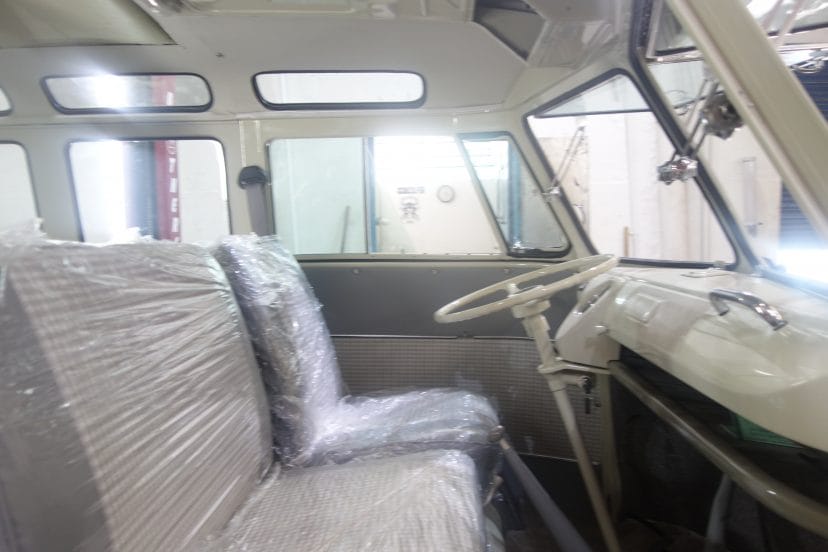
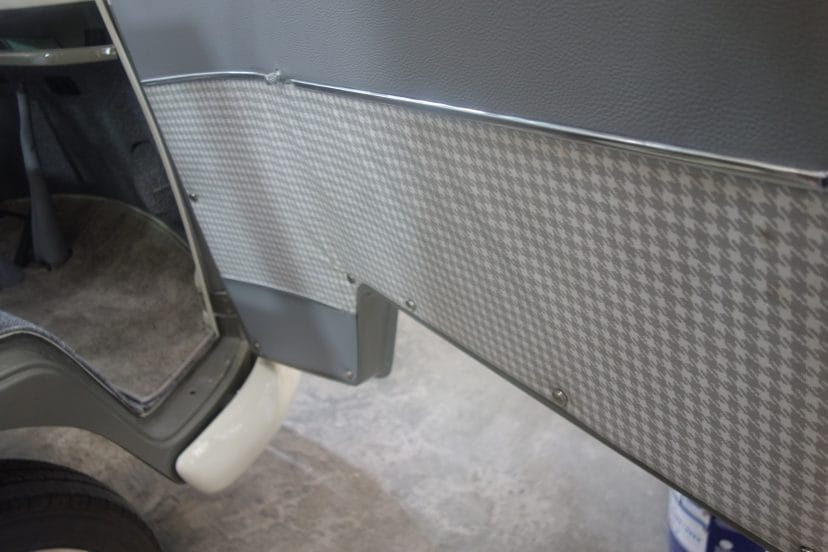
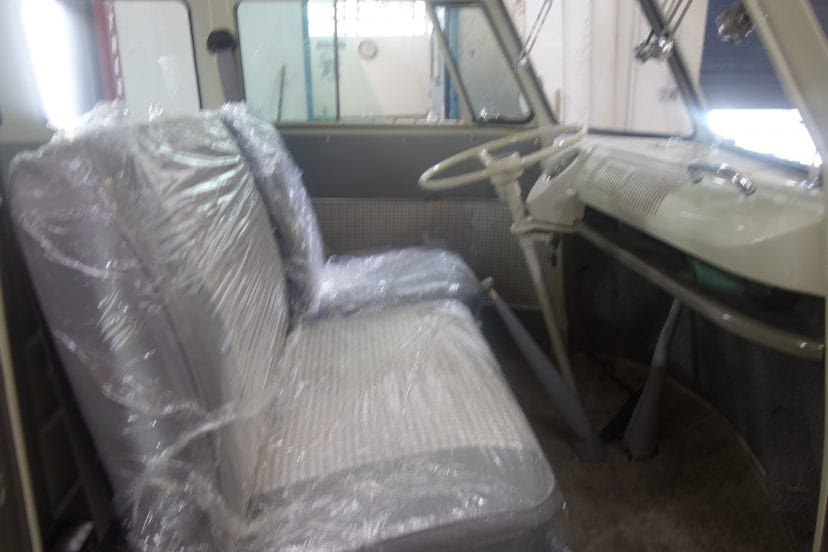
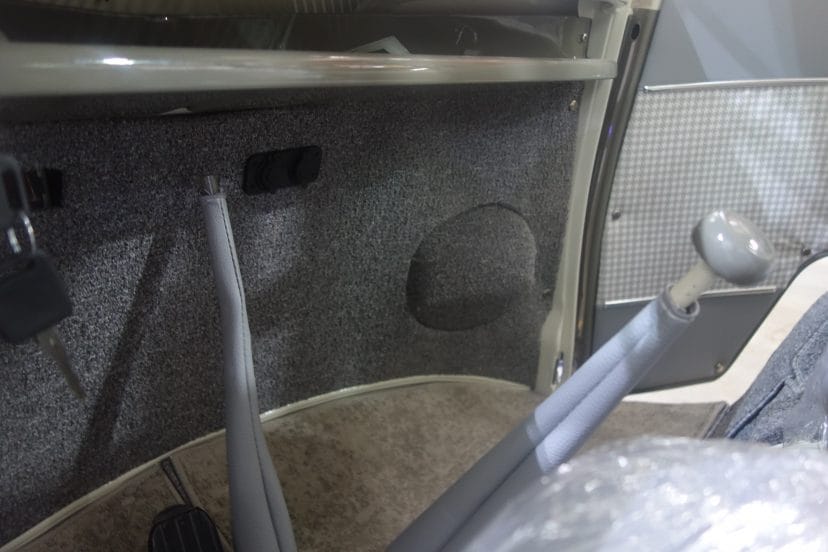
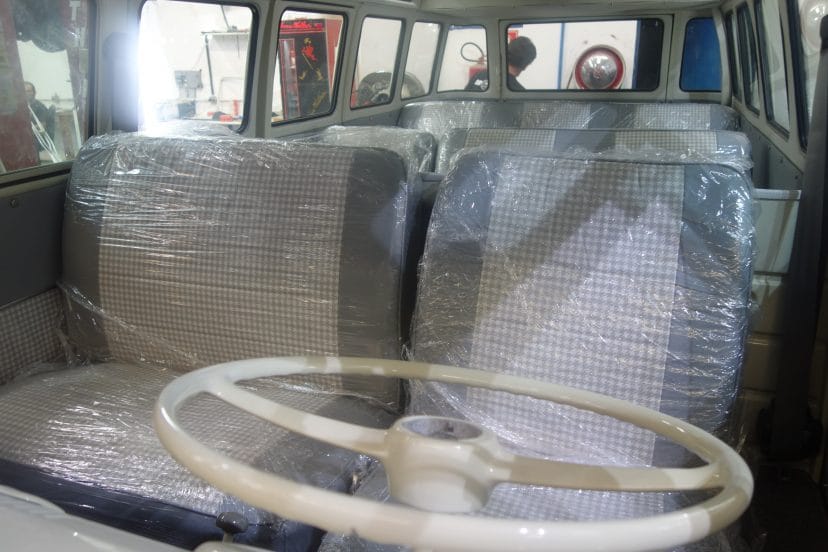
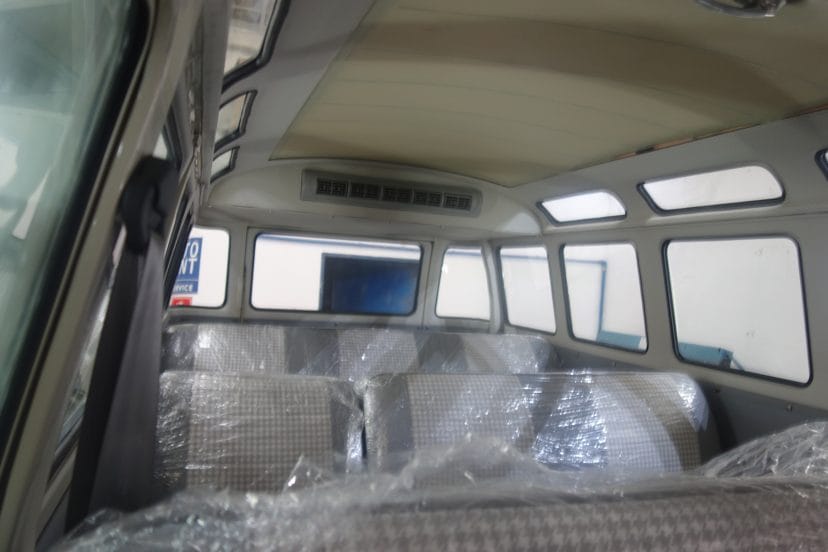
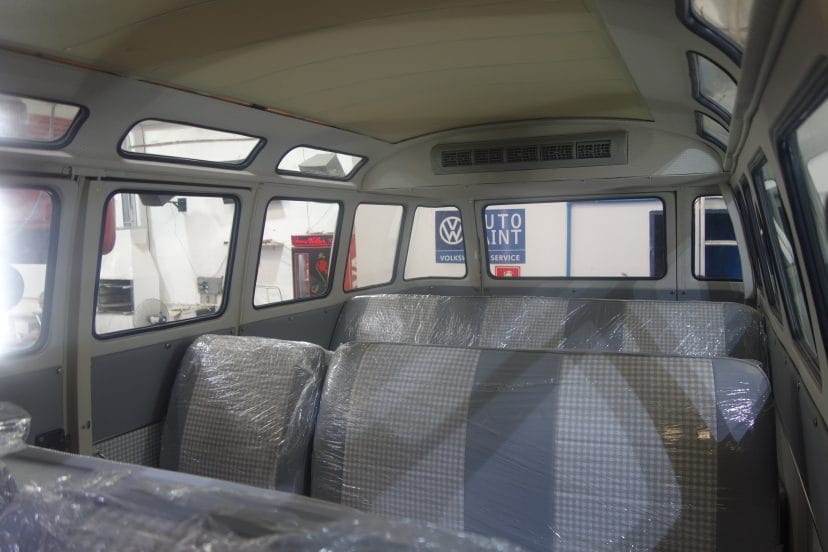
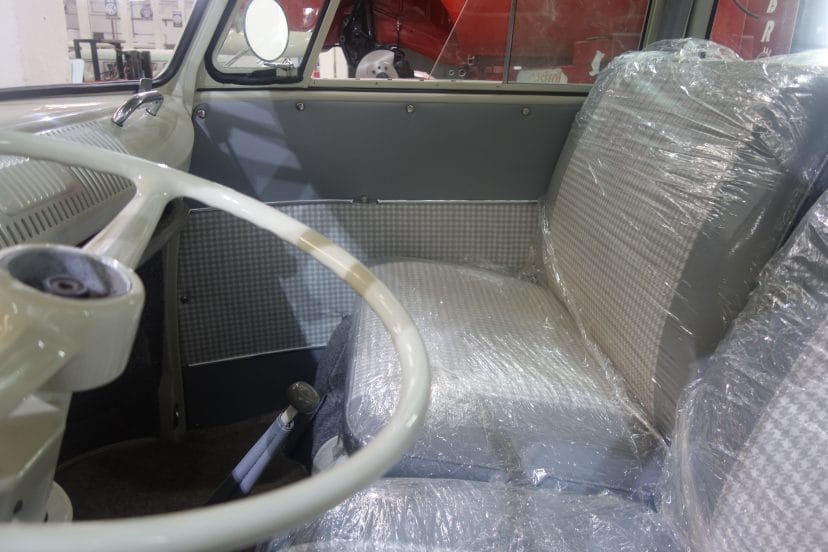
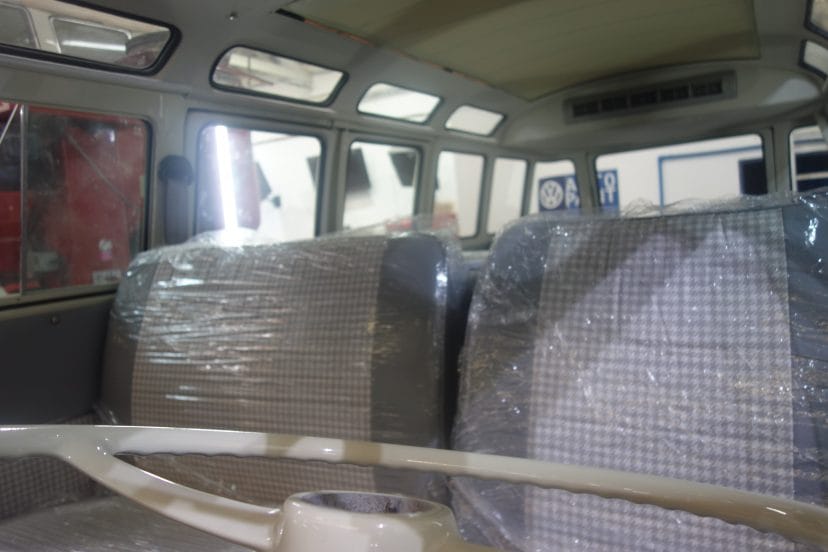
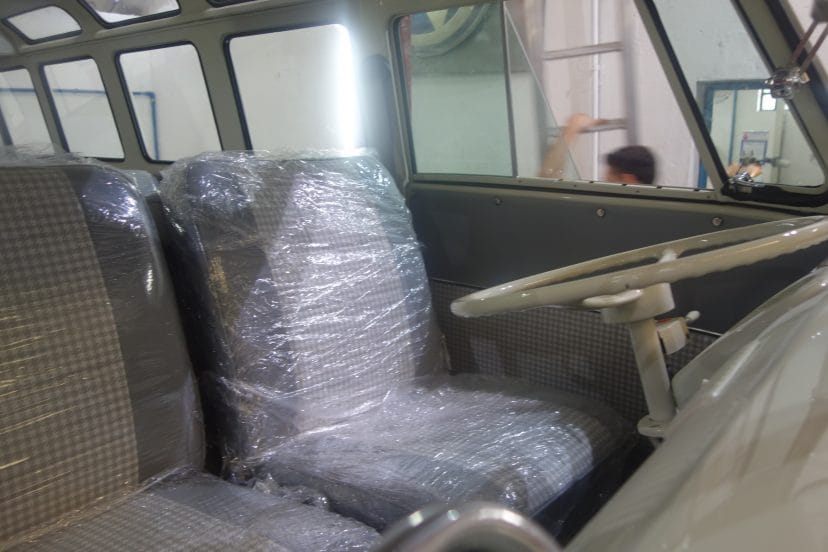
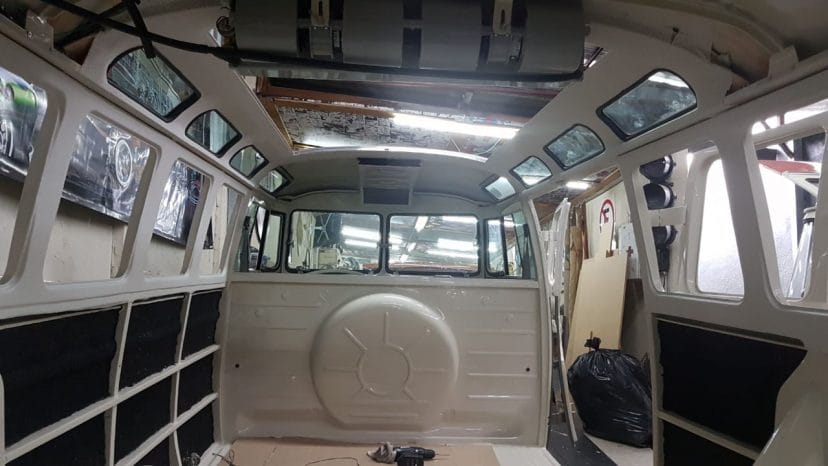
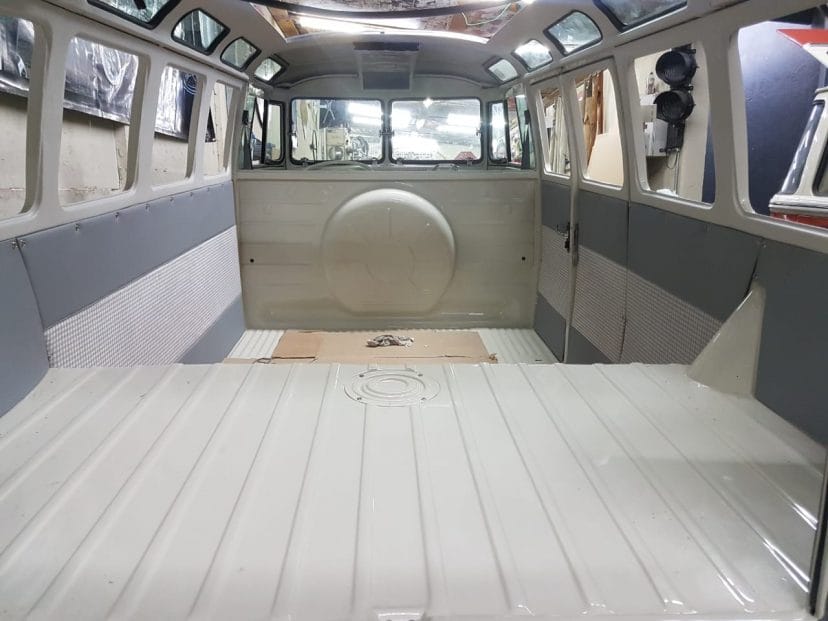
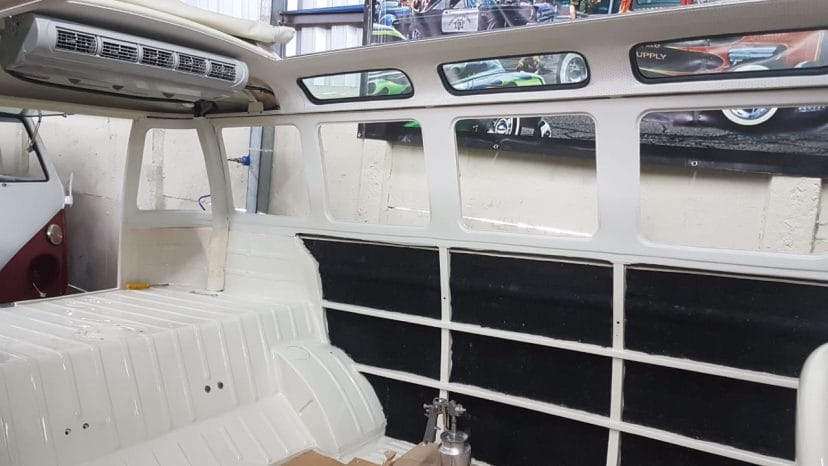
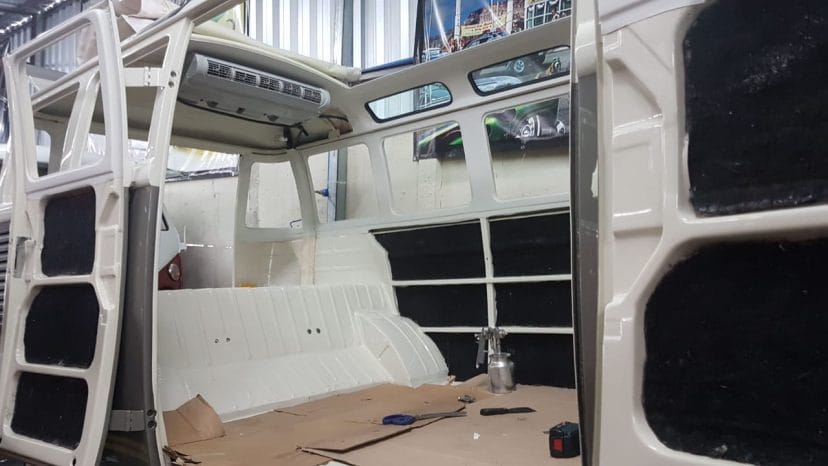
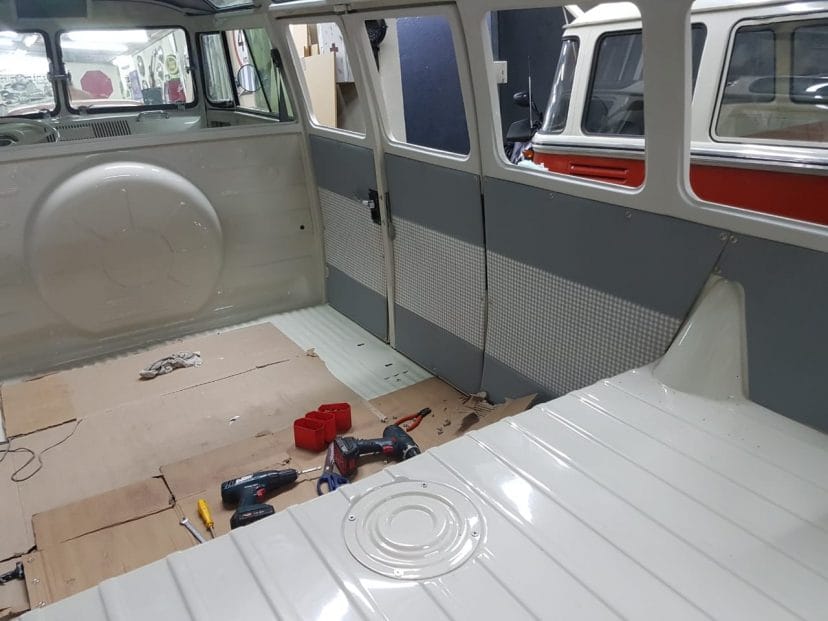
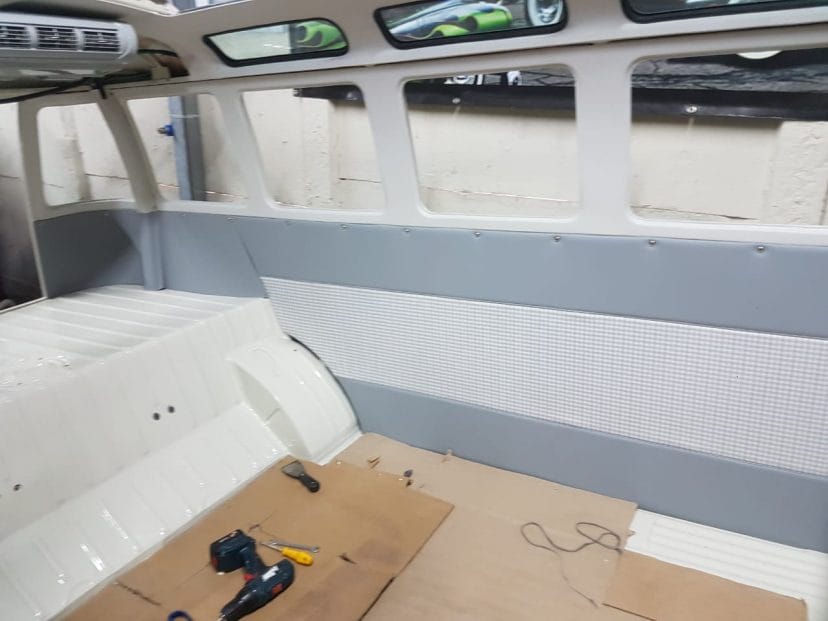
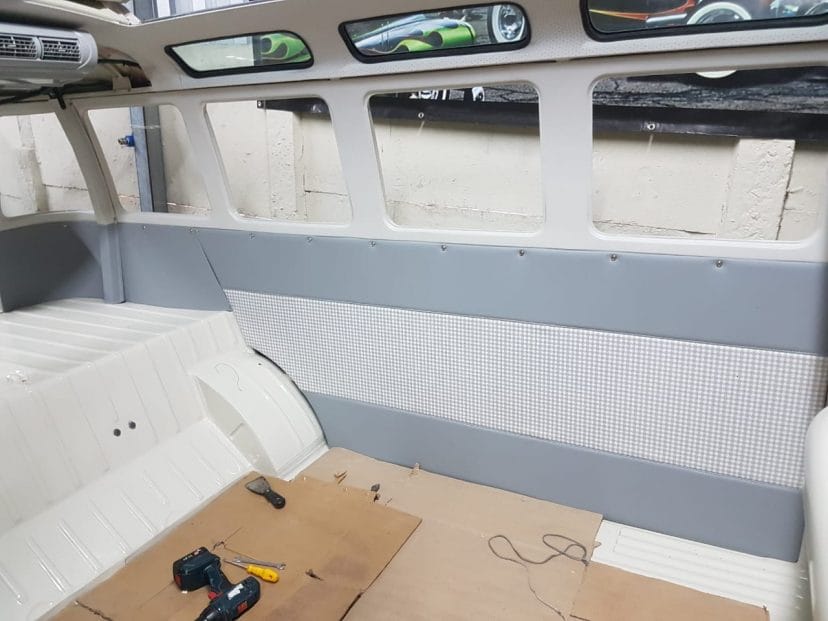
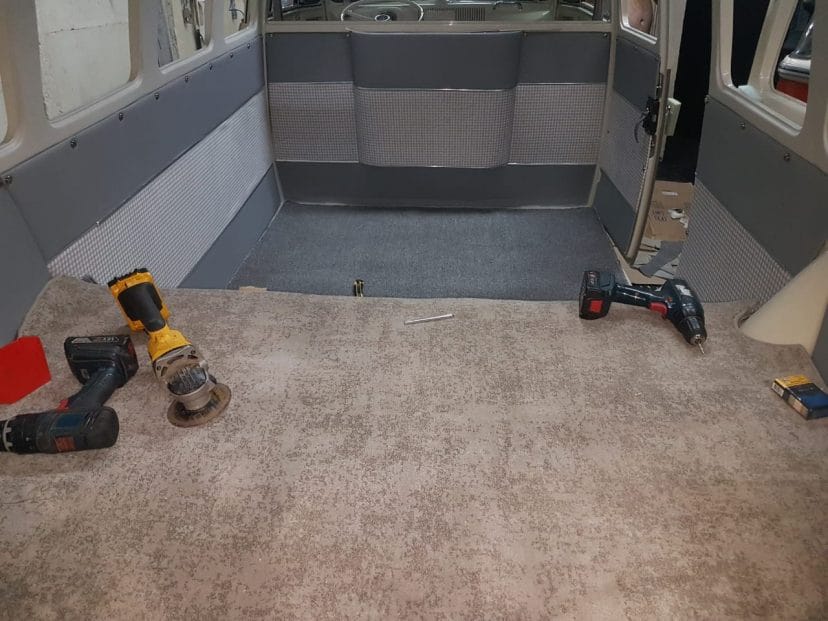
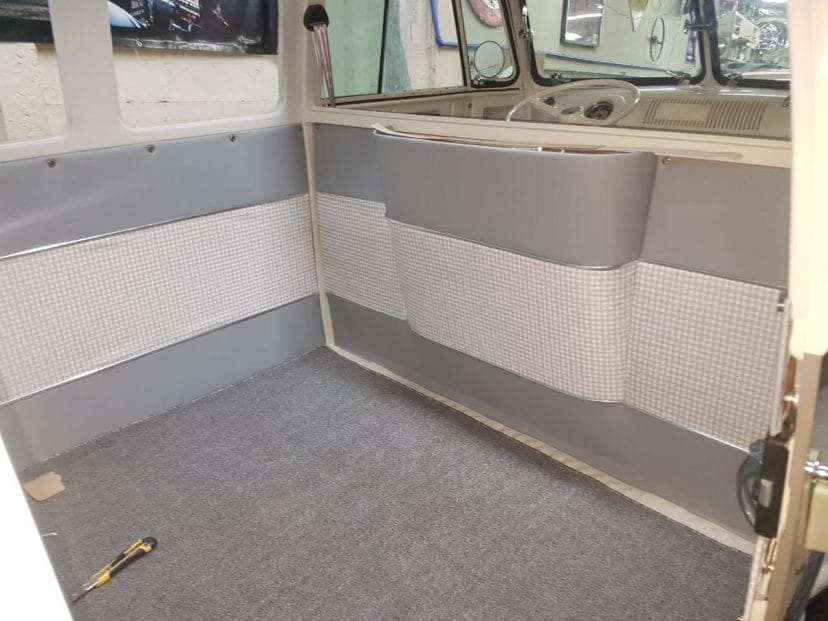
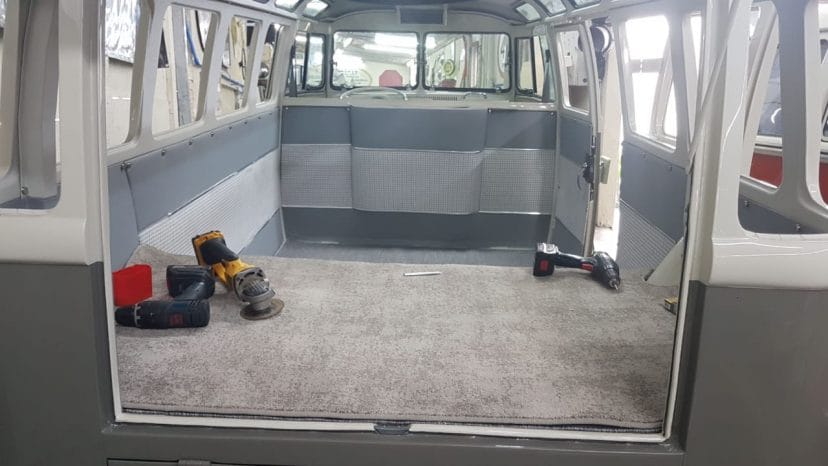
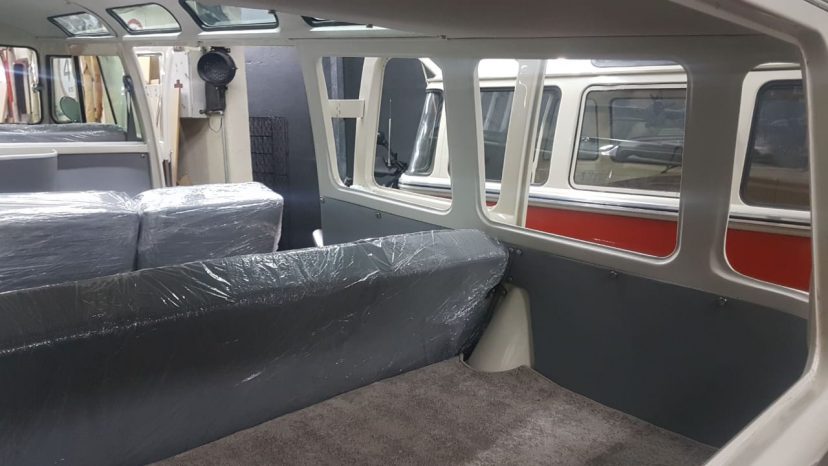
- Stage 15: Interior Construction
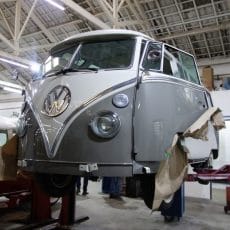
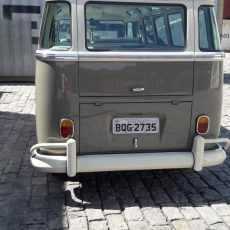
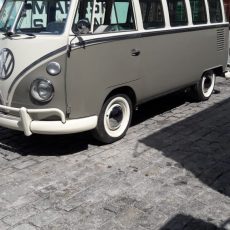
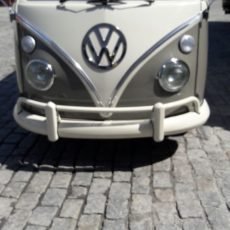
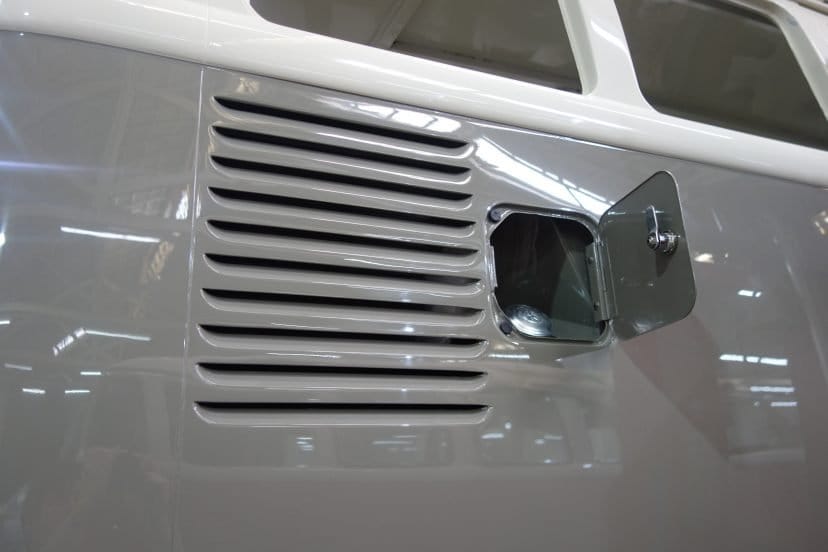
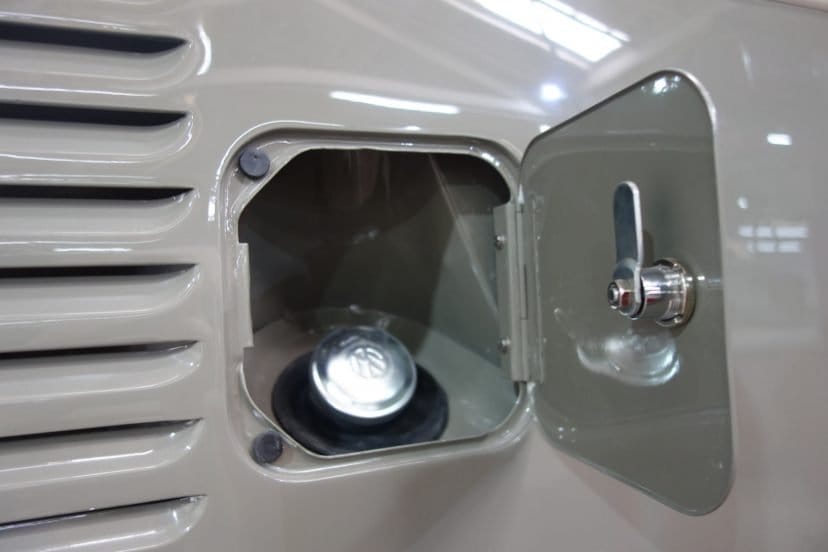
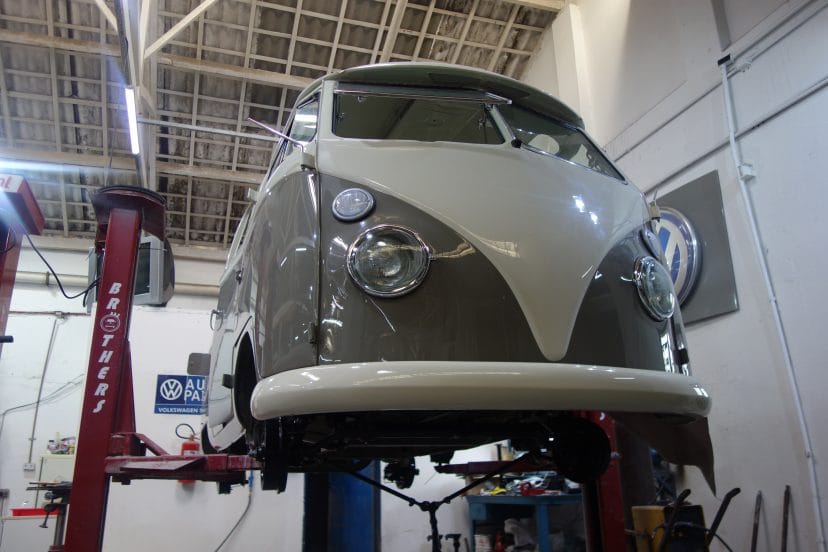
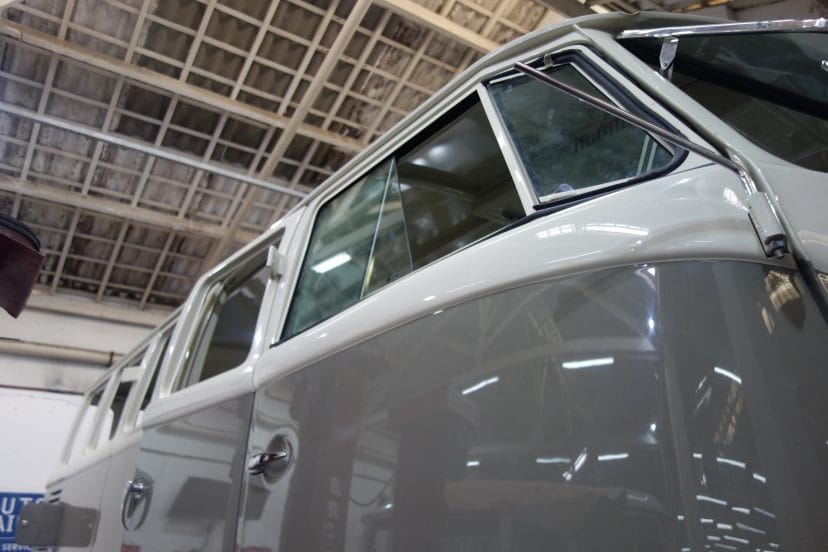
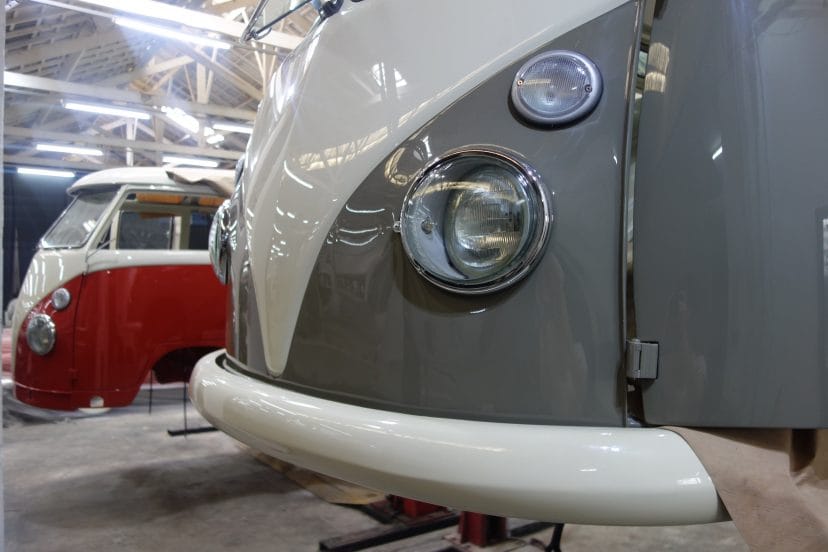
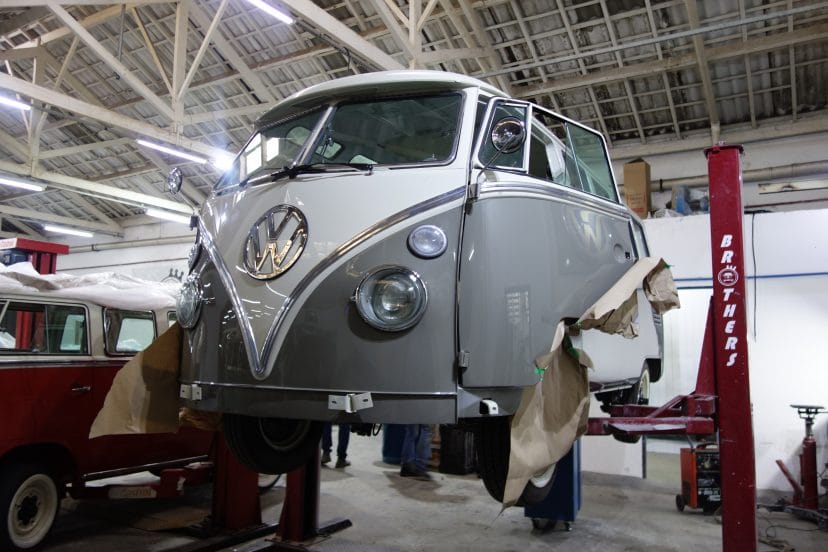
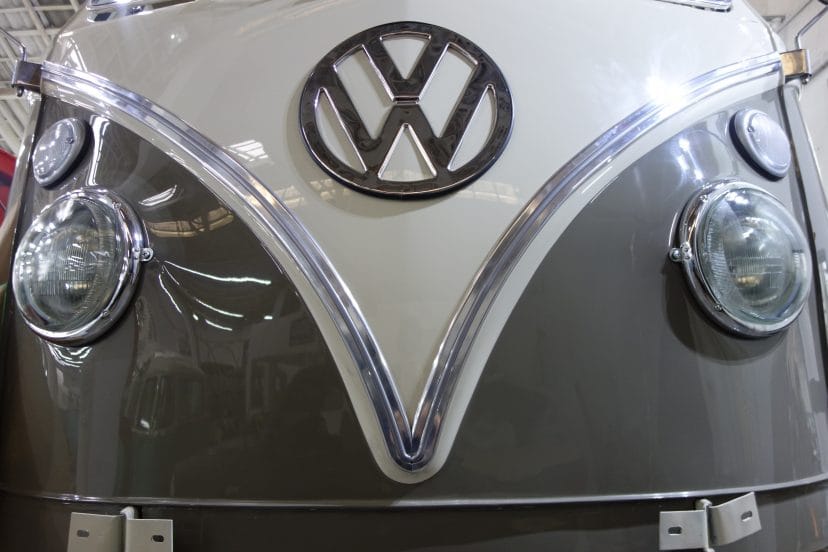
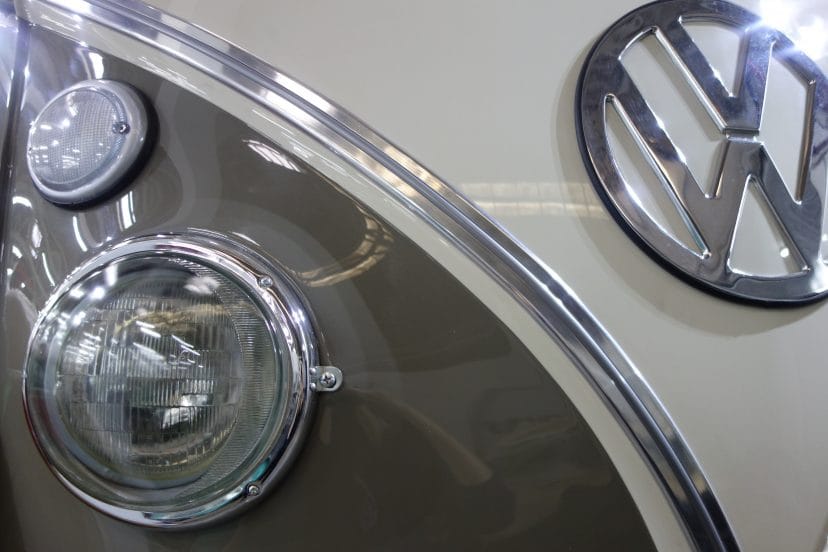
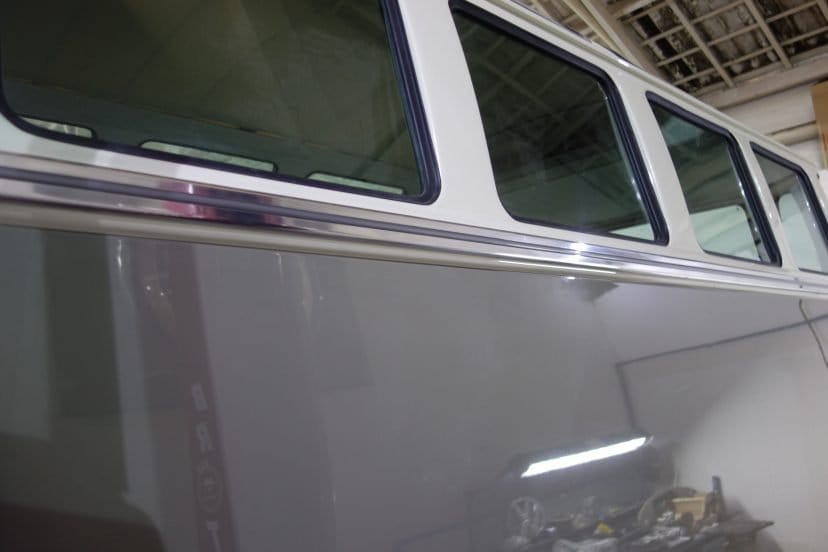
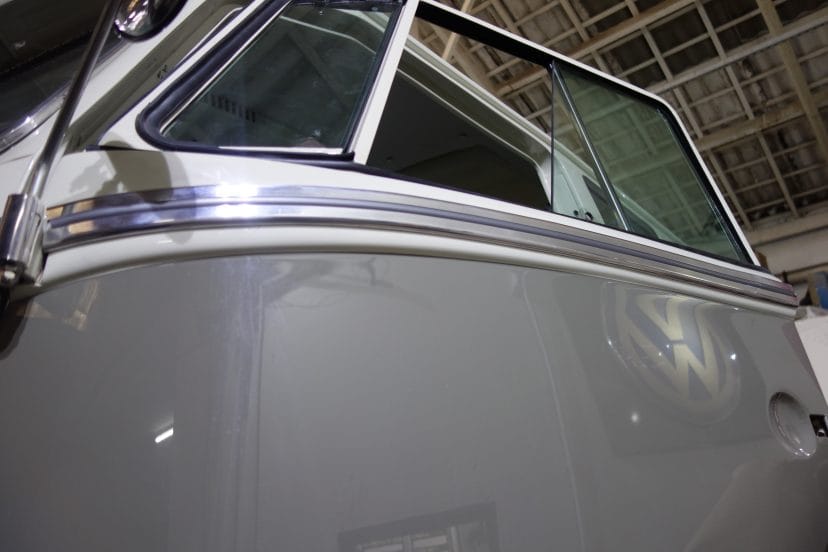
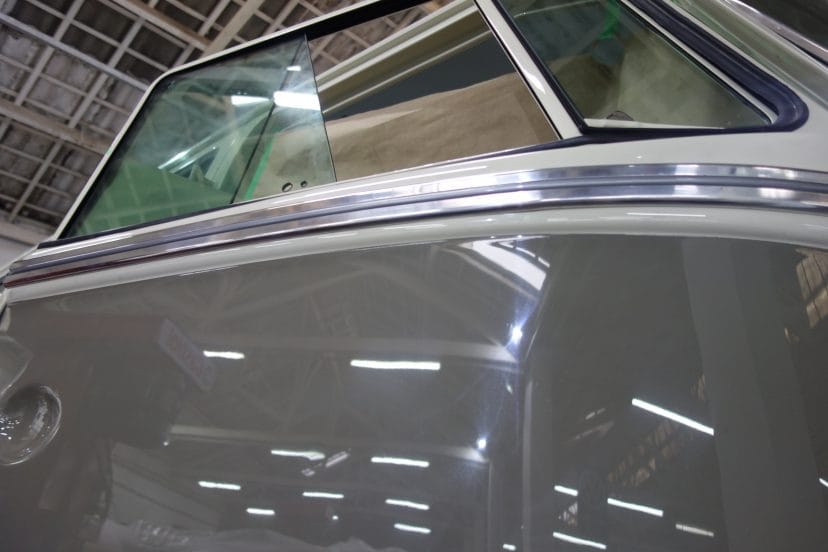
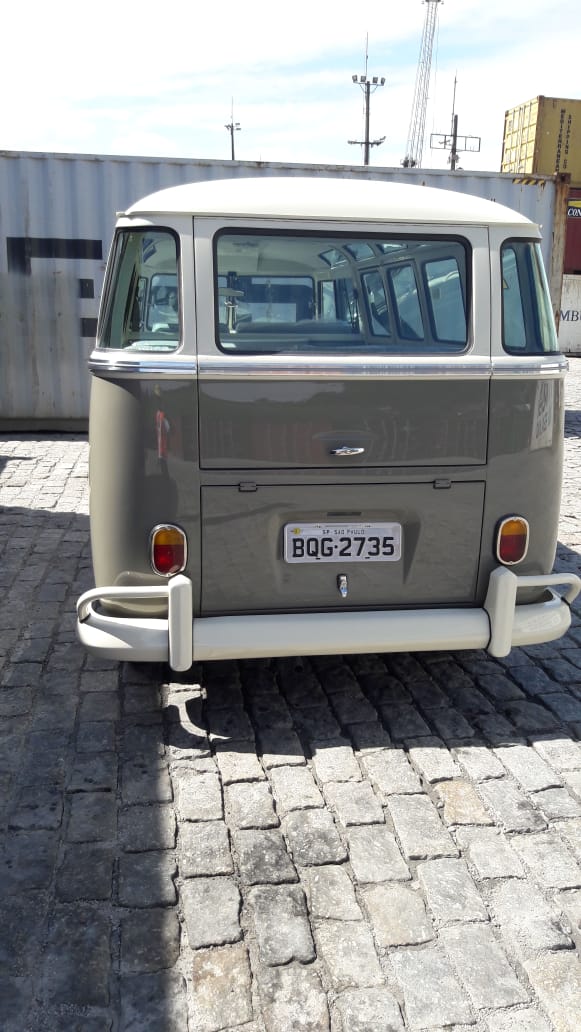
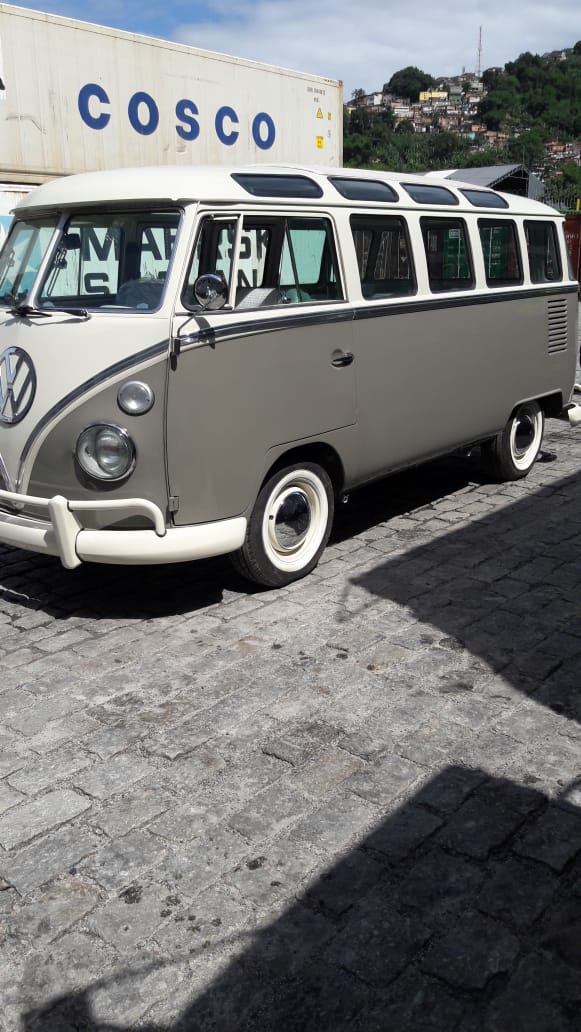
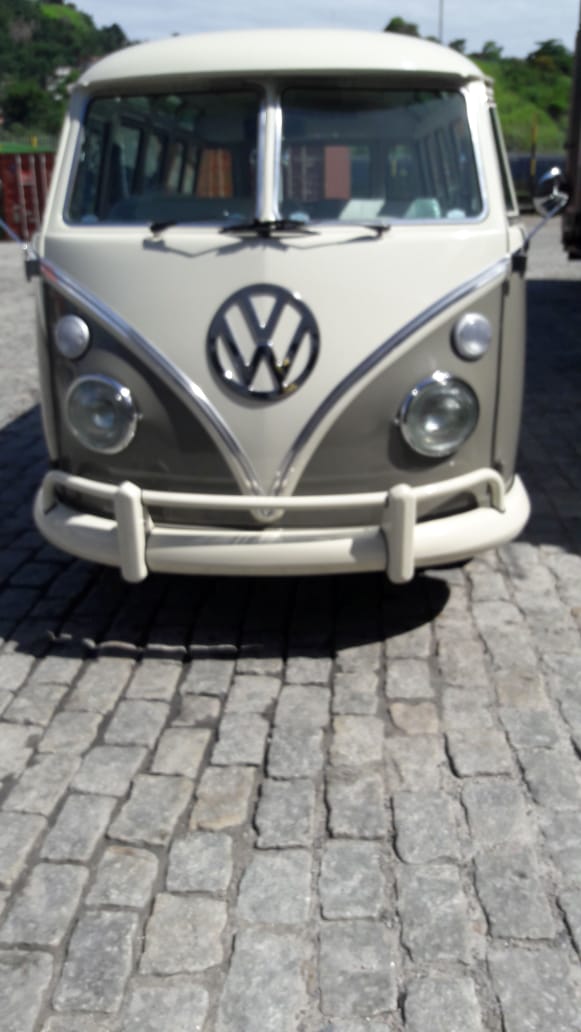
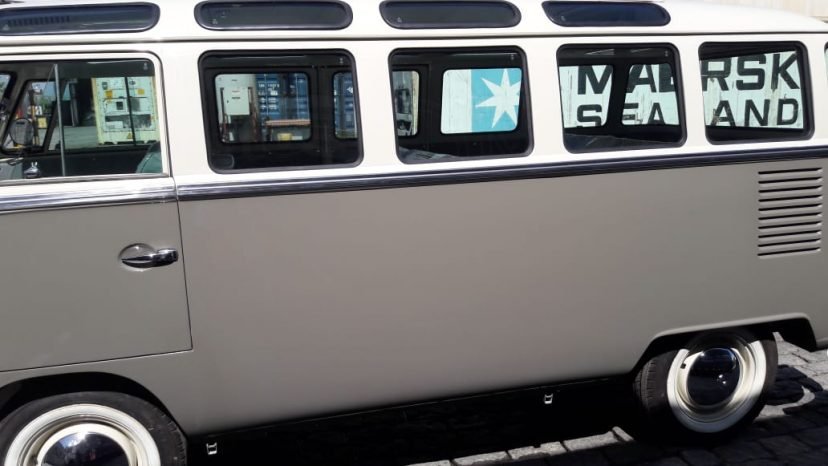
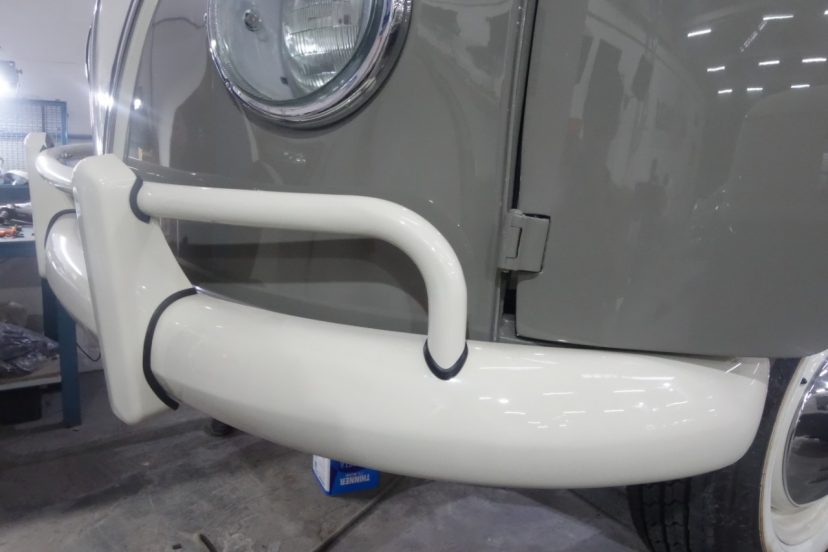
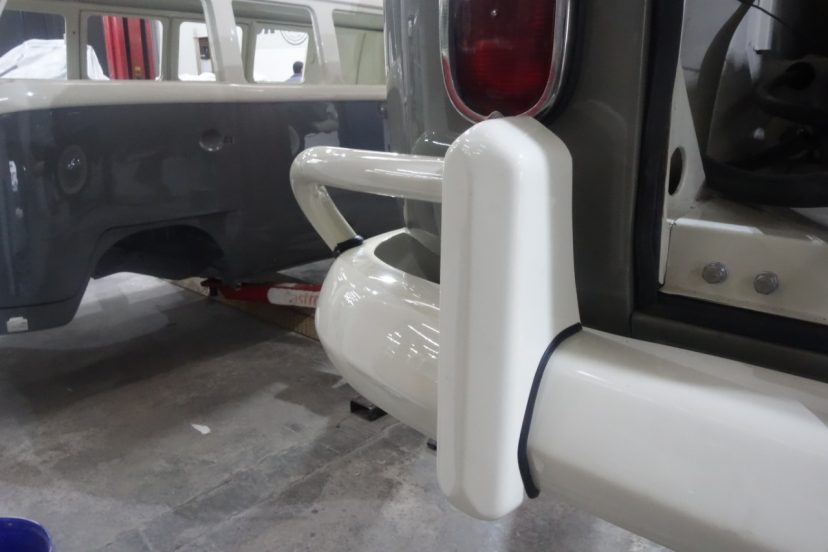
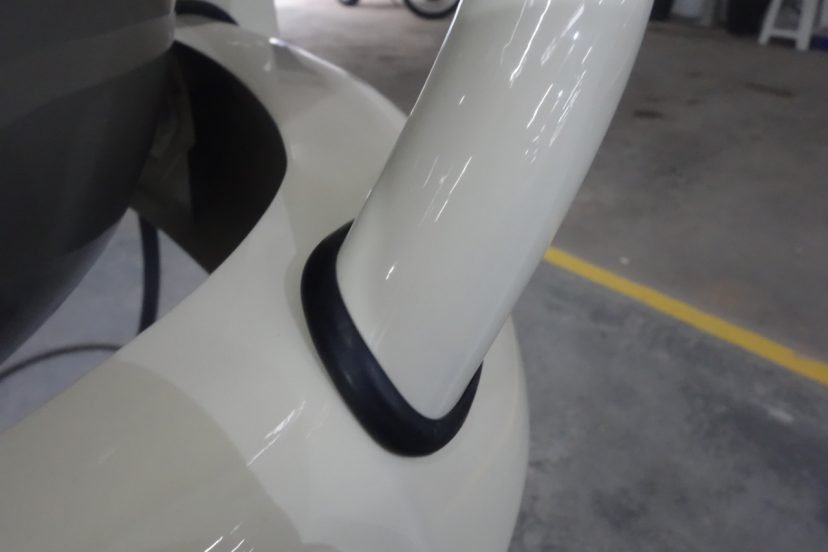
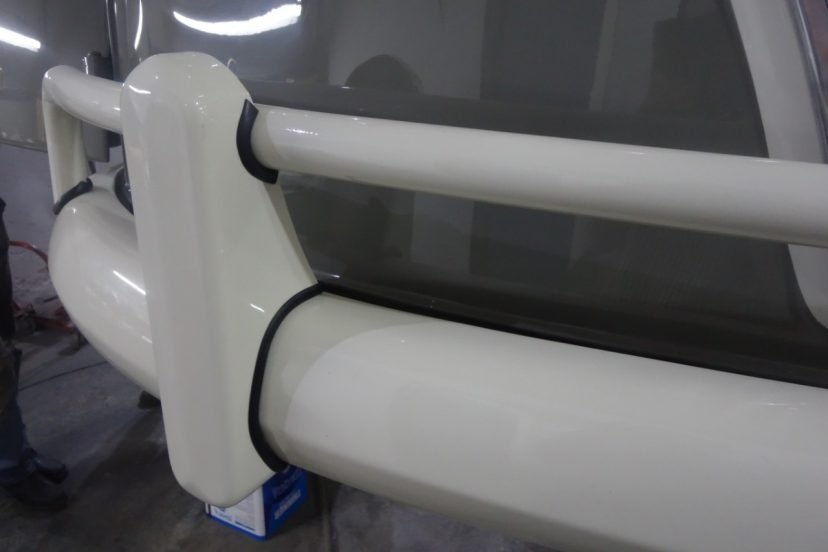
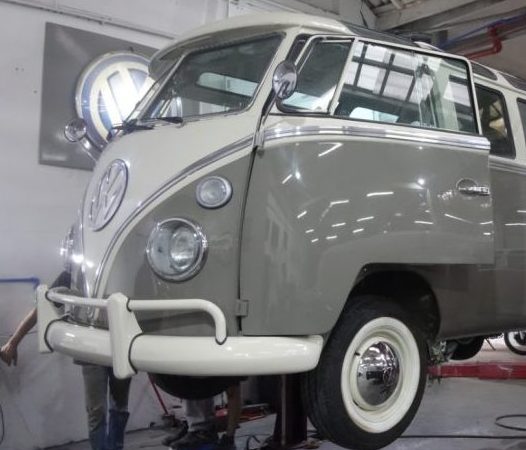
- Stage 16: Finished Exterior
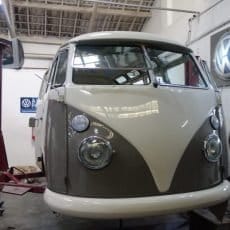
Stage 1: Arrival
The beginning to this green machine is just about to get underway! Here are some of the before images before this bus undergoes a complete makeover.


Stage 2: Stripping
To get started on everything we are going to have to remove the outer layer of this bus to evaluate the condition of the metal panels and see if we can salvage something or if we need to replace everything. Here the side panels are sandblasted and some welding is done to mend the deteriorated areas.


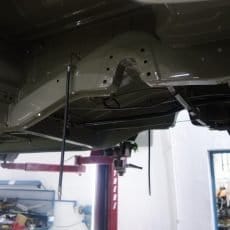
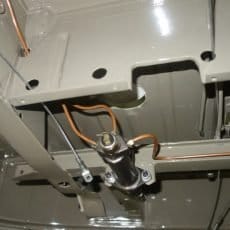
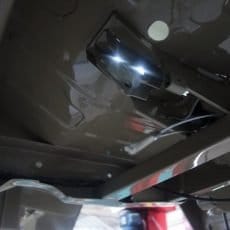
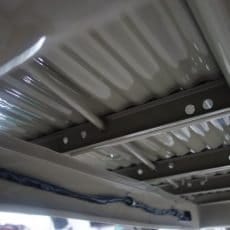
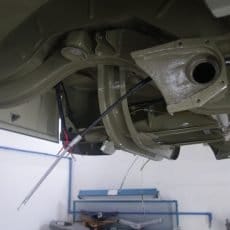
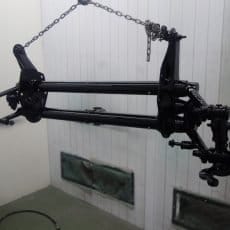
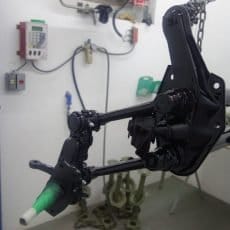
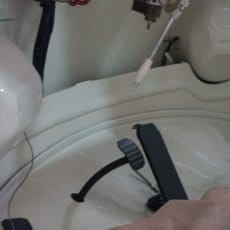
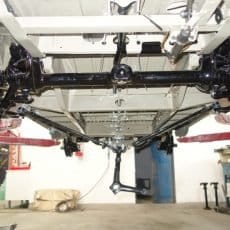
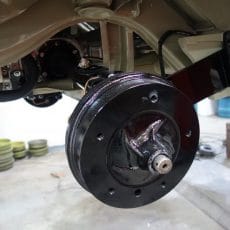
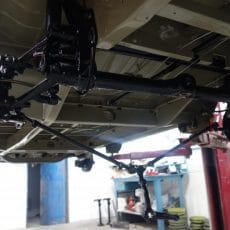
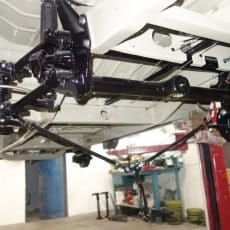
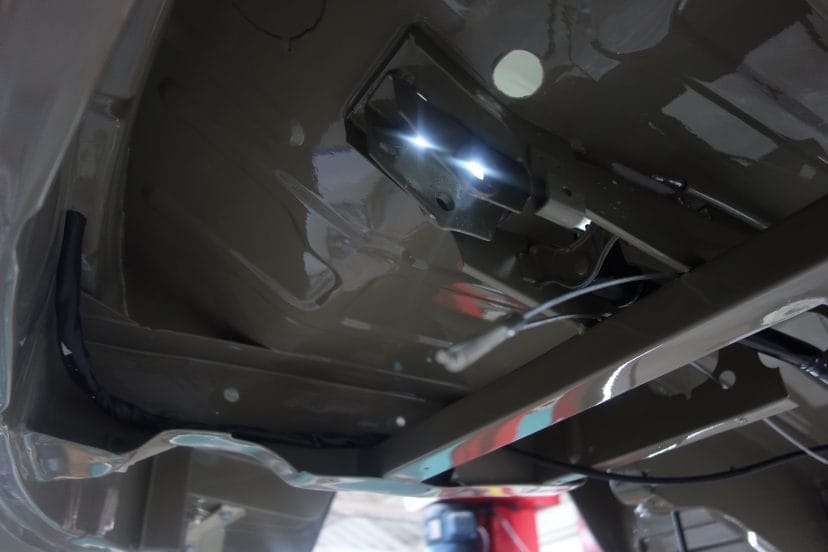
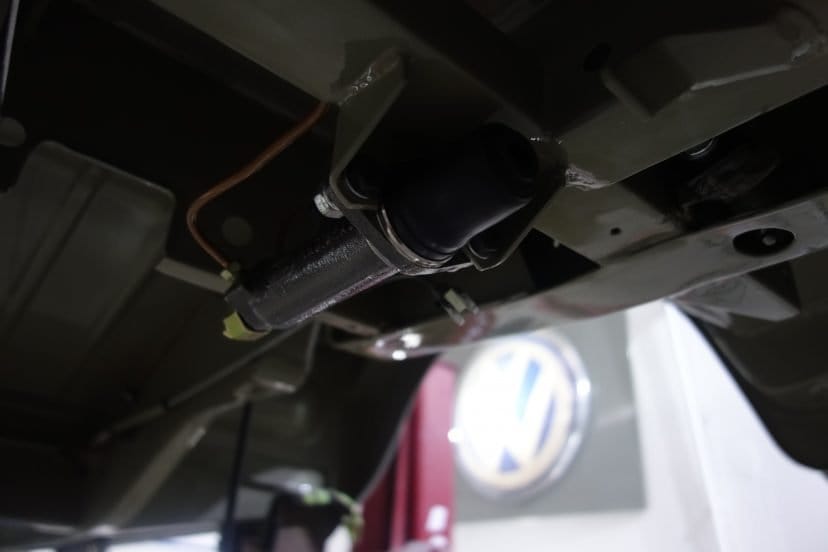
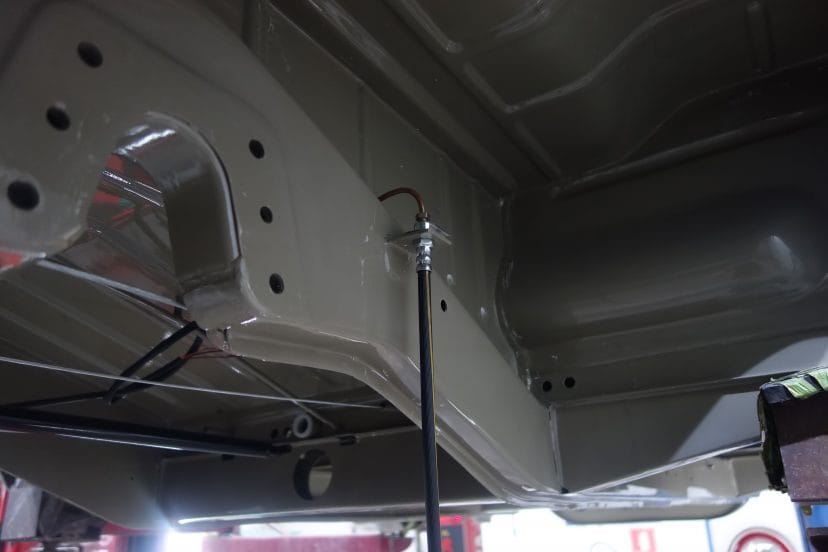
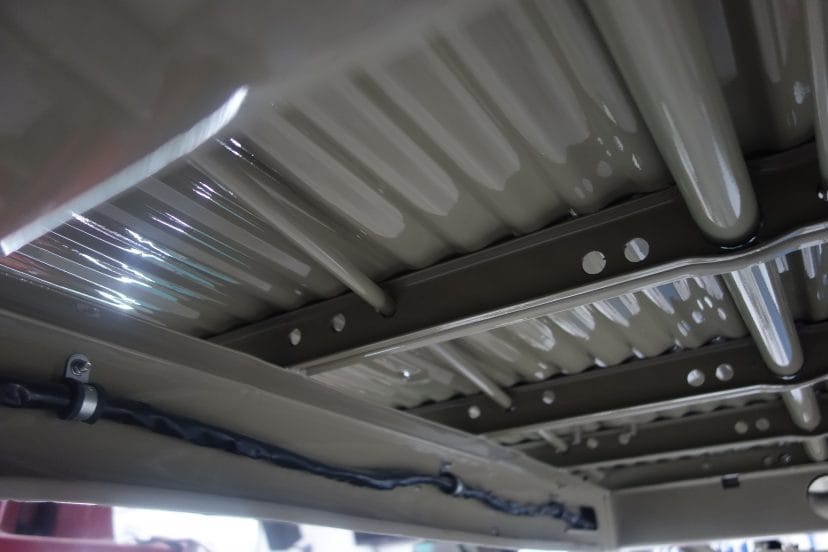
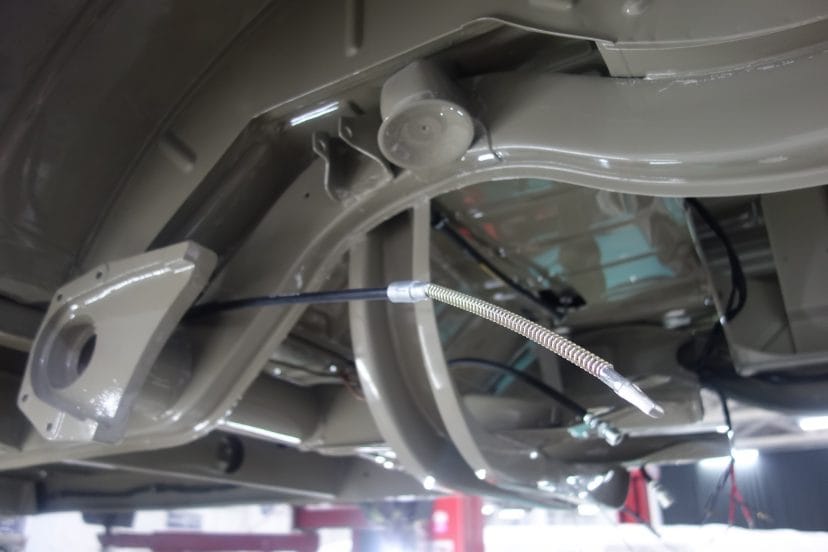
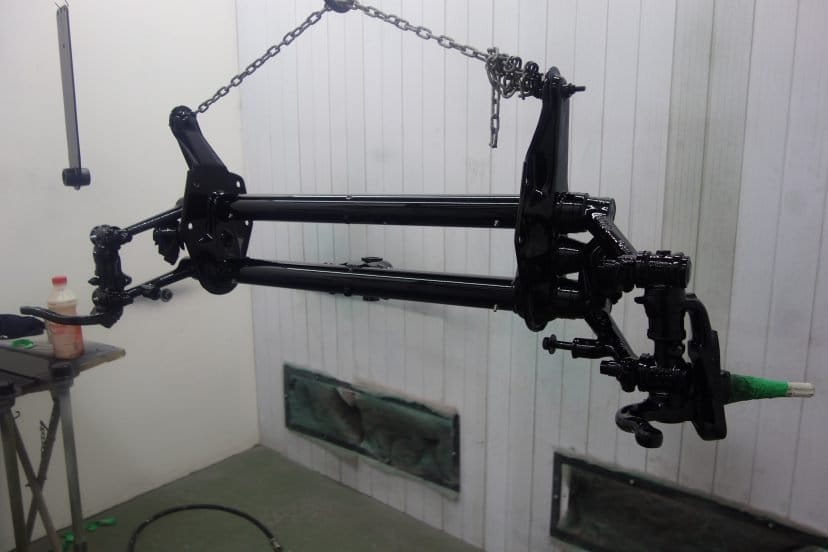
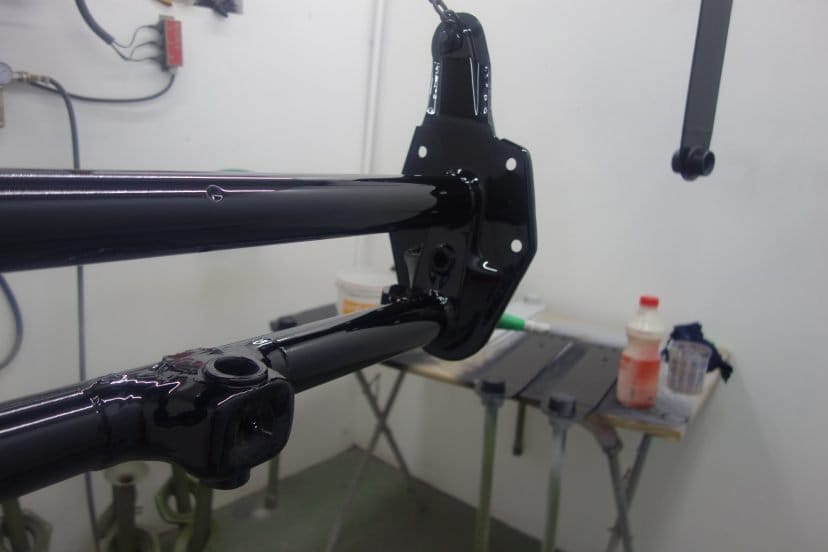
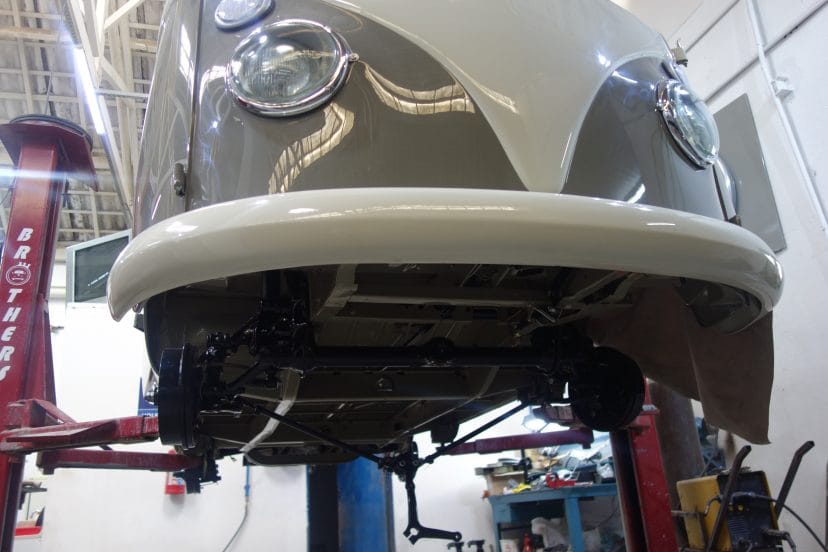
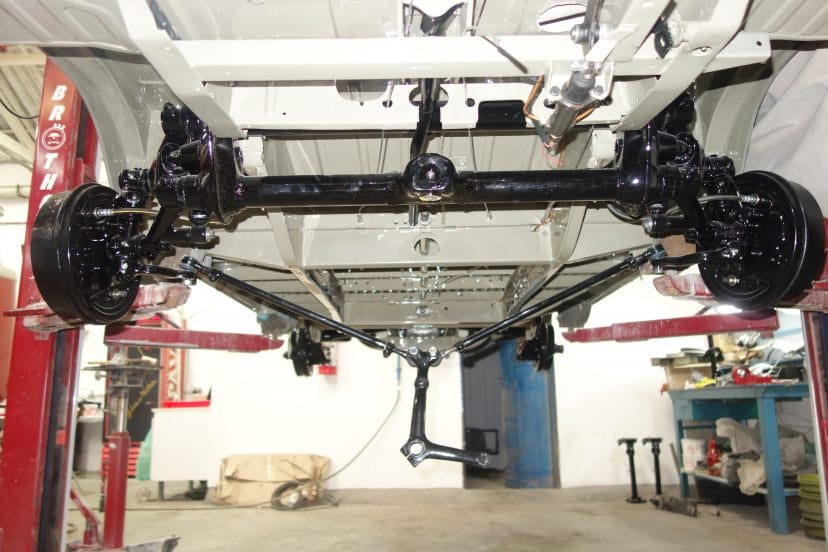
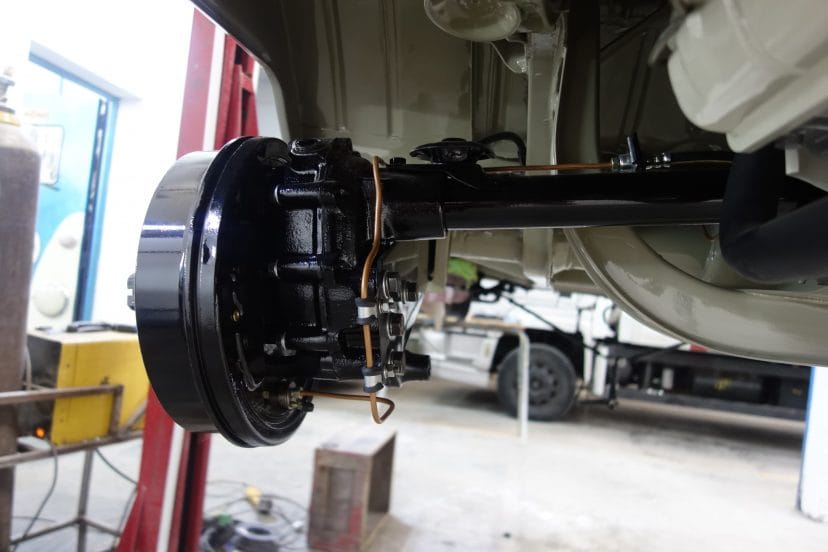
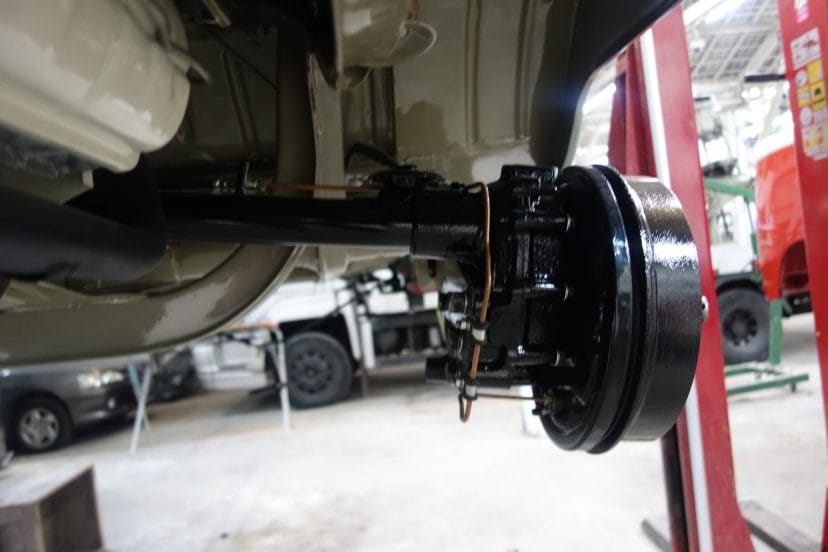
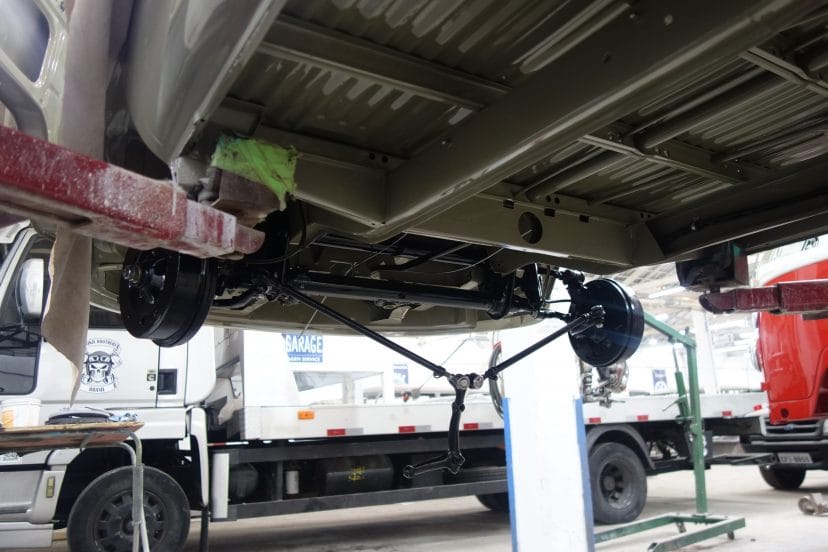
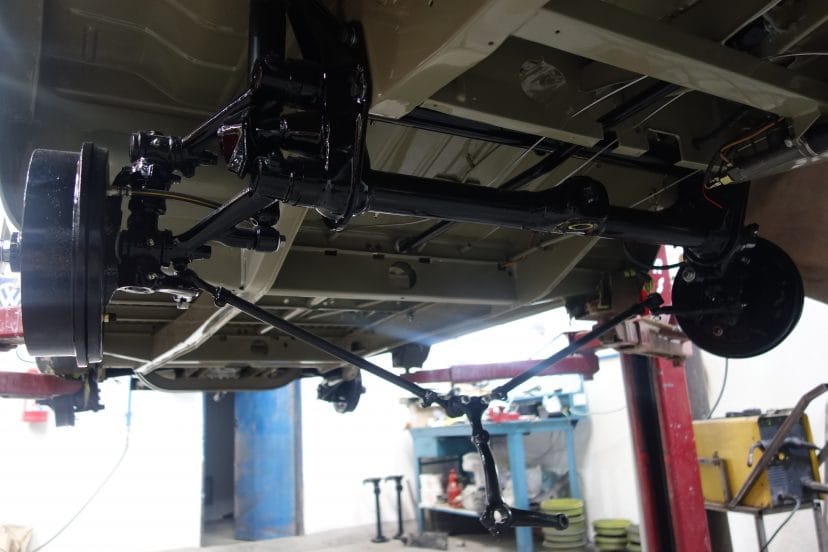
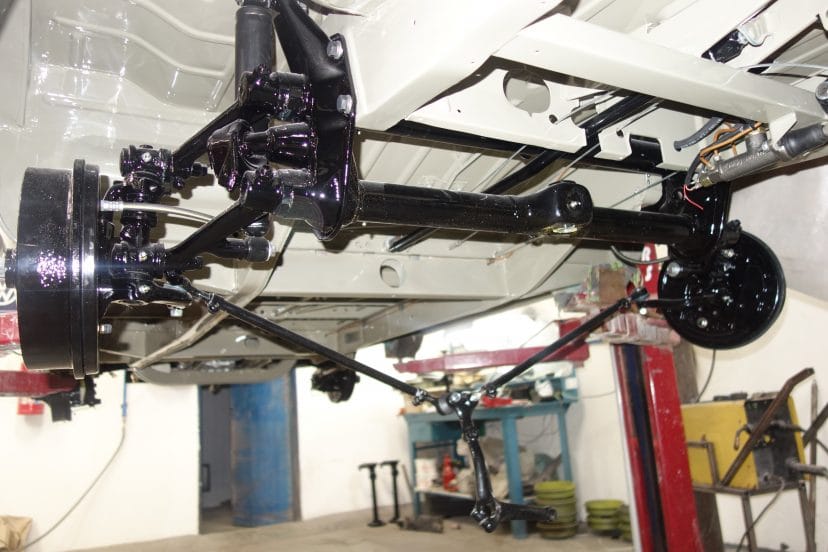
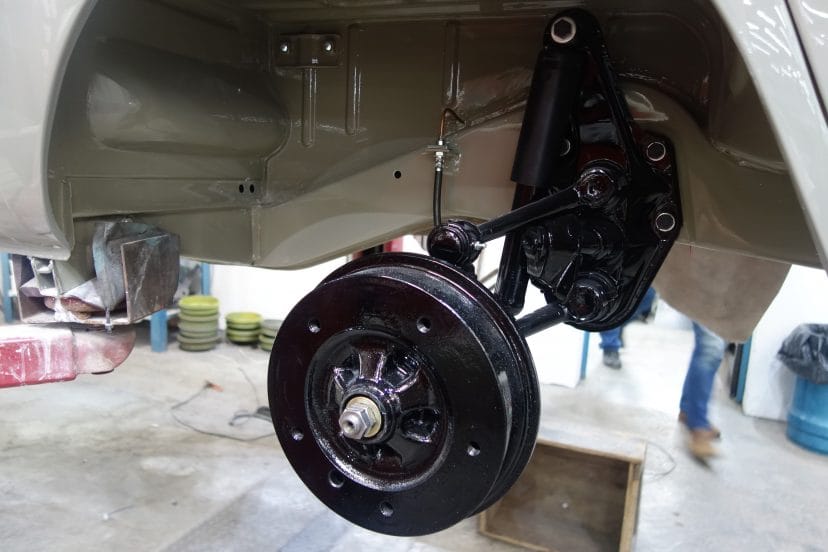
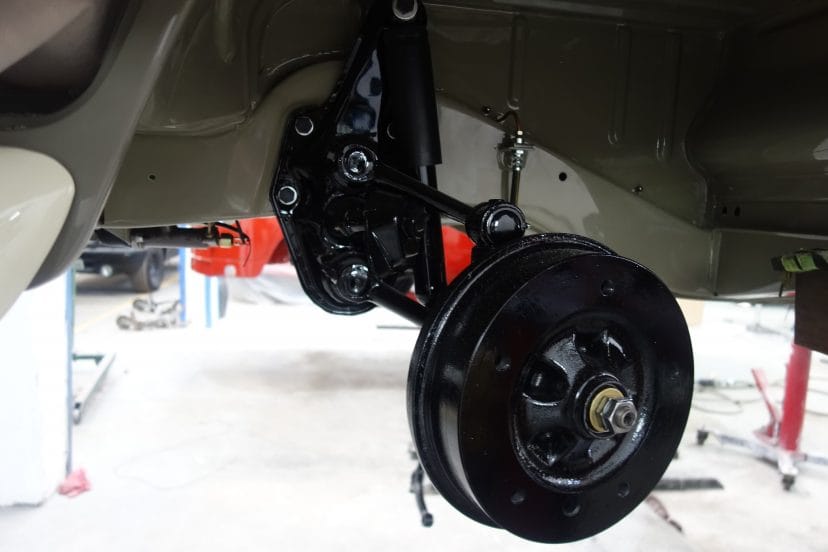
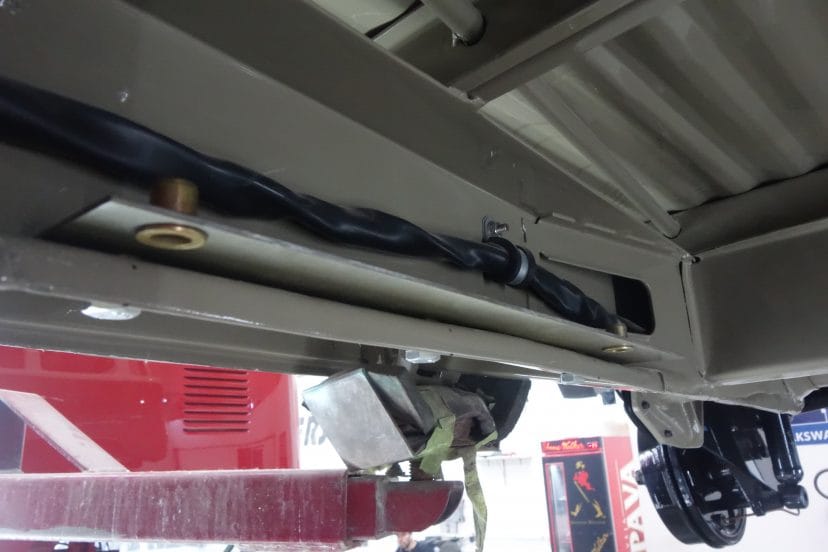
Stage 3: Undercarriage Work
All undercarriage parts are replaced with new pieces. If we know that we change them with new parts, then we always change them. New floor panels are then also welded in place. And the infamous green coating is used to protect the metal from rusting while going through phases.


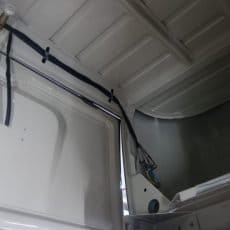
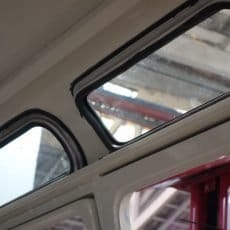
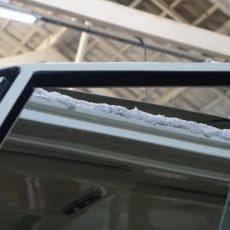
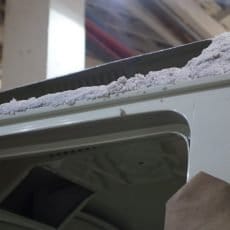
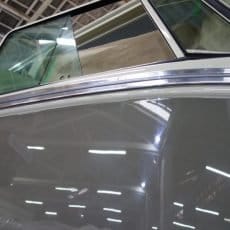
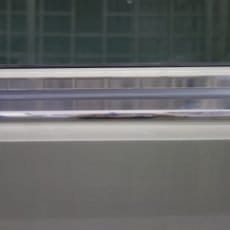
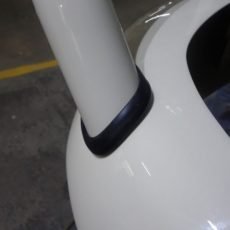
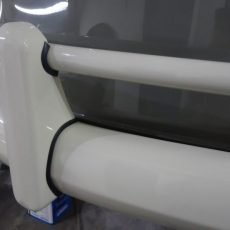
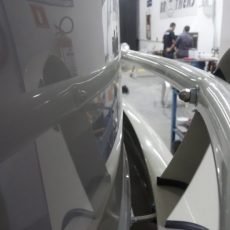
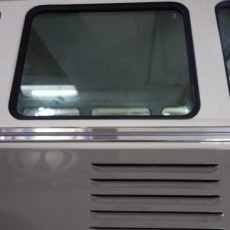
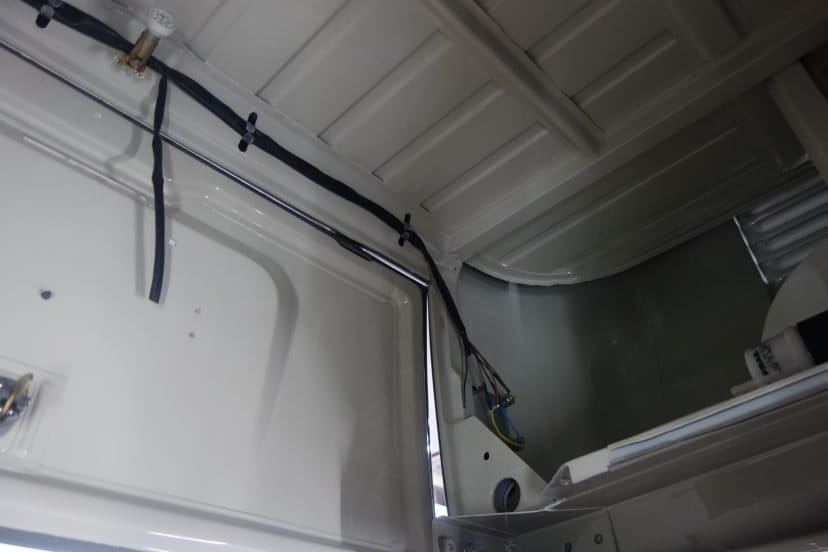
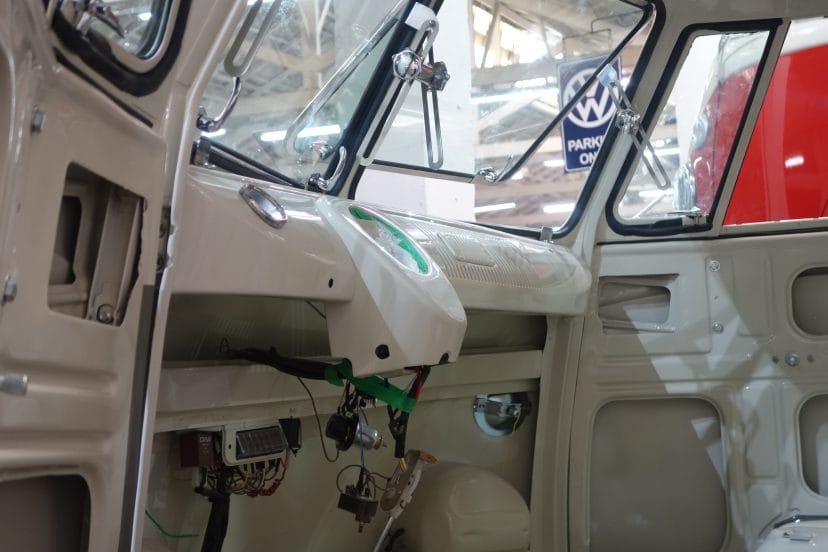
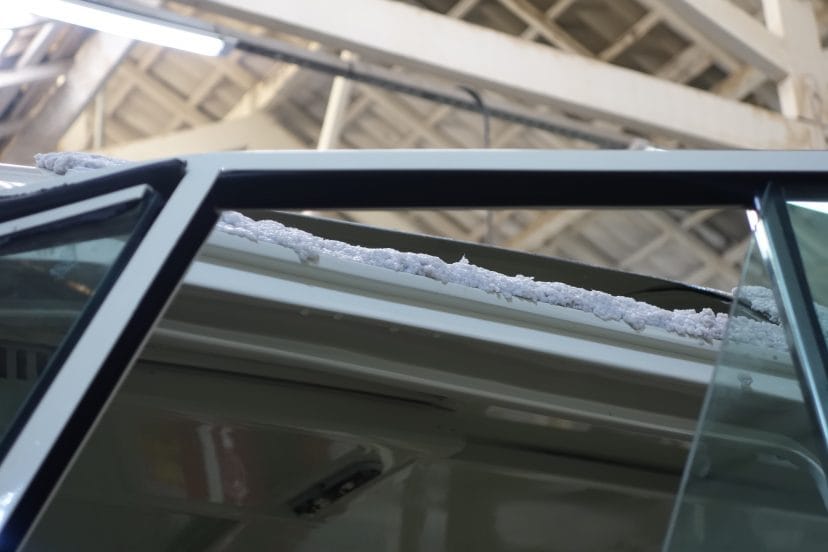
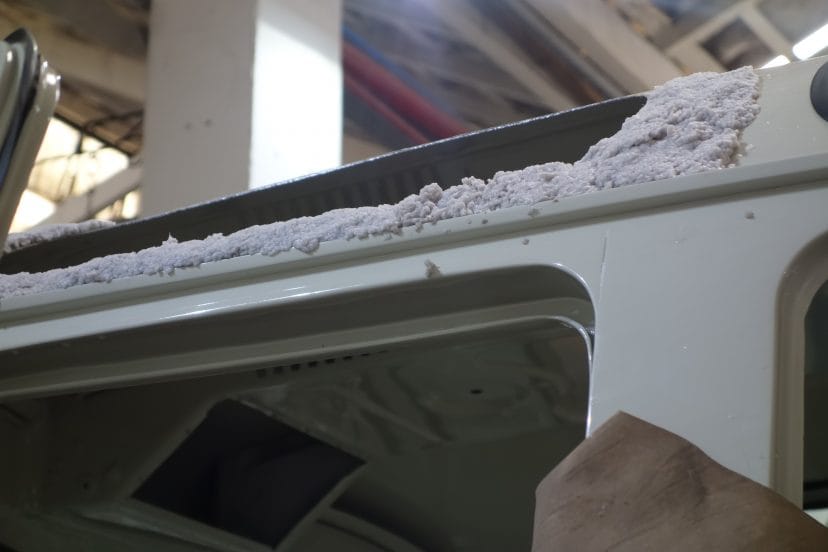
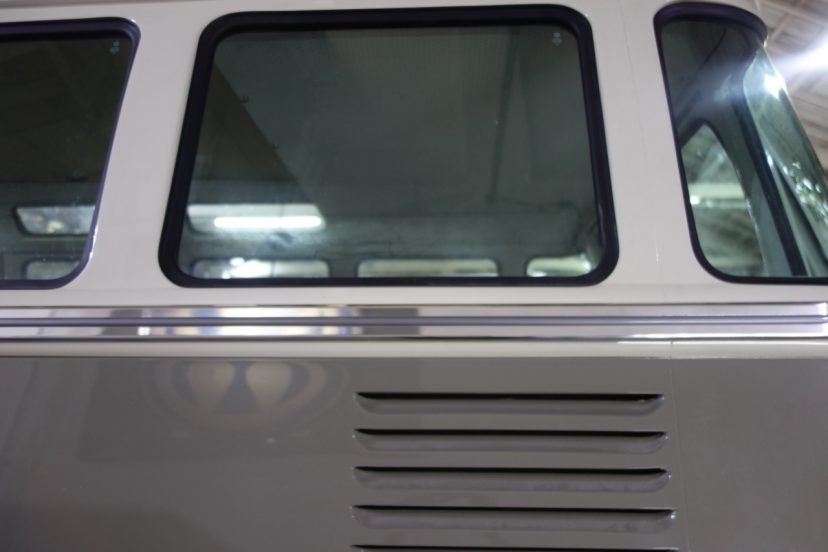
Stage 4: Window Frame Restoration
Probably the trickiest part to restore on a VW Bus, the window frames are no longer in production and therefore must be delicately restored. This requires very steady hands and extensive knowledge of welding so as to not diminish the integrity of the thin sheet metal. In many cases we also use aluminum paste to finish off the work.


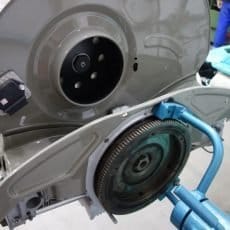
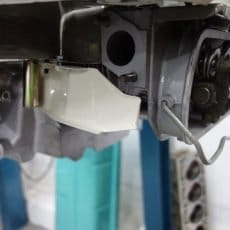
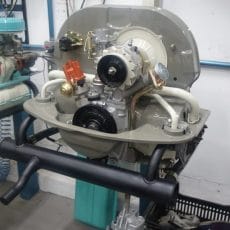
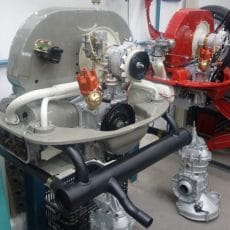
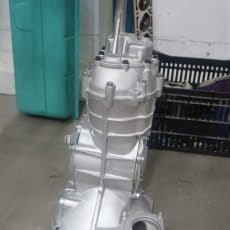
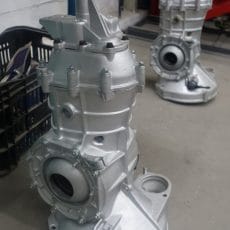
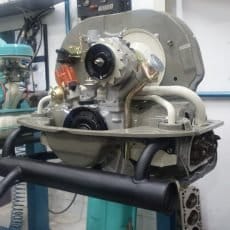
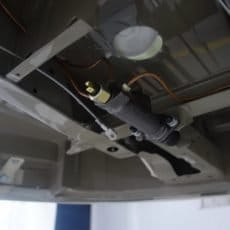
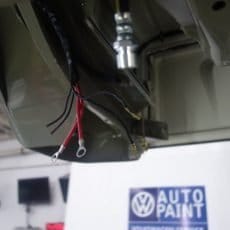
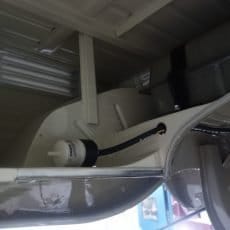
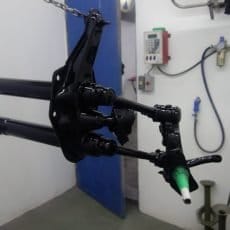
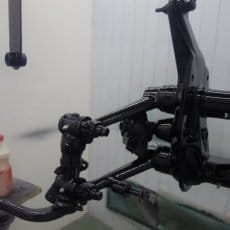
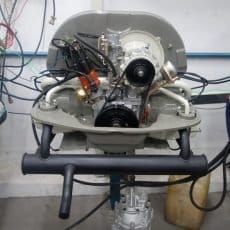
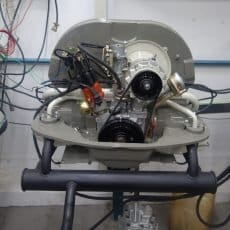
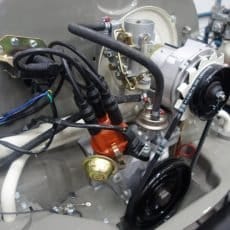
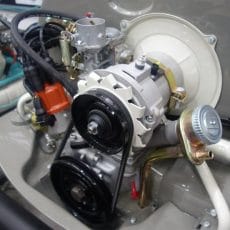
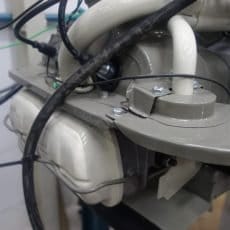
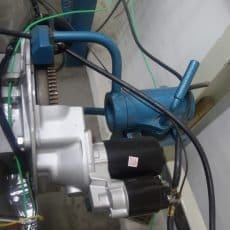
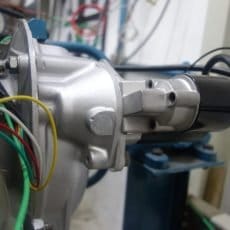
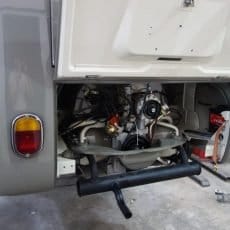
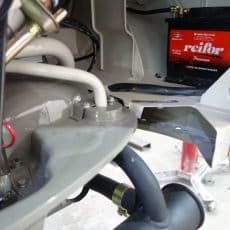
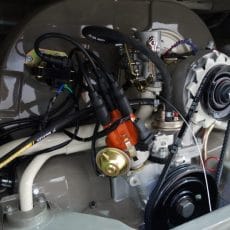
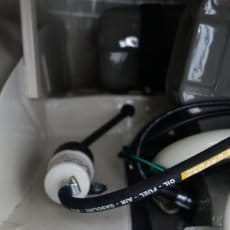
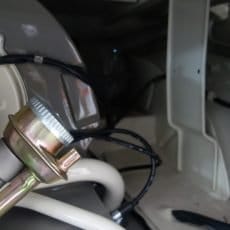
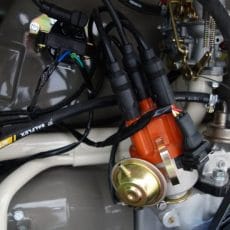
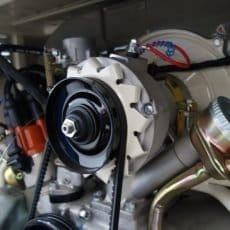
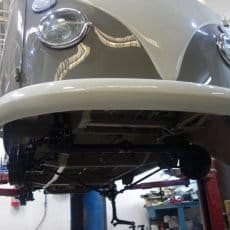
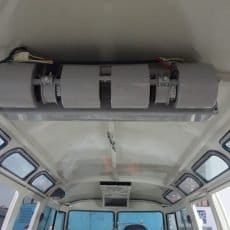
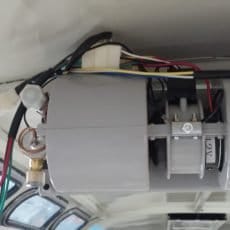
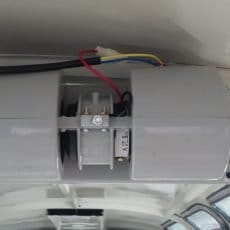
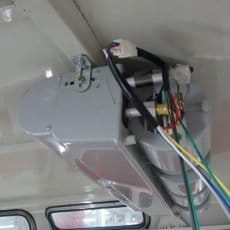
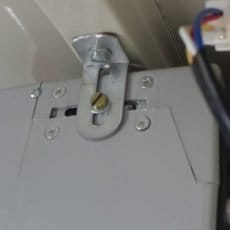
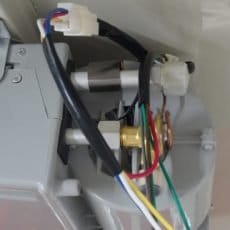
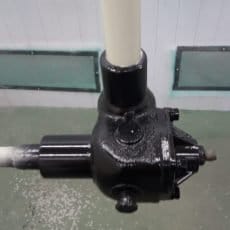
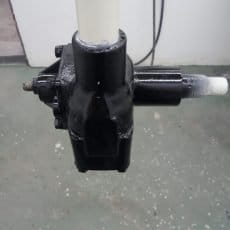
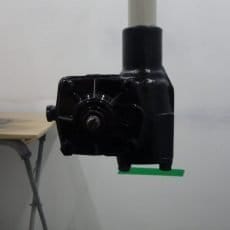
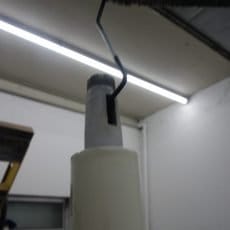
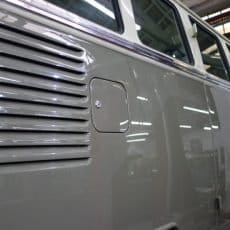
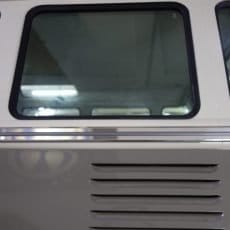
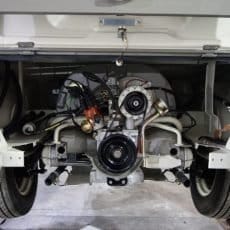
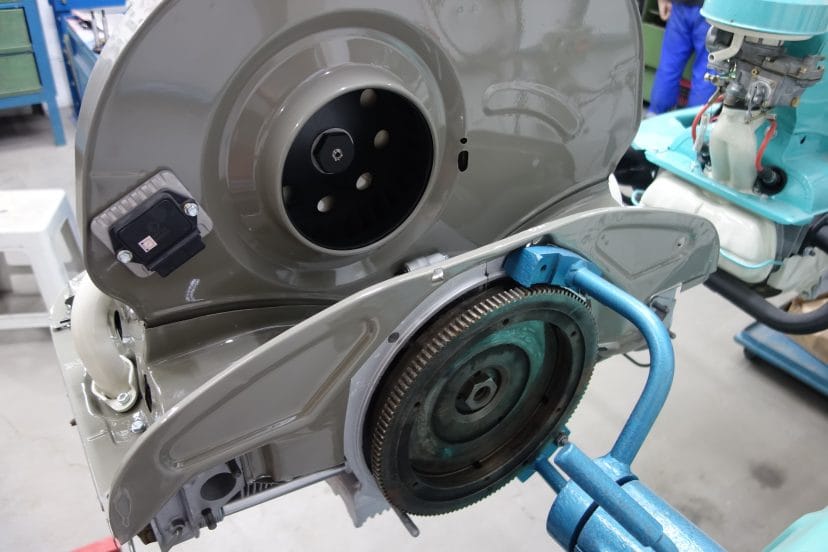
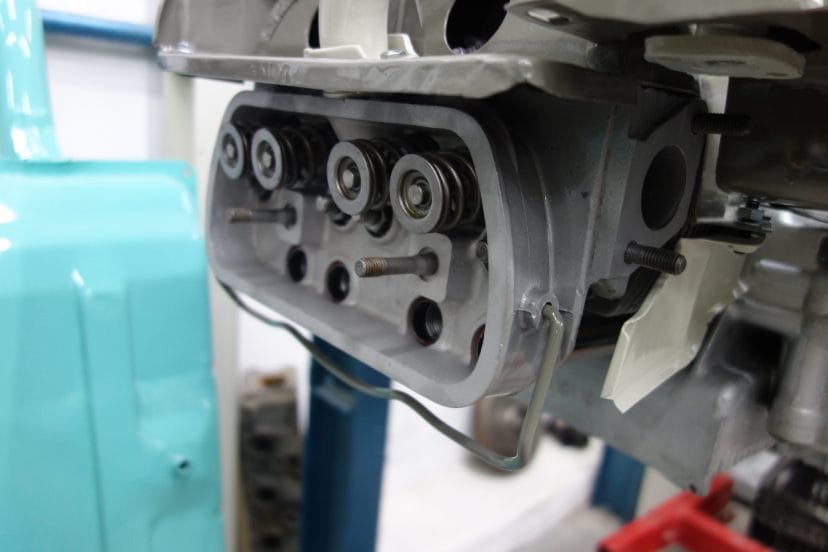
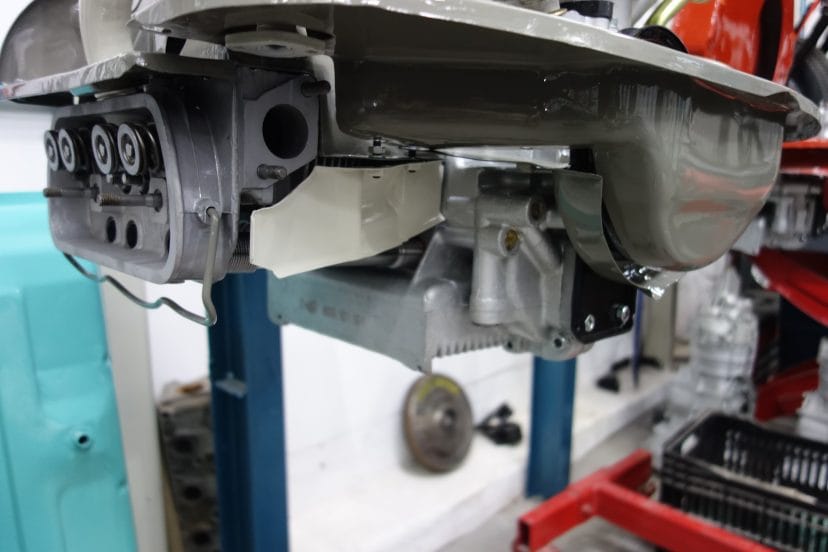
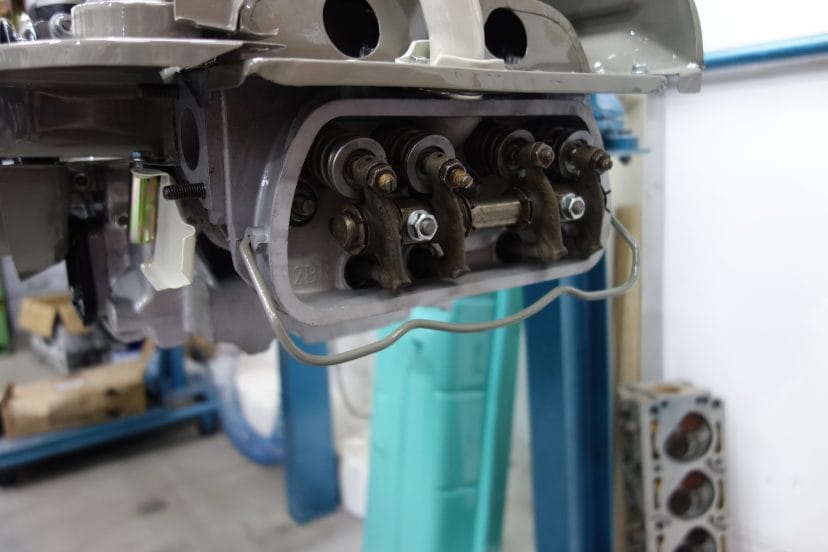
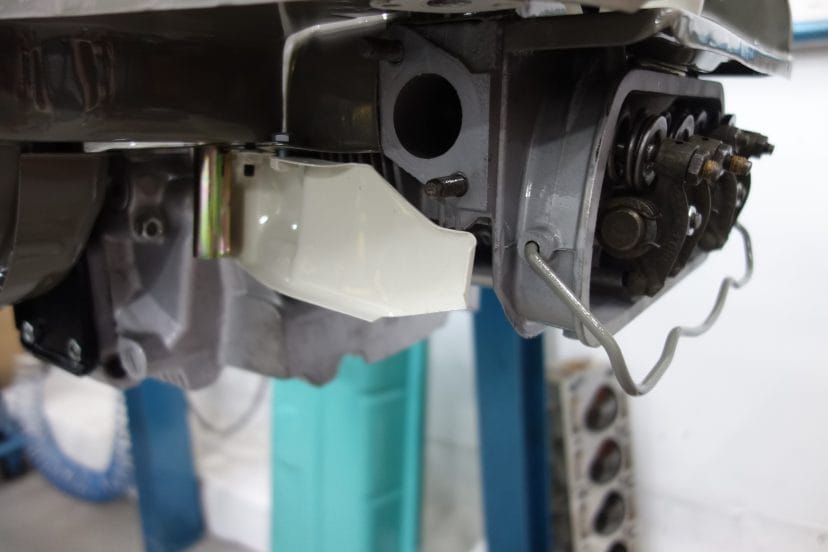
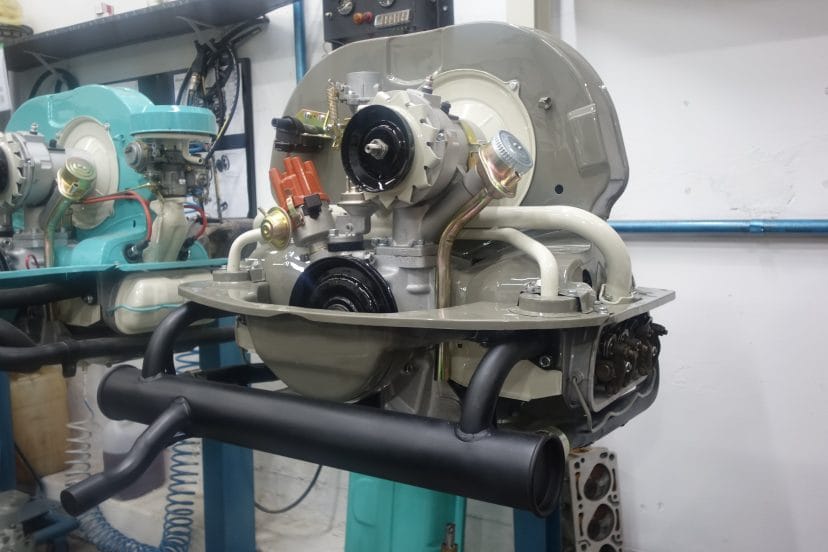
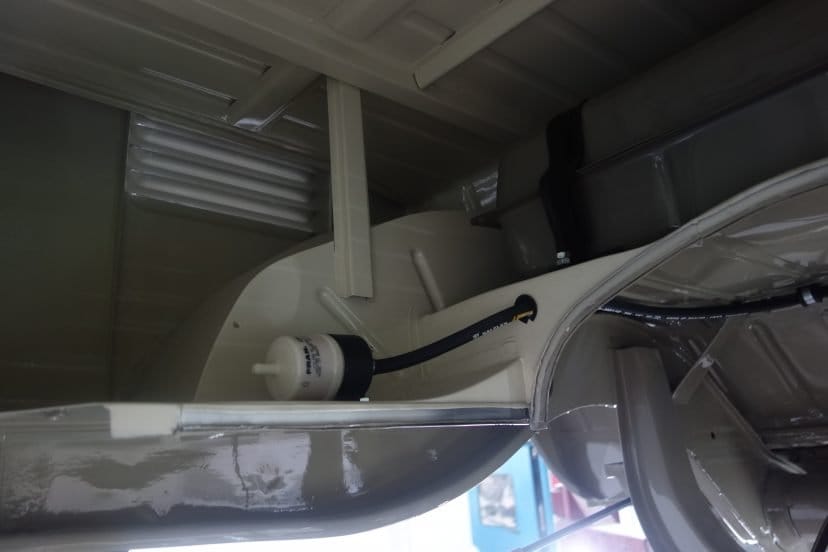
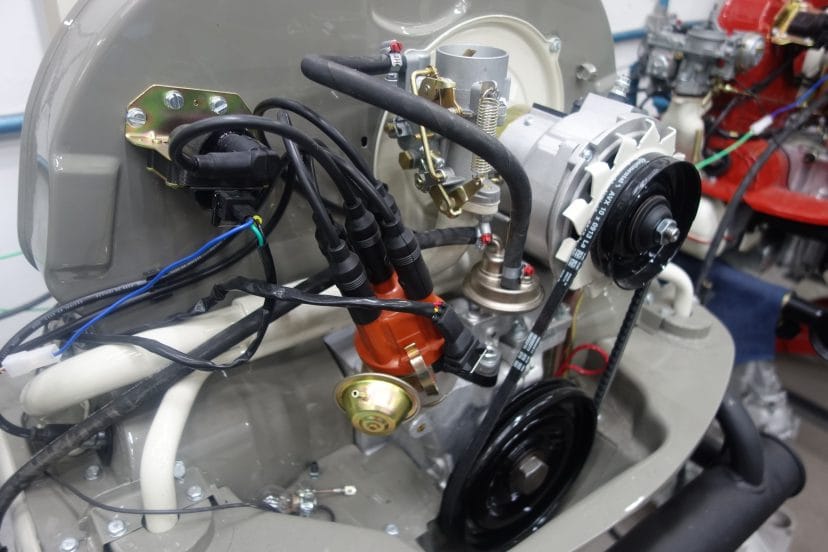
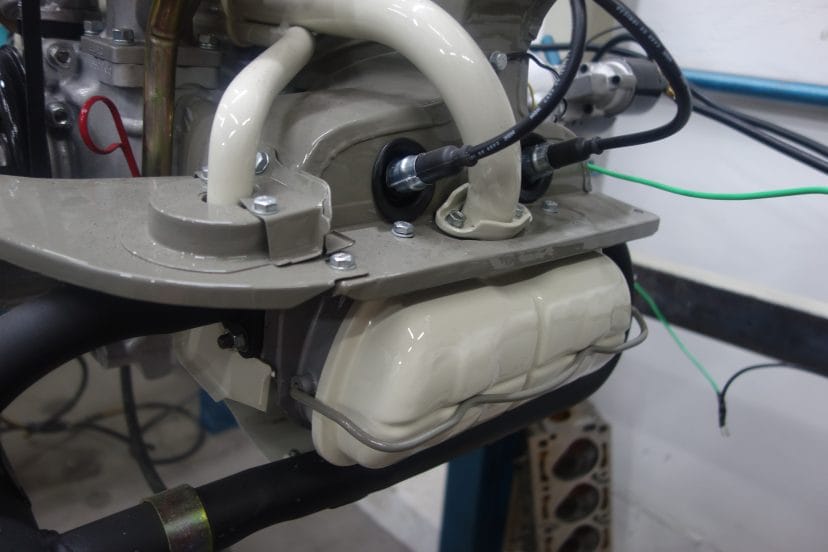
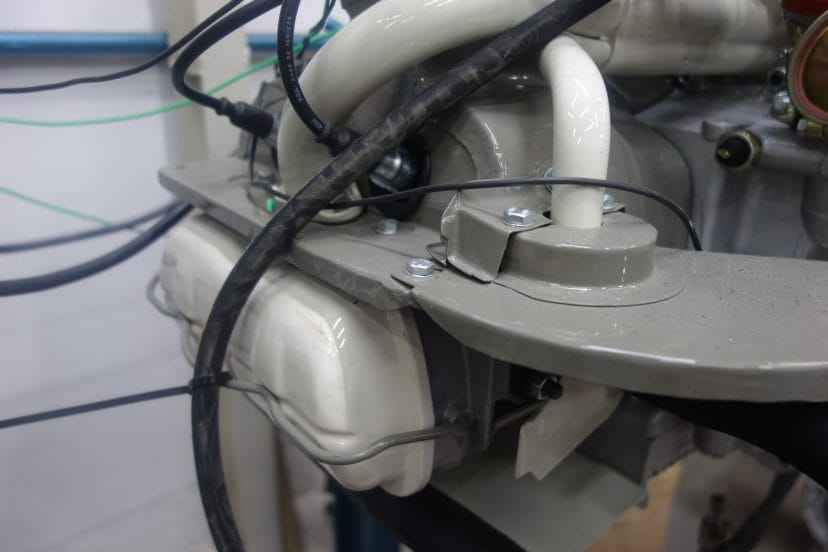
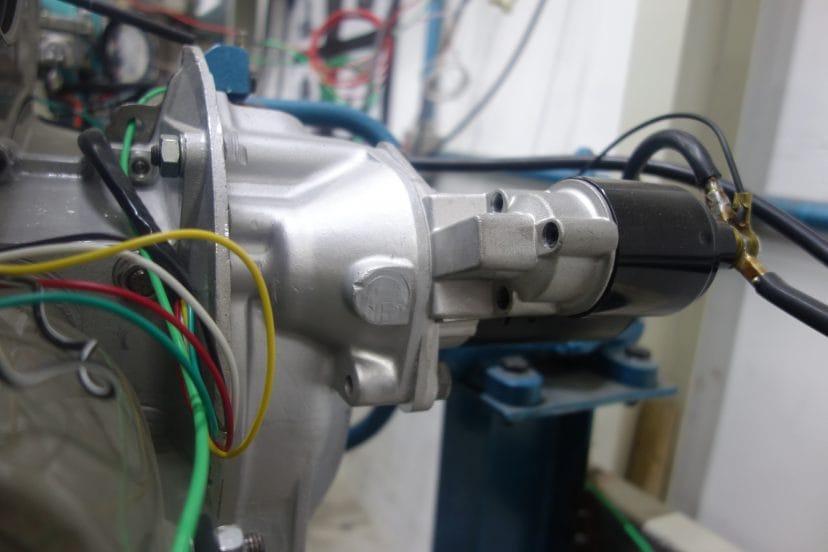
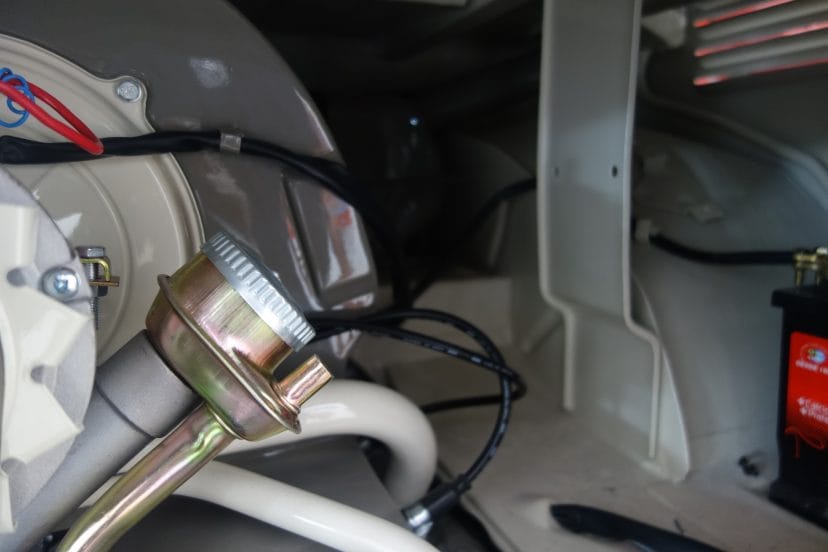
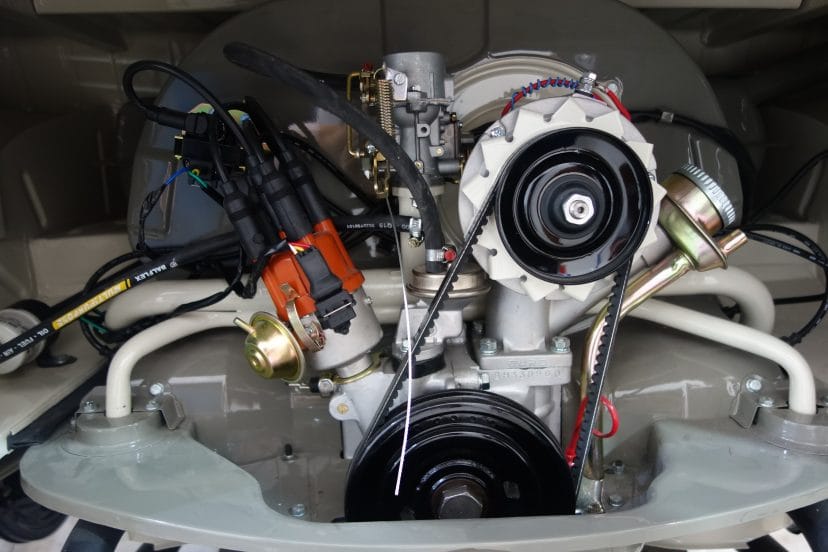
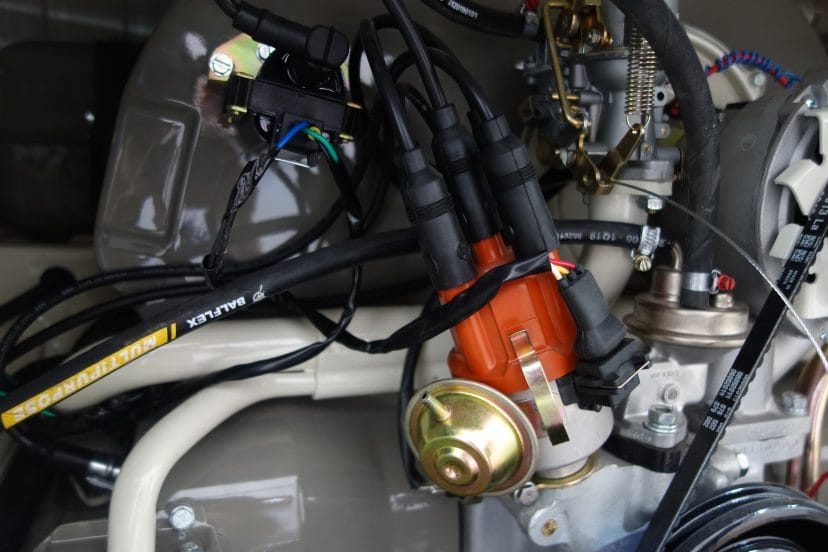
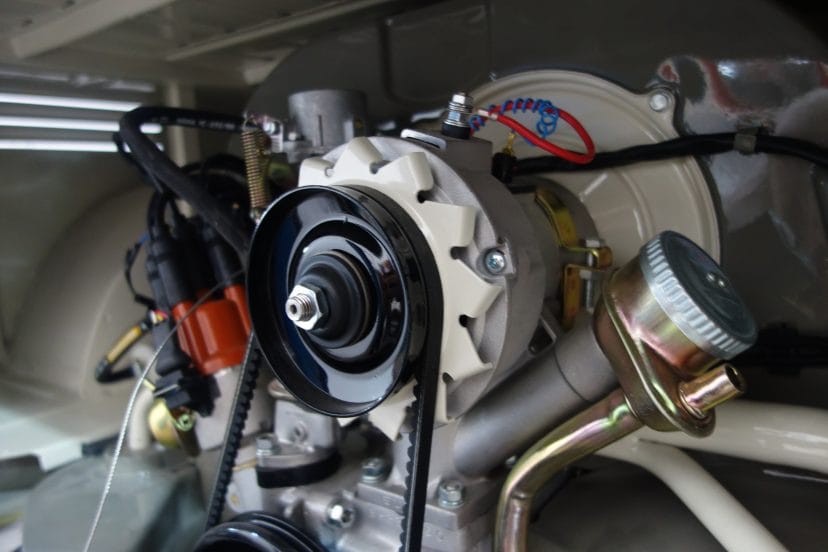
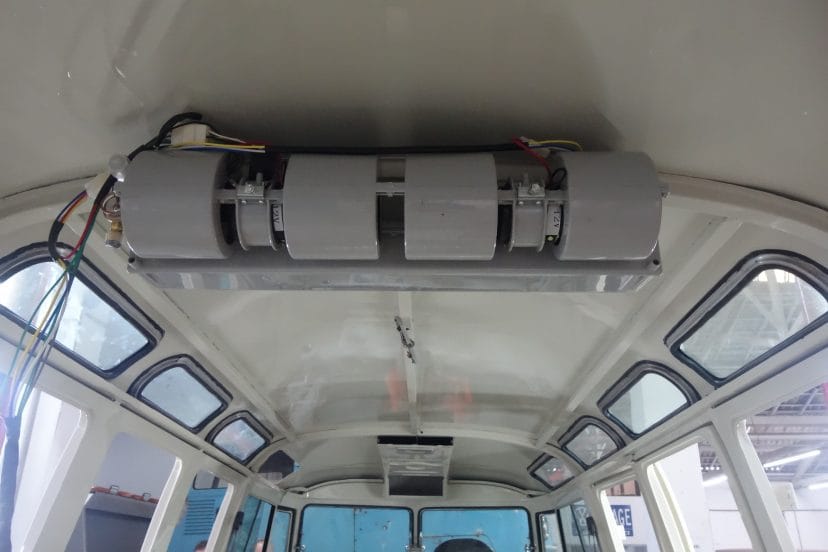
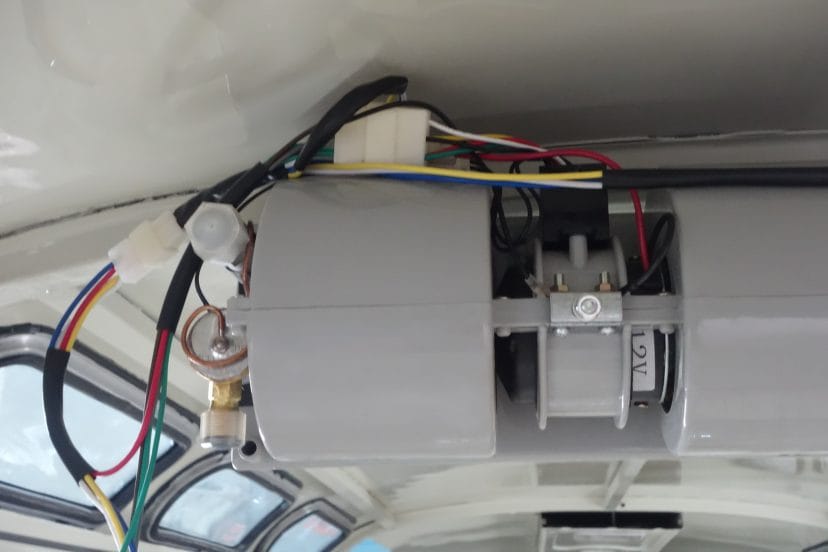
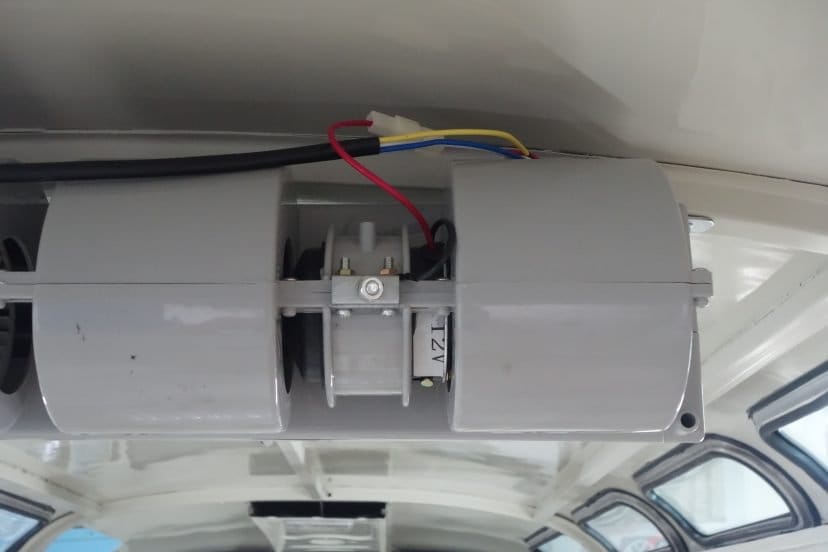
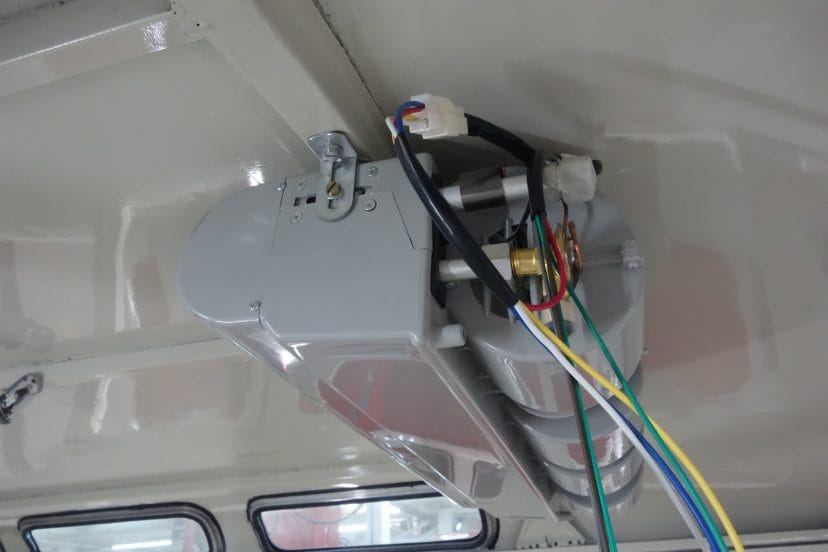
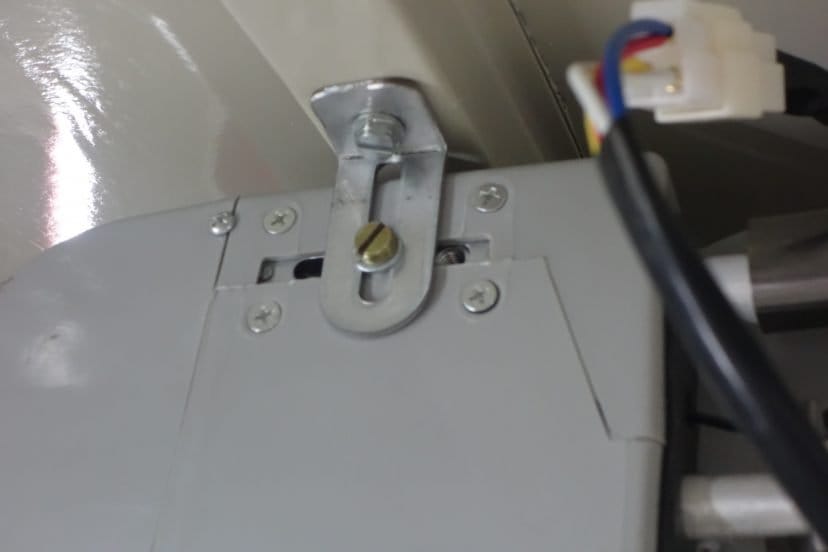
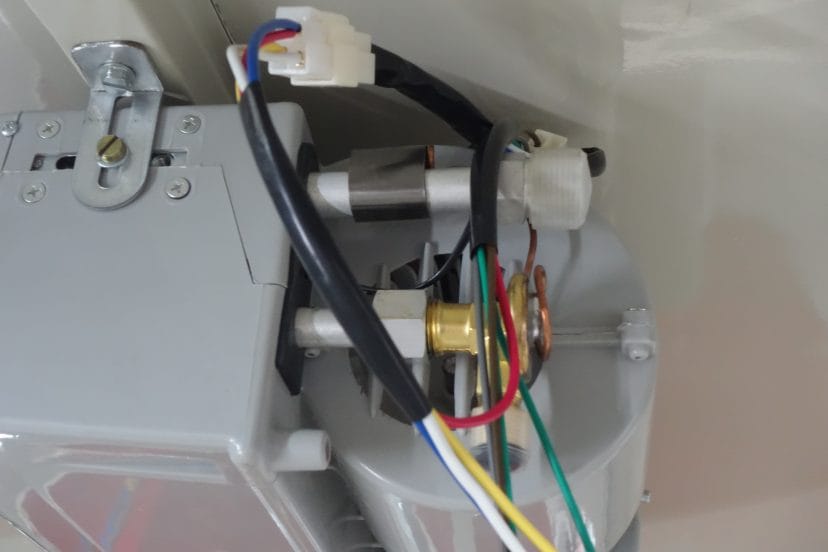
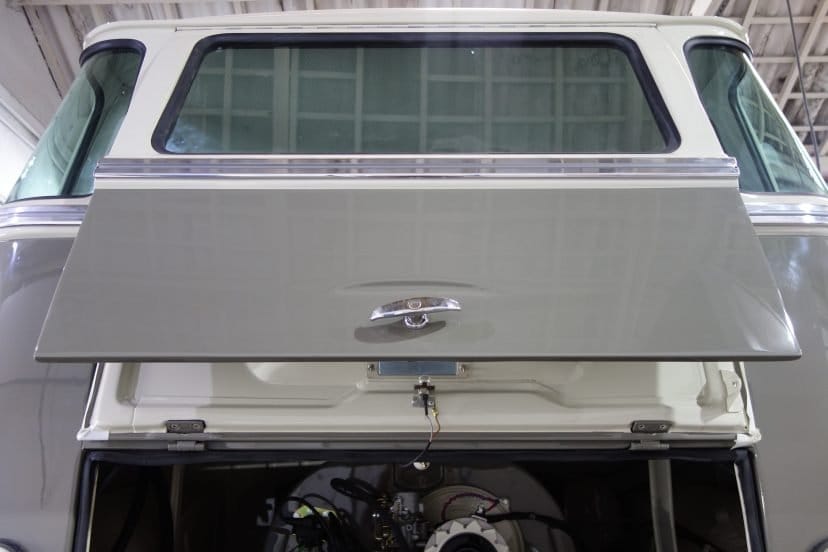
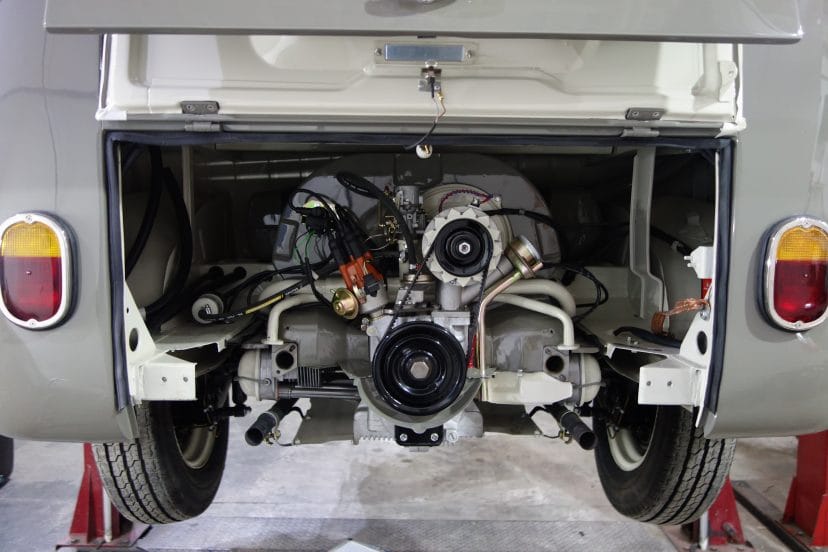
Stage 5: Motor Housing
This section is always in bad shape. Panels are usually rusted right through and need to be replaced. Or the battery acid has eaten through the battery housing as well. We also change the motor and the trunk hatch.


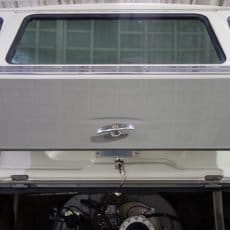
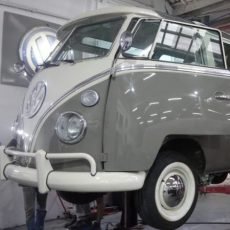
Stage 6: Front panels and floors
Here is another Bus getting completely redone up to the highest standards possible. Every project is different, but quality maintains the same standards no questions asked.


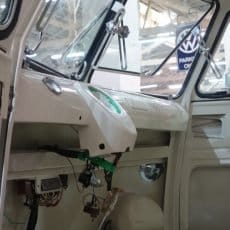
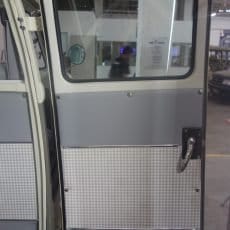
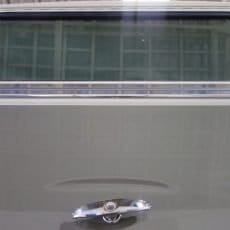
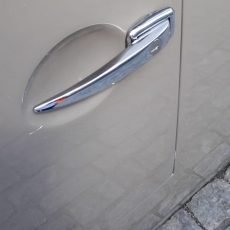
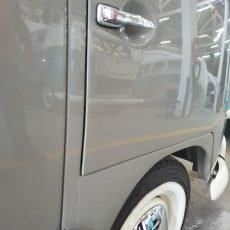
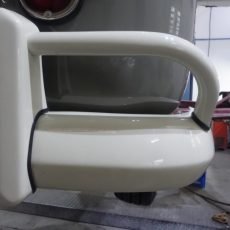
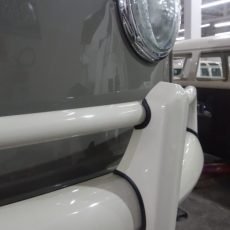
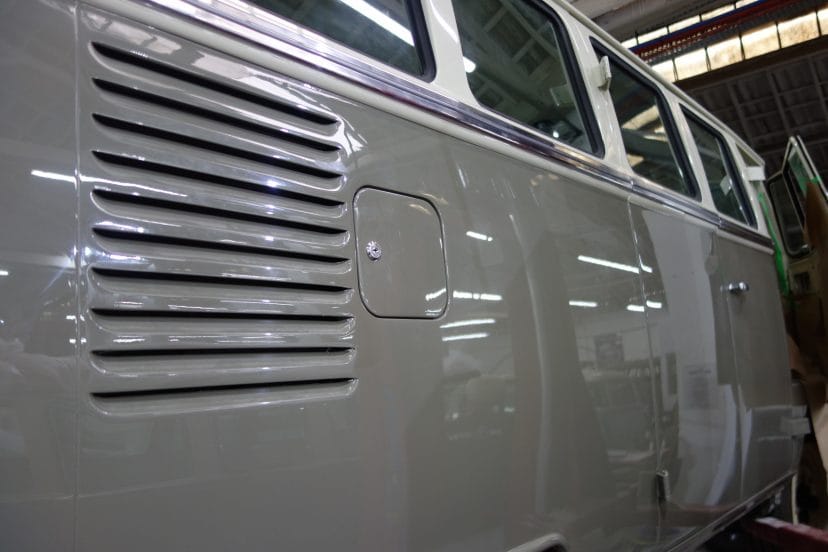
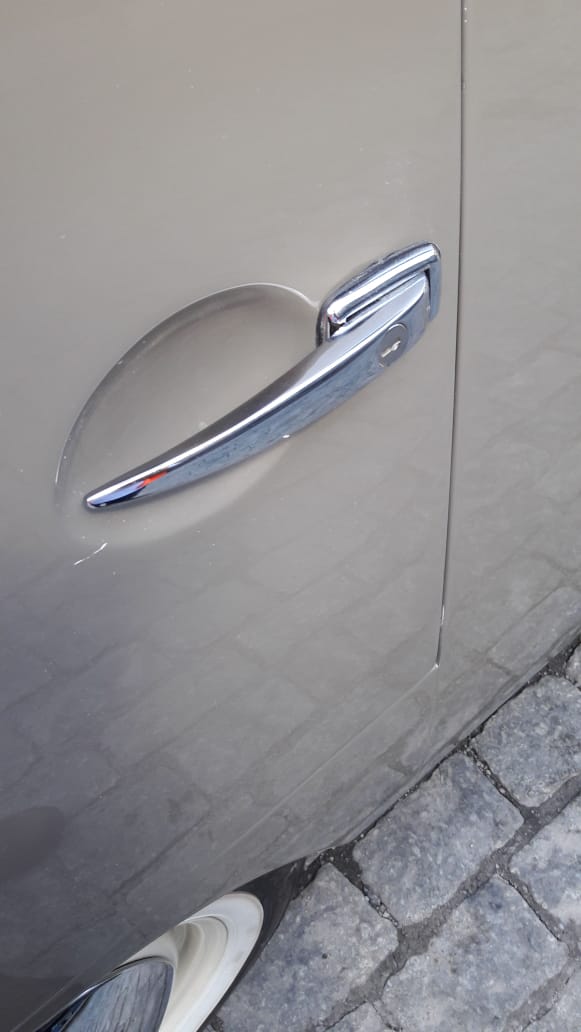
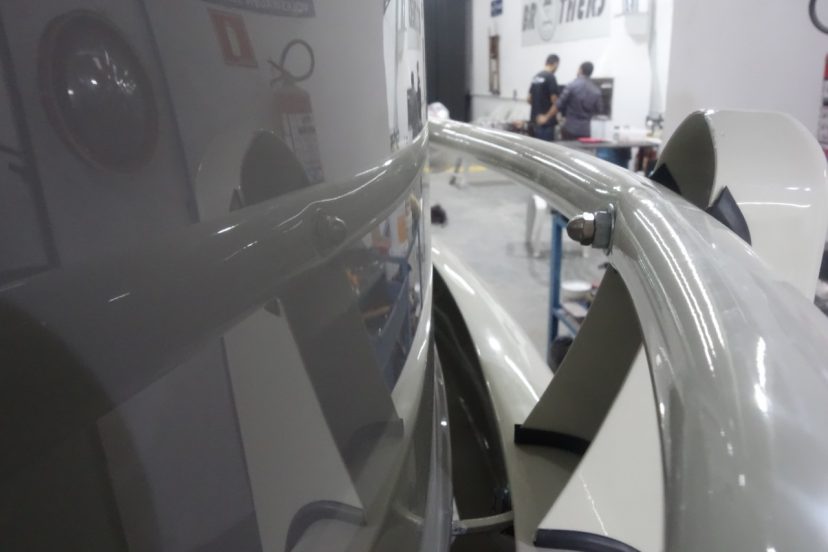
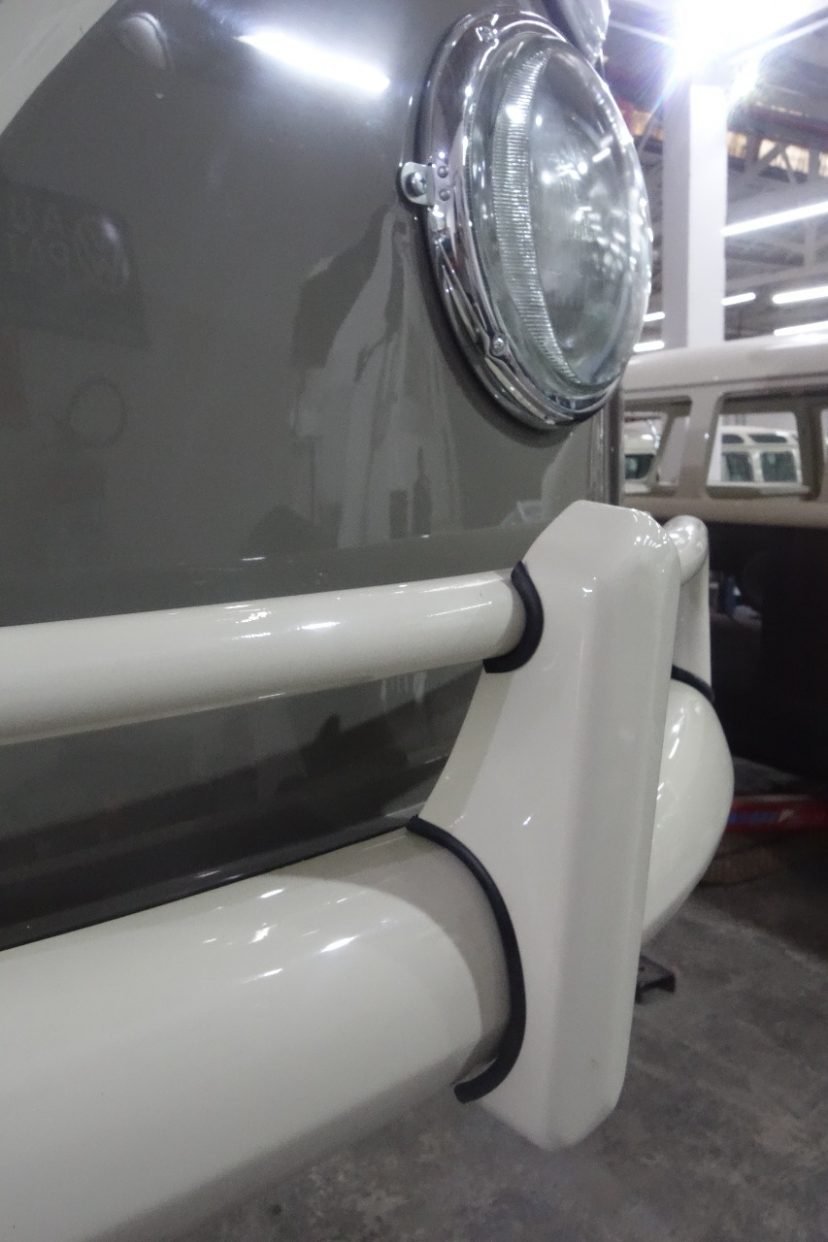
Stage 7: Side Panels and Front Doors
During a reconstruction project we maintain the highest level of quality during the initial metal working phases. As professional restorers we must take care from the very beginning to make sure that during the latter phases we are not left with problems that we can no longer fix unless we start from scratch.


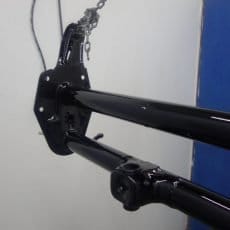
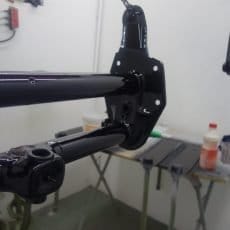
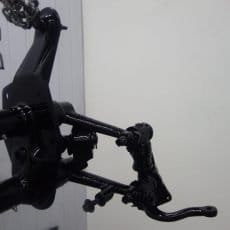
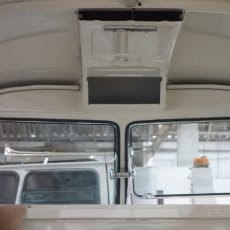
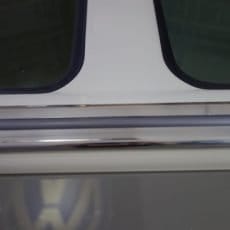
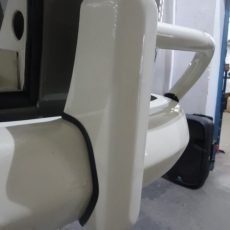
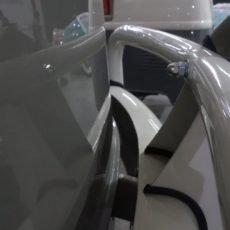
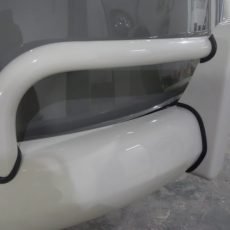
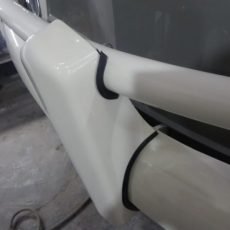
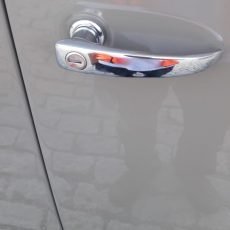
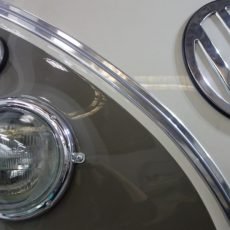
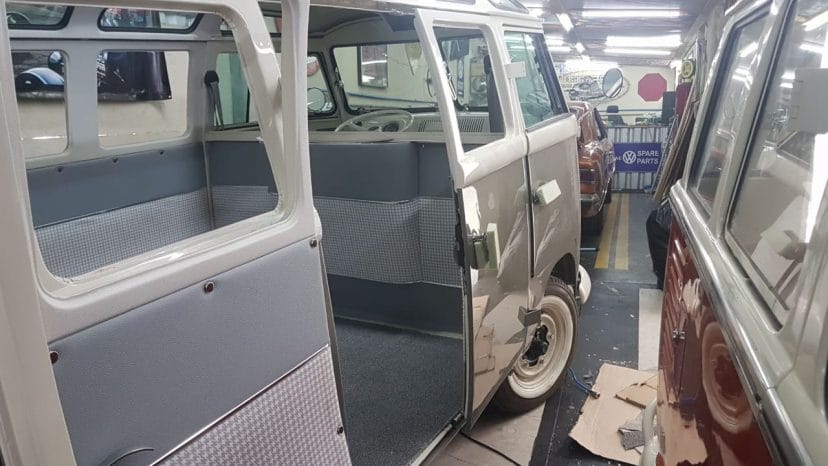
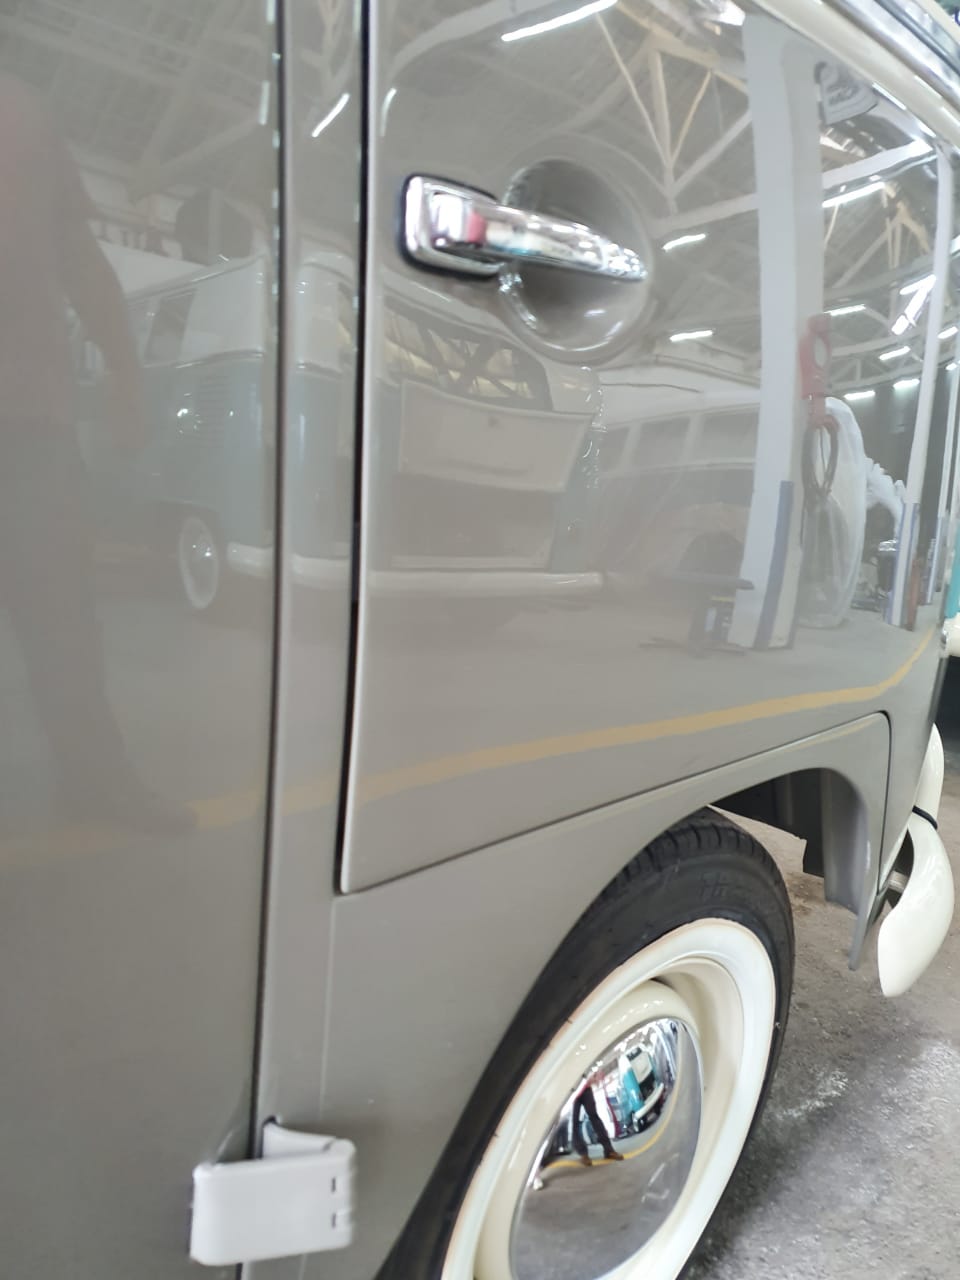
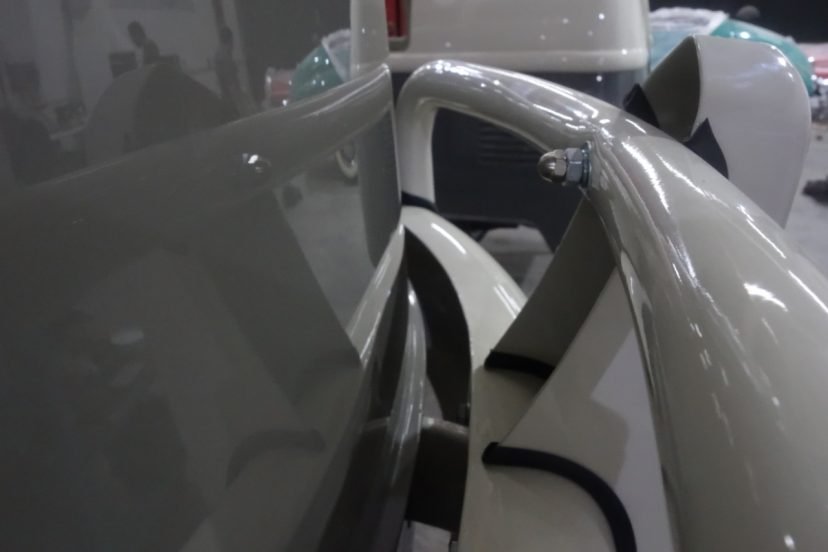
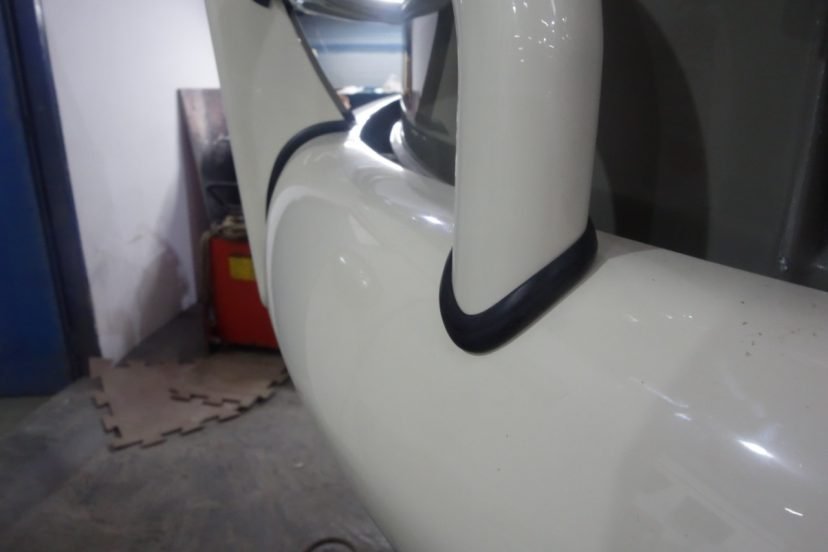
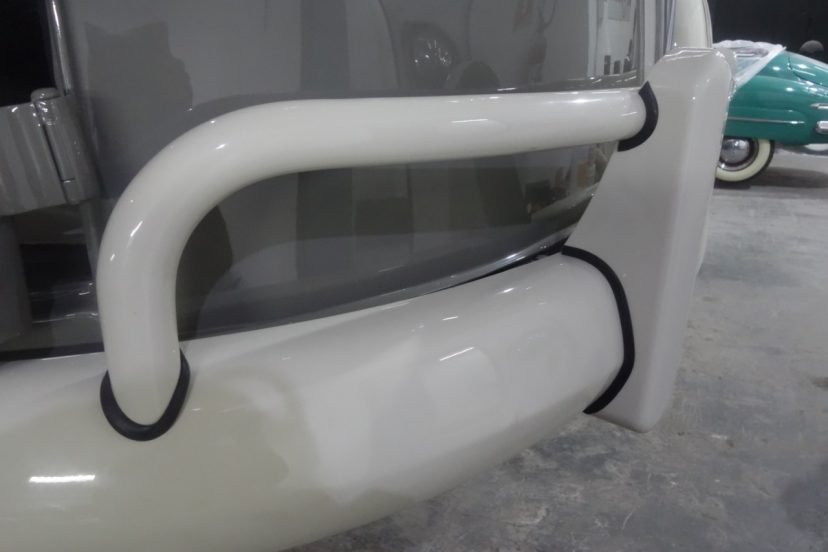
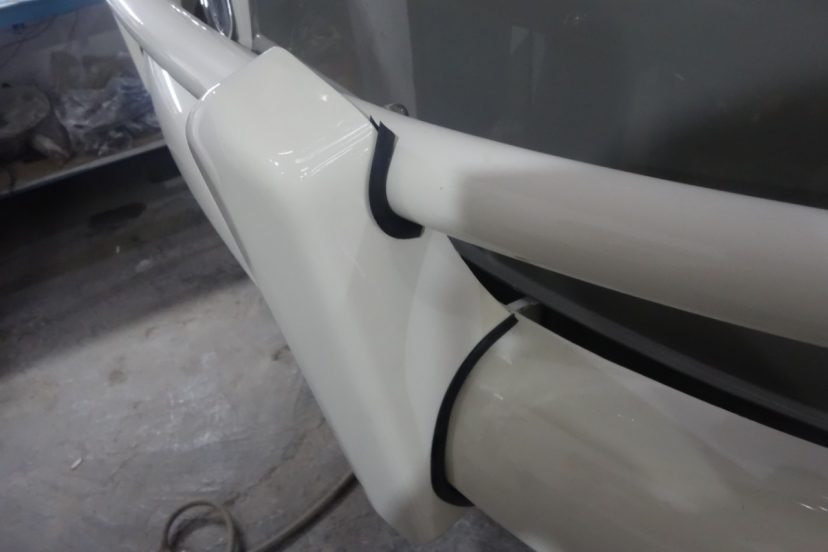
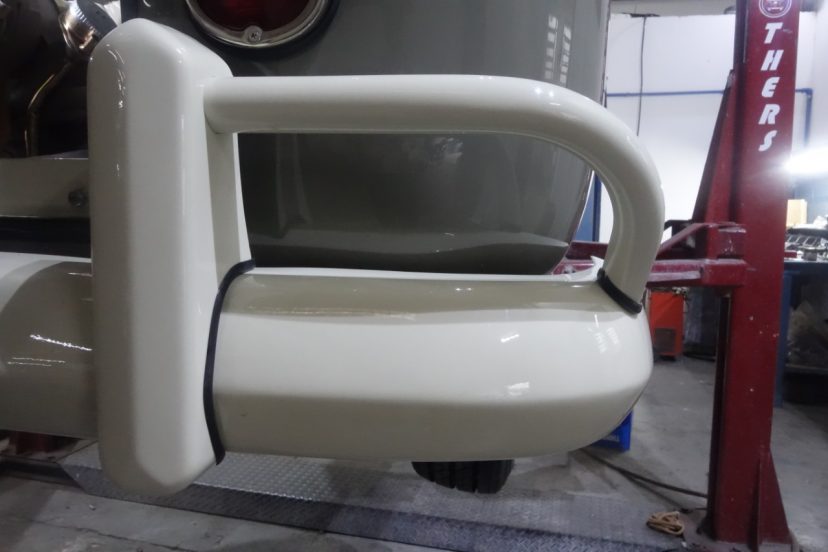
Stage 8: Door and Window Posts
We spend a fair amount of time restoring the door and window posts so they align properly and close firmly and smoothly.


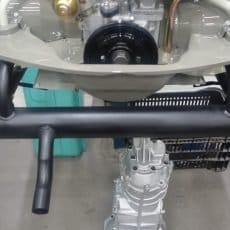
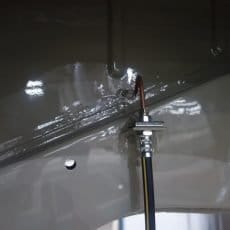
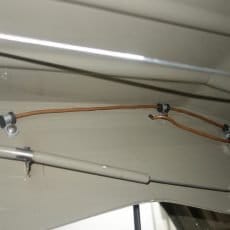
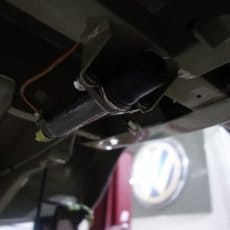
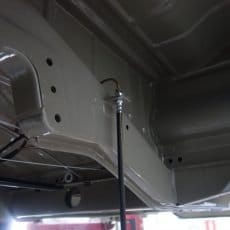
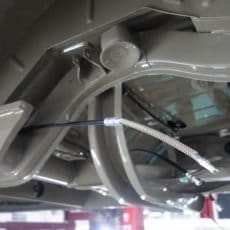
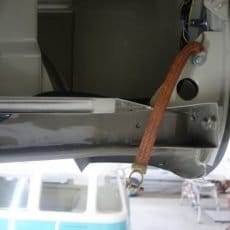
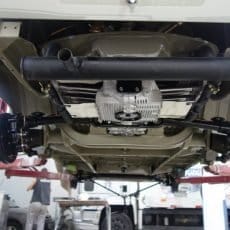
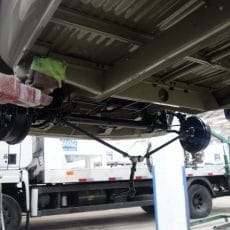
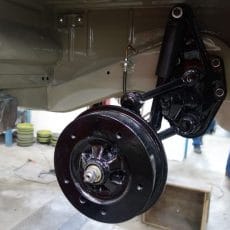
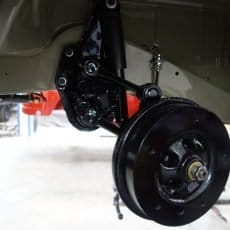
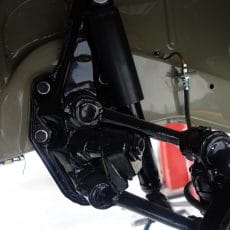
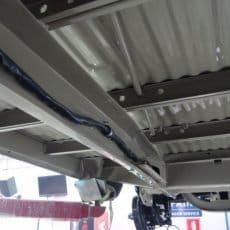
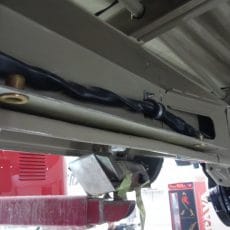
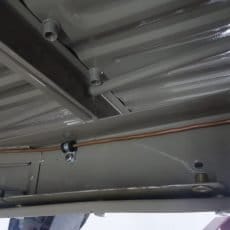
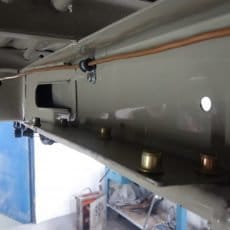
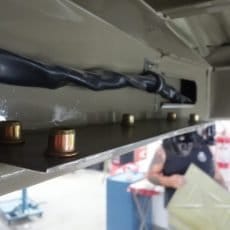
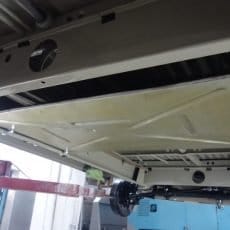
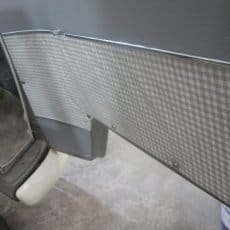
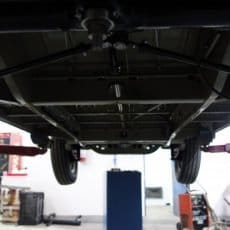
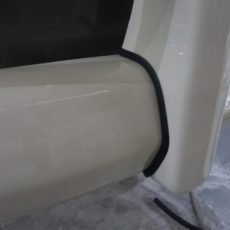
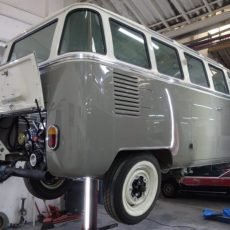
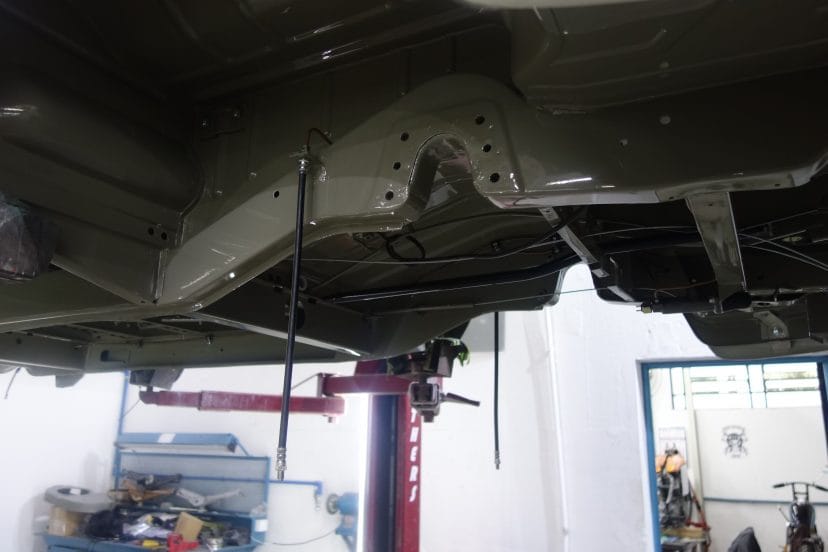
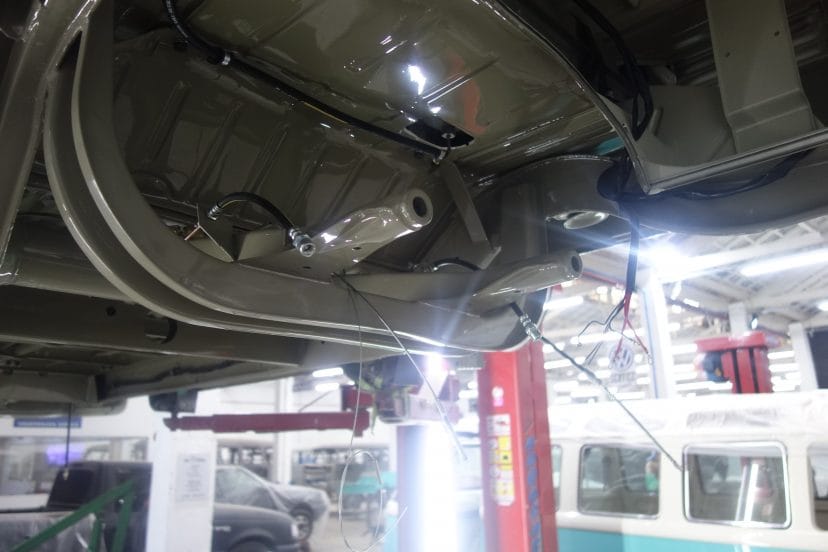
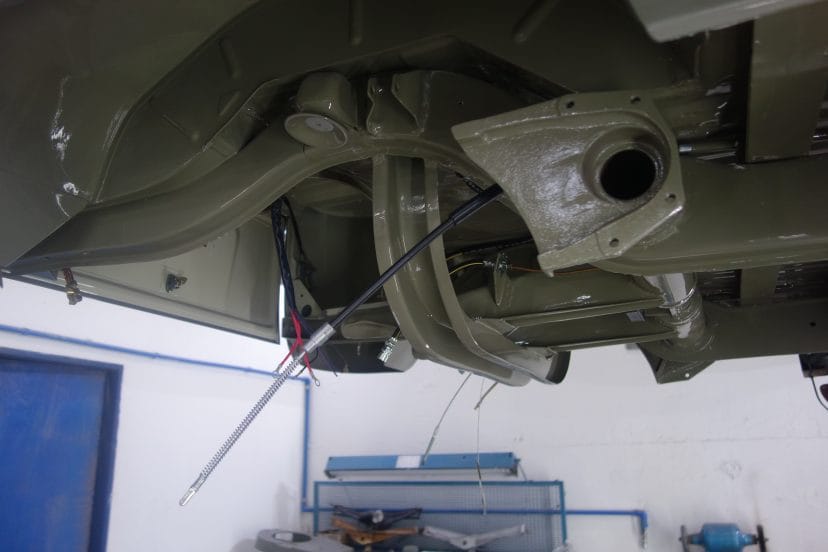
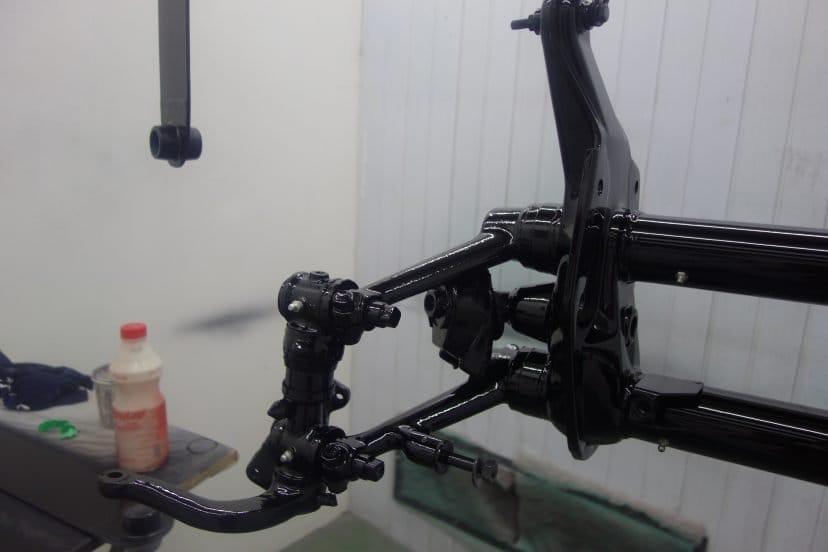
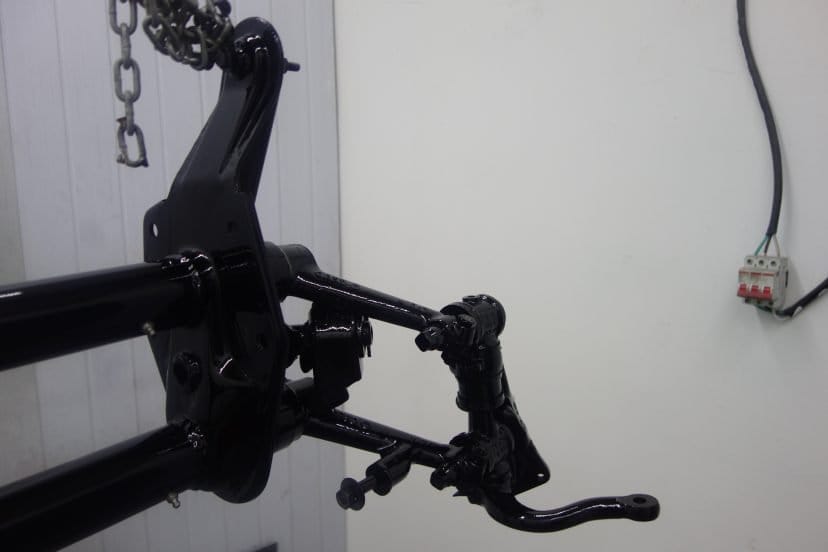
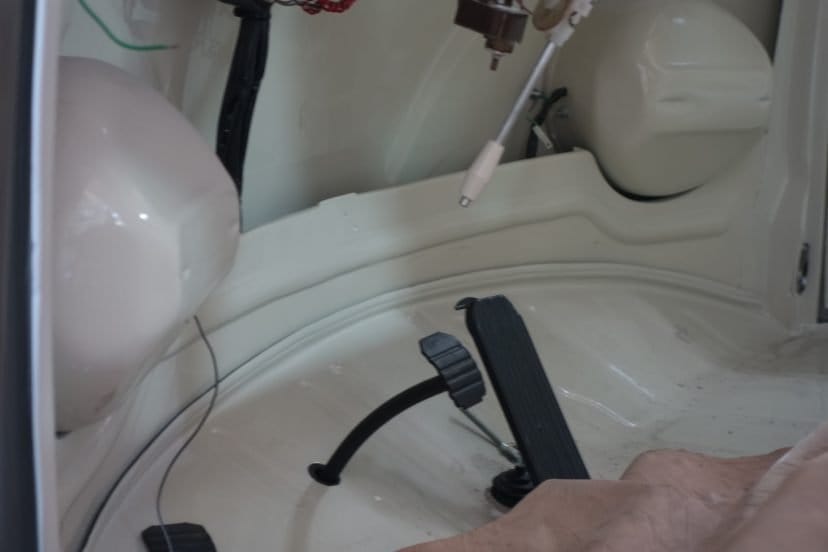
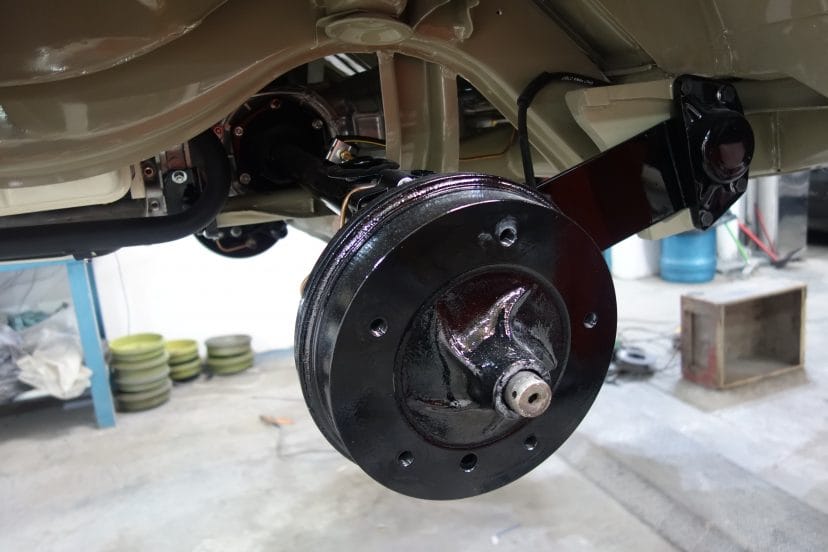
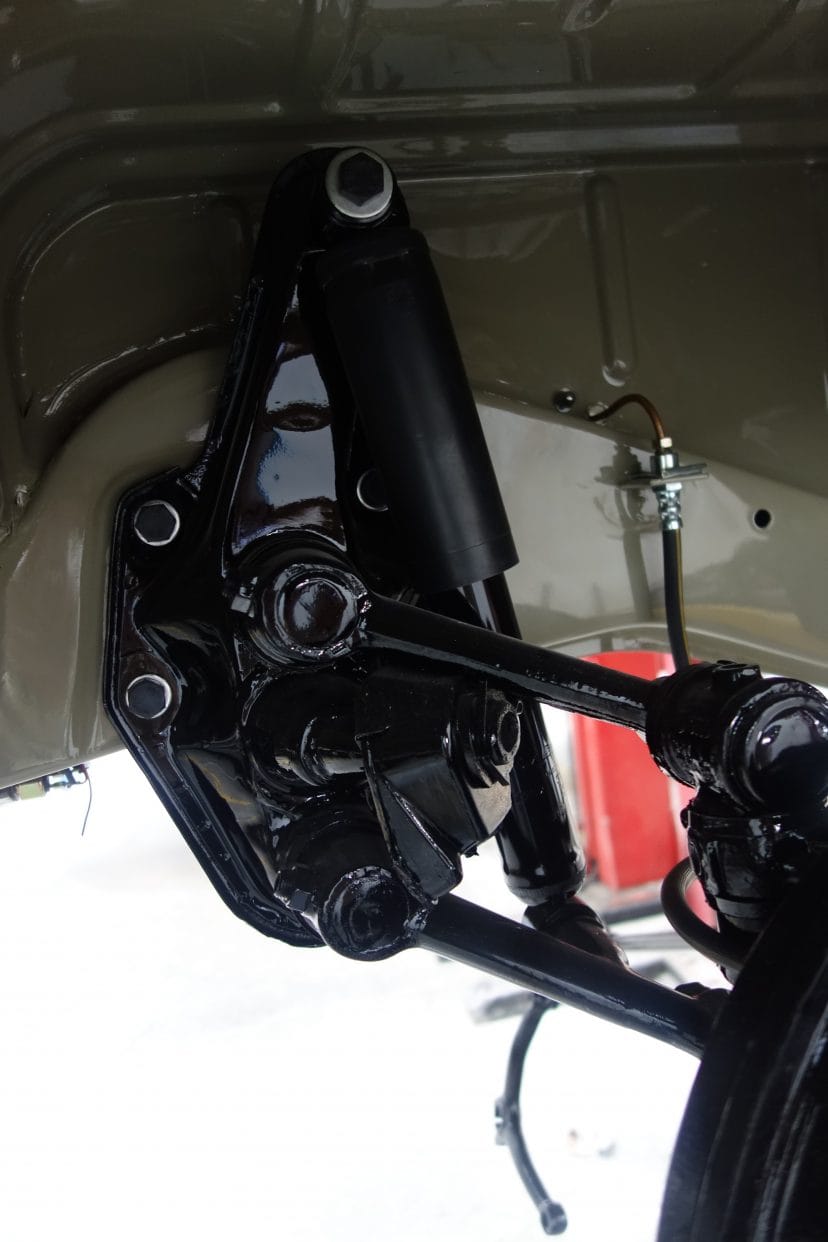
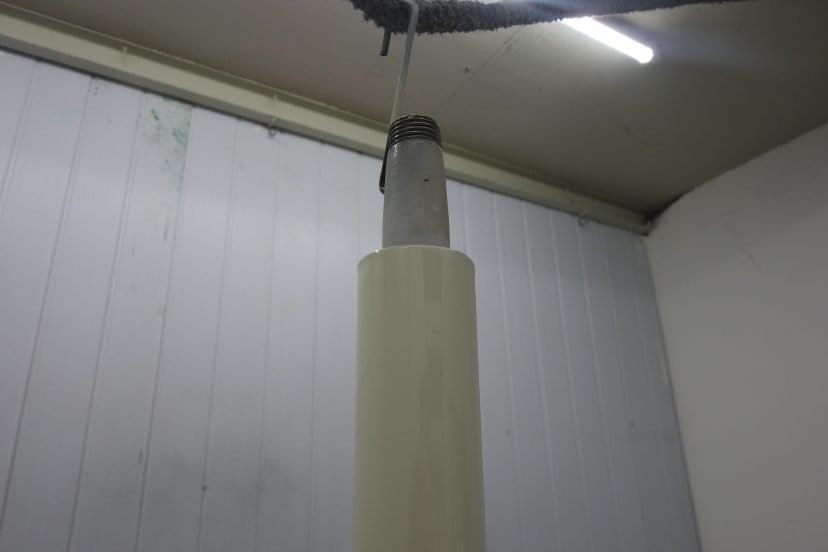
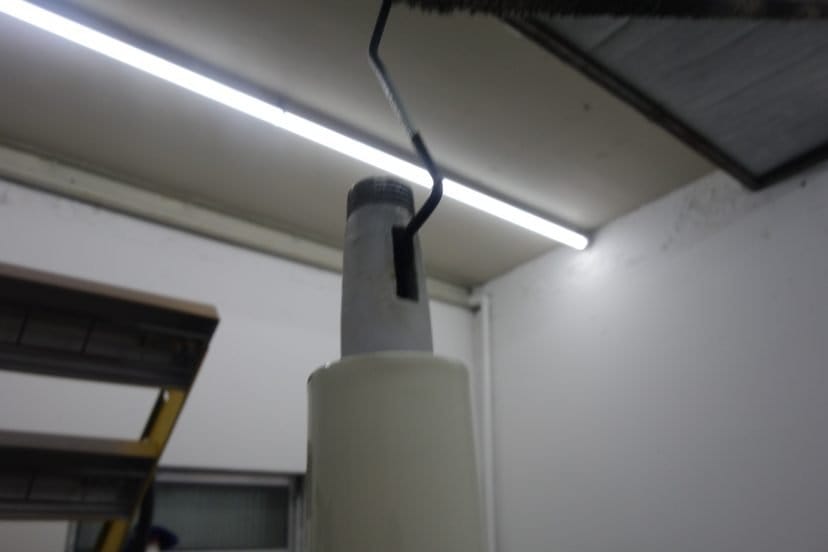
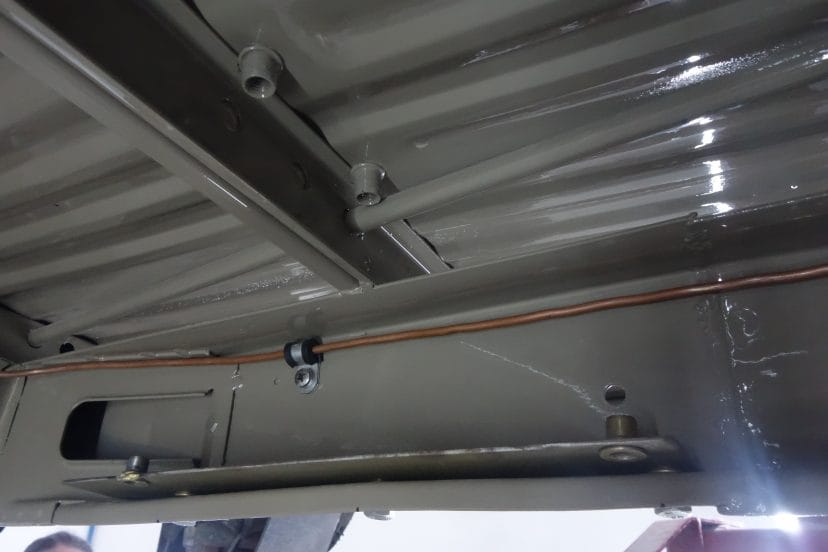
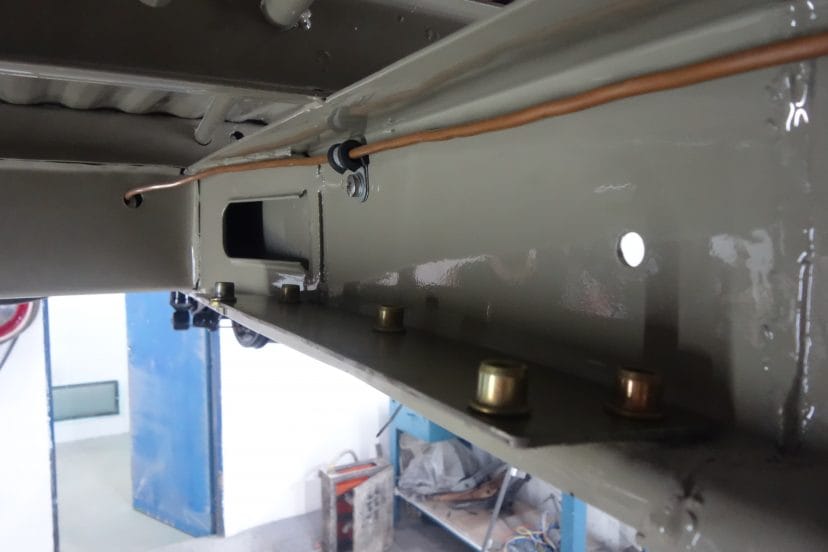
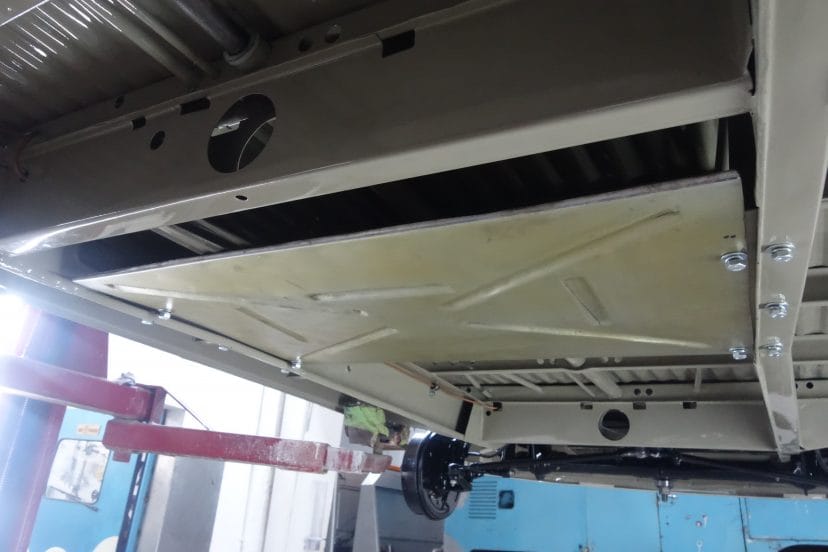
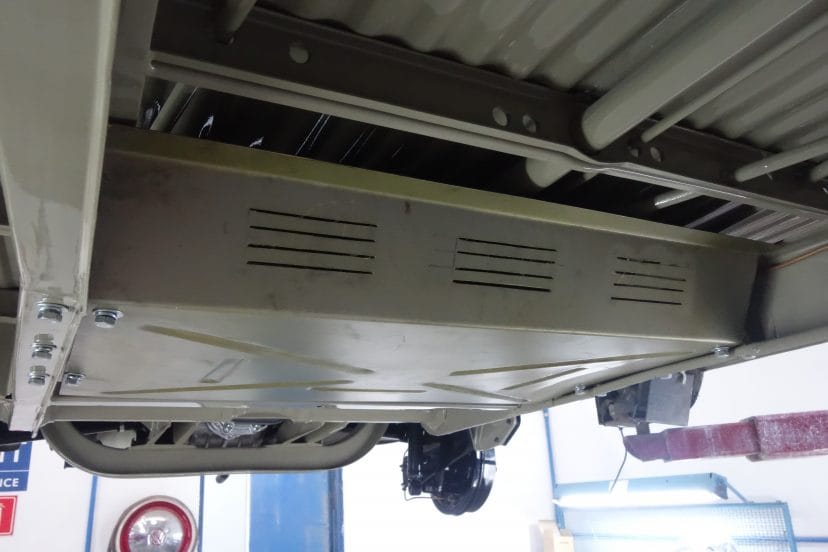
Stage 9: Underside Finishing
The “Rotisserie” is a great tool to facilitate metal work. Workers have access to areas they otherwise would not be able to work on at a comfortable angle. After taking care of all the intricate tasks we mount the Bus in the double loop to seal the underside with weatherstripping and finish metal work on the undercarriage before painting.


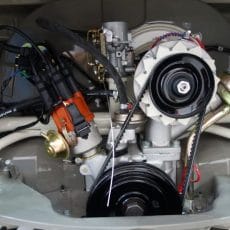
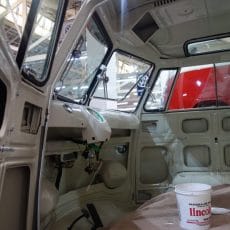
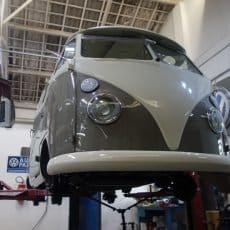
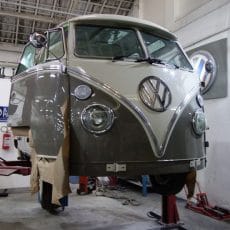
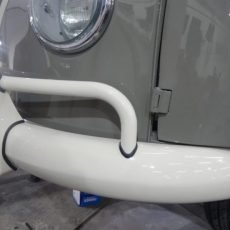
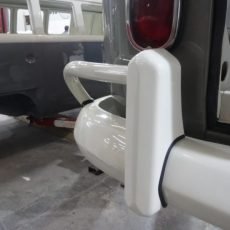
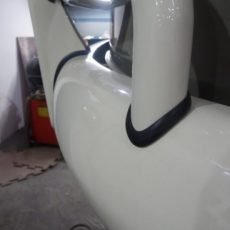
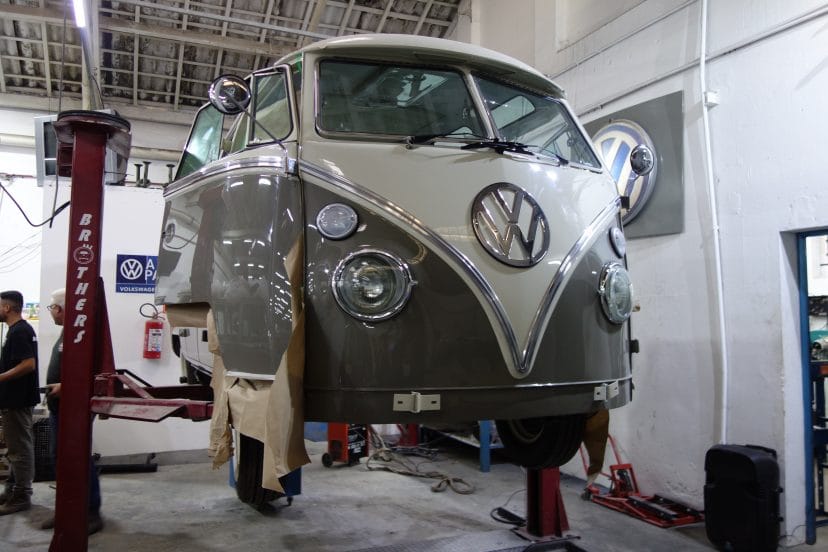
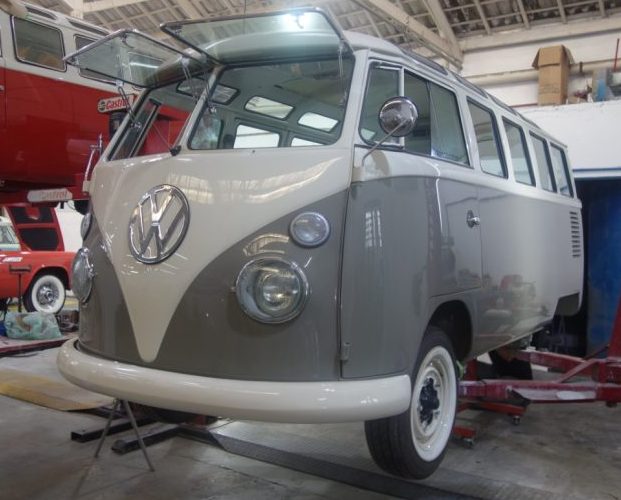
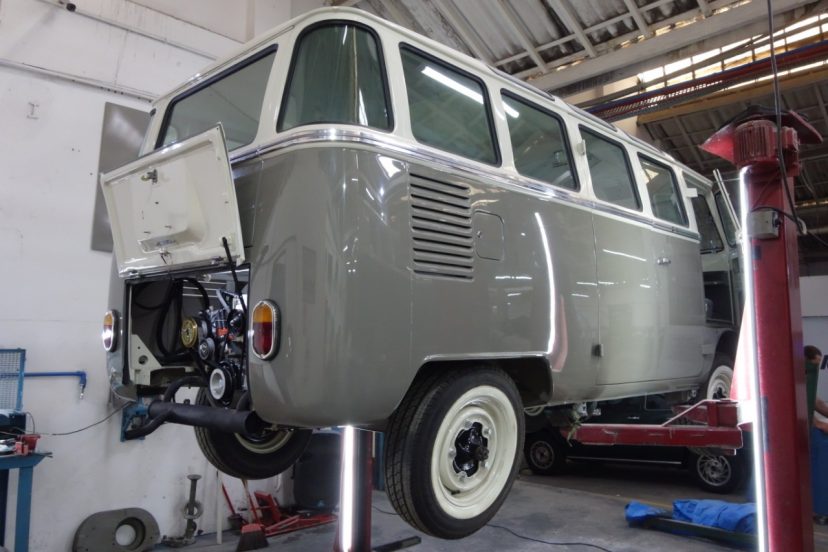
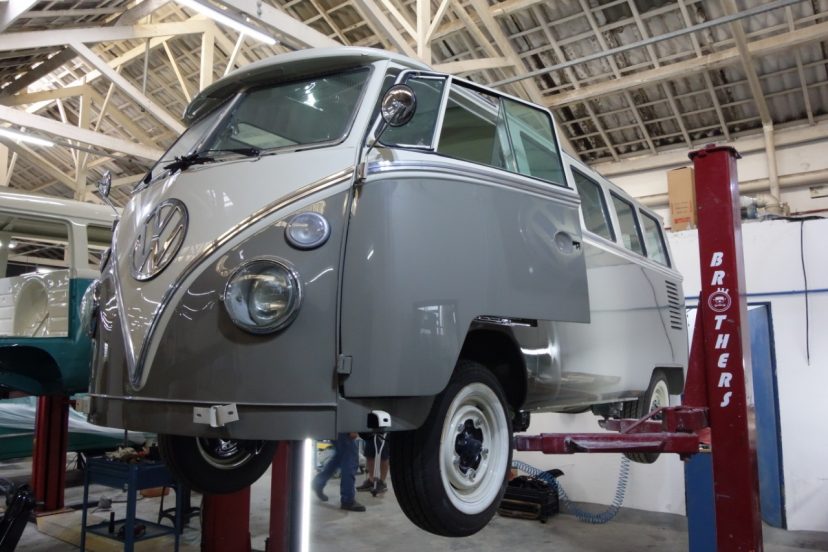
Stage 10: Paint Preparation
After the intricate hard metal work this T1 enters into the paint preparation phase. we apply a wash-primer to the bus and apply a very thin coat of polyester filler to smooth the metal surface an provide a perfectly straight surface for painting.


