
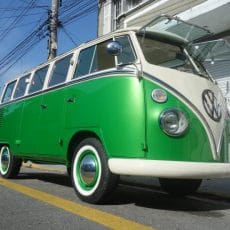
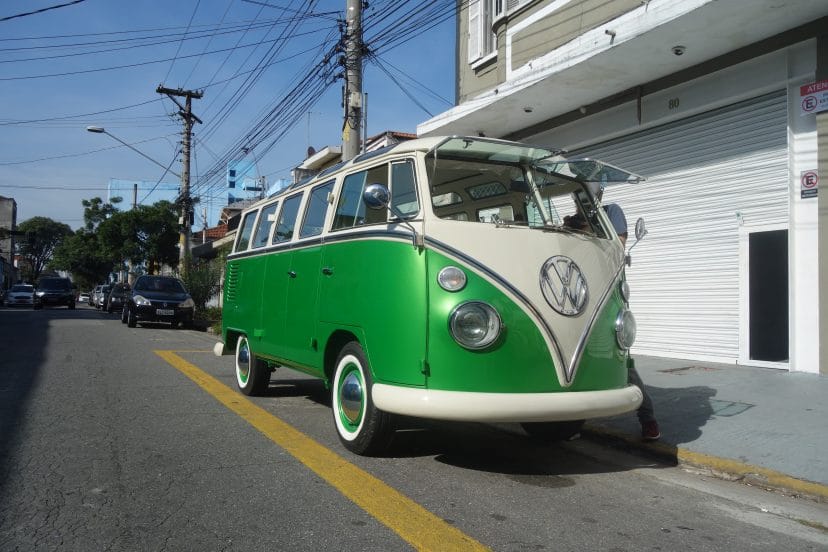
Watch this Samba bus take shape through our extensive photo documentation. We completely restored this T1 Bus and exported it to Switzerland, where it passed the MFK.
- Stage 1: Stripping
- Stage 2: Wheel arches
- Stage 3: Window frames
- Stage 4: Floors and undercarriage
- Stage 5: Side panels
- Stage 6: Doors and hinges
- Stage 7: Side motor housing
- Stage 8: Front panels
- Stage 9: Roof openings and paint preparation
- Stage 10: Painting
- Stage 11: Mechanical (Video)
- Stage 12: Innovations
- Stage 13: Finished Interior
- Stage 14: Finished Exterior (Video)
- Stage 15: Arrival in Switzerland
Stage 1: Stripping
Another Bus is getting stripped and ready for a complete makeover. As always the upper layer of paint is sandblasted to nothingness along with any other layers of plaster that random farmers probably applied to cover up dents and scrapes over the years.


Stage 2: Wheel arches
Here the wheel arches are changed out with new ones. We do this because we can and there is an abundance of these spare parts still available on the market.


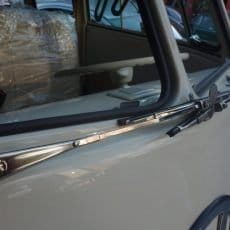
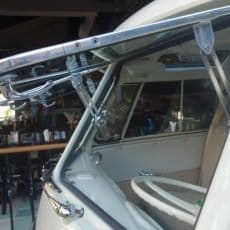
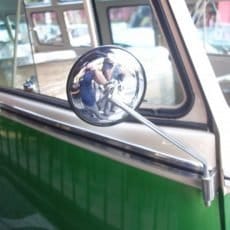
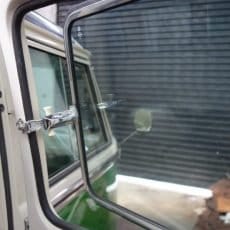
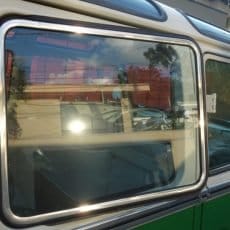
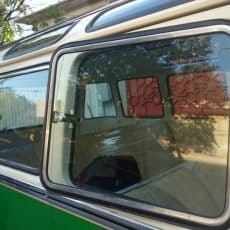
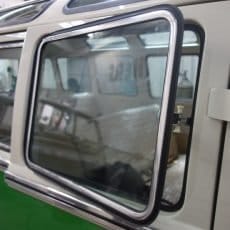
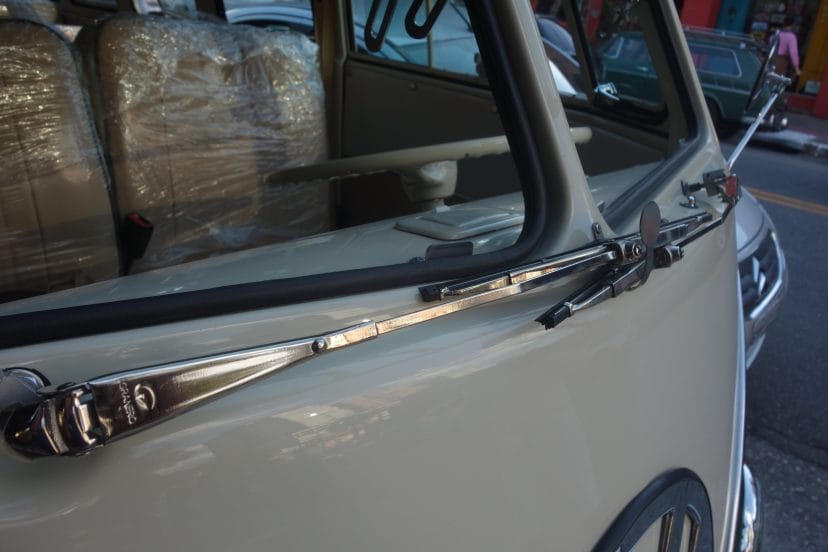
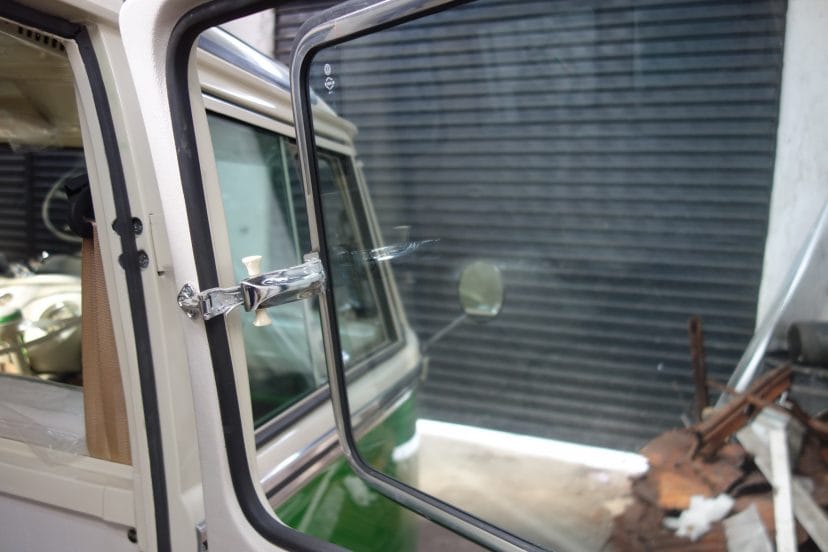
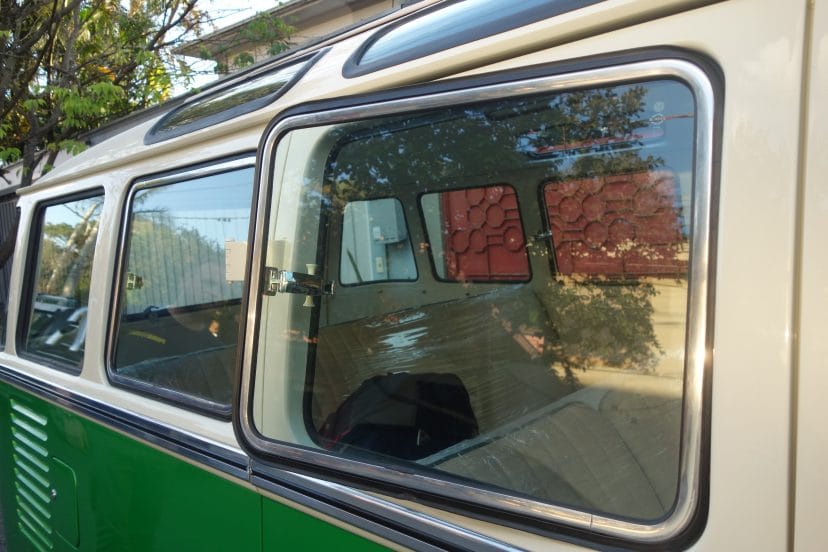
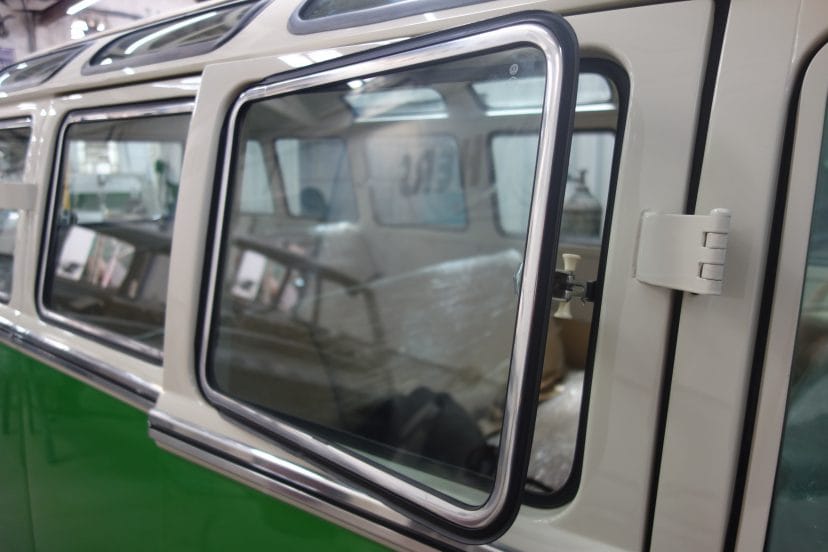
Stage 3: Window frames
Window frames are generally a real bugger to work on. First, there are no new parts, so they have to be completely restored from scratch with metal and metal based substances that we apply to ensure the rubber fits properly in the space later and that ledge is waterproof.


Stage 4: Floors & Undercarriage
As always the old floors are cut out and replaced by new ones since they are easily available and in good condition. you will notice in the pictures, the final color of the bus. We paint the cross members before installing the floors to ensure that everything is perfectly sealed of and no corrosion can enter in between the stringers and underbelly.


Stage 5: Side Panels
We have a motto, if the panels are not in excellent condition to use the minimal amount of filler possible, we rip them out and weld new ones in place. More often than not, after bouncing on dirt roads, and fields these panels are quite dilapidated and need to be replaced.


Stage 6: Doors and Hinges
The doors are also completely restored and so are the hinges which have gone through years of wear and tear opening and closing to haul milk, students and whatever other random wares the proximate community needed.


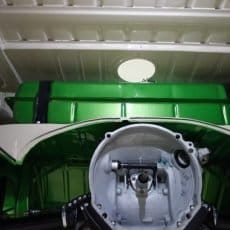
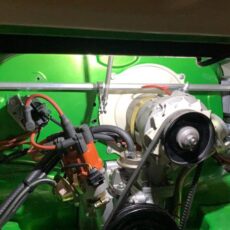
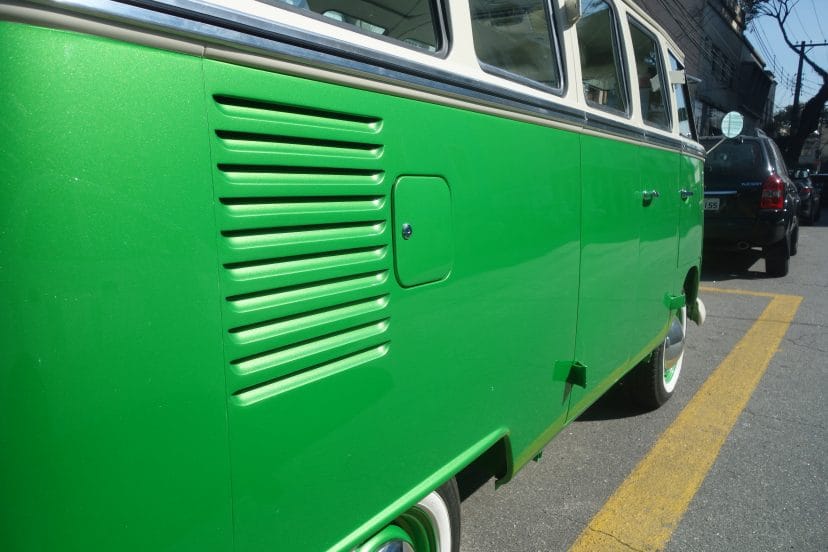
Stage 7: Side Motor Housing
The area beside the motor that housed the battery and the other side, gets eaten away with battery acid and all the dirt and oil that accumulated in those spaces over the years. These are always changed.


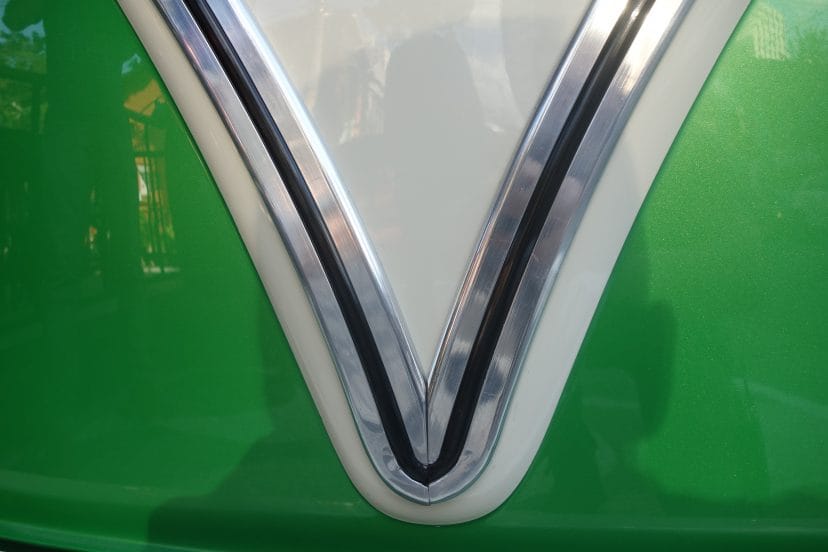
Stage 8: Front Panels
The front lower and upper panels get banged up from any head on action and are changed because they are still produced.

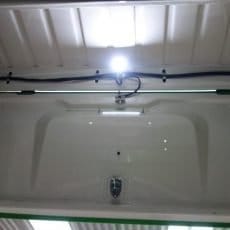
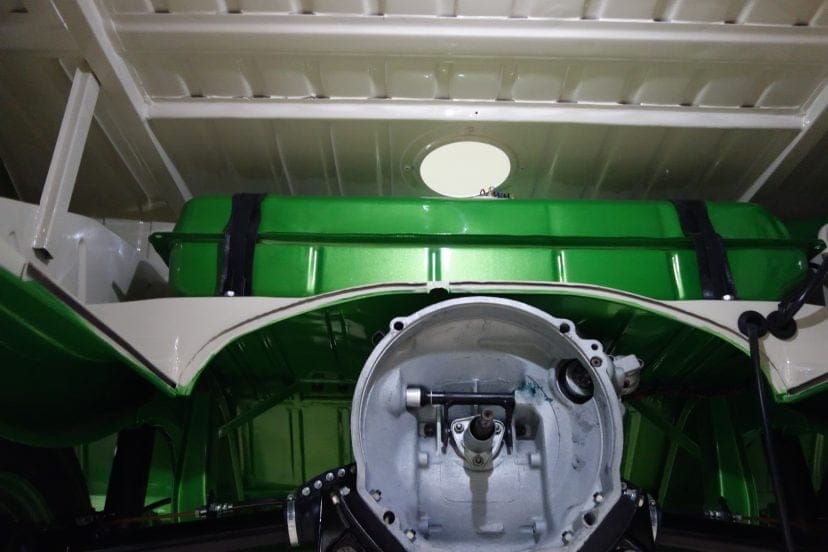
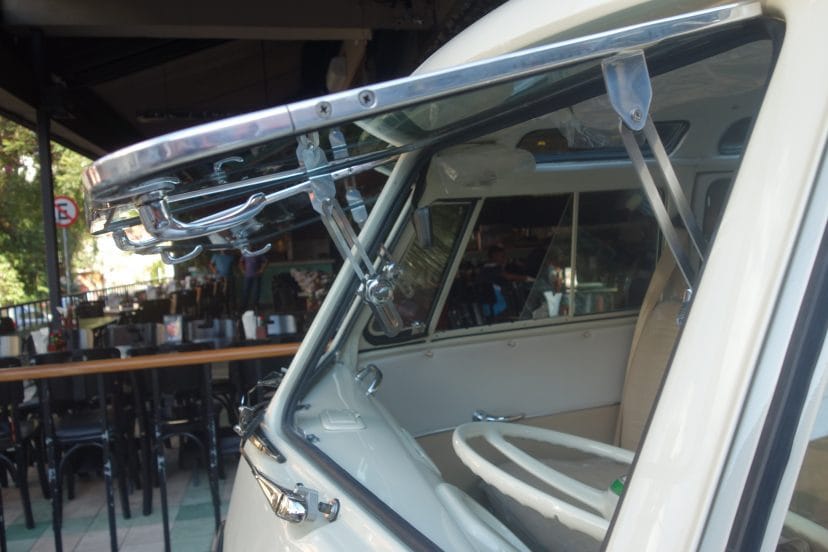
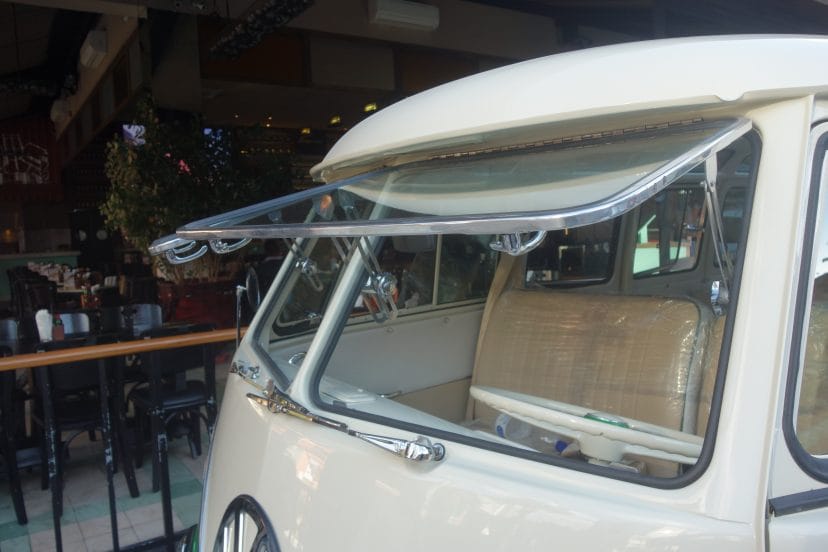
Stage 9: Roof openings and paint preparation
Before going onto the next phase there are some openings that have to be cut out or else it risks ruining them after when the paint has already dried. Here you can see there is already a layer of primer on the bus.


Stage 10: Painting
Many of the Bus’s parts are easier to be painted when they are removed and hung up in our painting booth. This assures a better finish and more even painting.


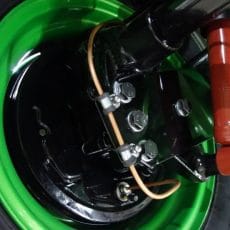
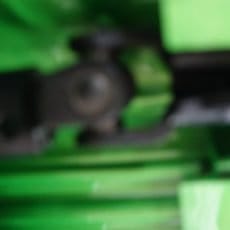
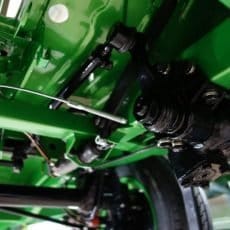
Stage 11: Mechanical
While the painting phase is being done. The mechanics get to work with the motor and the transmission. The motor and transmission housing gets sandblasted and the crankshaft rebuilt. As you can see, new pistons and cylinders are installed.


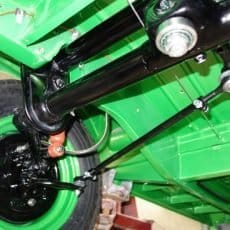
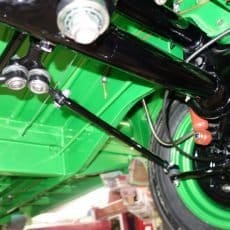
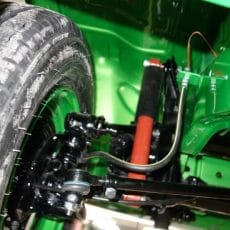
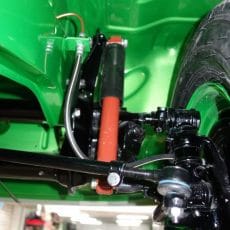
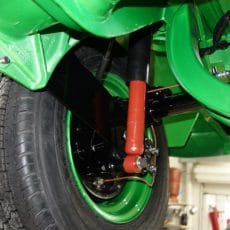
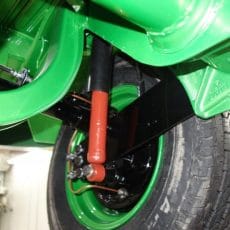
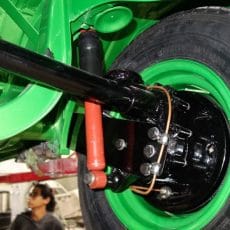
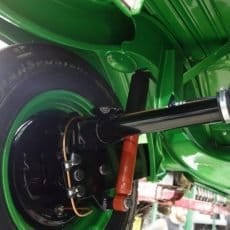
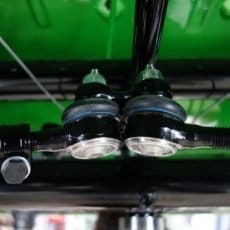
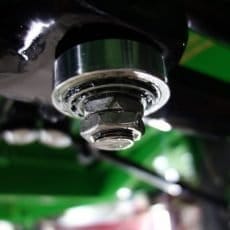
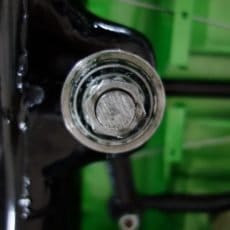
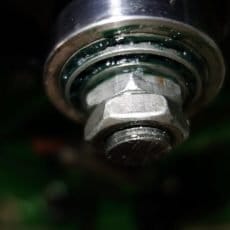
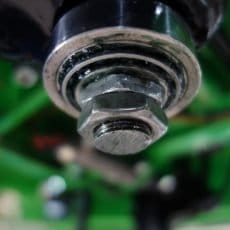
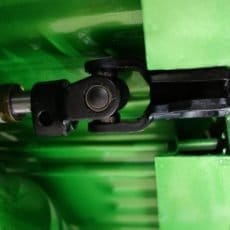
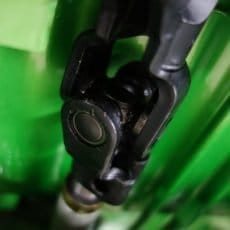
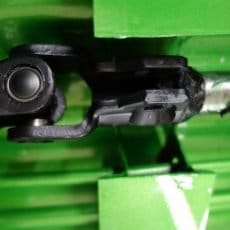
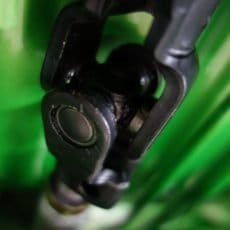
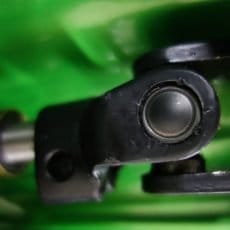
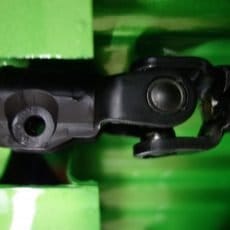
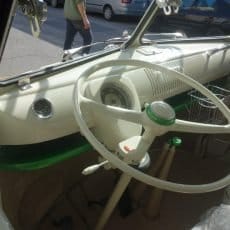
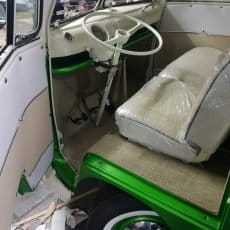
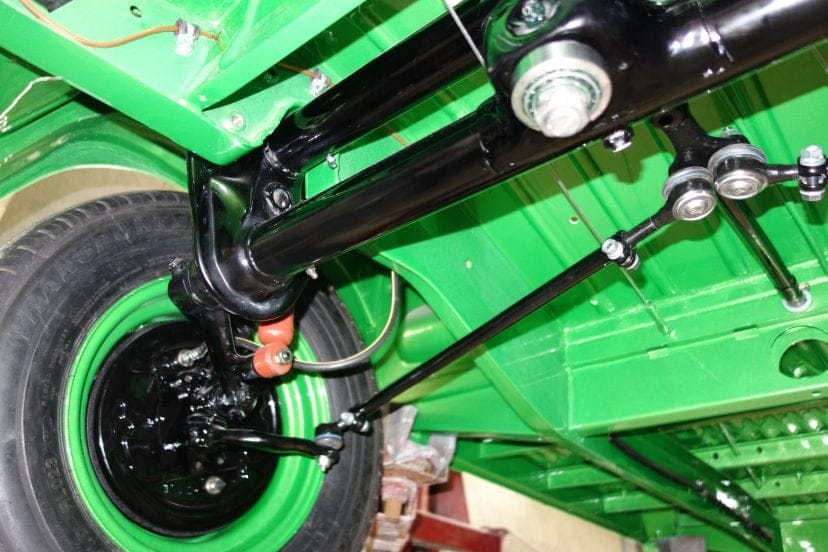
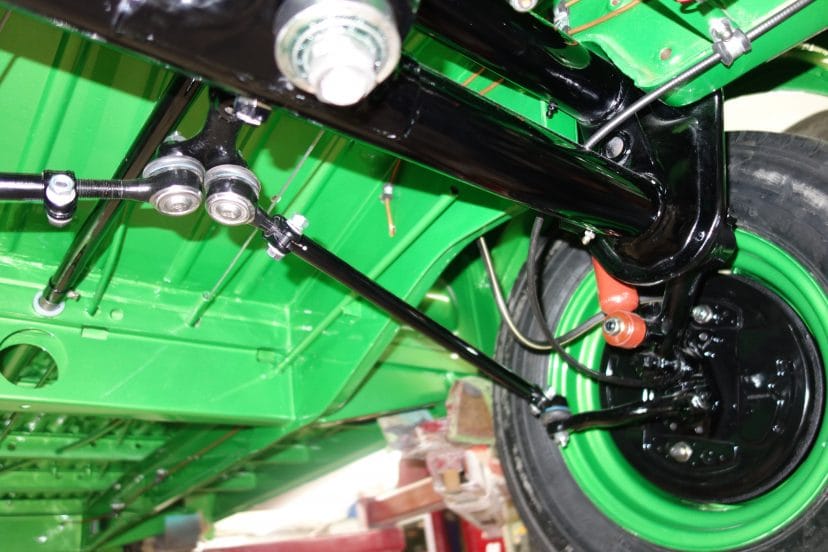
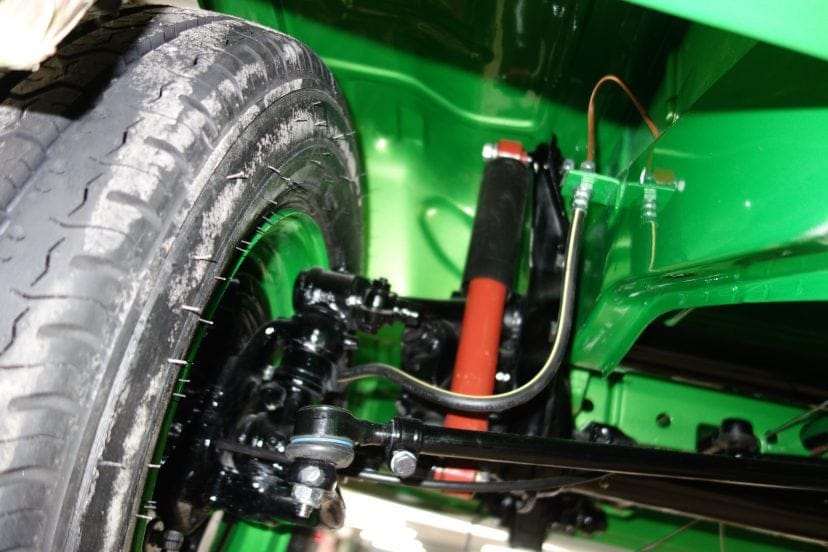
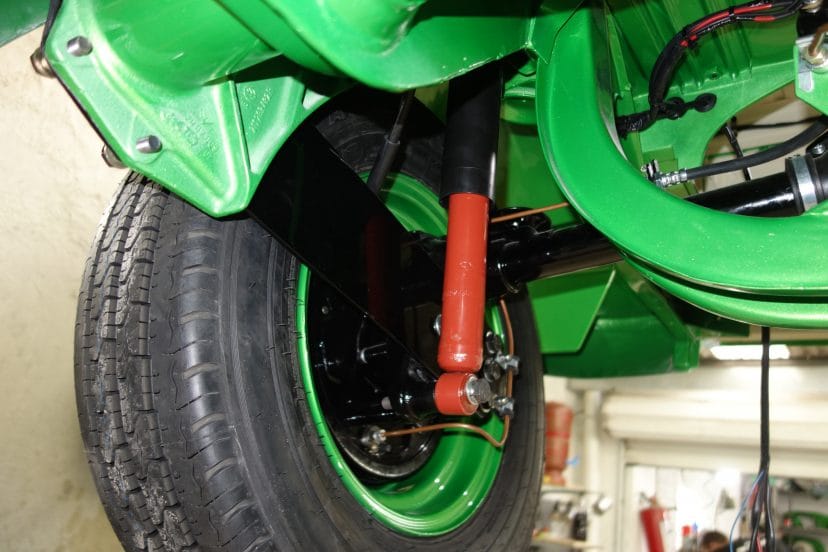
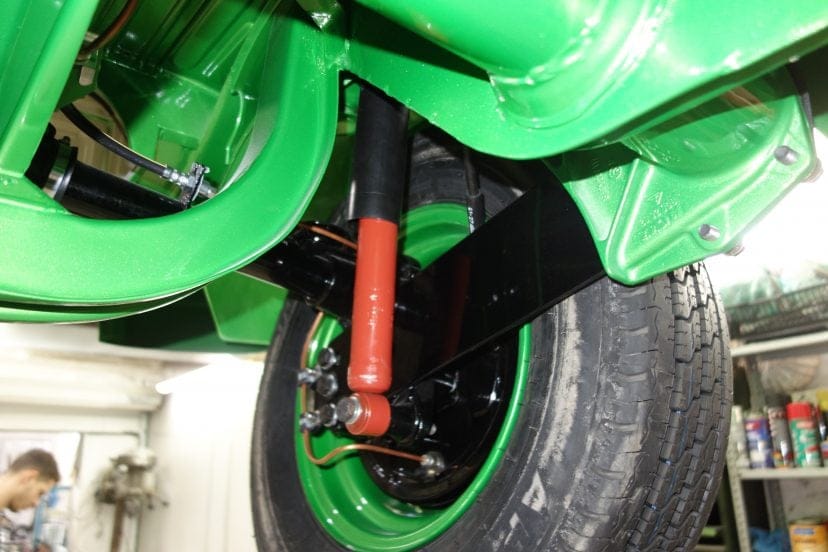
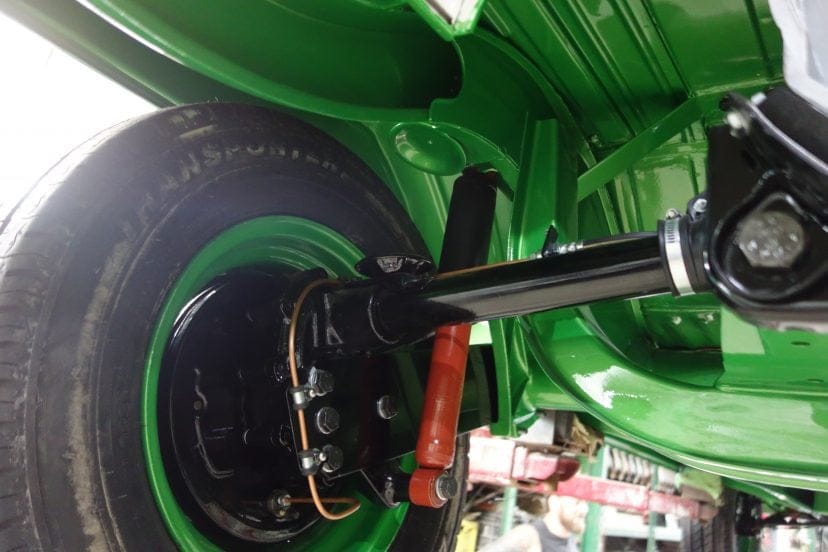
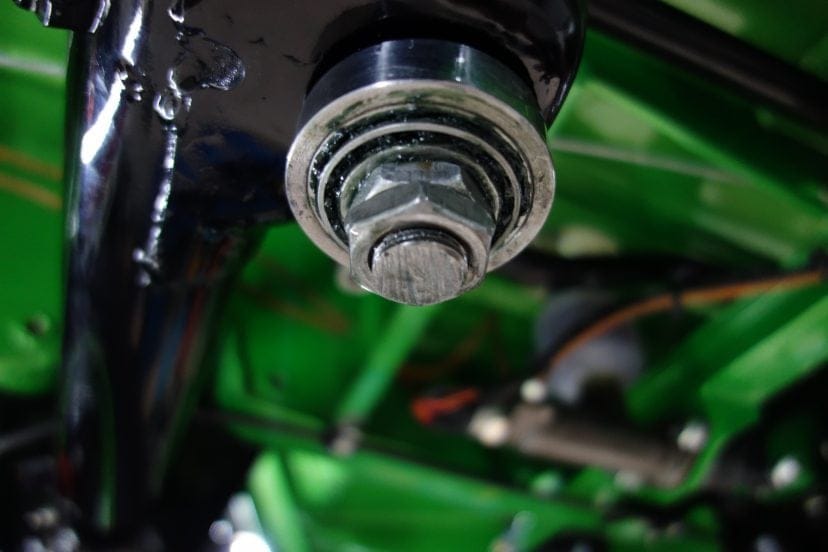
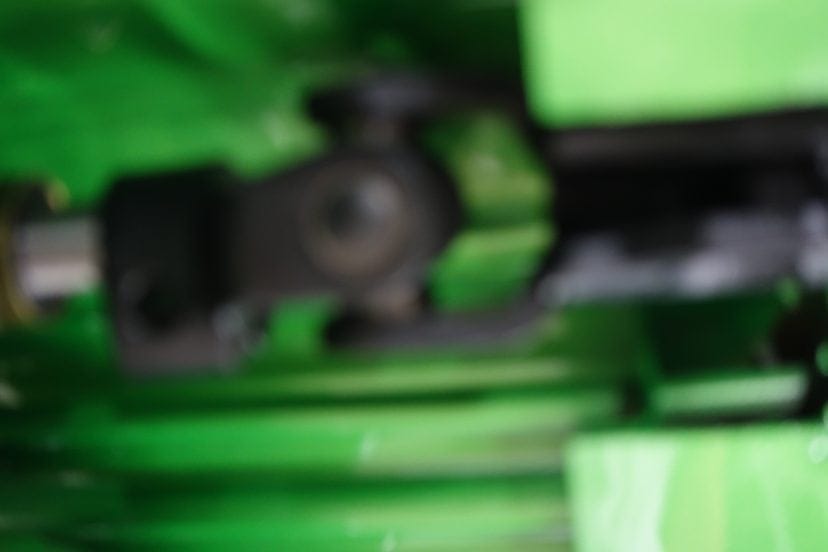
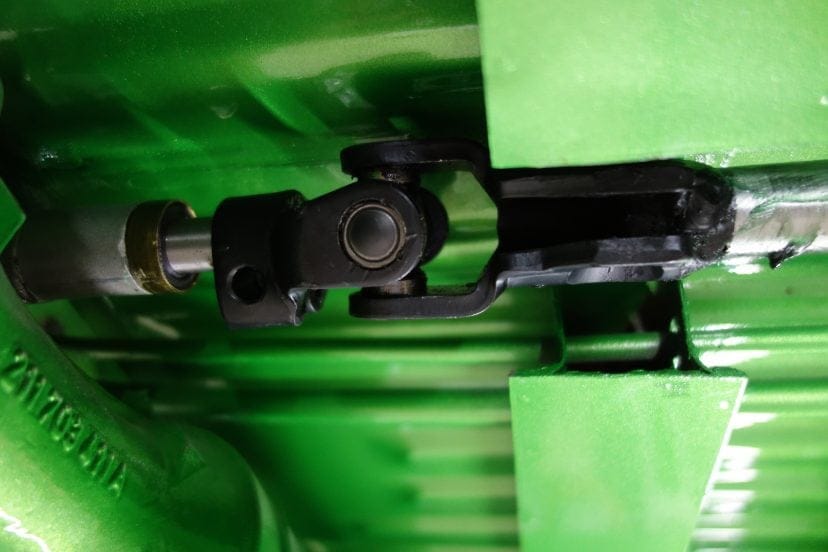
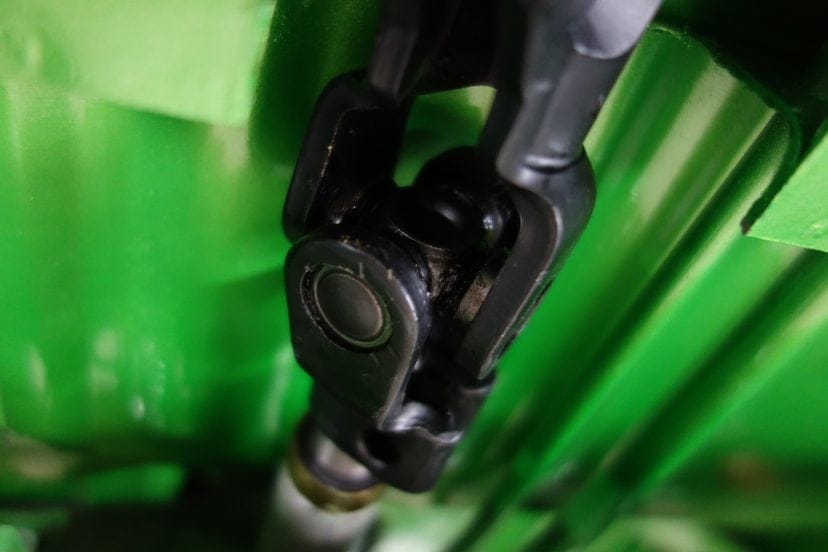
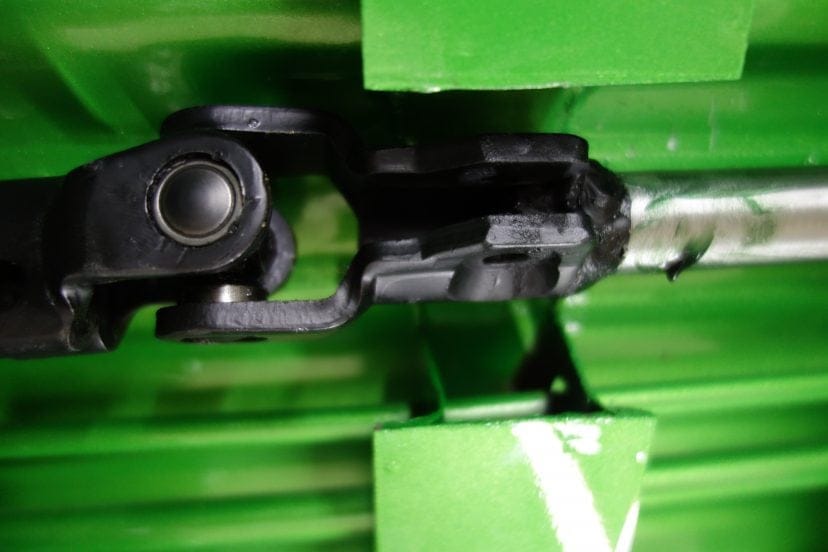
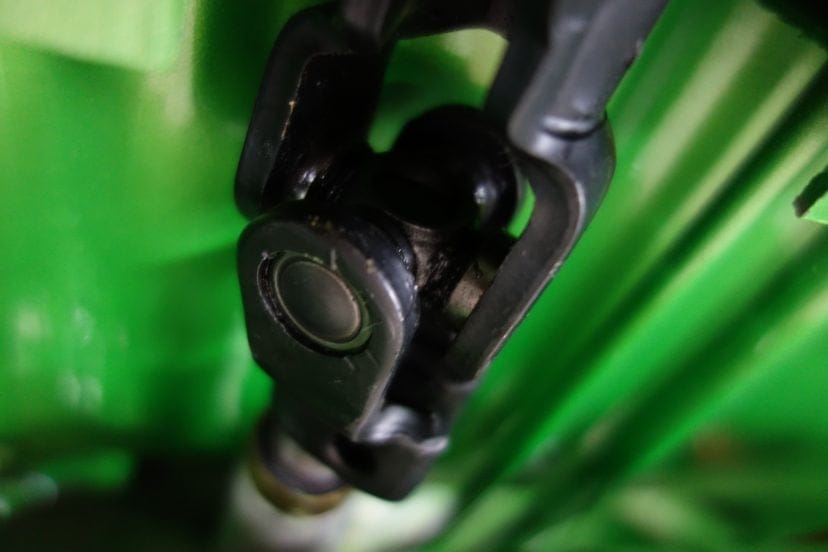
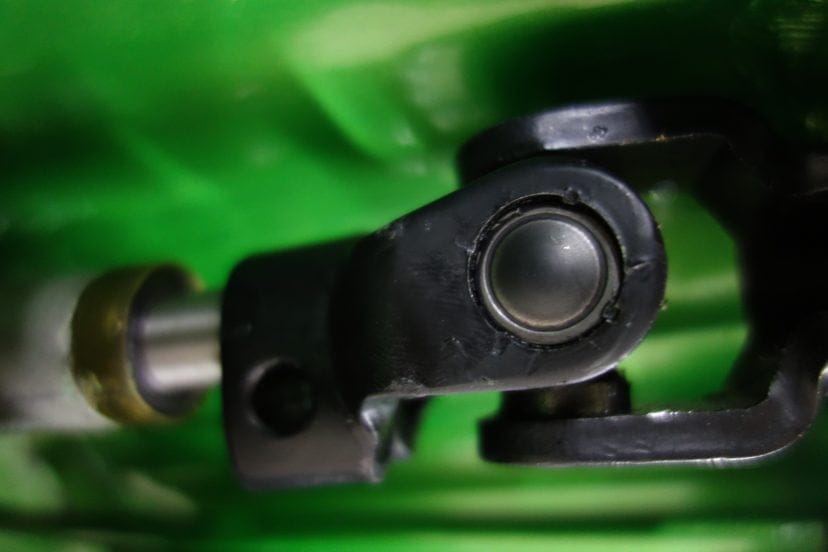
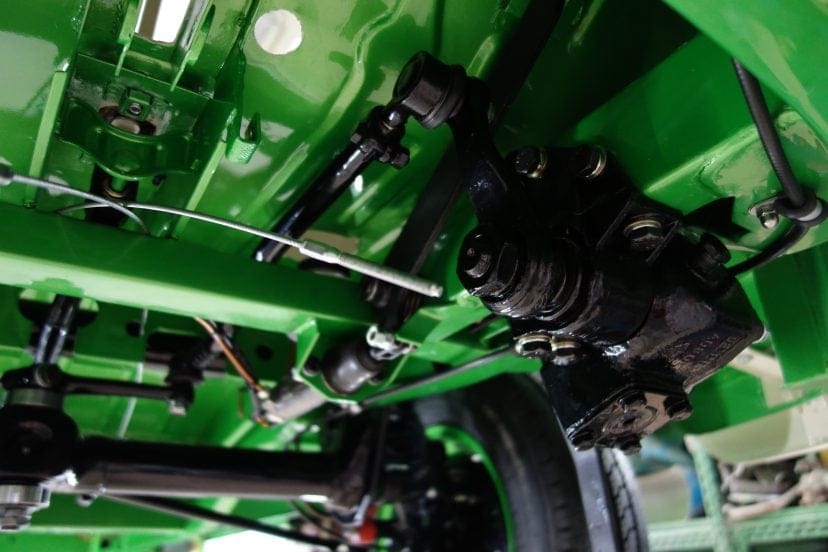
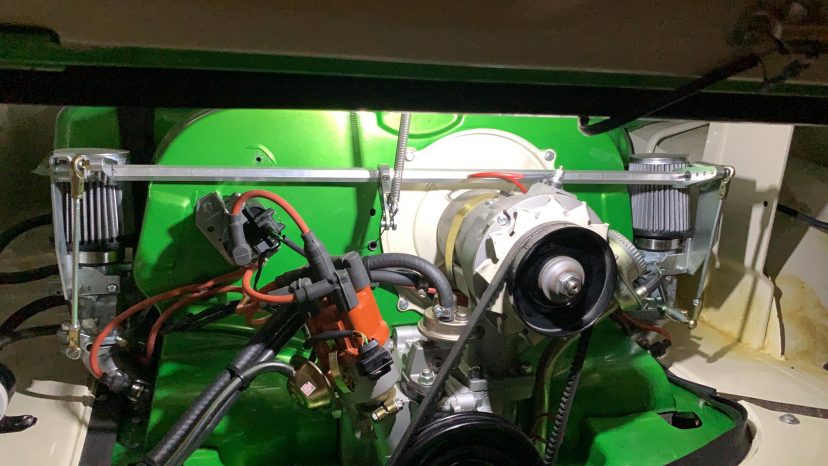
Stage 12: Innovations
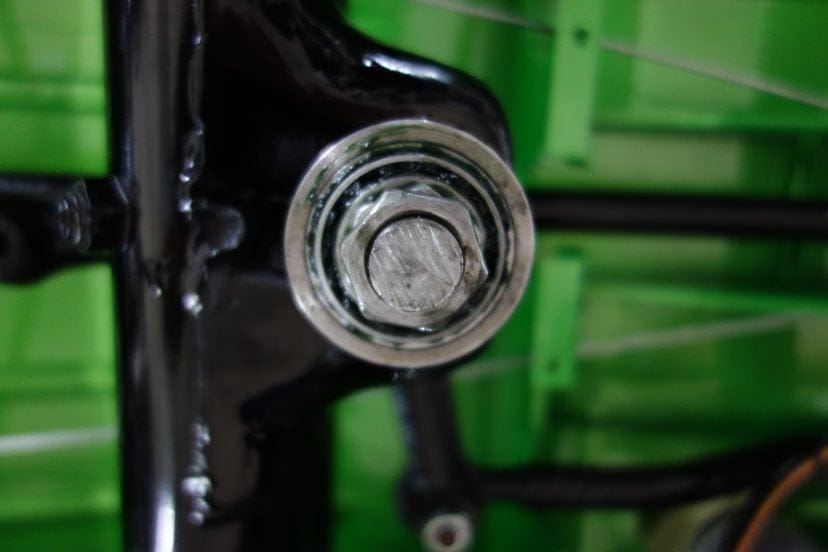
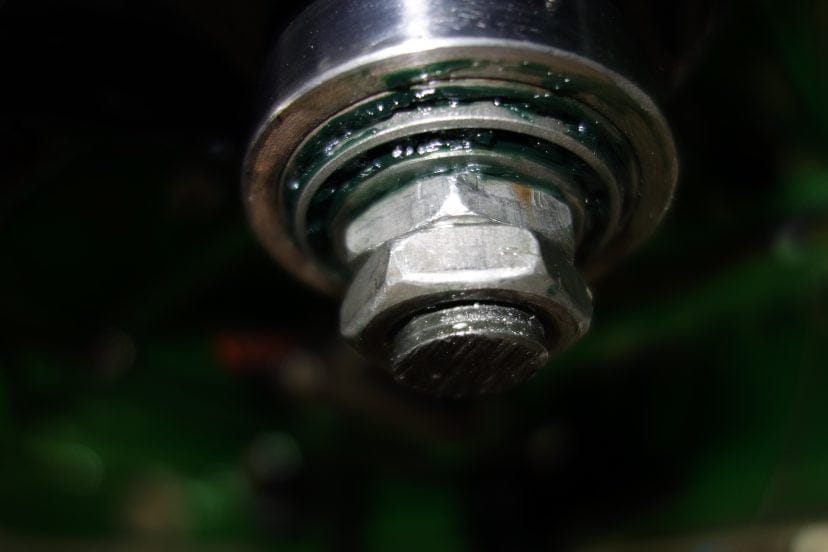
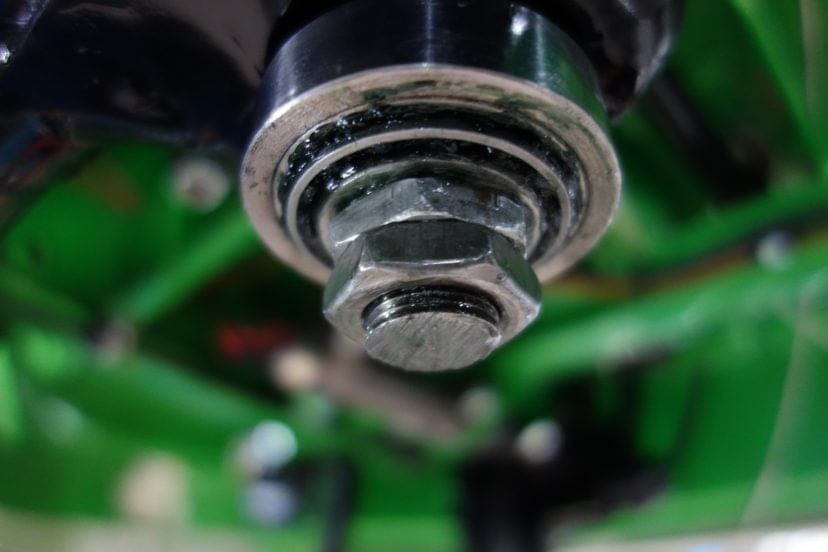
At Combi Kombi, we make sure our buses have the smoothest mechanical systems. The main suspension pin is supported with bearings rather than bushings for a smoother ride. We install an articulator elbow where the shifting rod meets the transmission for more precise shifting and we reduce play in the steering wheel with bearings.


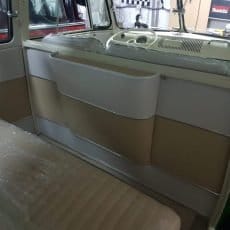
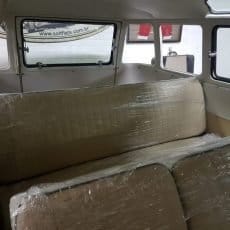
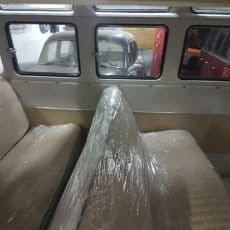
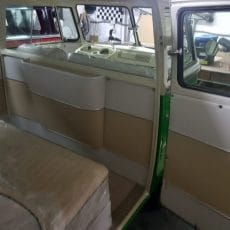
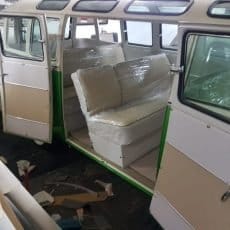
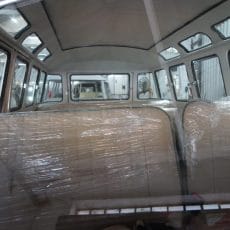
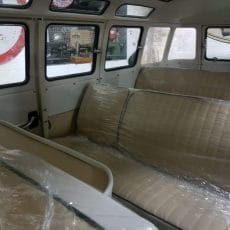
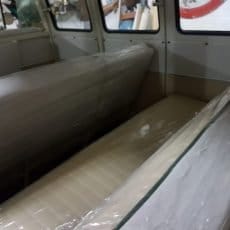
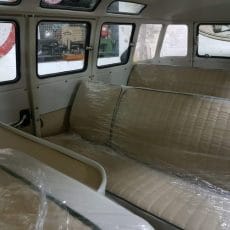
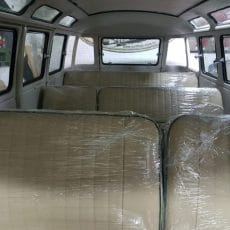
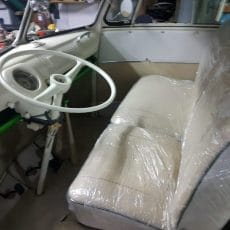
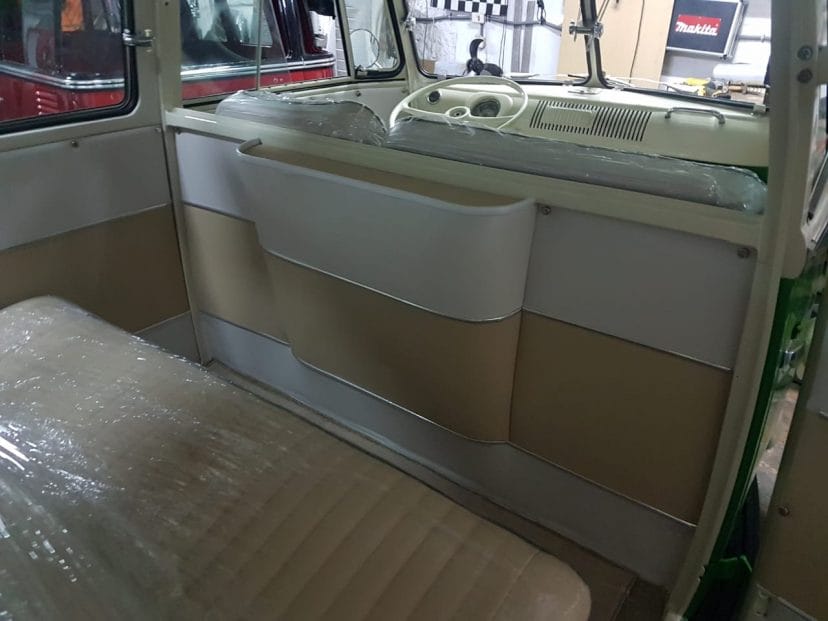
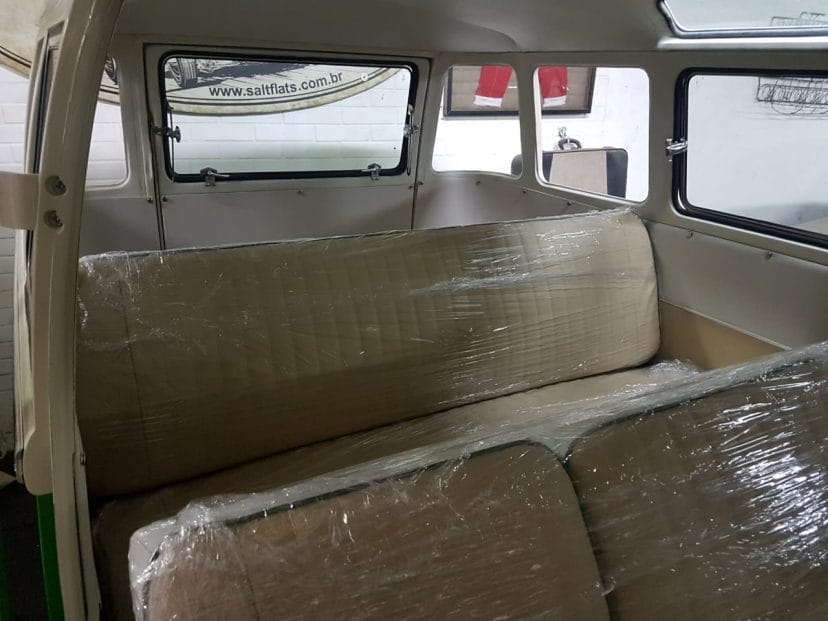
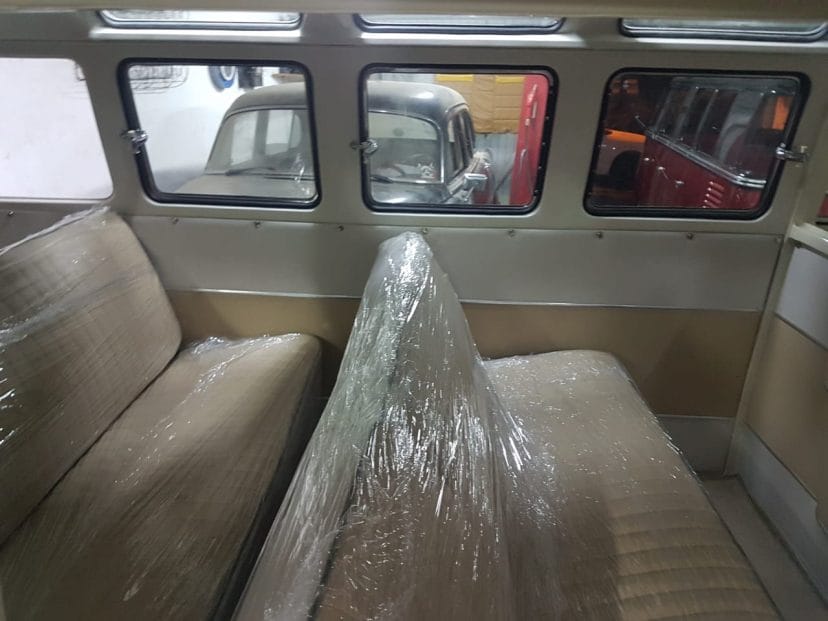
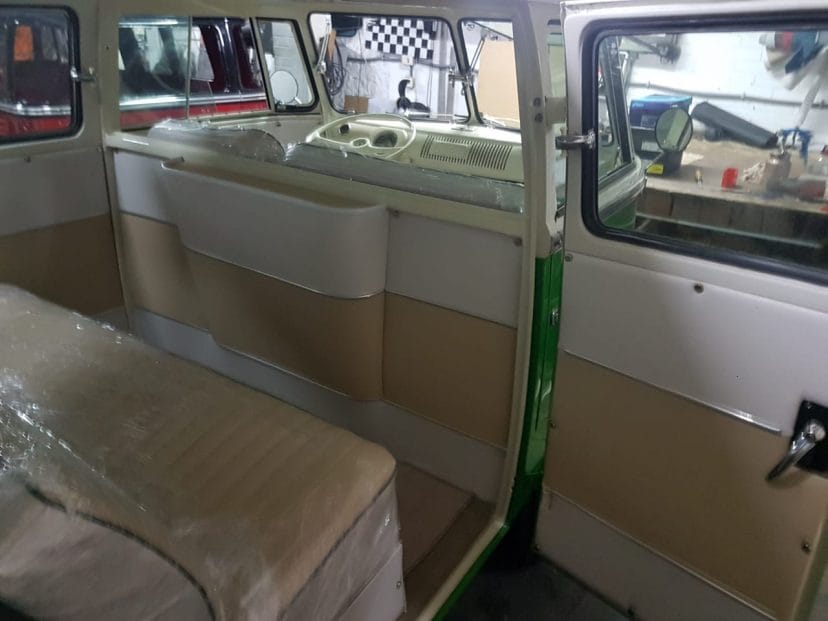
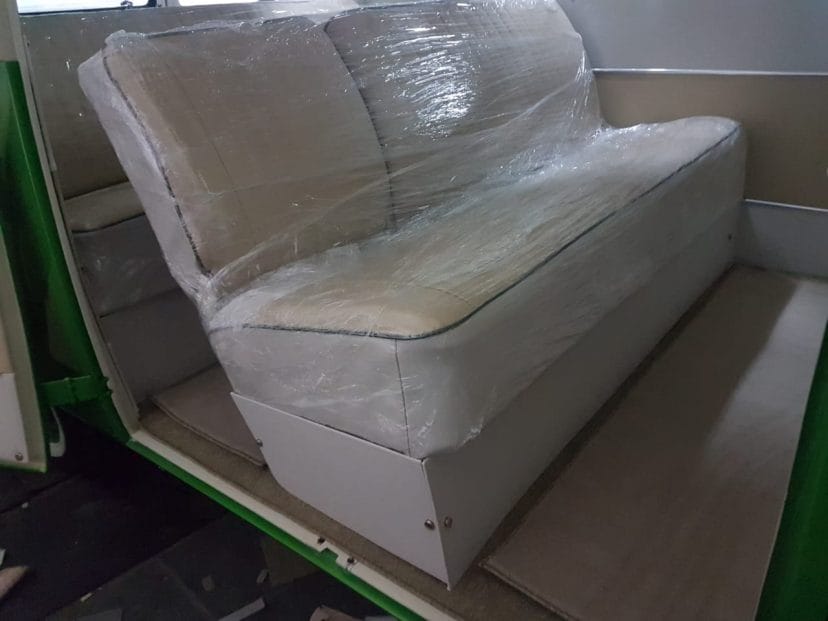
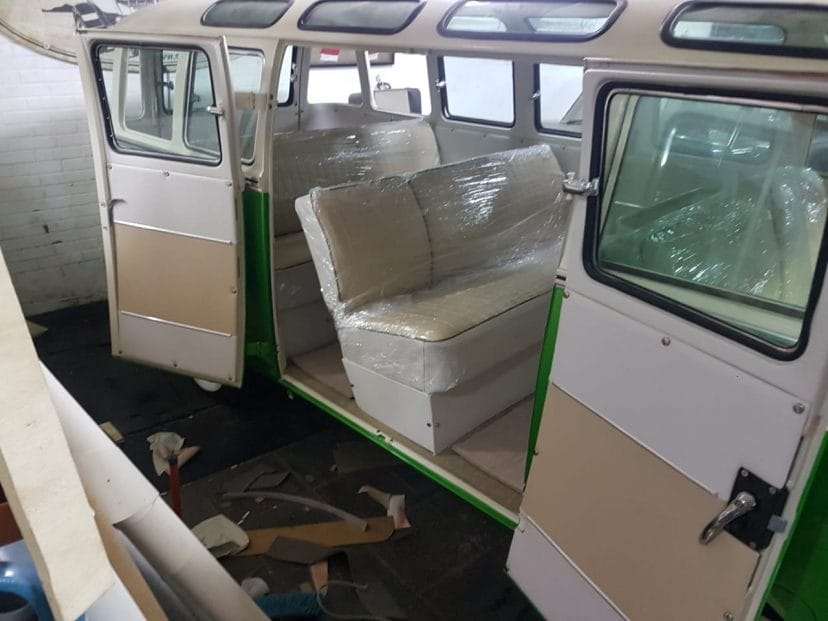
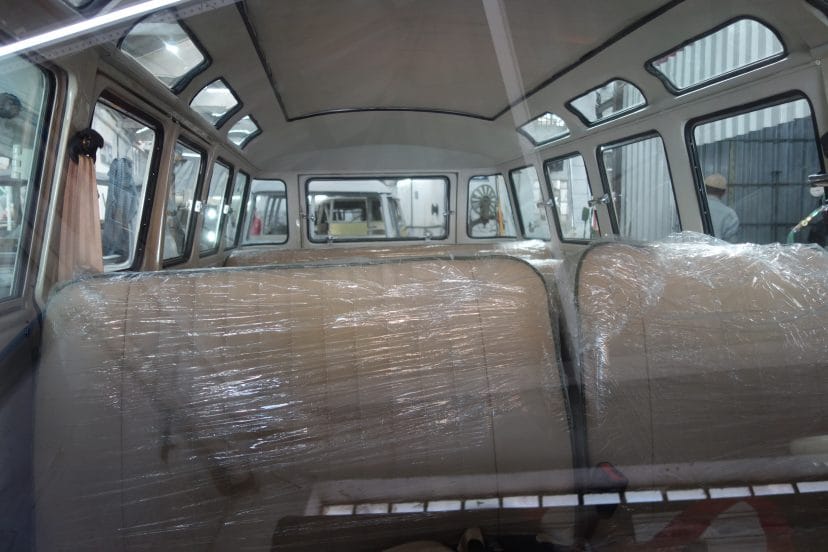
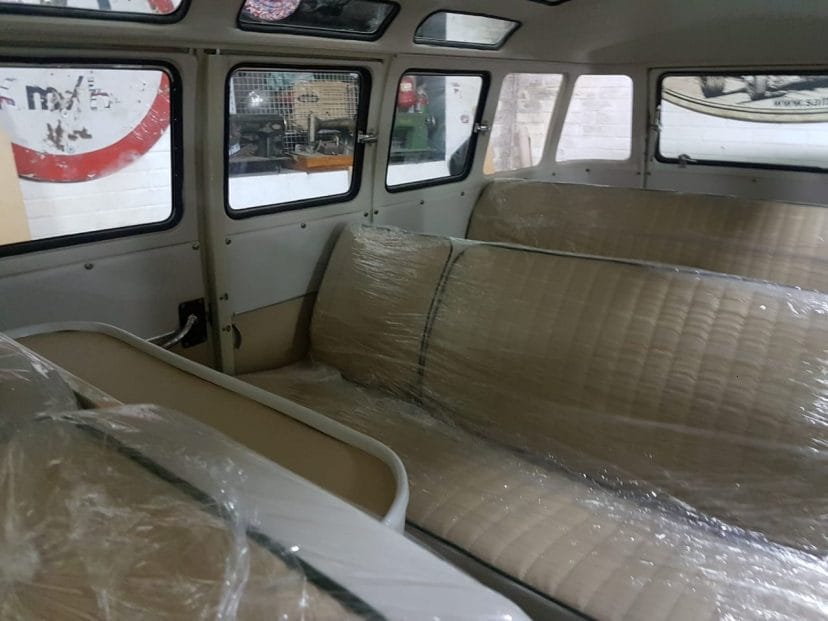
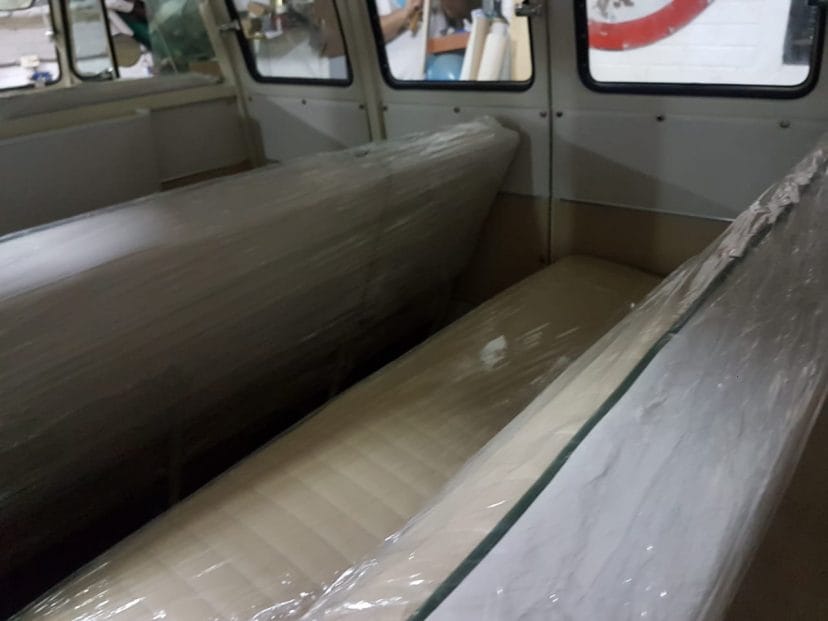
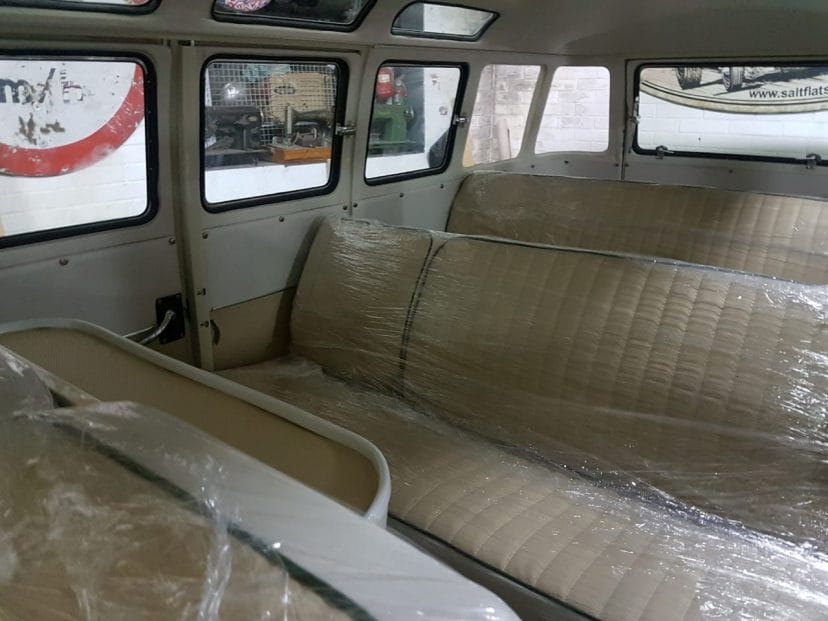
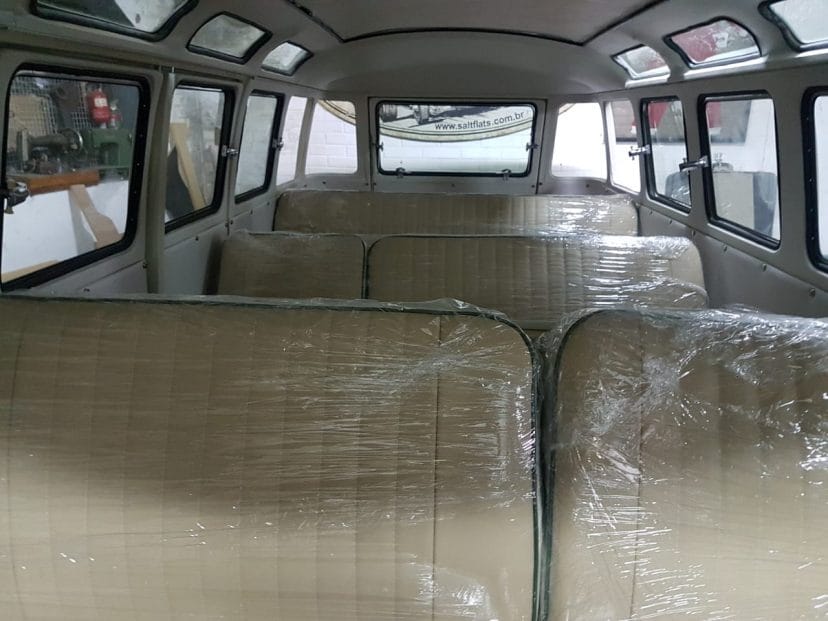
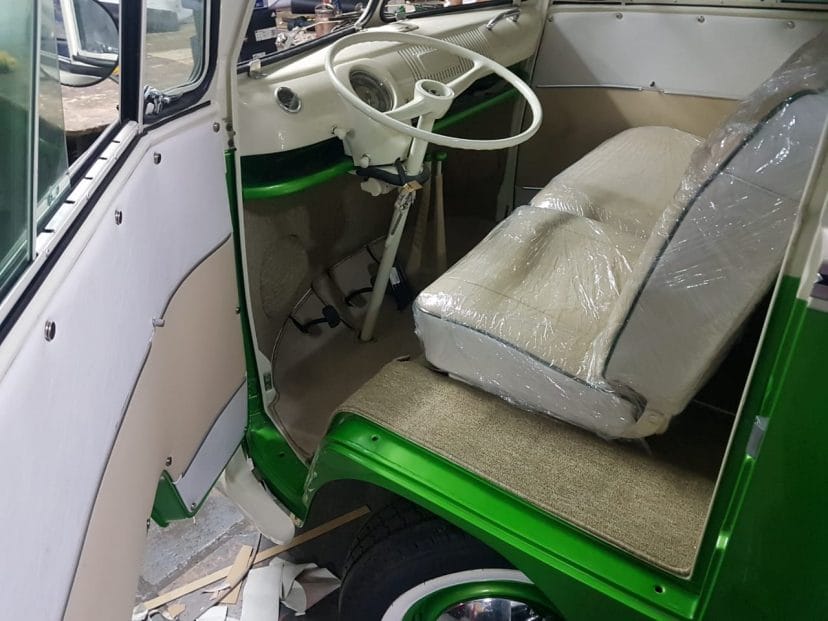
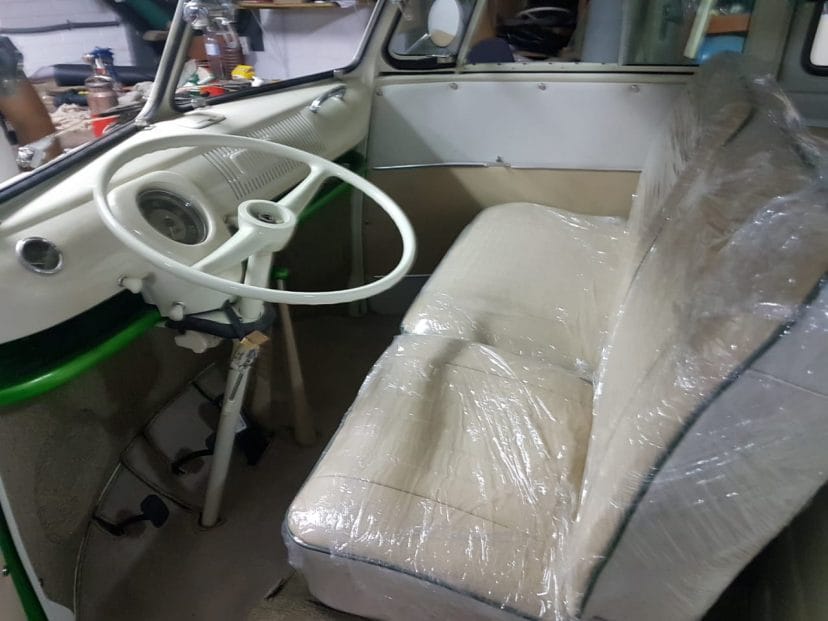
Stage 13: Finished Interior (Video)
we are at the end of a long detailed process. Here is the end result of the interior finishing. A white and tan interior and dark green edge stitch works well with this green machine.


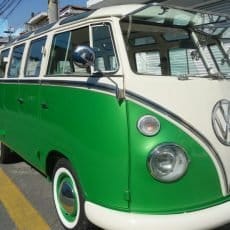
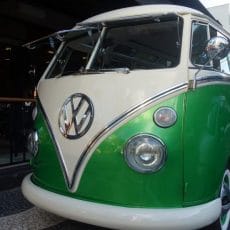
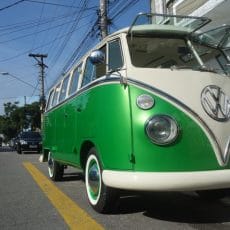
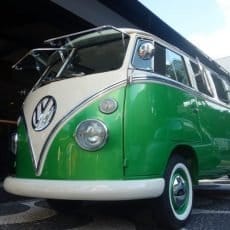
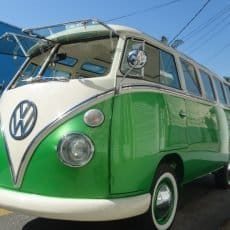
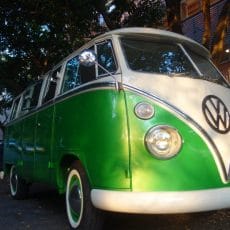
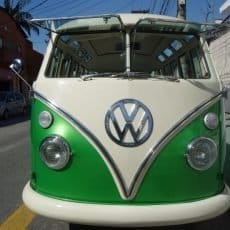
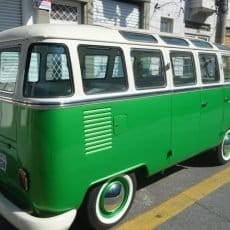
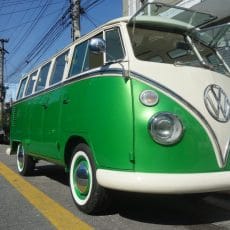
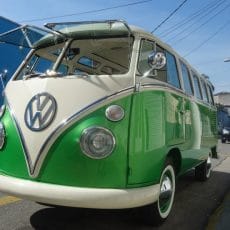
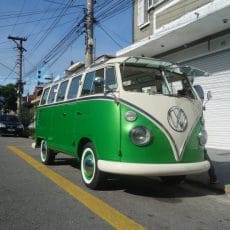
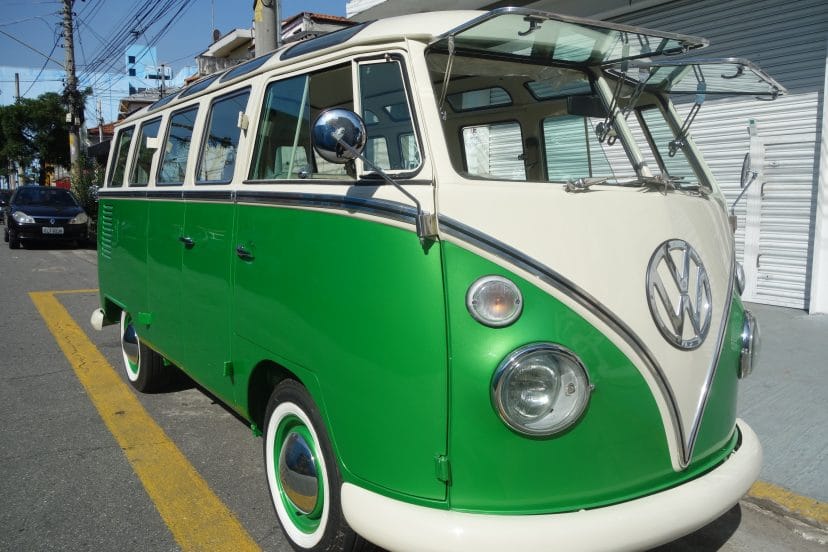
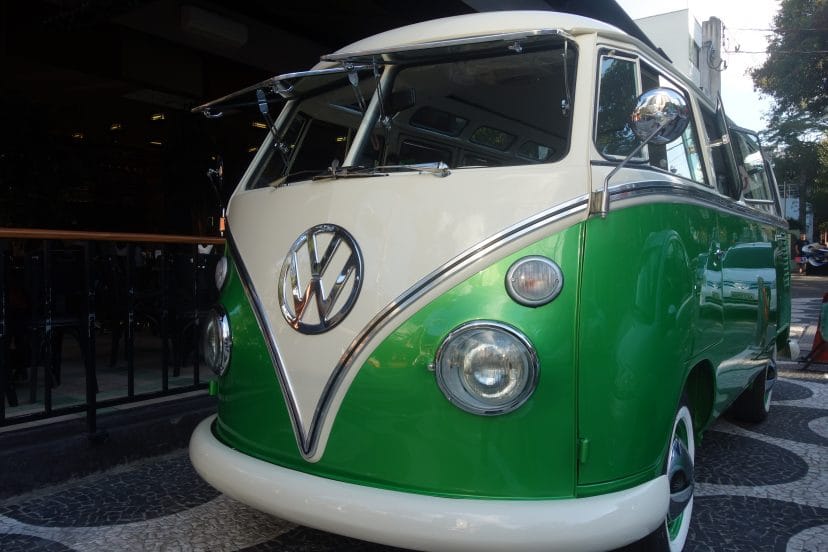
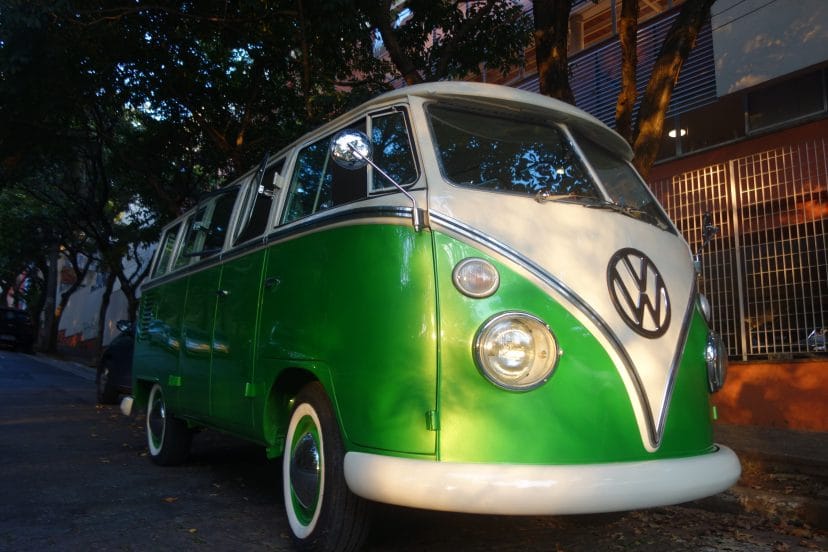
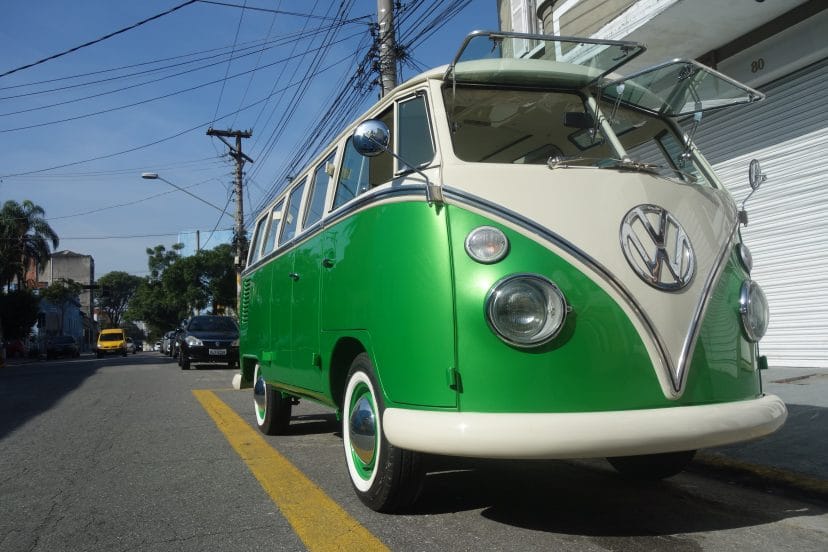
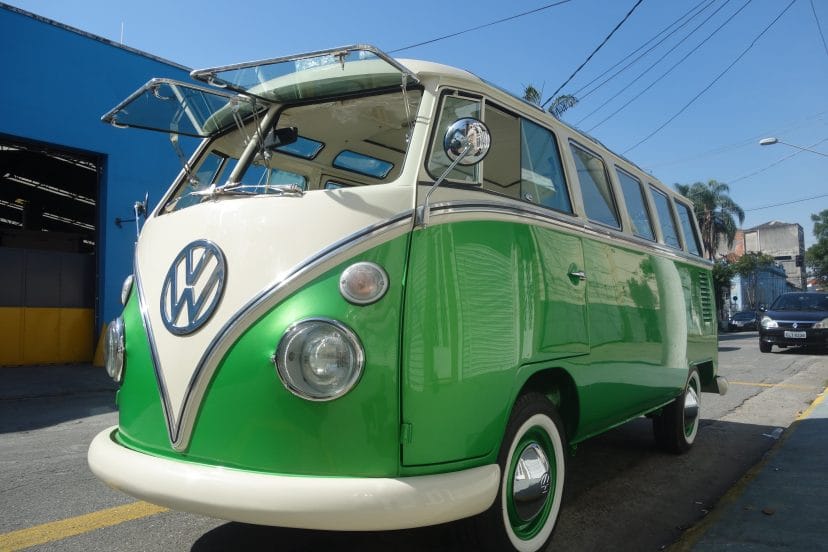
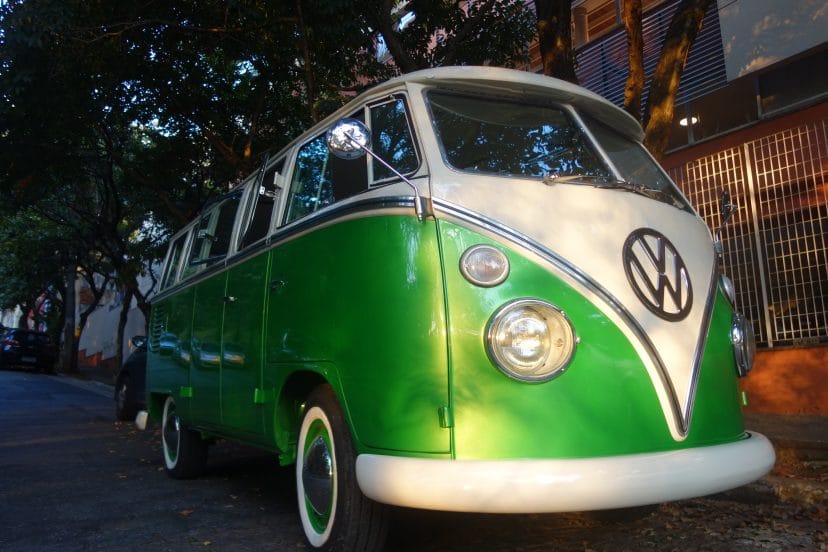
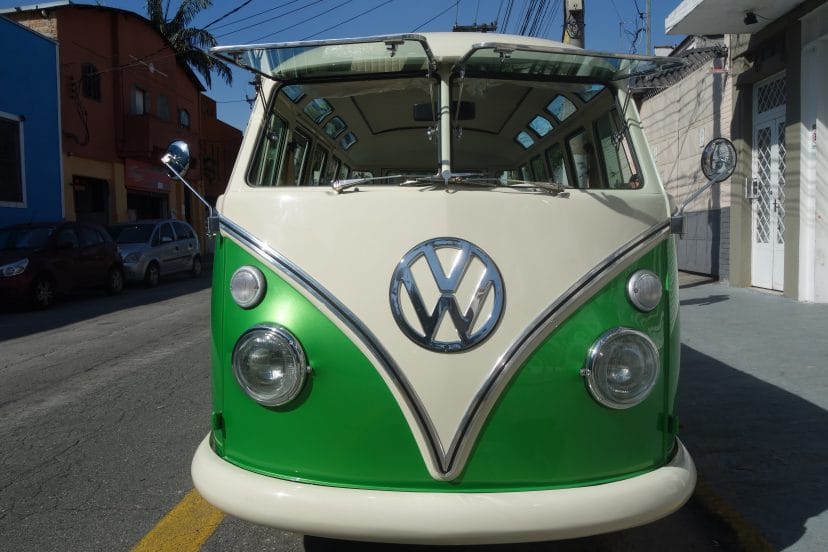
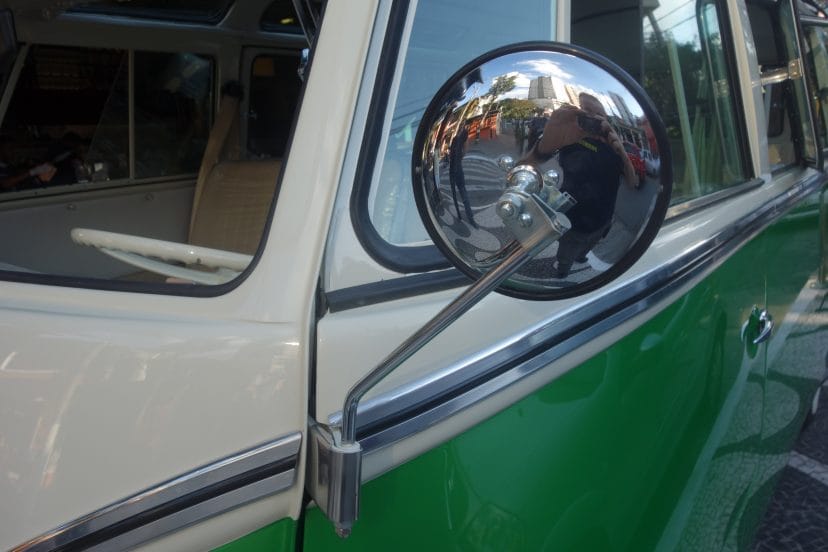
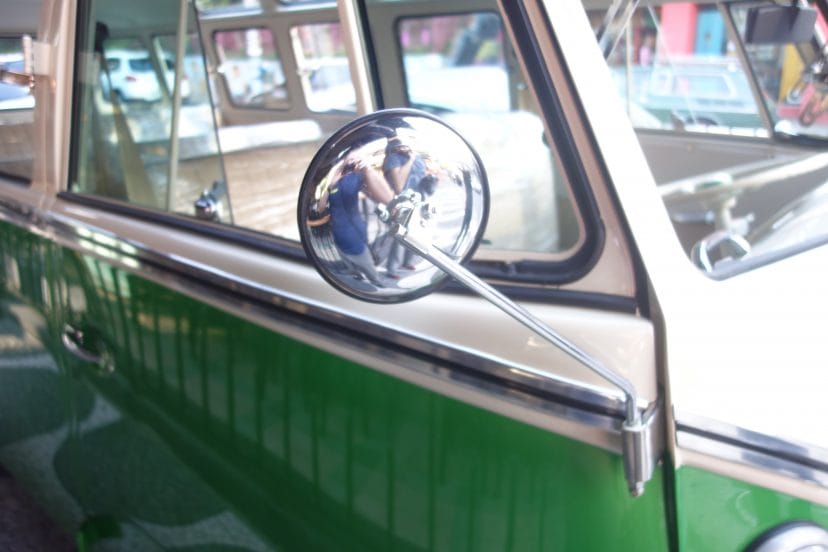
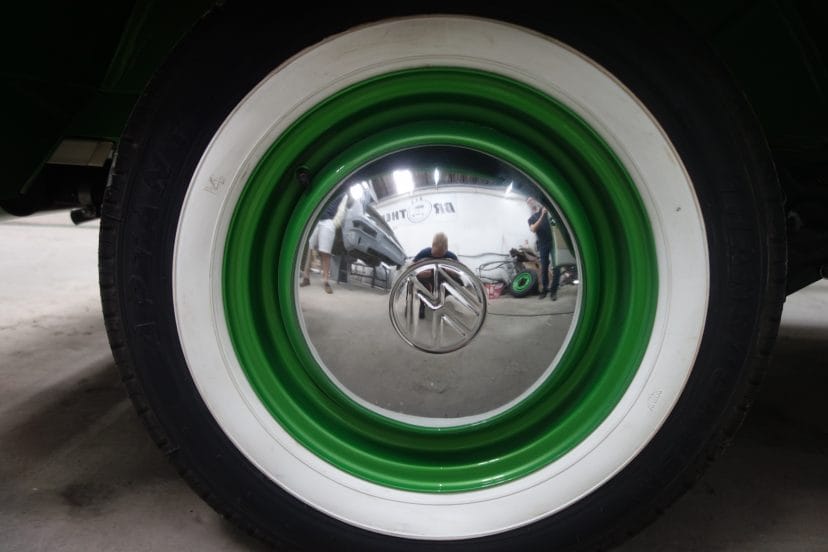
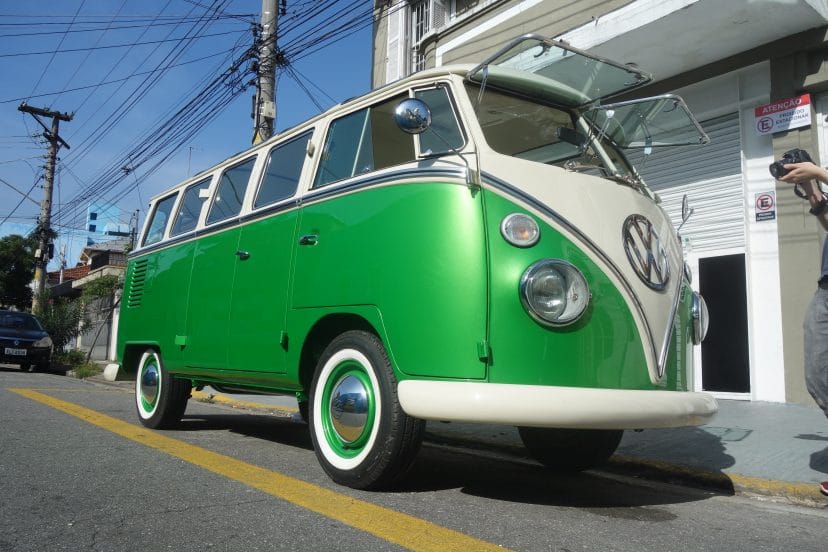
Stage 14: Finished Exterior (Video)
Watch on YouTube
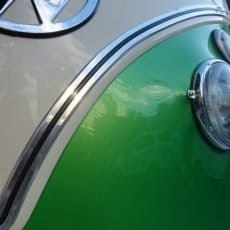
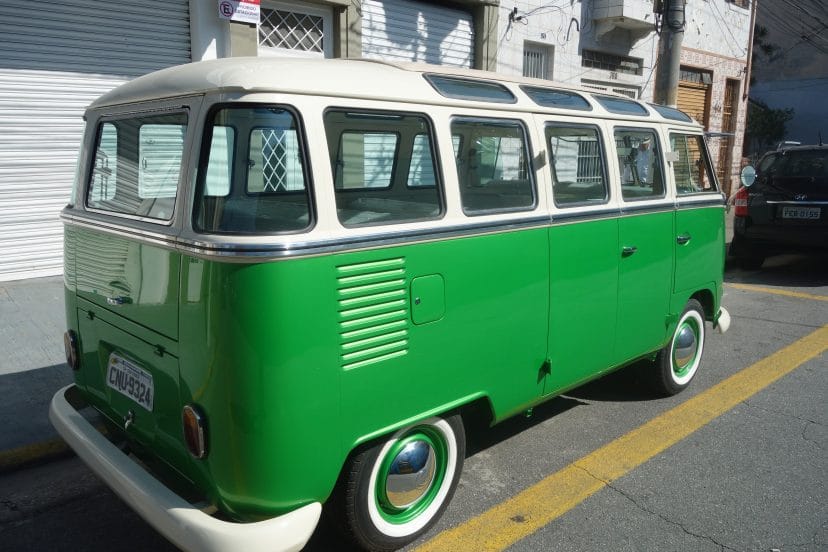
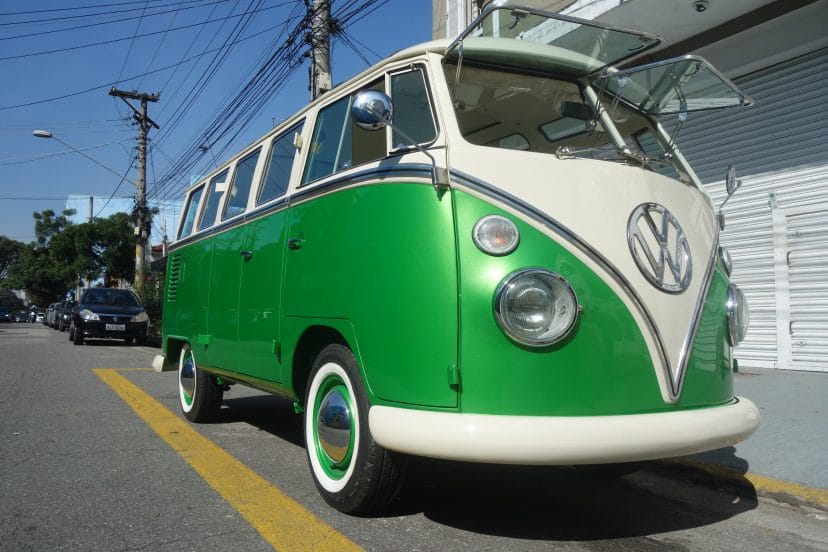
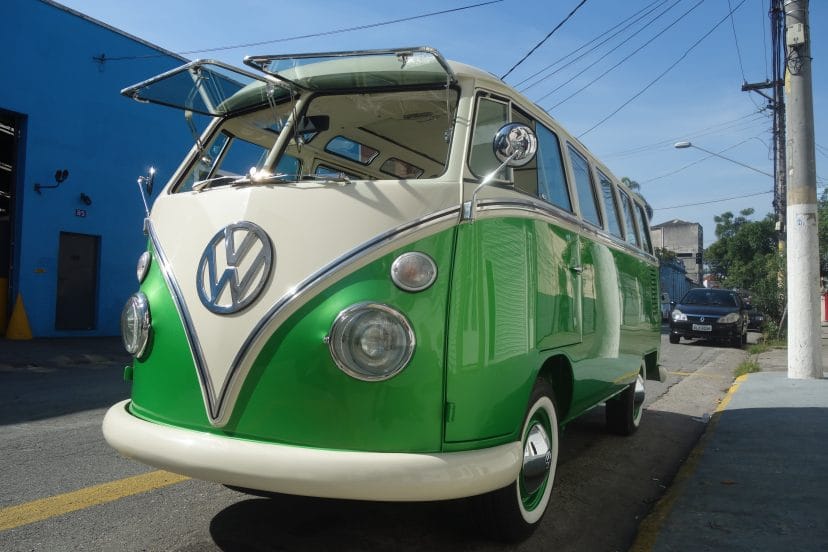
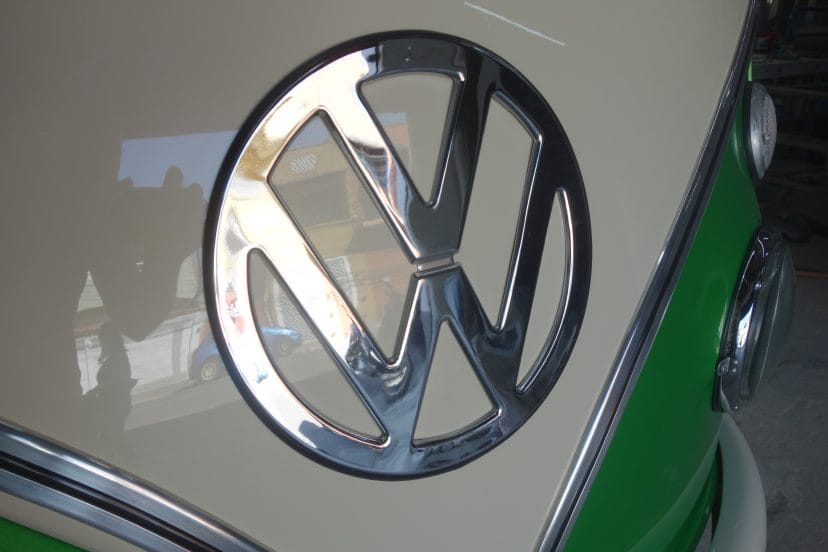
We took an afternoon to get some shots of this beauty from various locations across Sao Paulo. The exterior metallic green paint is stunning! This has to be one of the most sparkling buses from our workshop. Let us know what you think and what your favorite color combination is.


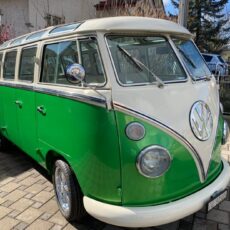
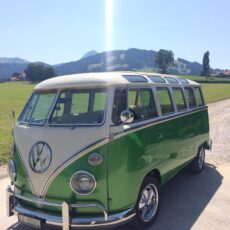
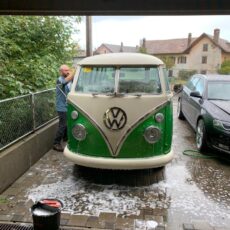
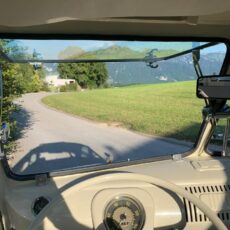
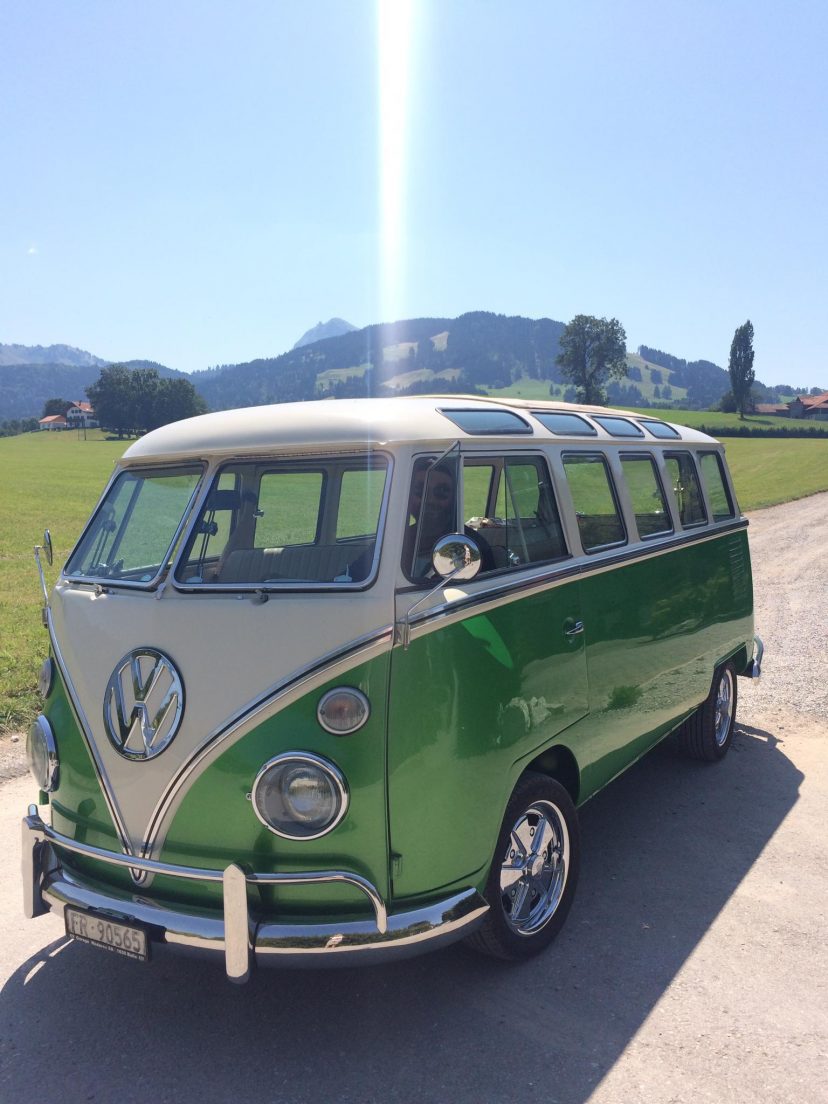
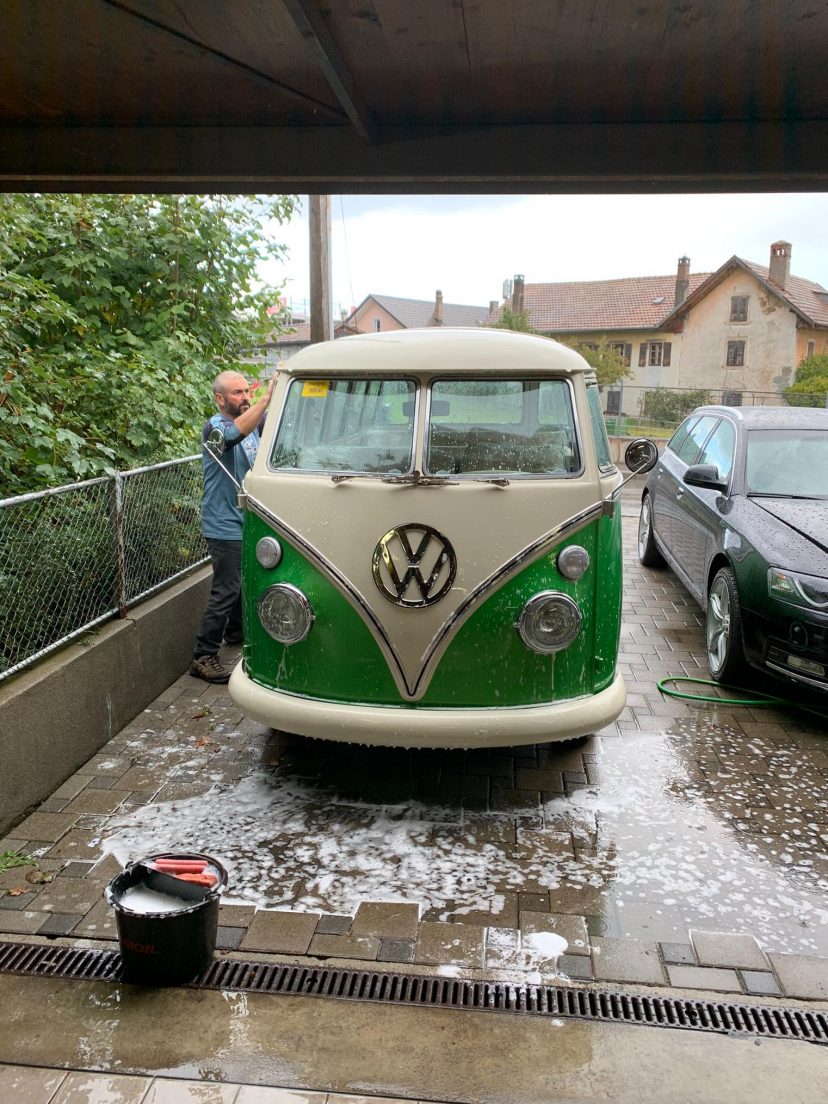
Stage 15: Arrival in Switzerland
After the bus arrived in Switzerland our client was easily able to get the bus registered due to the quality of the restoration and the fact that the bus was built before 1973.
The client decided to make some mechanical adjustments to the motor to improve air intake for the double carbs and also installed a new stainless steel bumper. Now he can happily cruise through the Swiss alps!


