
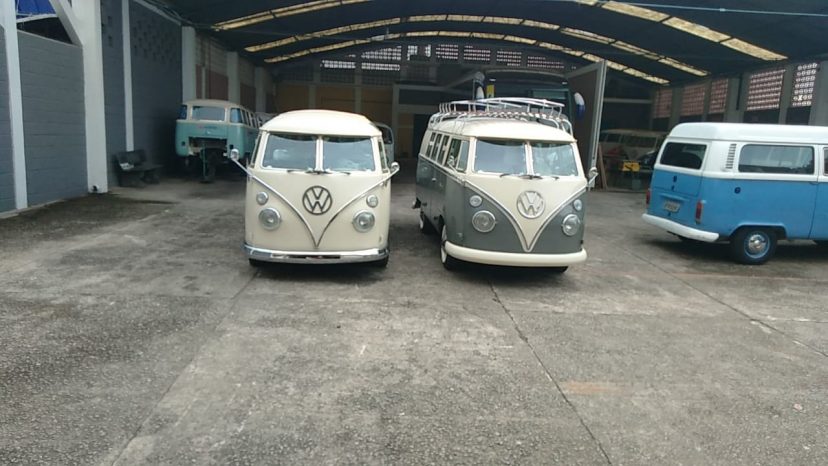
See all the photos on the restoration process of this collector’s kombi in our workshops in Brazil.
- Stage 1: Arrival
- Stage 2: Sandblasting & Stripping
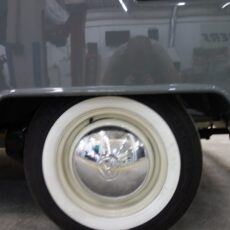
- Stage 3: Front panels and wheel arches
- Stage 4: Interior frame
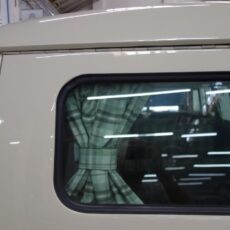
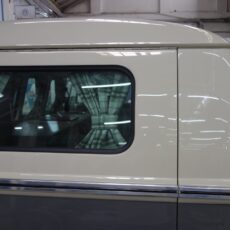
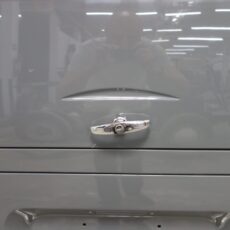
- Stage 5: Doors and windows
- Stage 6: Floors and Undercarriage
- Stage 7: Paint Preparation (Video)
- Stage 8: Painting
- Phase 9: Mechanik items
- Phase 10: Motor (Video)
- Phase 11: Camper Construction
- Phase 12: Finished underbody
- Phase 13: Finished Camper Interior (Video)
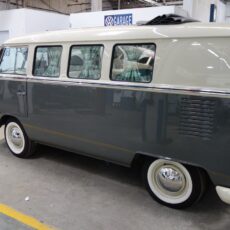
- Phase 14: Finished Exterior (Video)
- Phase 15: Roof Rack
- Phase 16: Container Packing
- Phase 17: Arrival in Antwerp
- Phase 18: Customer Delevery
Stage 1: Arrival
Not much to show you right now, but we will keep you updated with more pics and videos of this restoration project. Just getting started on ripping this one apart to build her up again.


Stage 2: Sandblasting & Stripping
After gutting the Bus, it’s on to getting rid of the thick paint layer, that more often then not covers a rather thick layer of bondo or plaster based filler that other reformers used to pretty up the bus.


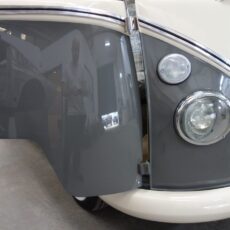
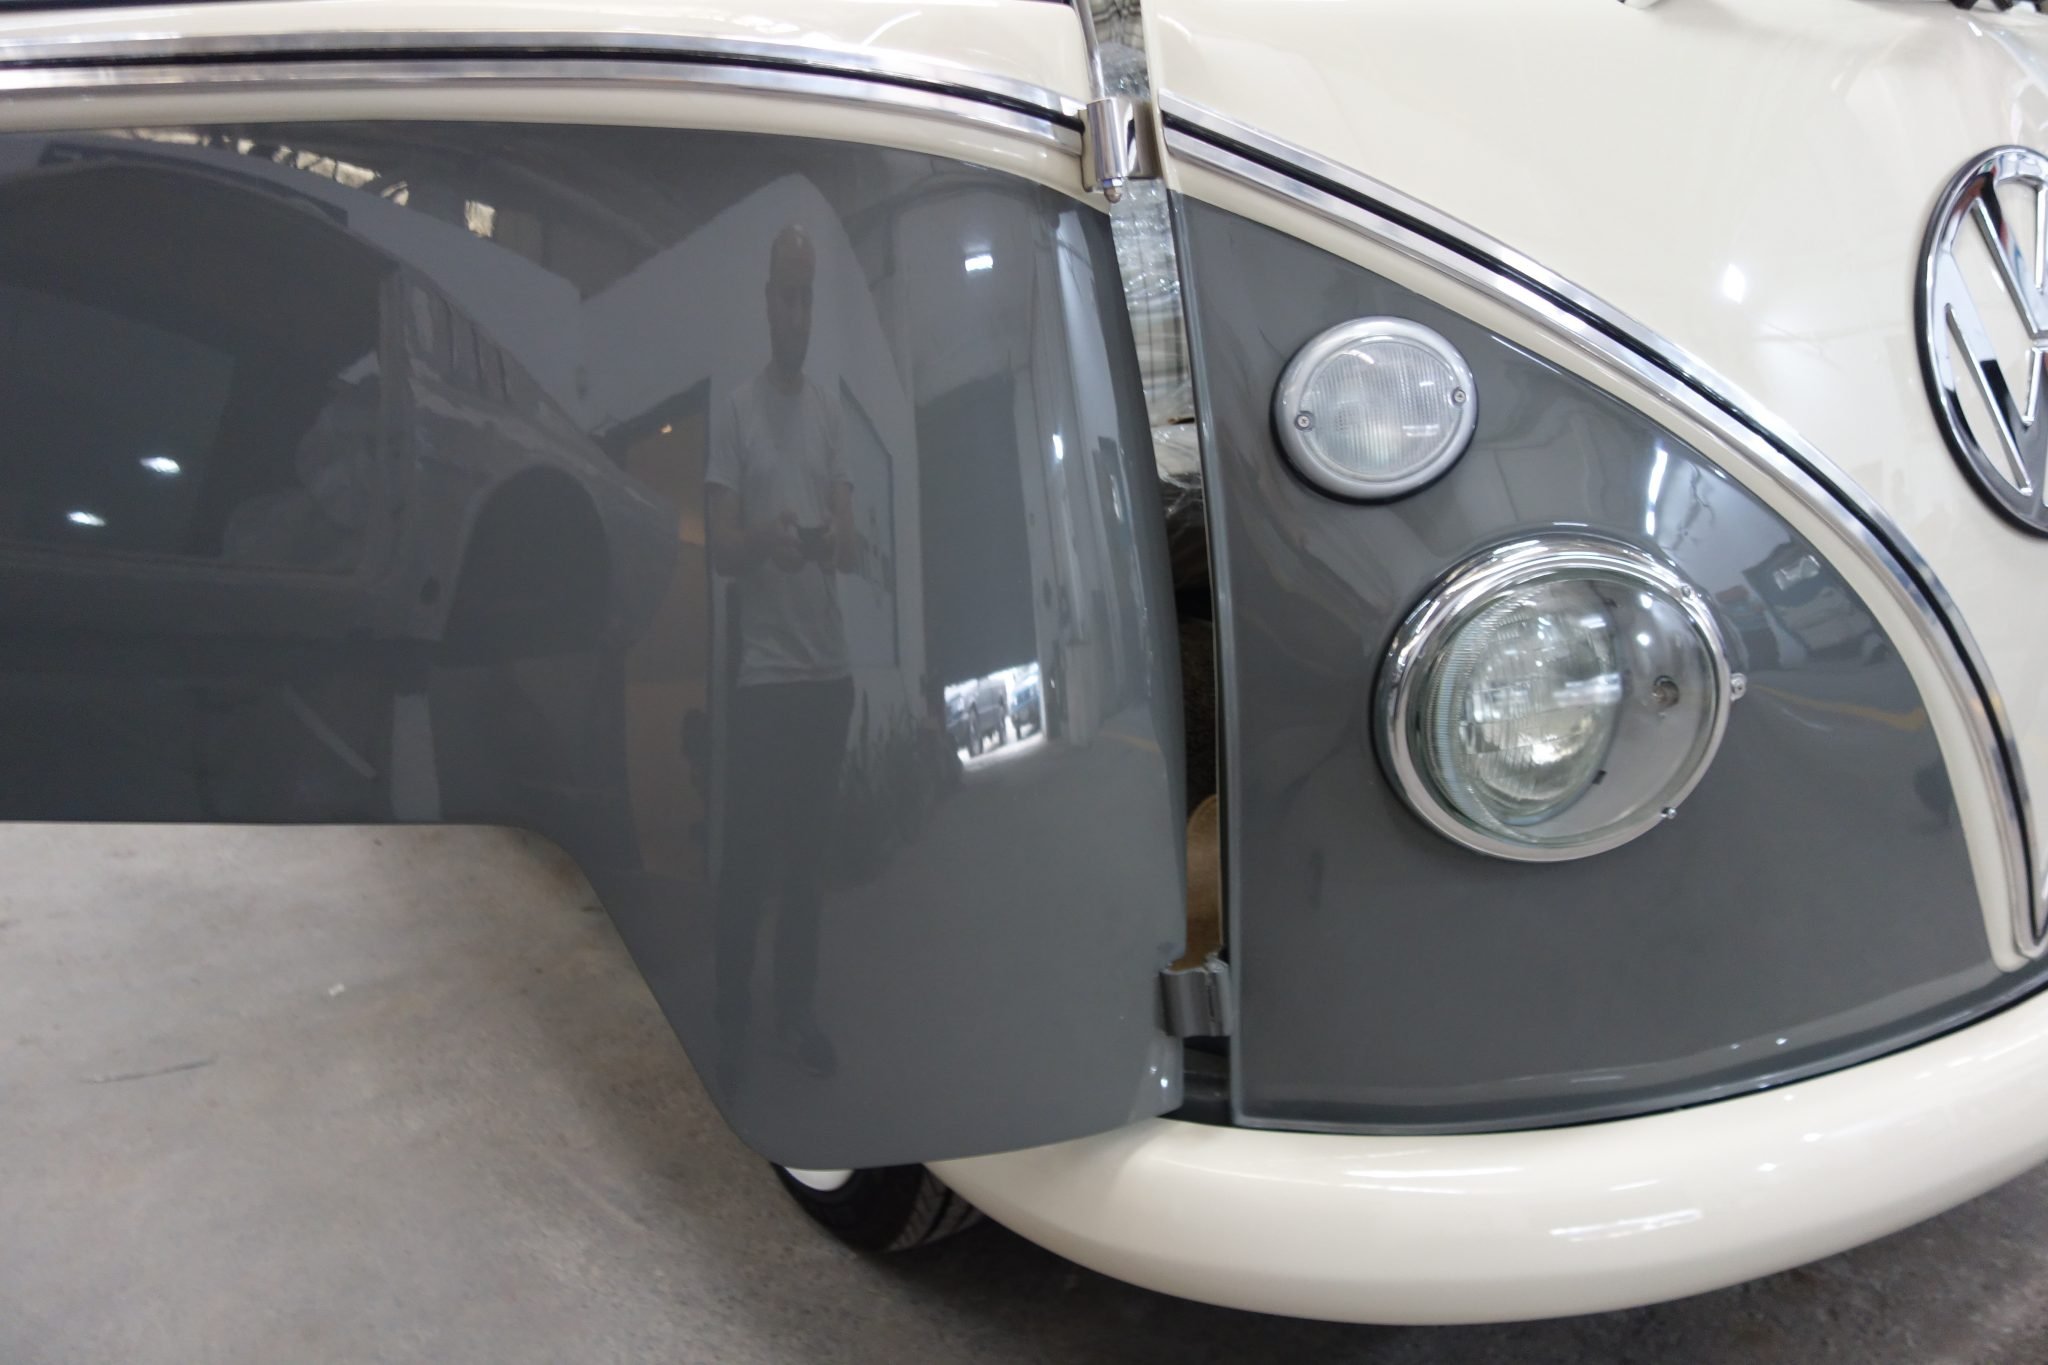
Stage 3: Front panels and wheel arches
In this case the front panels were still in rather good condition and it made sense to restore them to their original state rather than replacing them. We always attempt to maintain as much of the bus’s originality as possible.


Stage 4: Interior frame
Even though the interior get covered with furniture and camping appliances, we still ensure the interior structure is sound and completely restored. The devil is in the details and in many cases the details are hidden. But we know we do the best job on every bus possible.


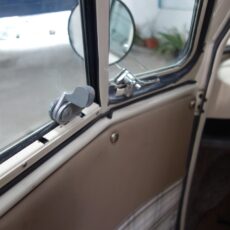
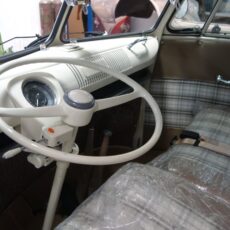
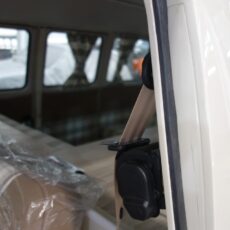
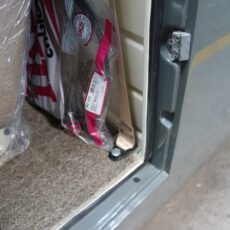
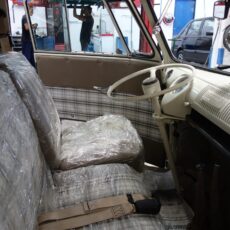
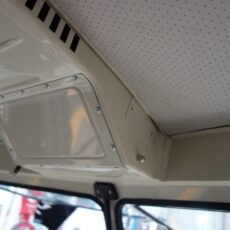
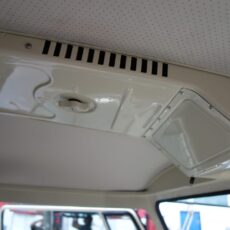
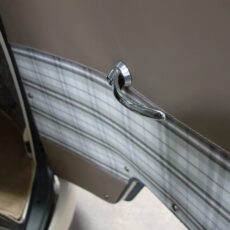
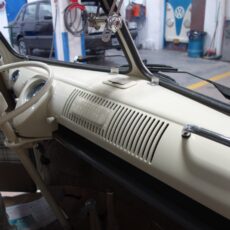
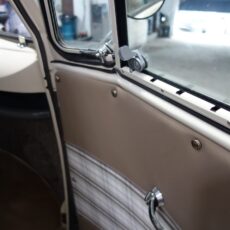
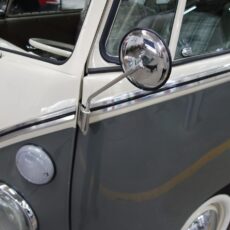
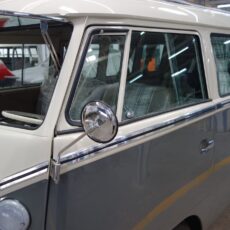
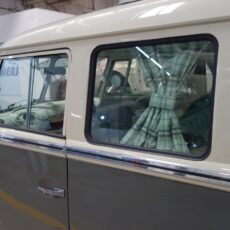
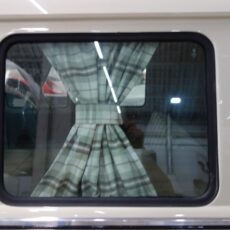
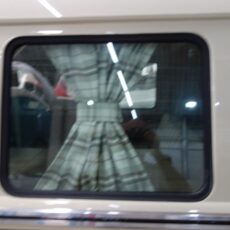
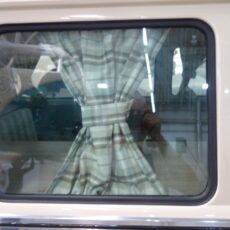
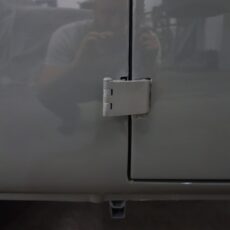
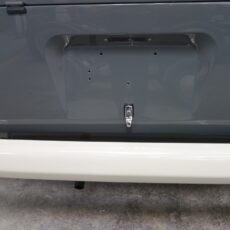
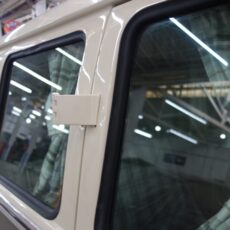
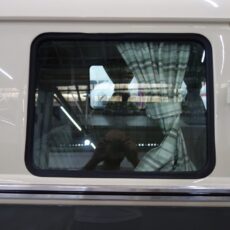
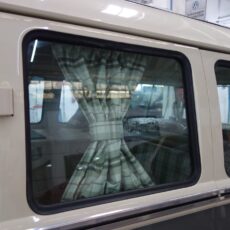
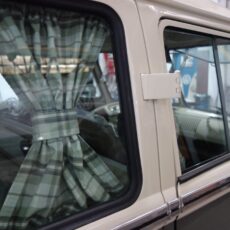
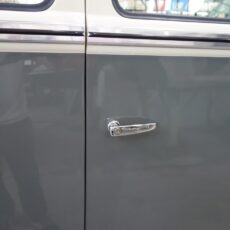
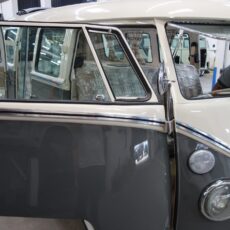
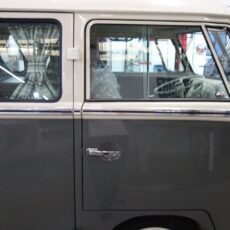
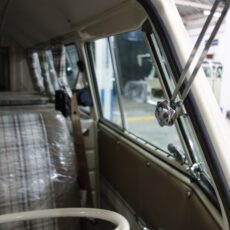
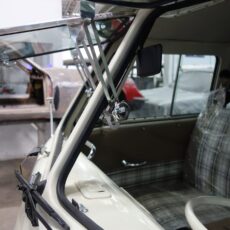
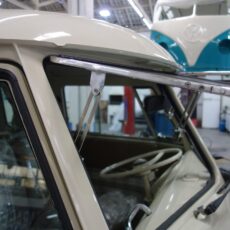
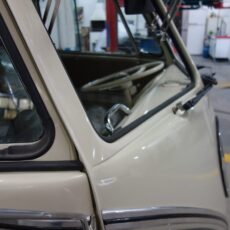
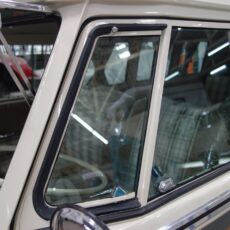
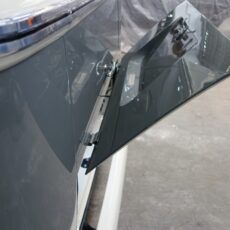
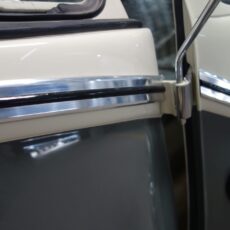
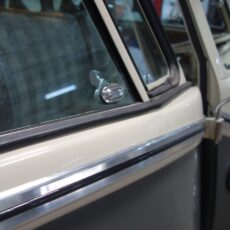
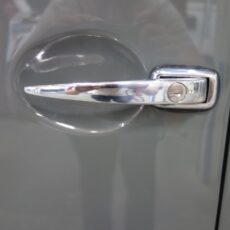
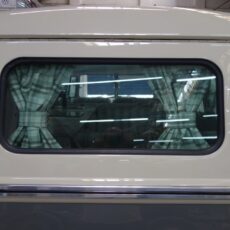
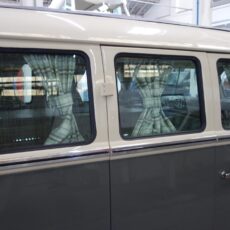
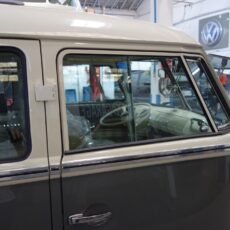
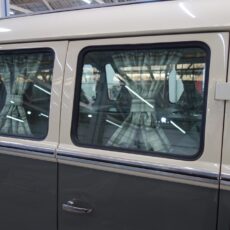
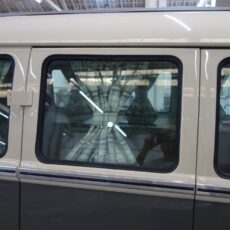
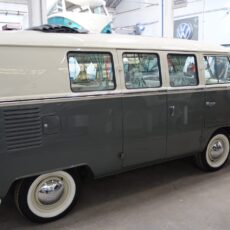
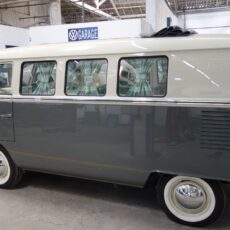
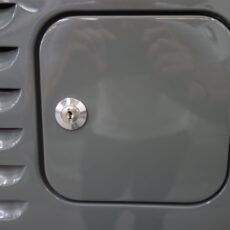
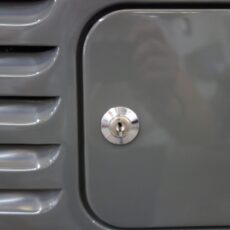
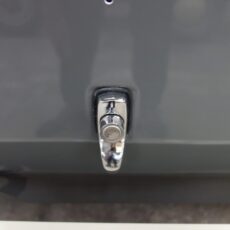
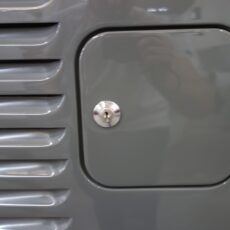
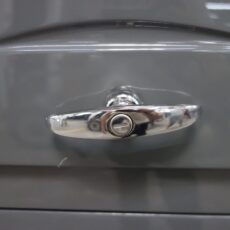
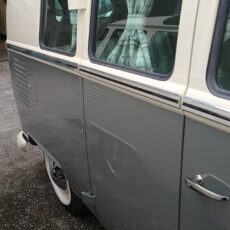
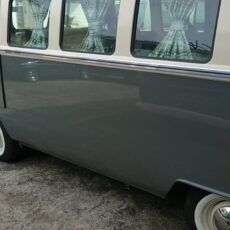
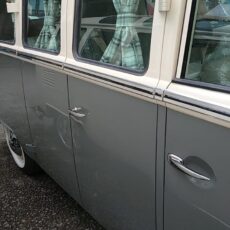
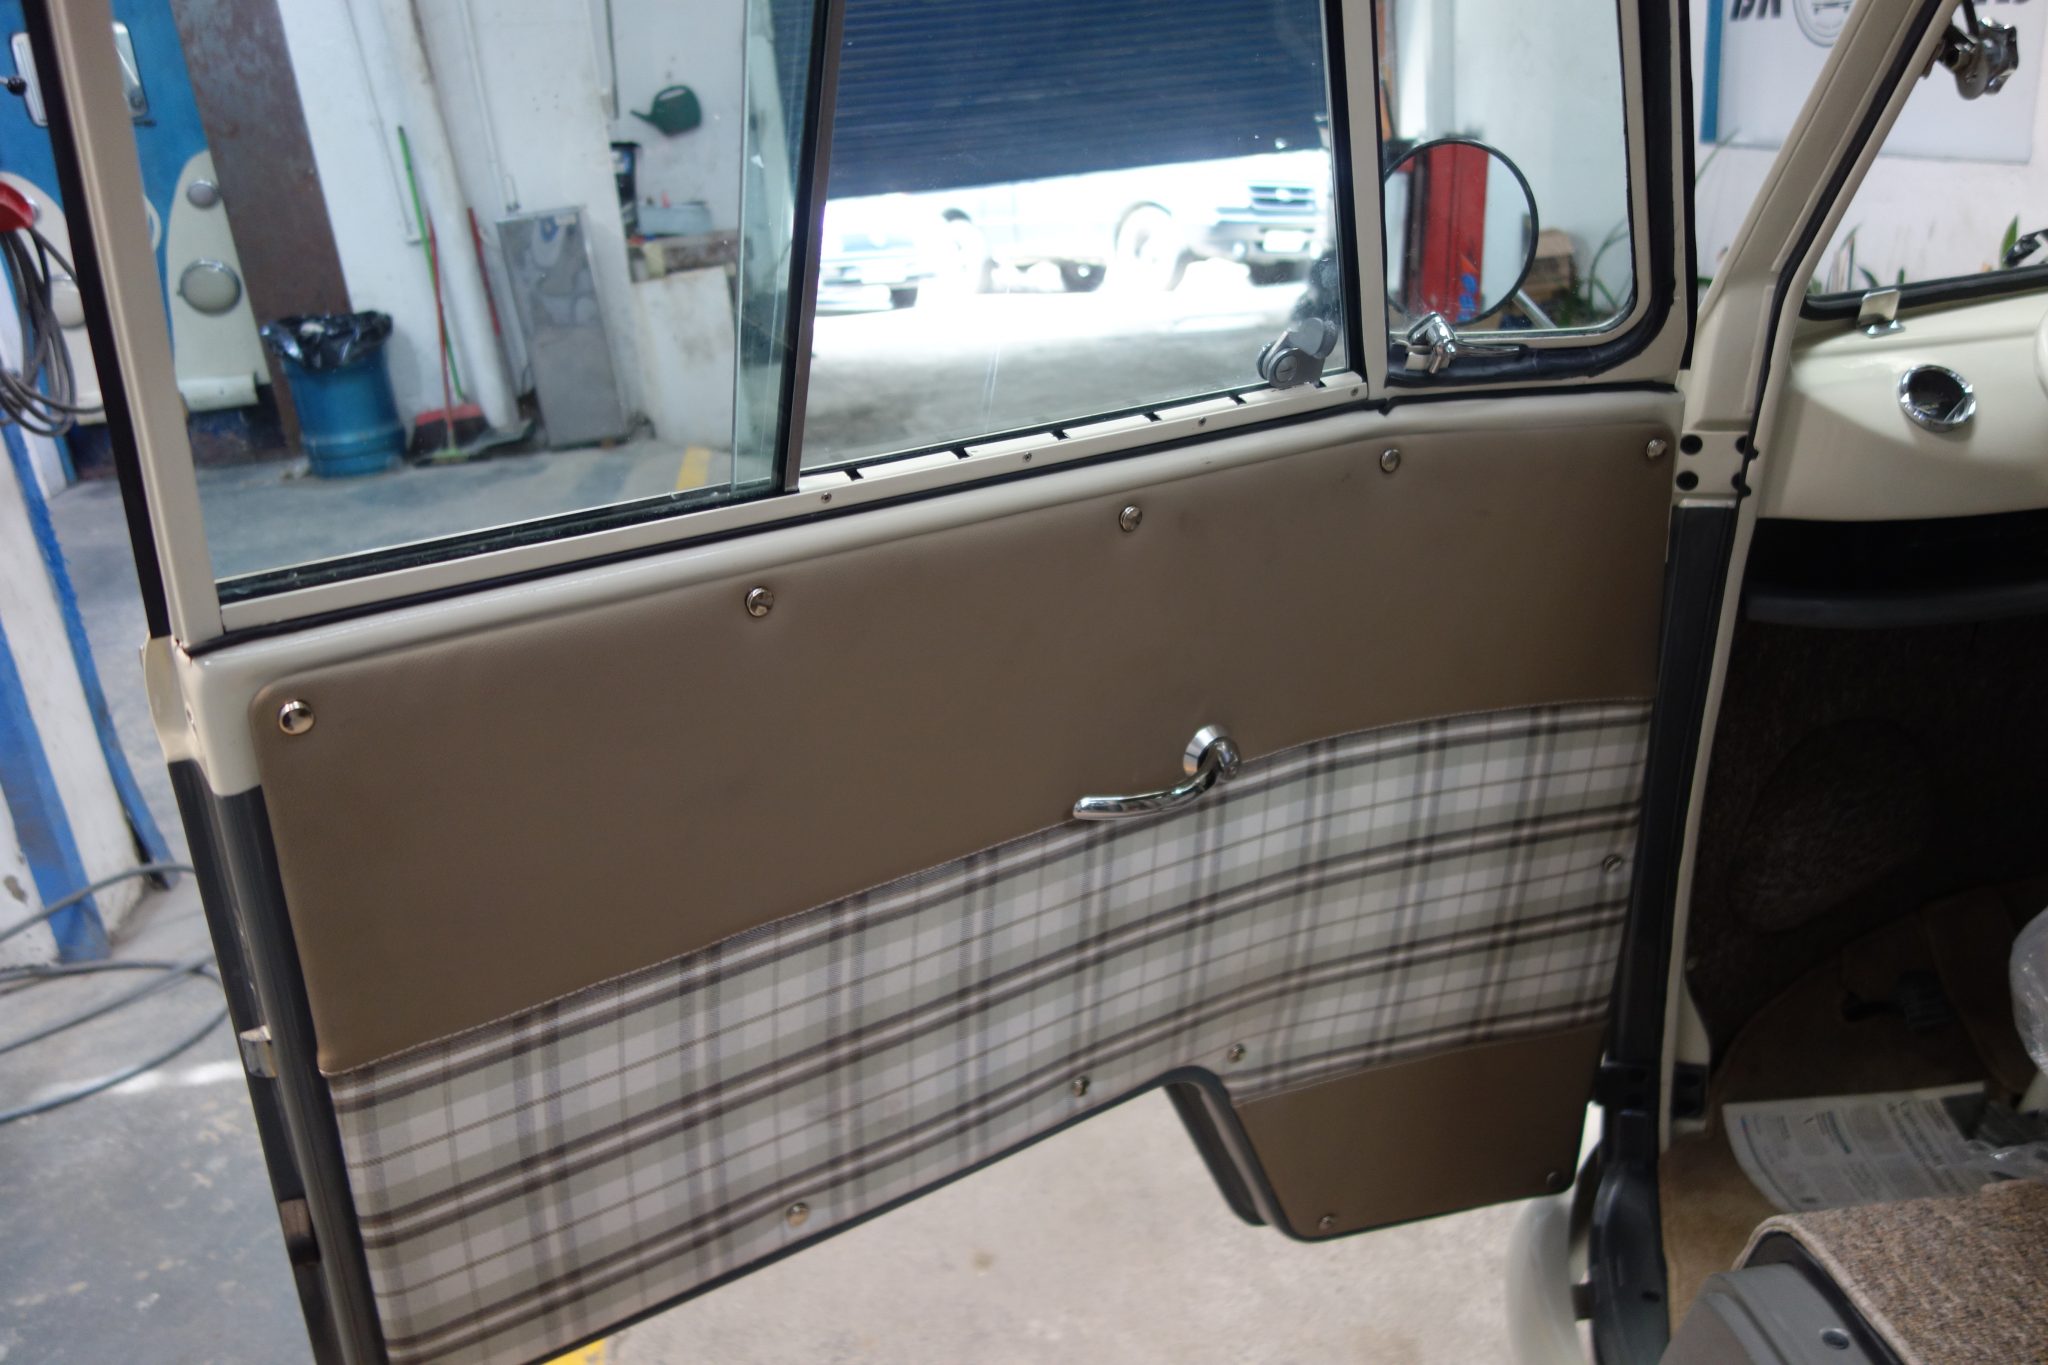
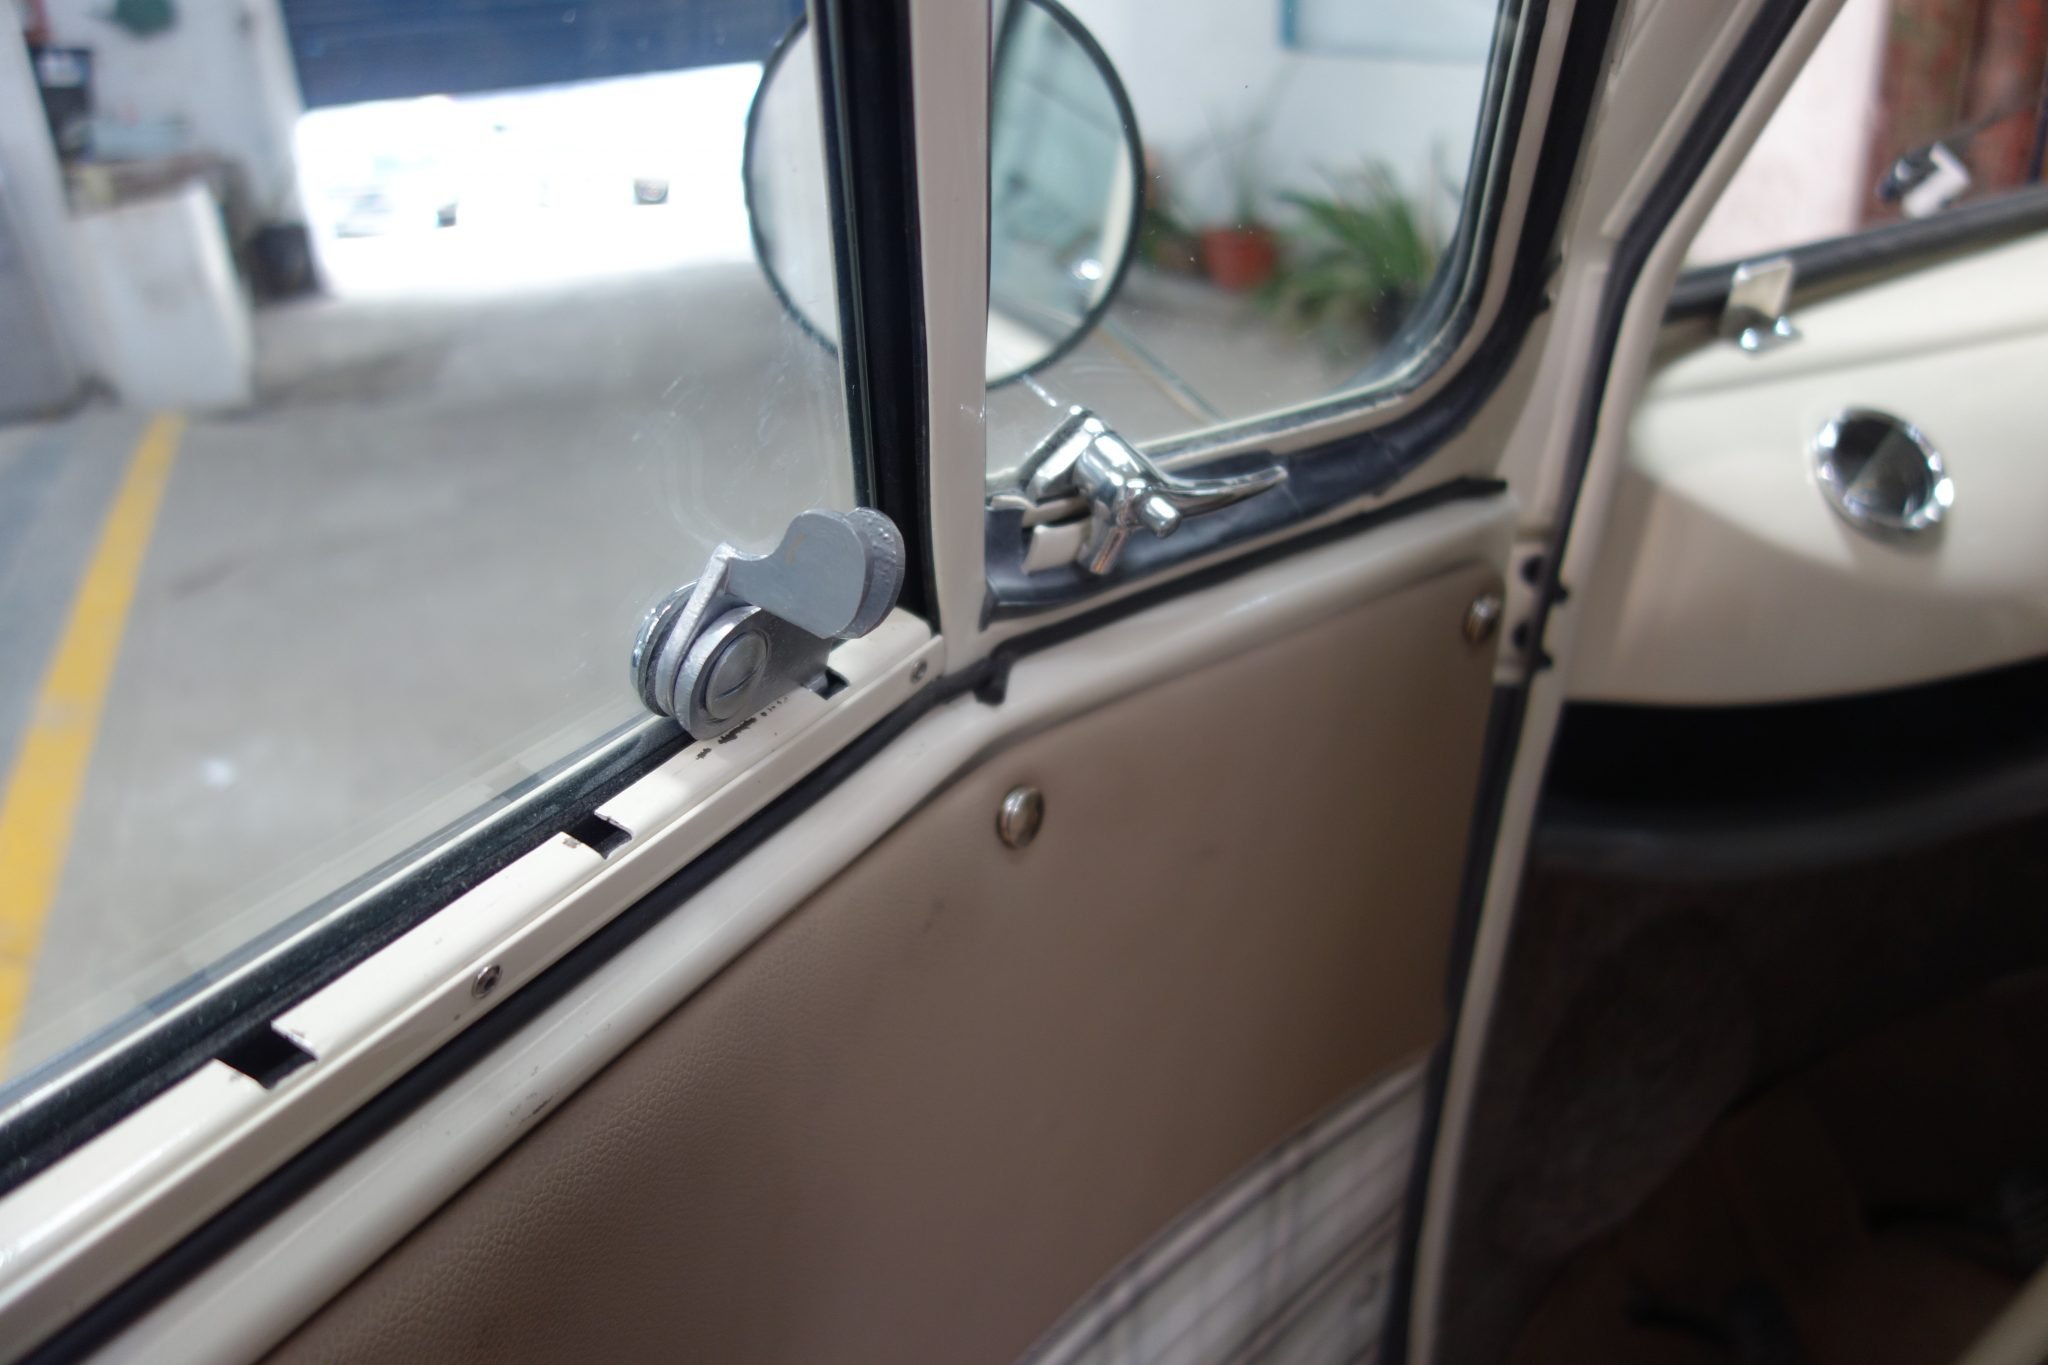
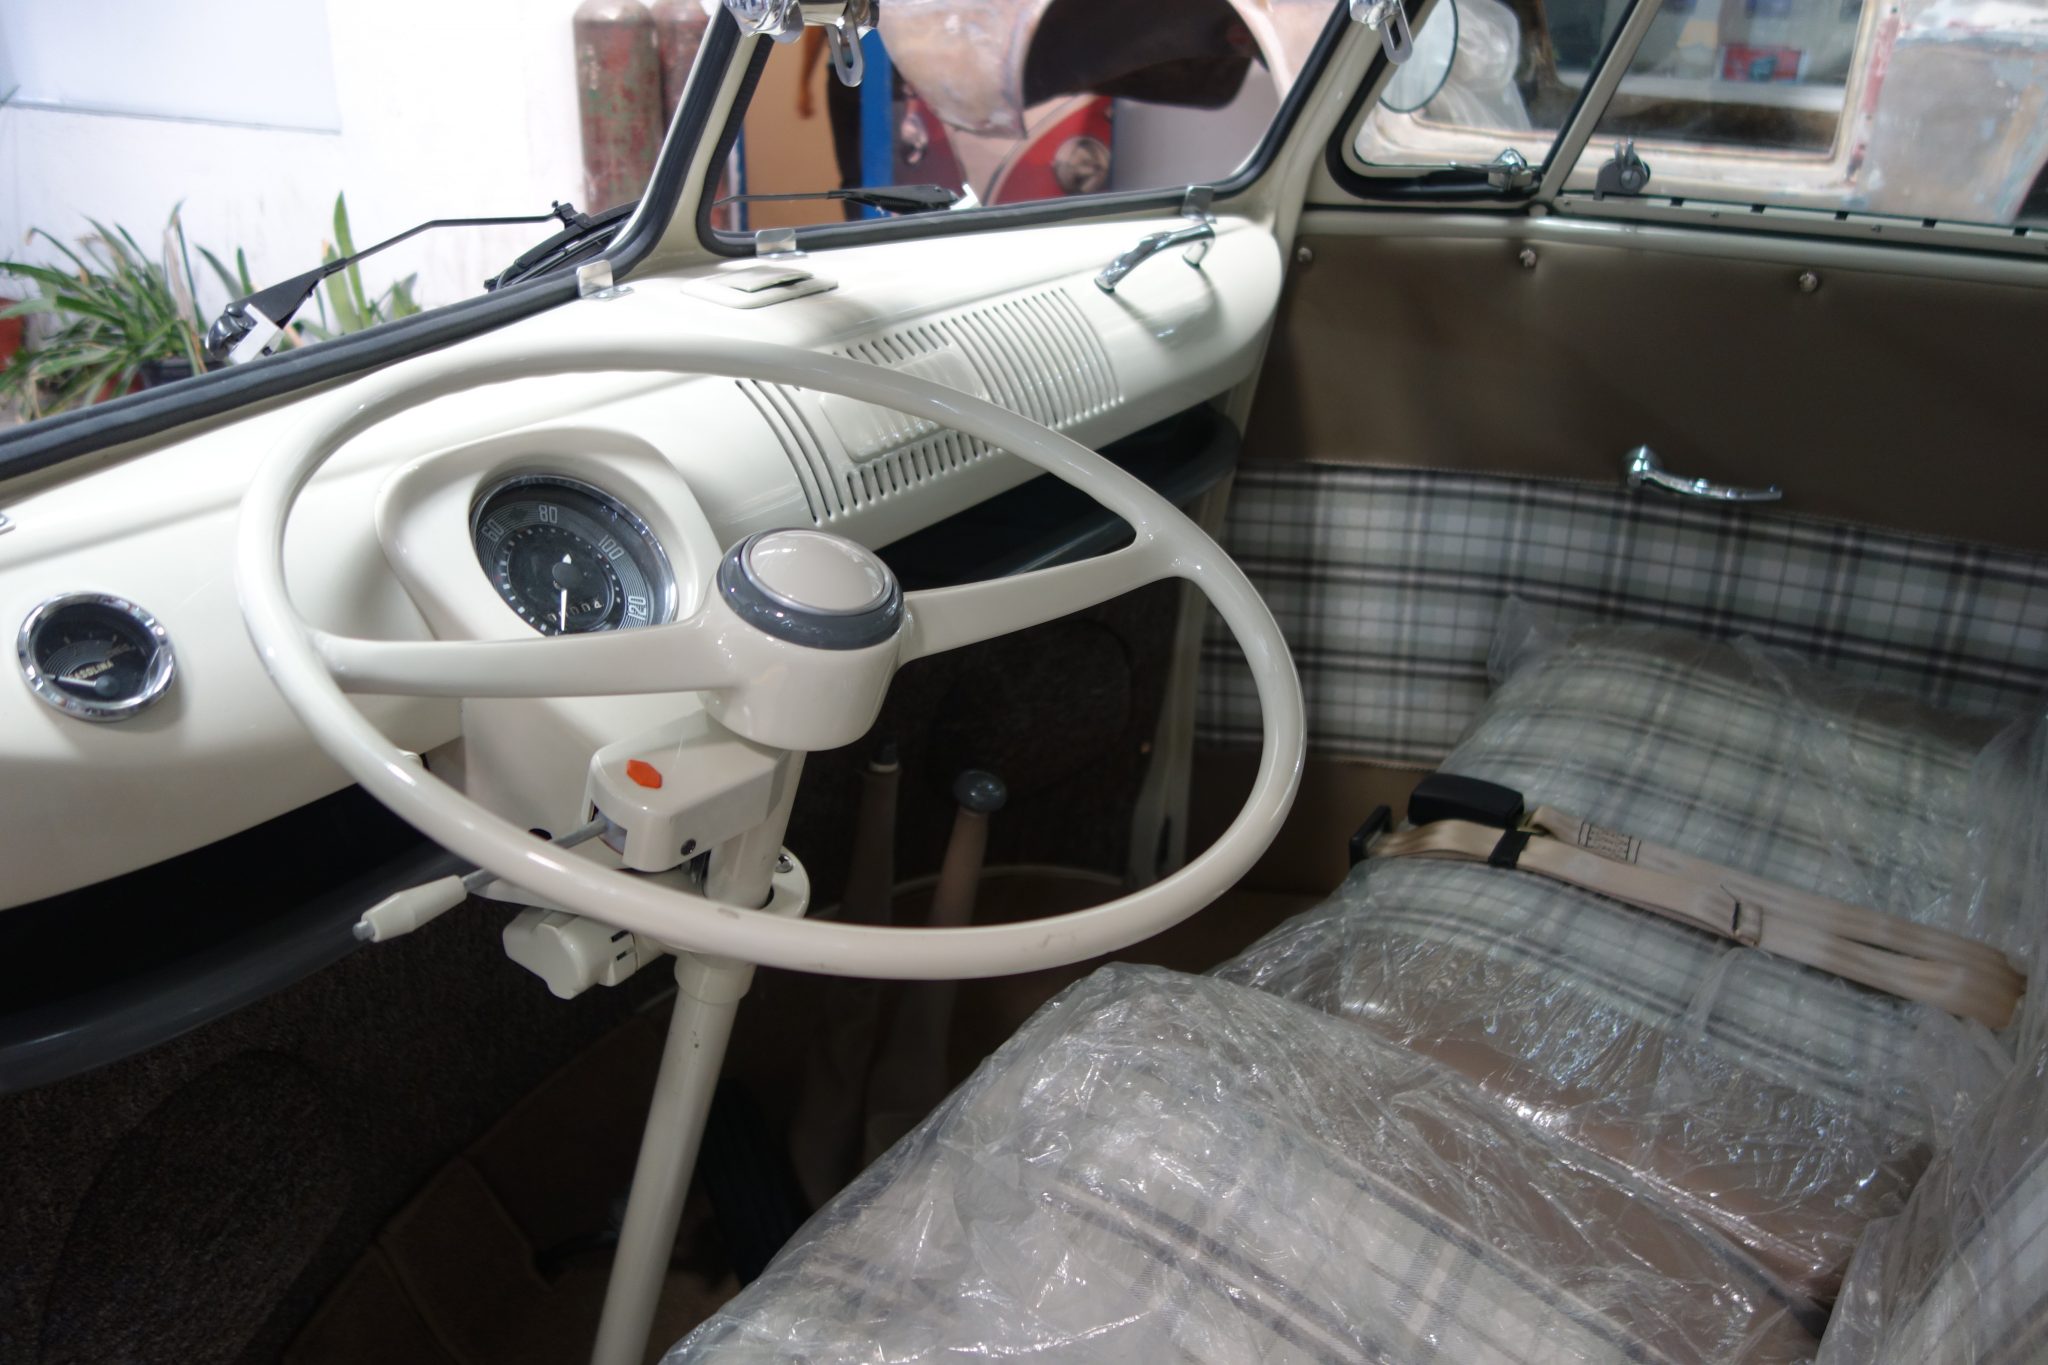
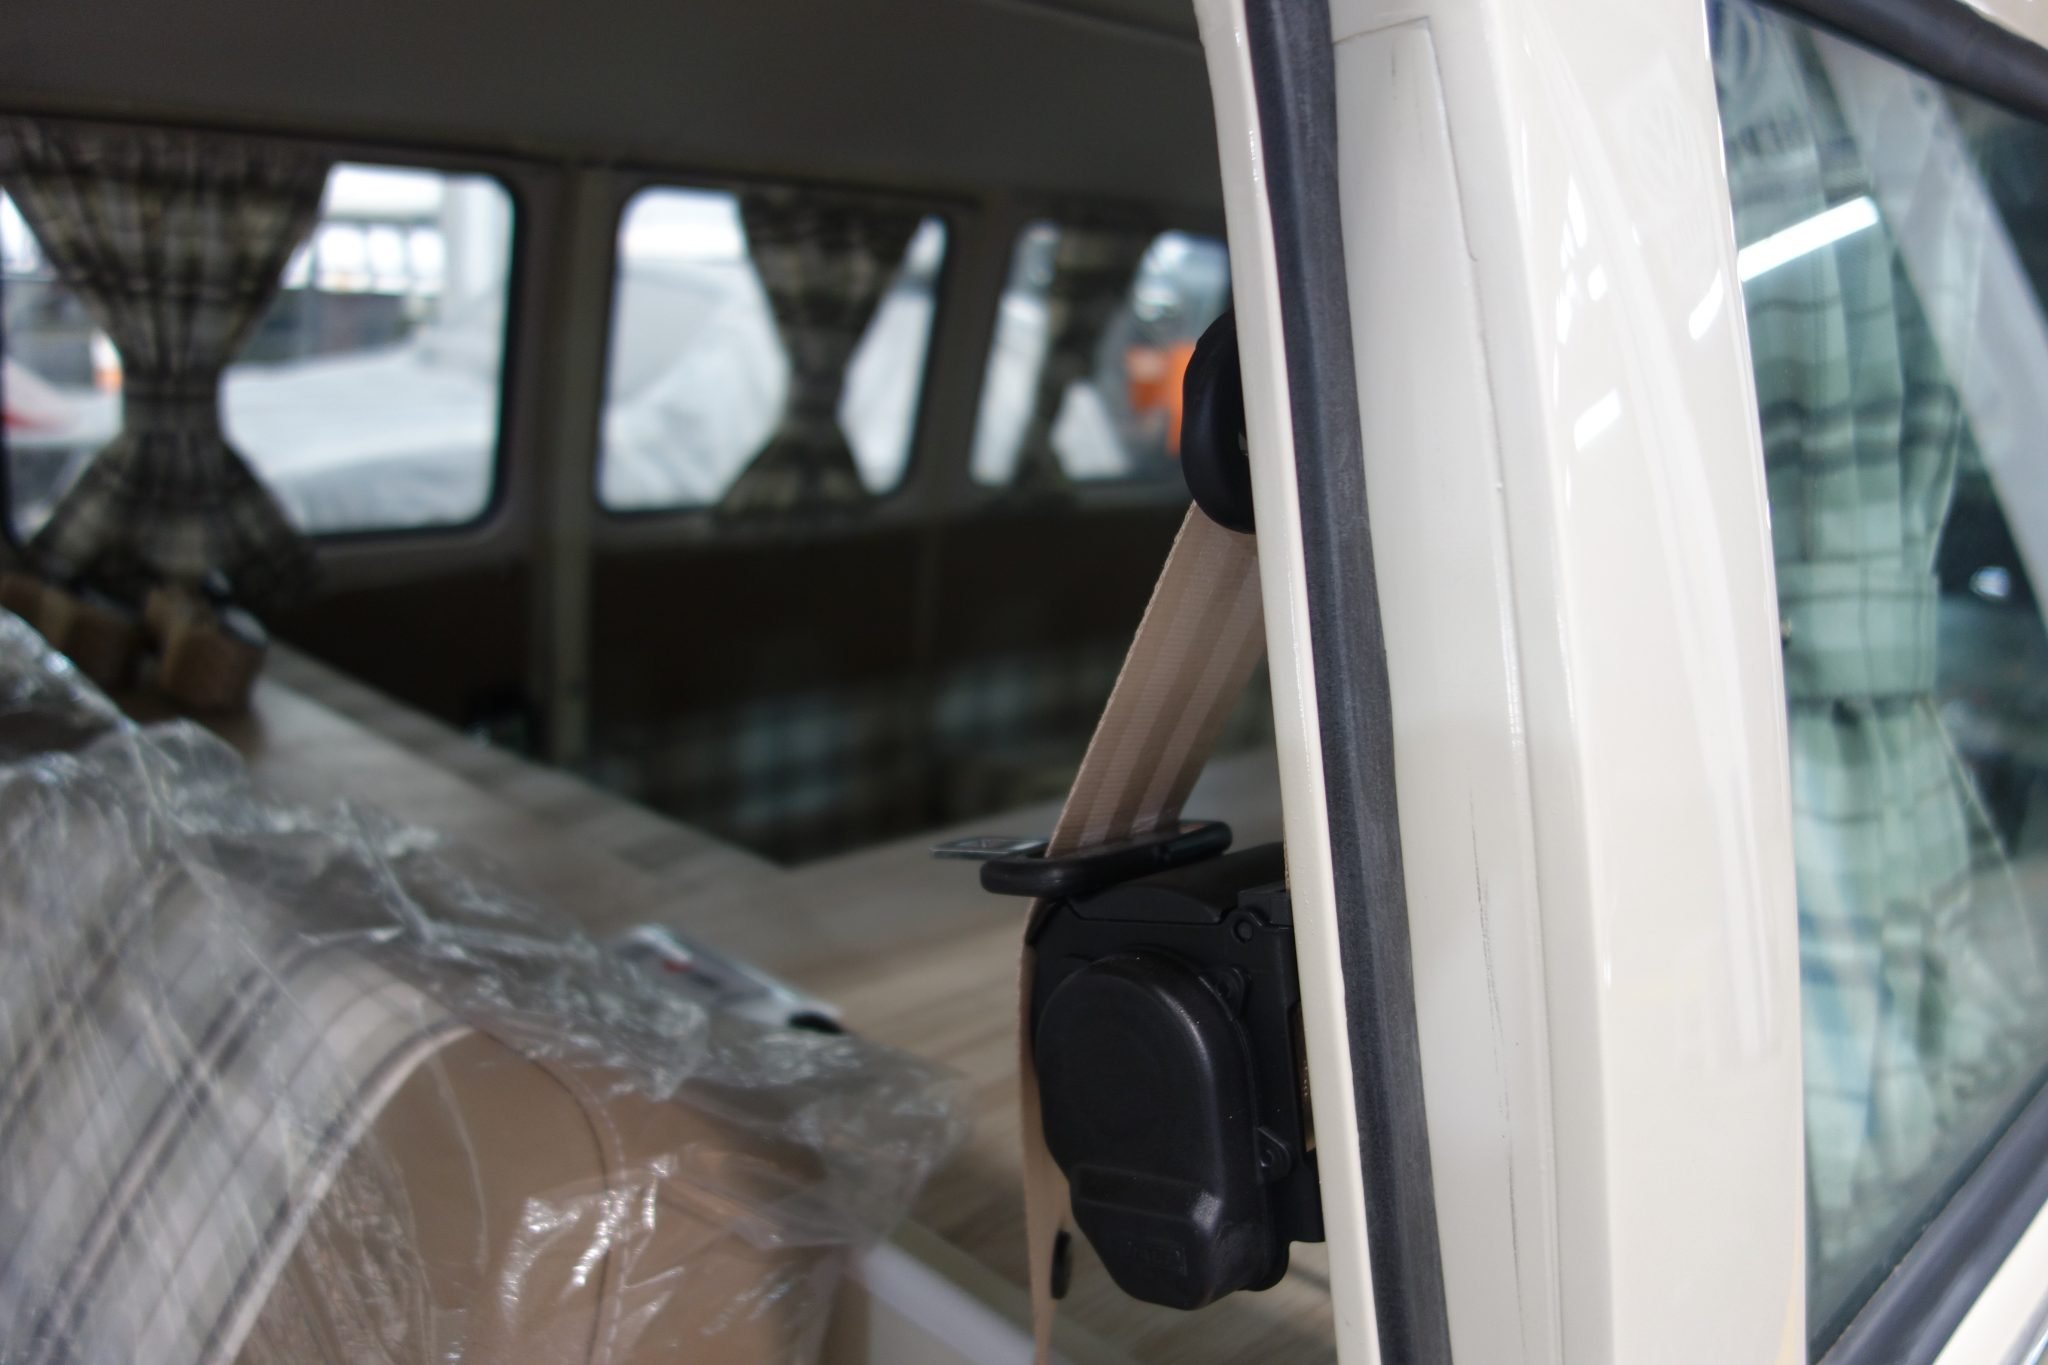
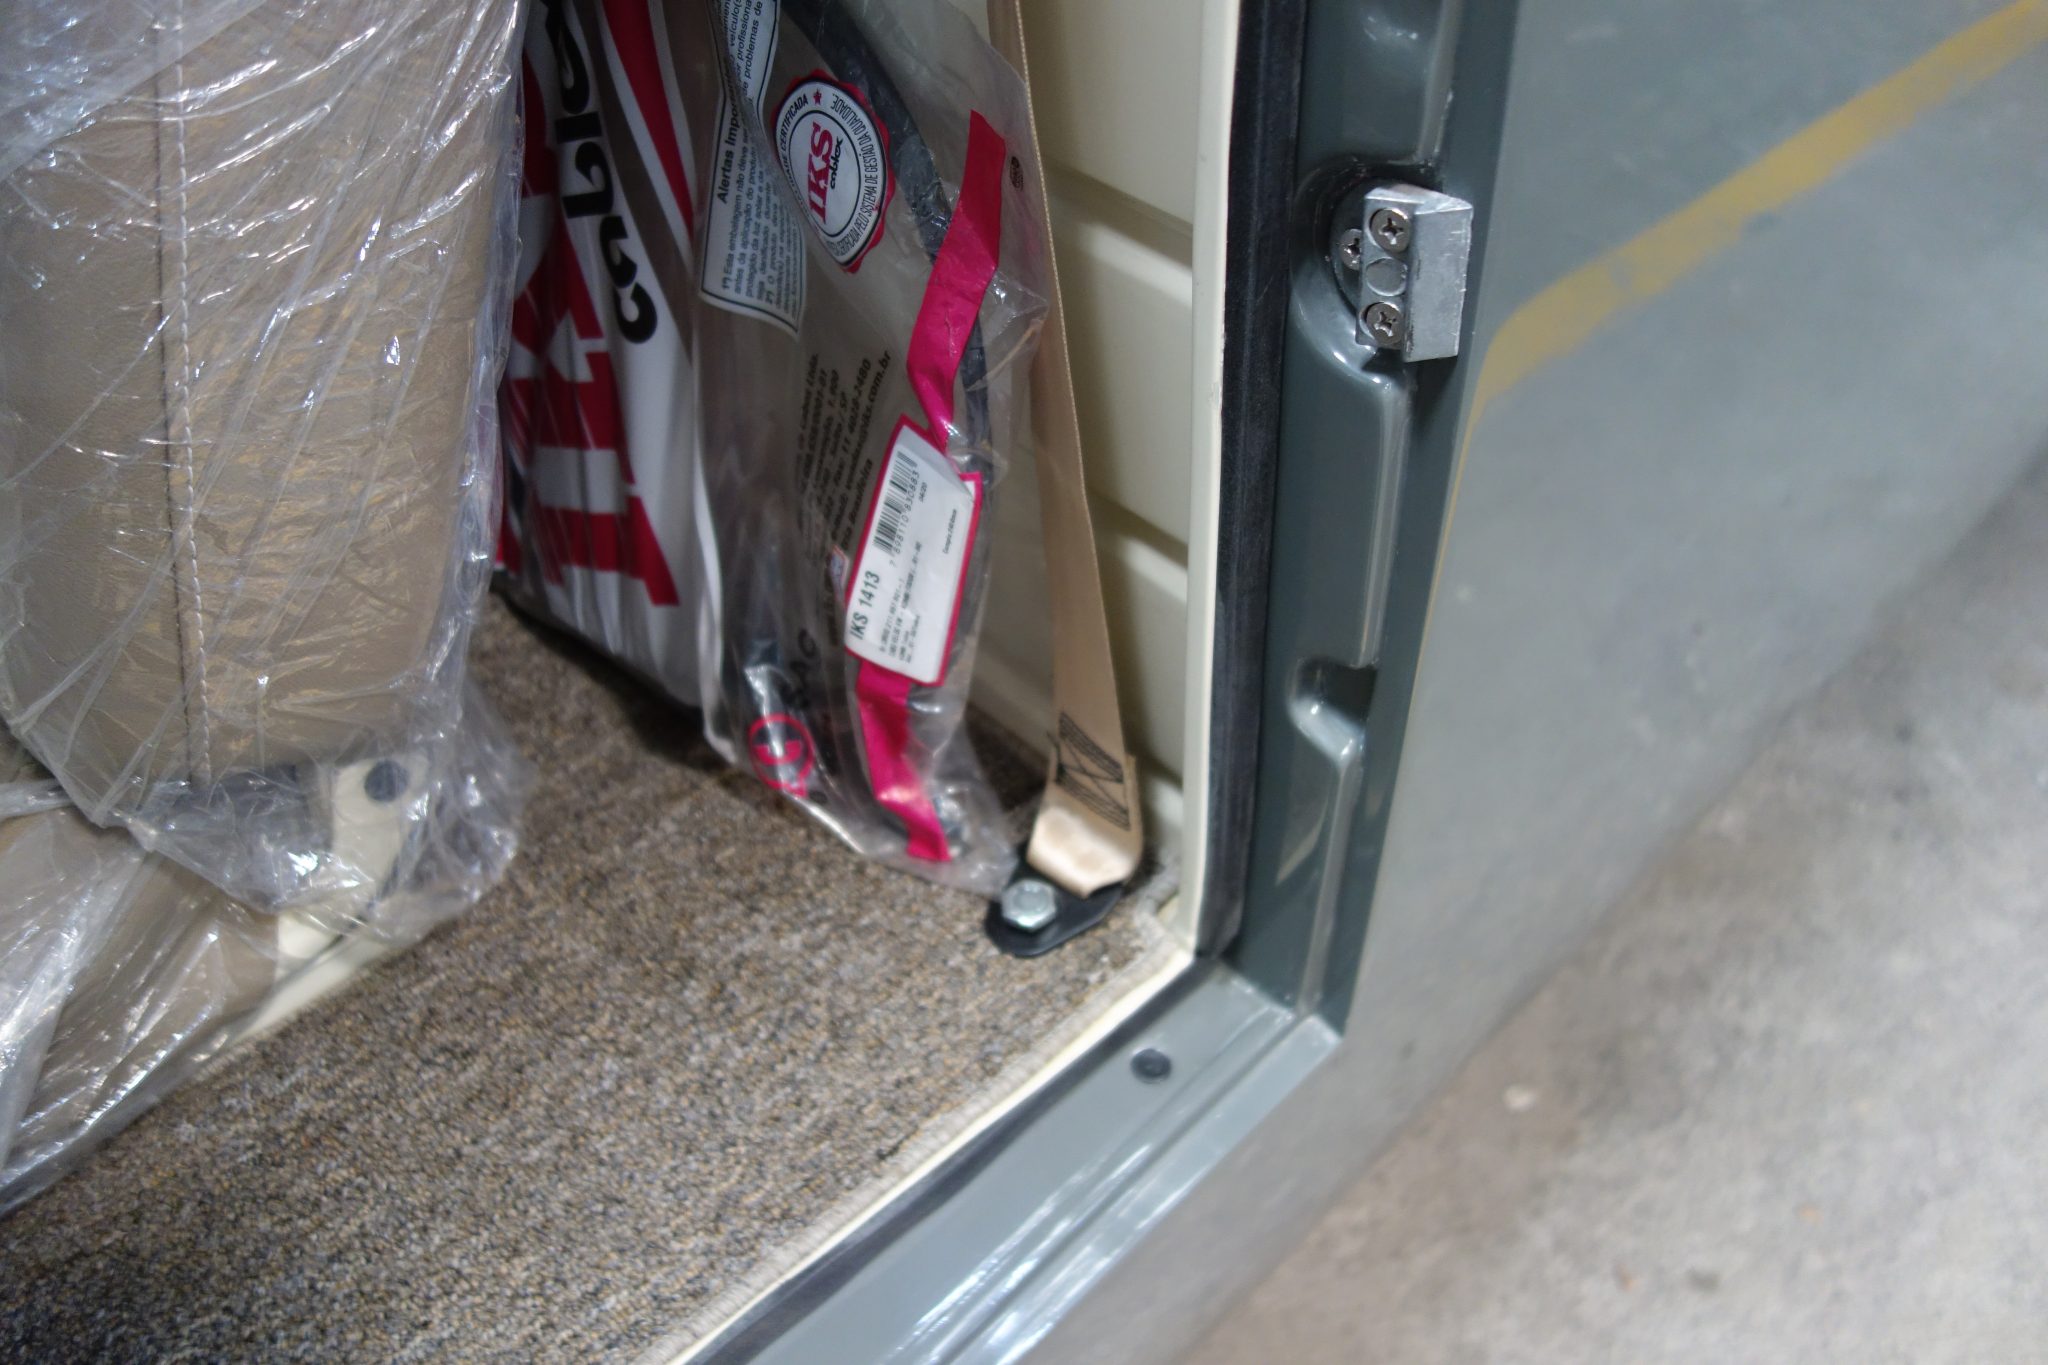
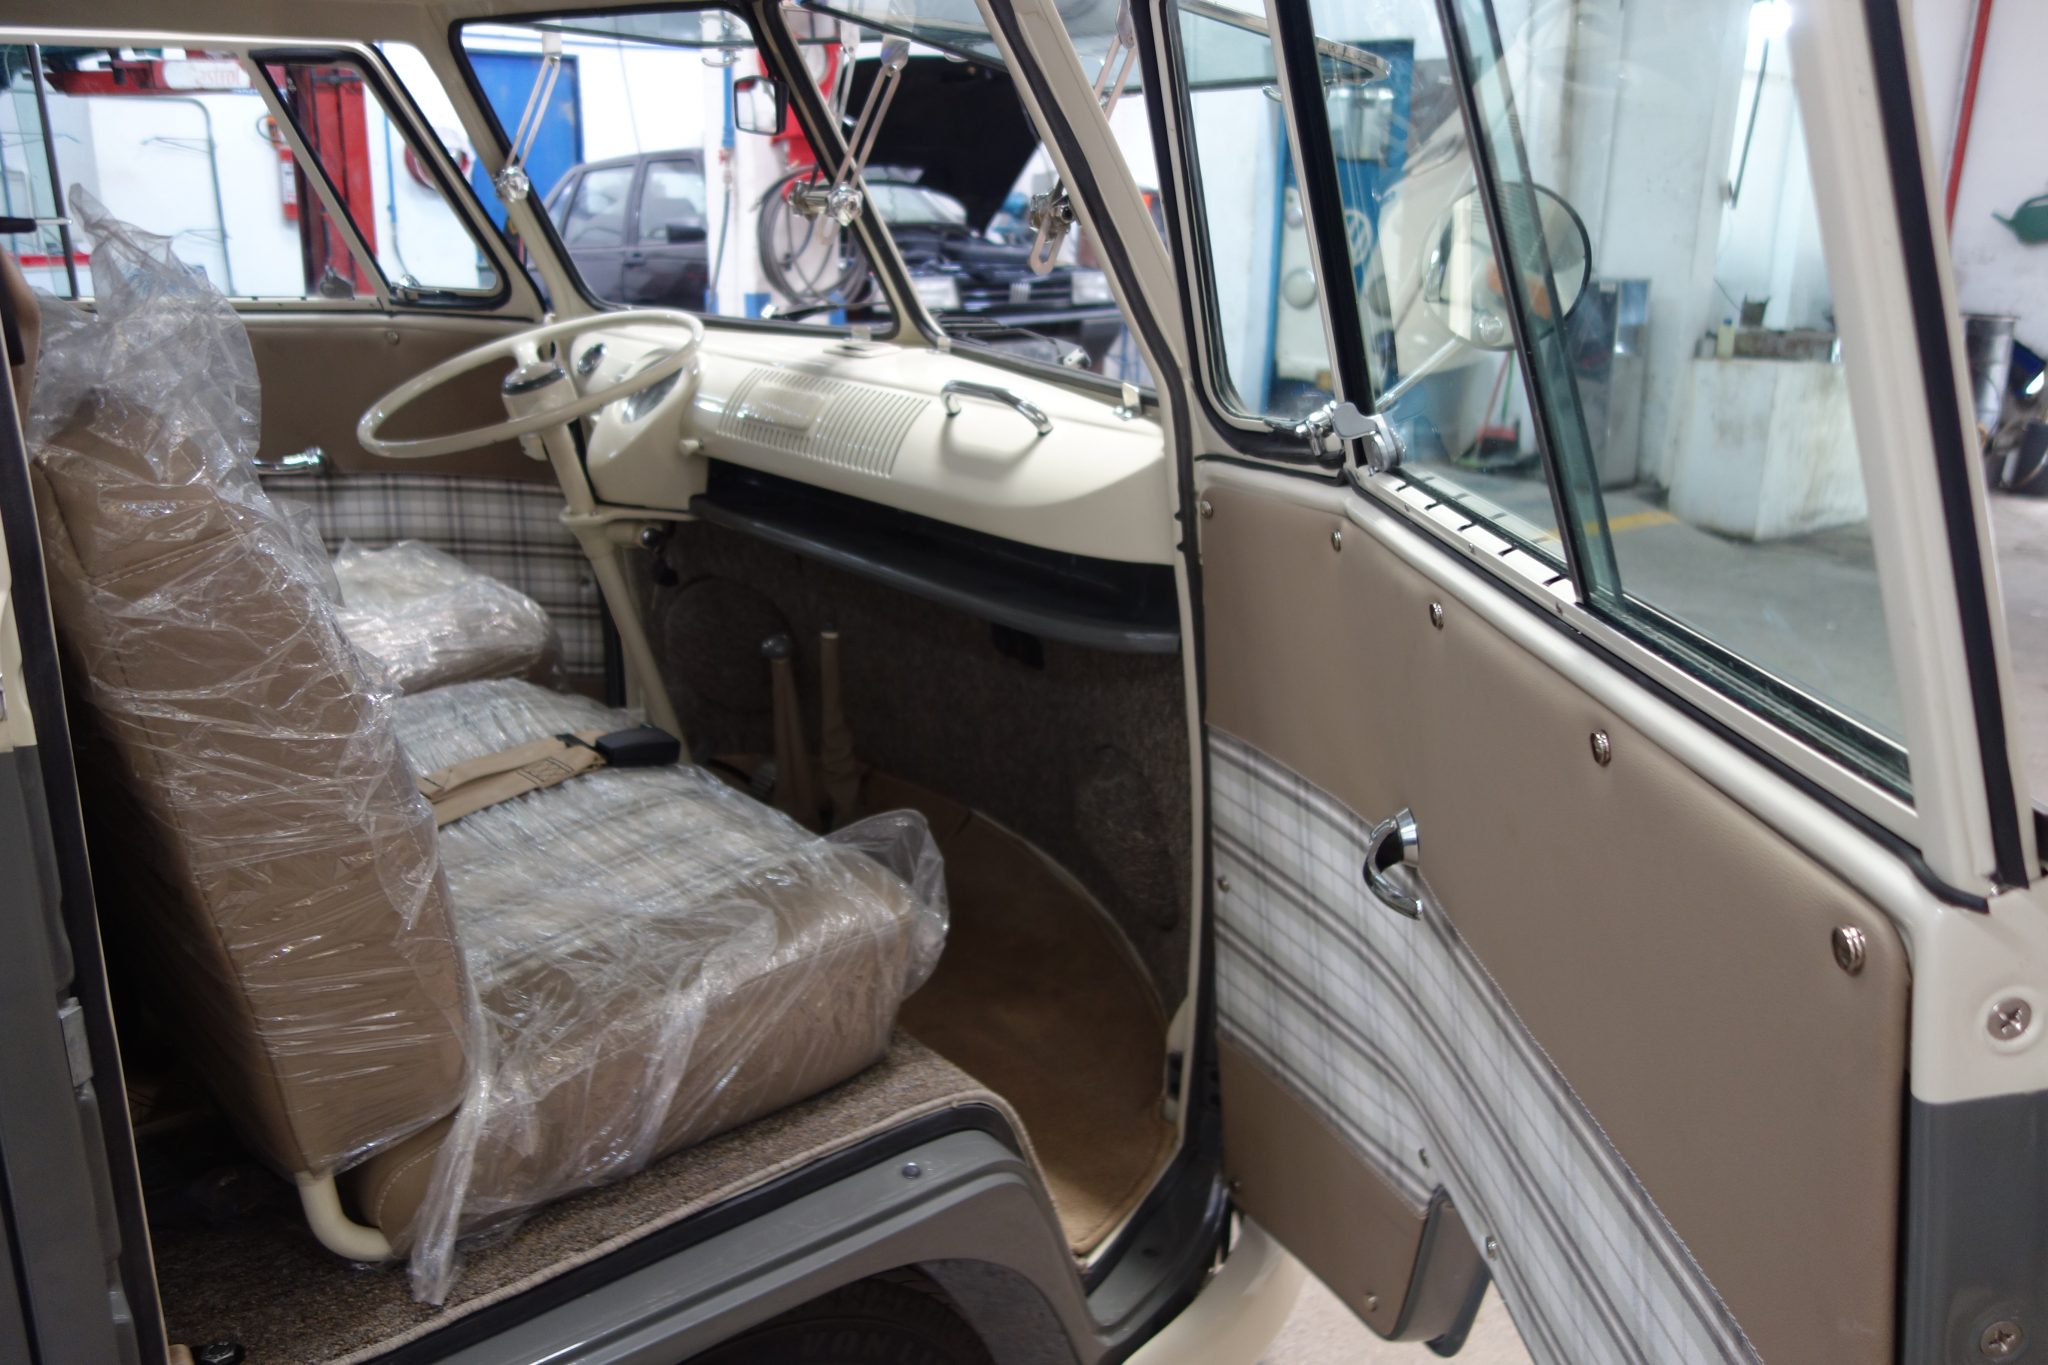
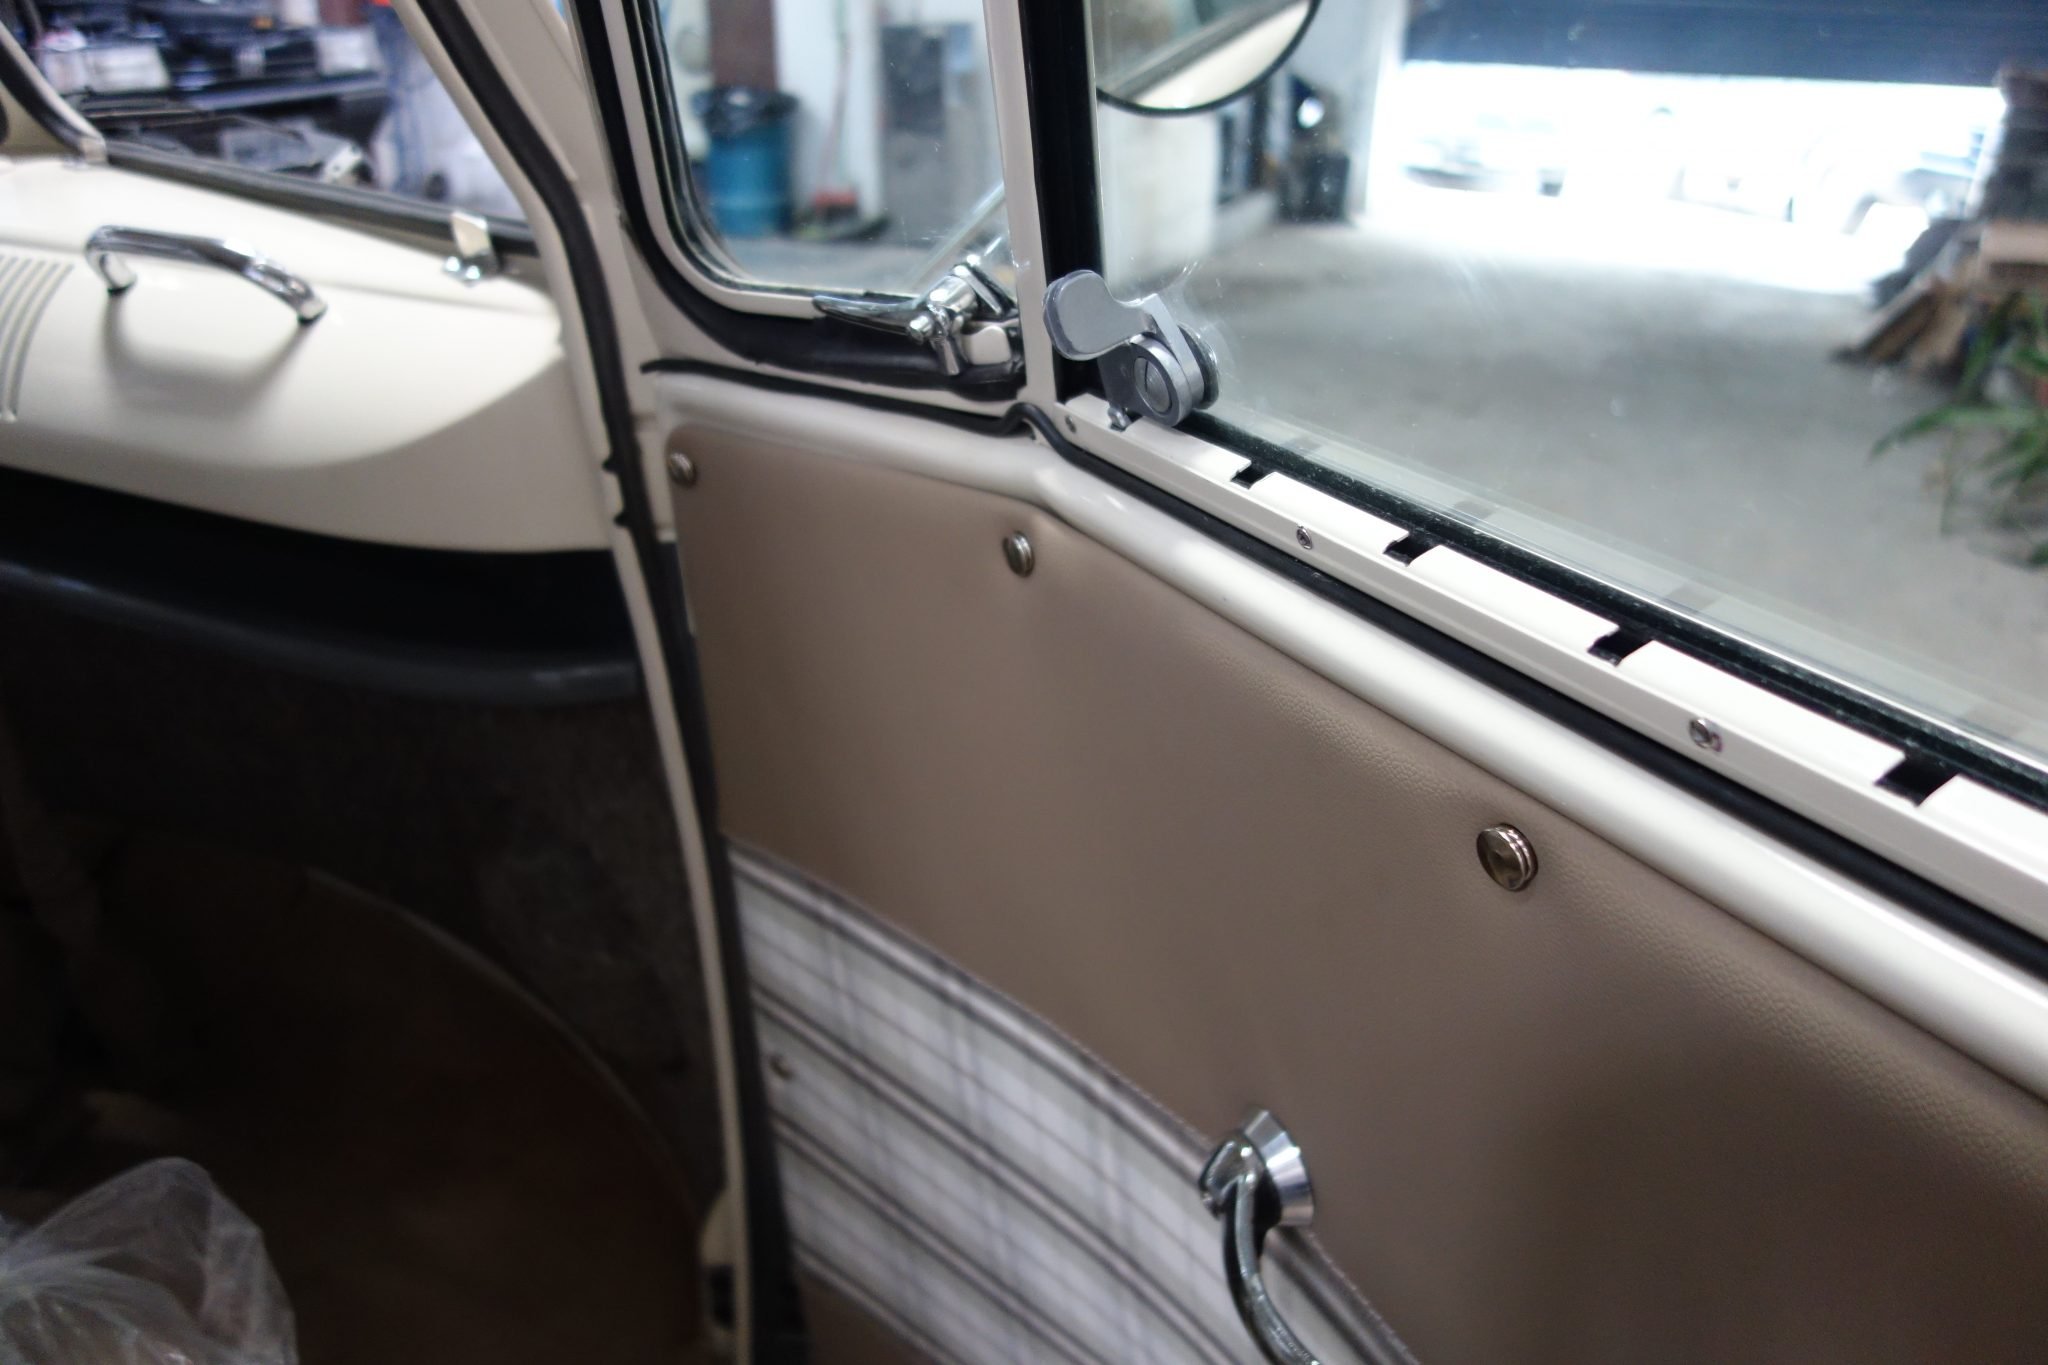
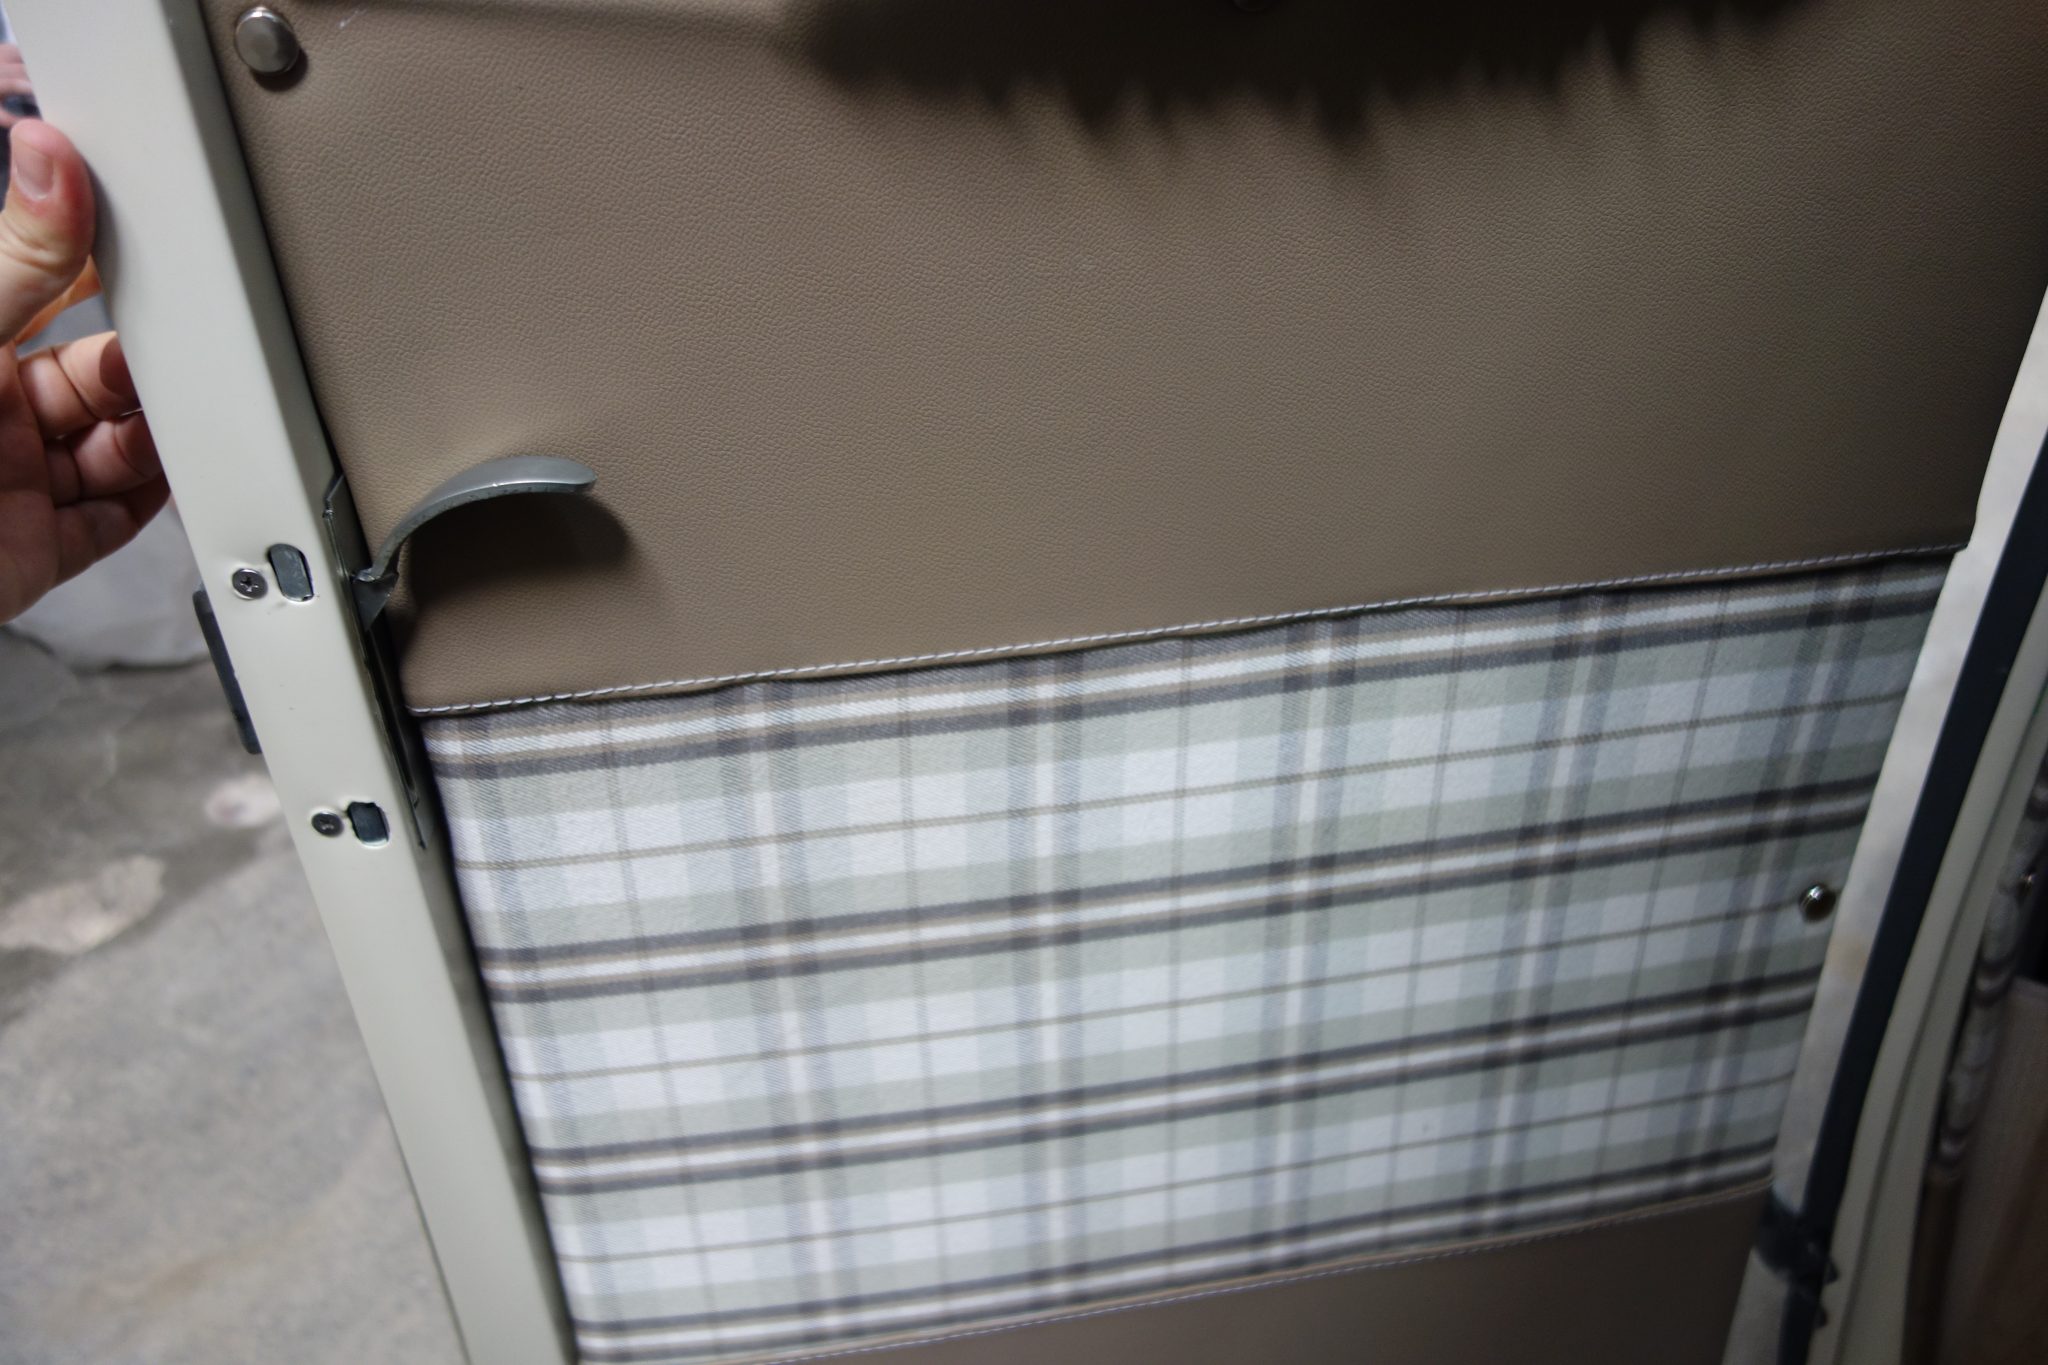
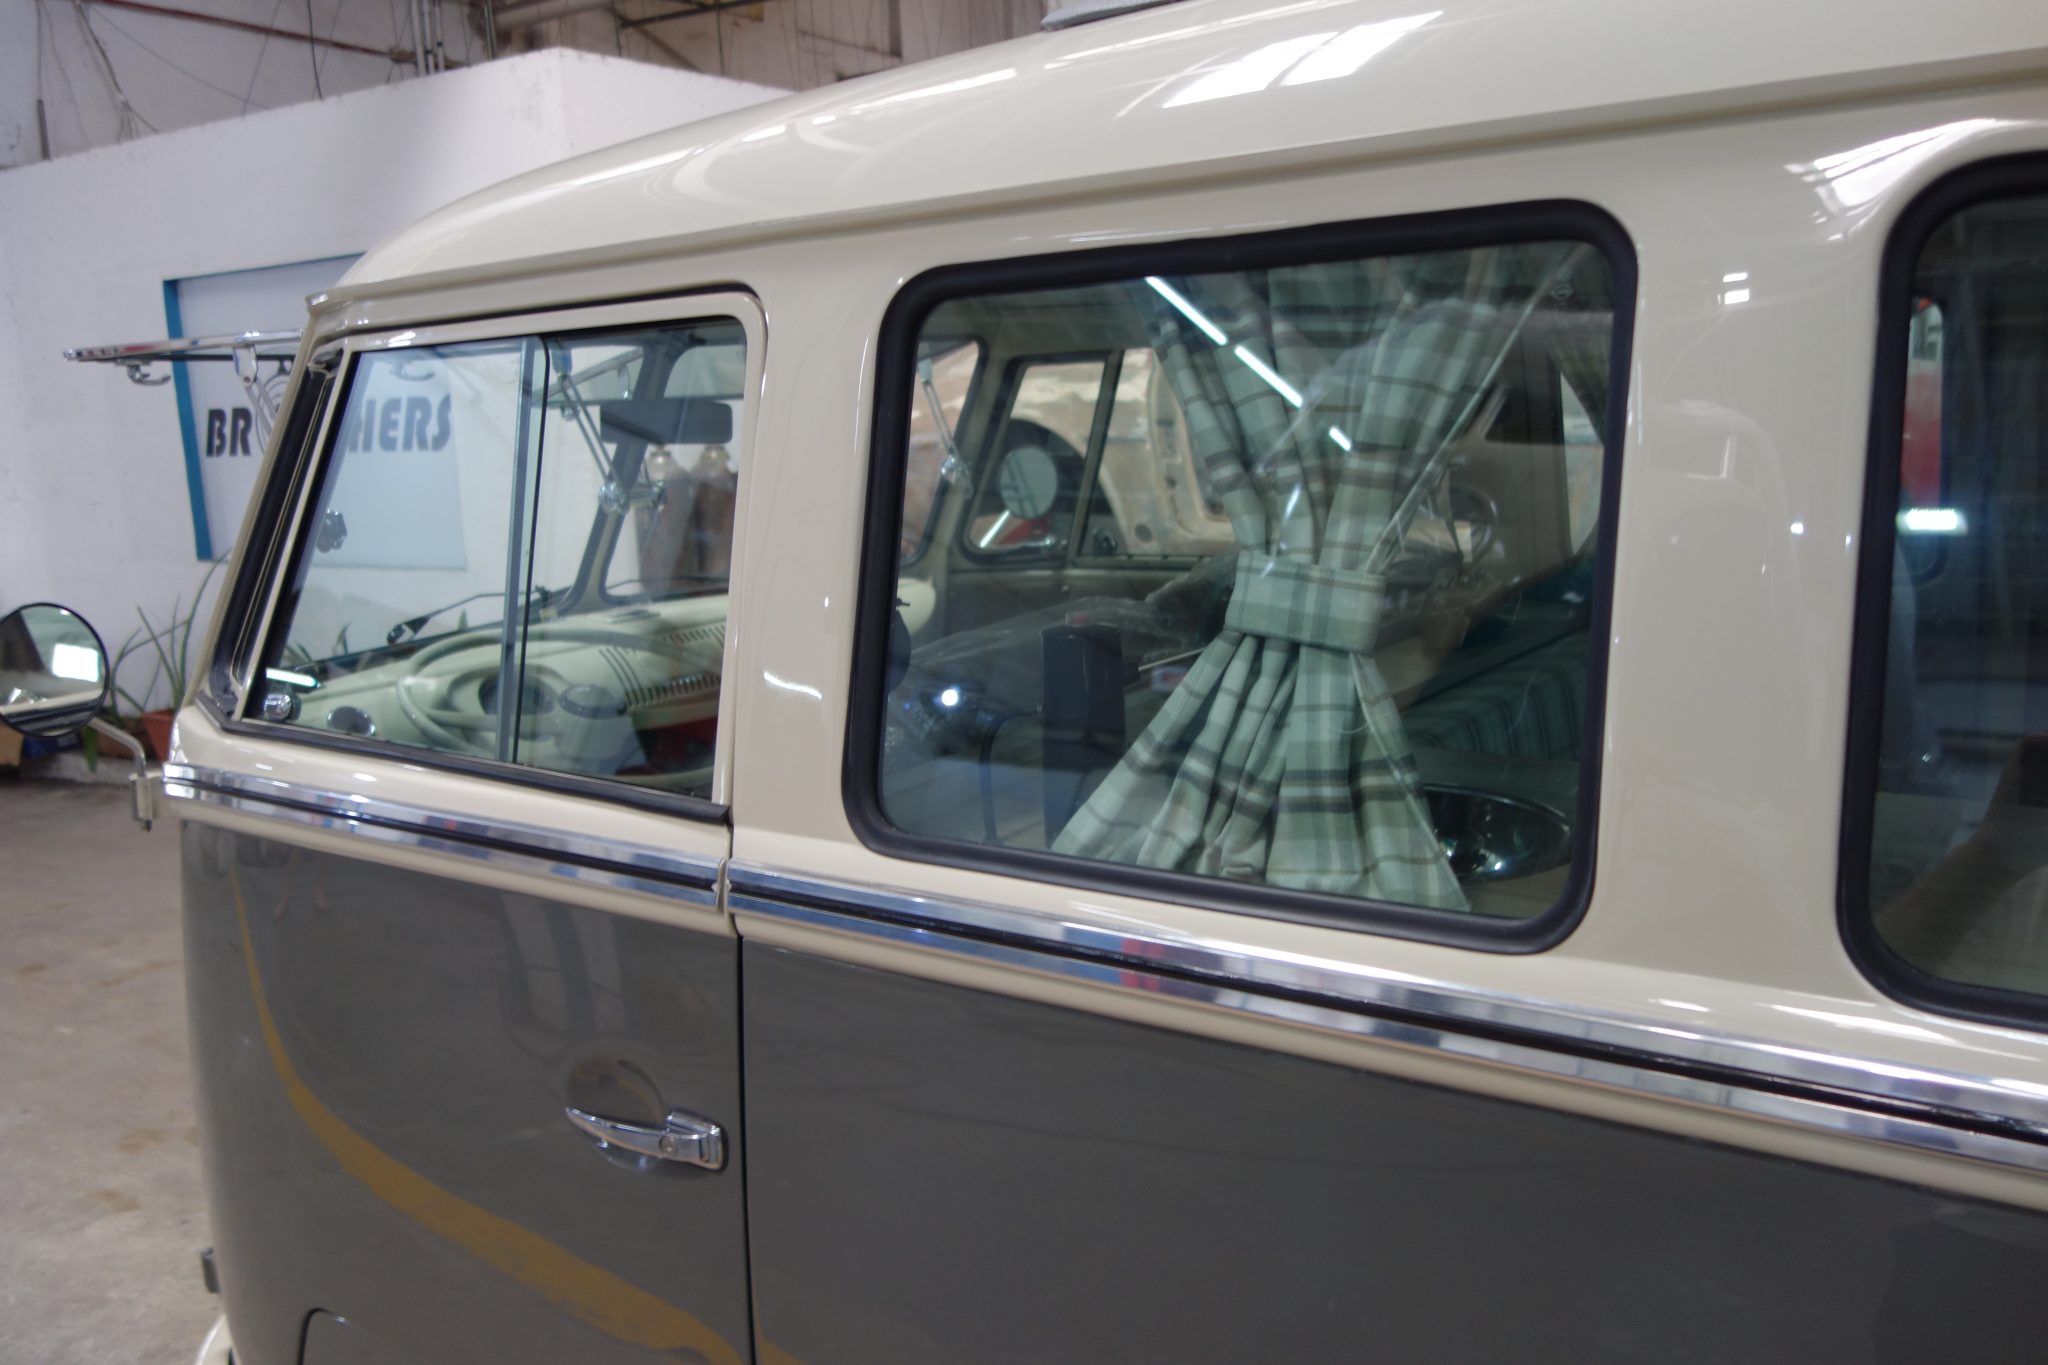
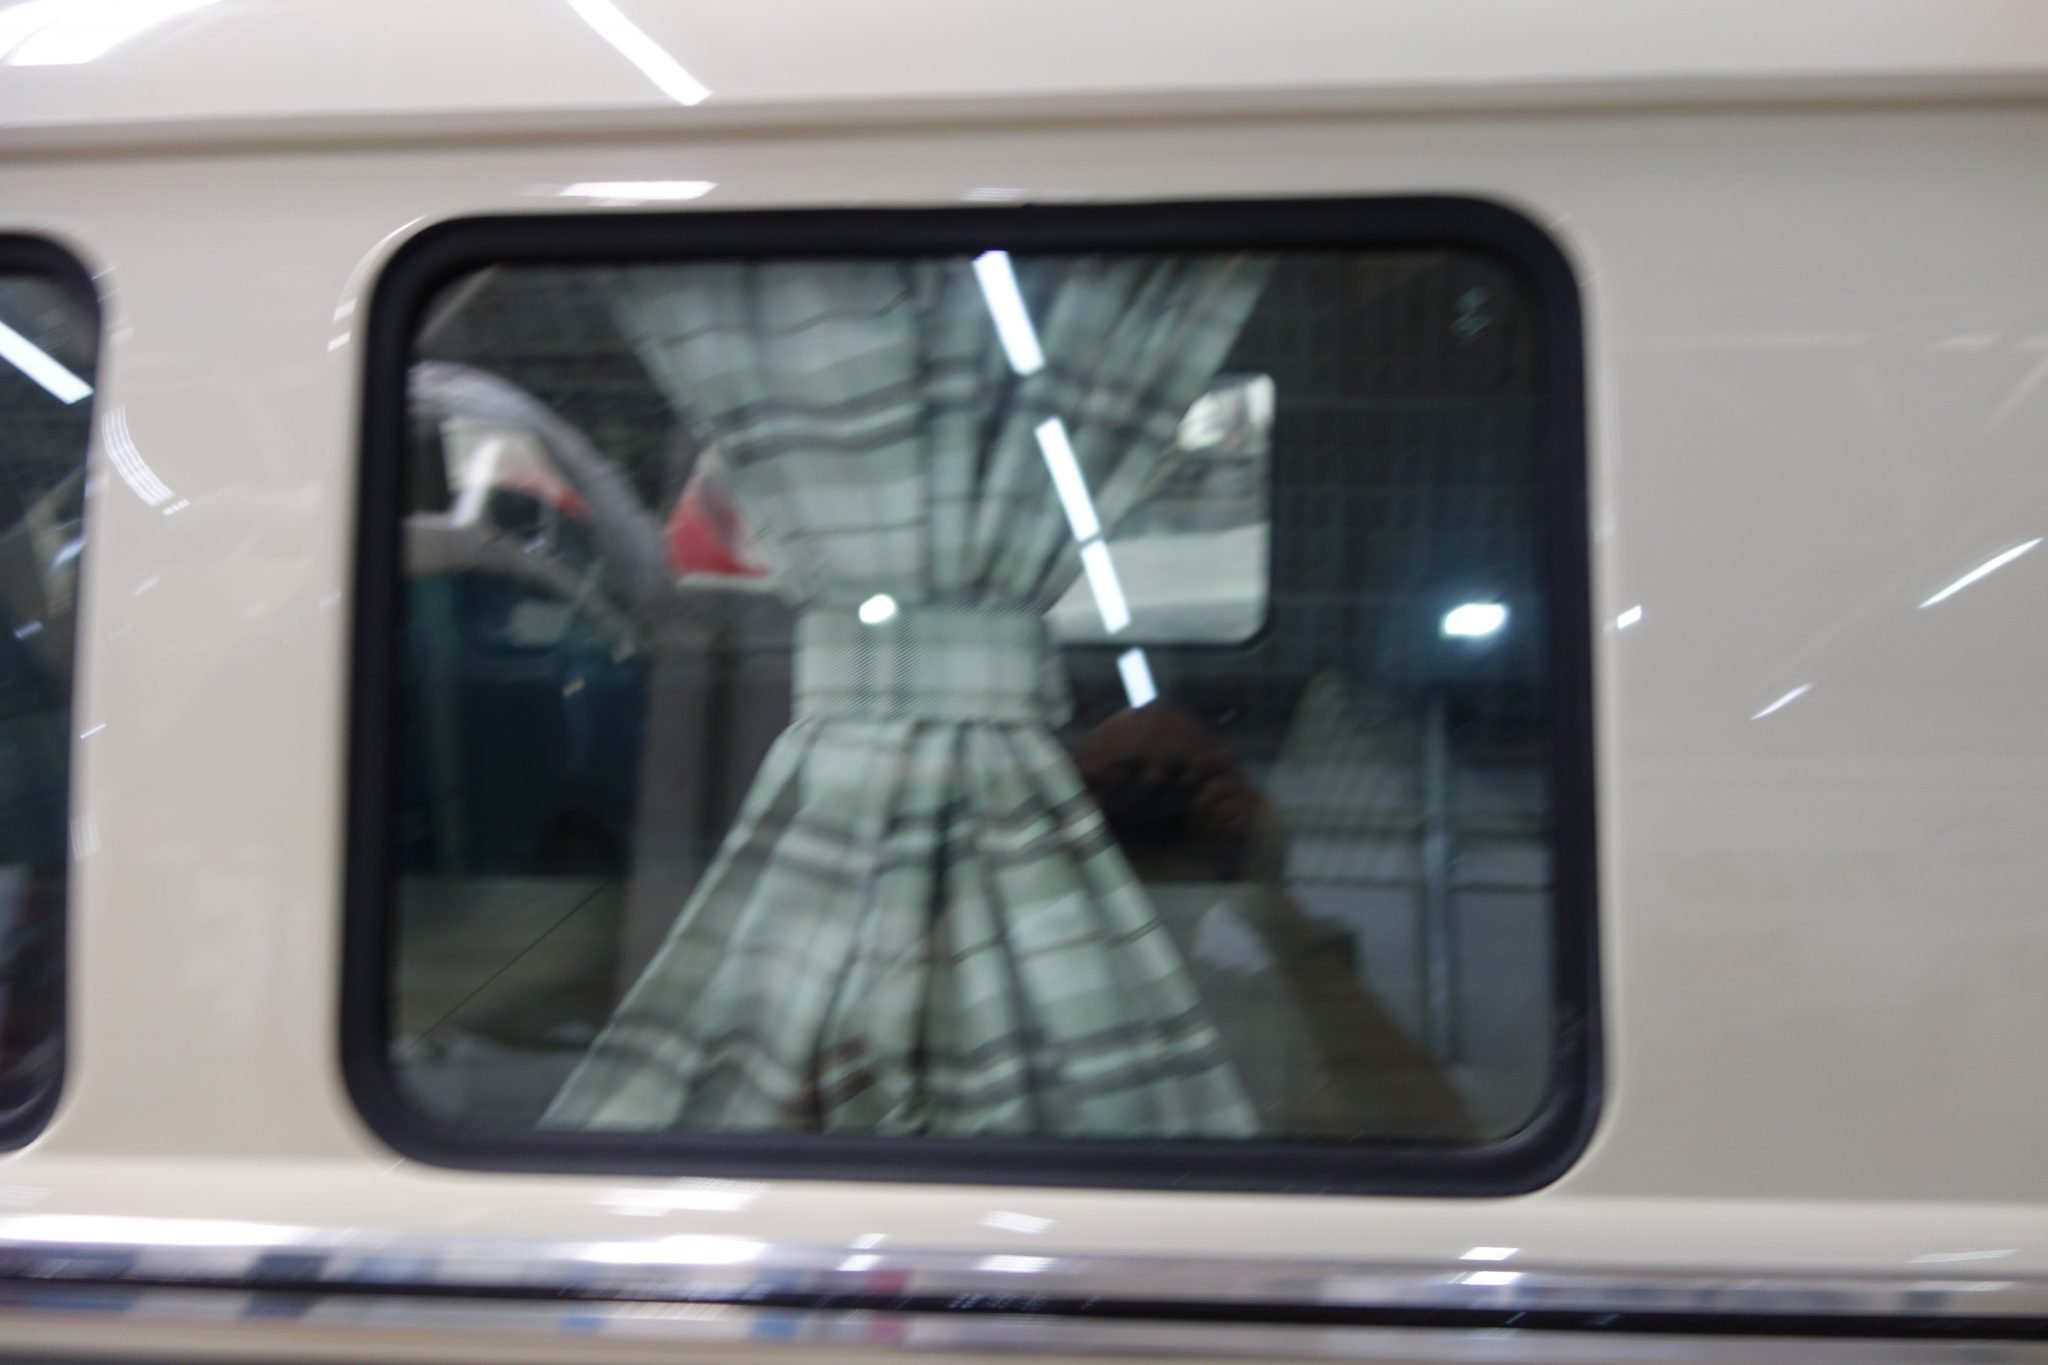
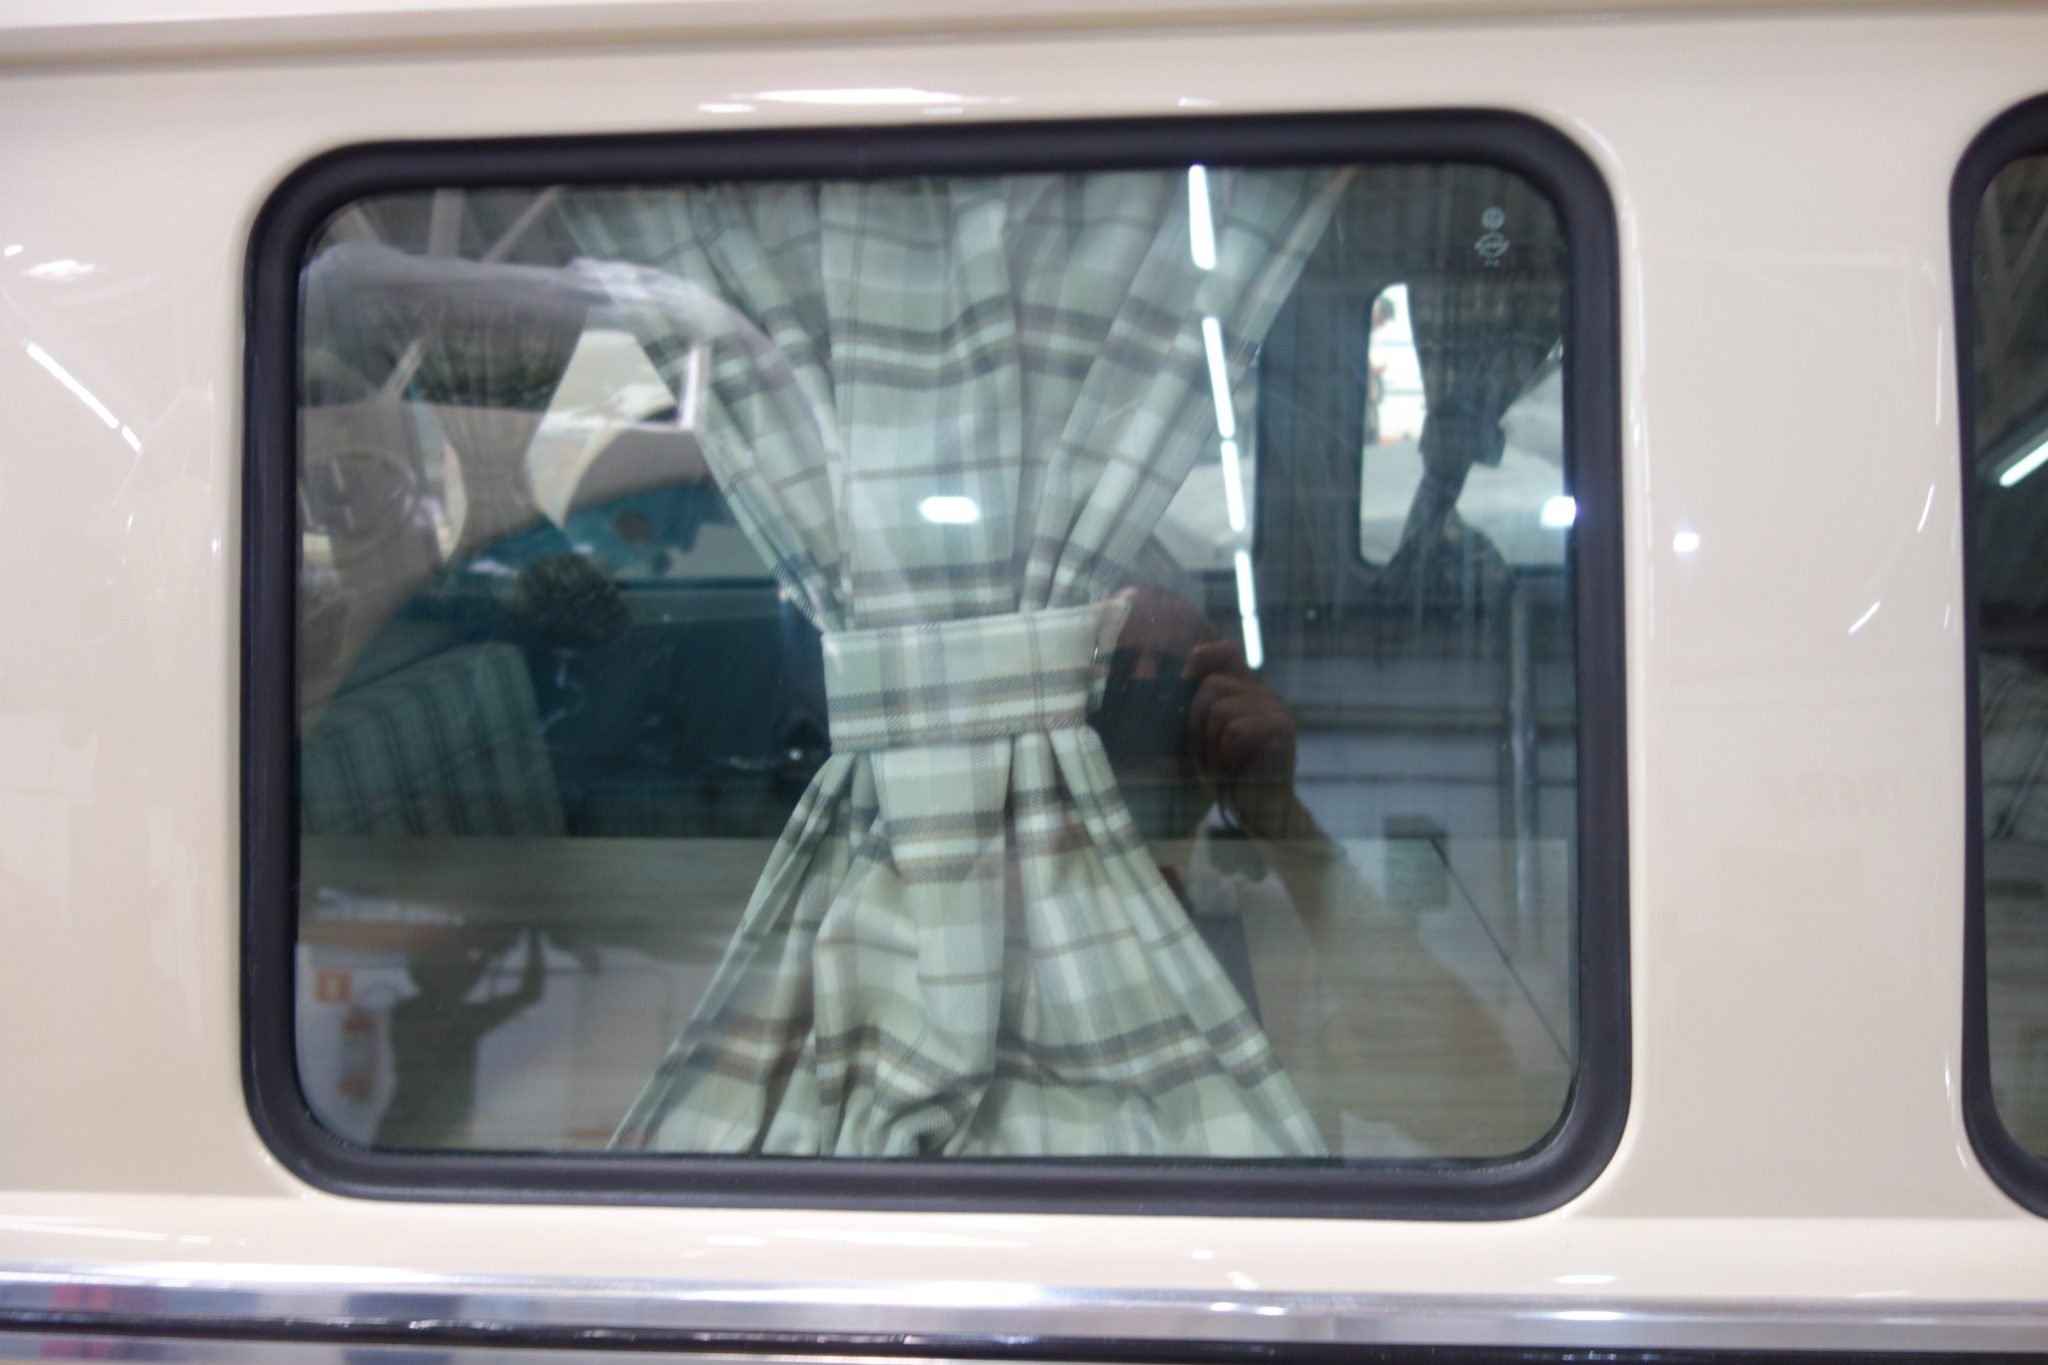
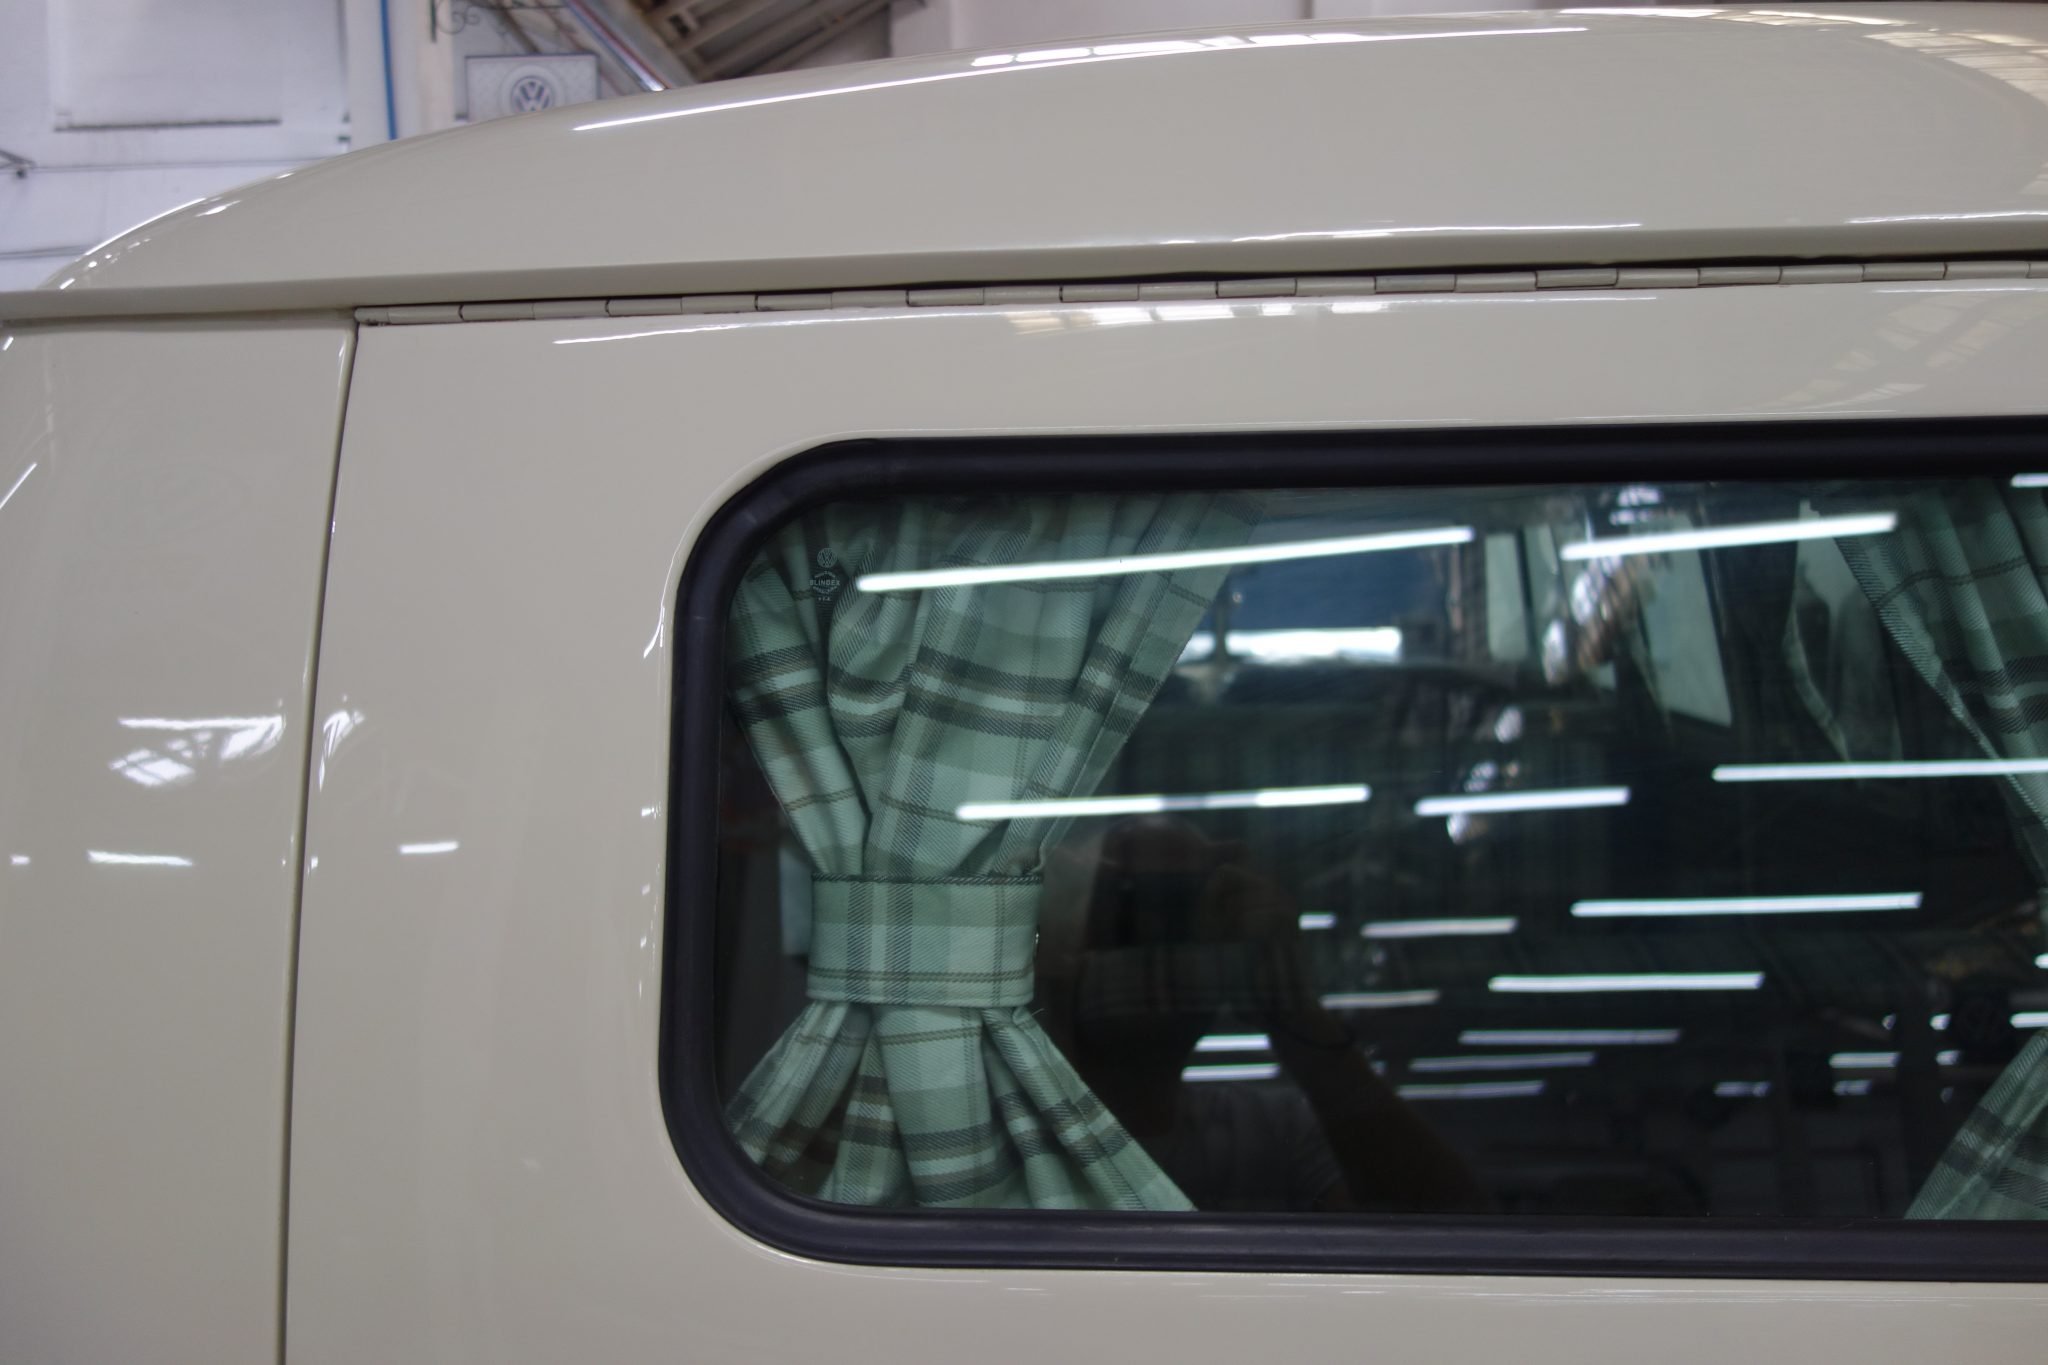
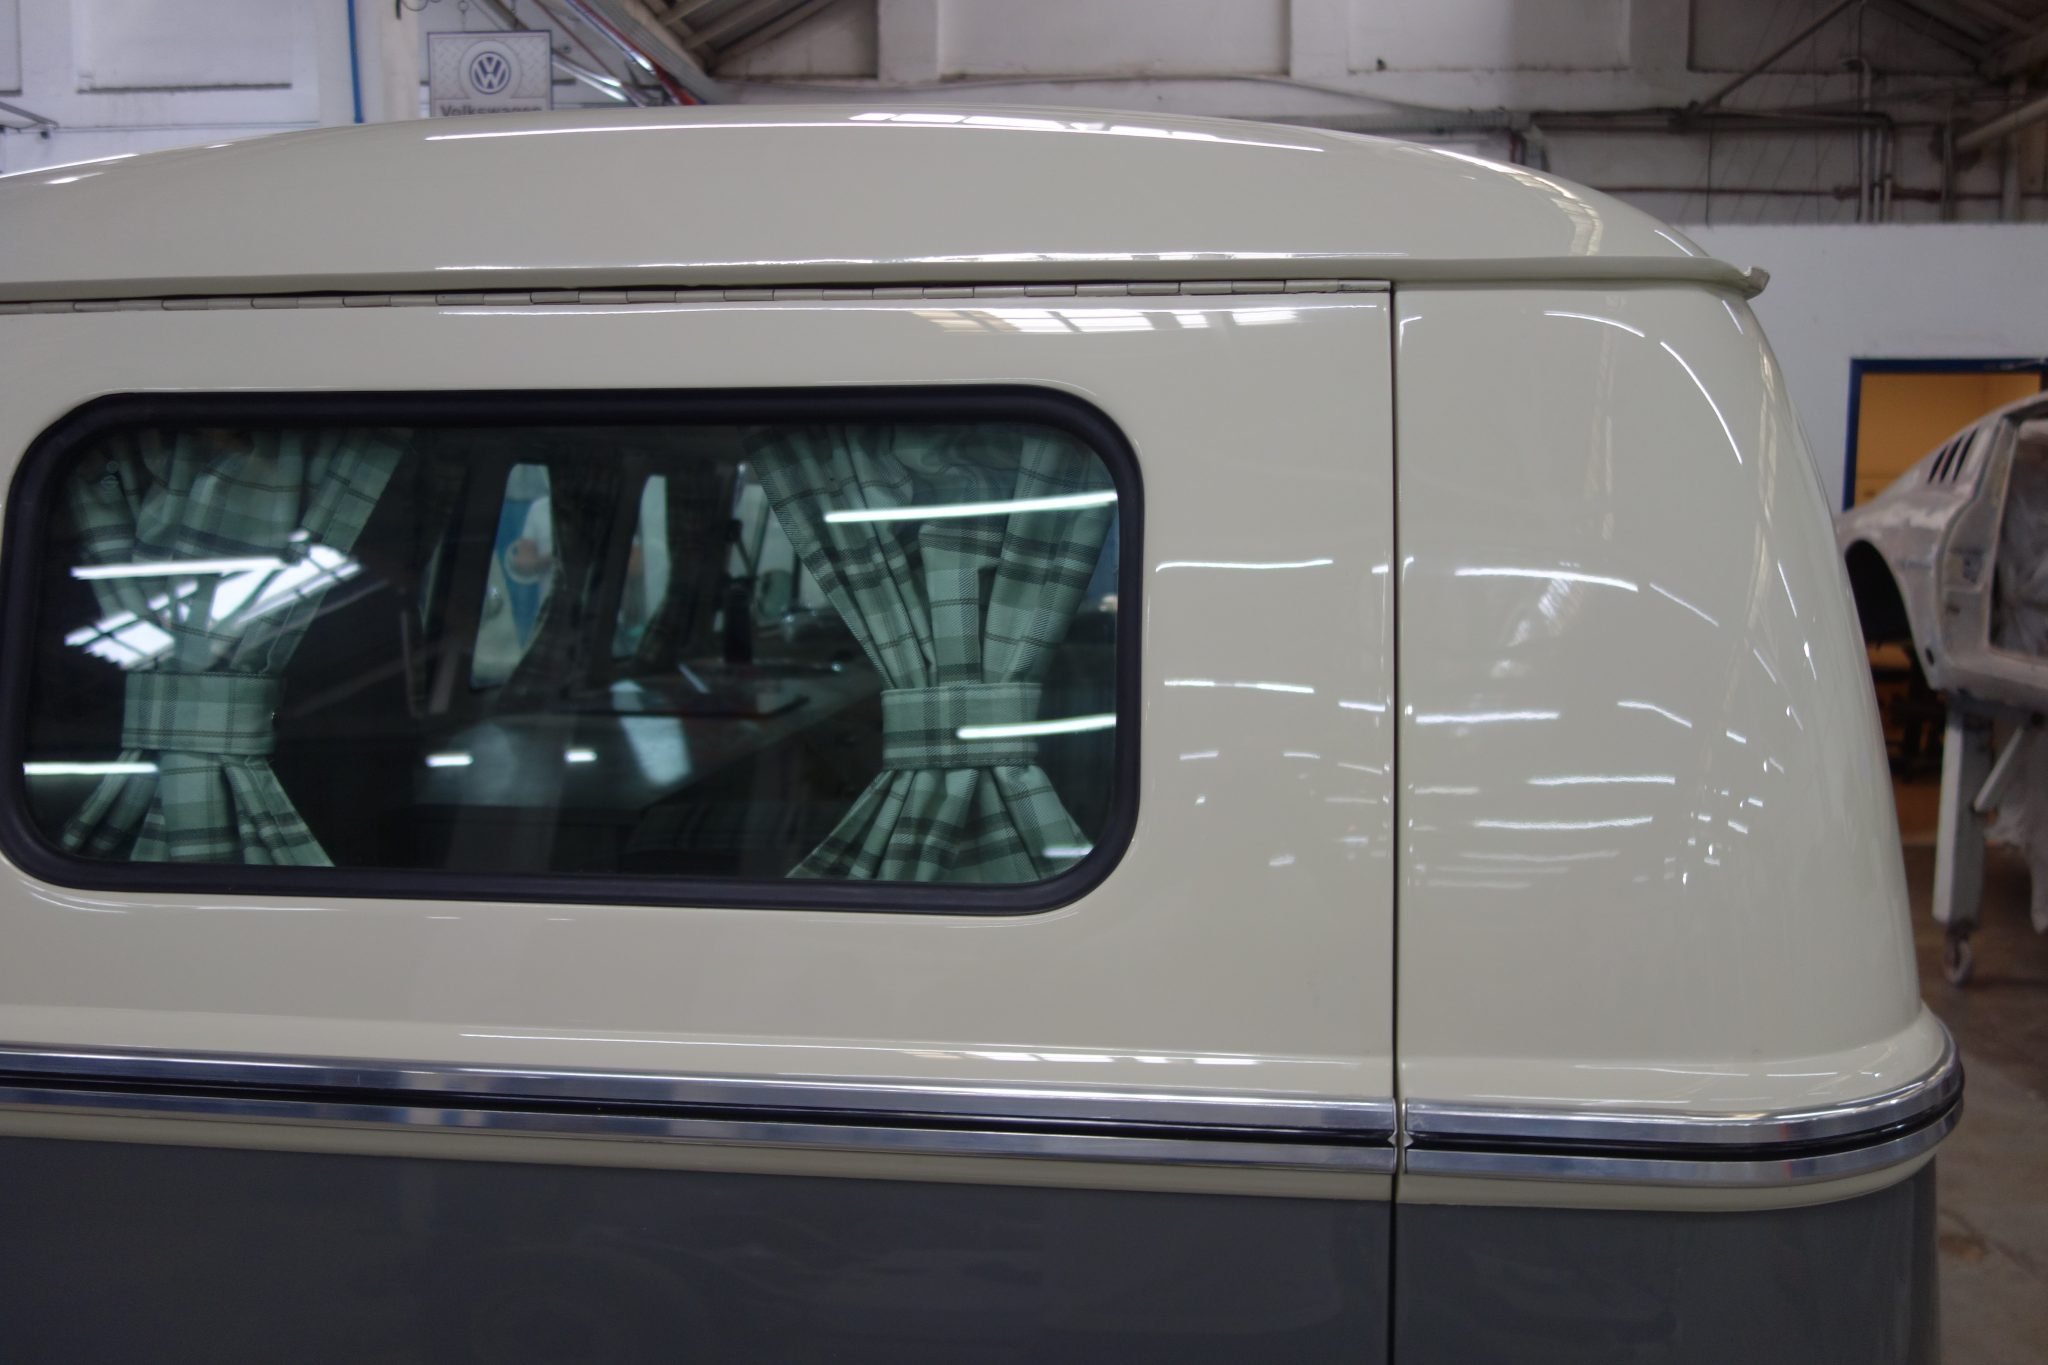
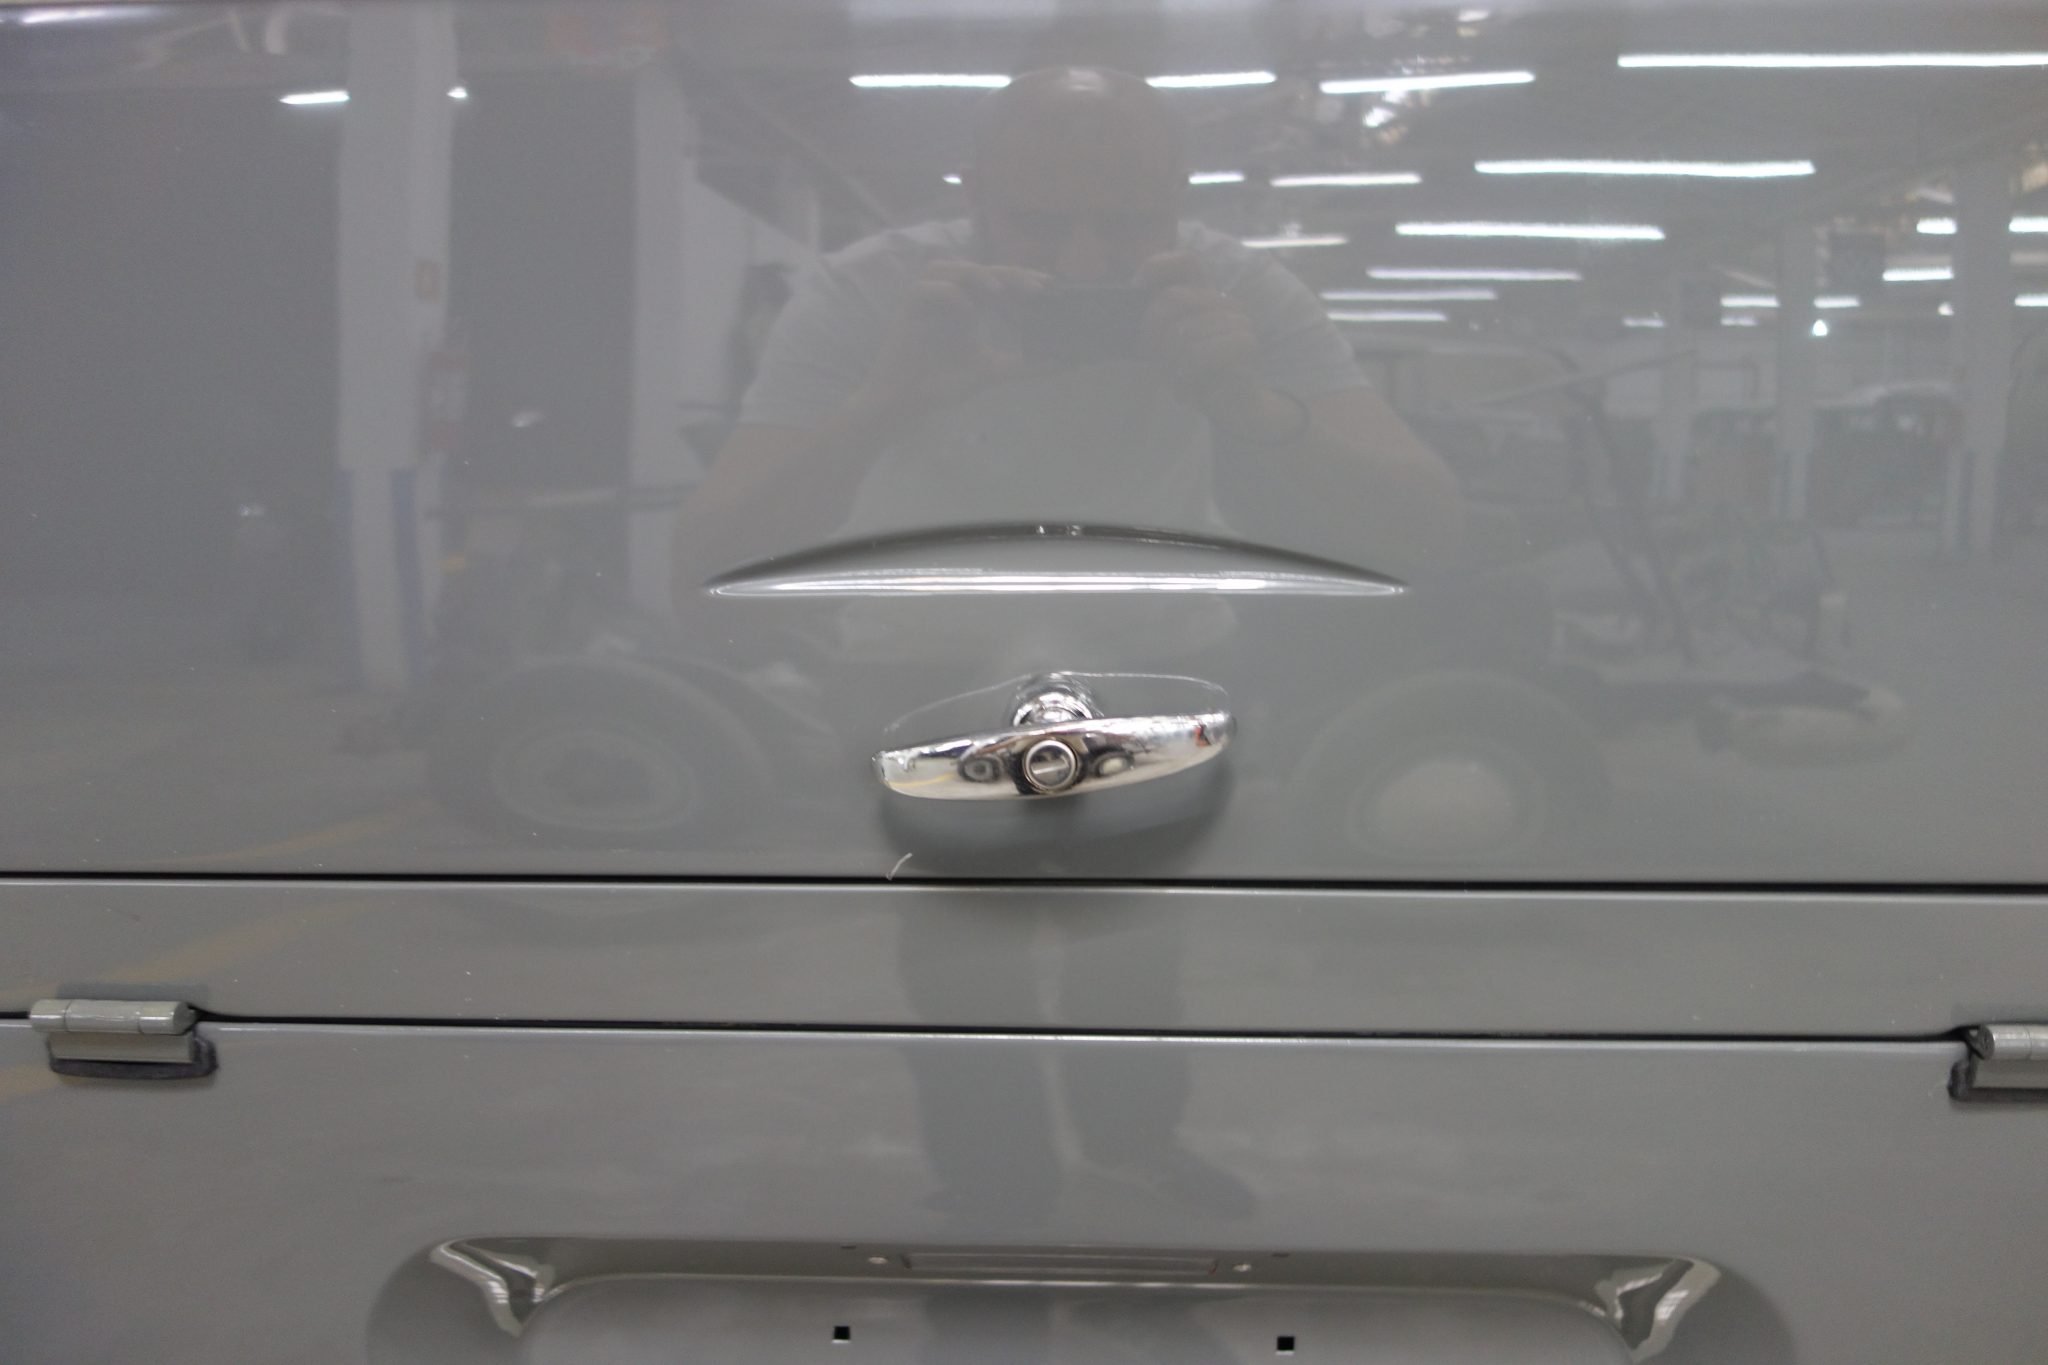
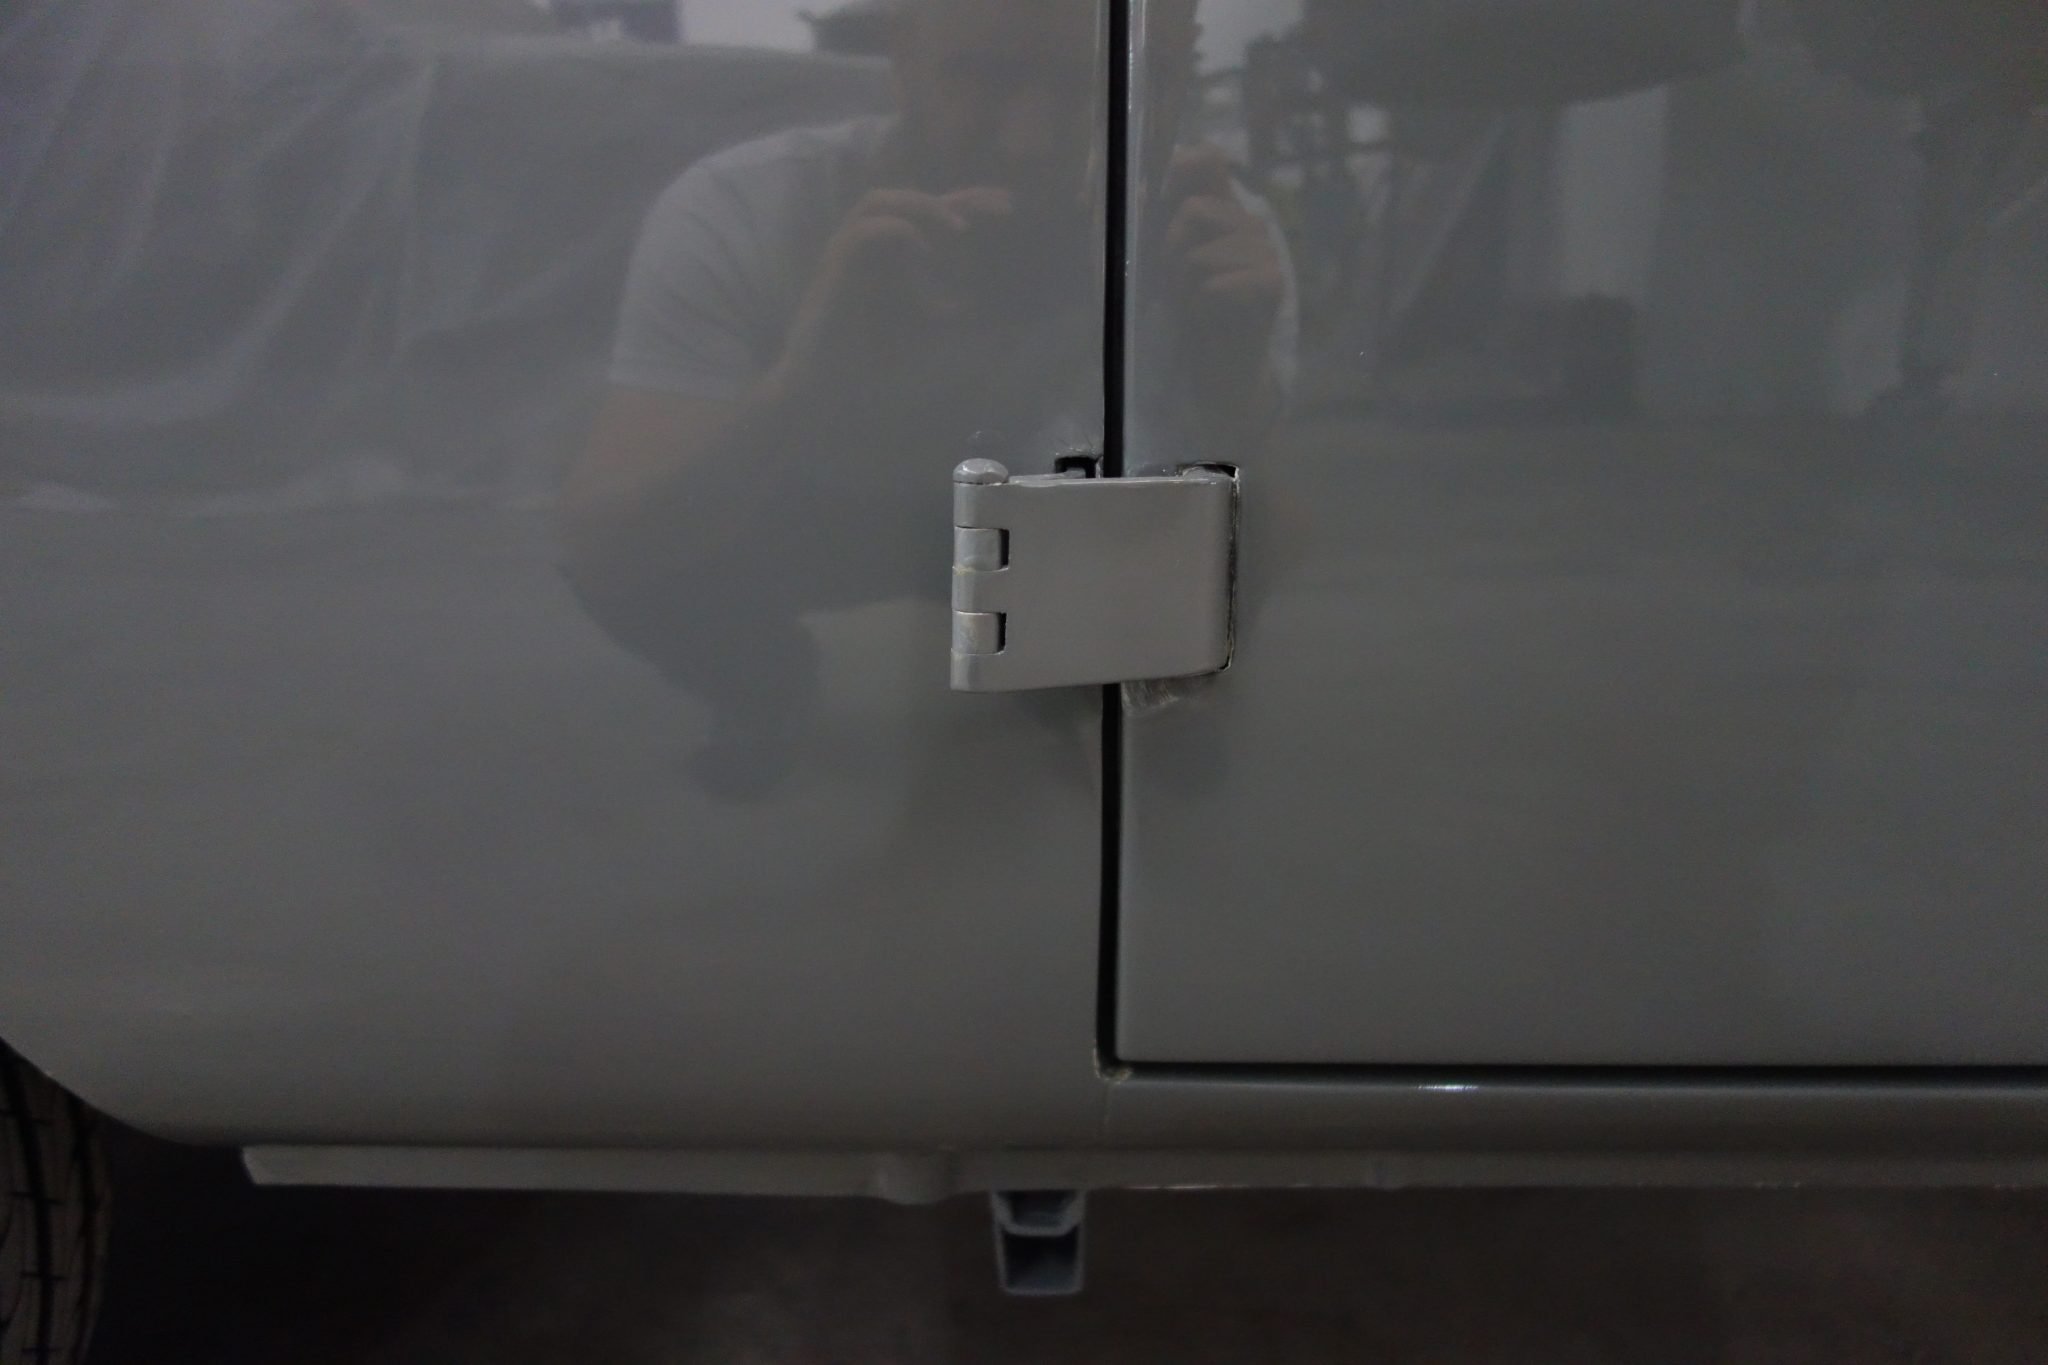
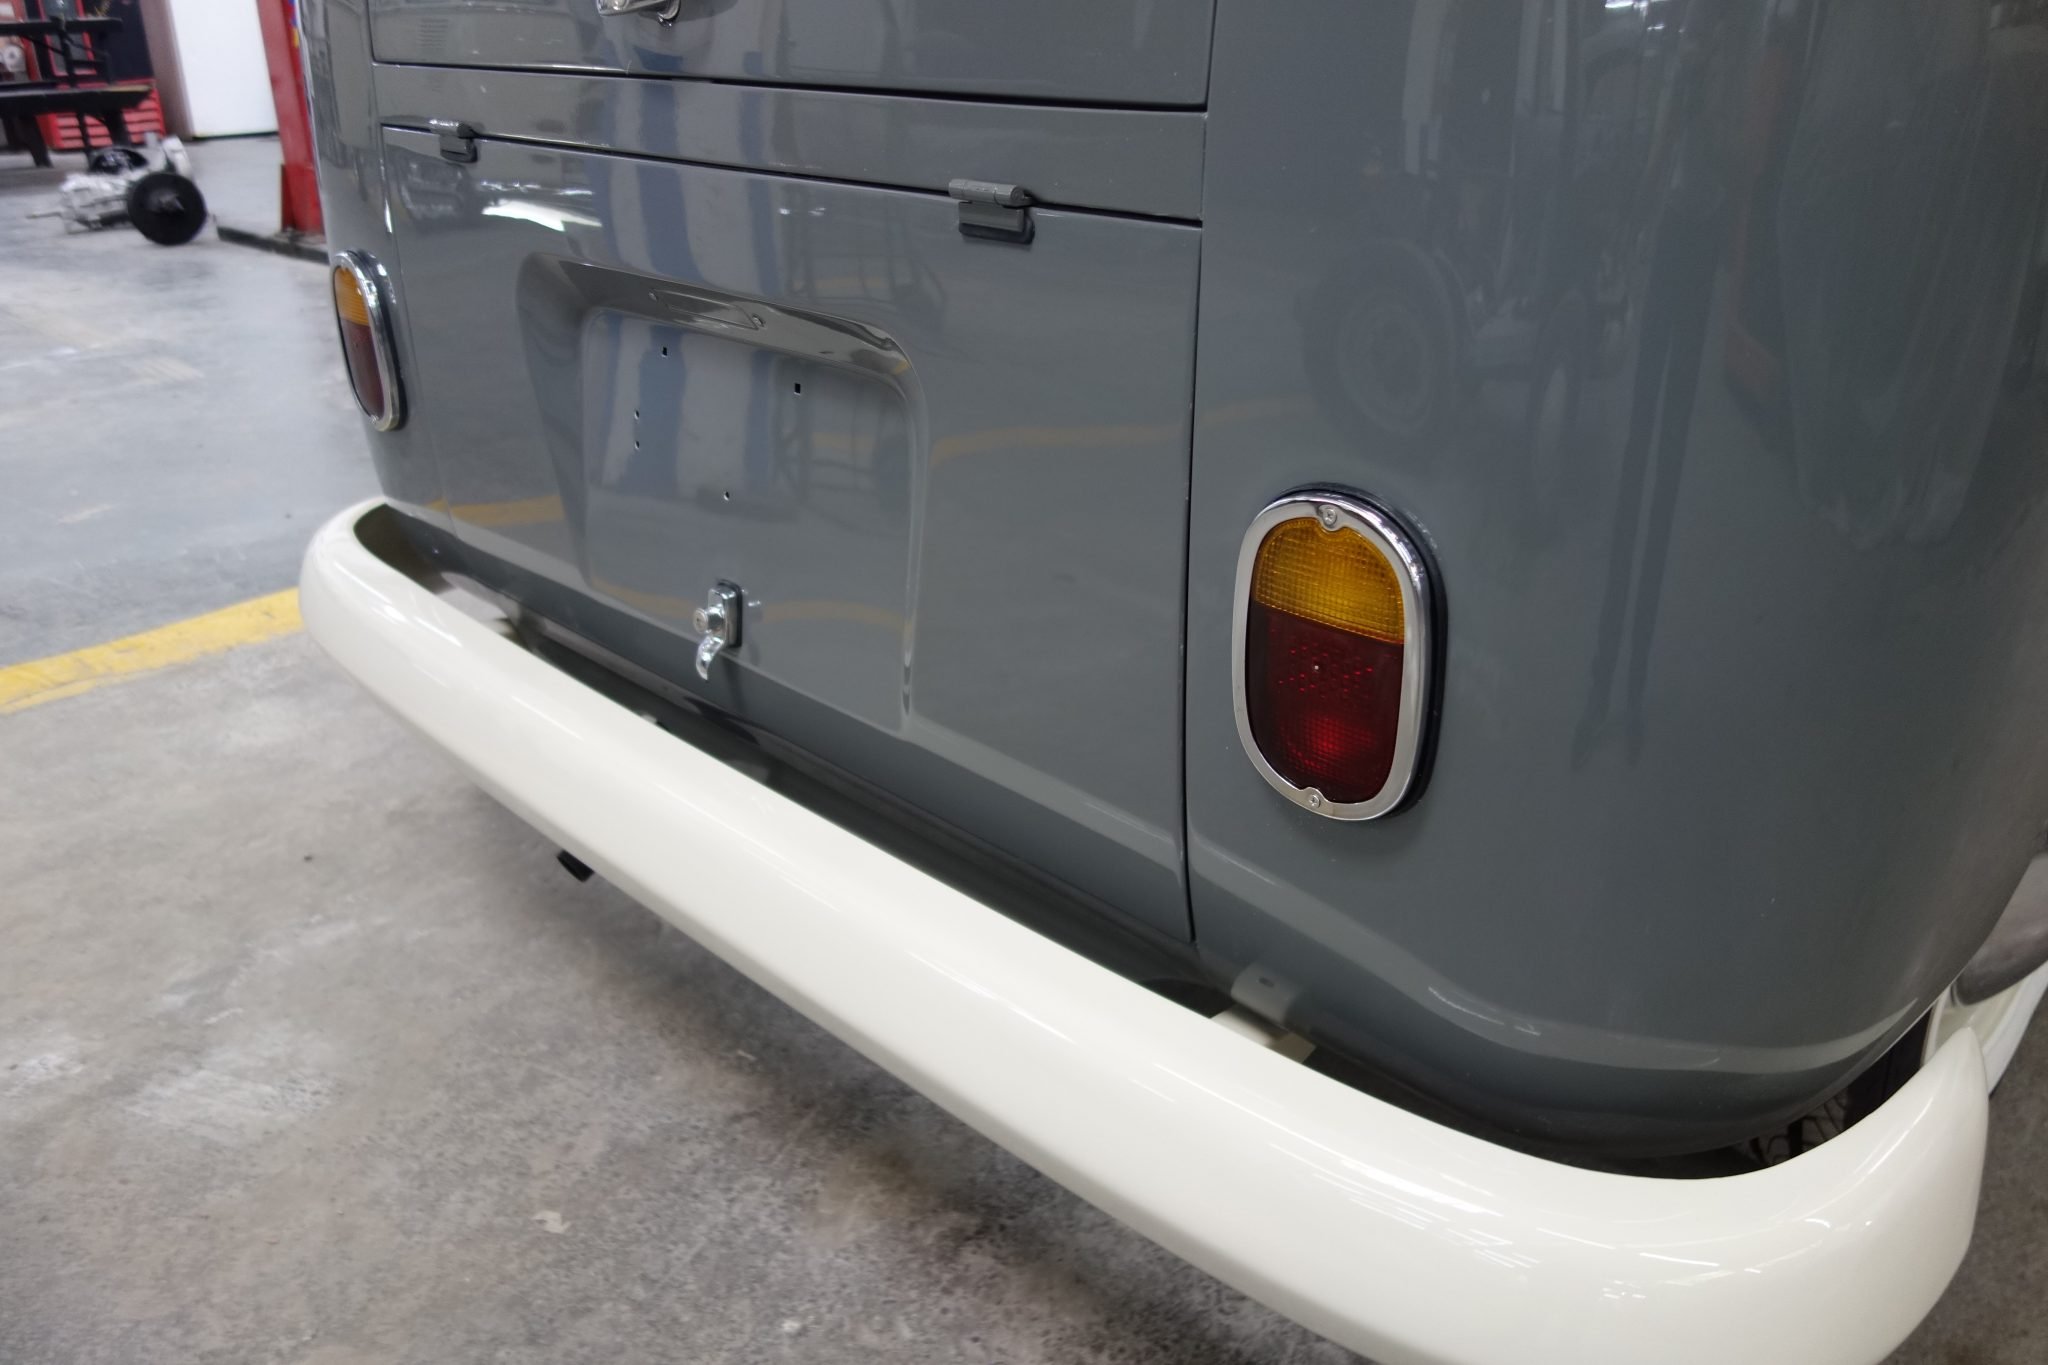
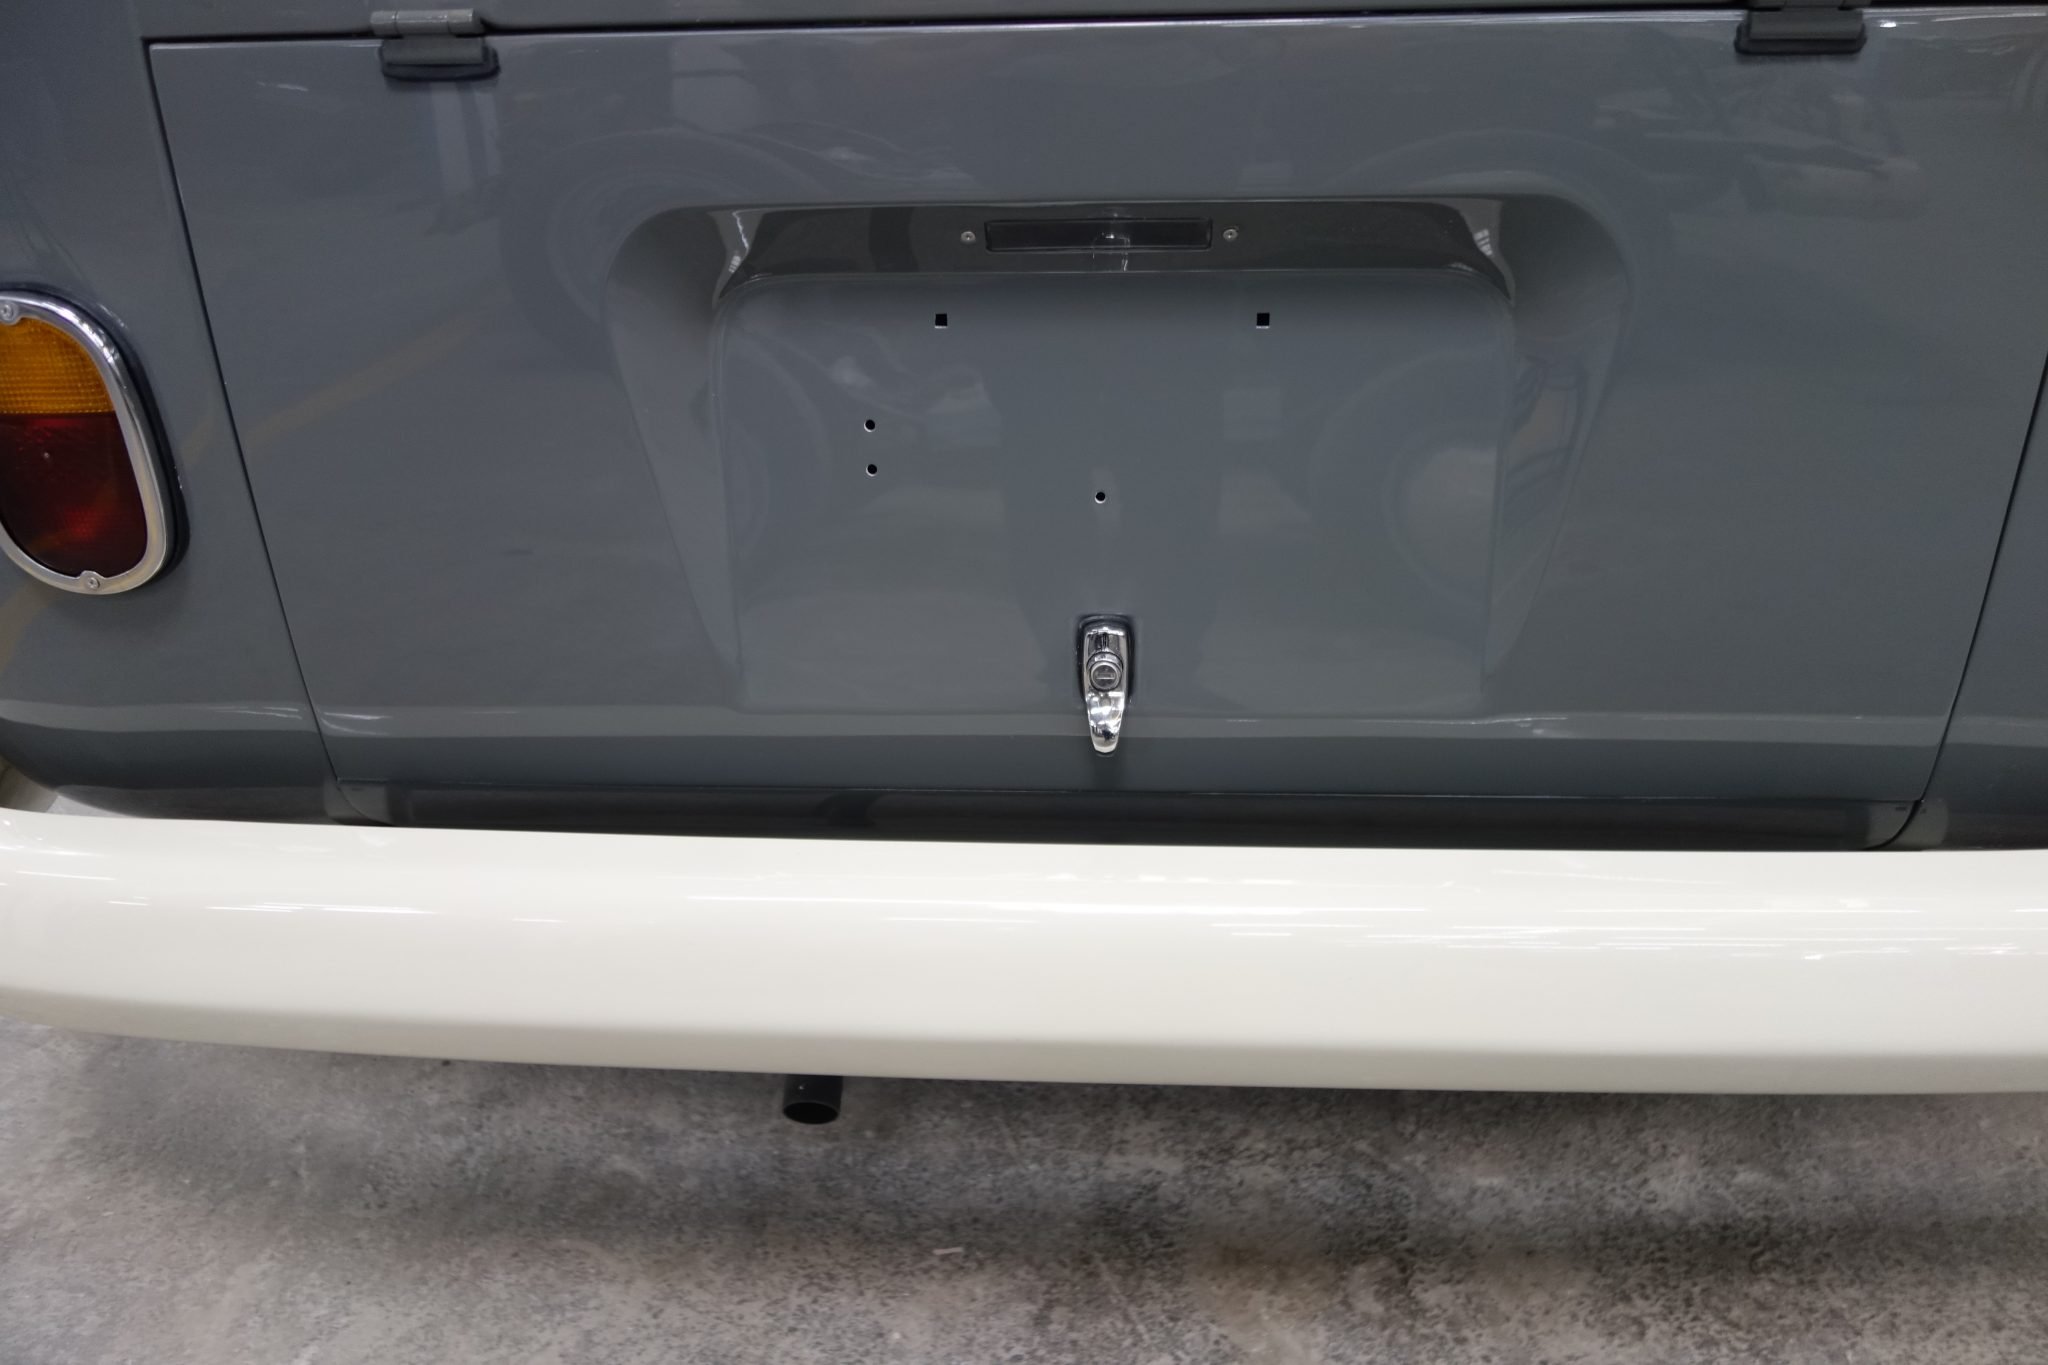
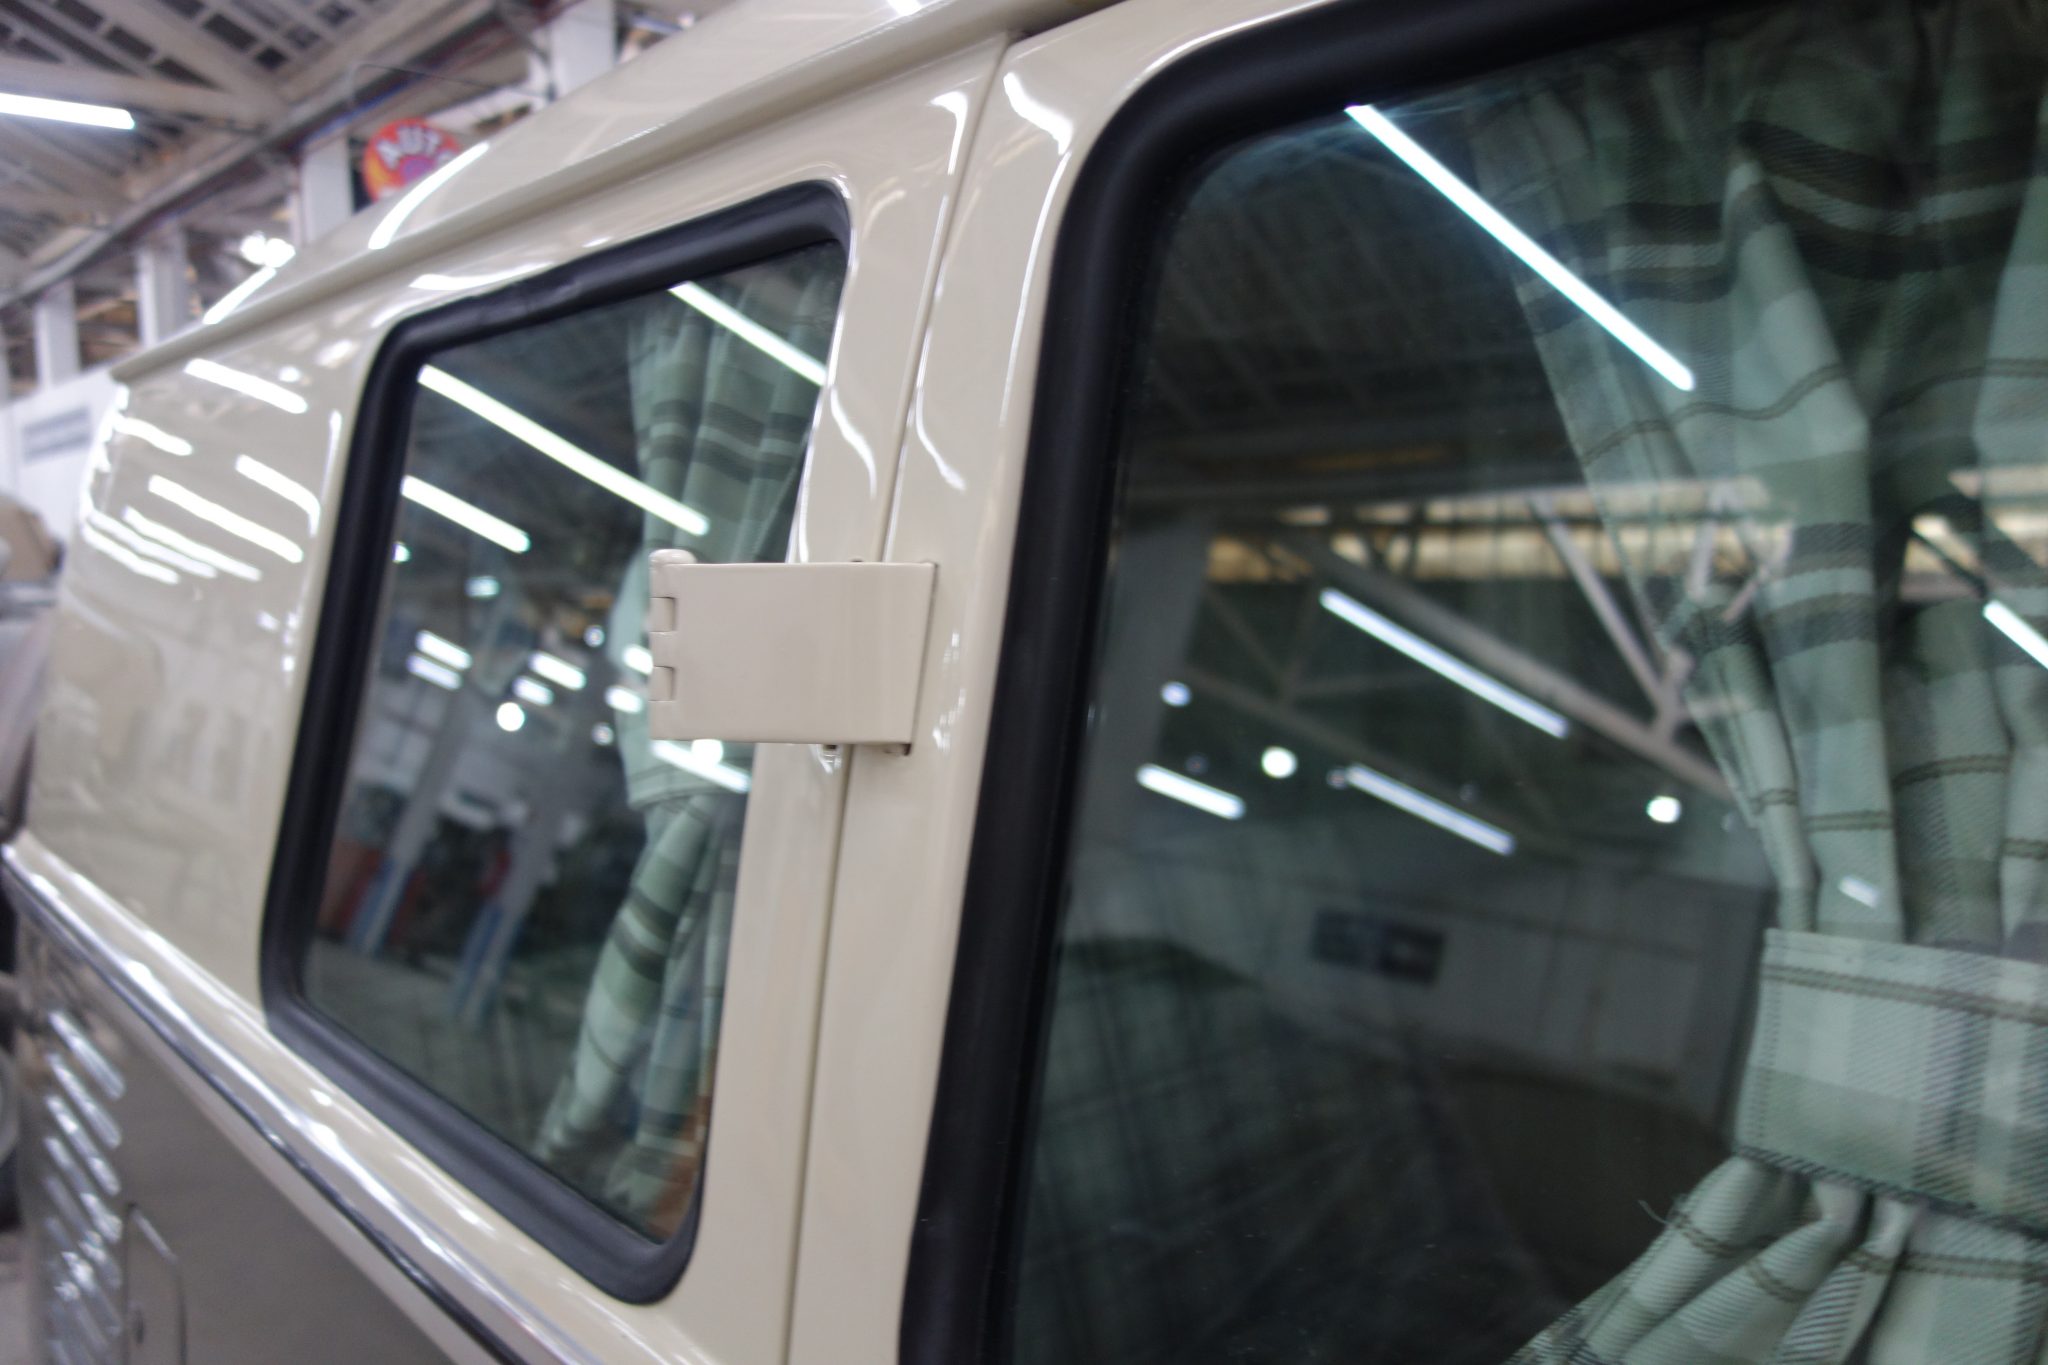
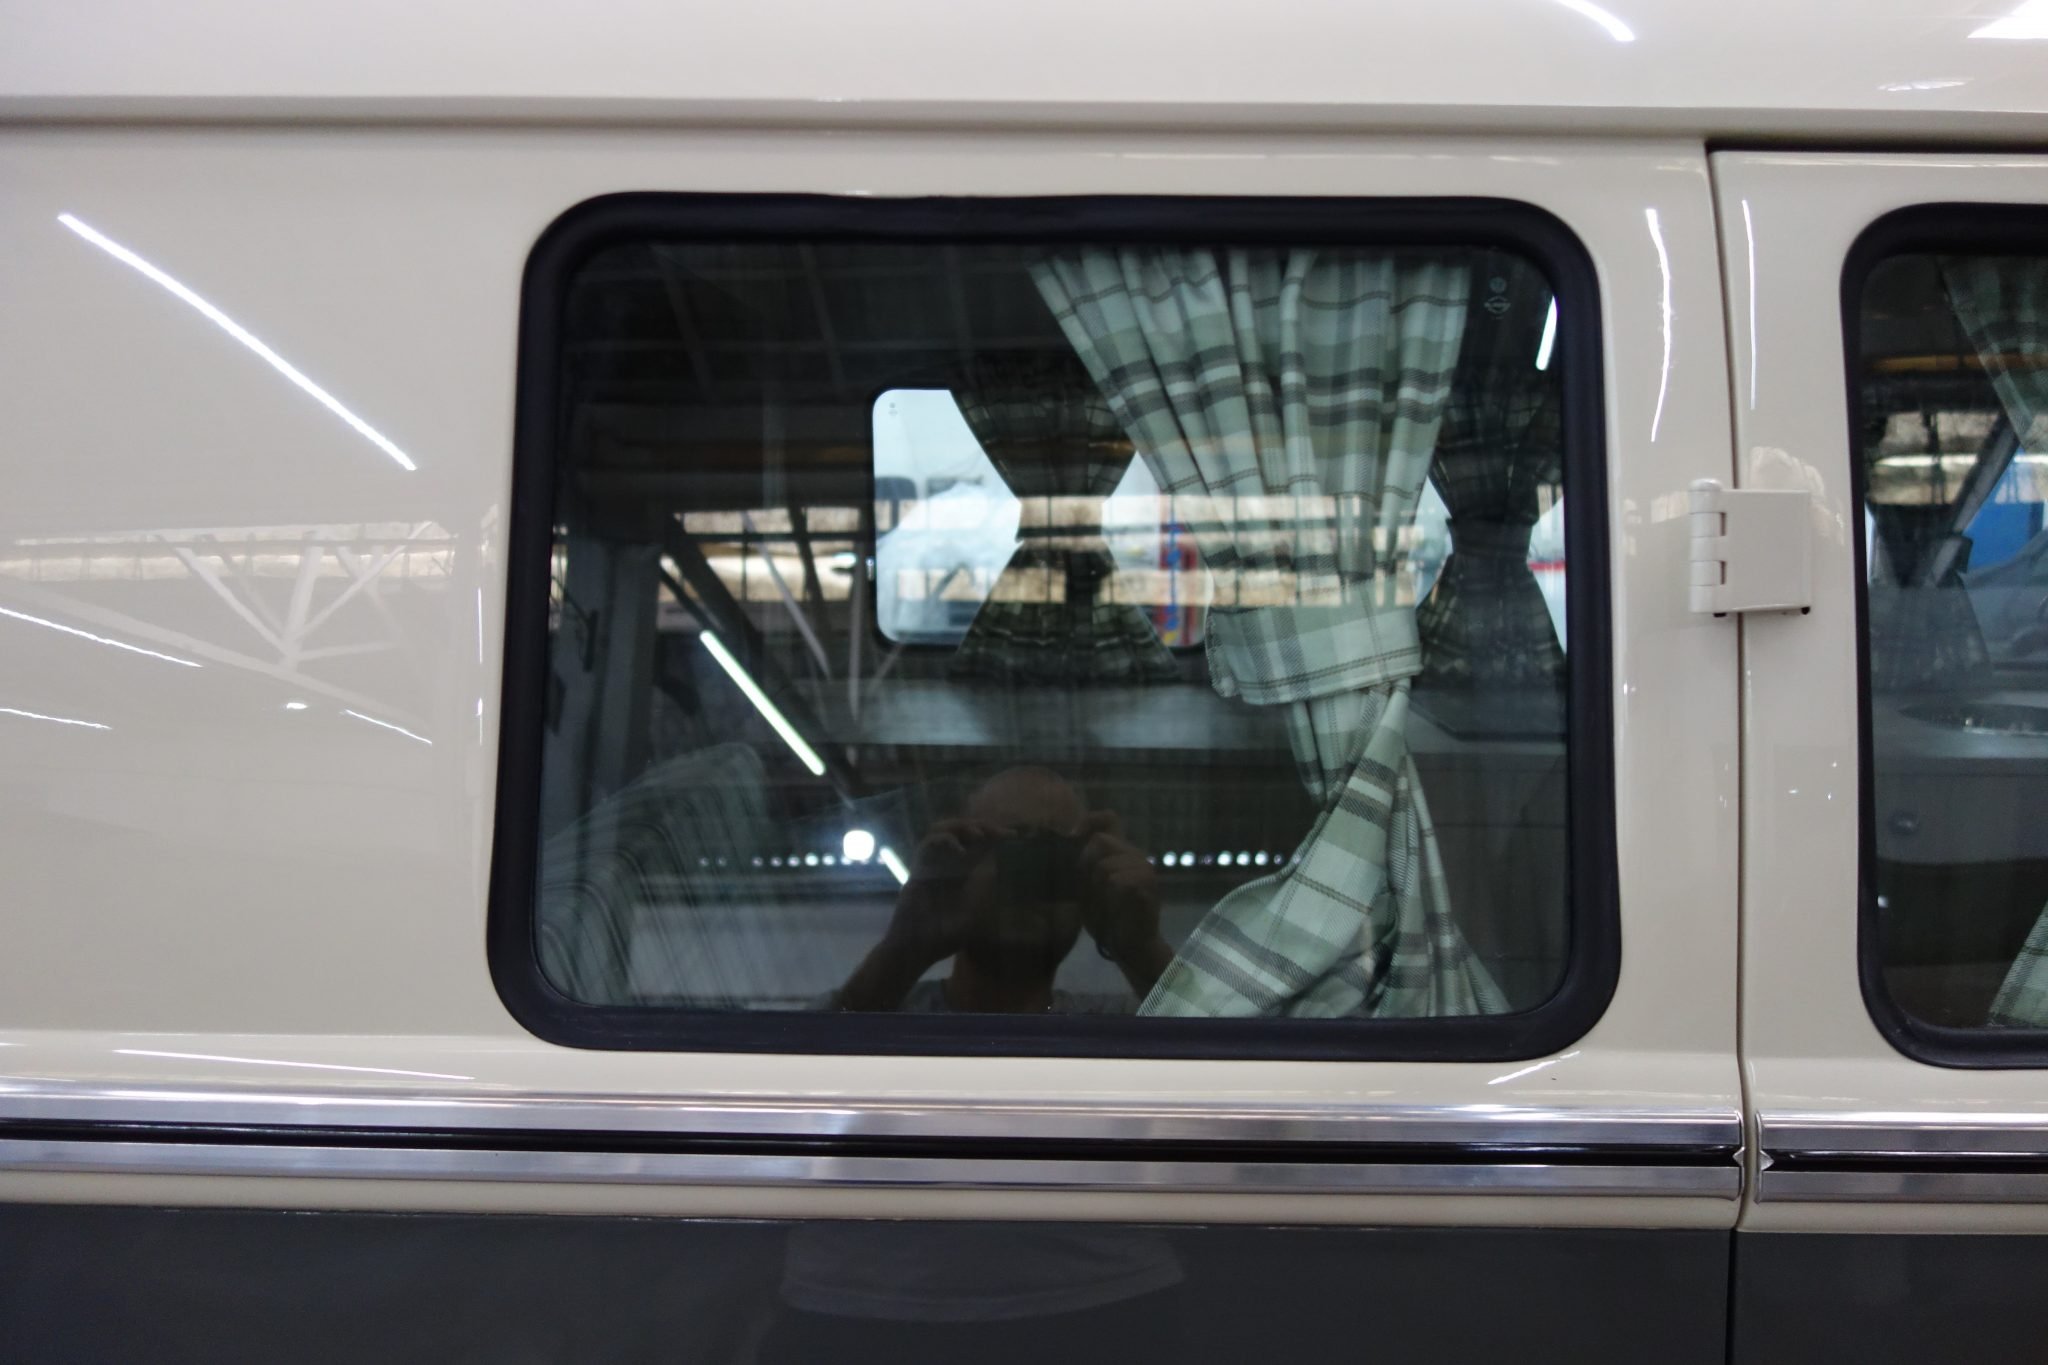
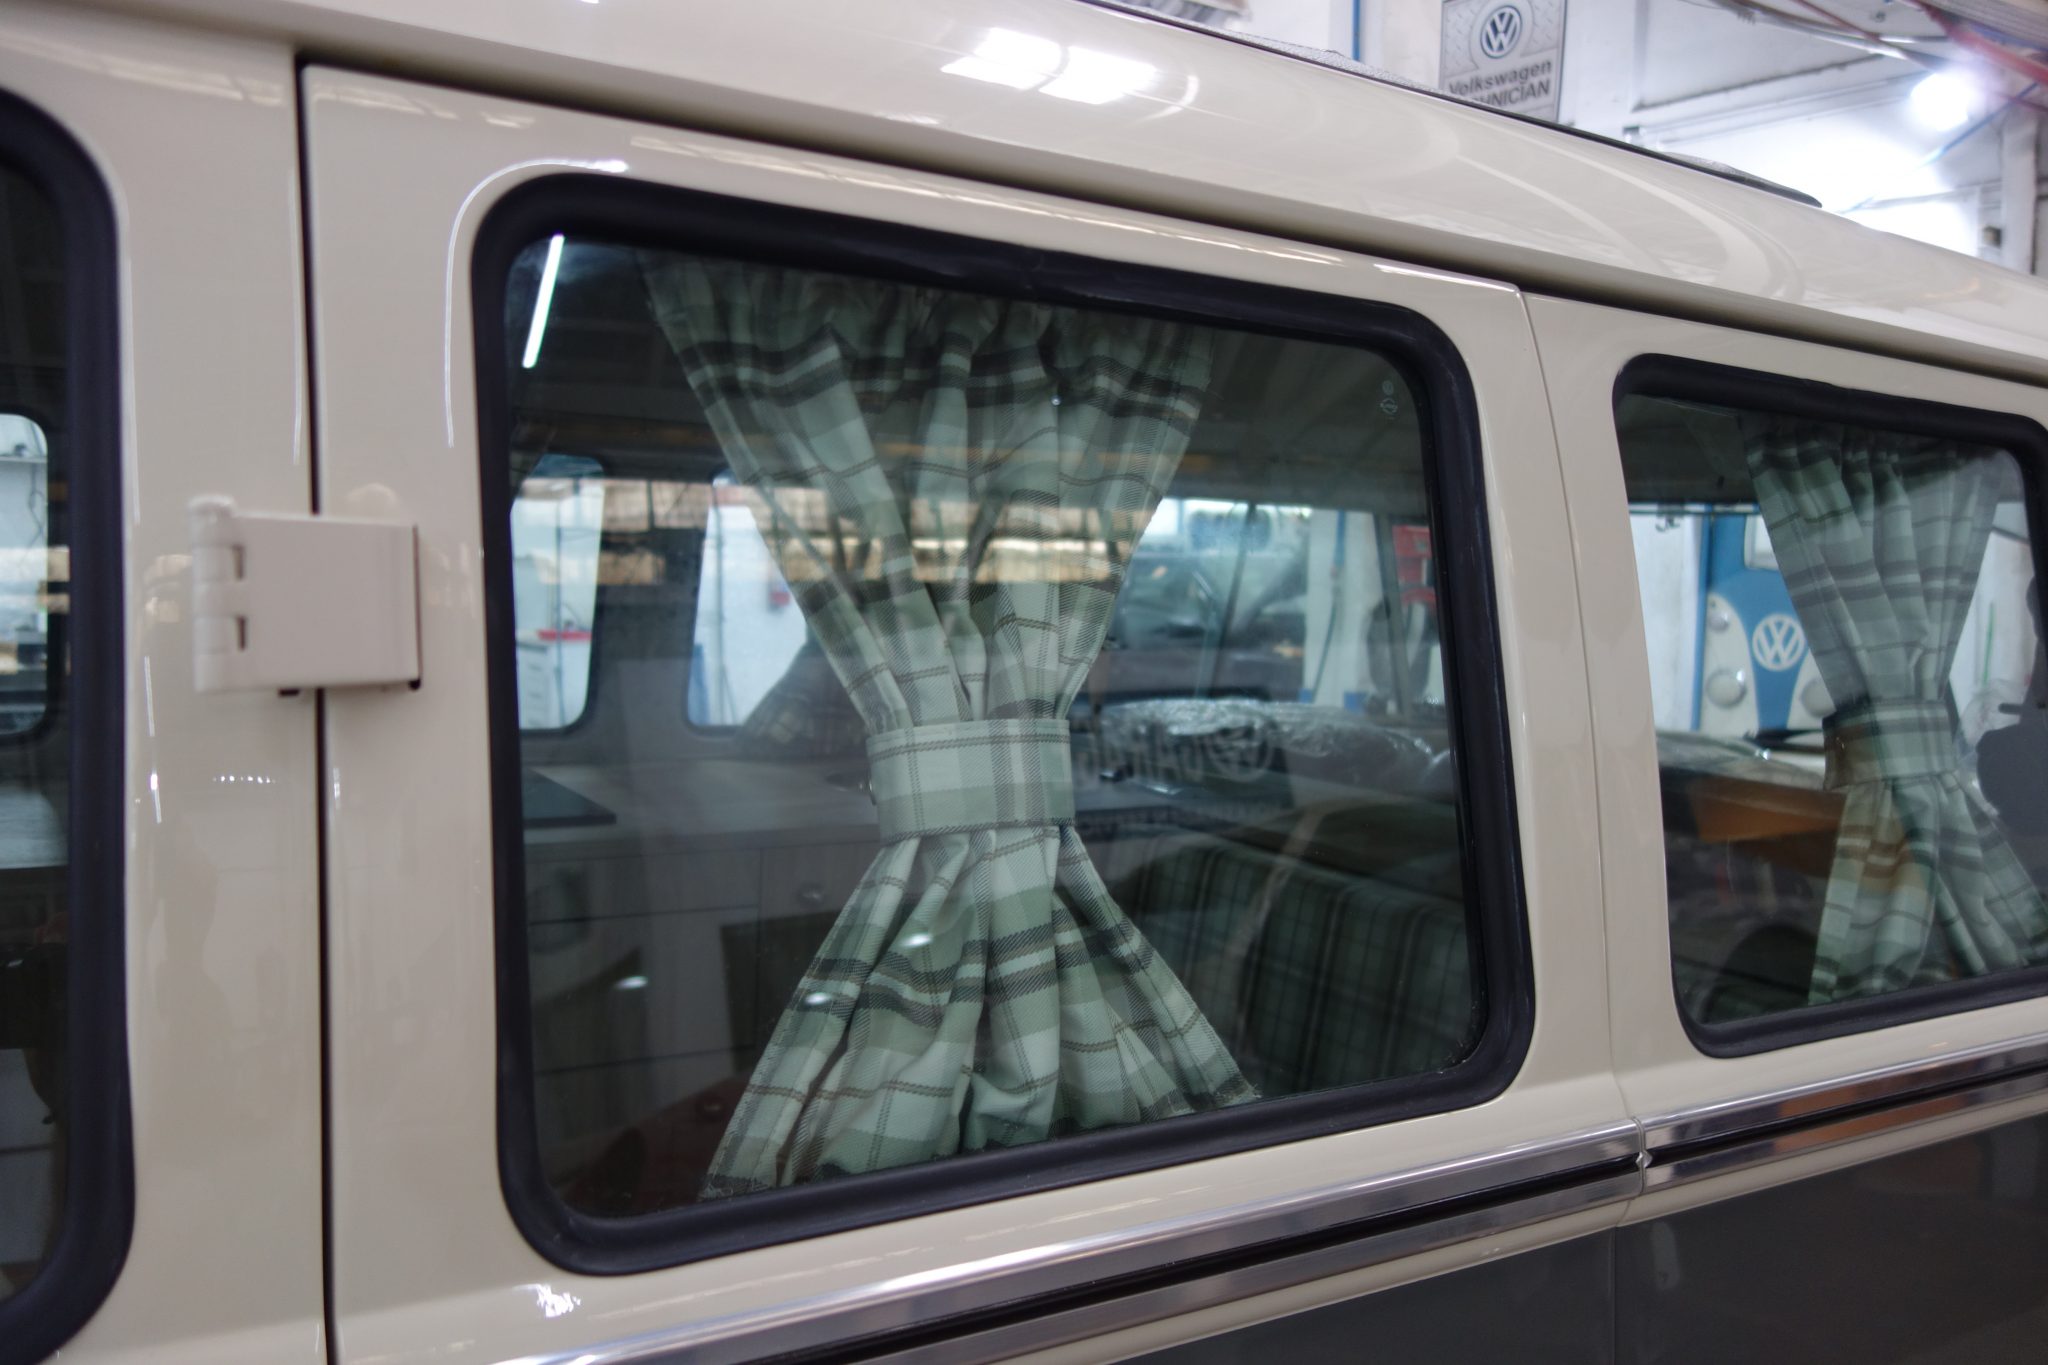
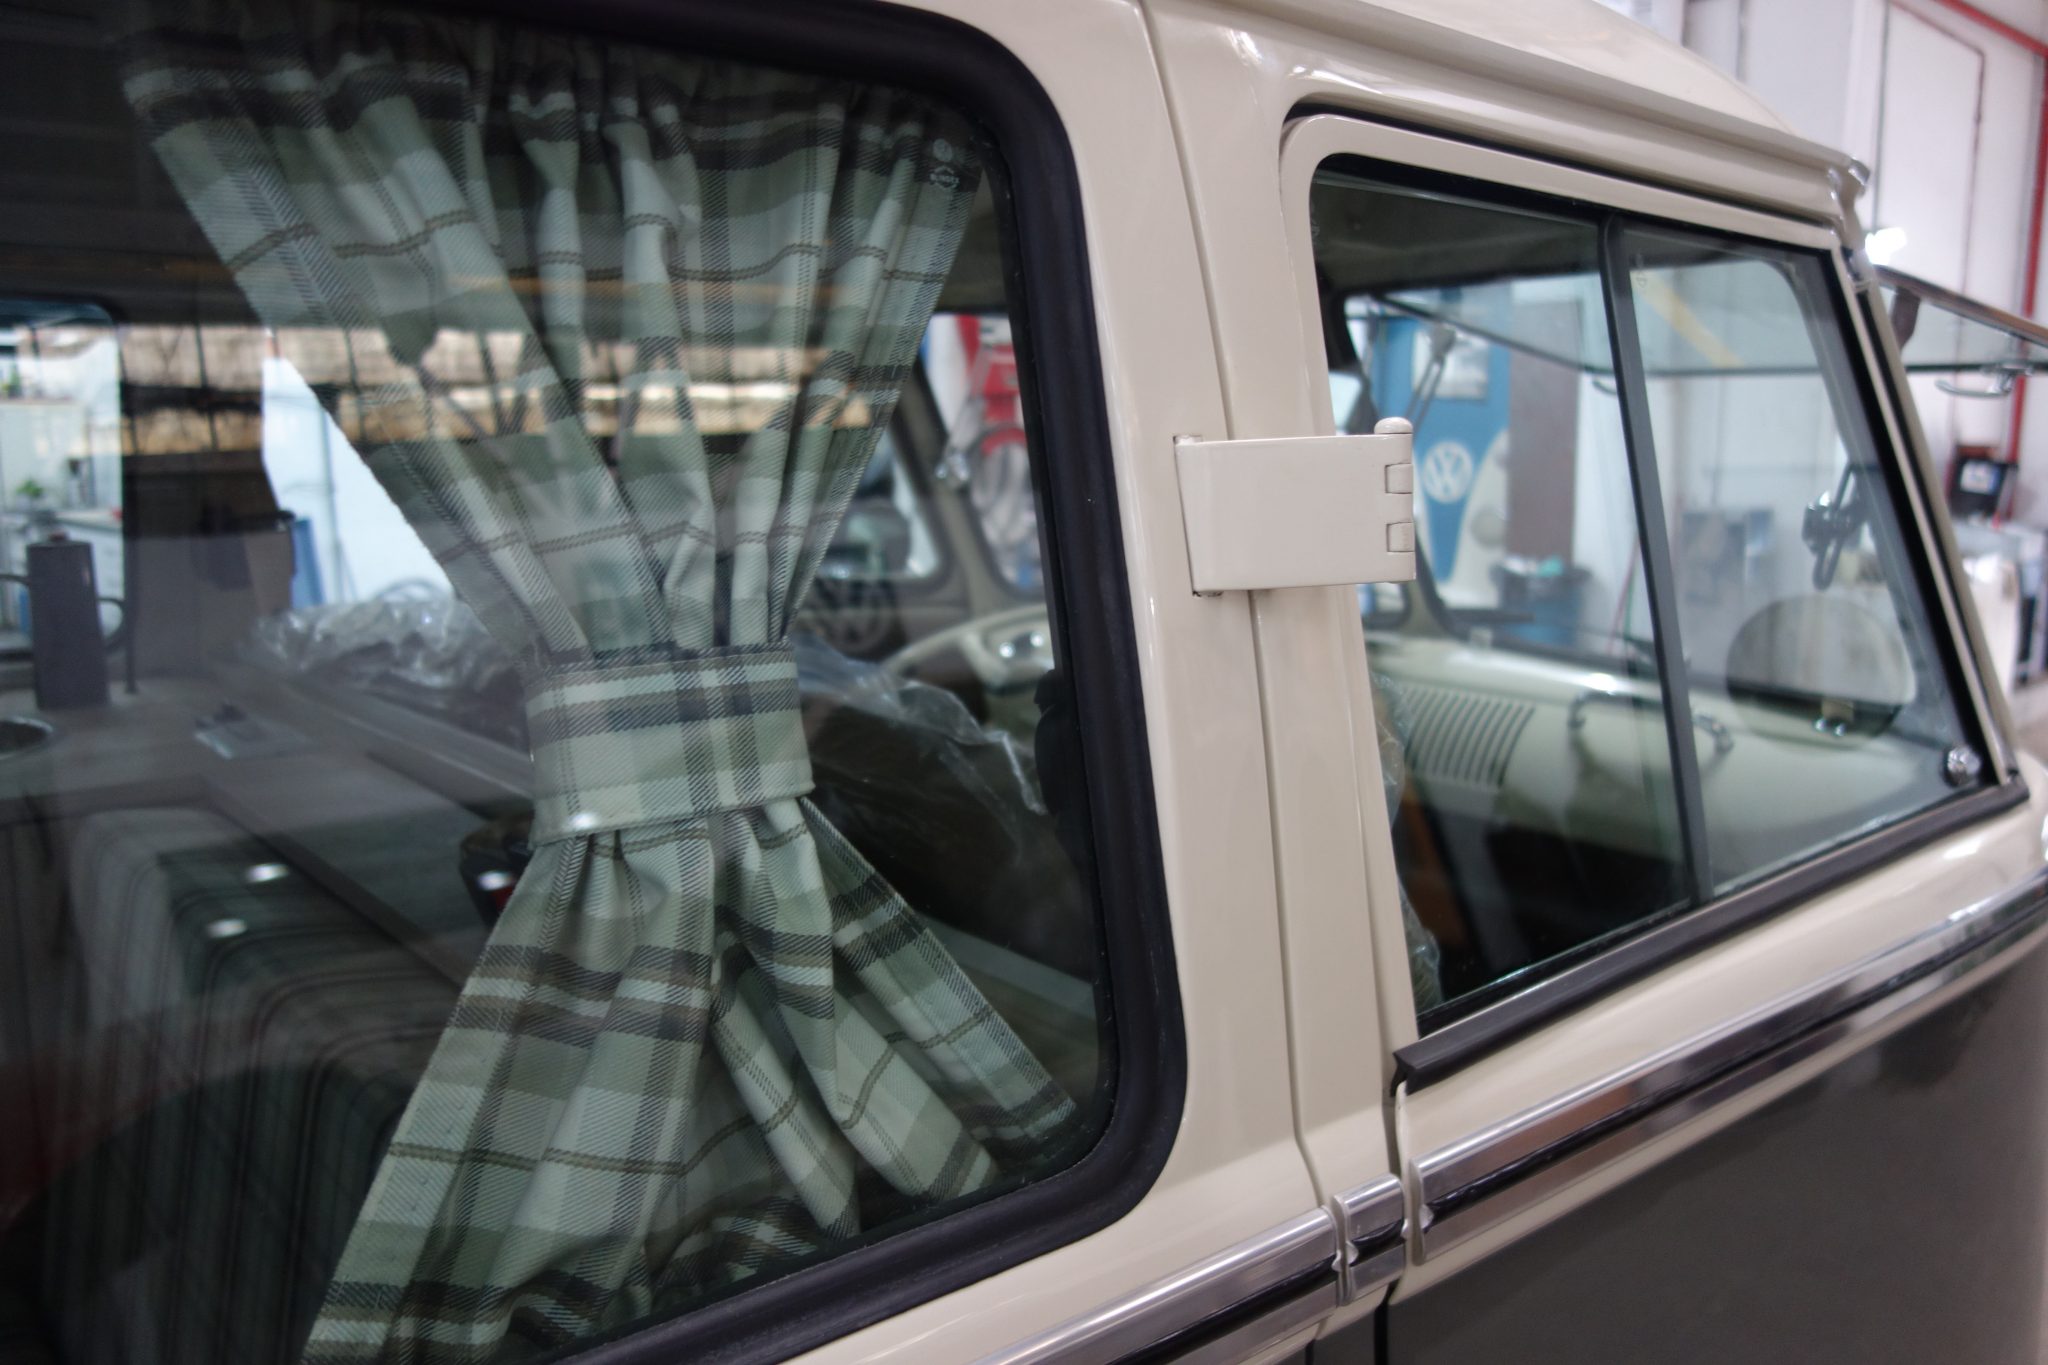
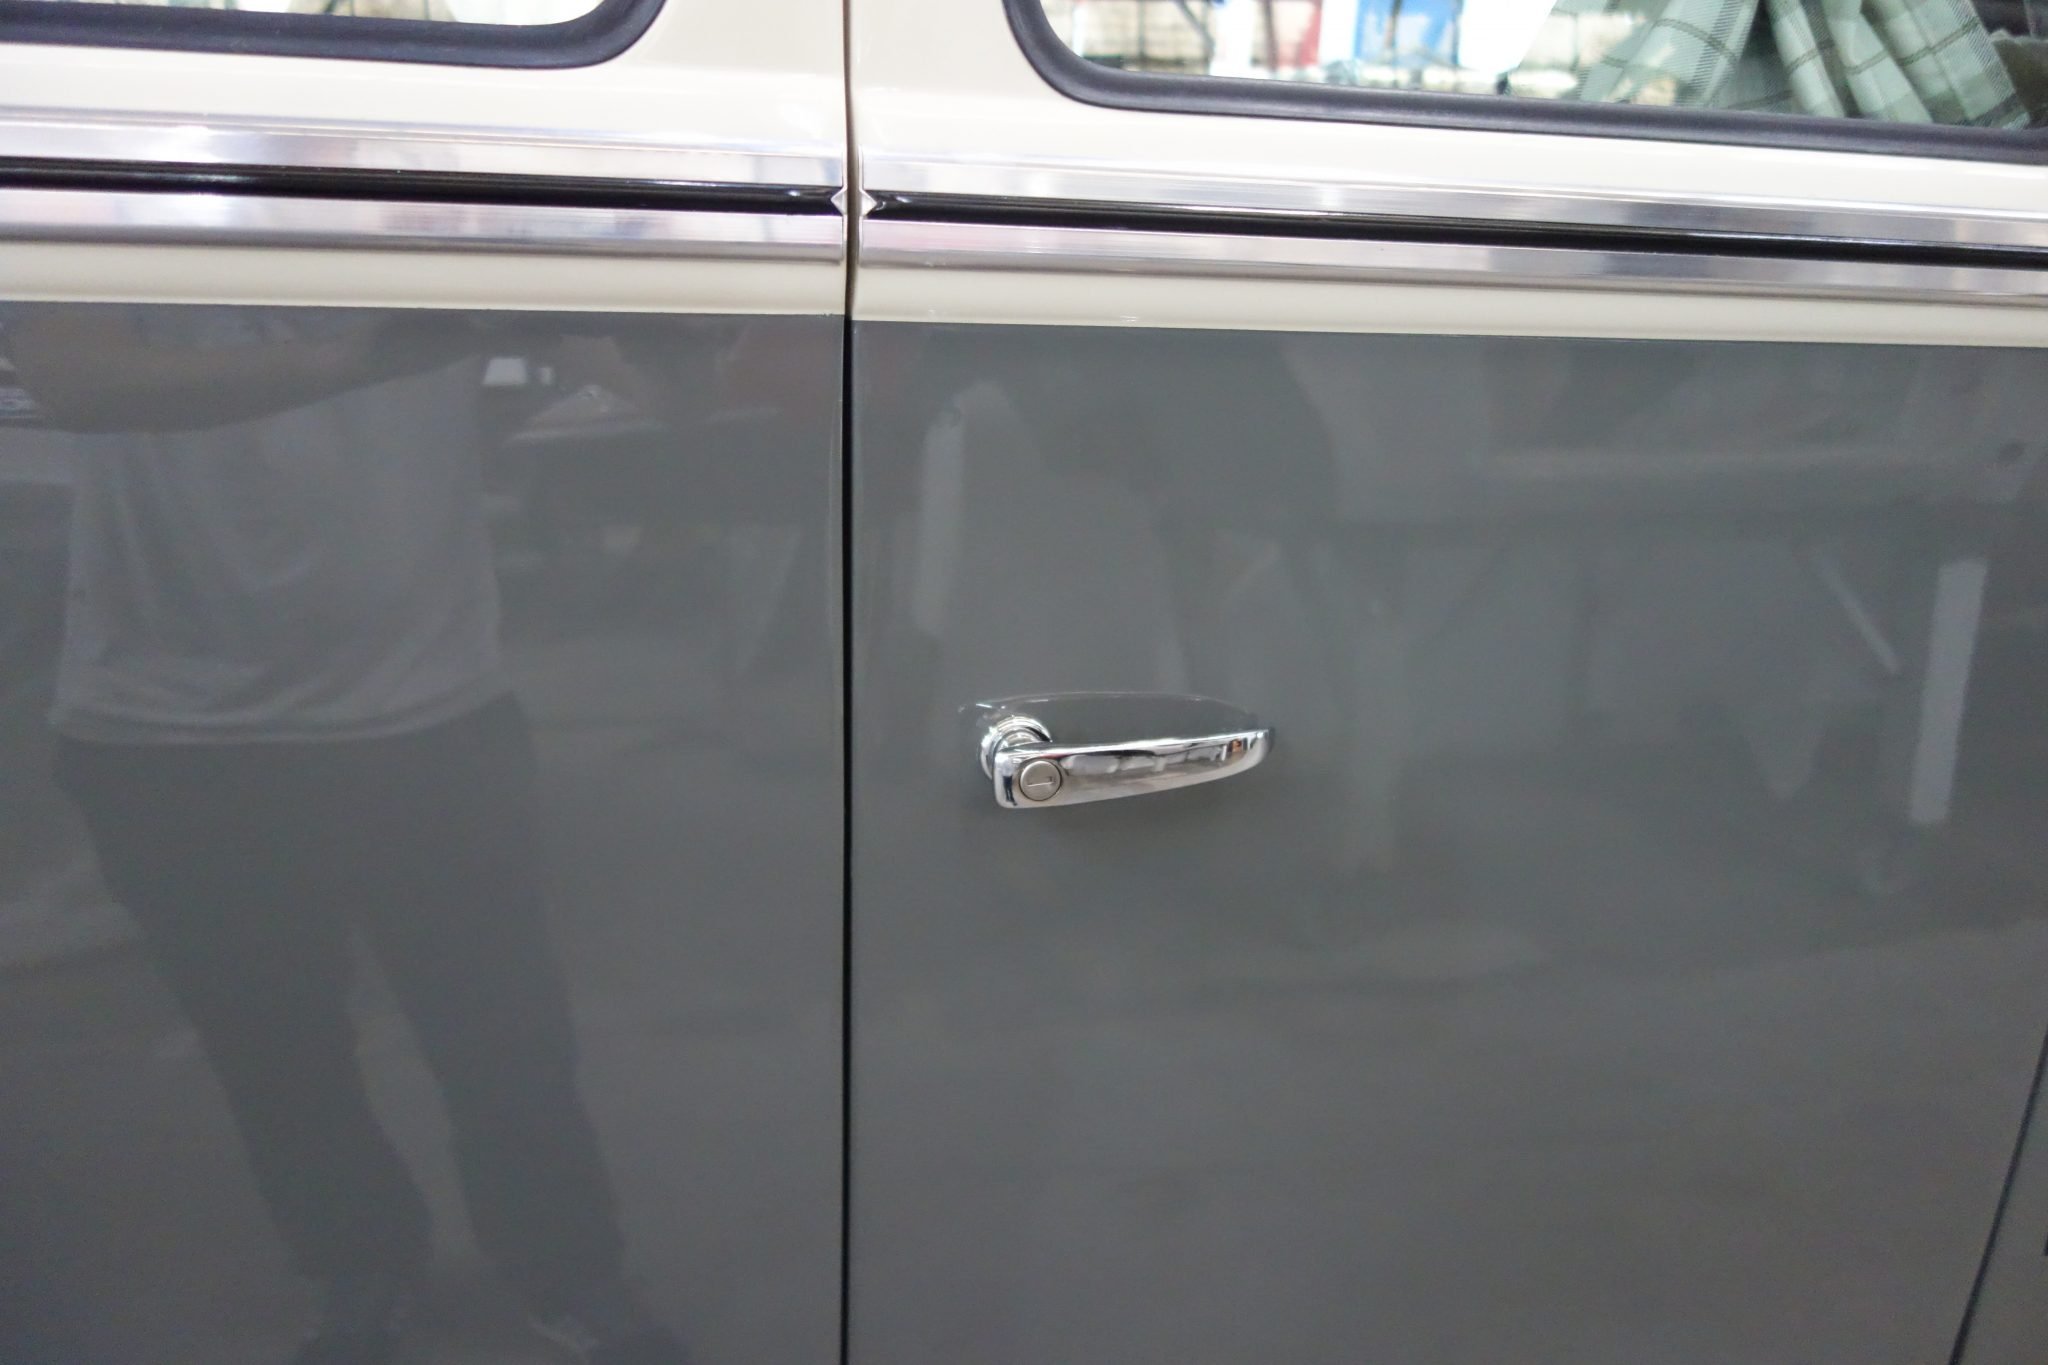
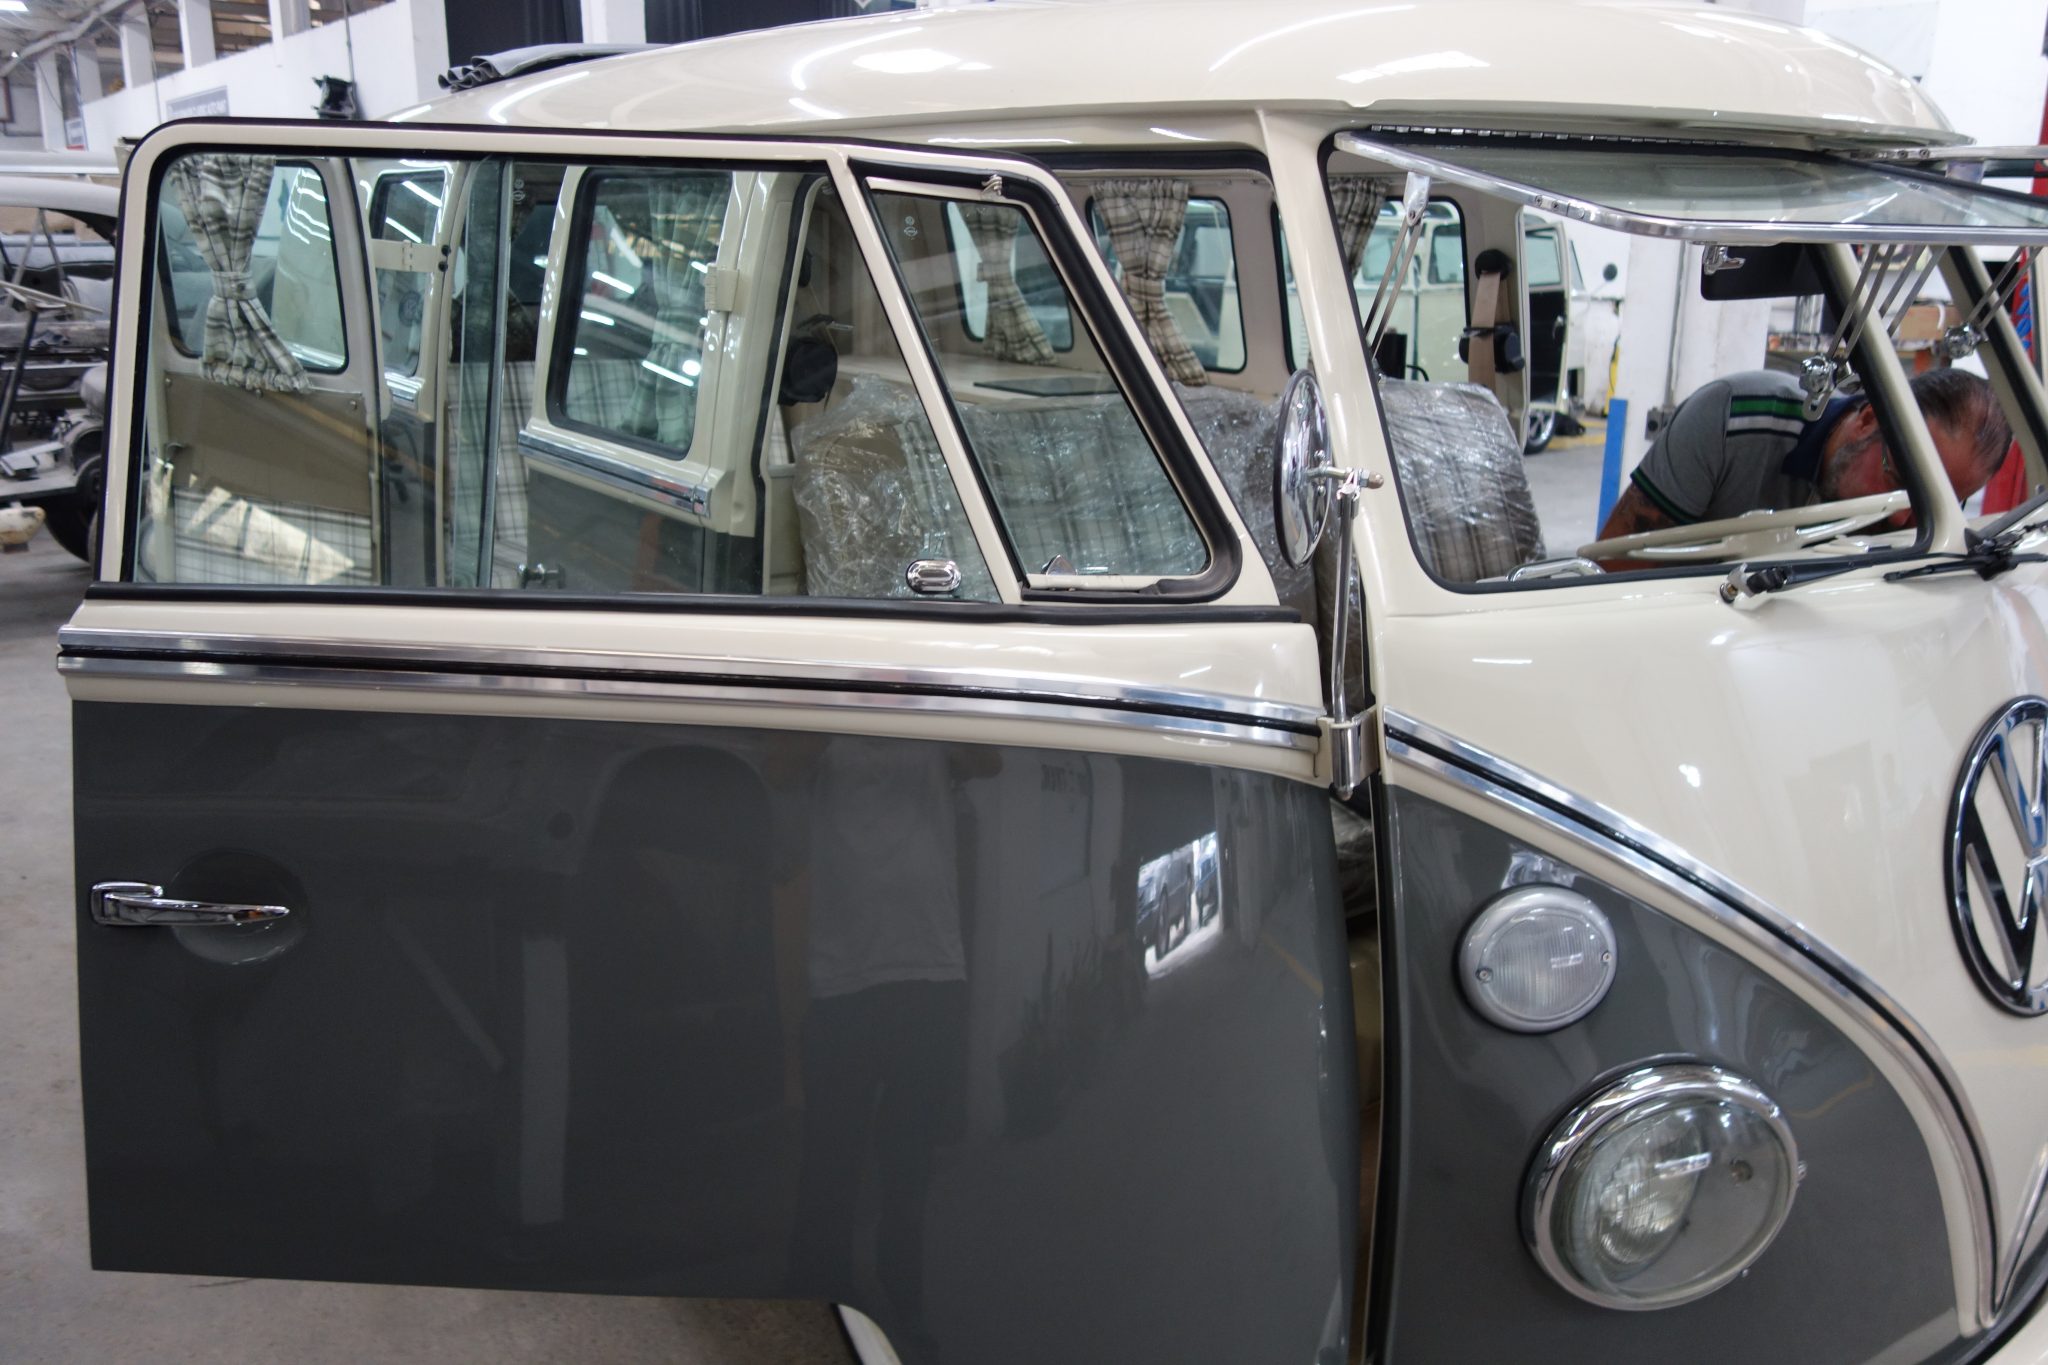
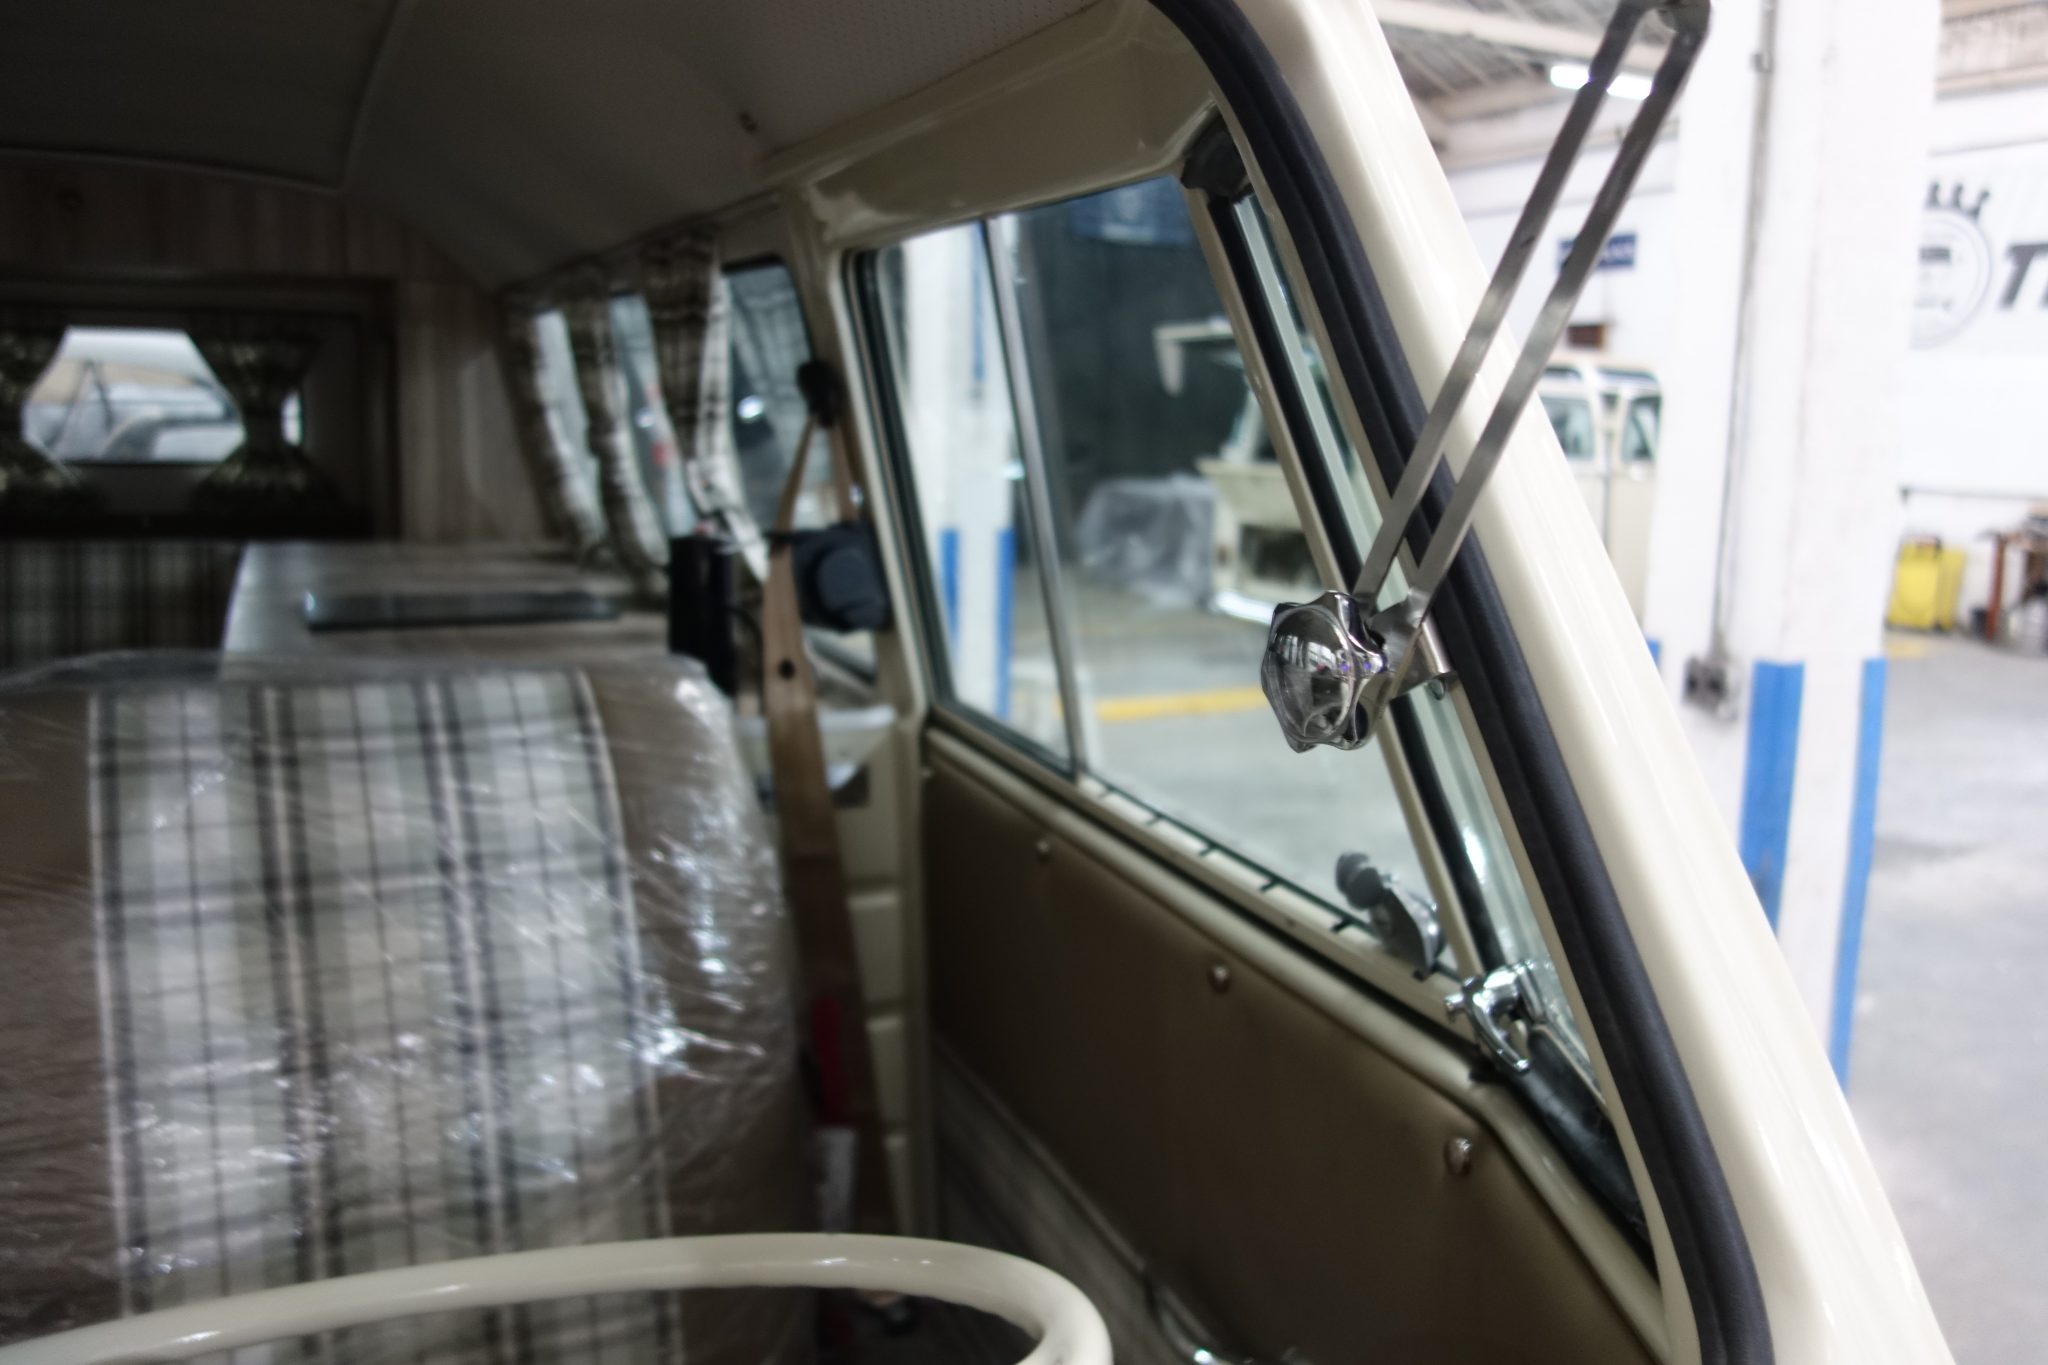
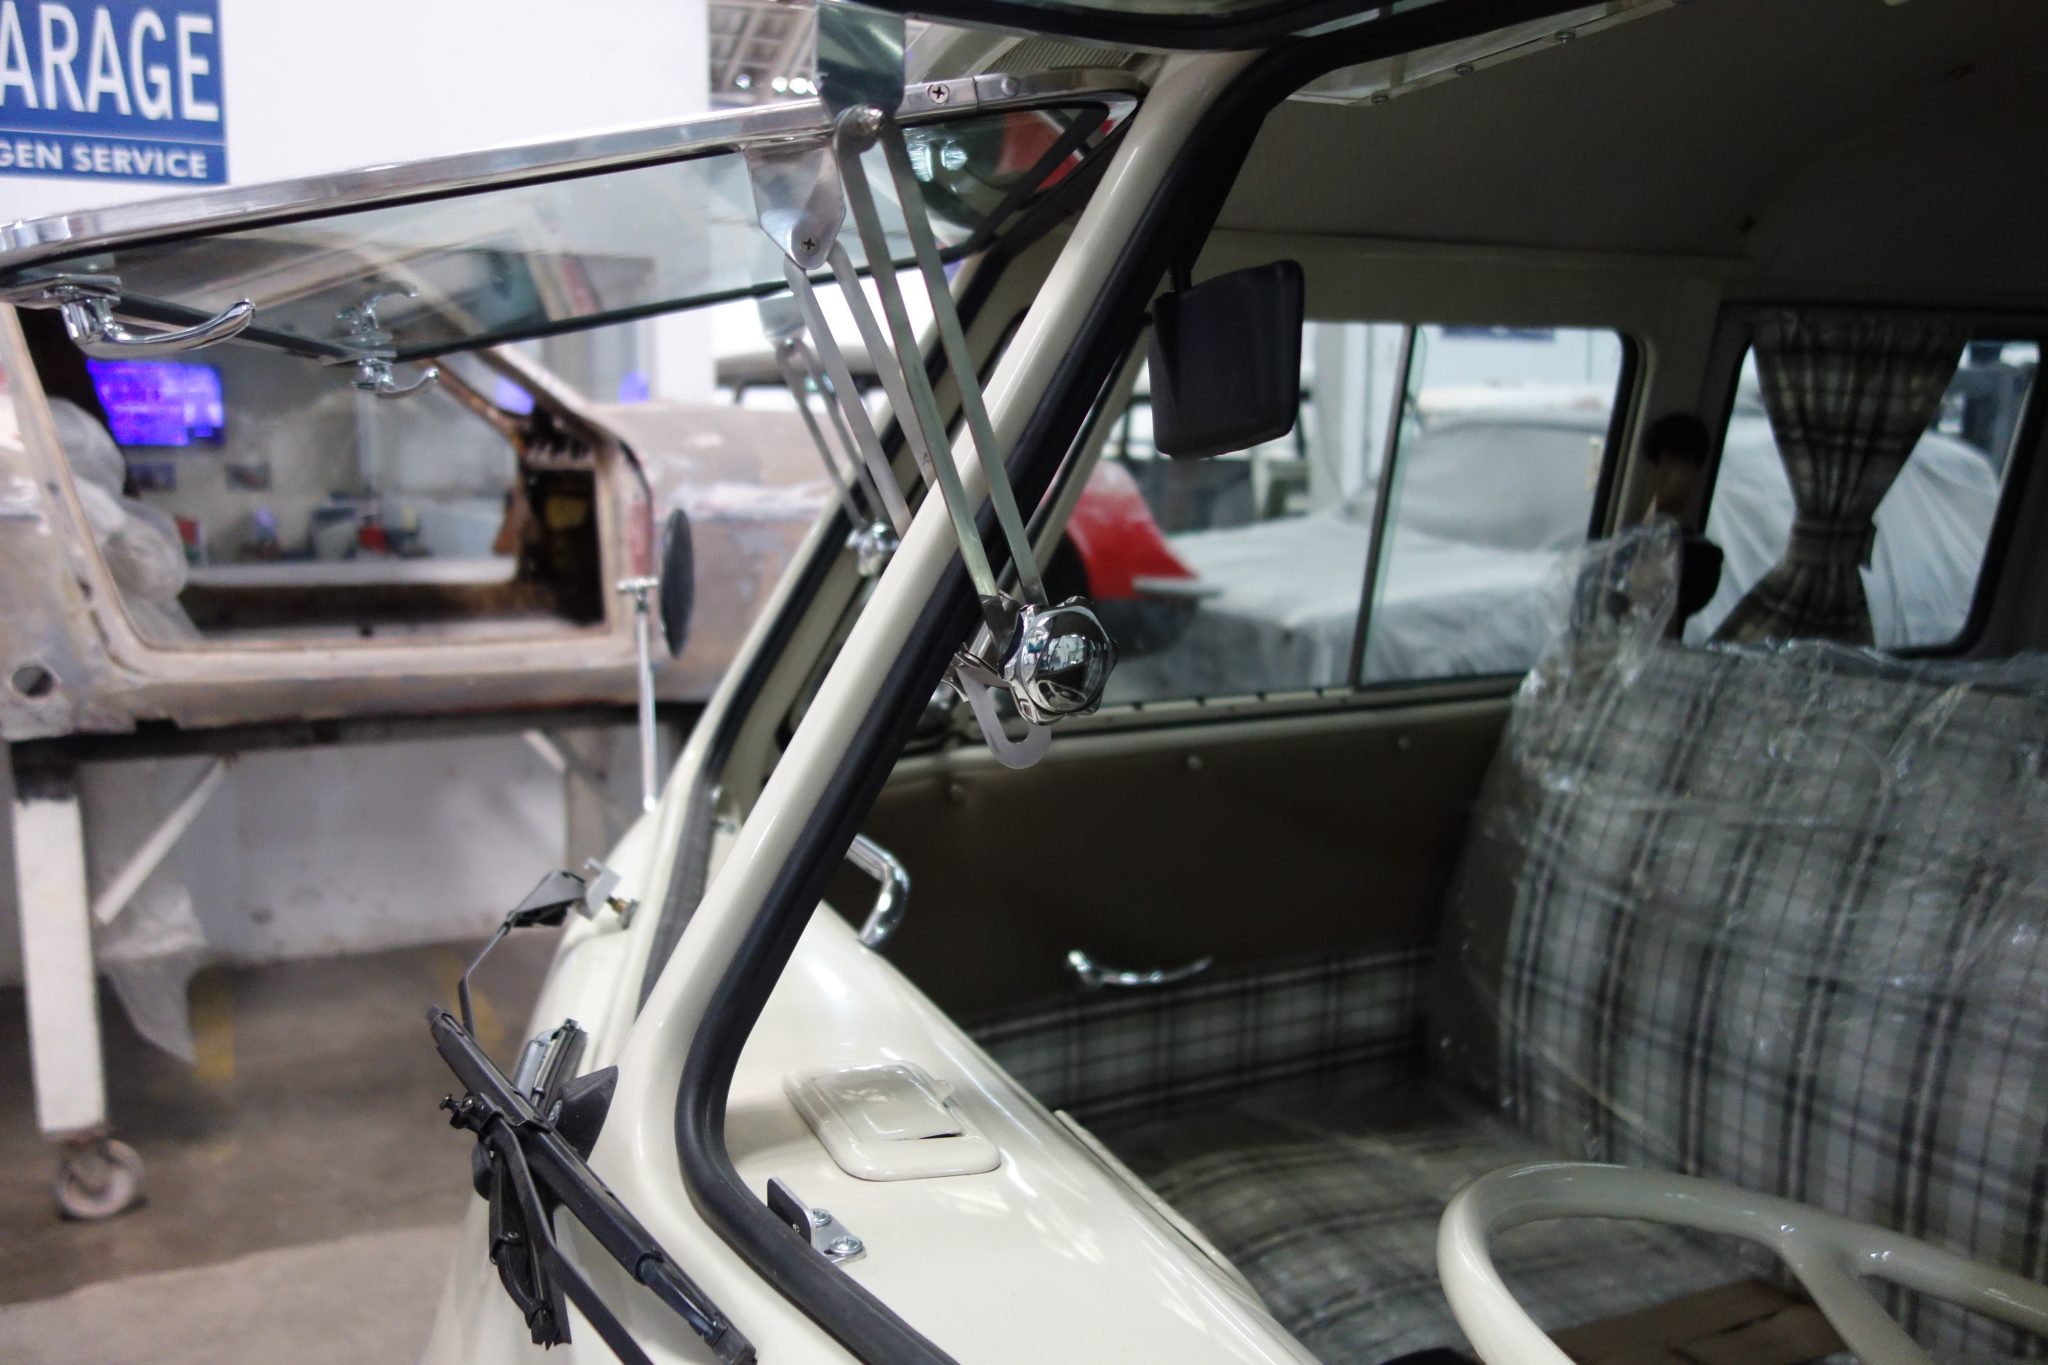
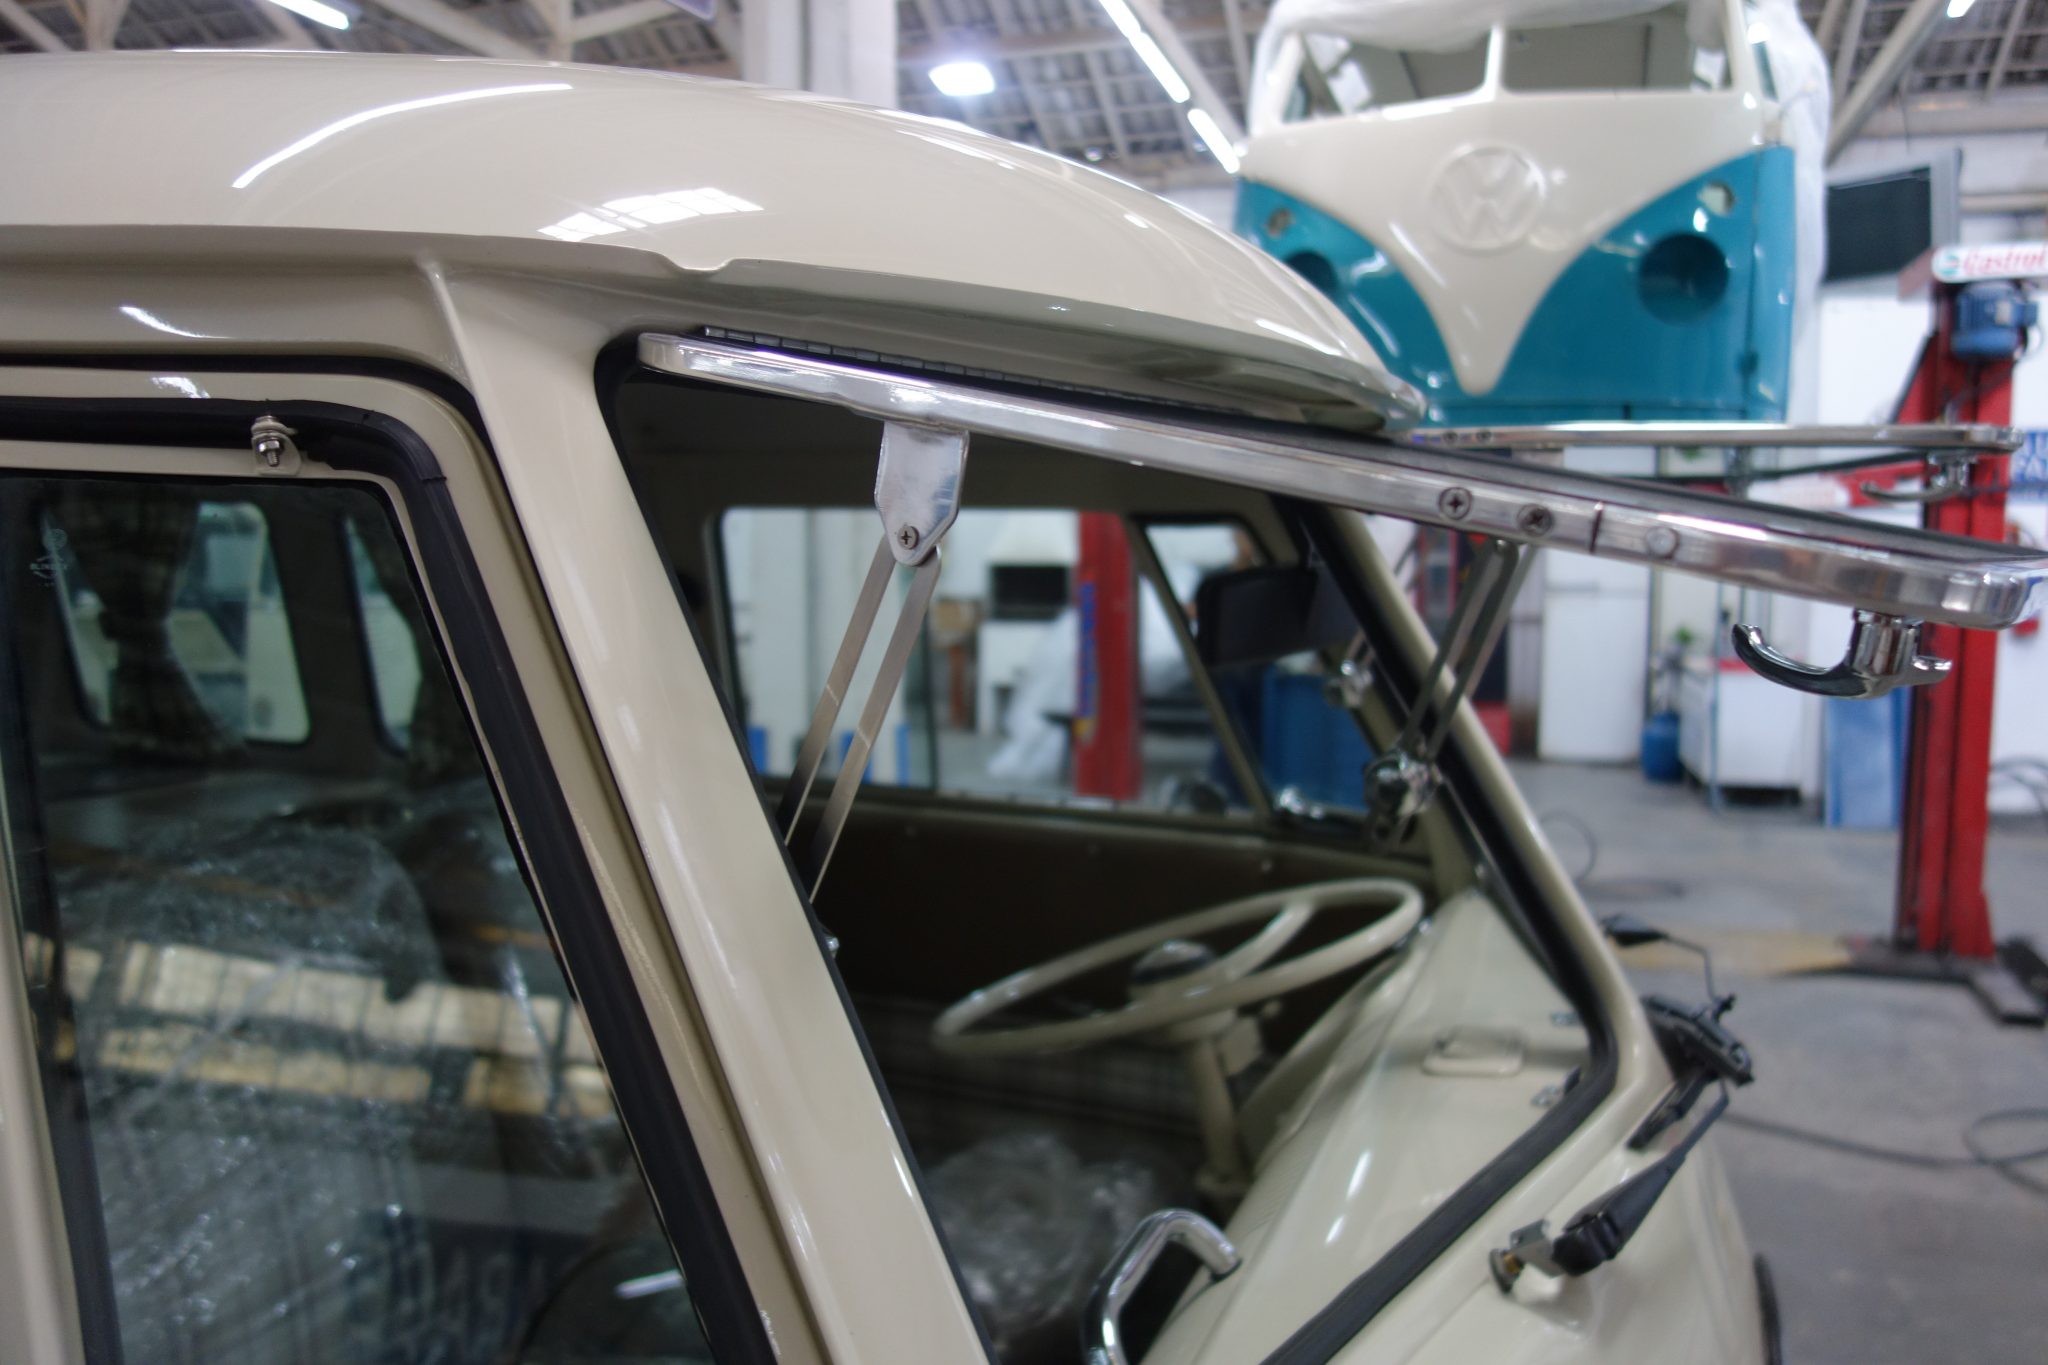
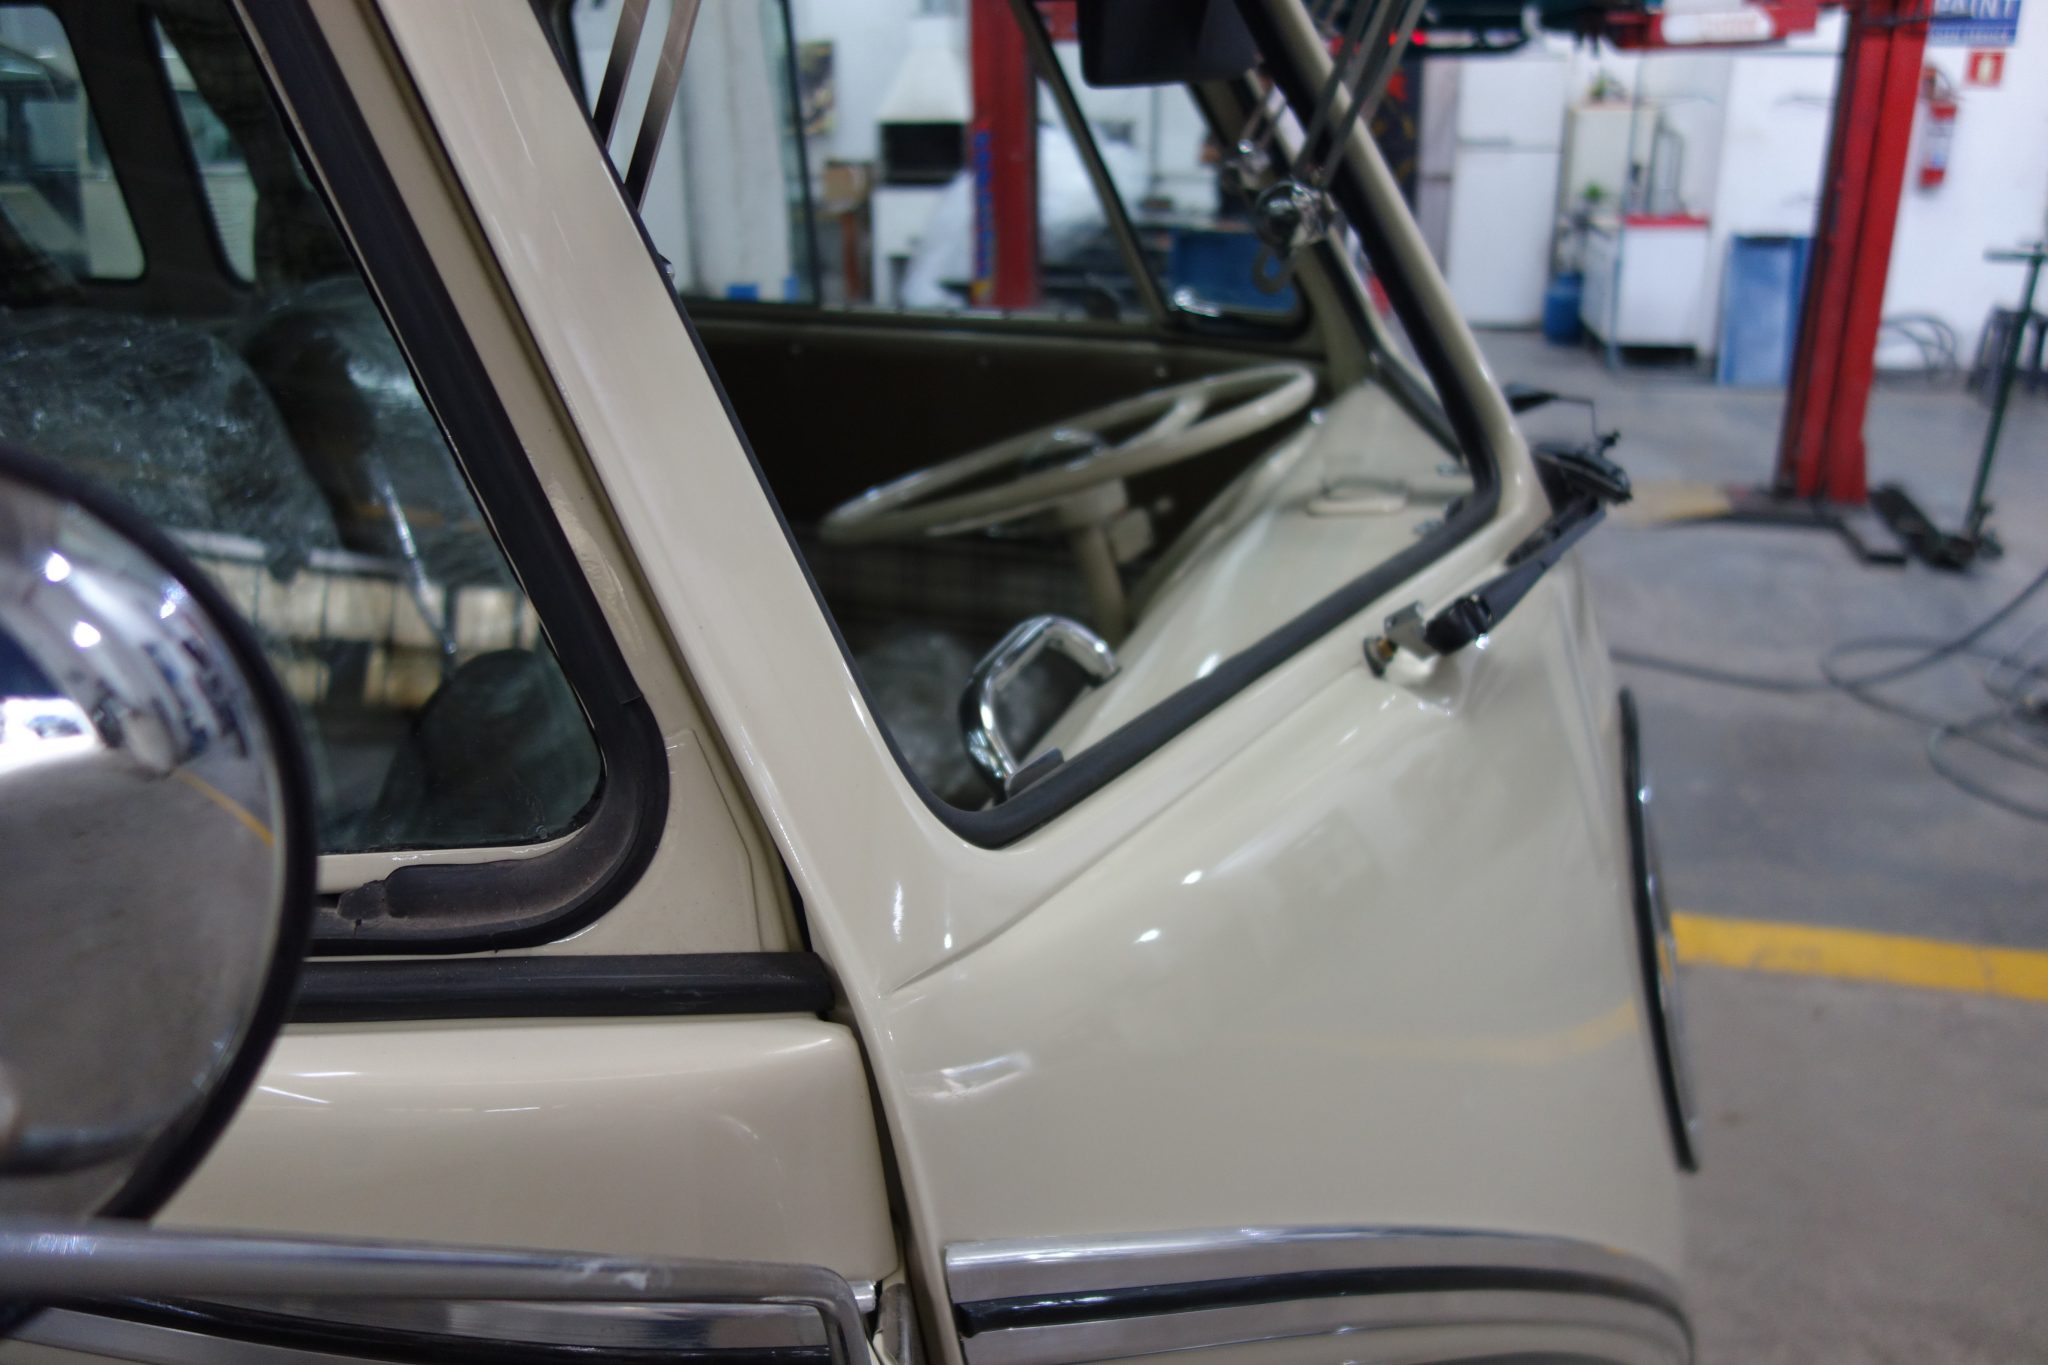
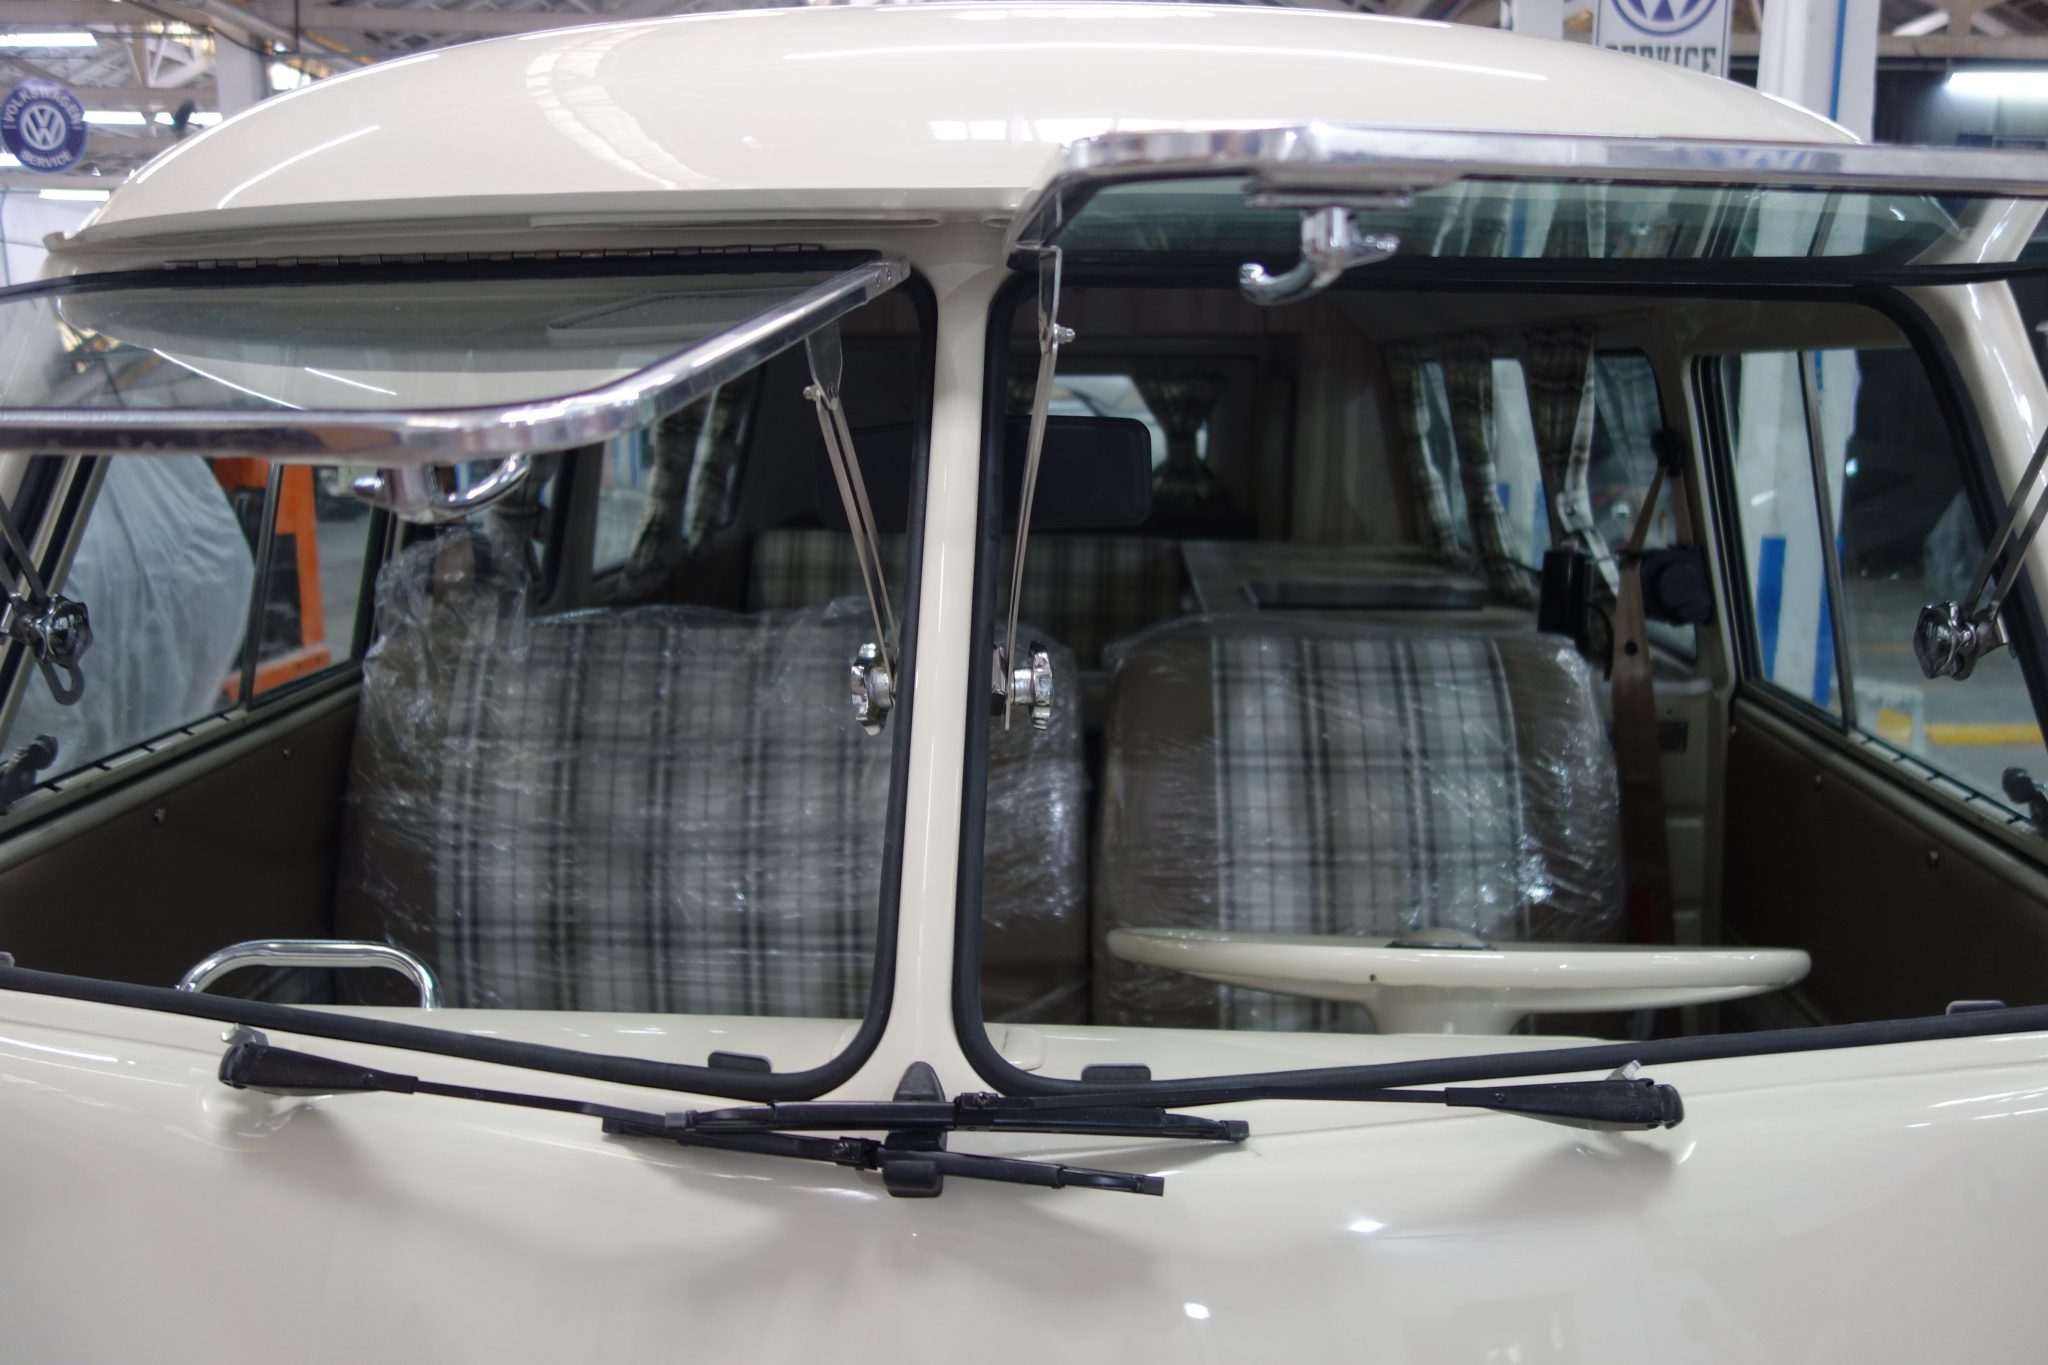
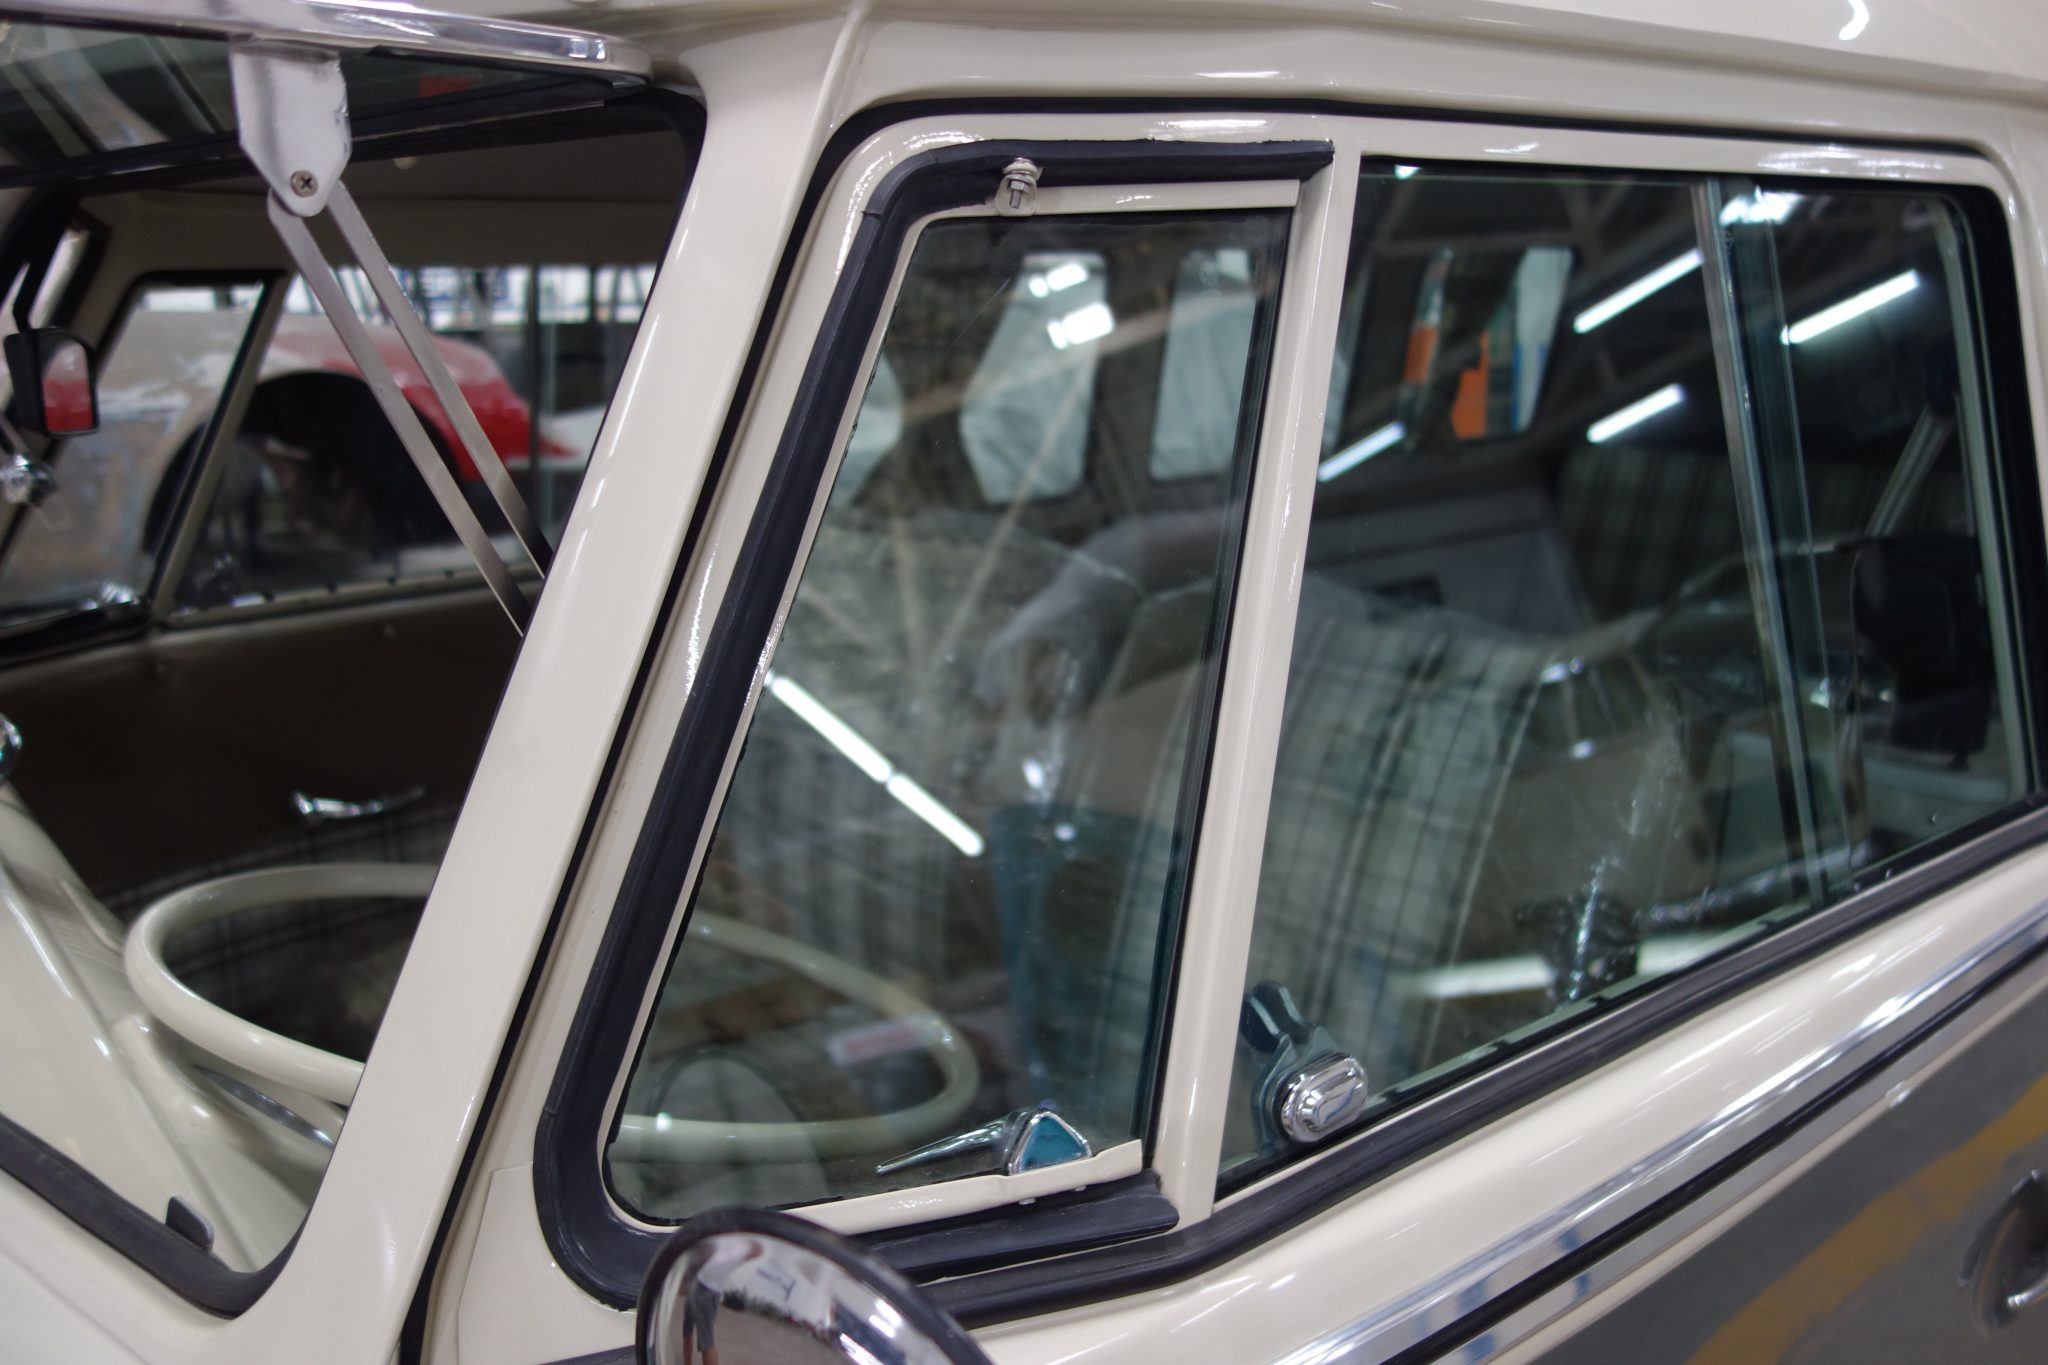
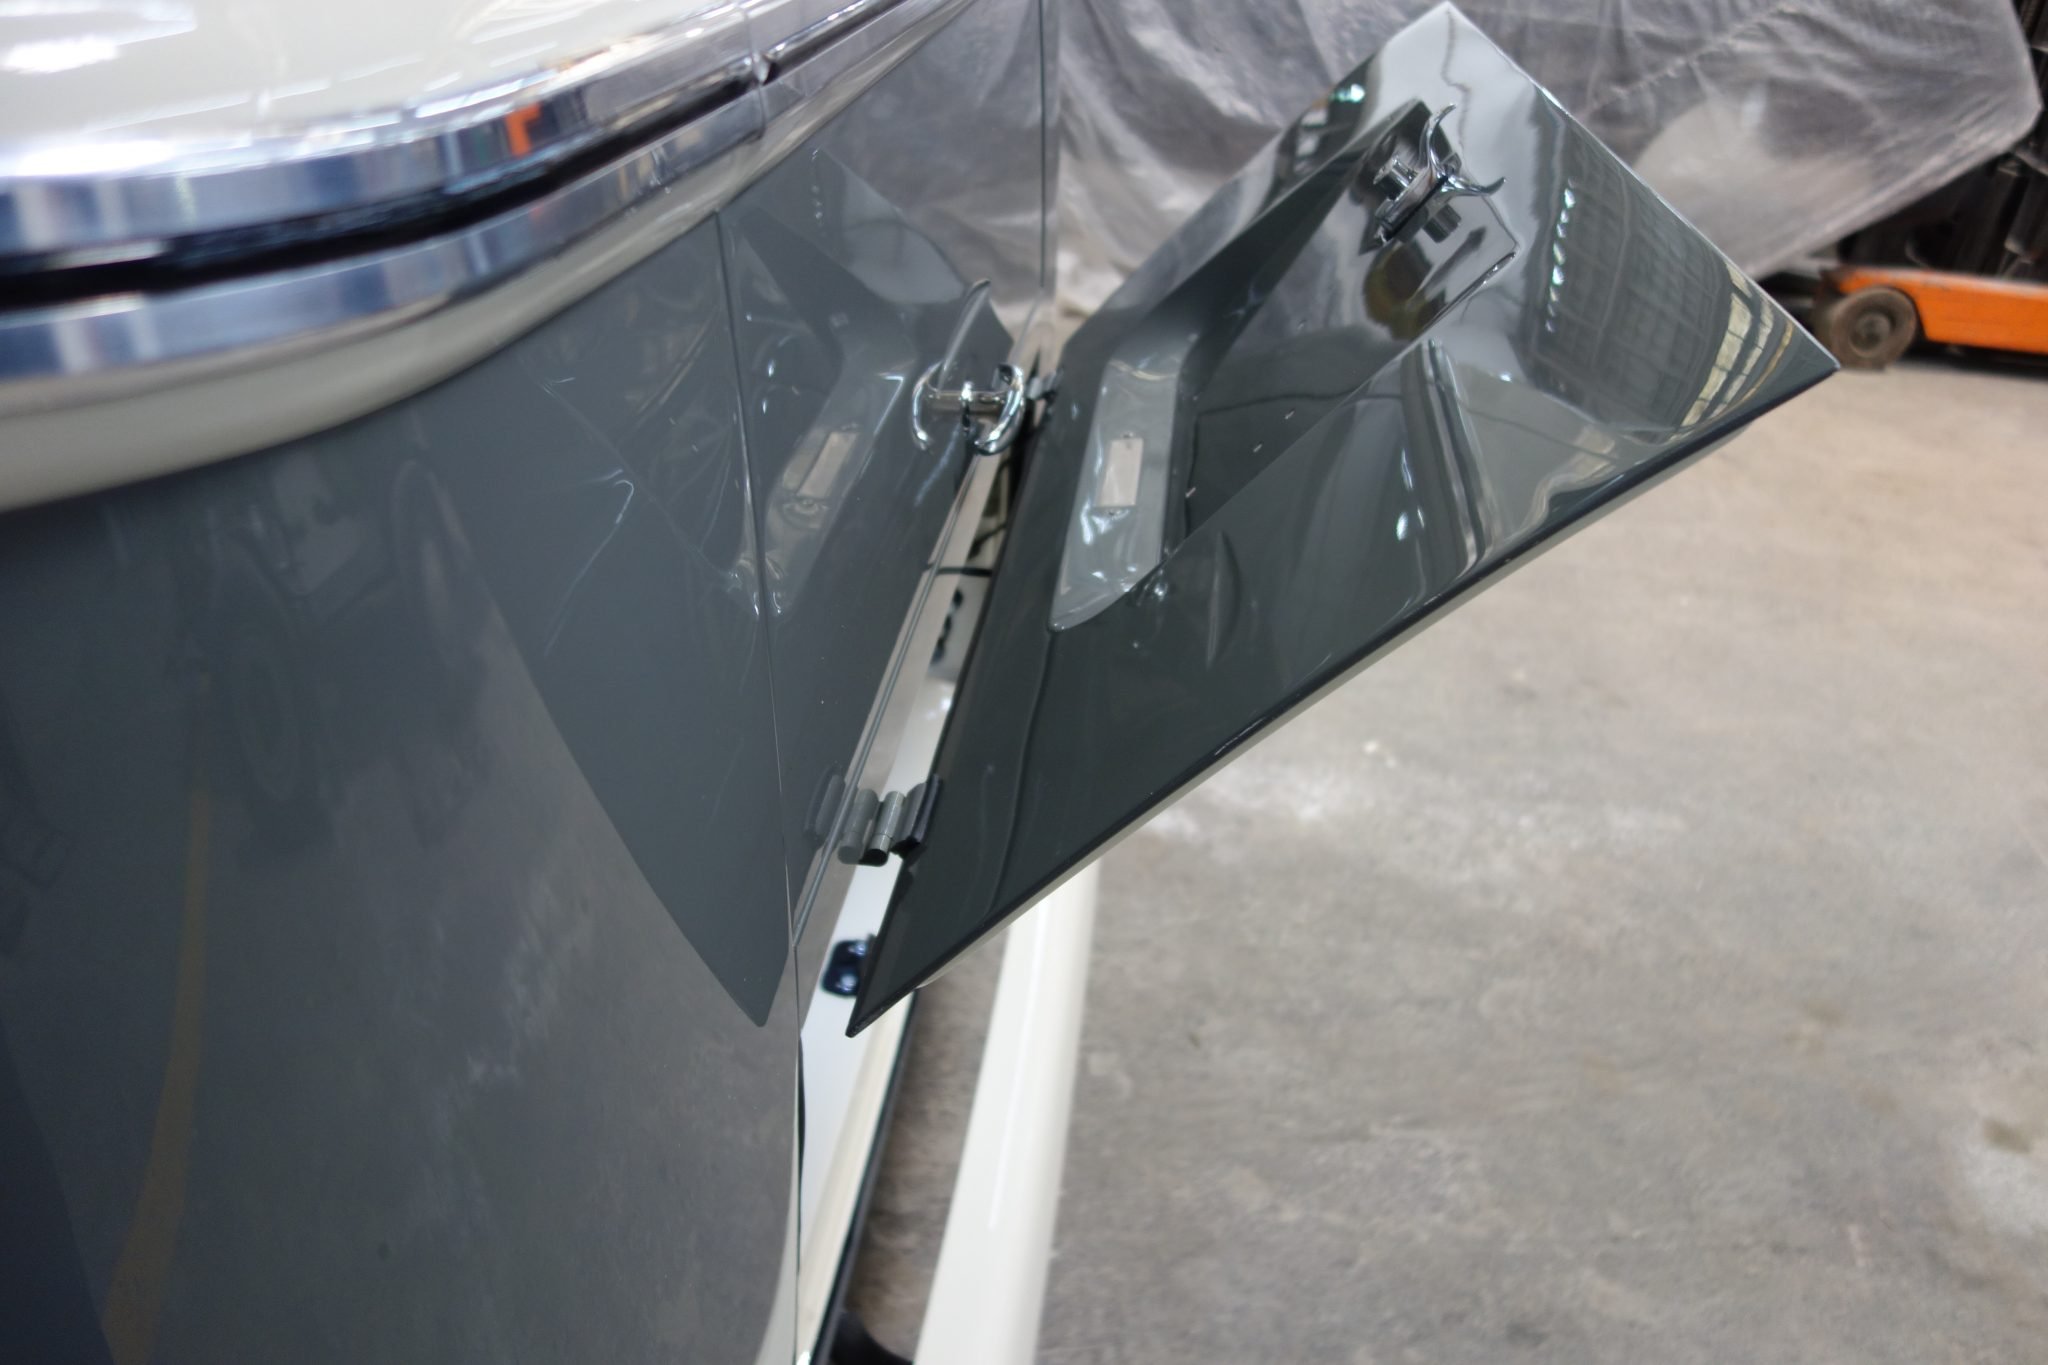
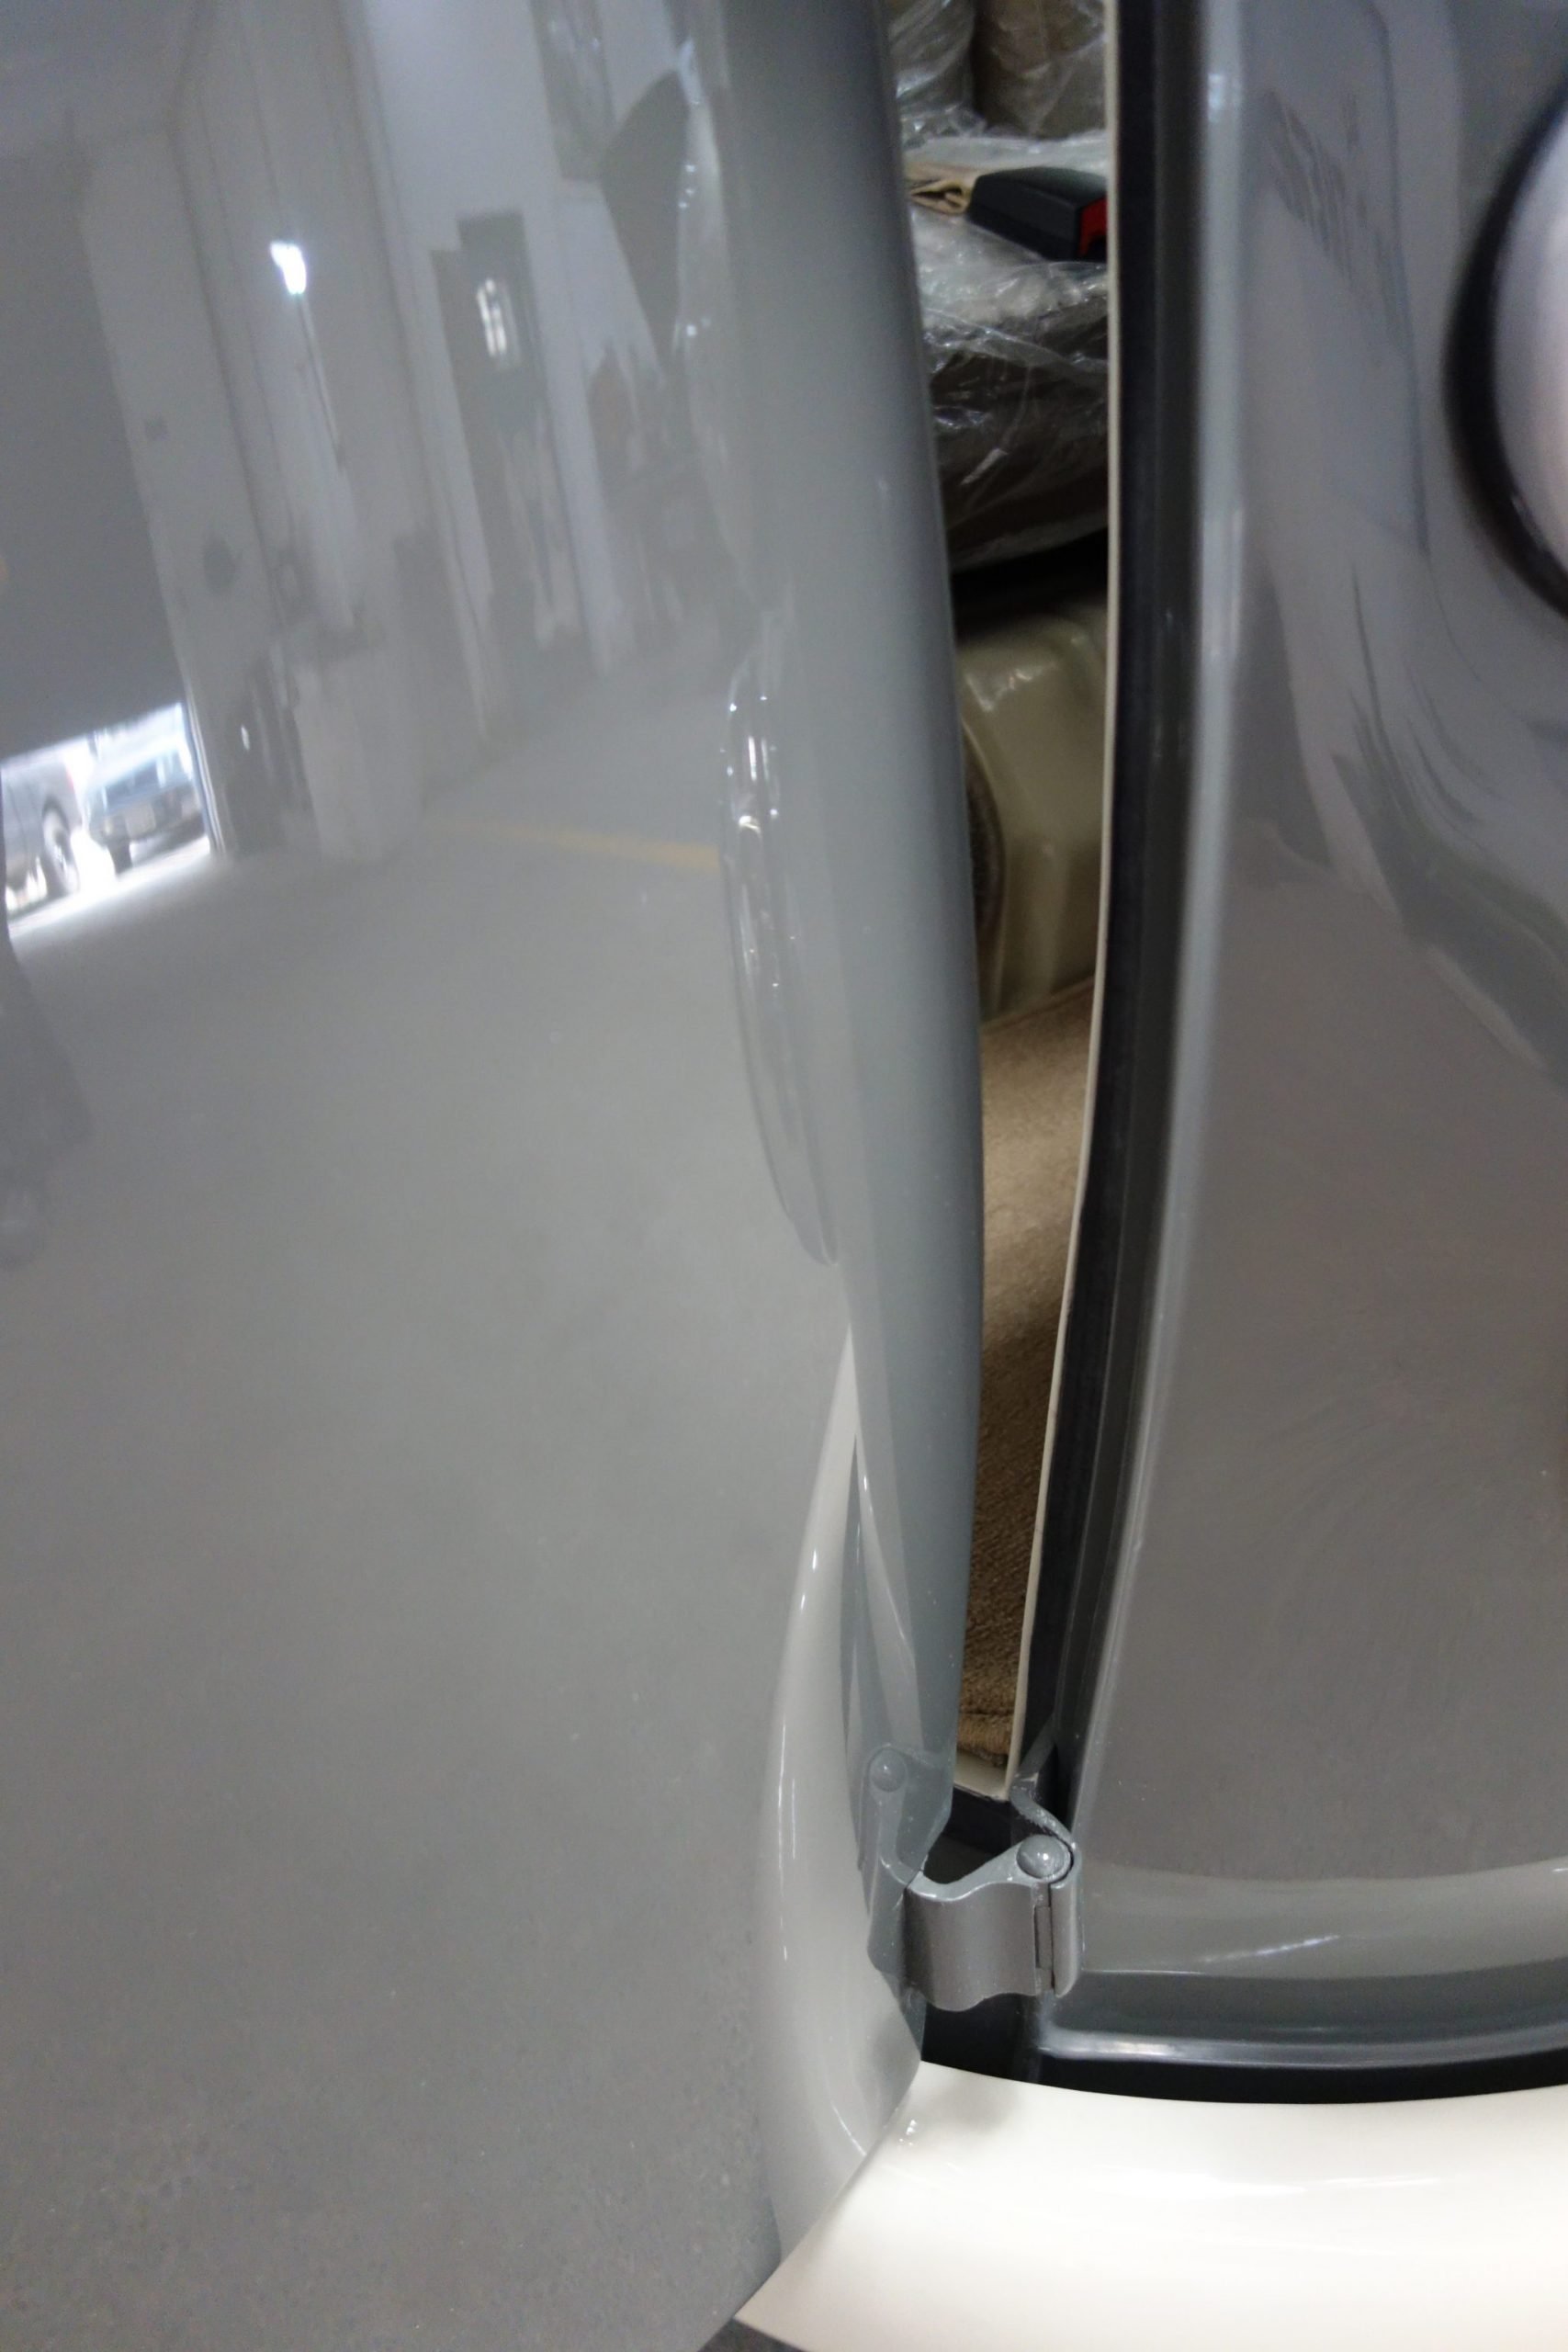
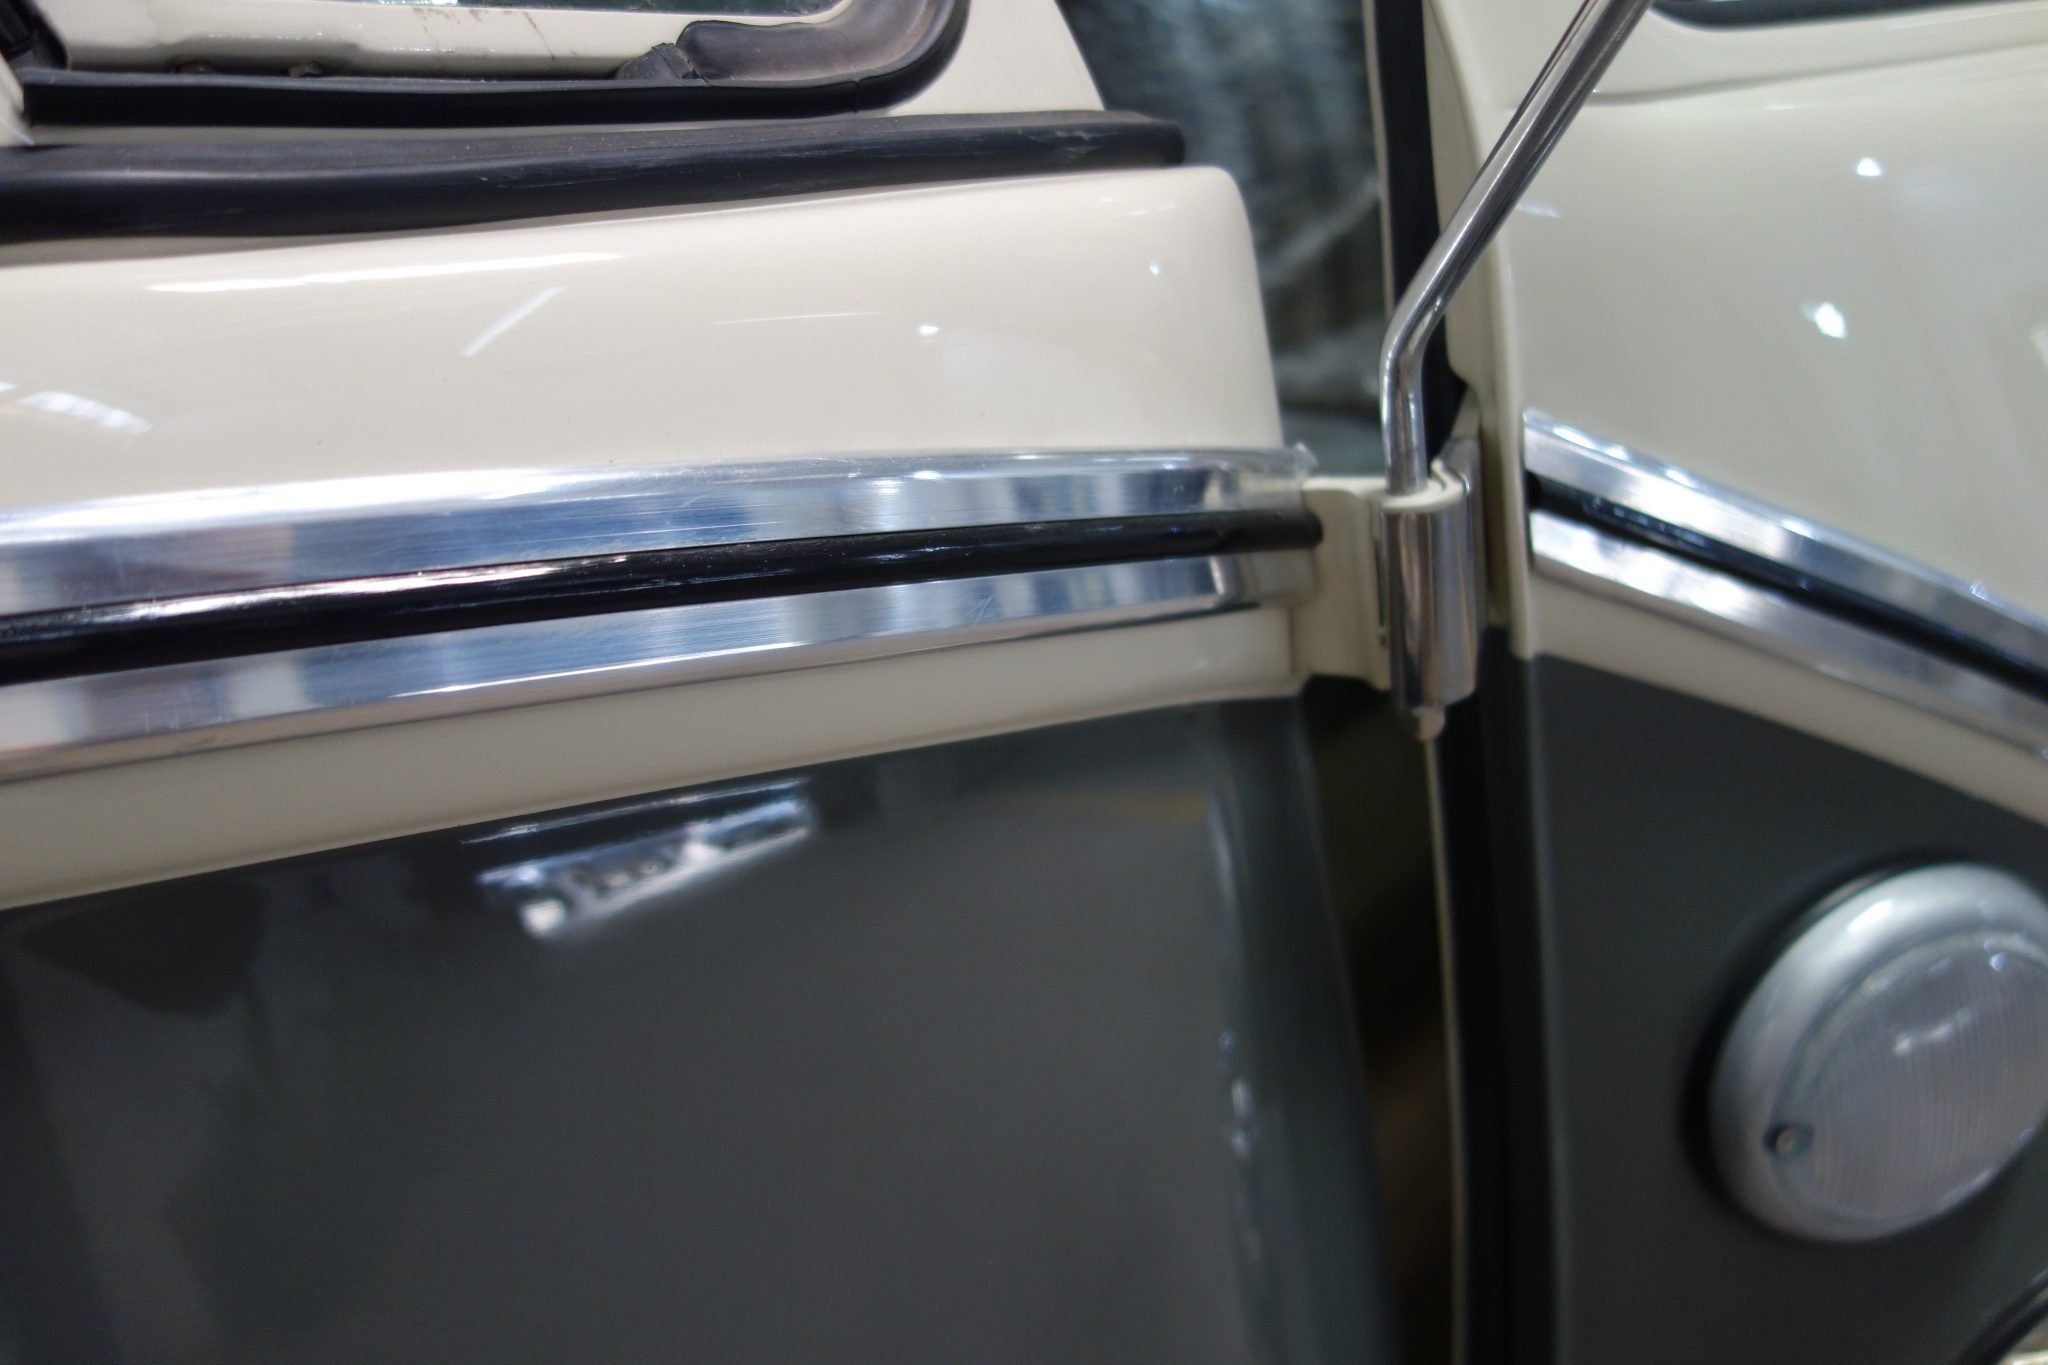
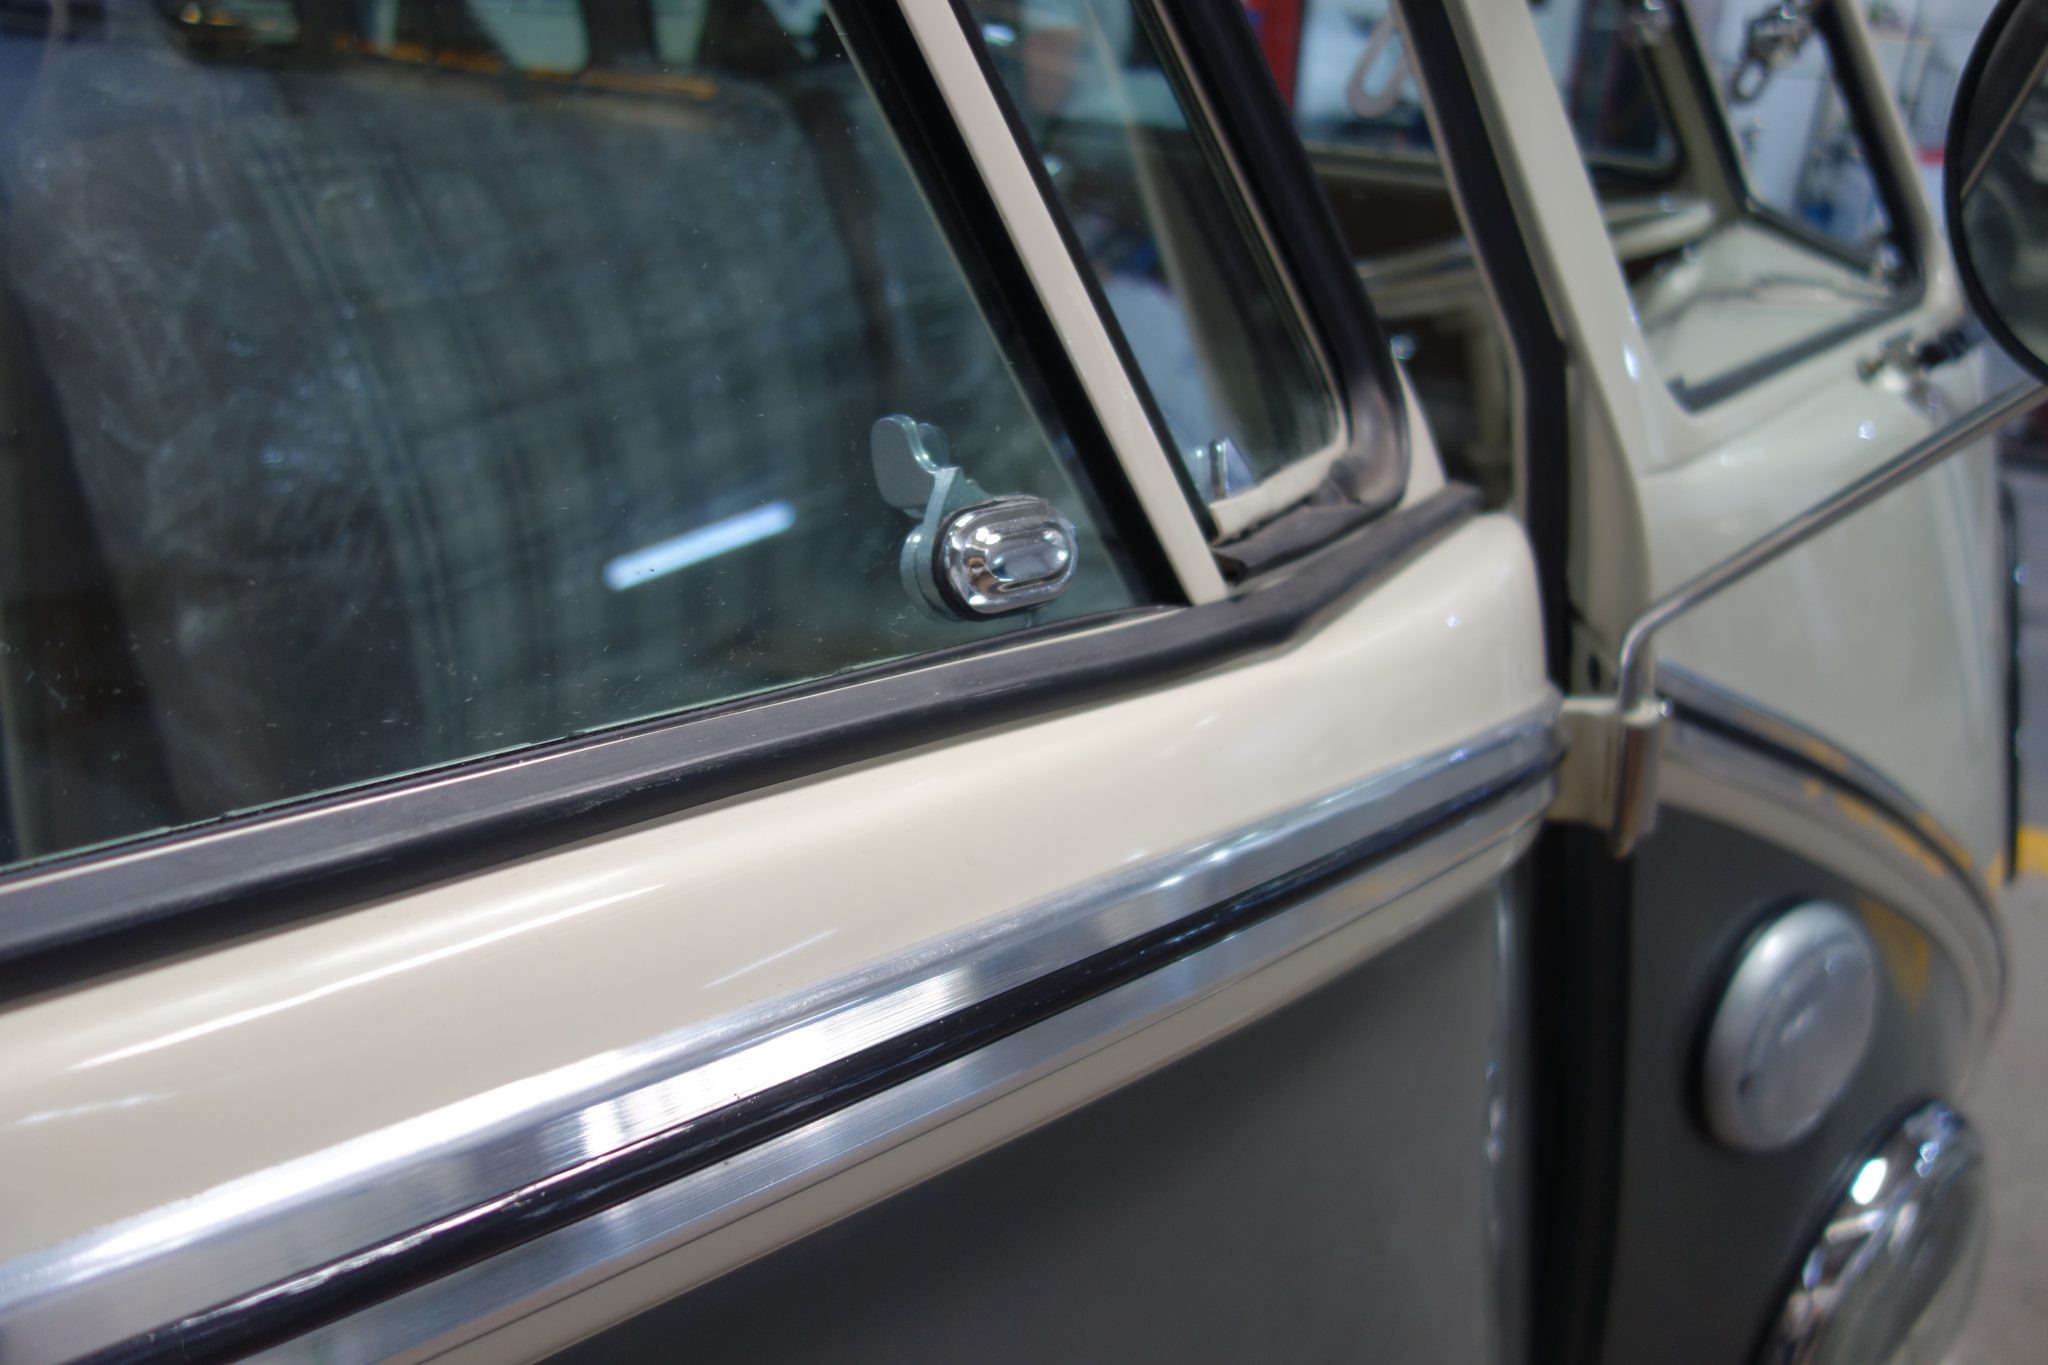
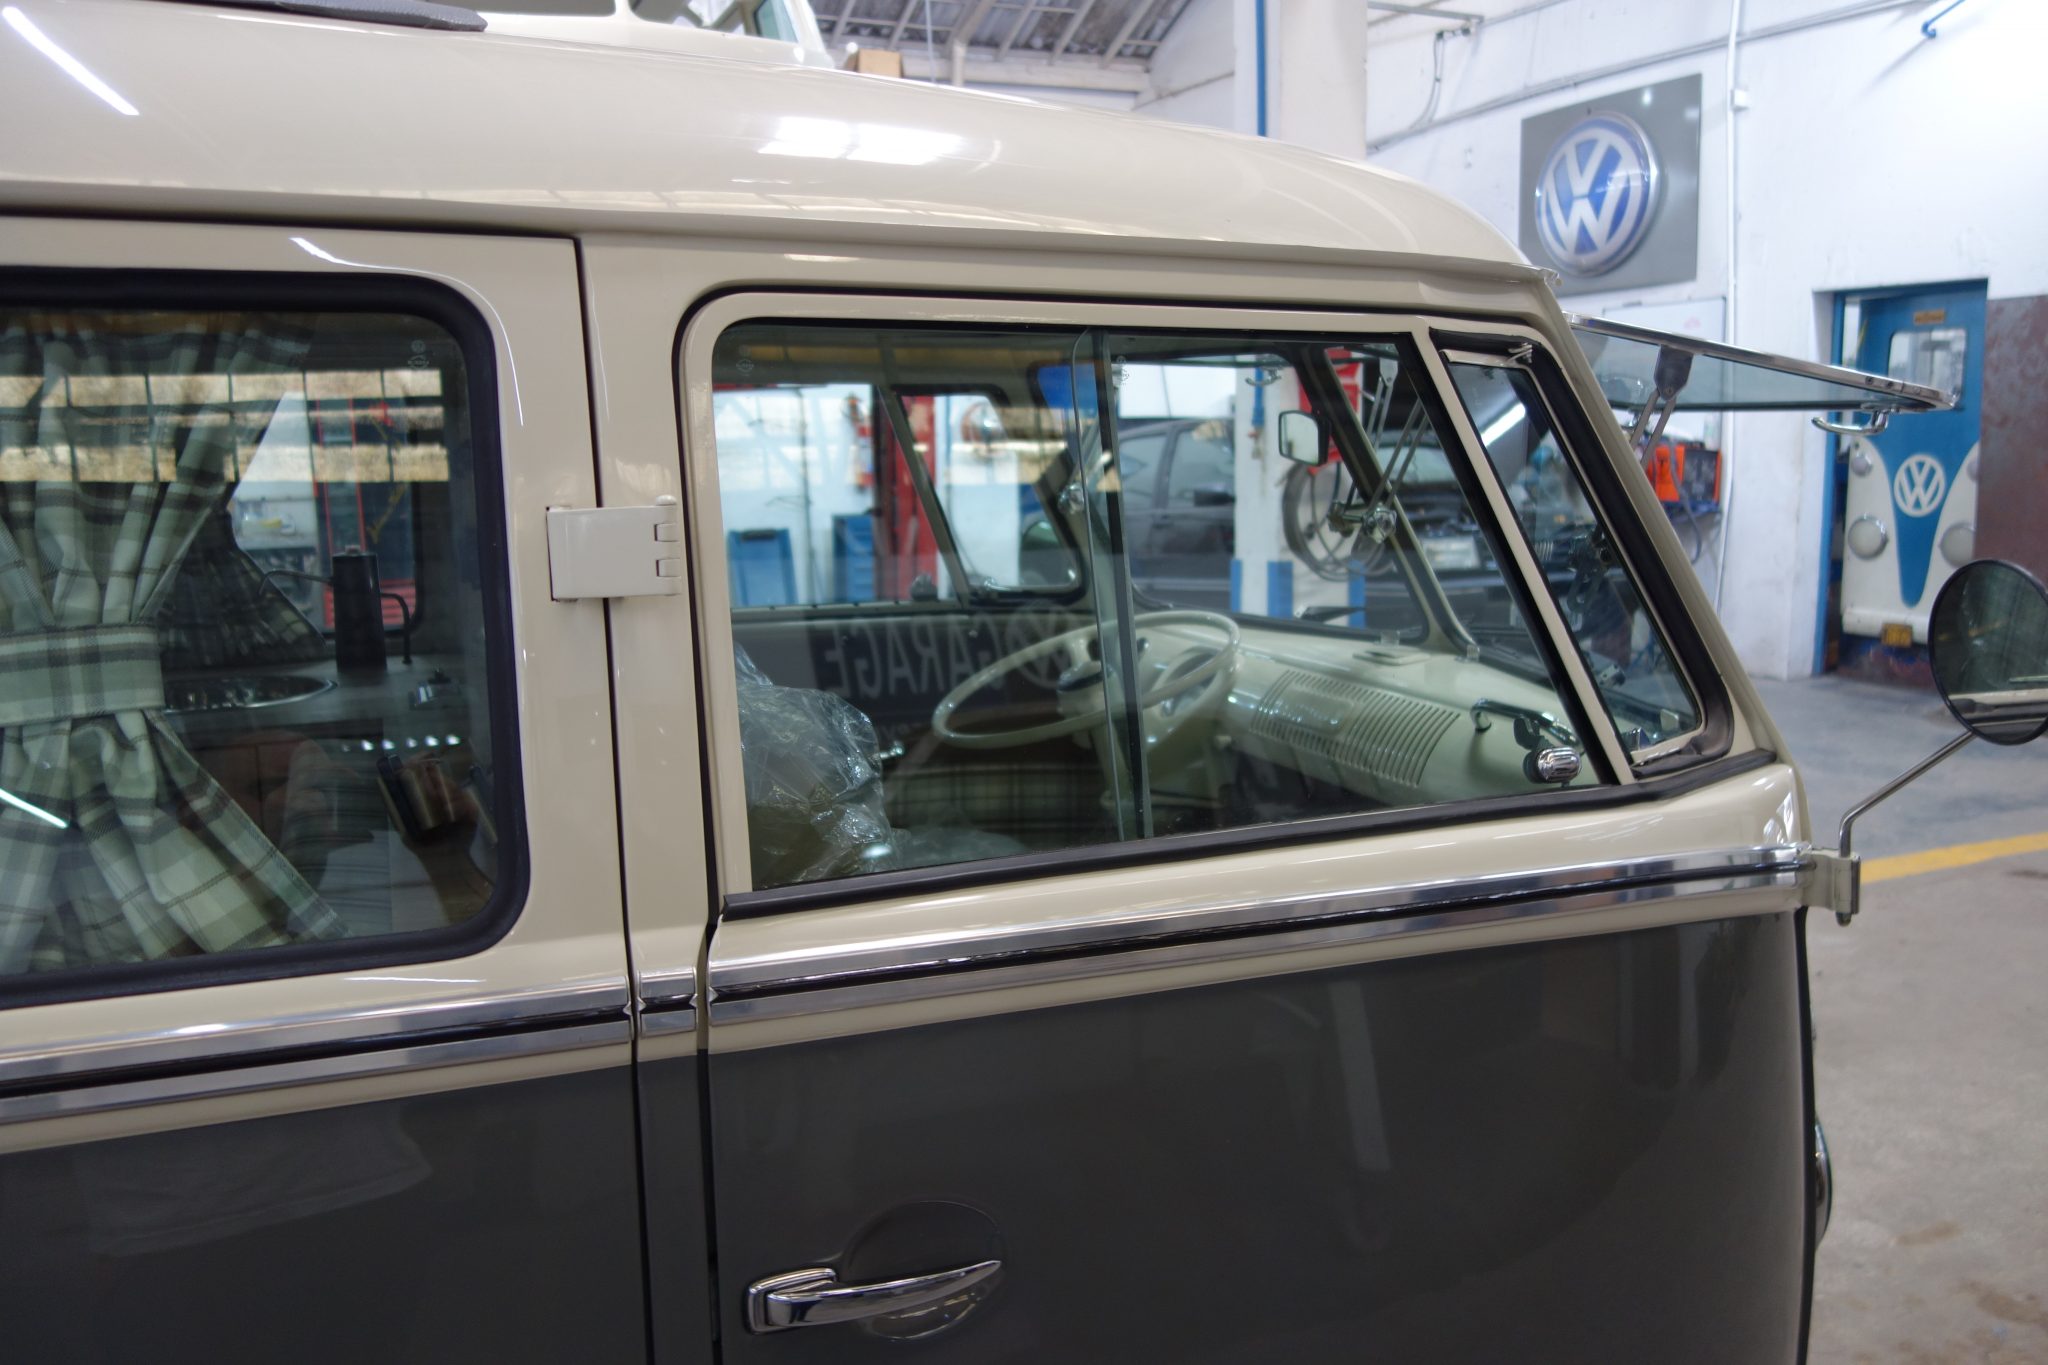
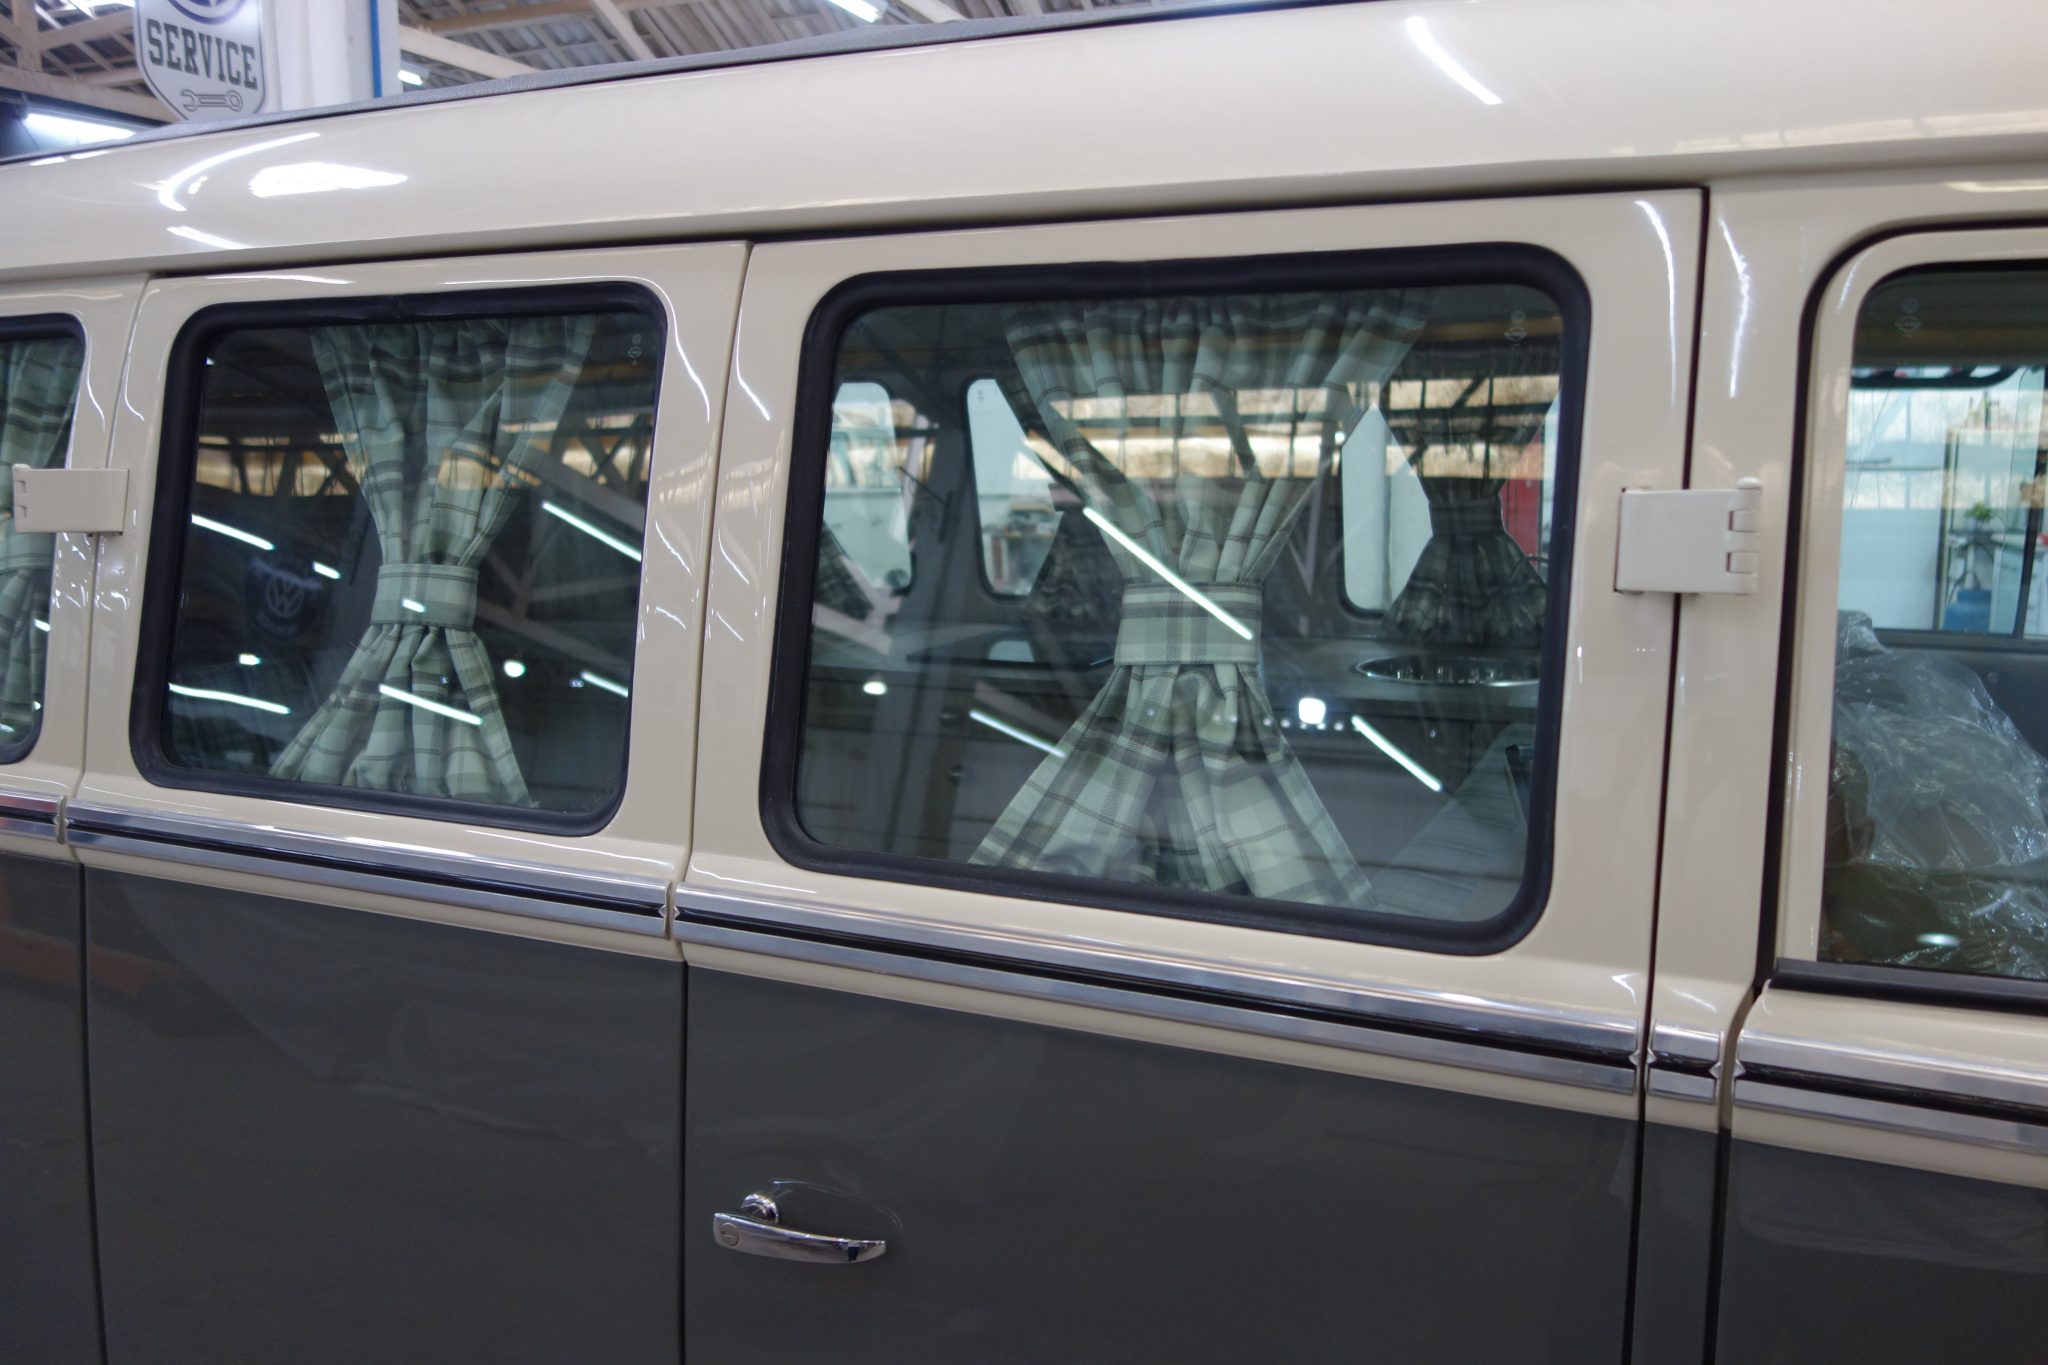
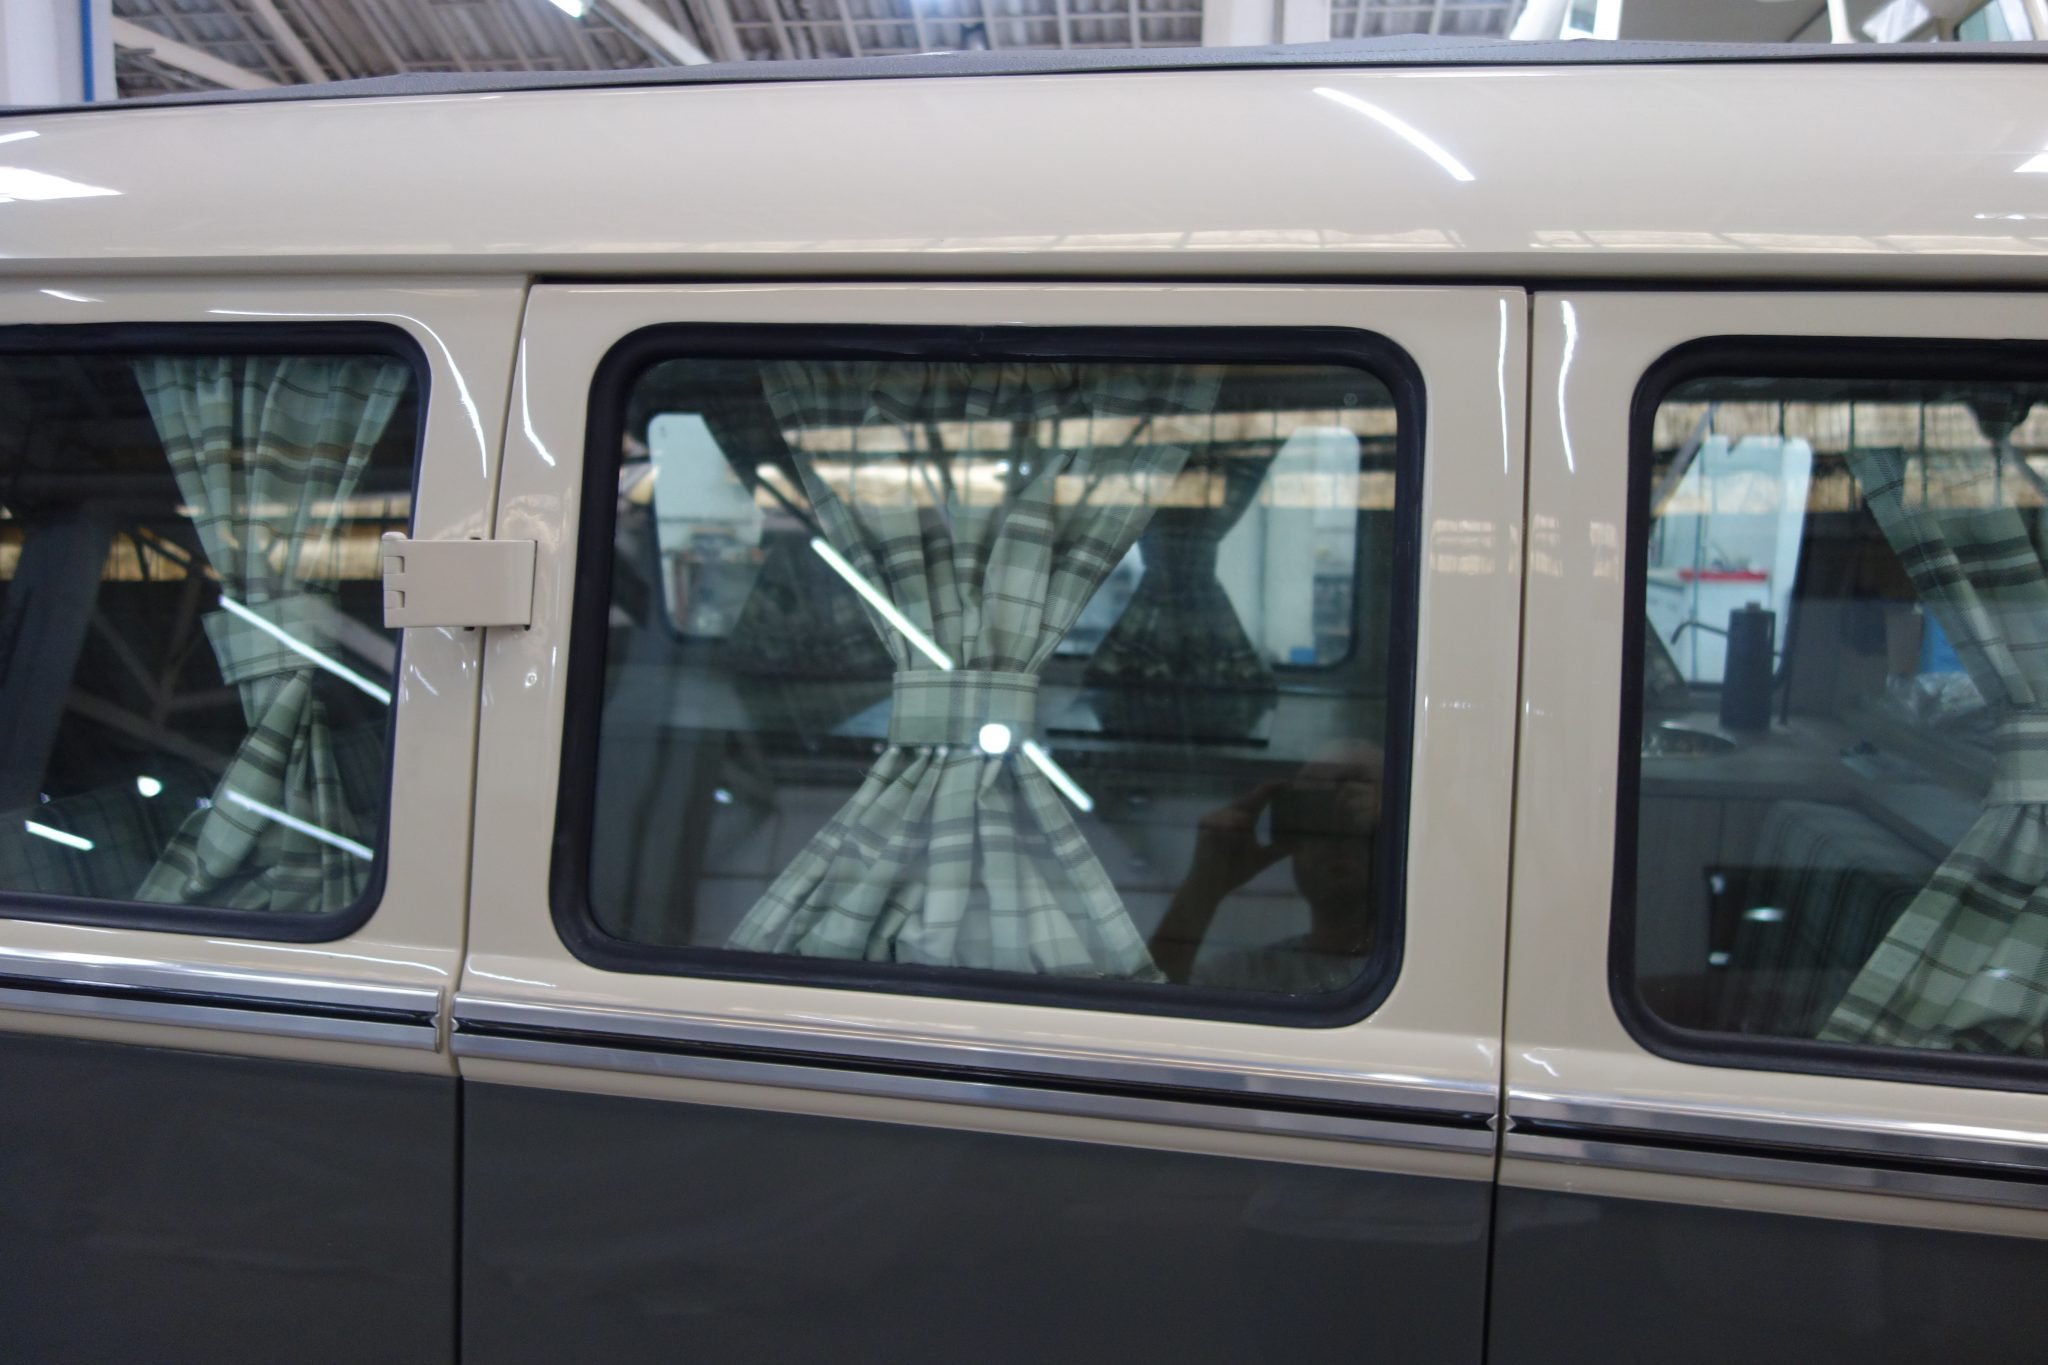
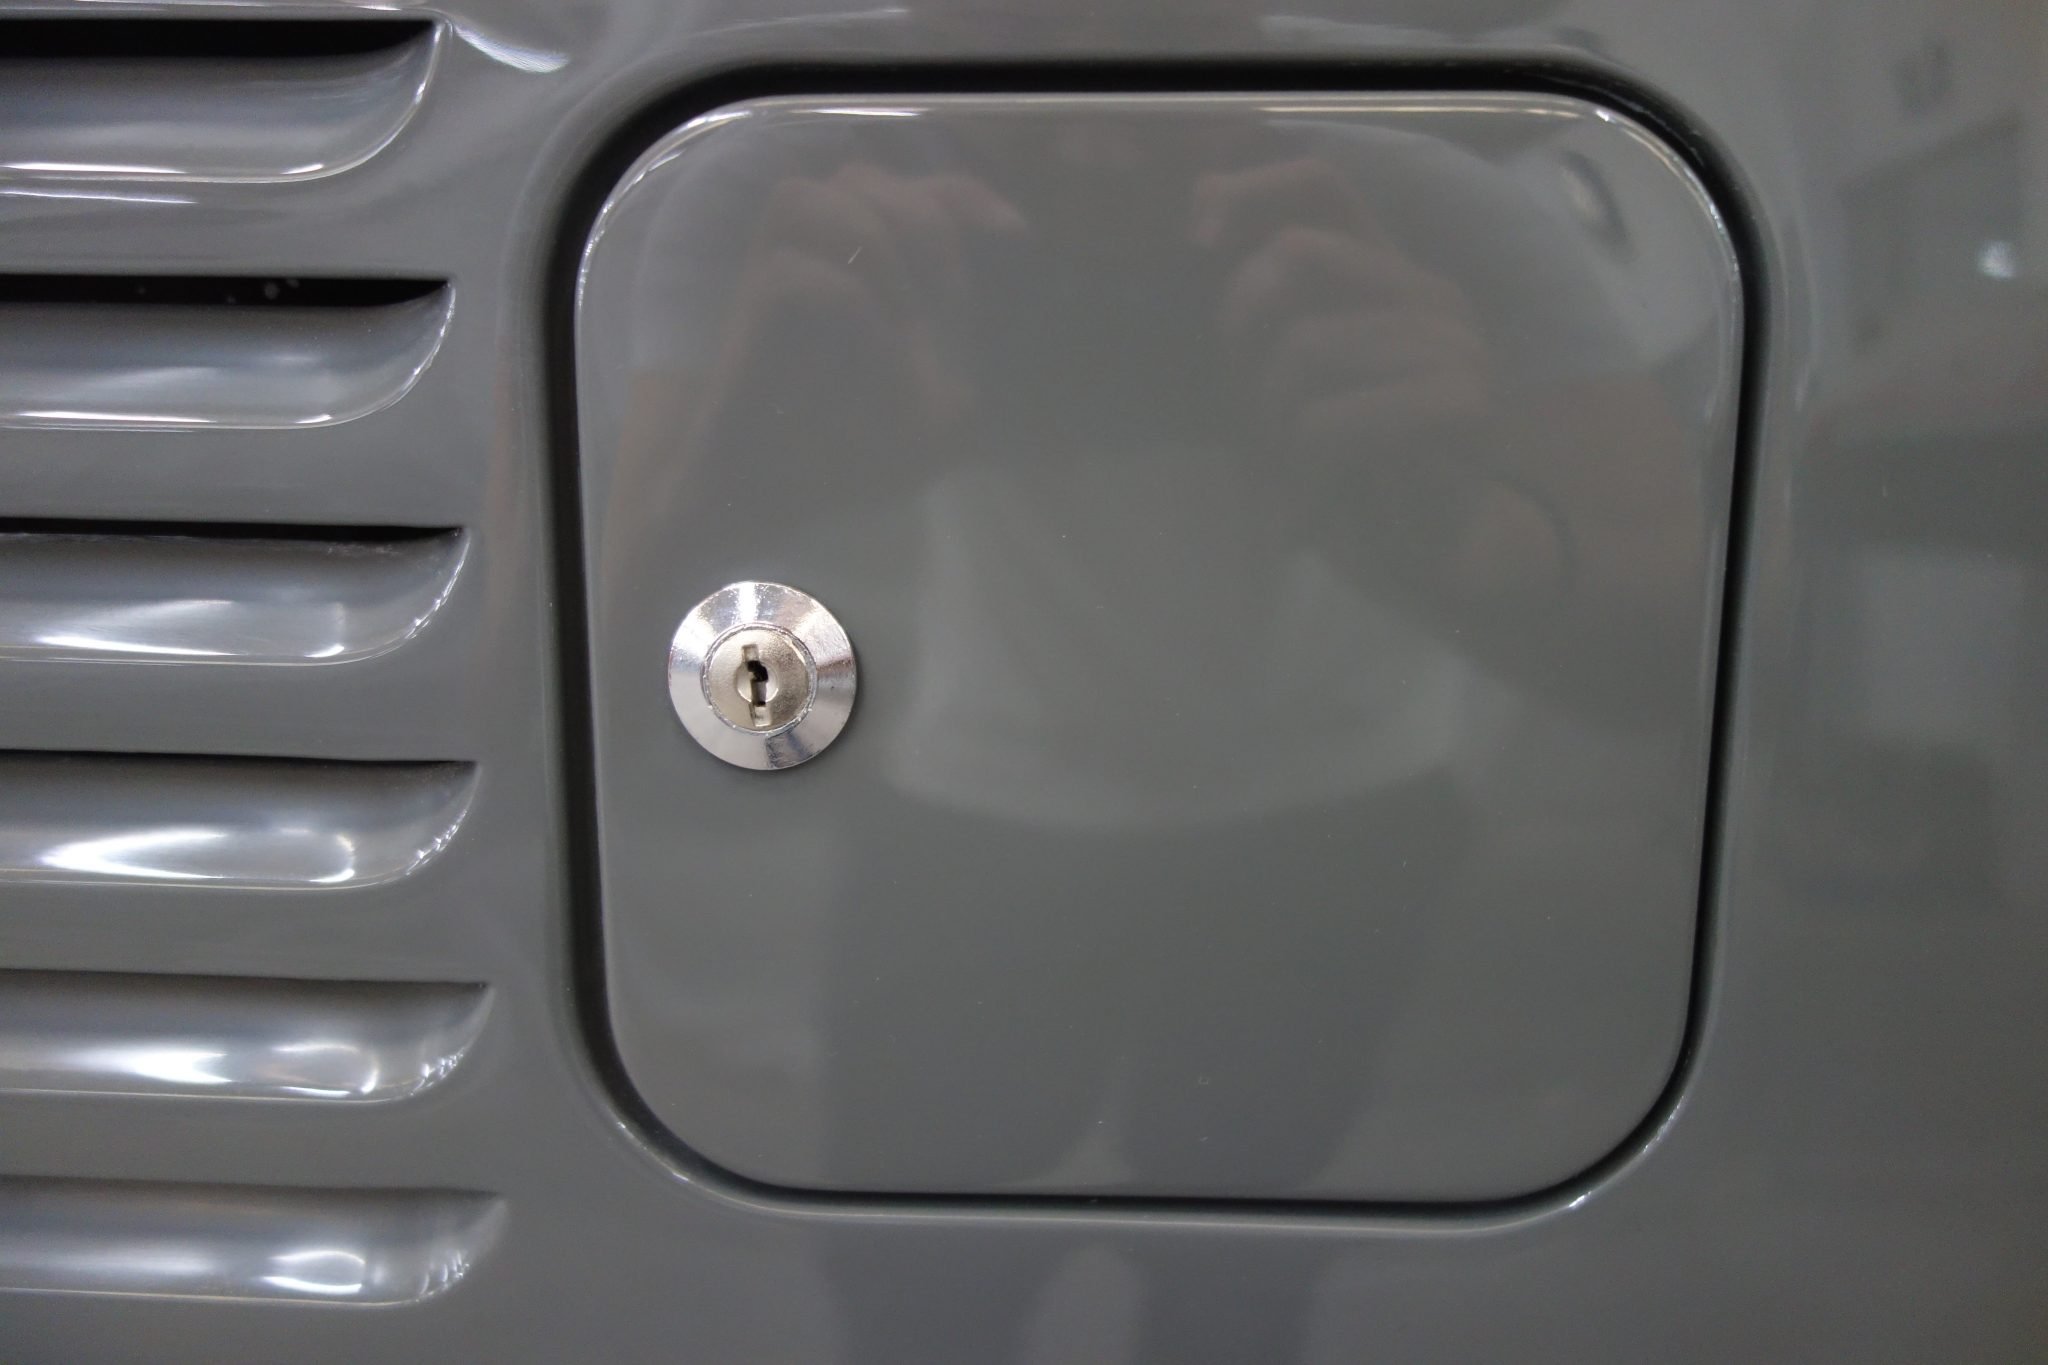
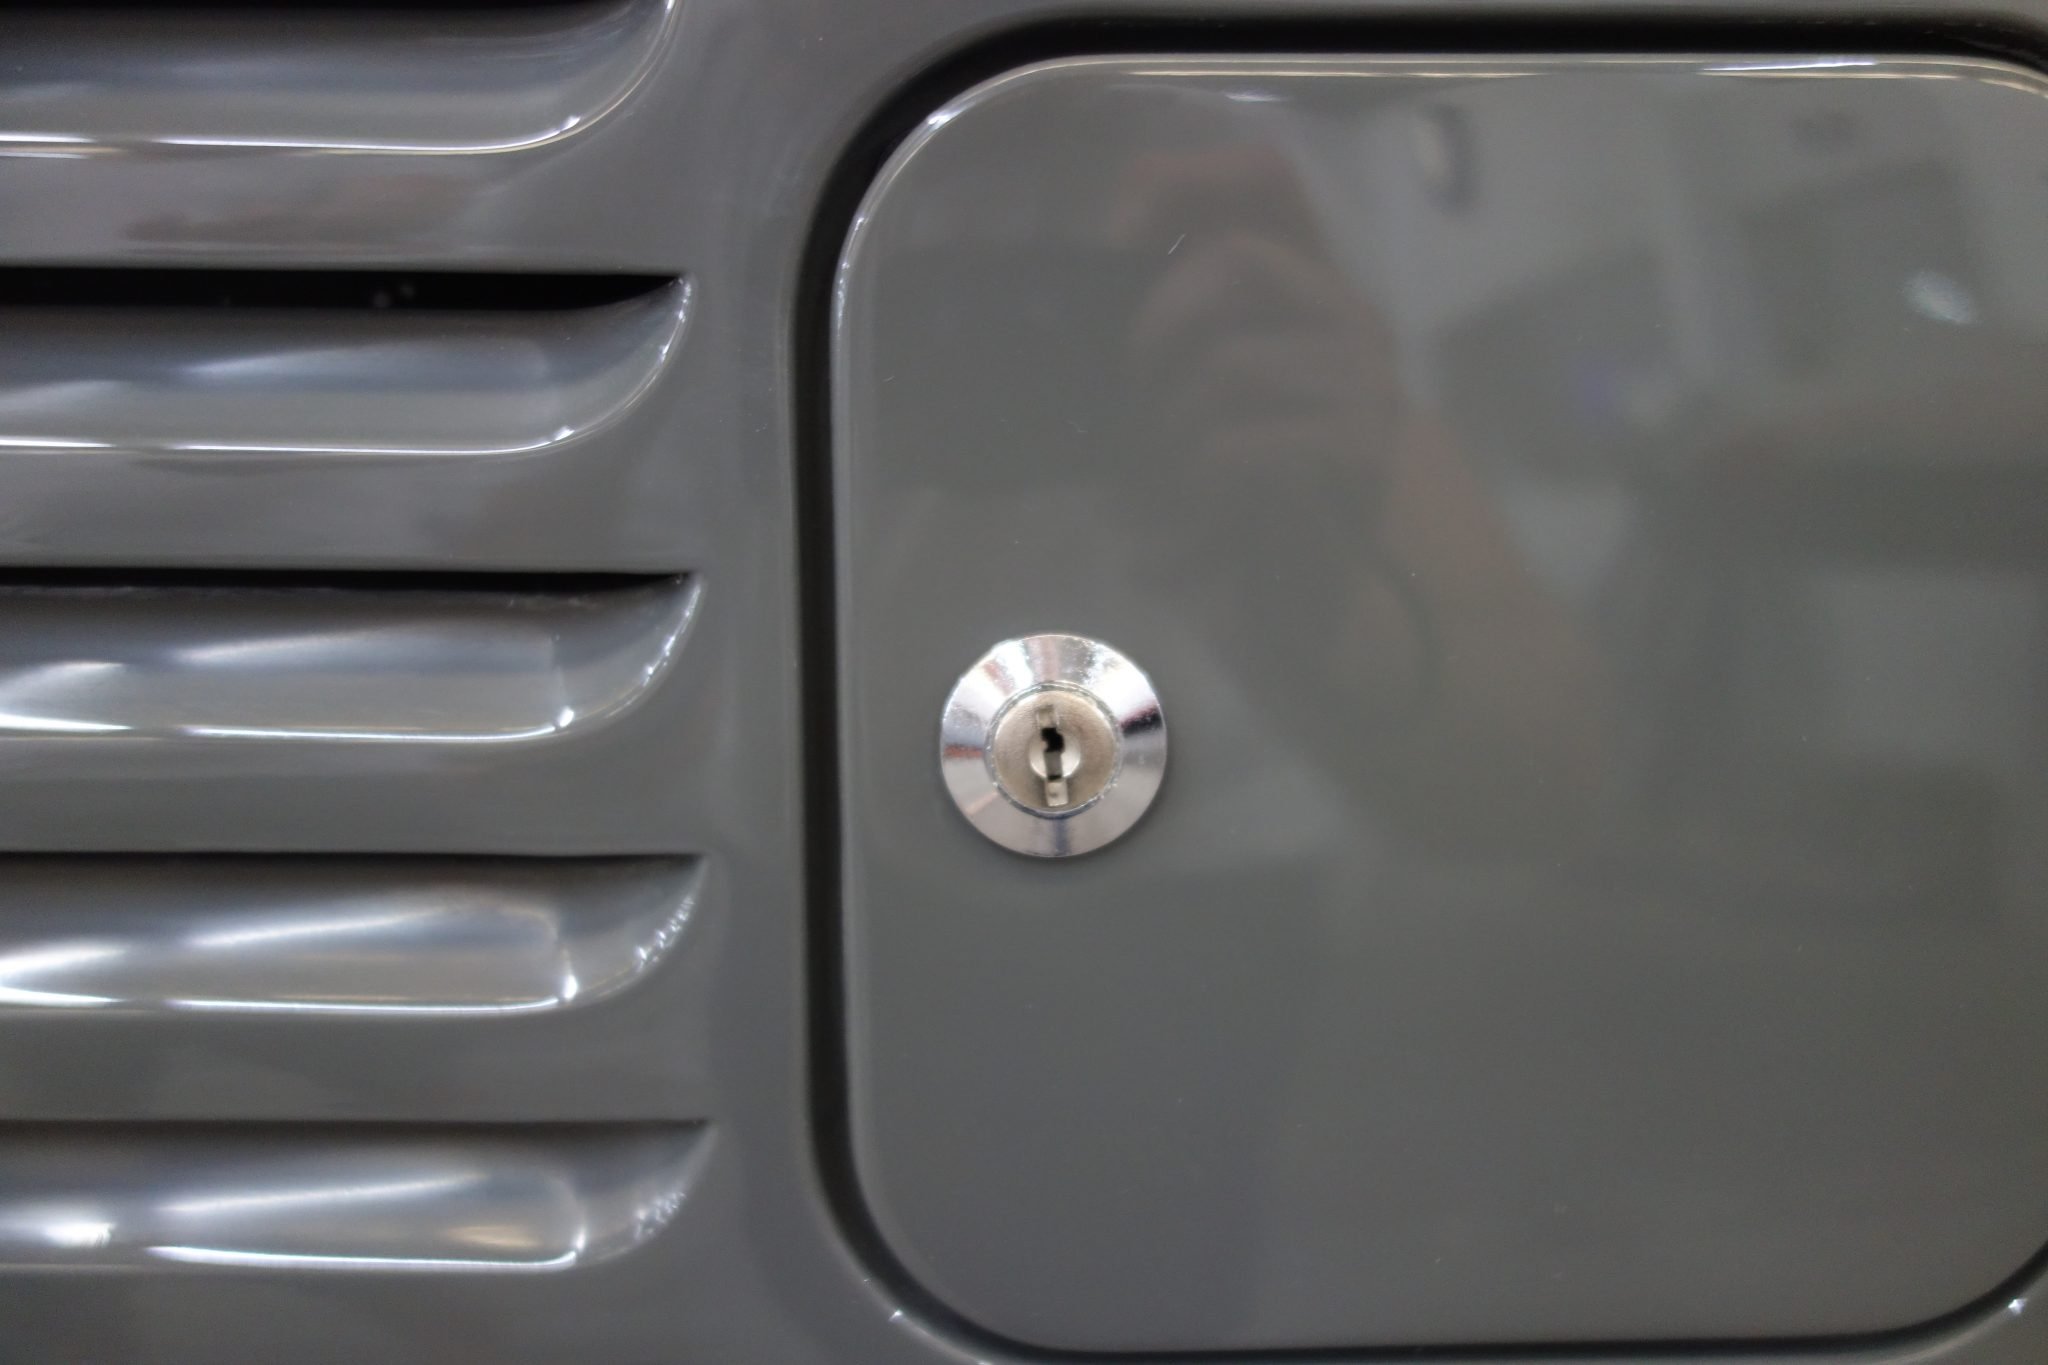
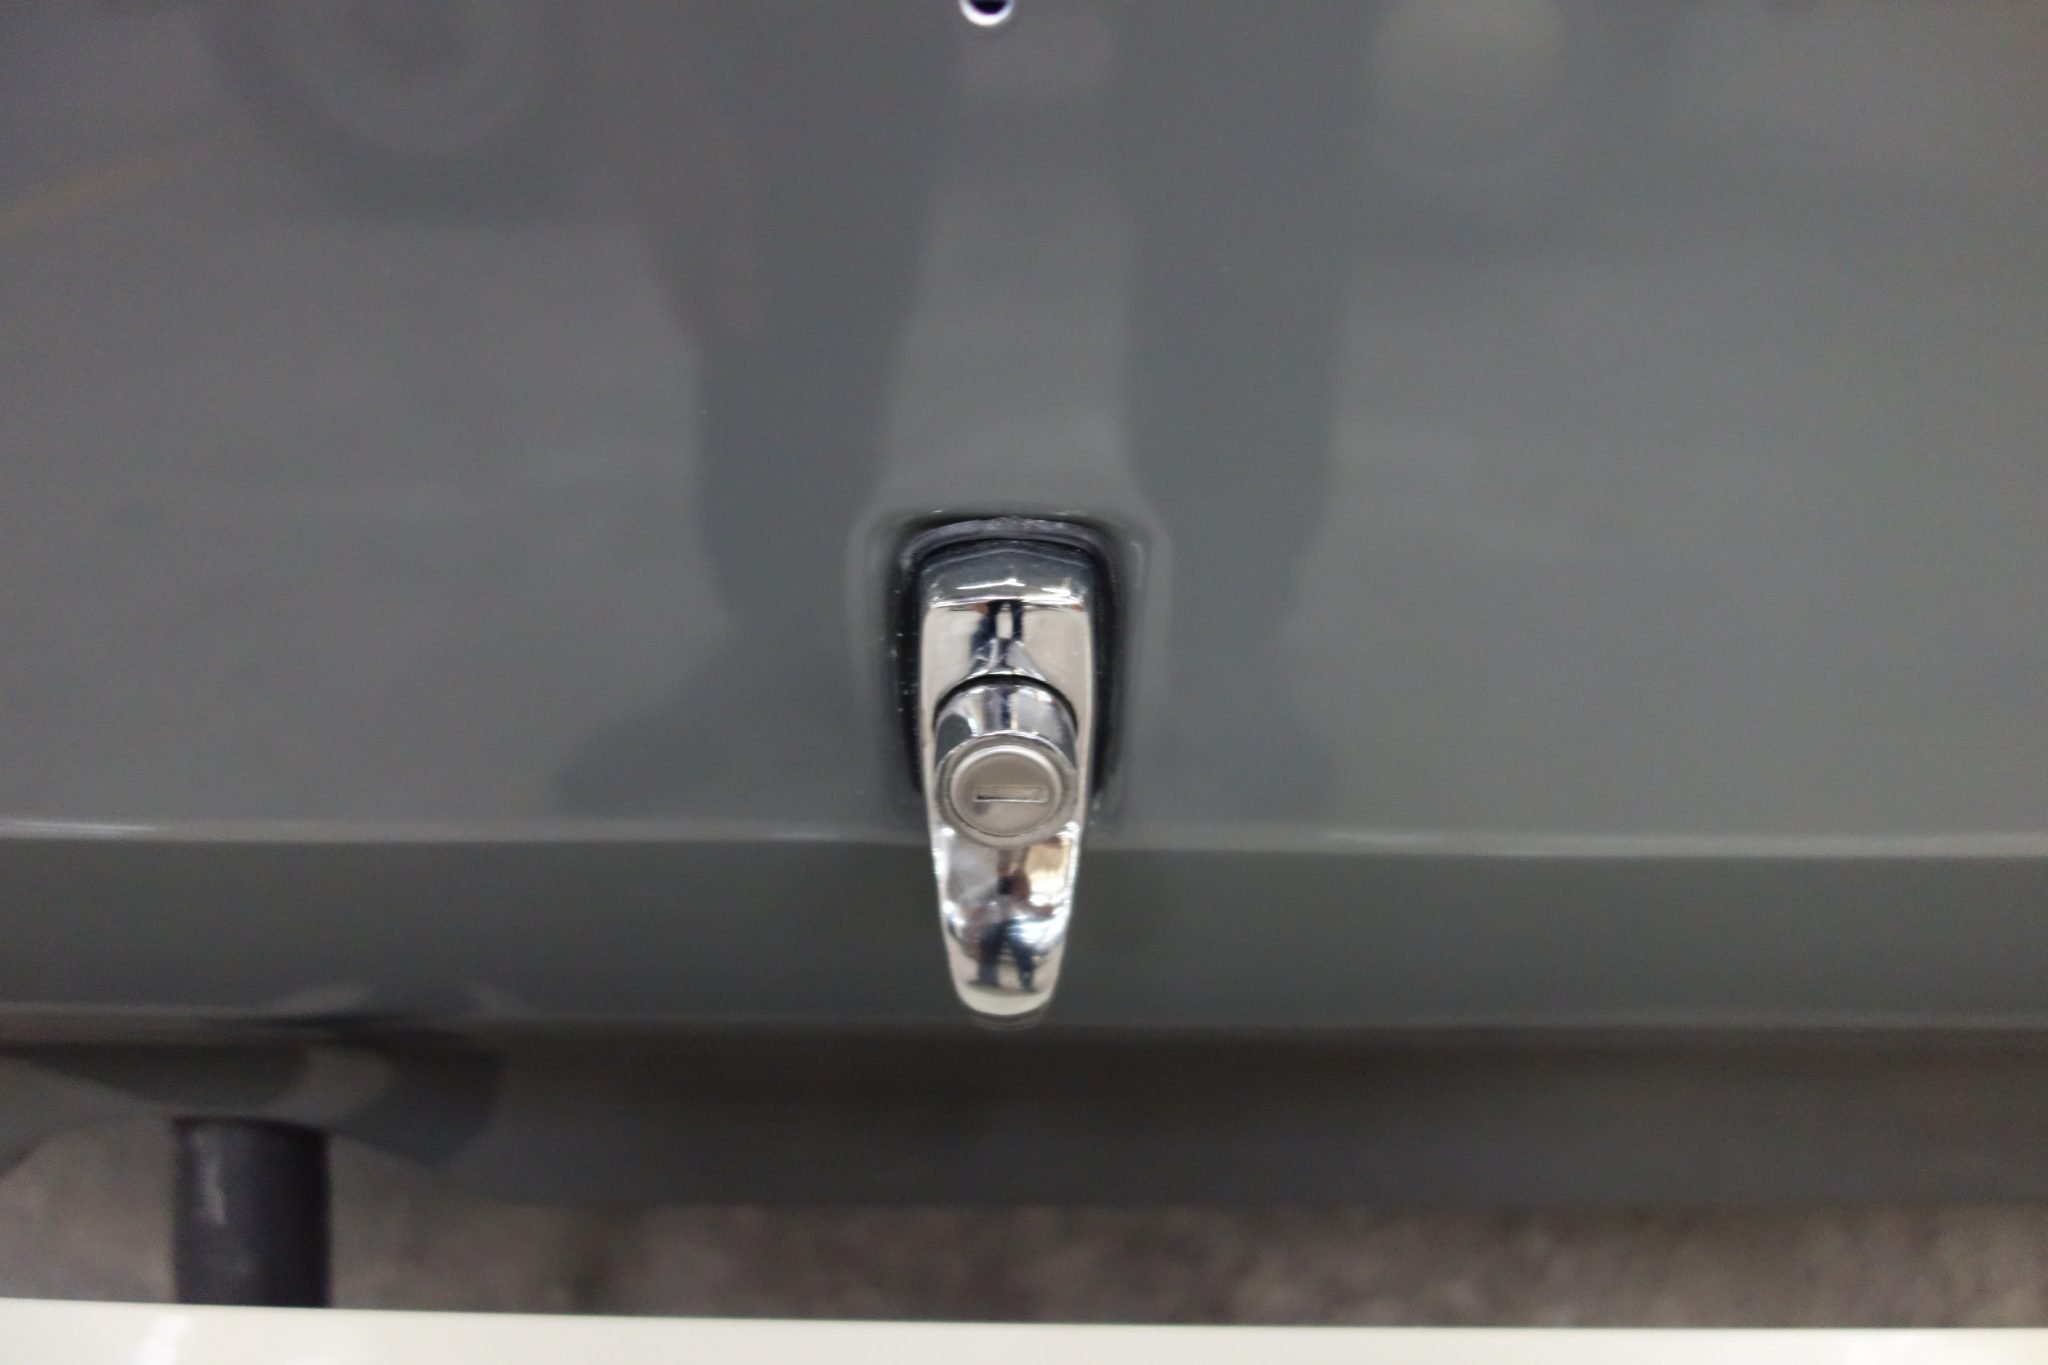
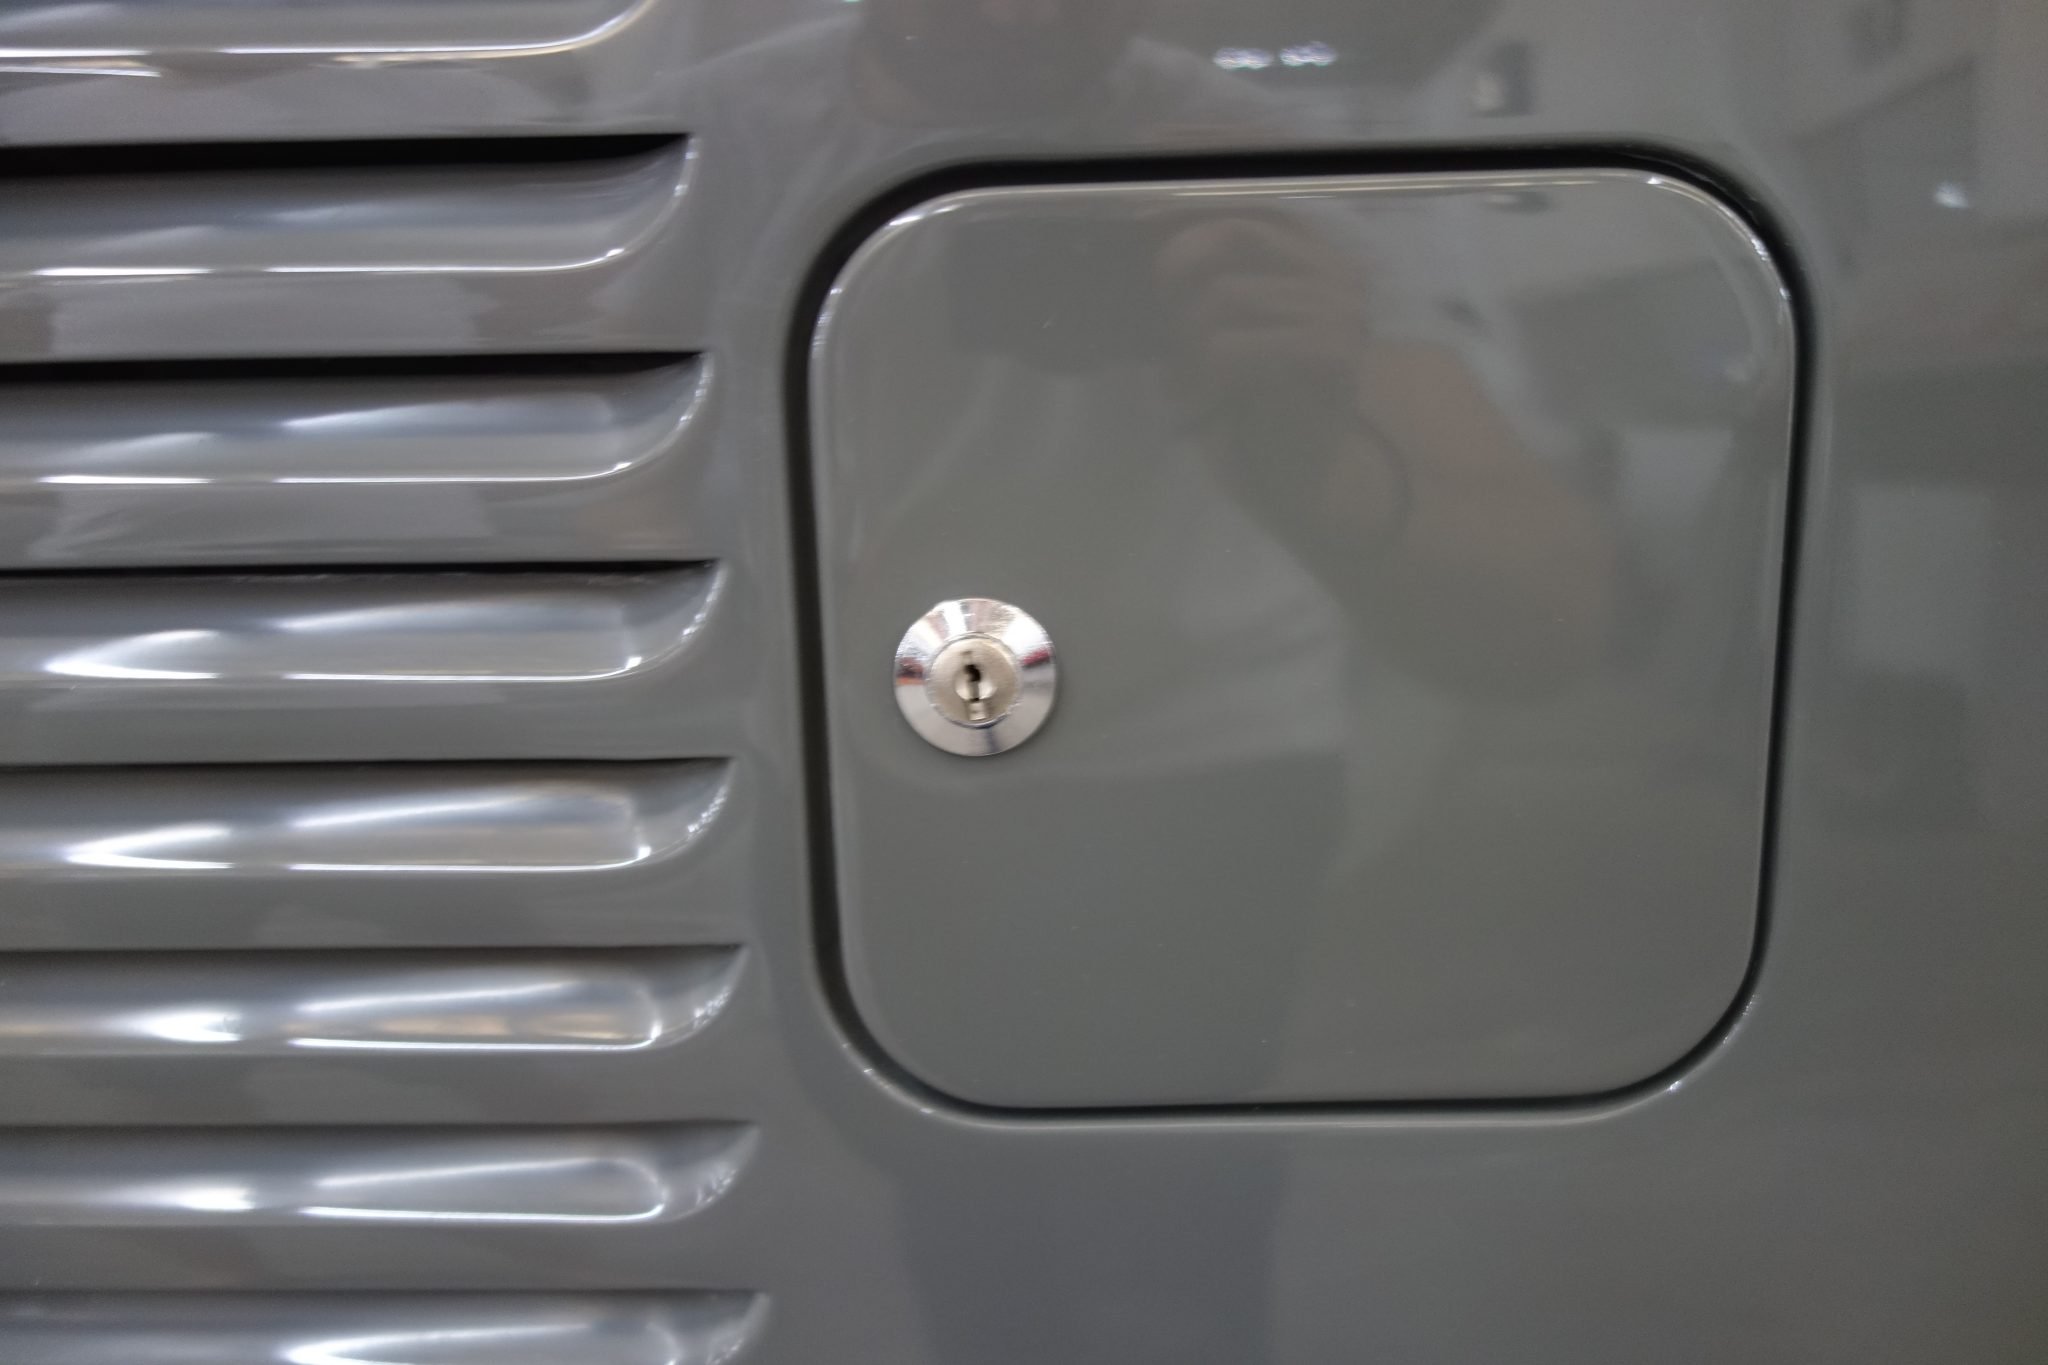
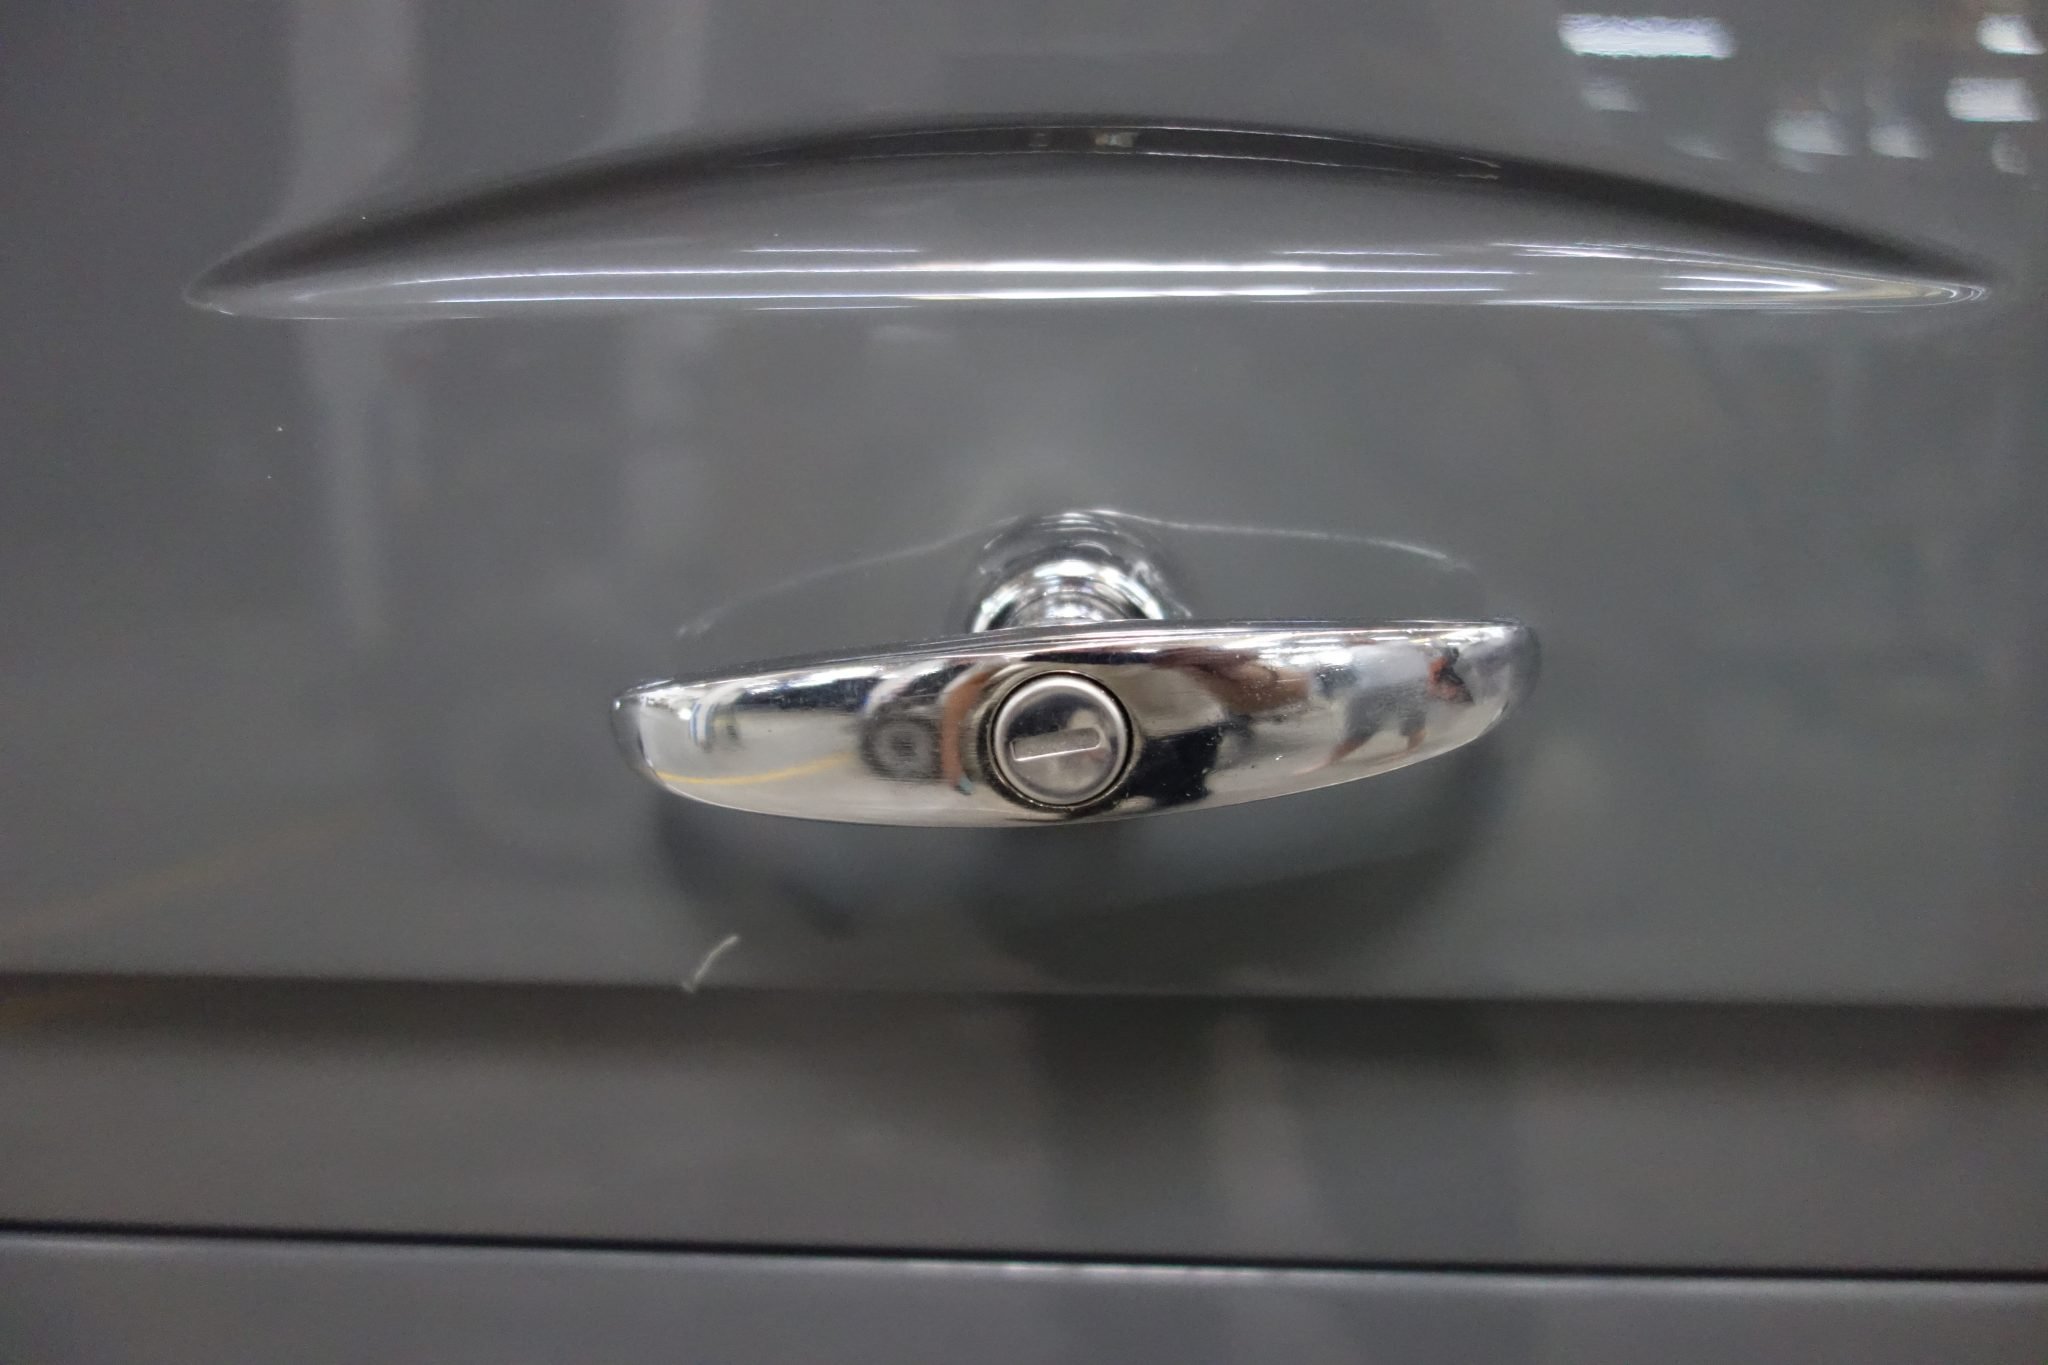
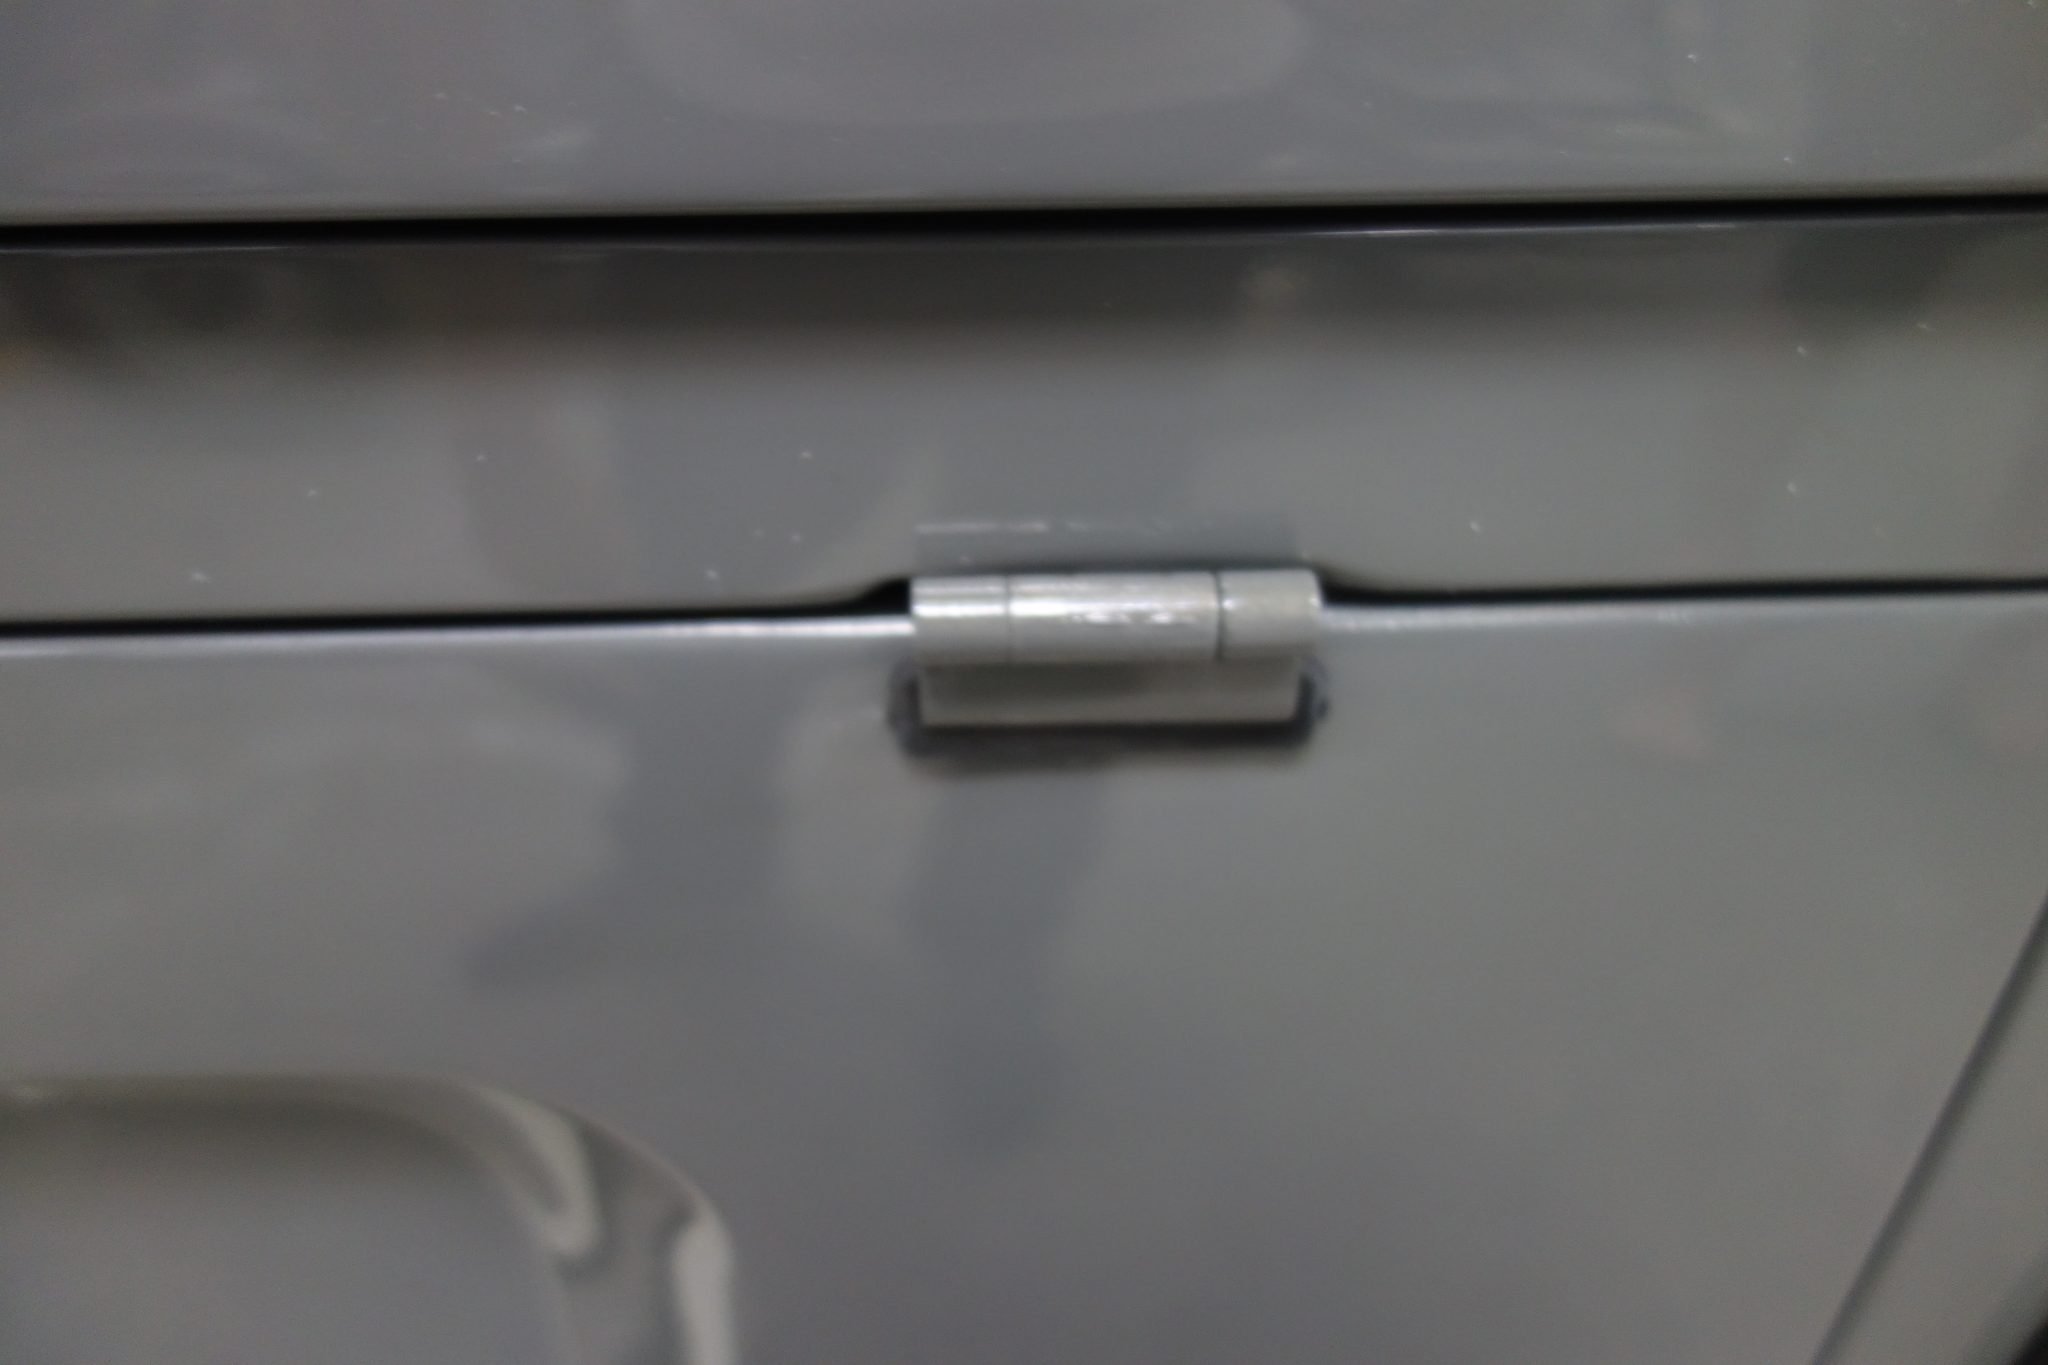
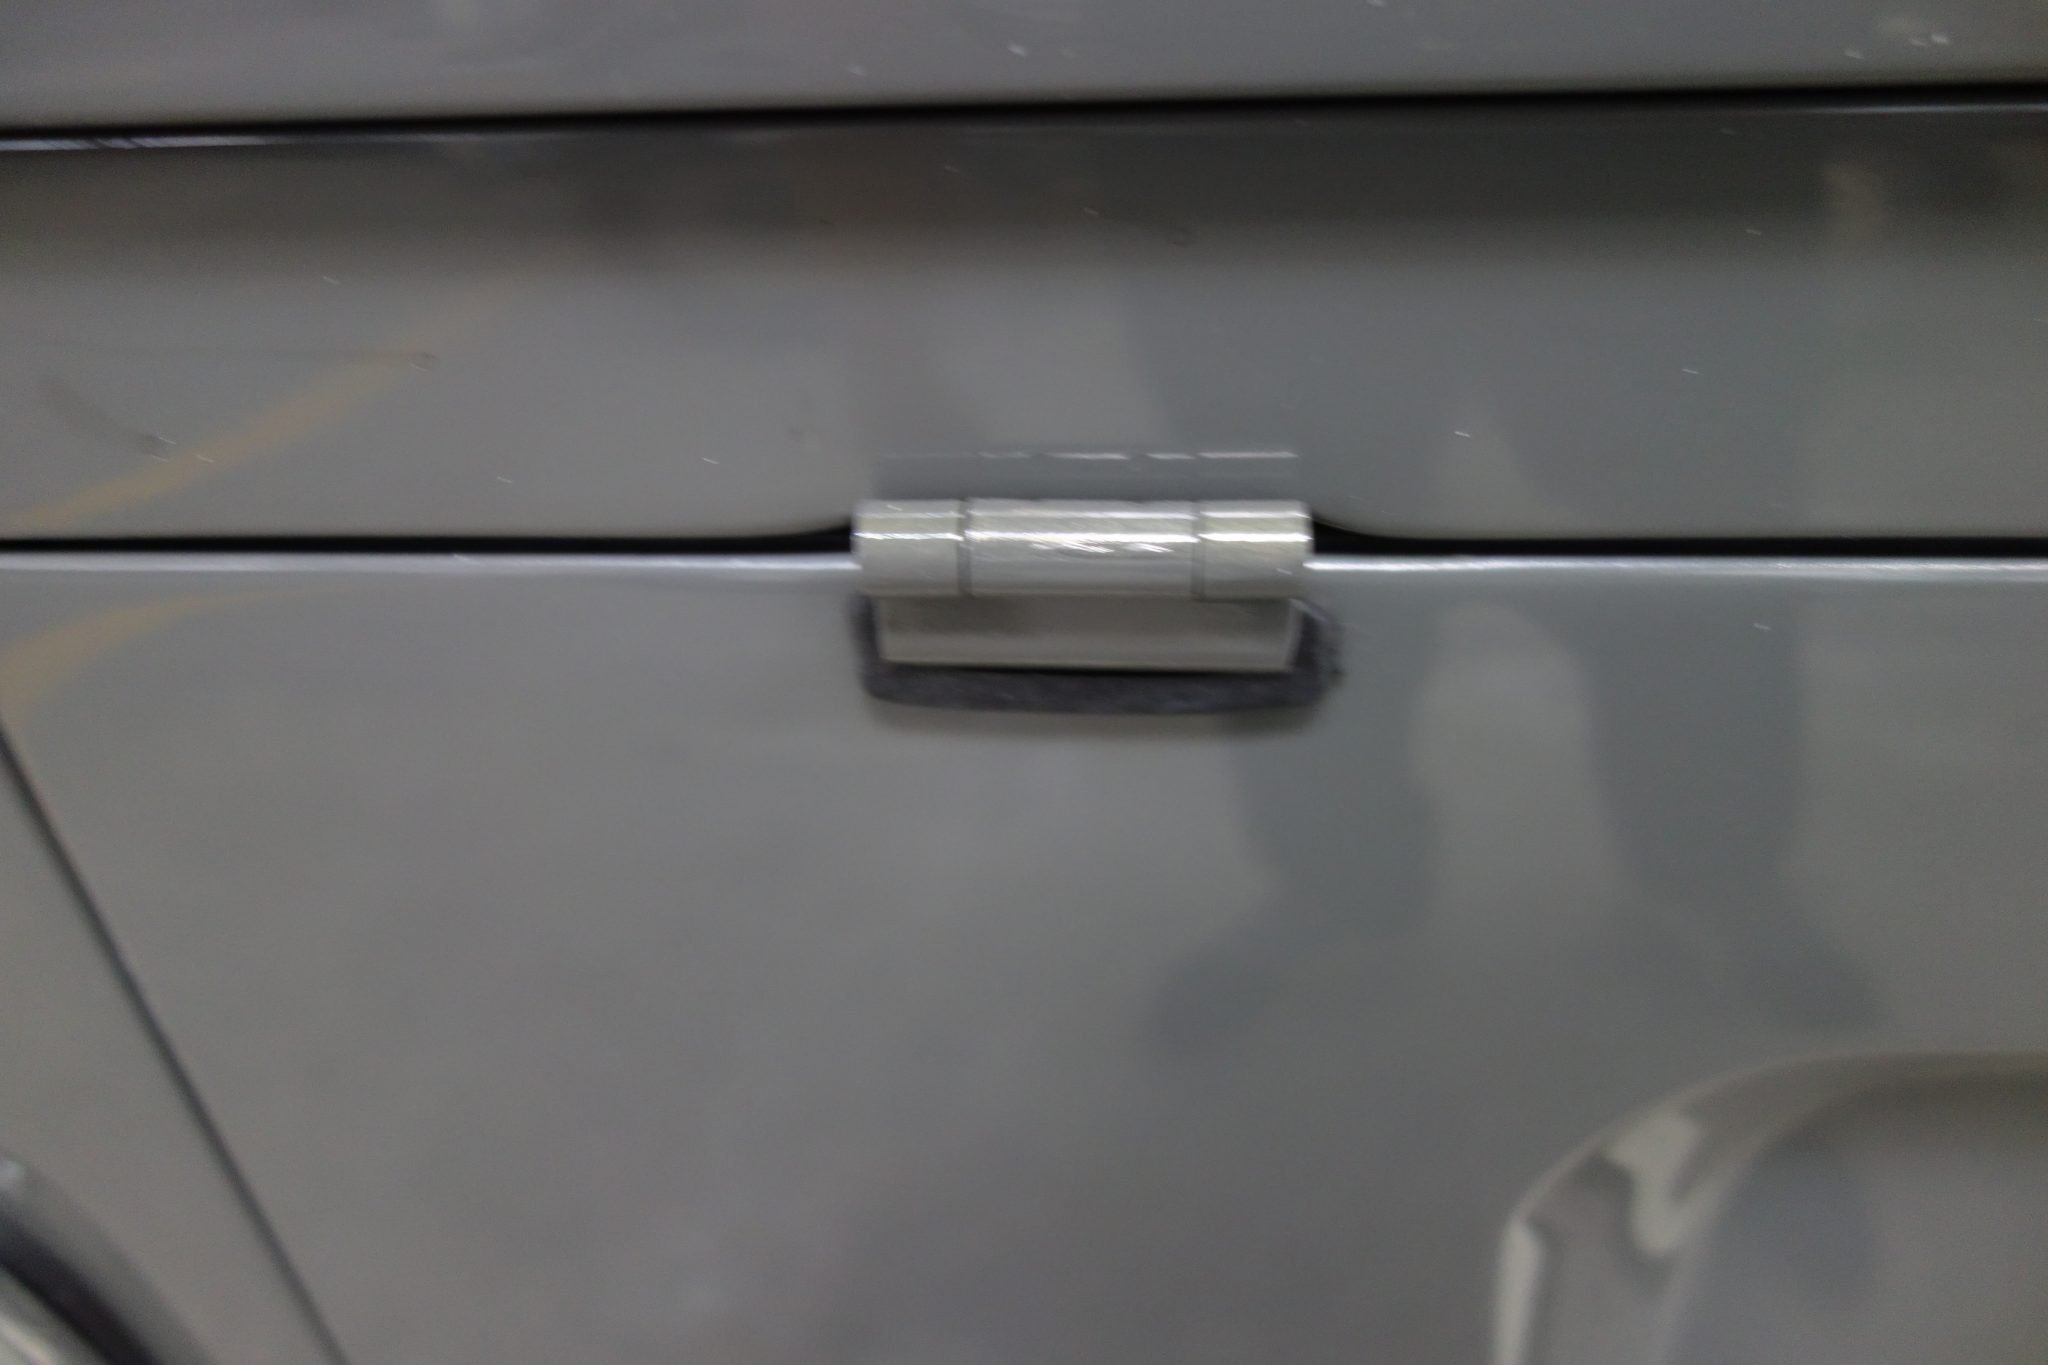
Stage 5: Doors and windows
The doors and the windows are probably some of the hardest parts to restore due to the complexity and the lack of parts available to restore these elements. Check out we restore them below.


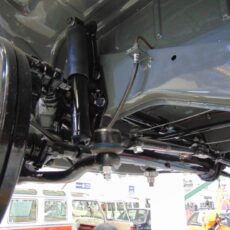
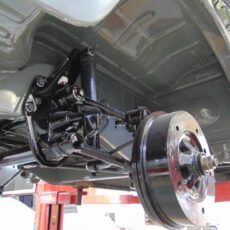
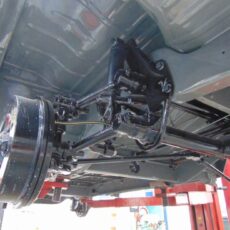
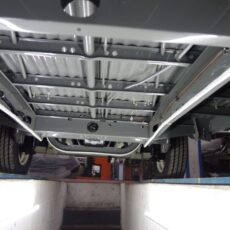
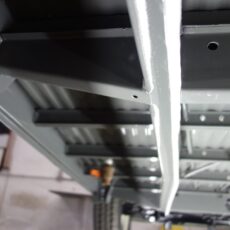
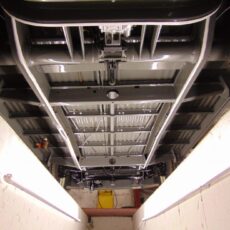
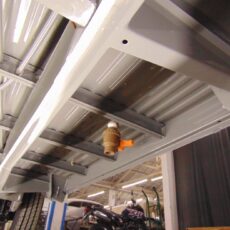
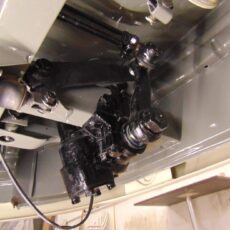
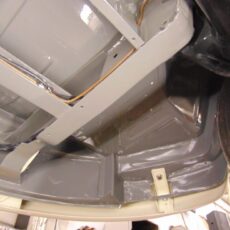
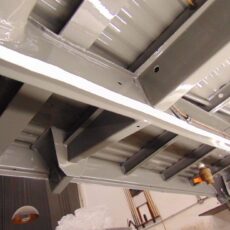
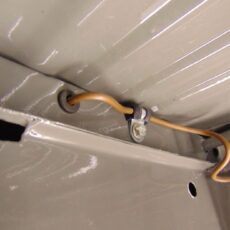
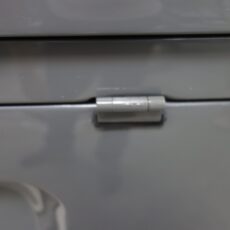
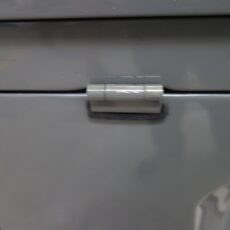
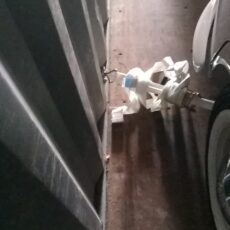
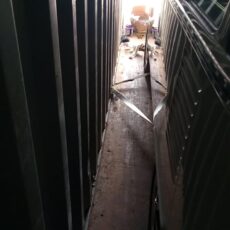
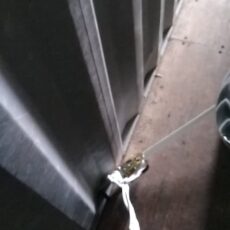
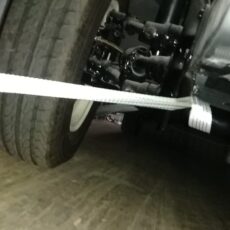
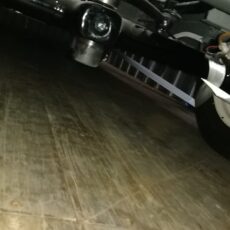
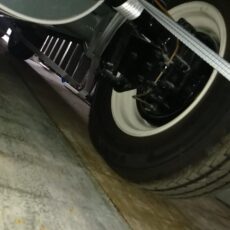
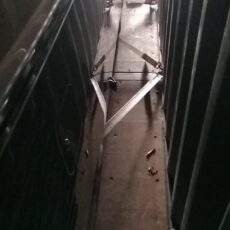
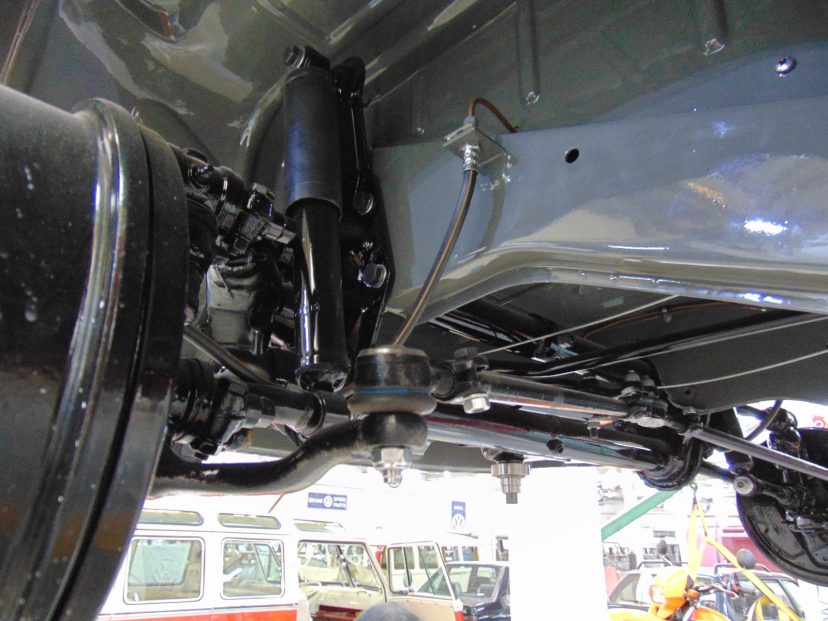
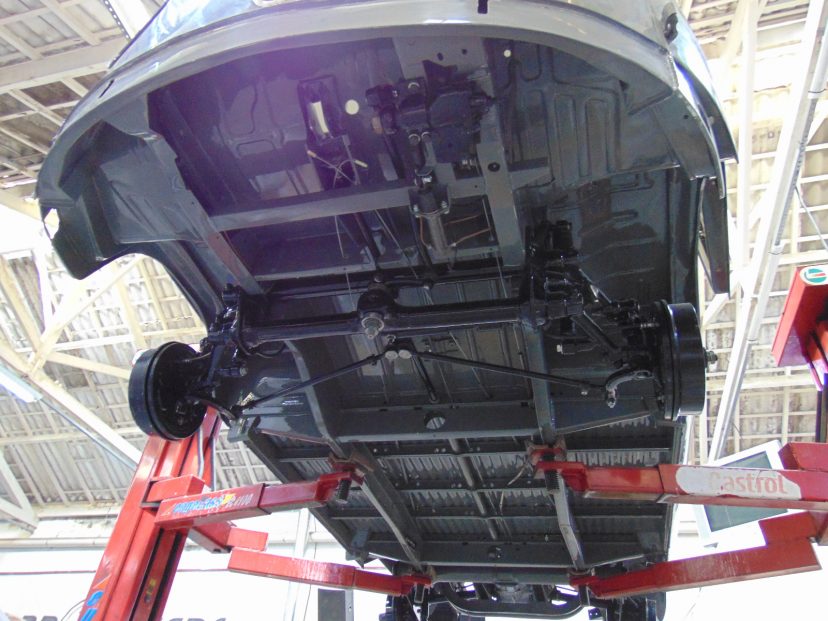
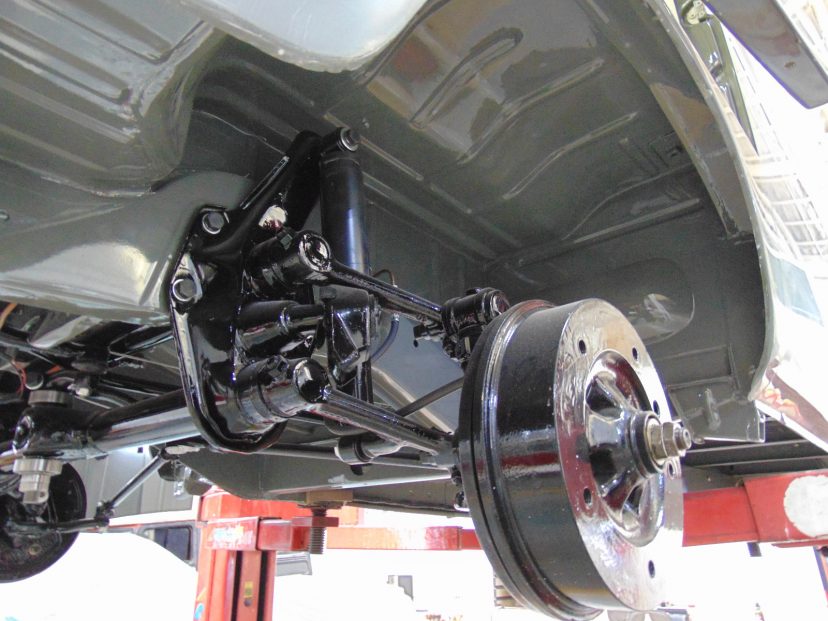
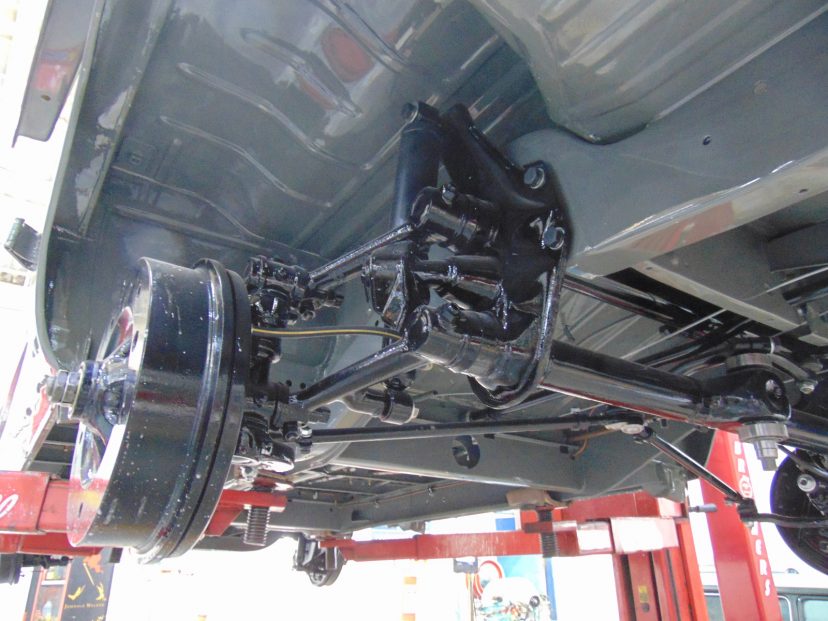
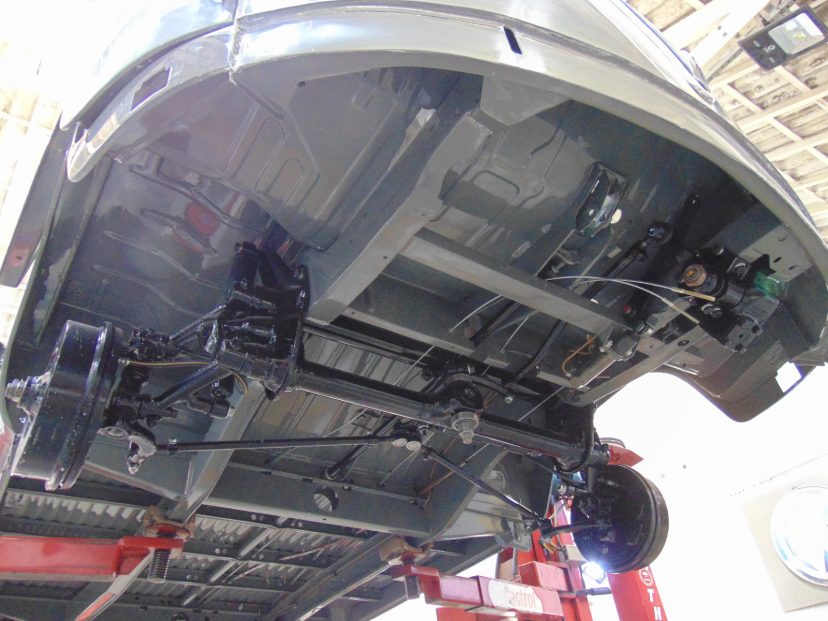
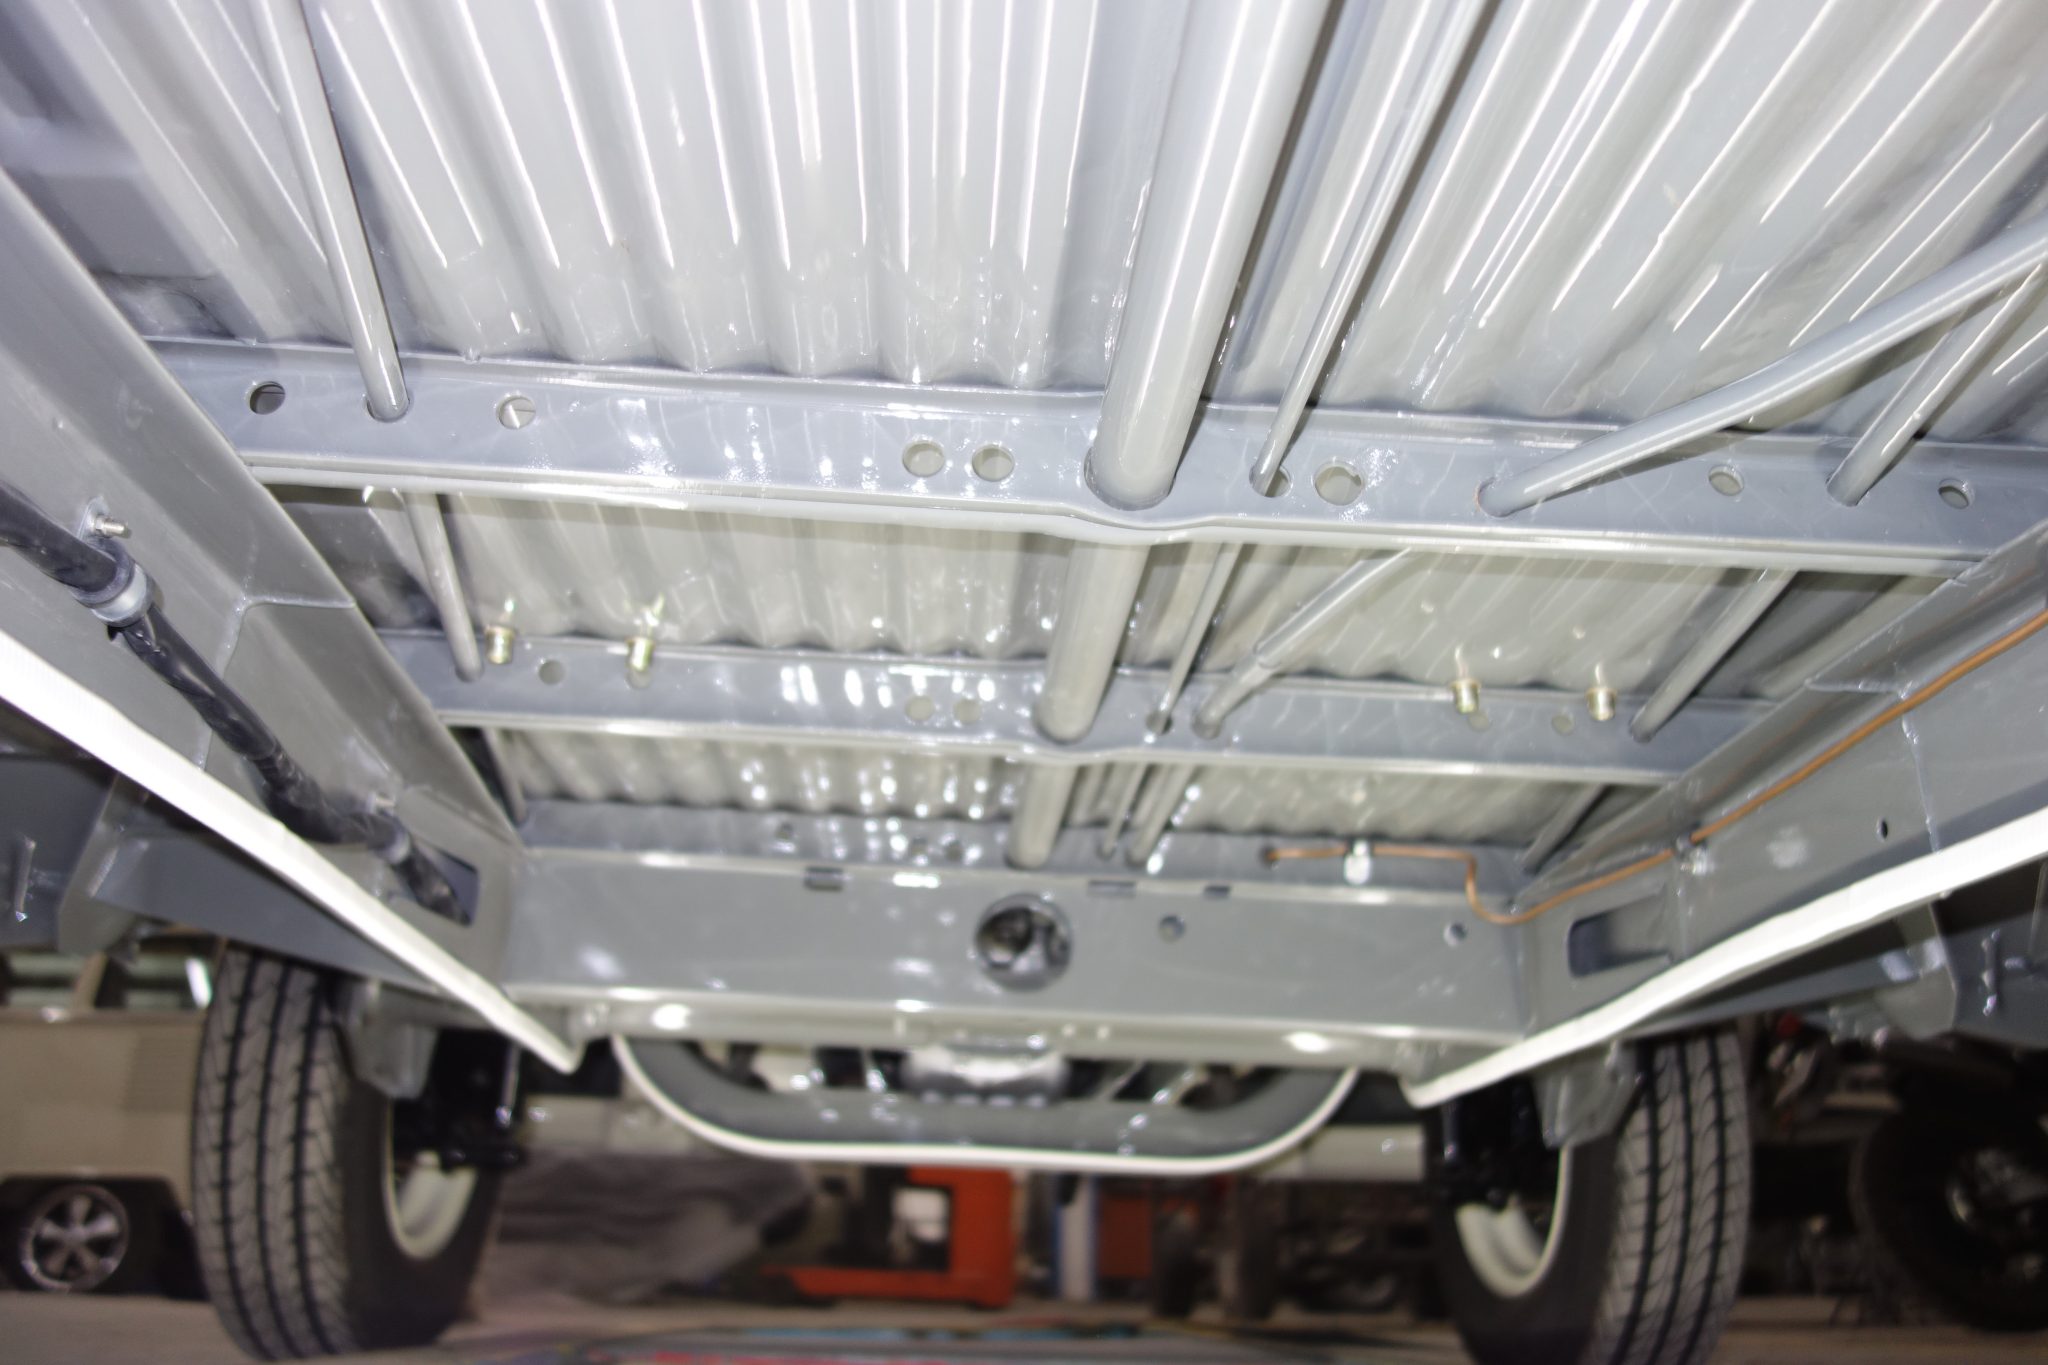
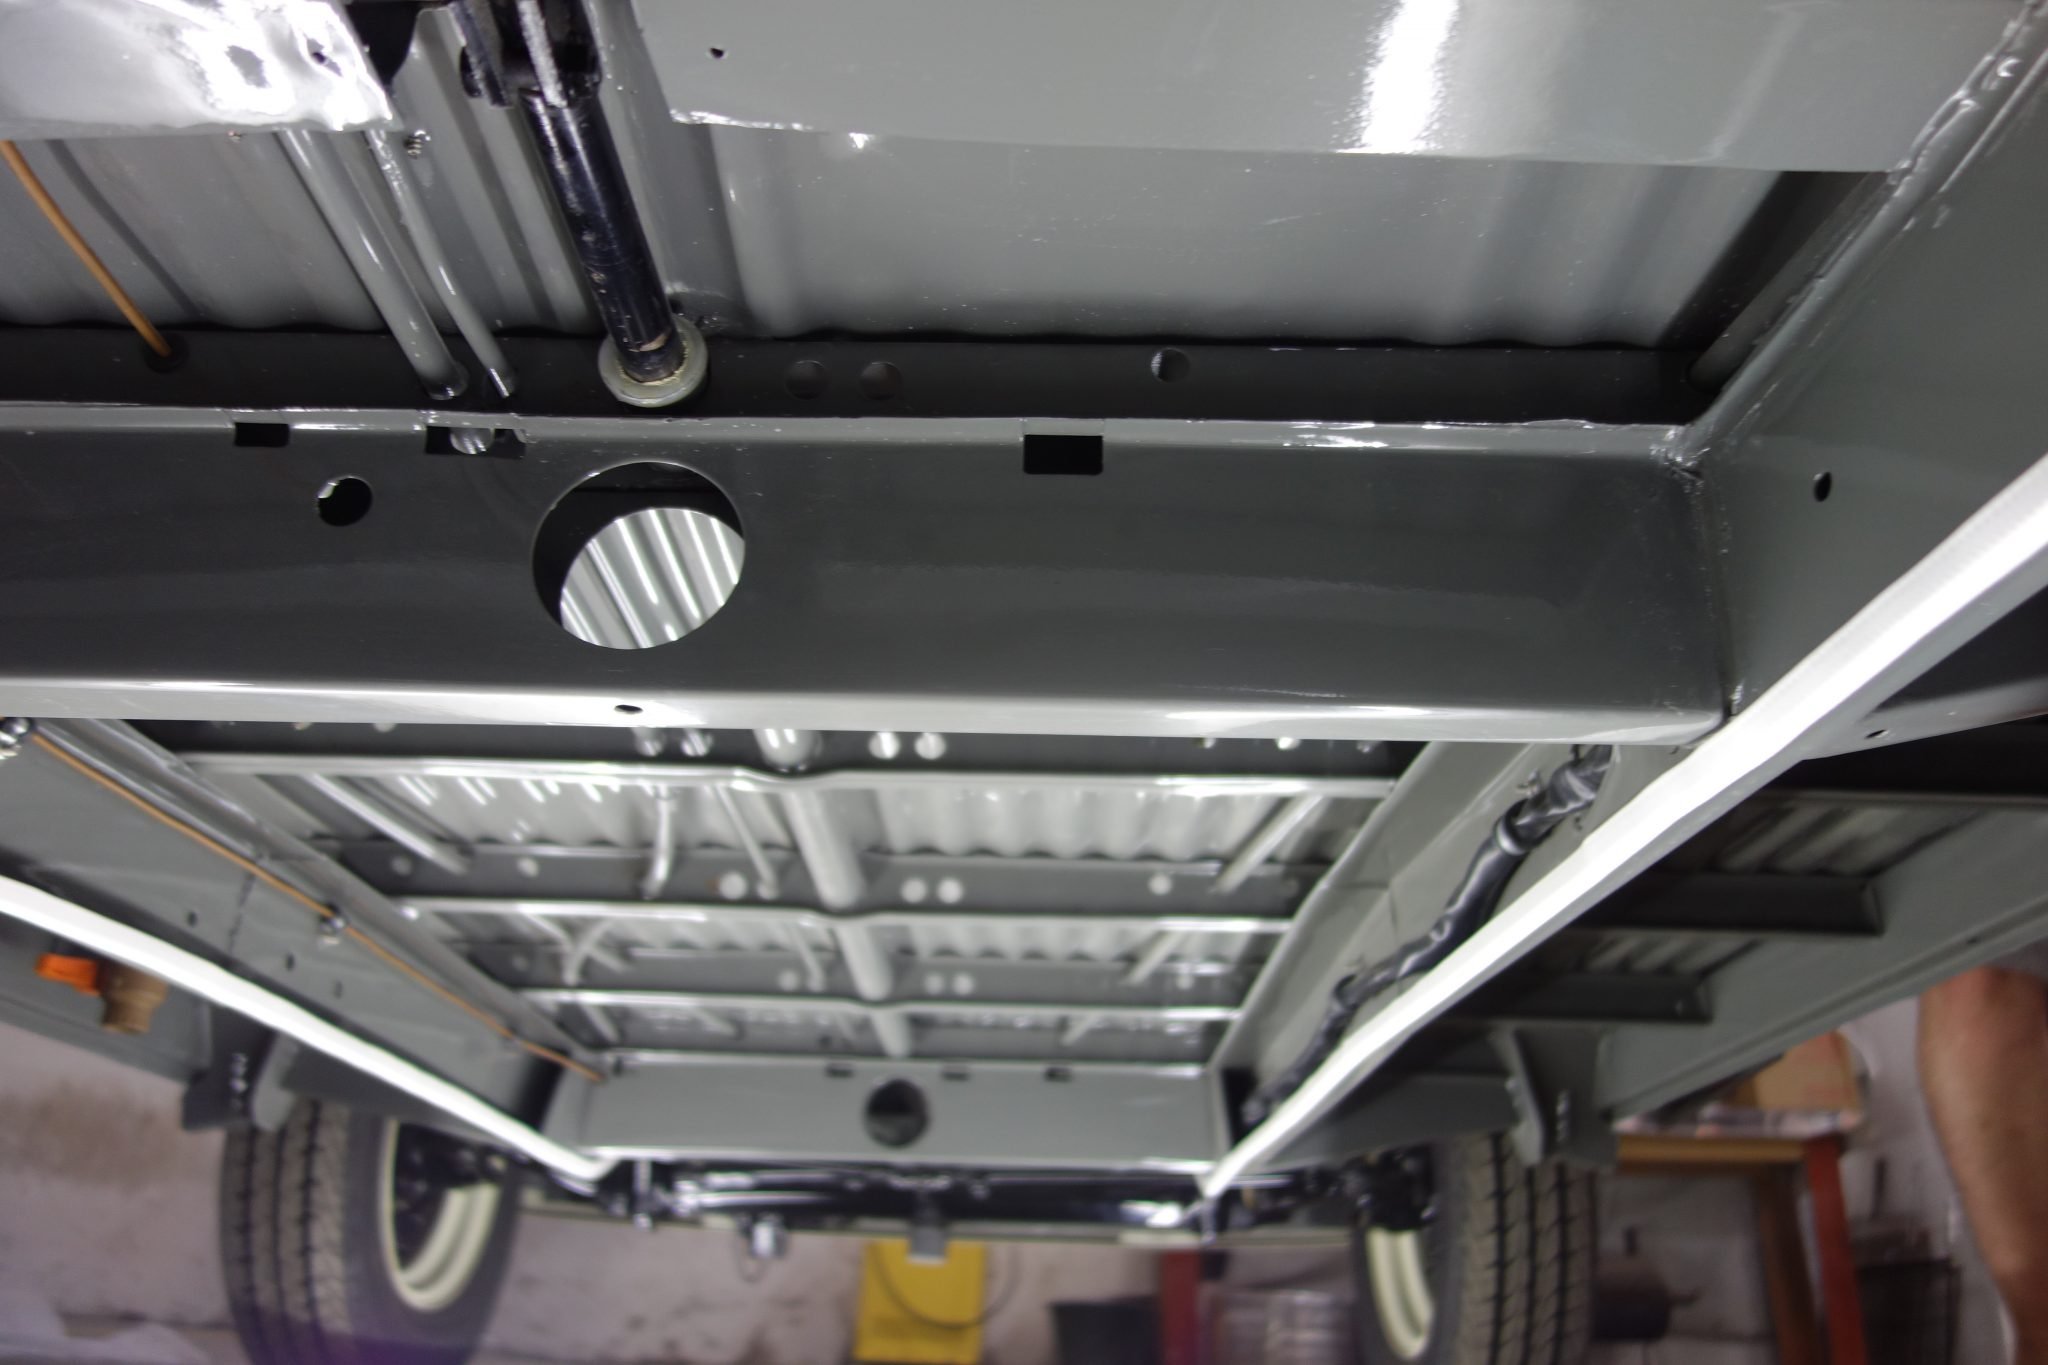
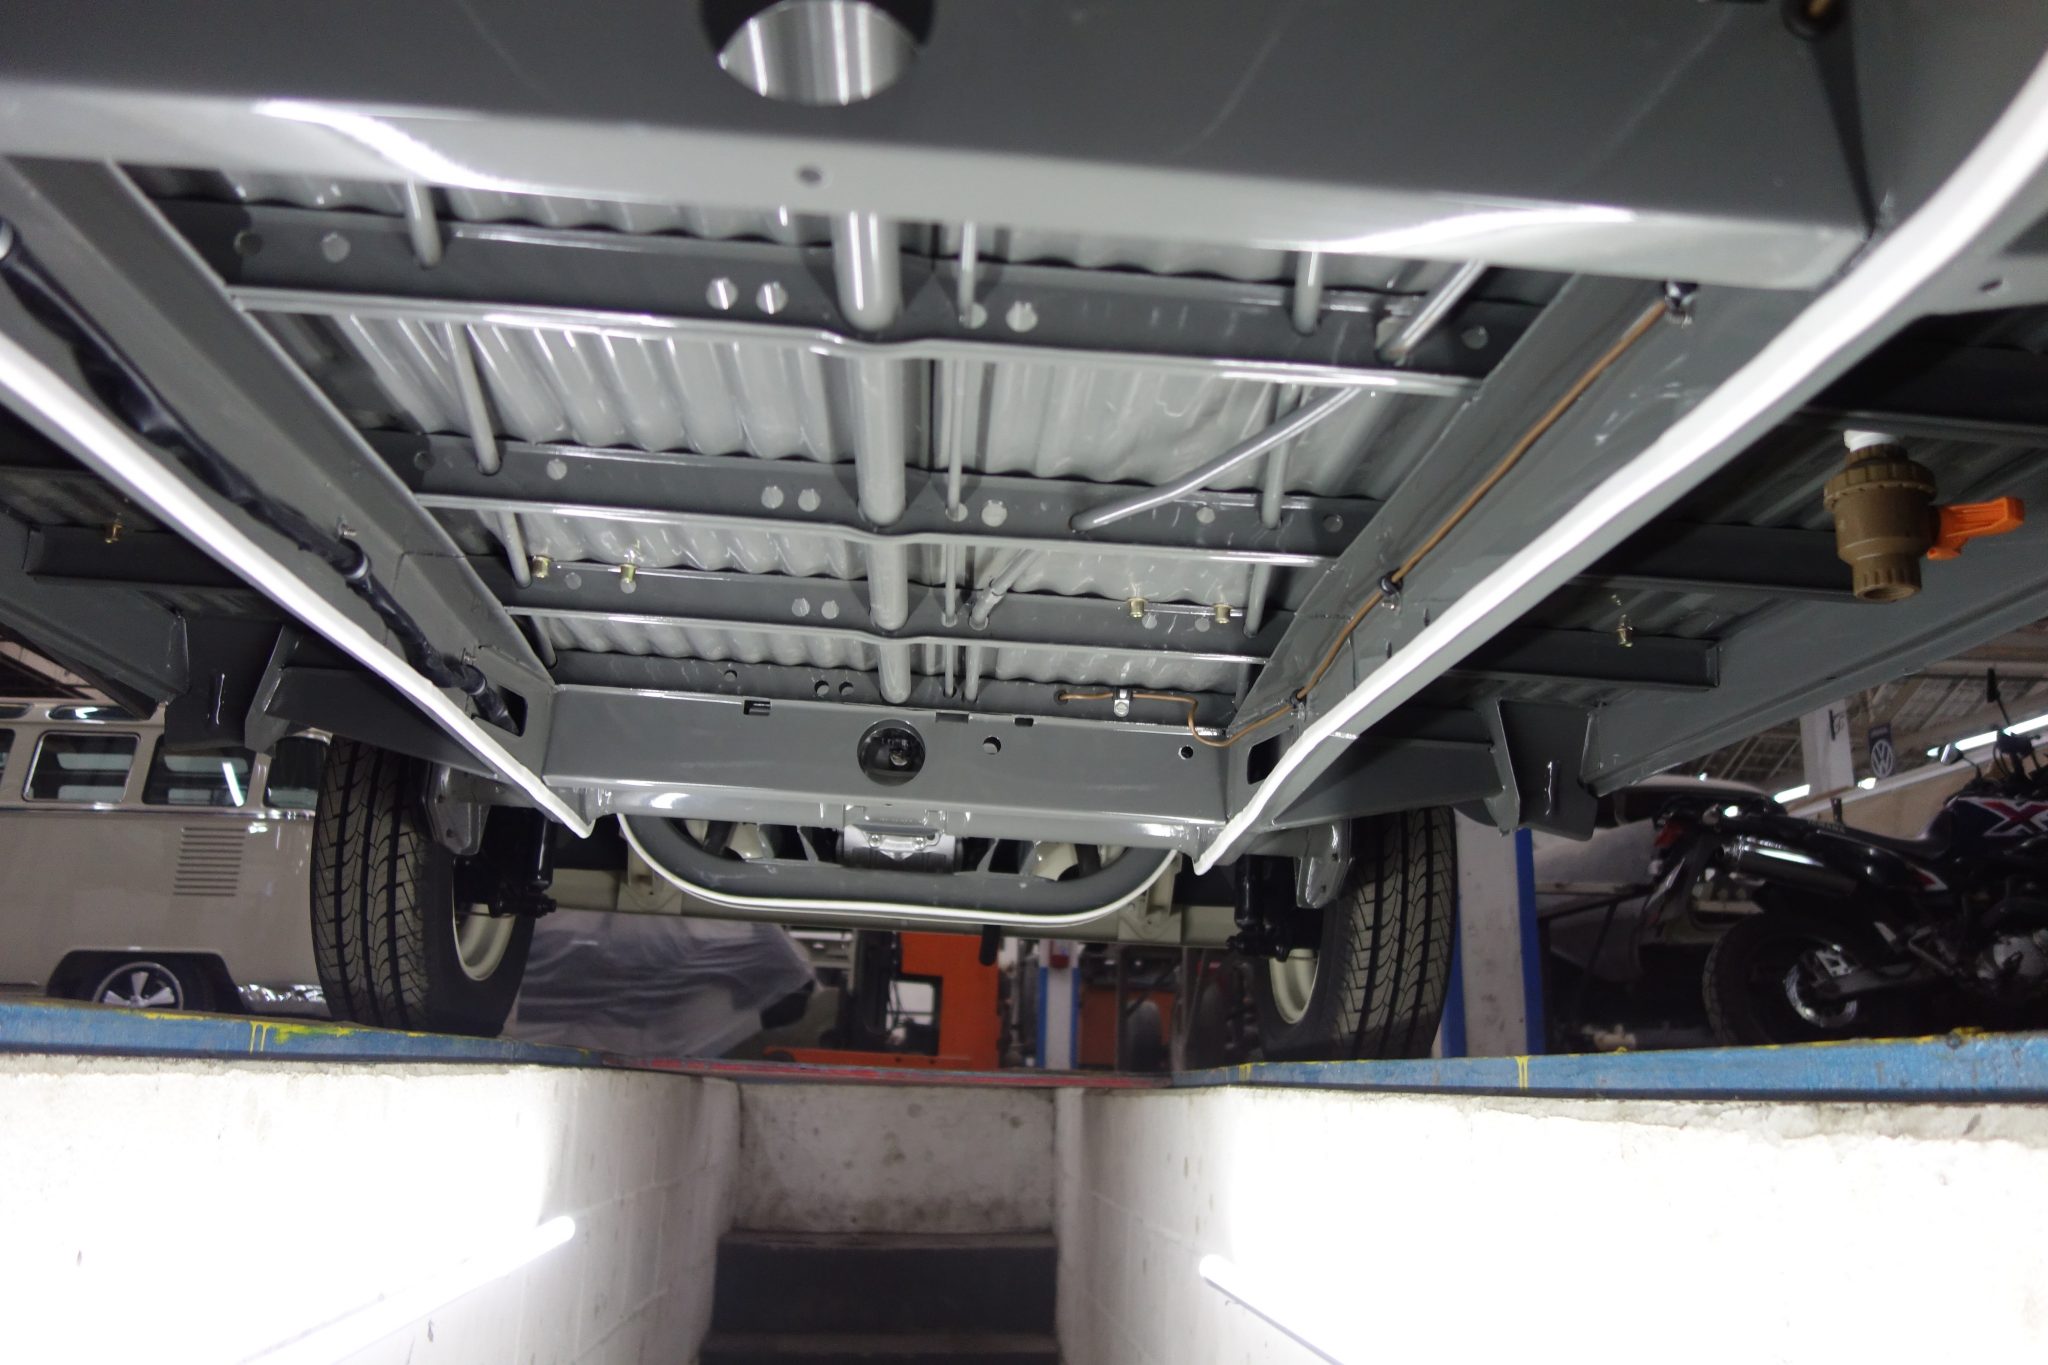
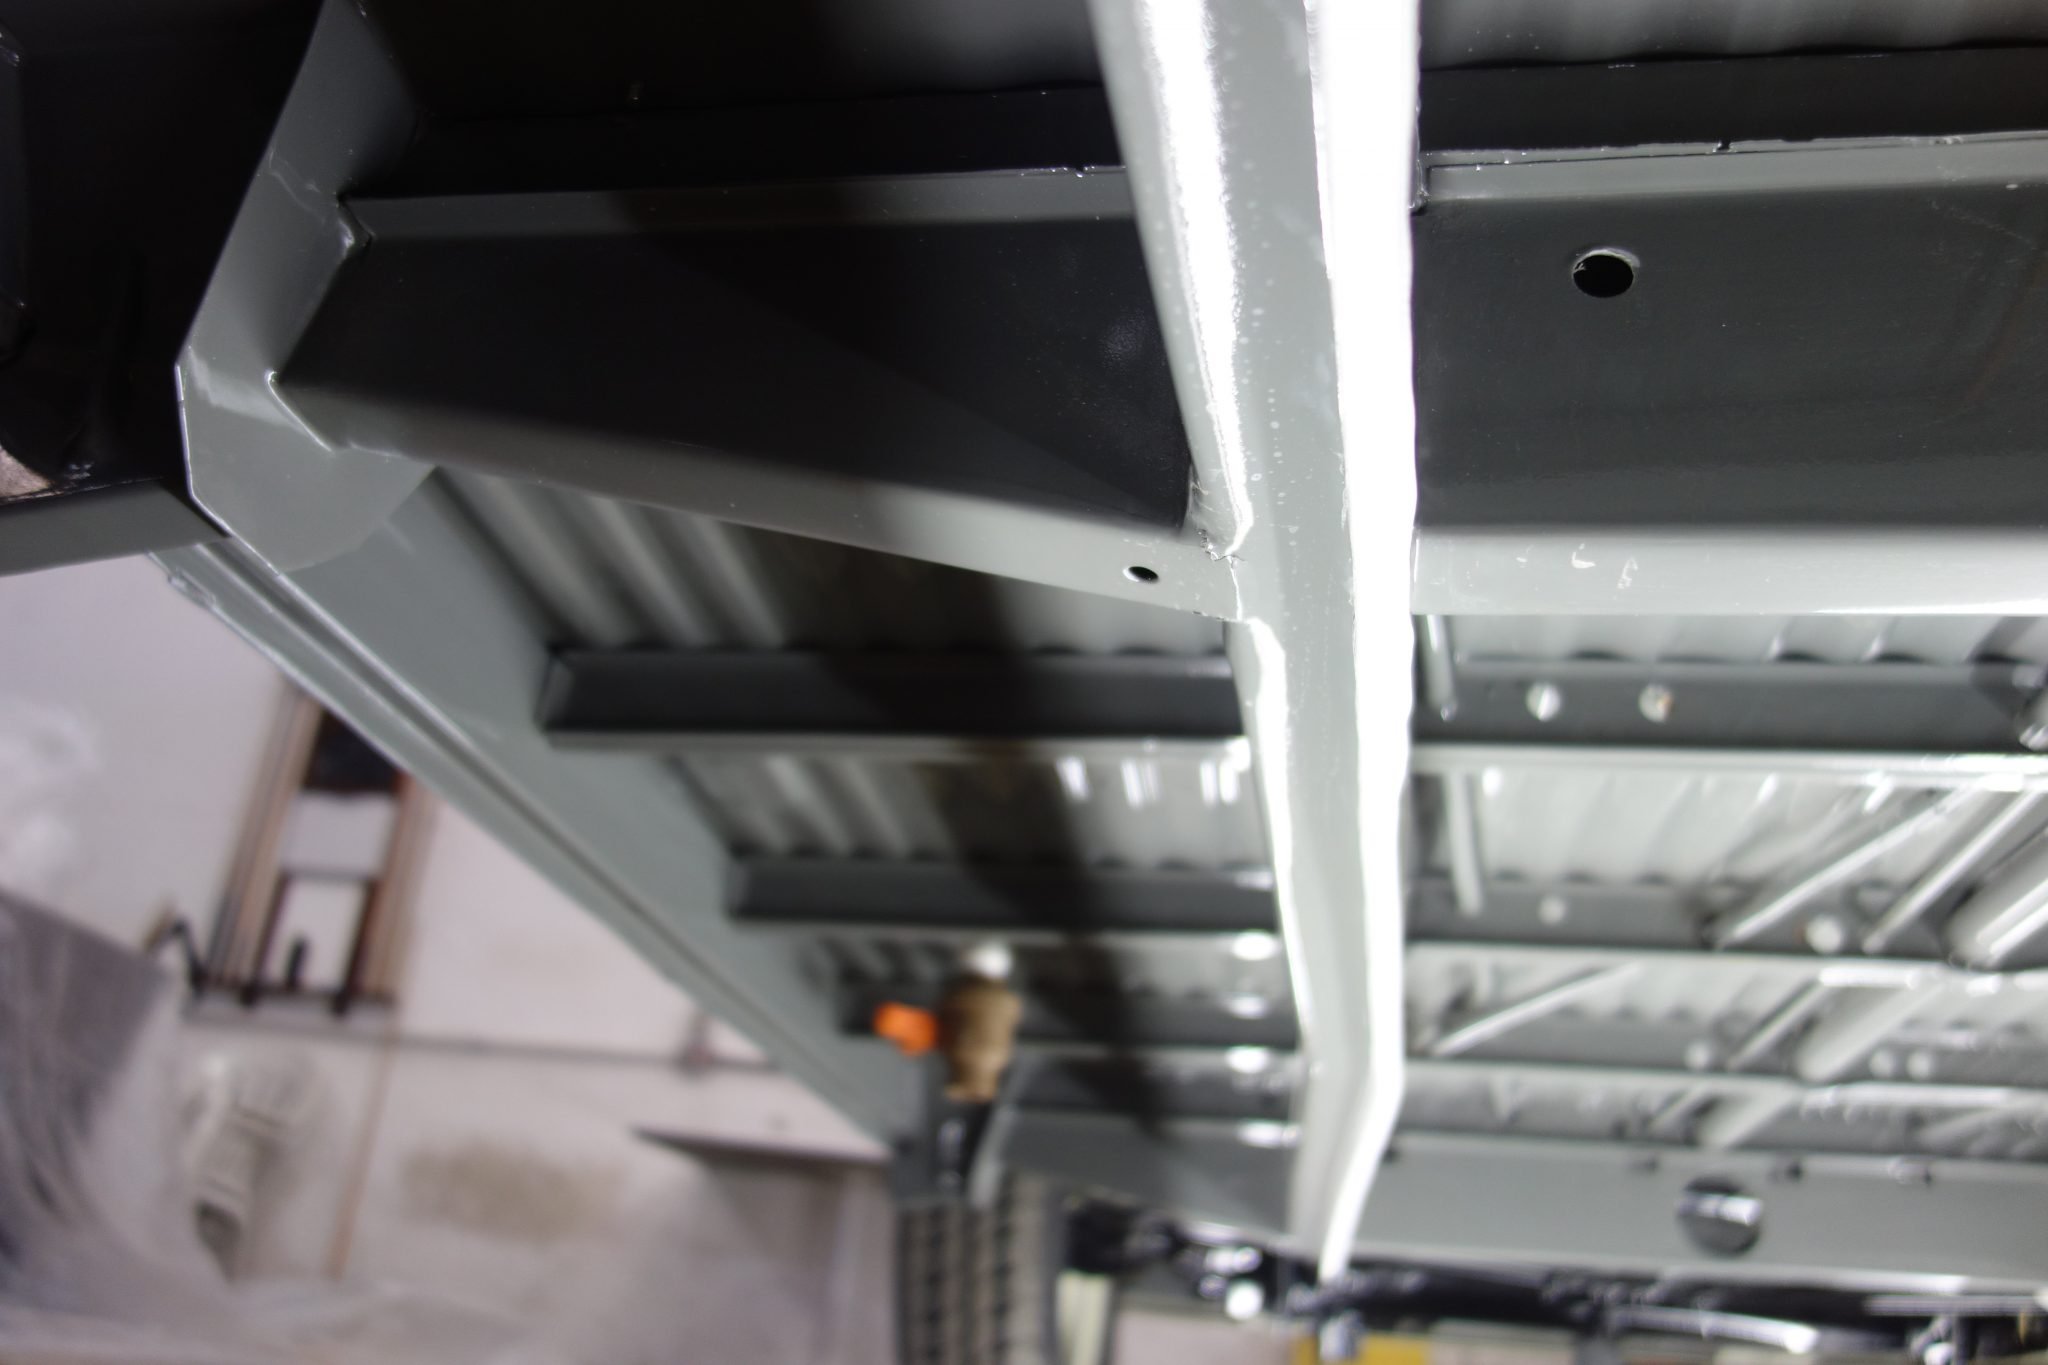
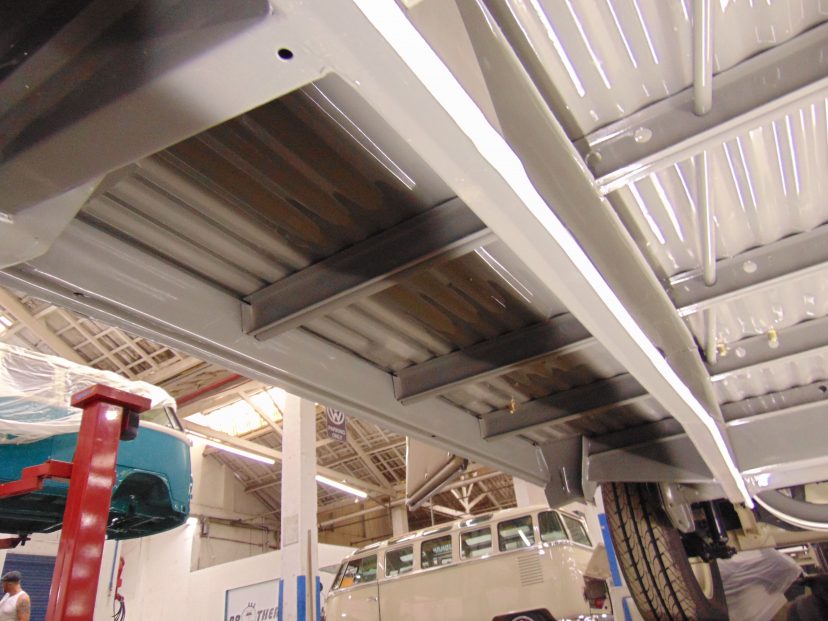
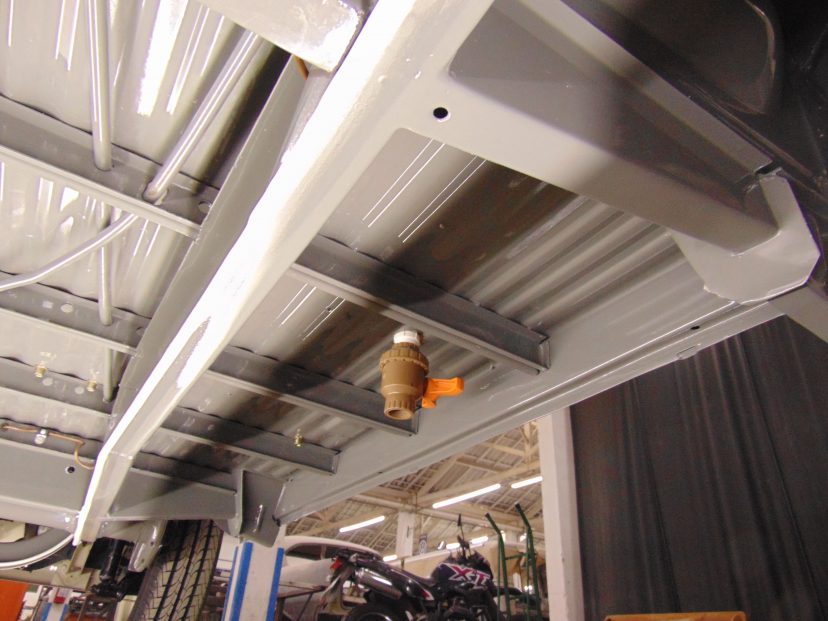
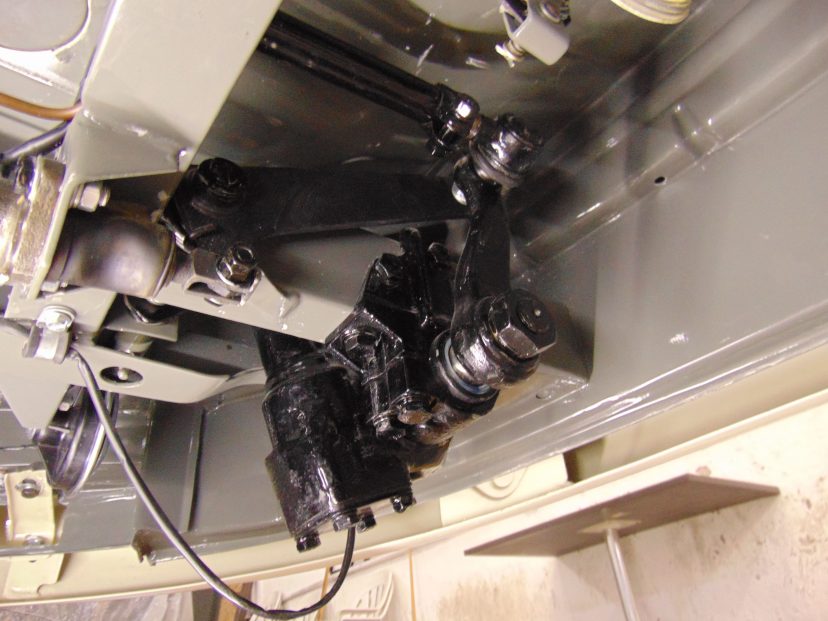
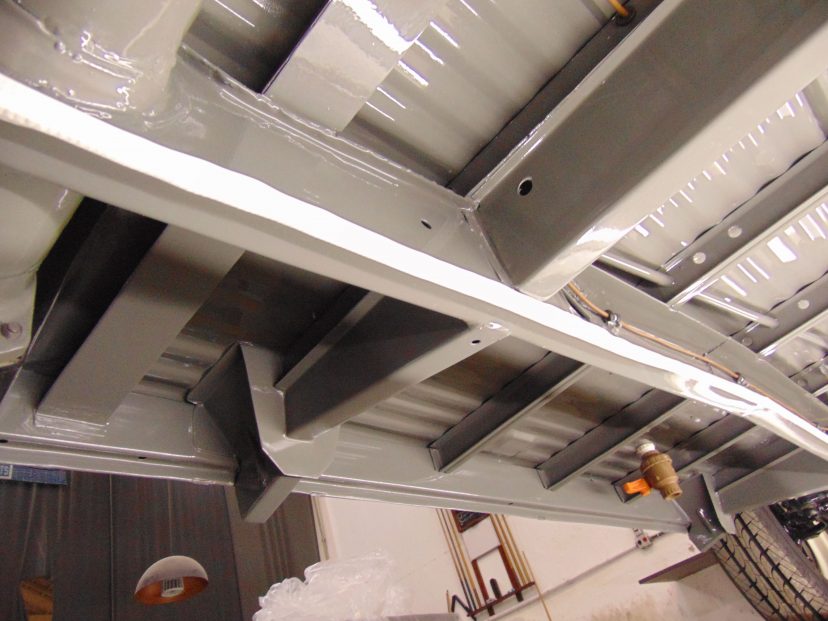
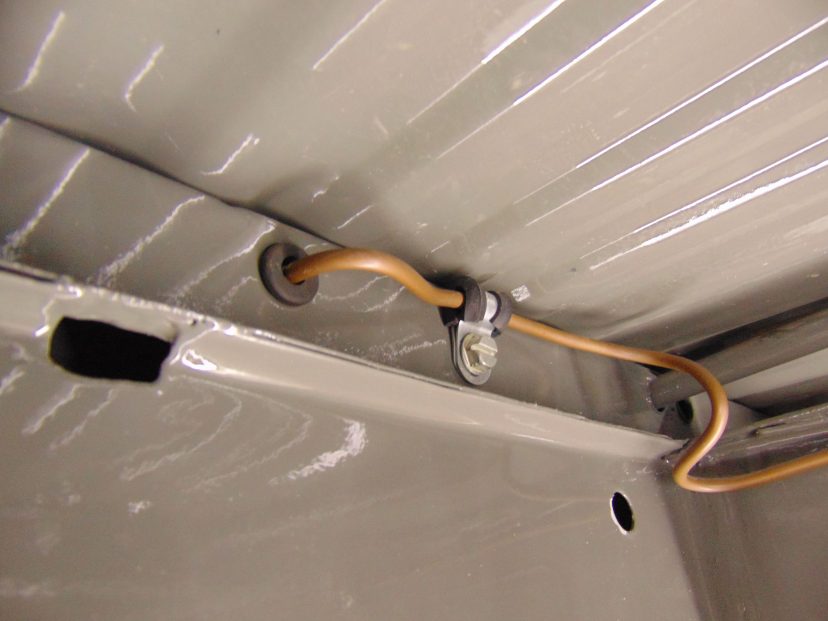
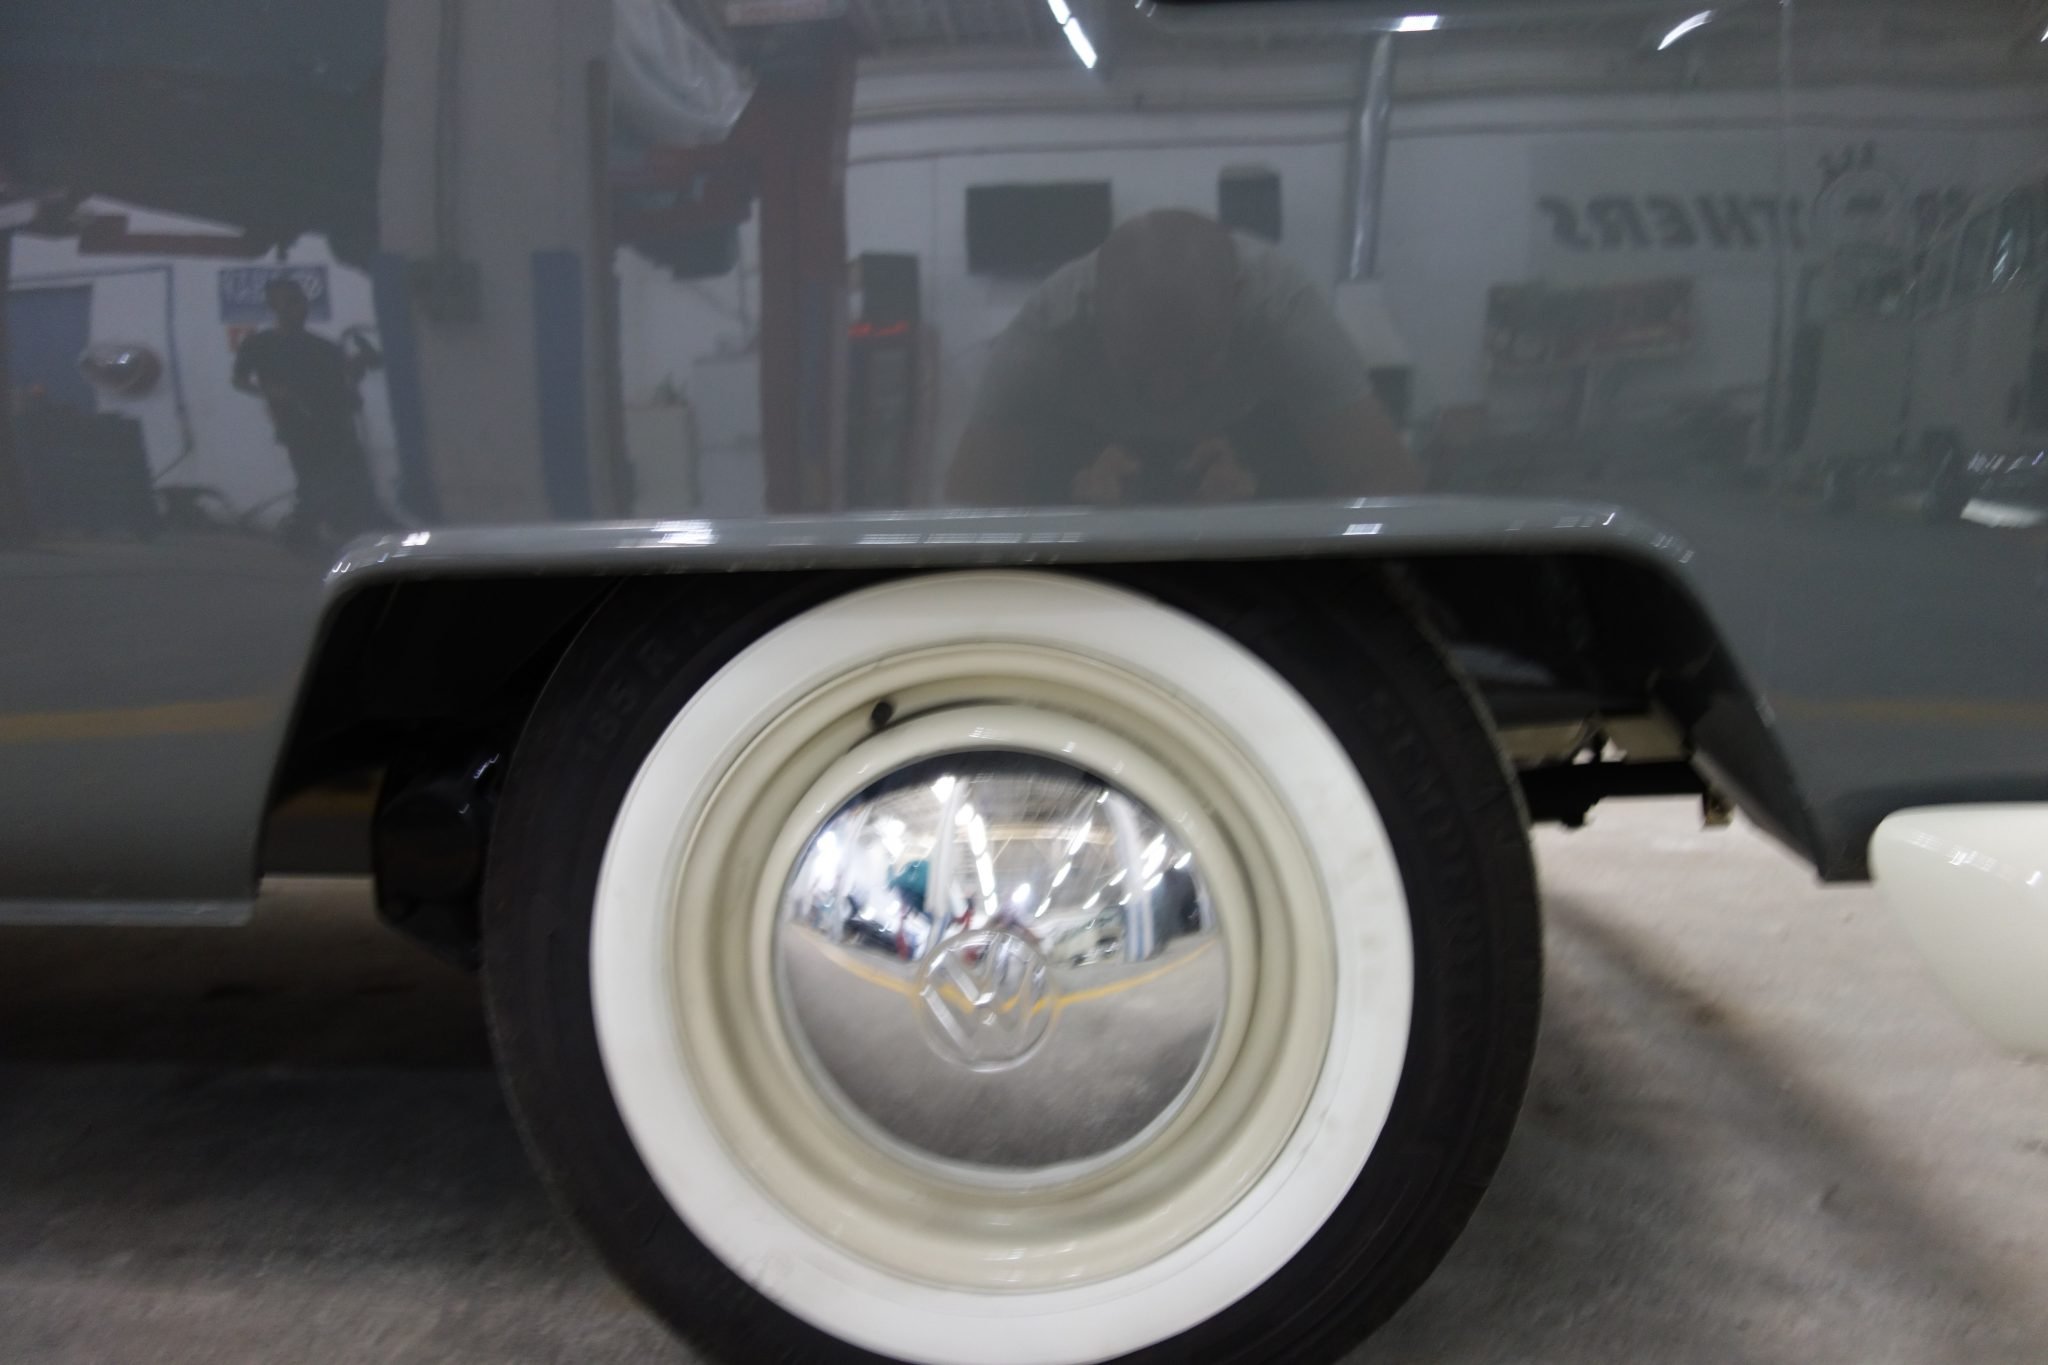
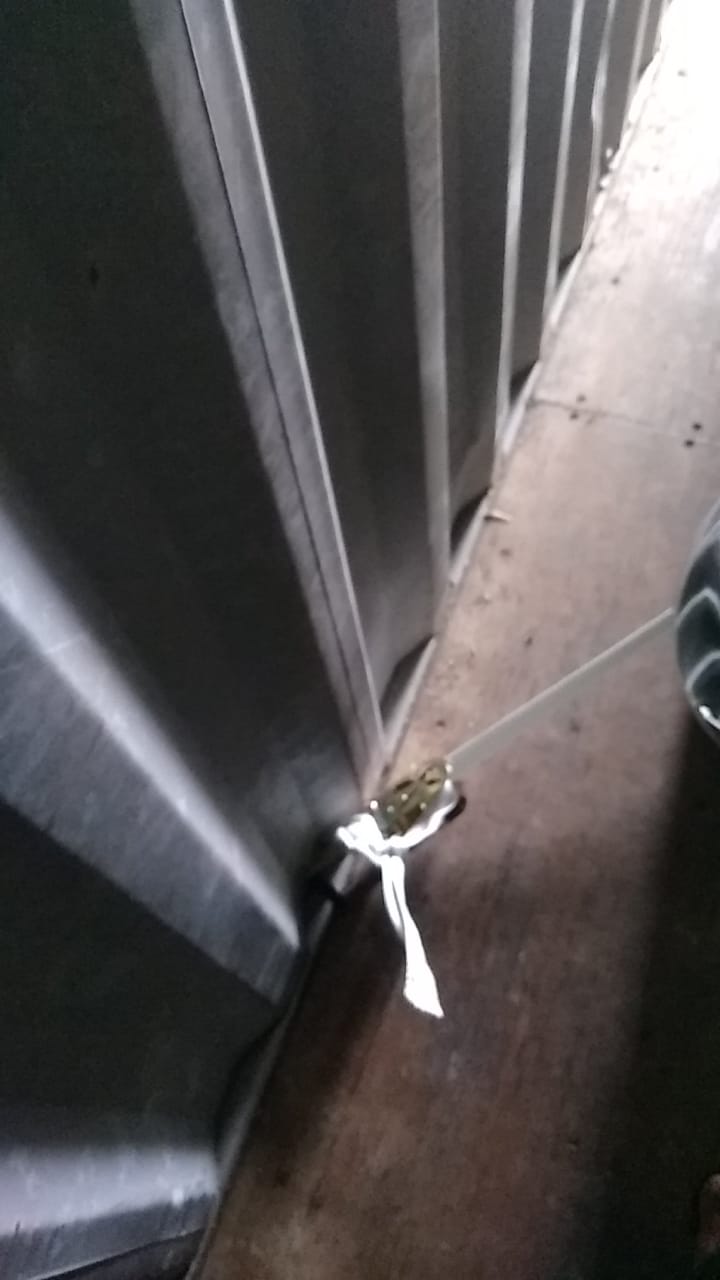
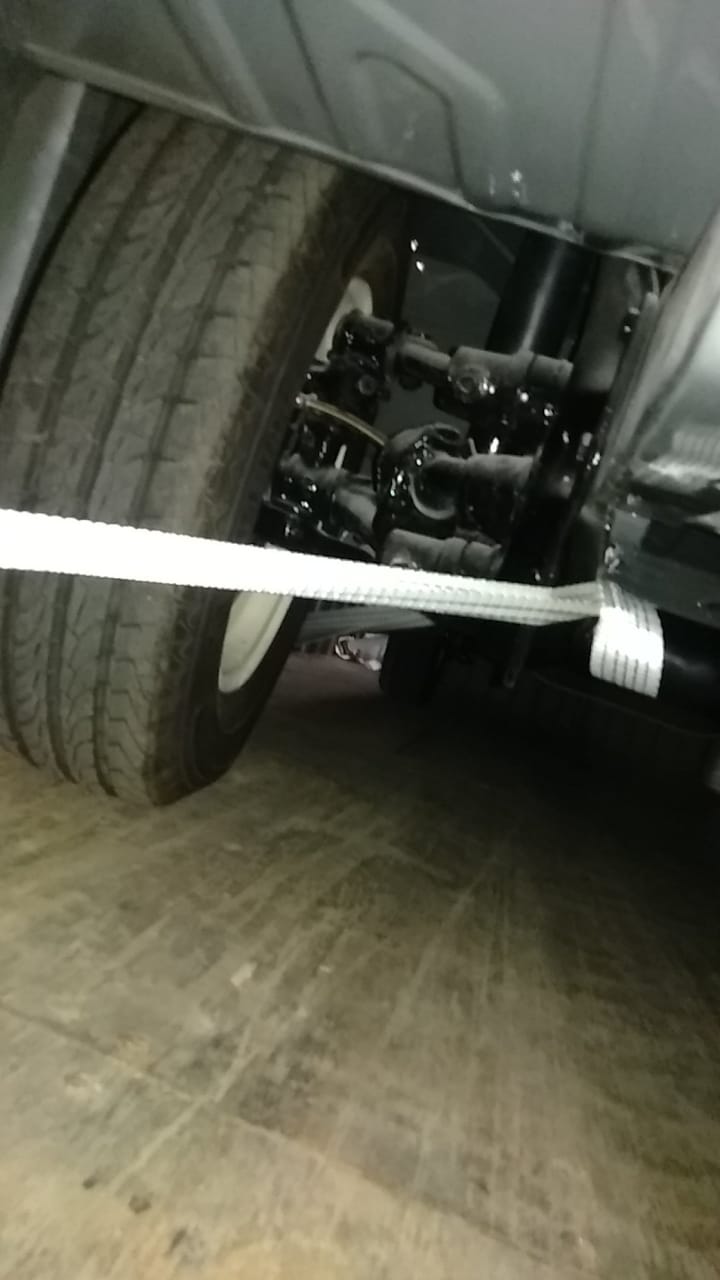
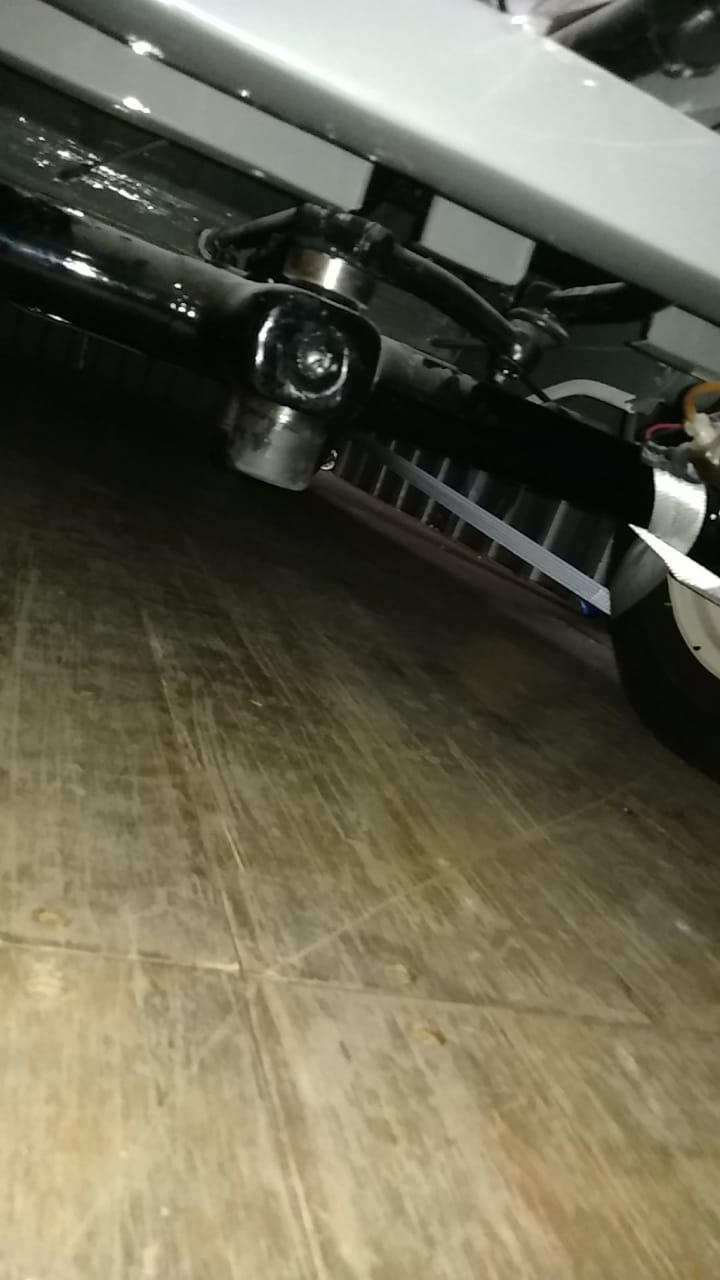
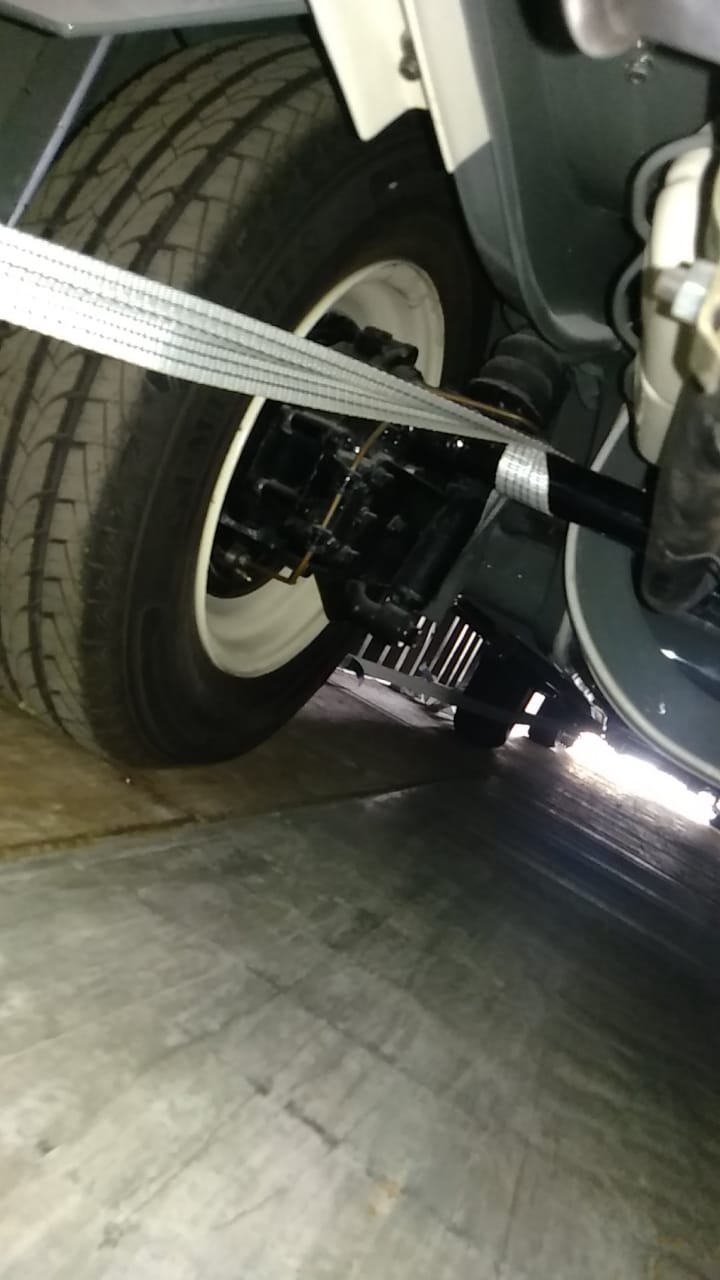
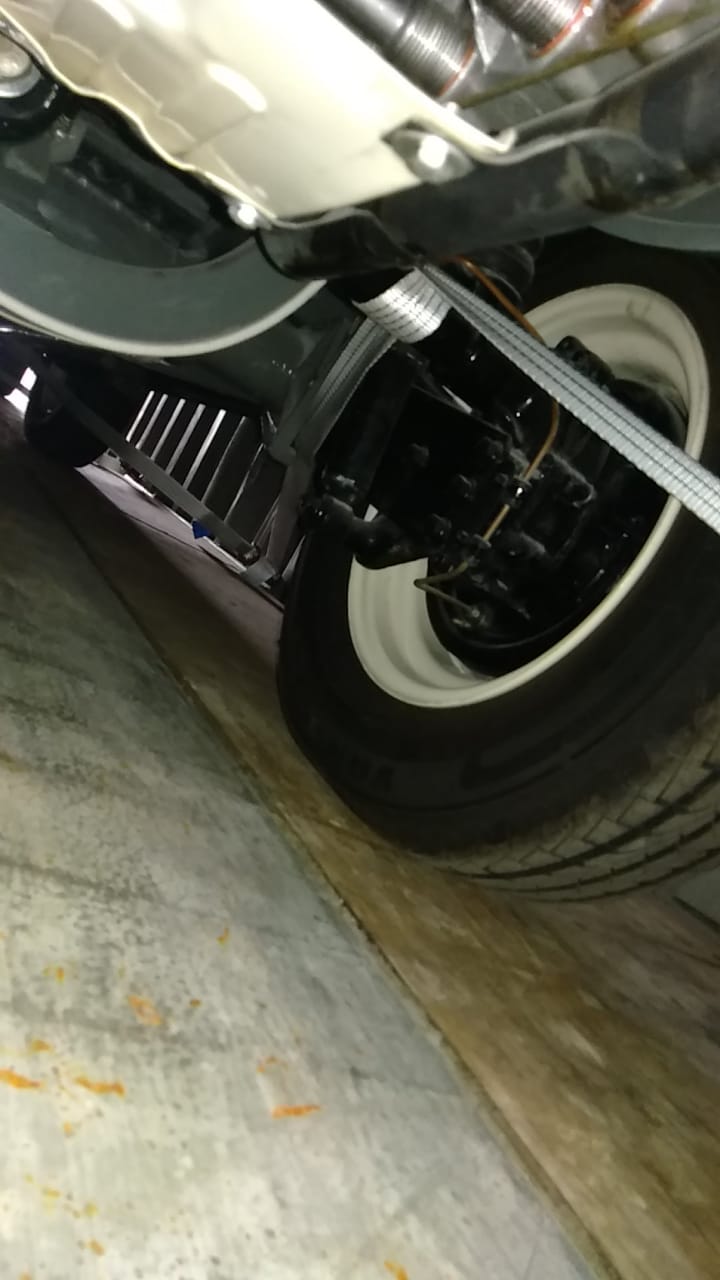
Stage 6: Floors and Undercarriage
Putting the Bus in the roller really helps get things done. Here you can see the detail we put into restoring the undercarriage.


Stage 7: Paint Preparation (Video)
We apply a generous coat of polyester mastic and then carefully remove the layers till we get the thinnest and smoothest coat.


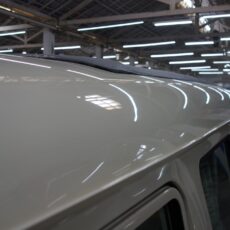
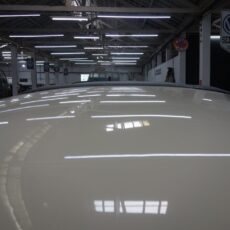
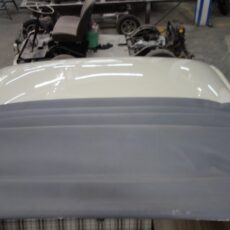
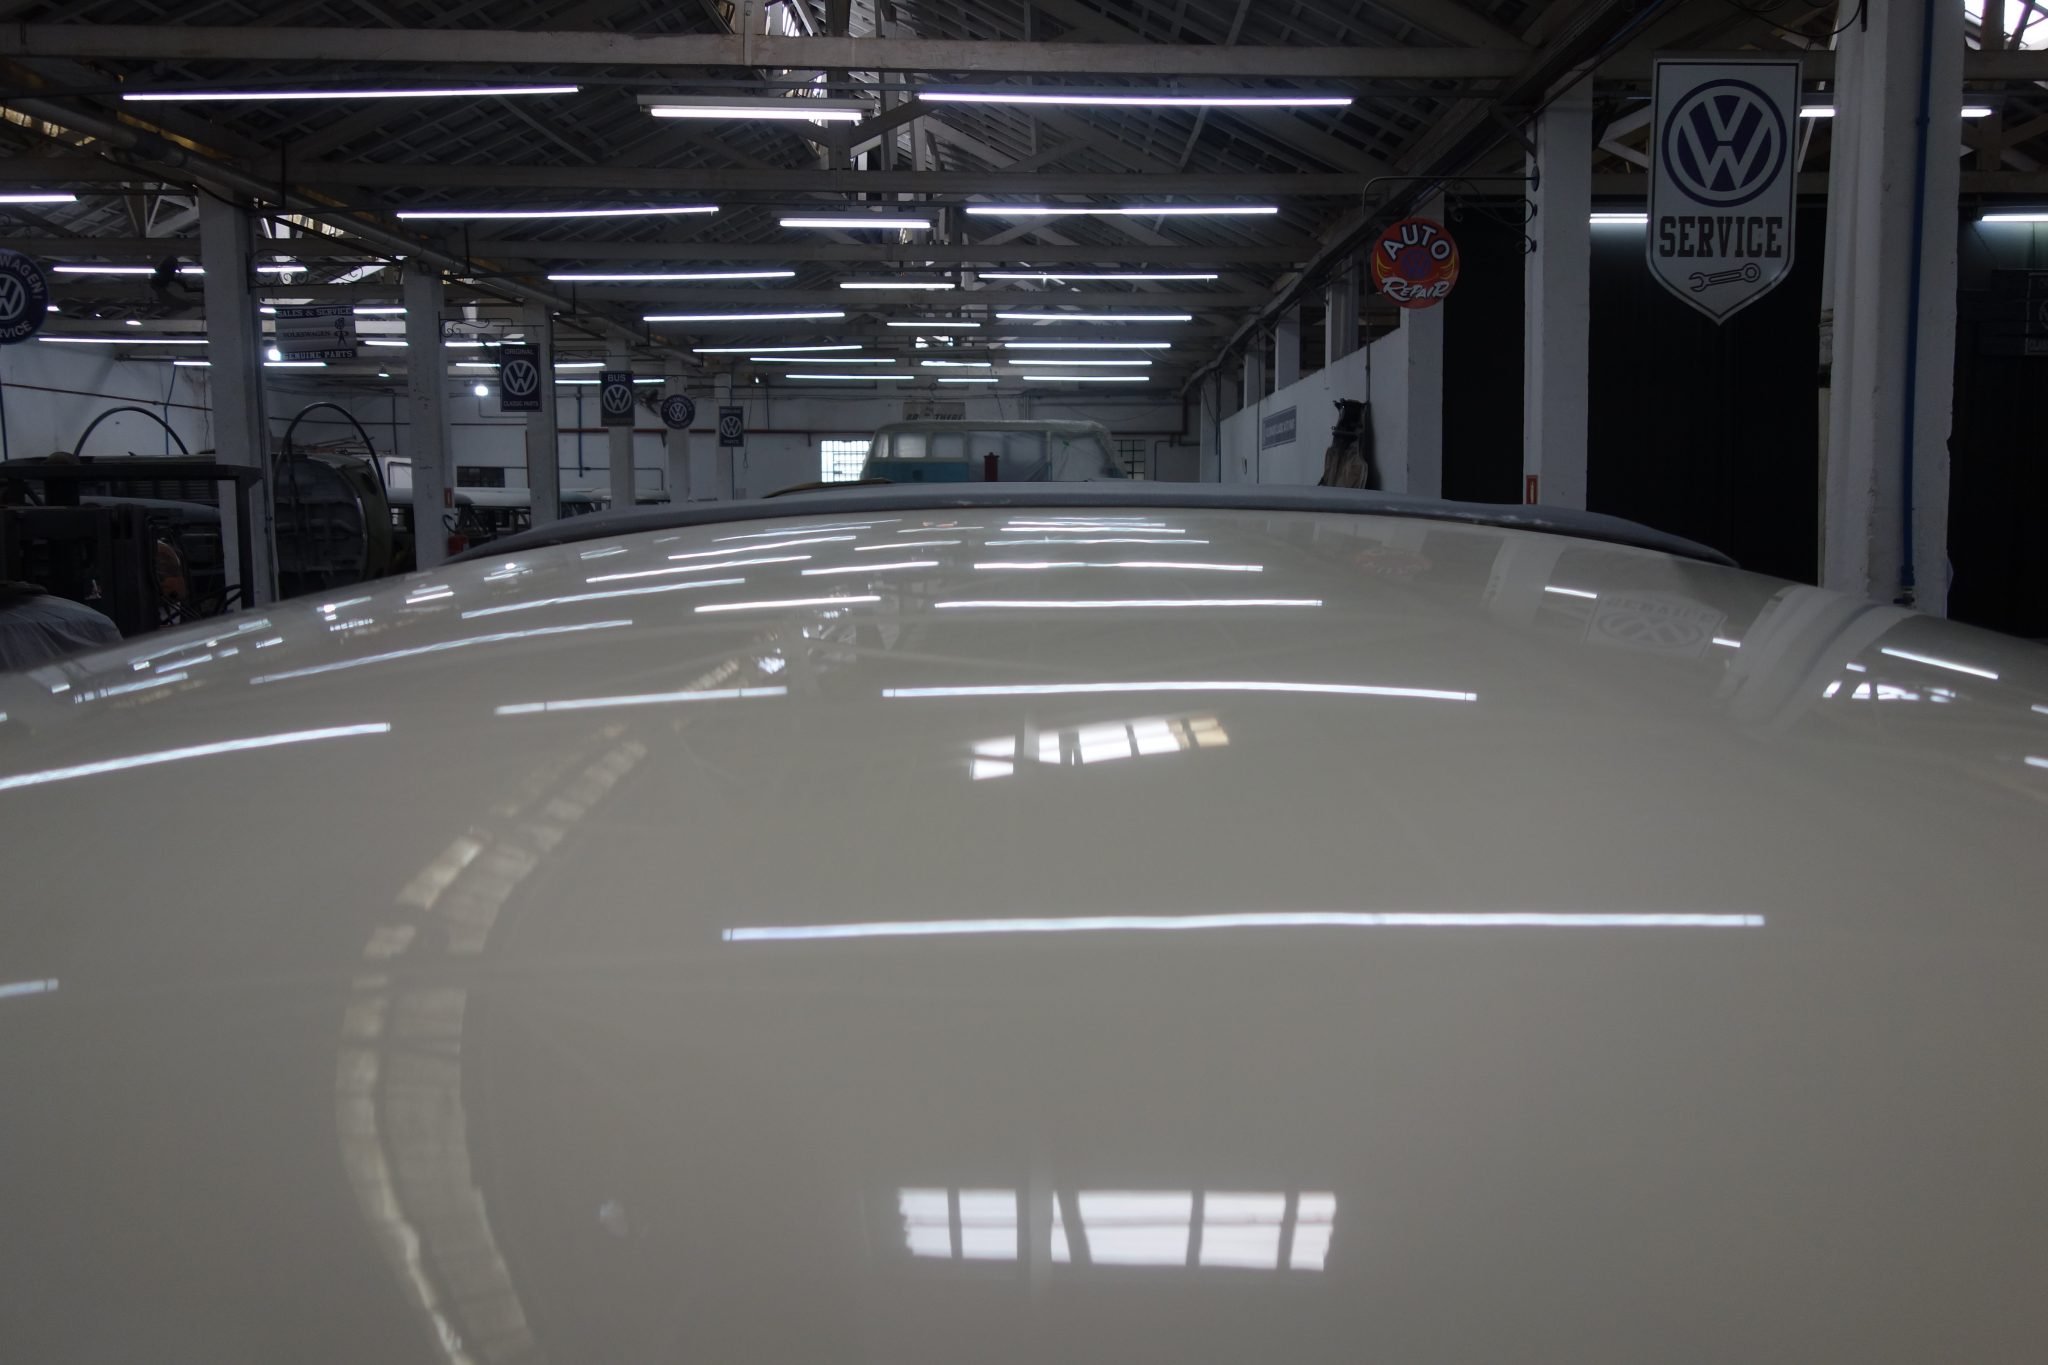
Stage 8: Painting
After several days of thouroughly preparing the polyester mastic in order to make it thin an smooth enough, we finnally apply the paint coat.


Phase 9: Mechanical items
We have completely restored all mechanical items on this T1 camper. Here is a short list.
- New disc brakes all around
- Restored 4-speed manual transmission
- New clutch
- Restored 1.5 liter VW engine
- New front suspension
- New steering with bearings
- All new cables, wires and hoses


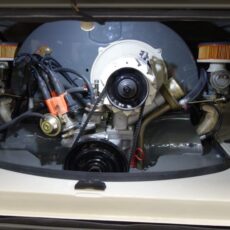
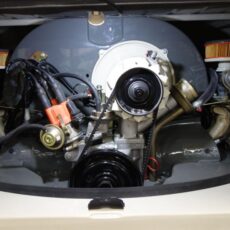
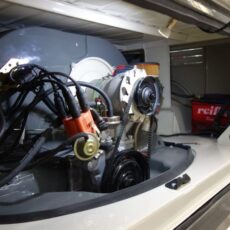
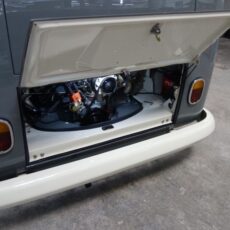
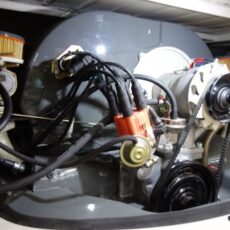
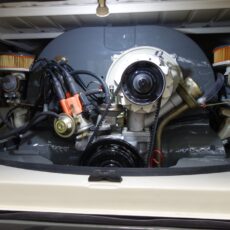
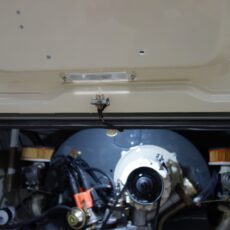
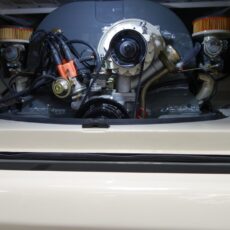
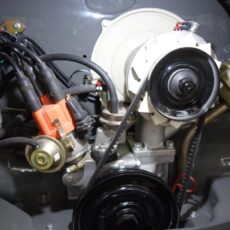
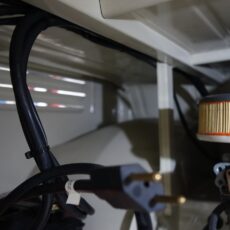
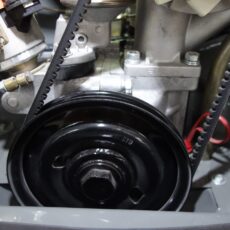
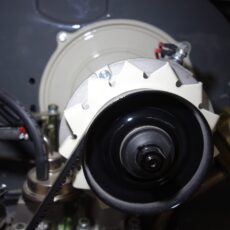
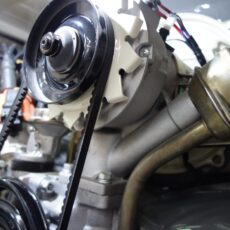
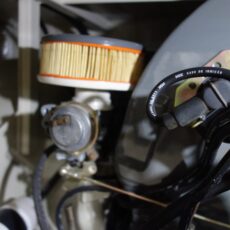
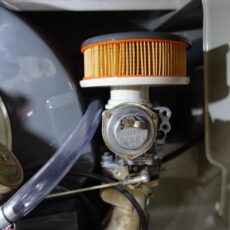
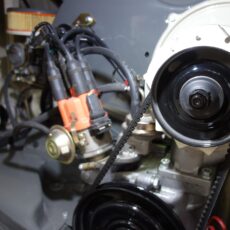
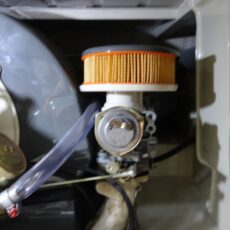
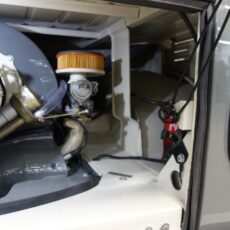
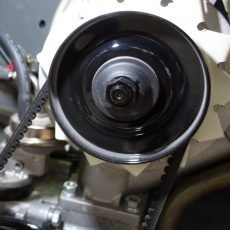
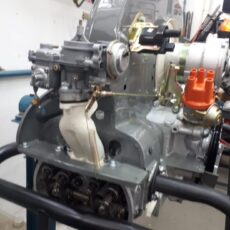
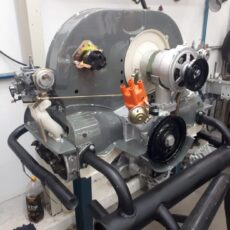
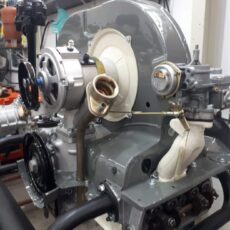
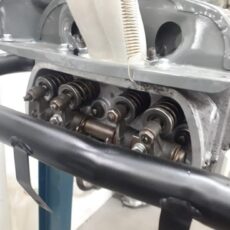
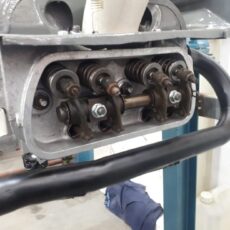
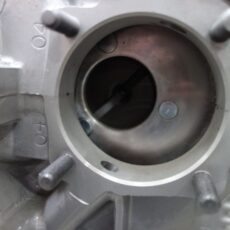
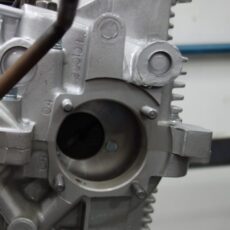
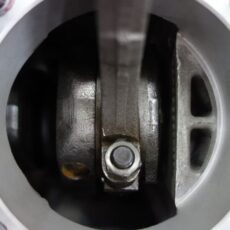
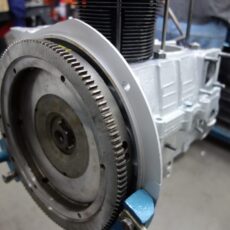
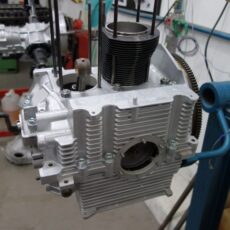
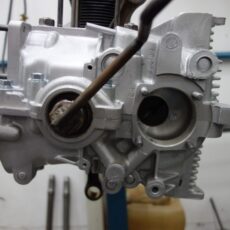
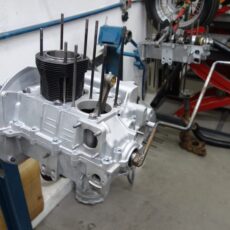
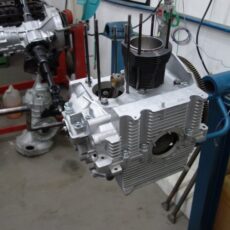
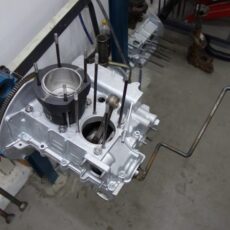
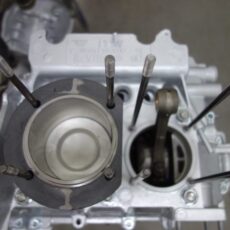
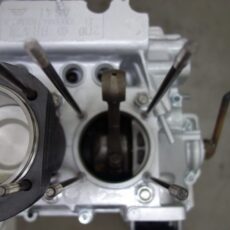
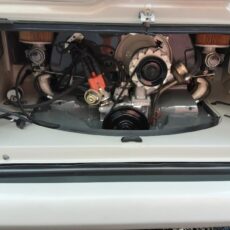
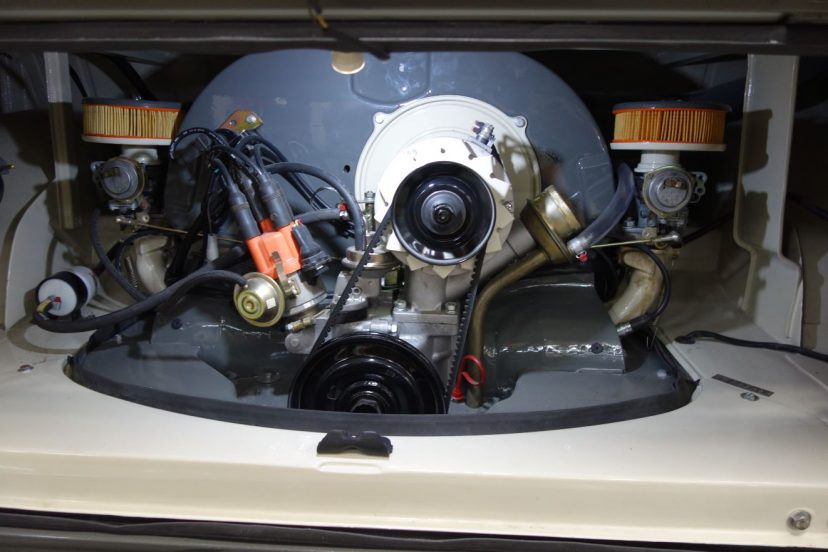
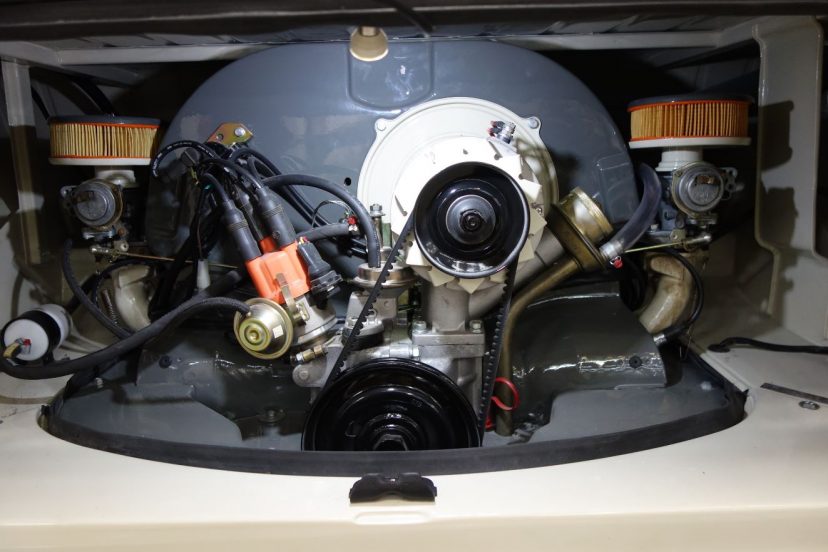
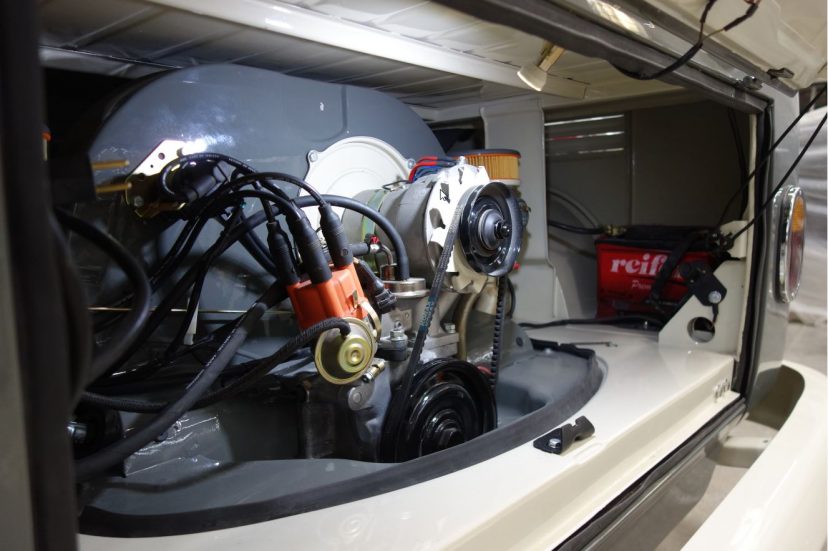
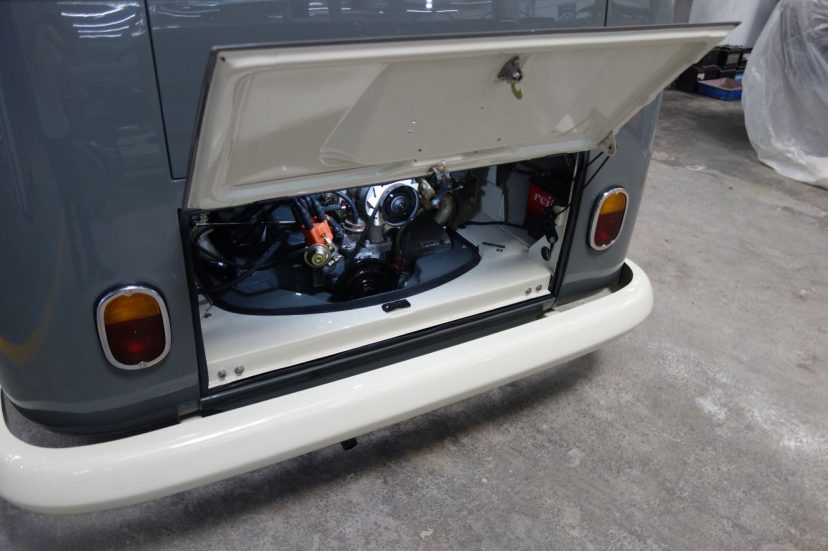
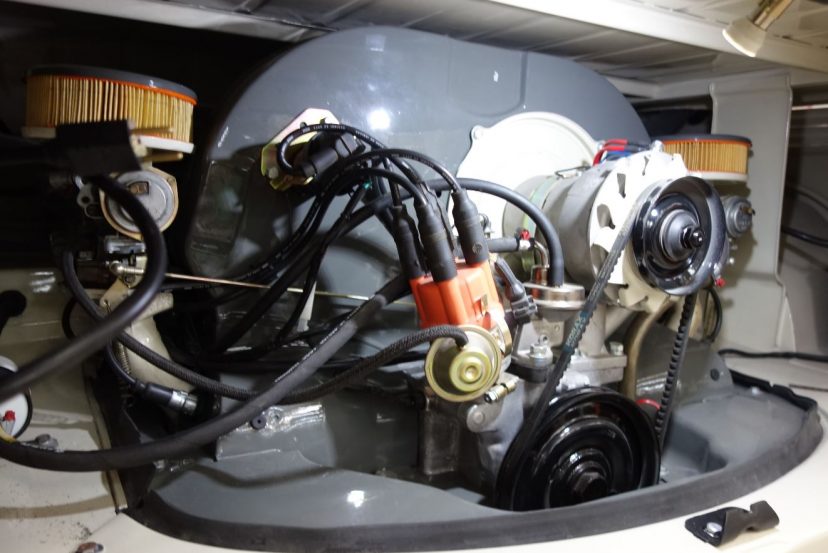
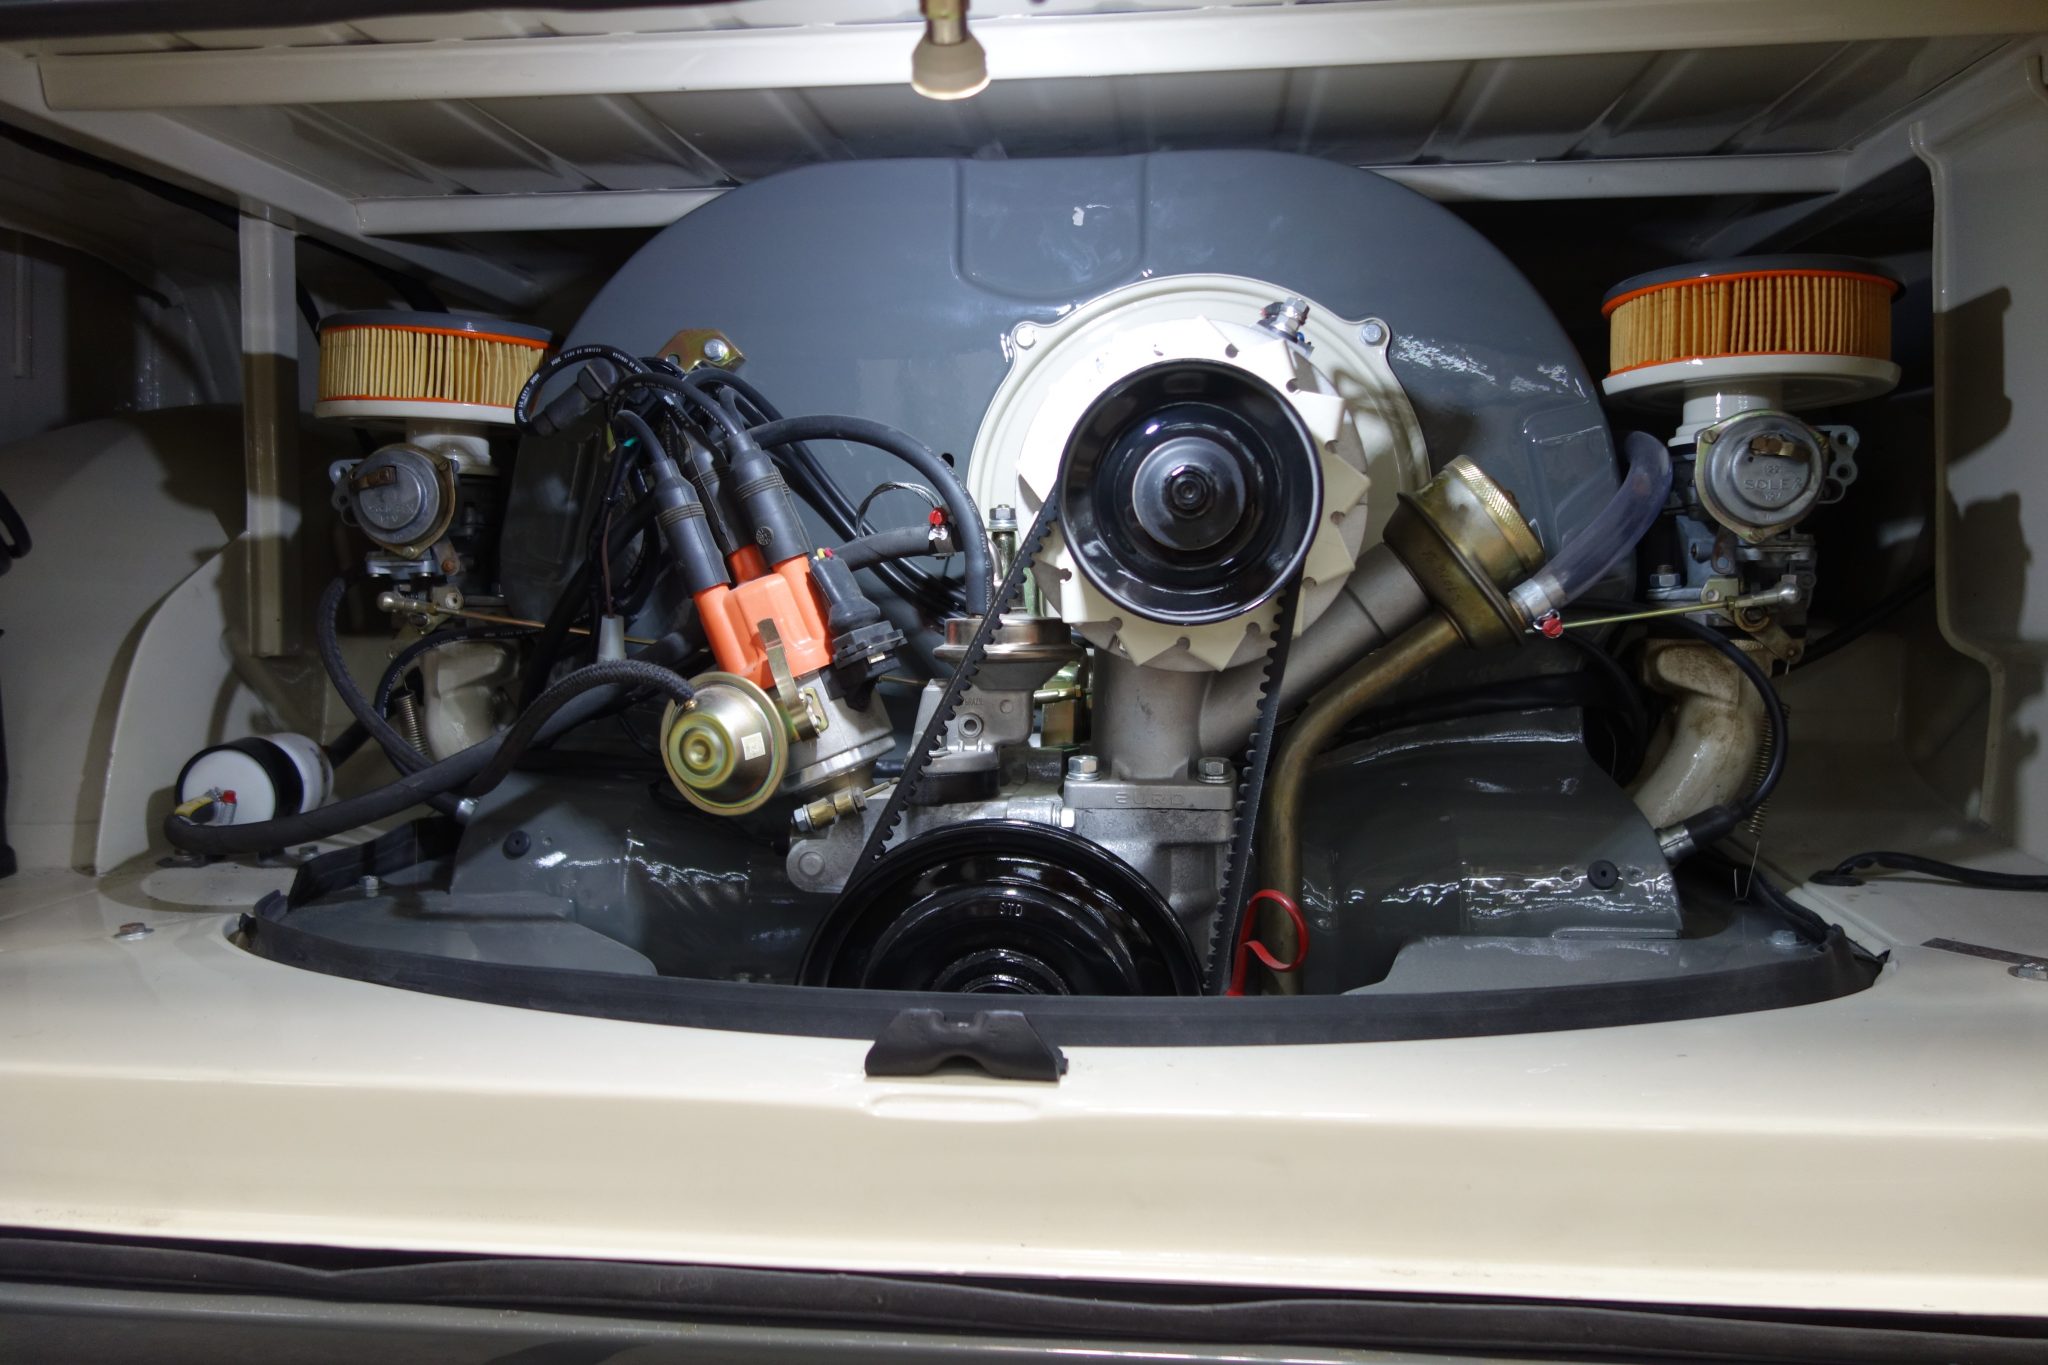
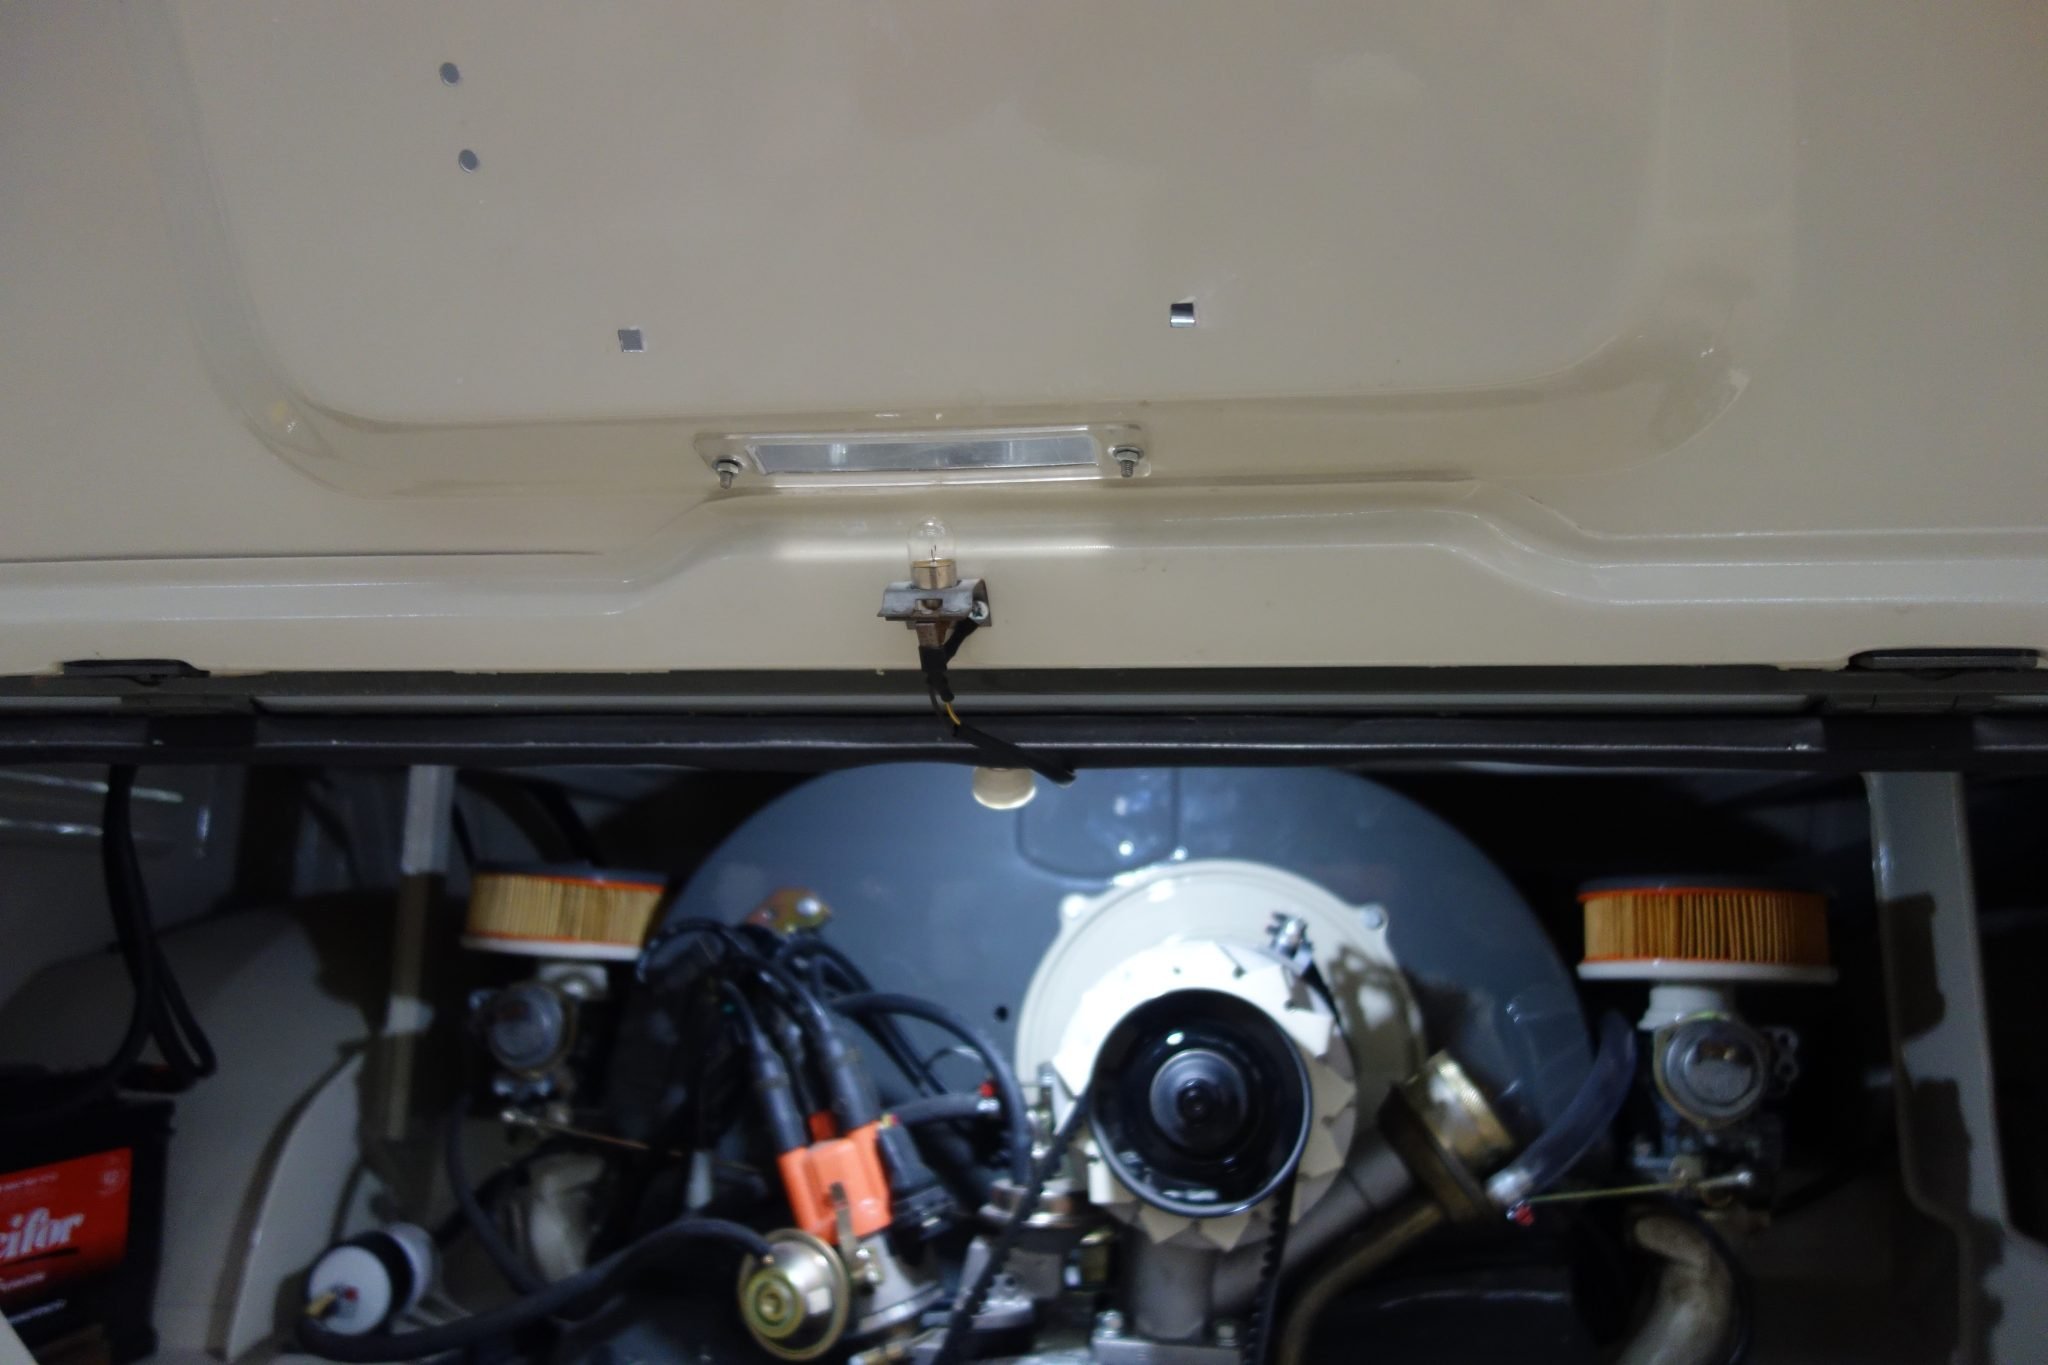
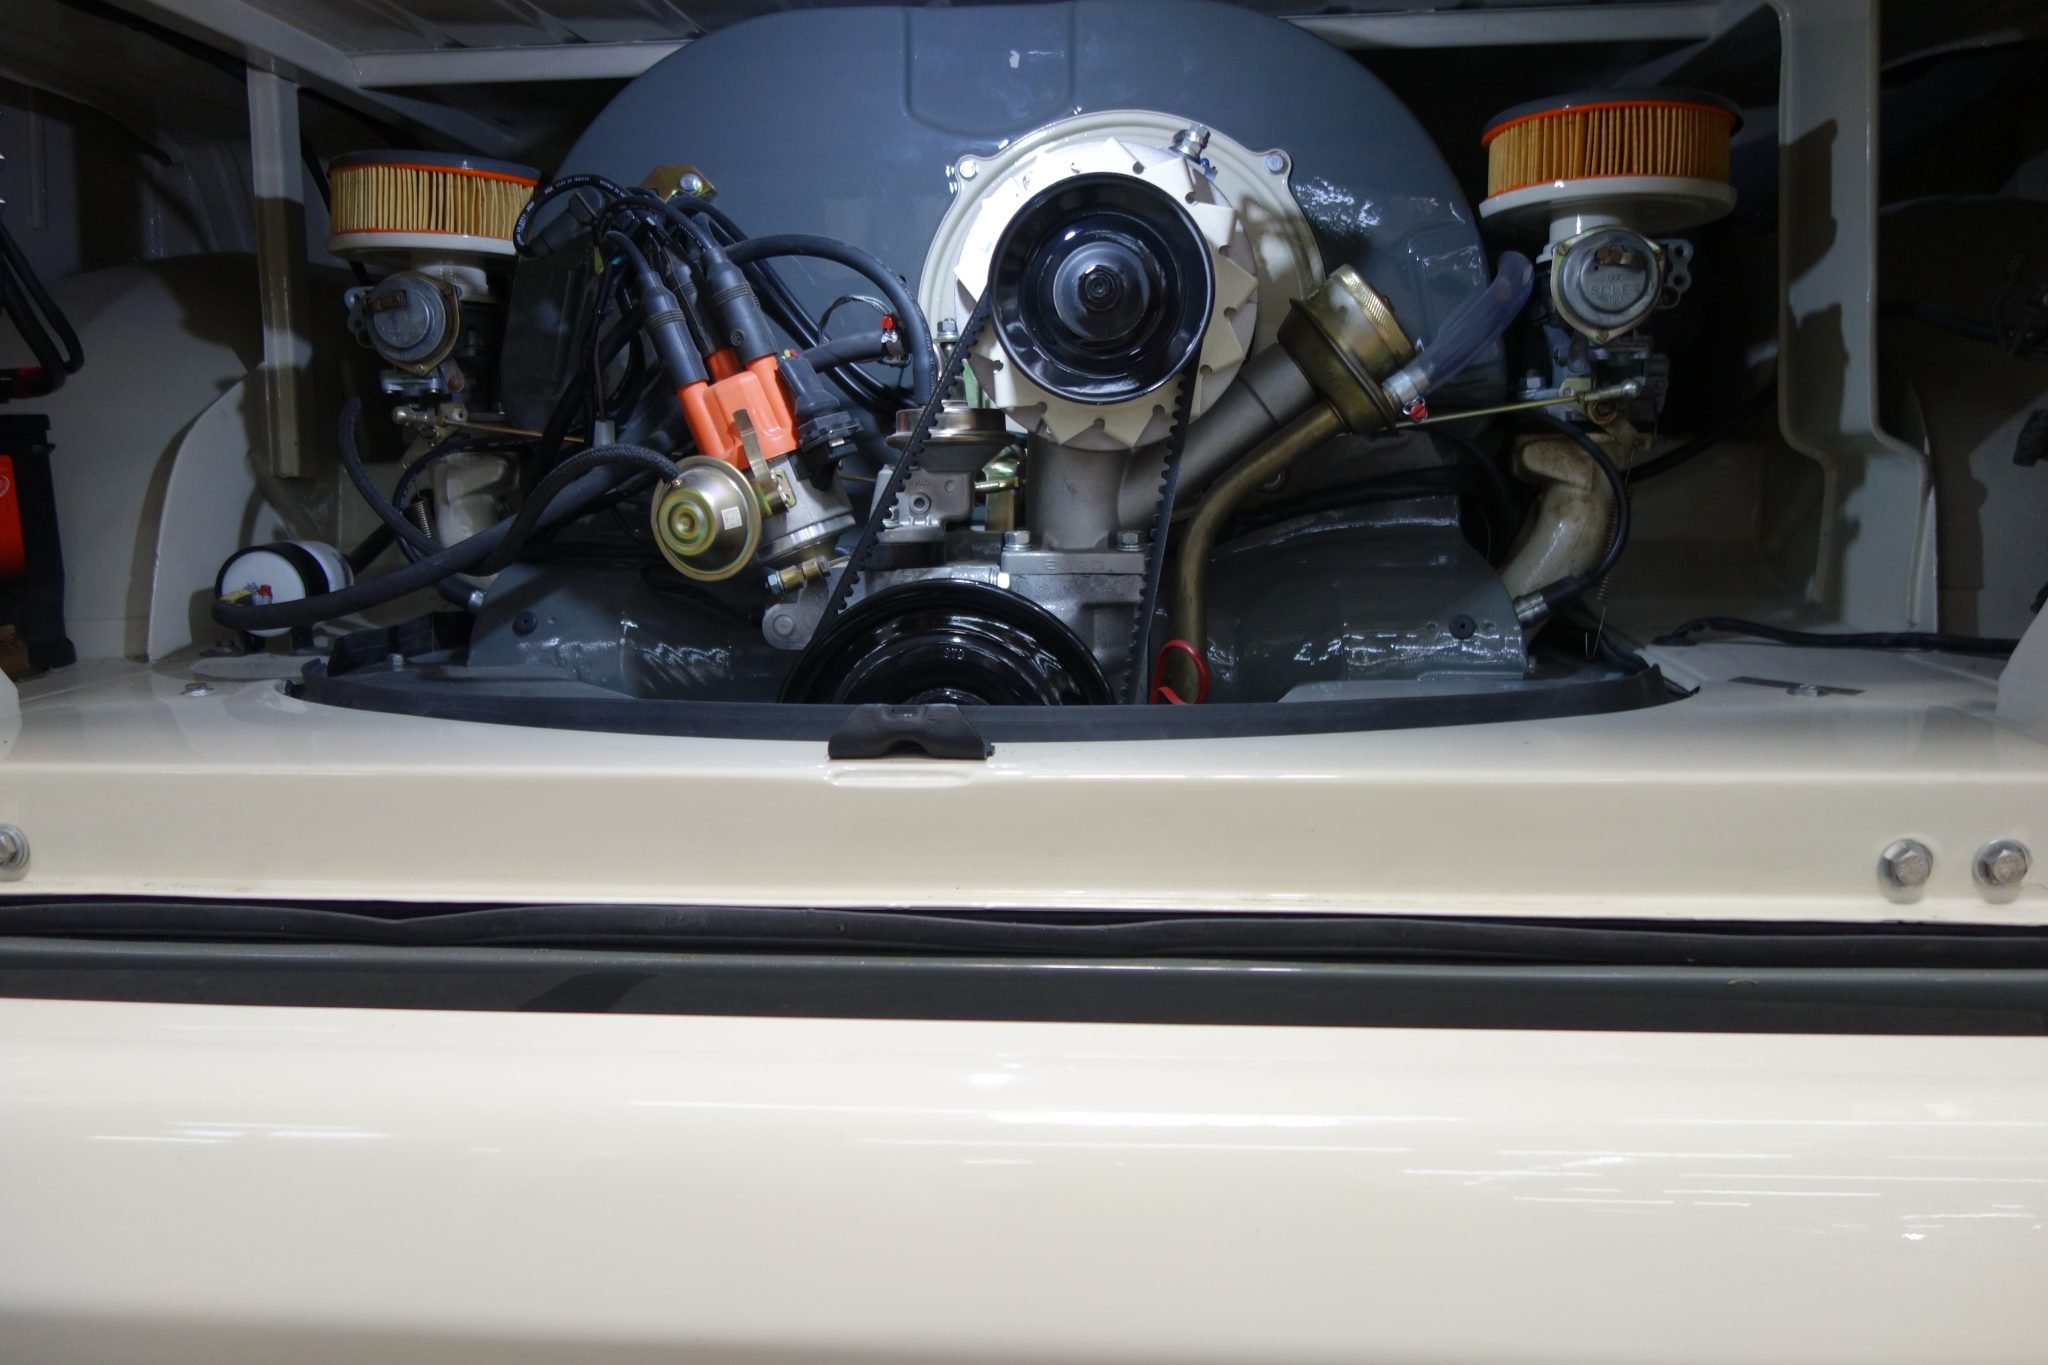
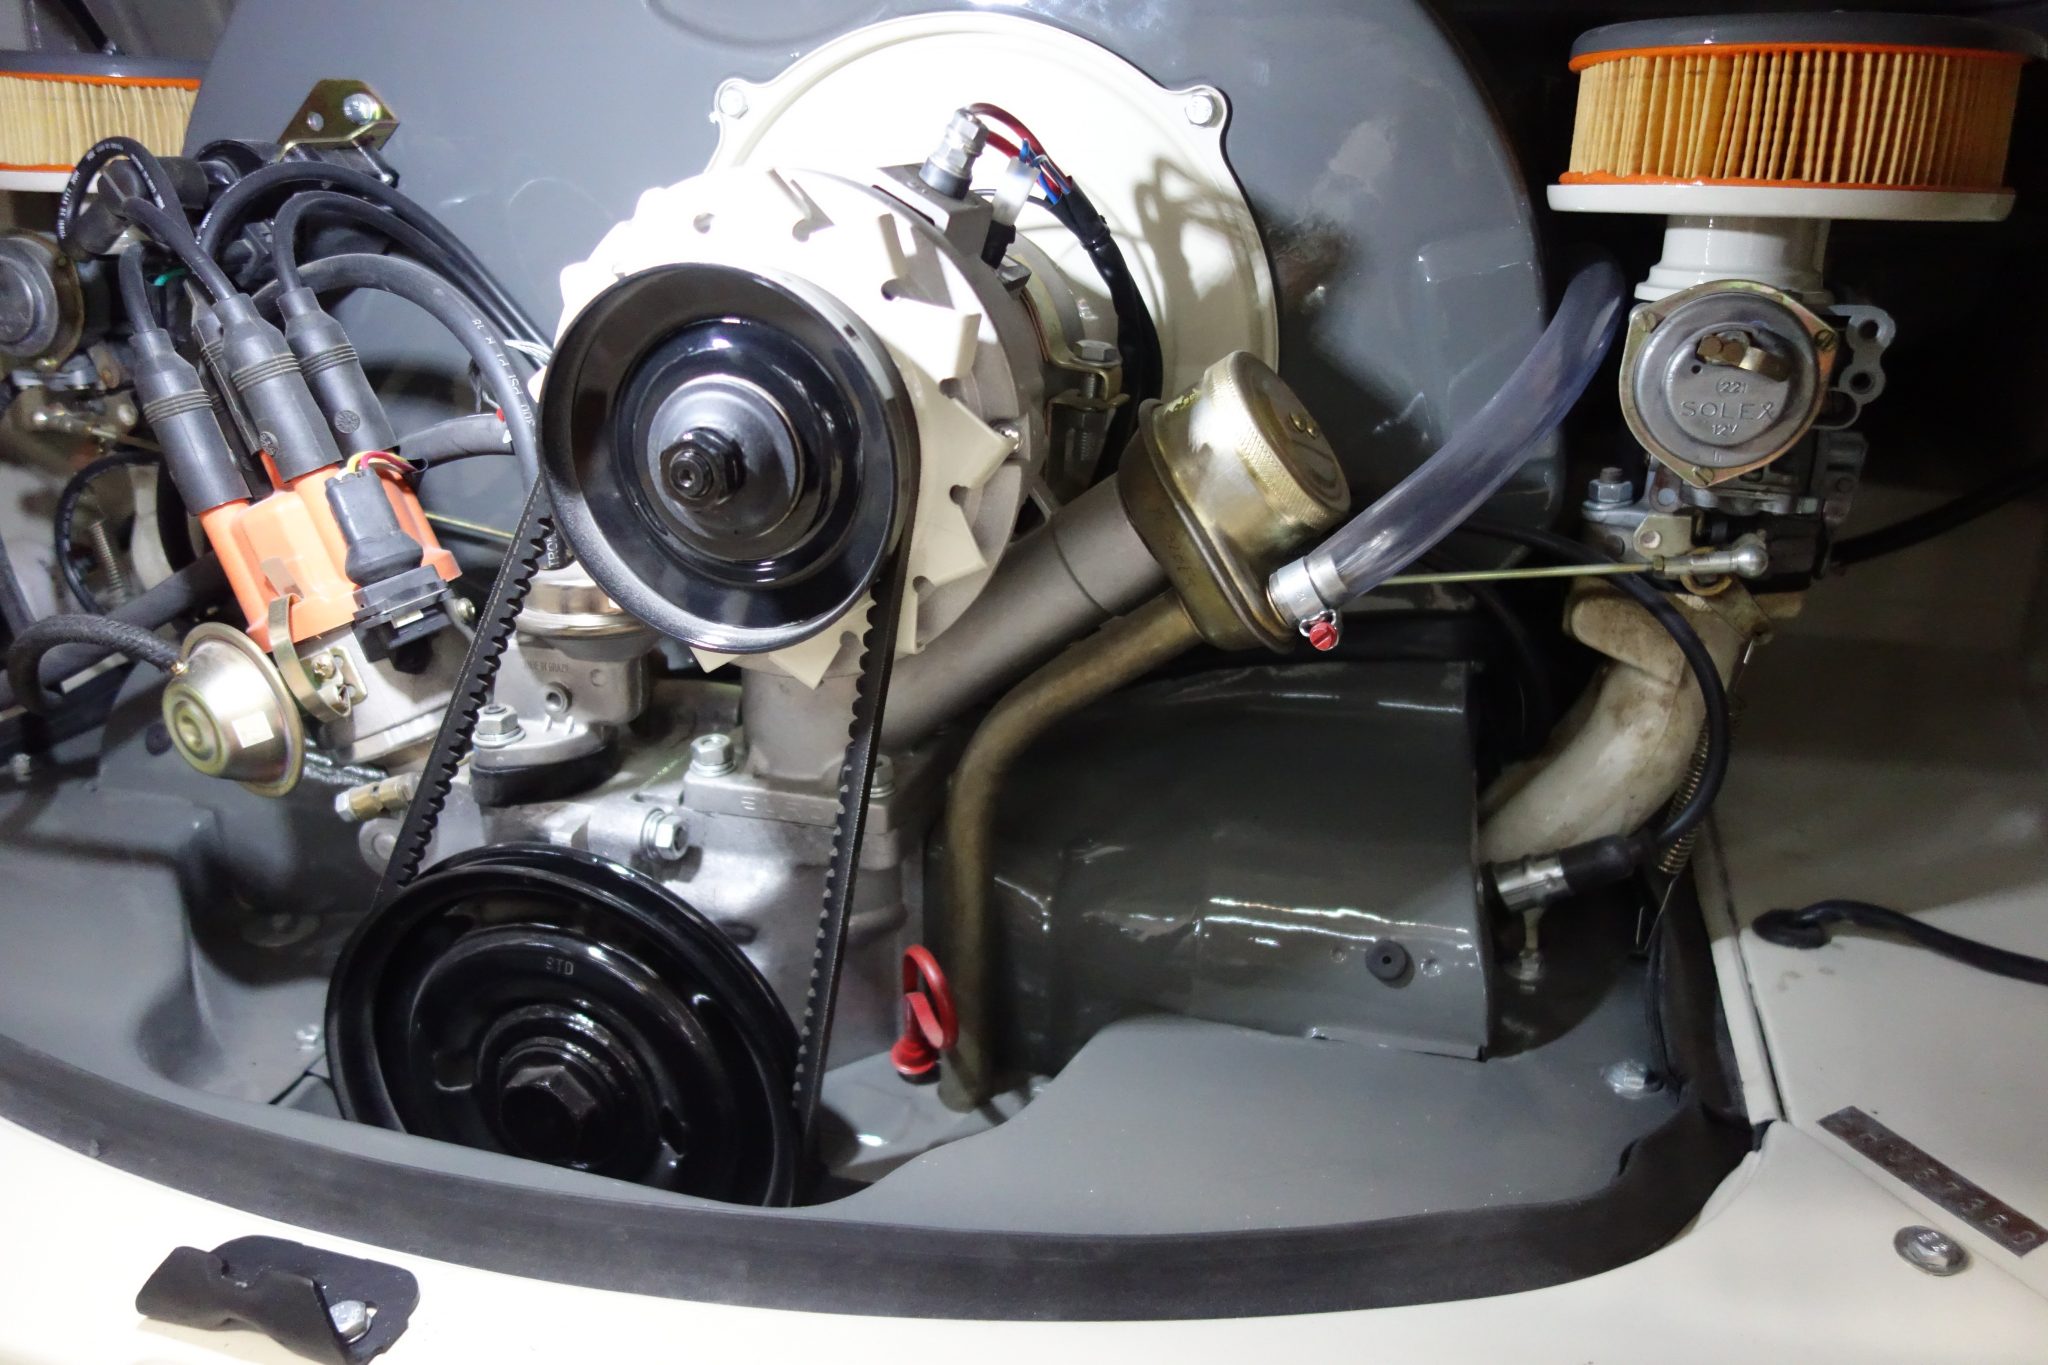
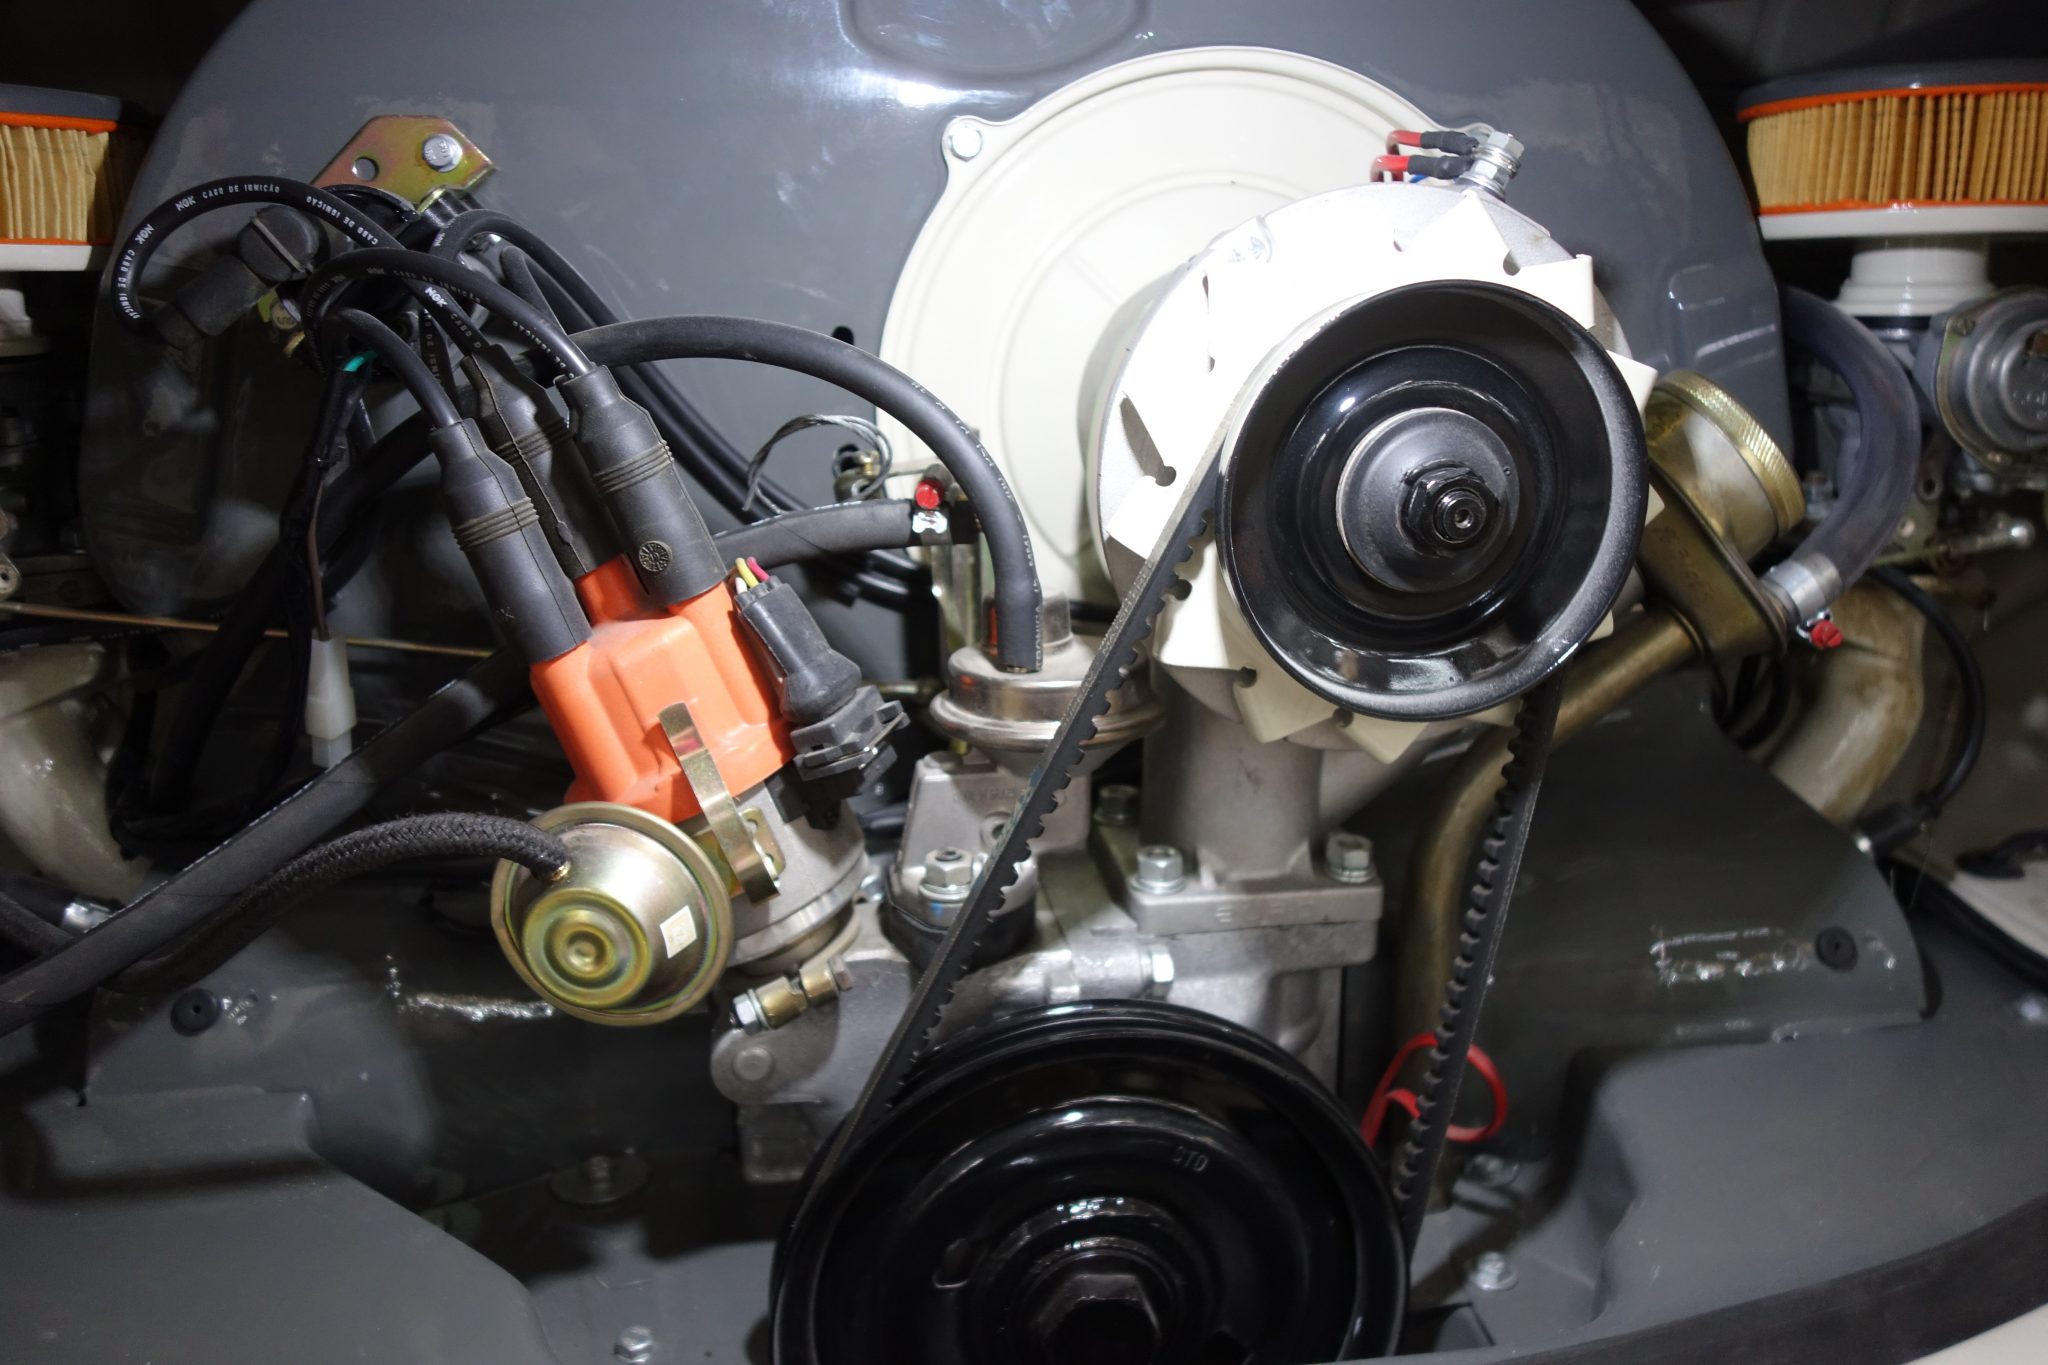
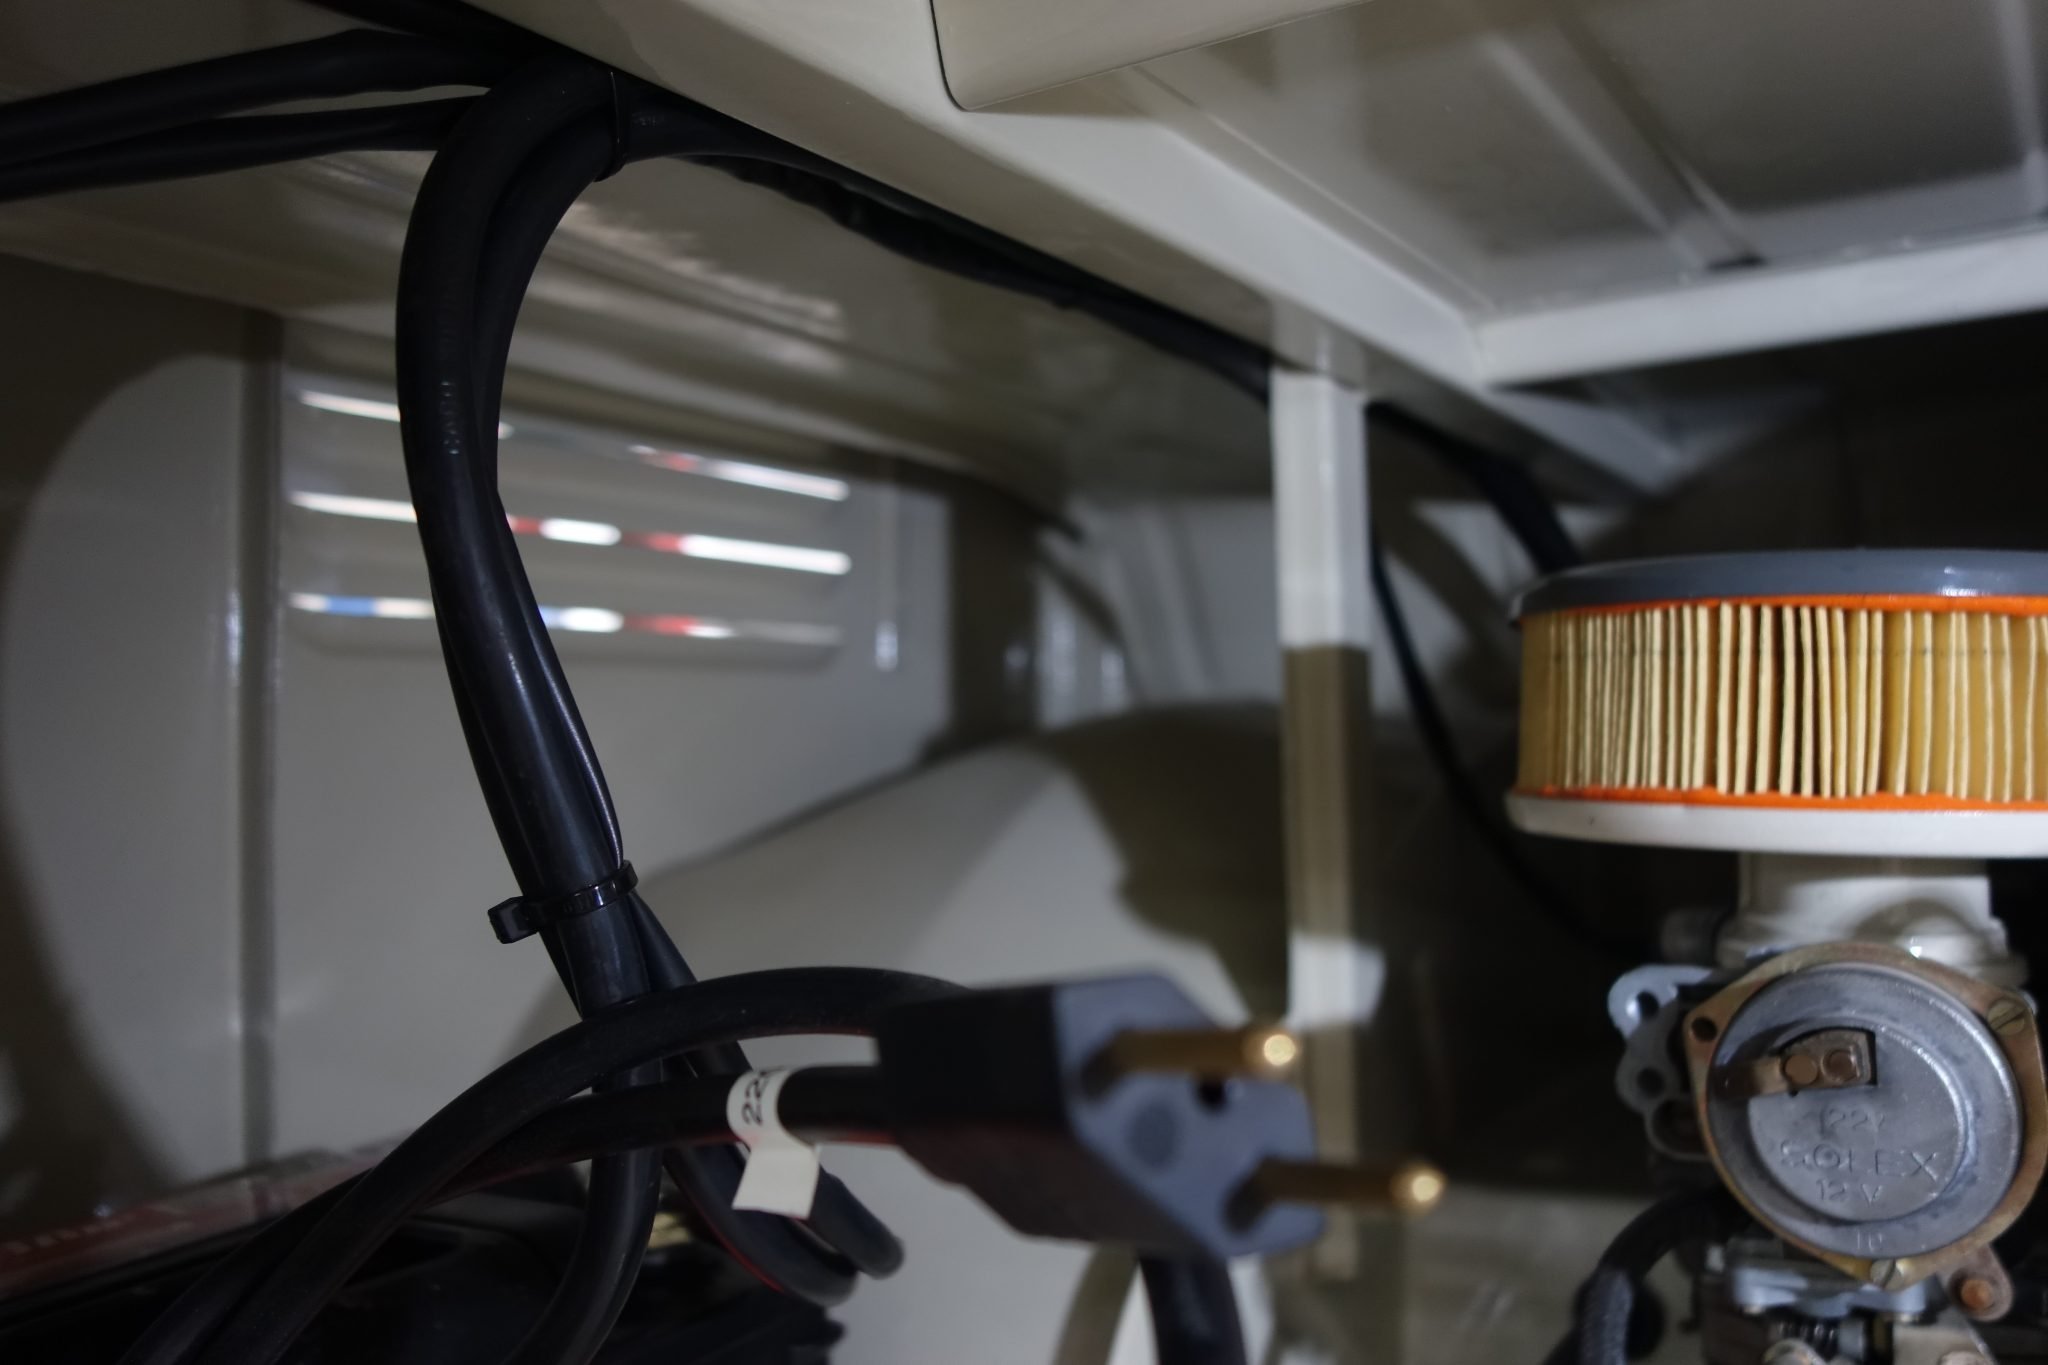
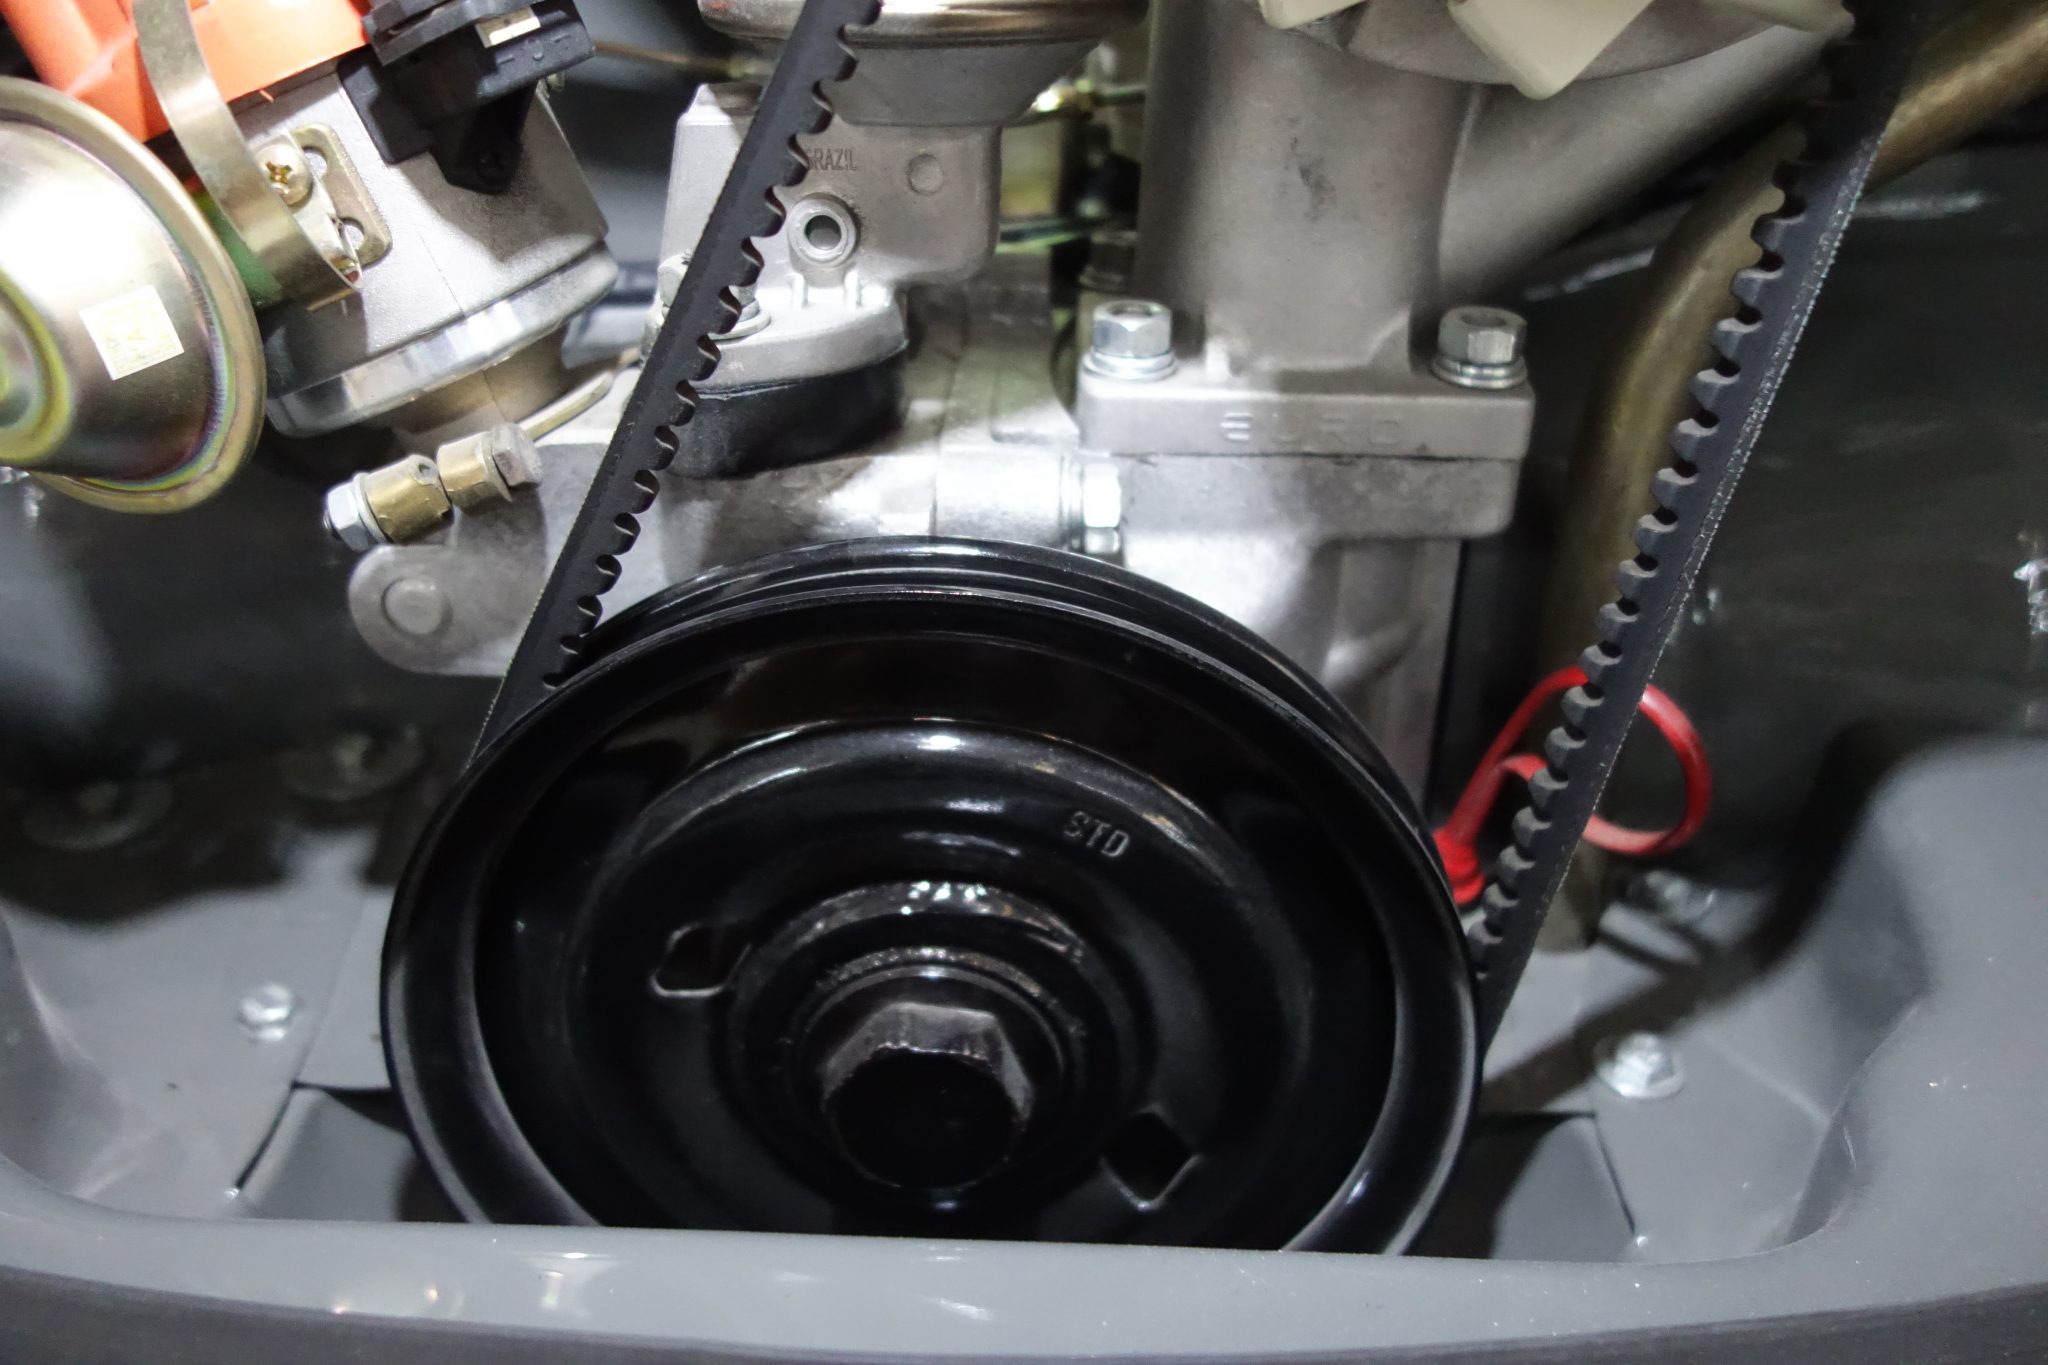
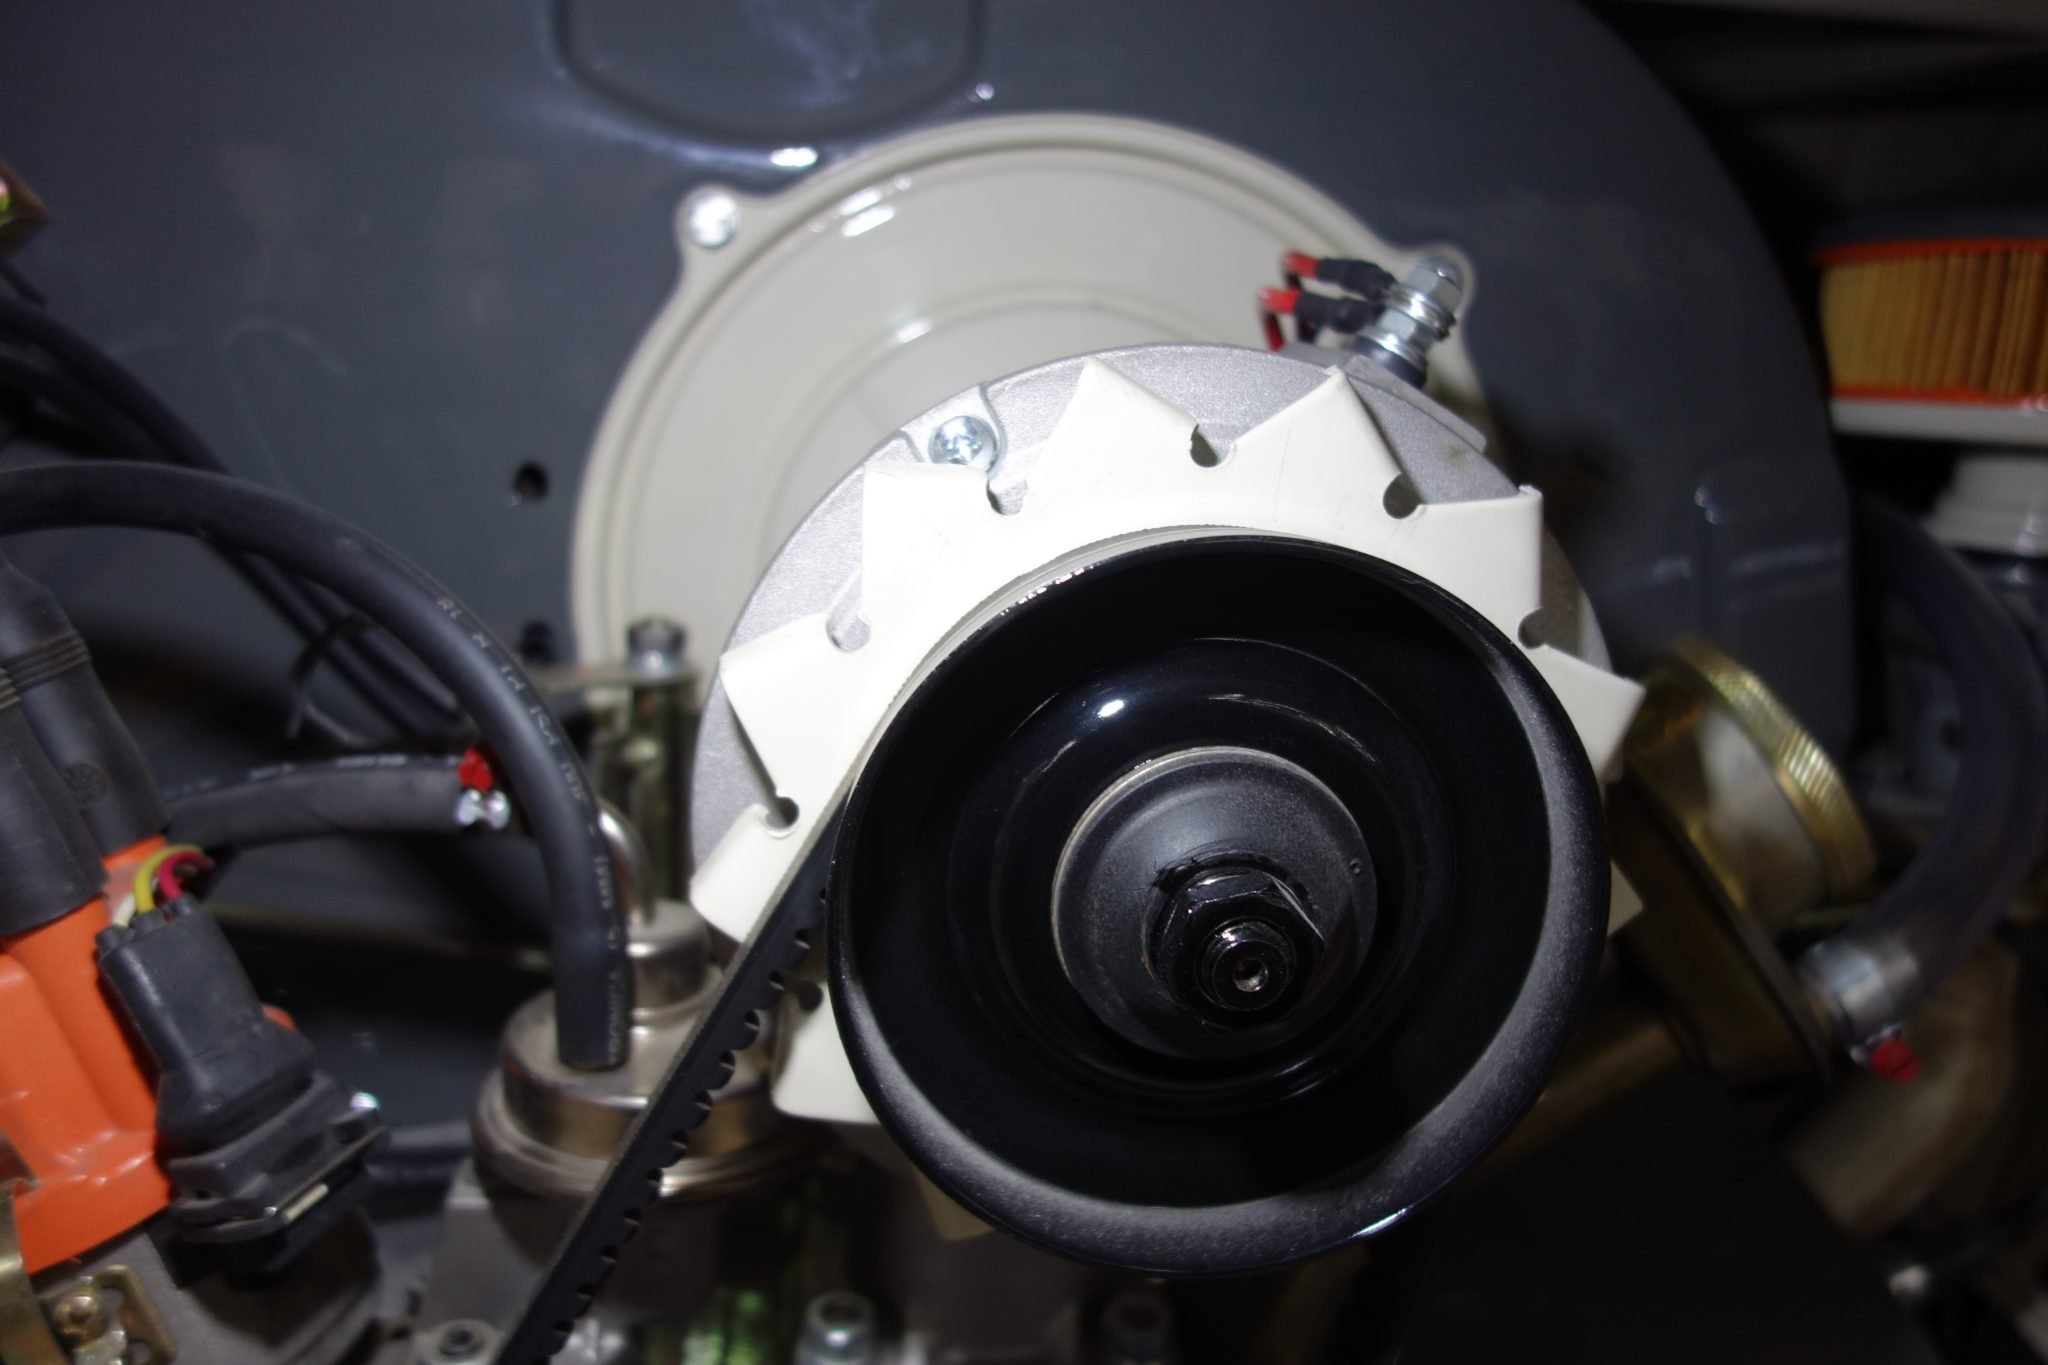
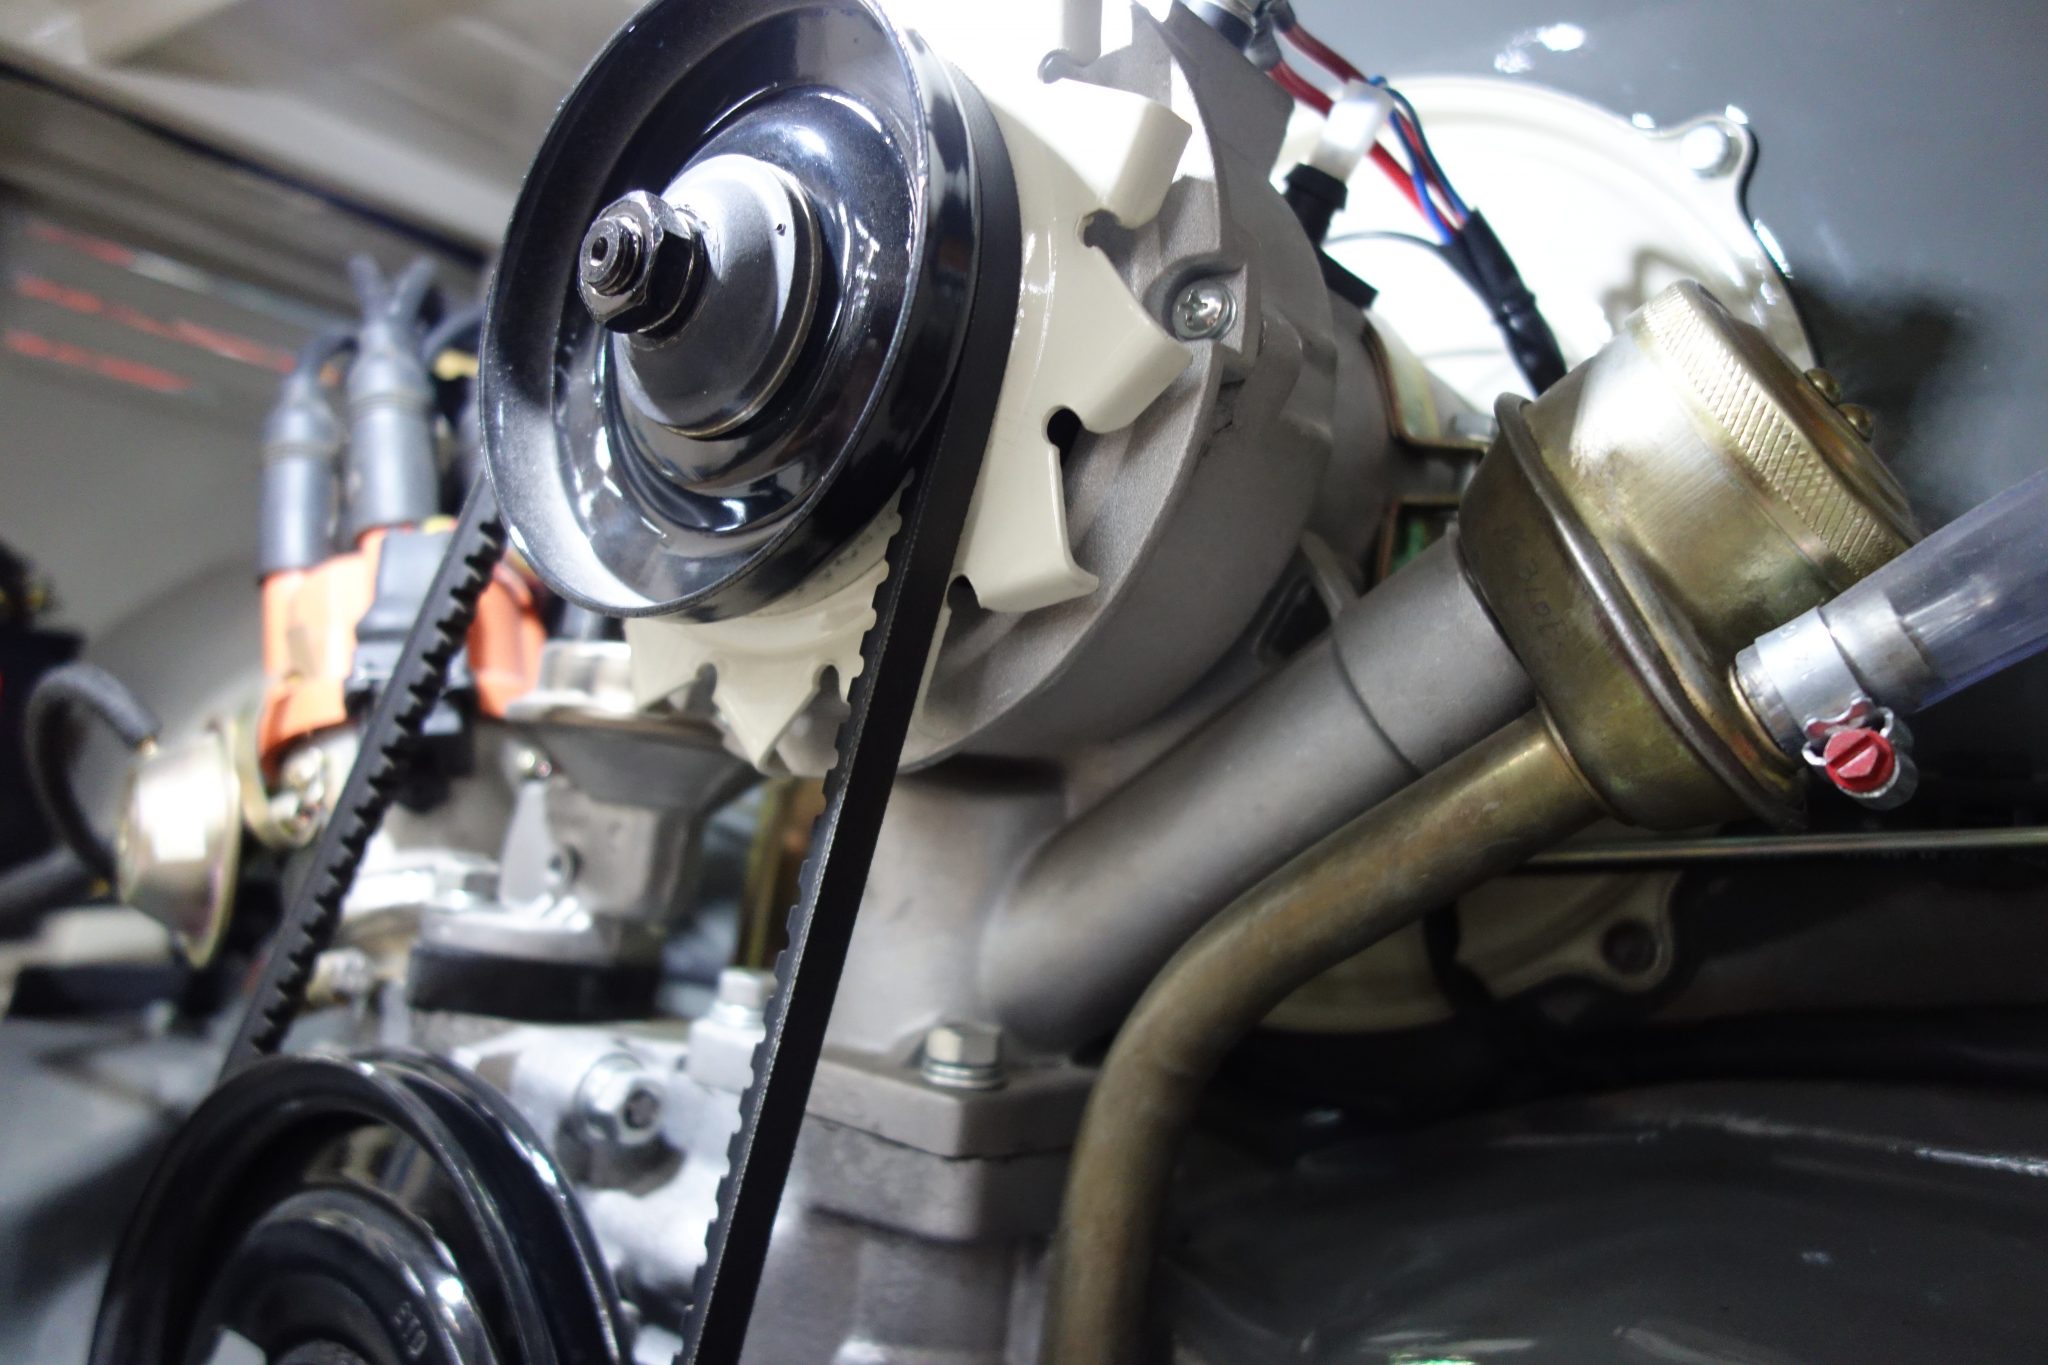
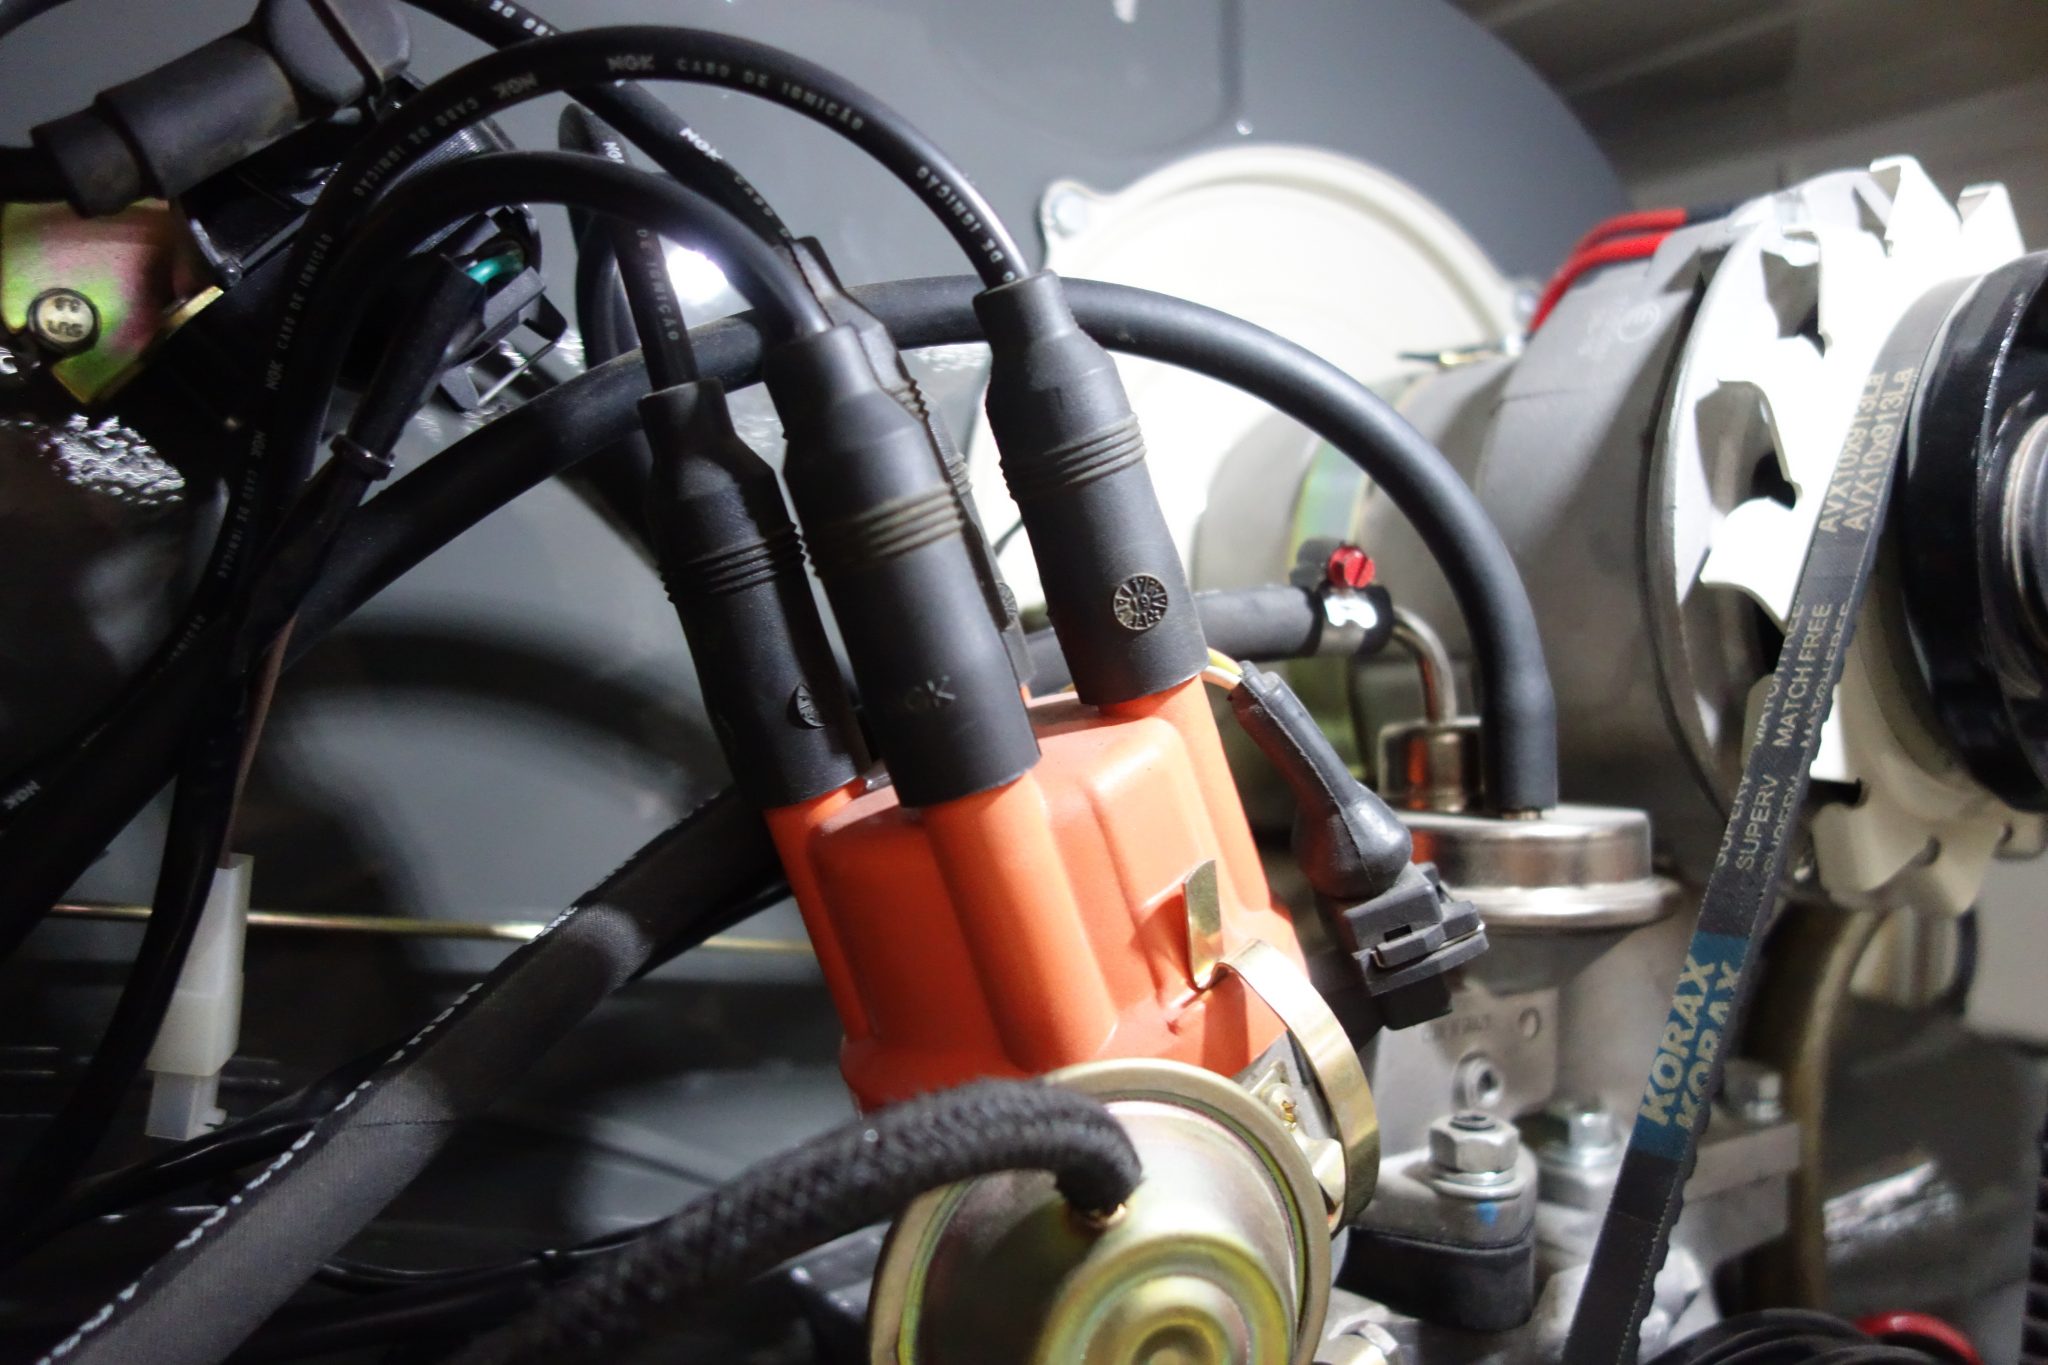
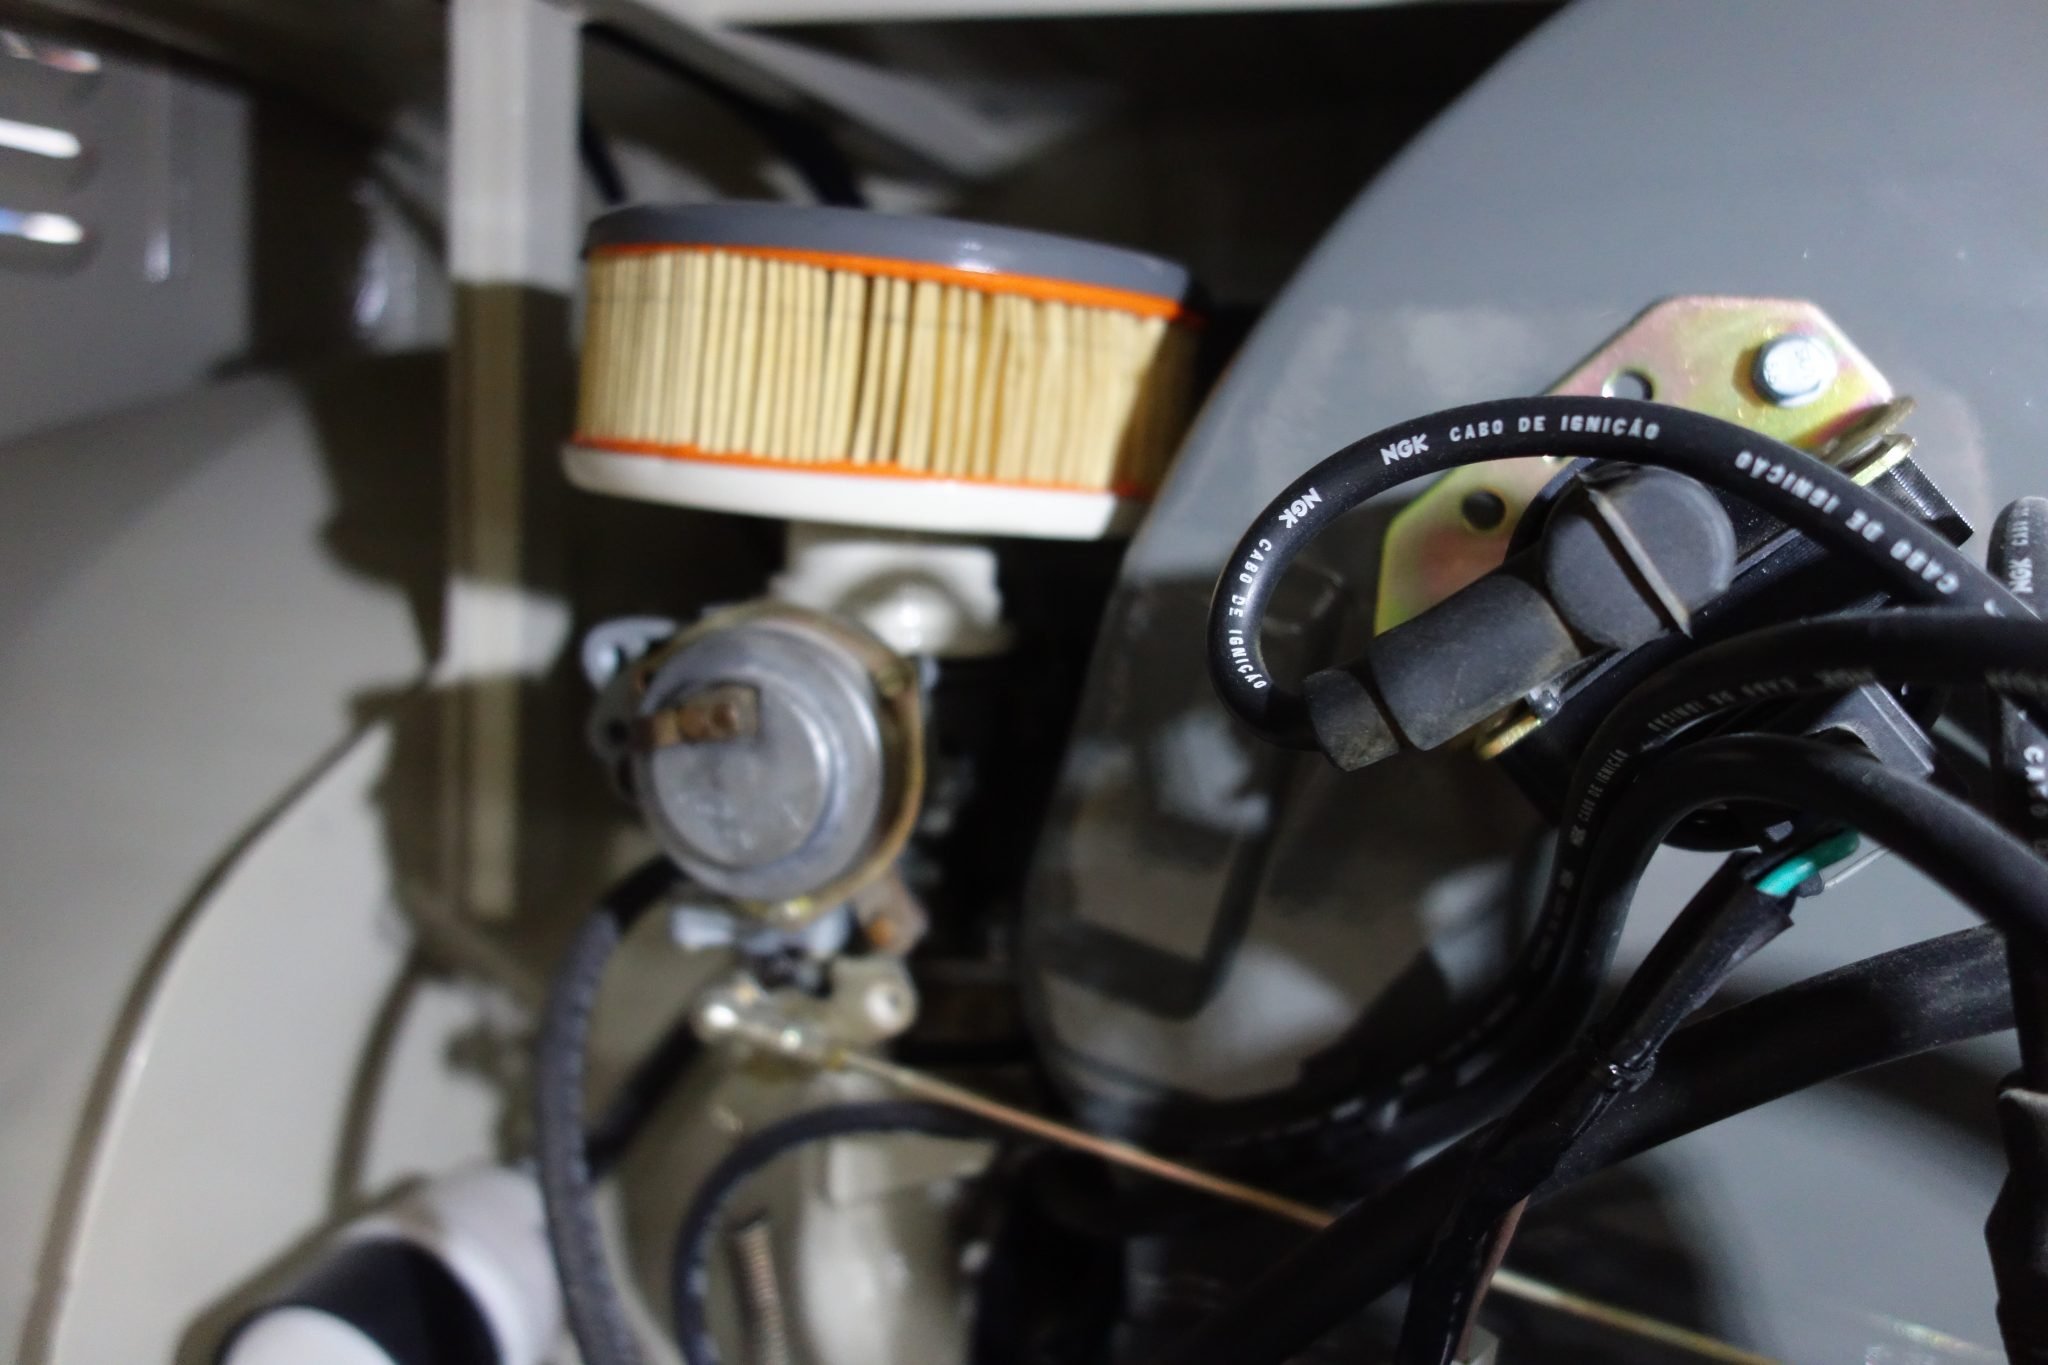
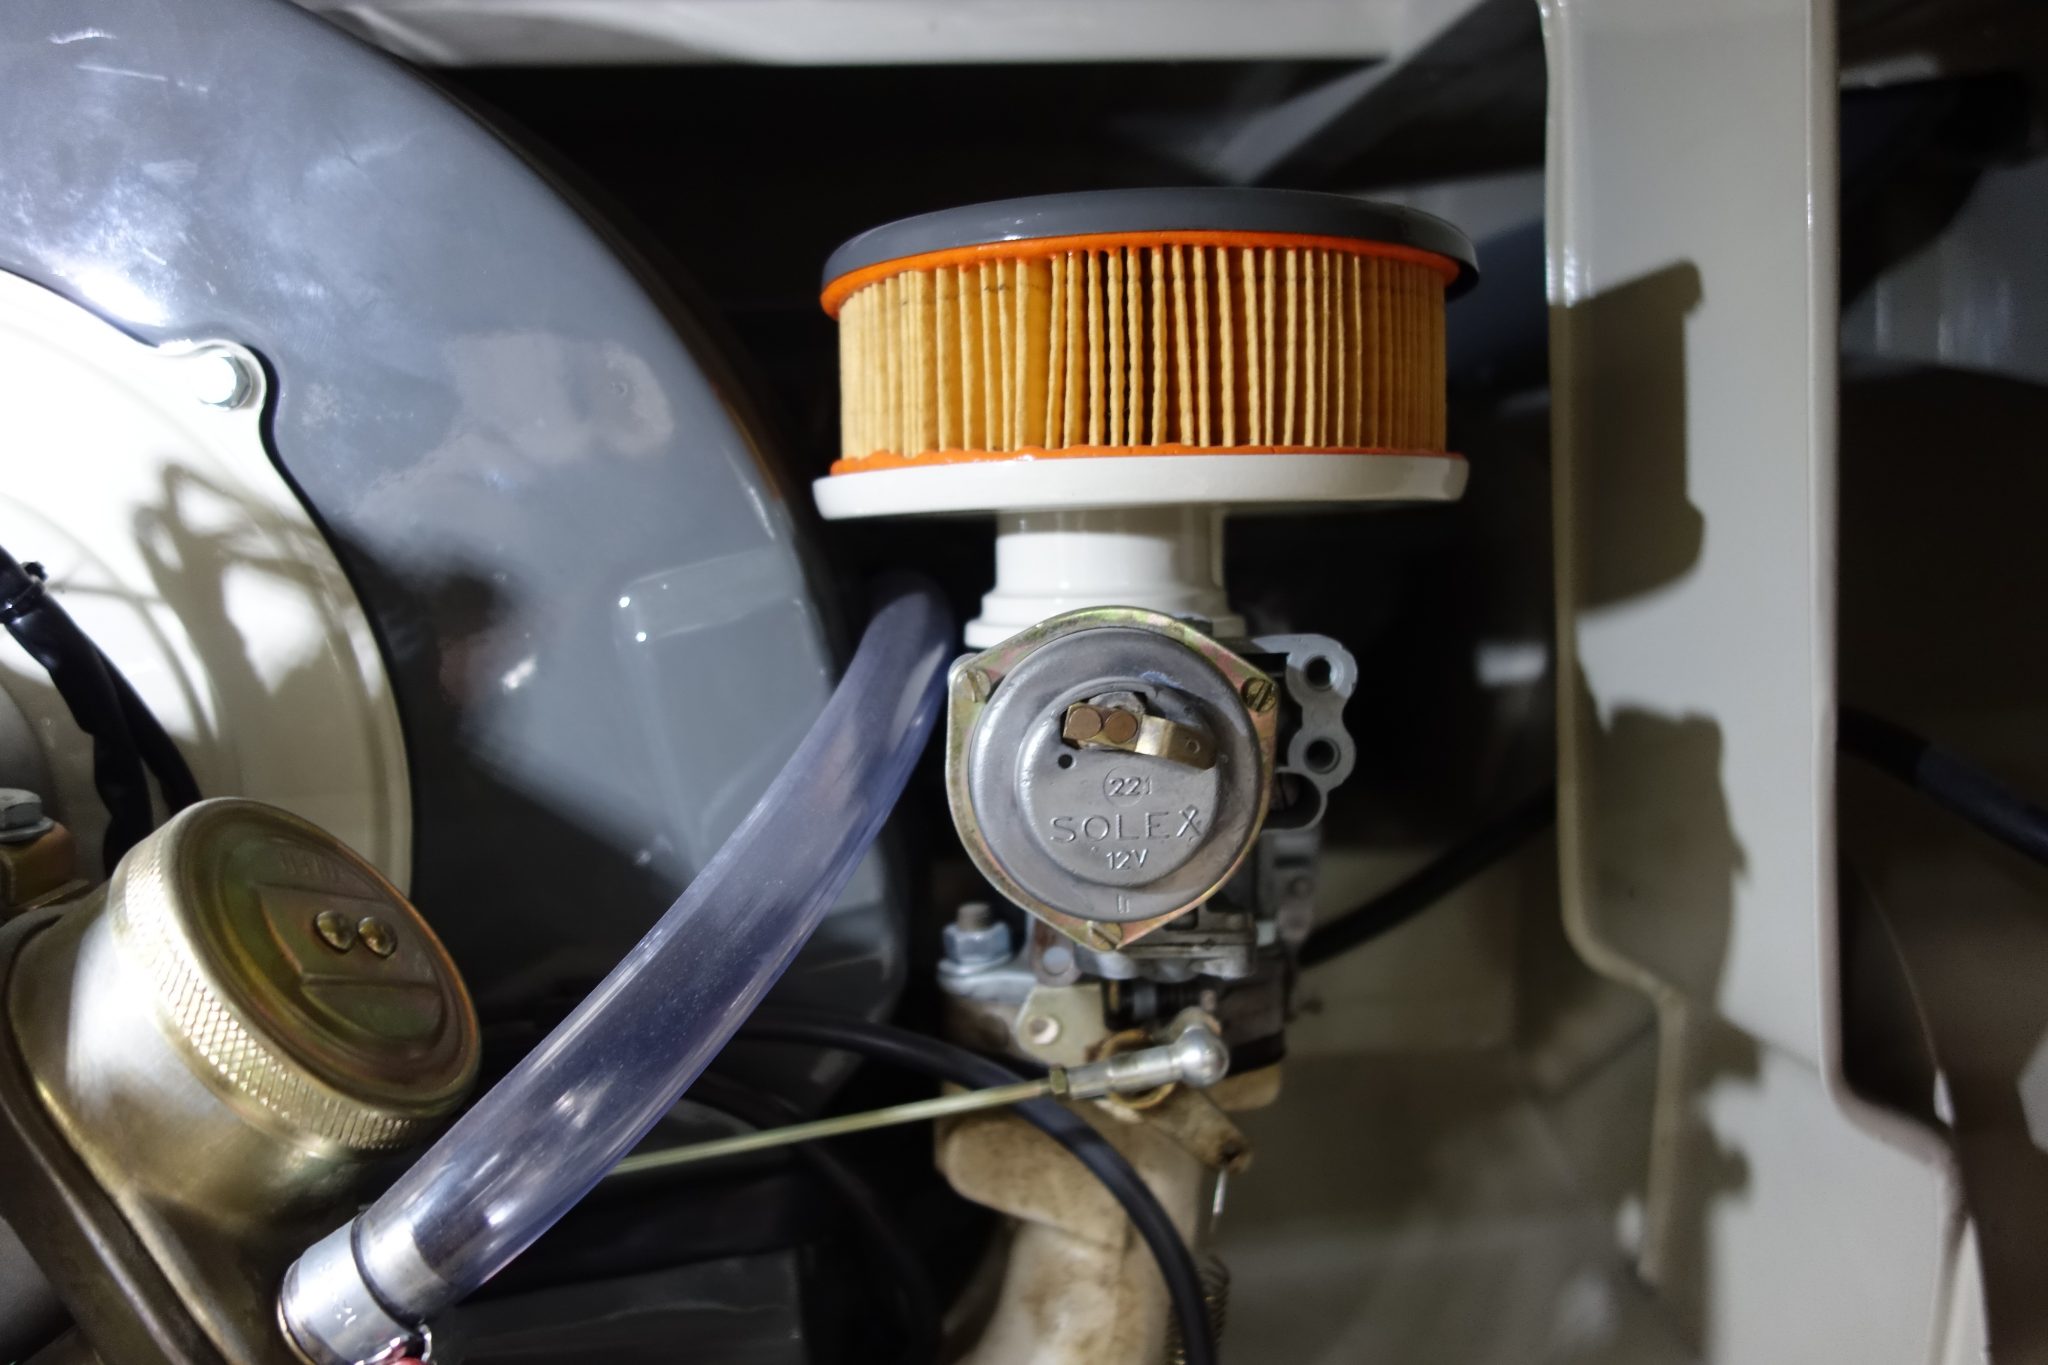
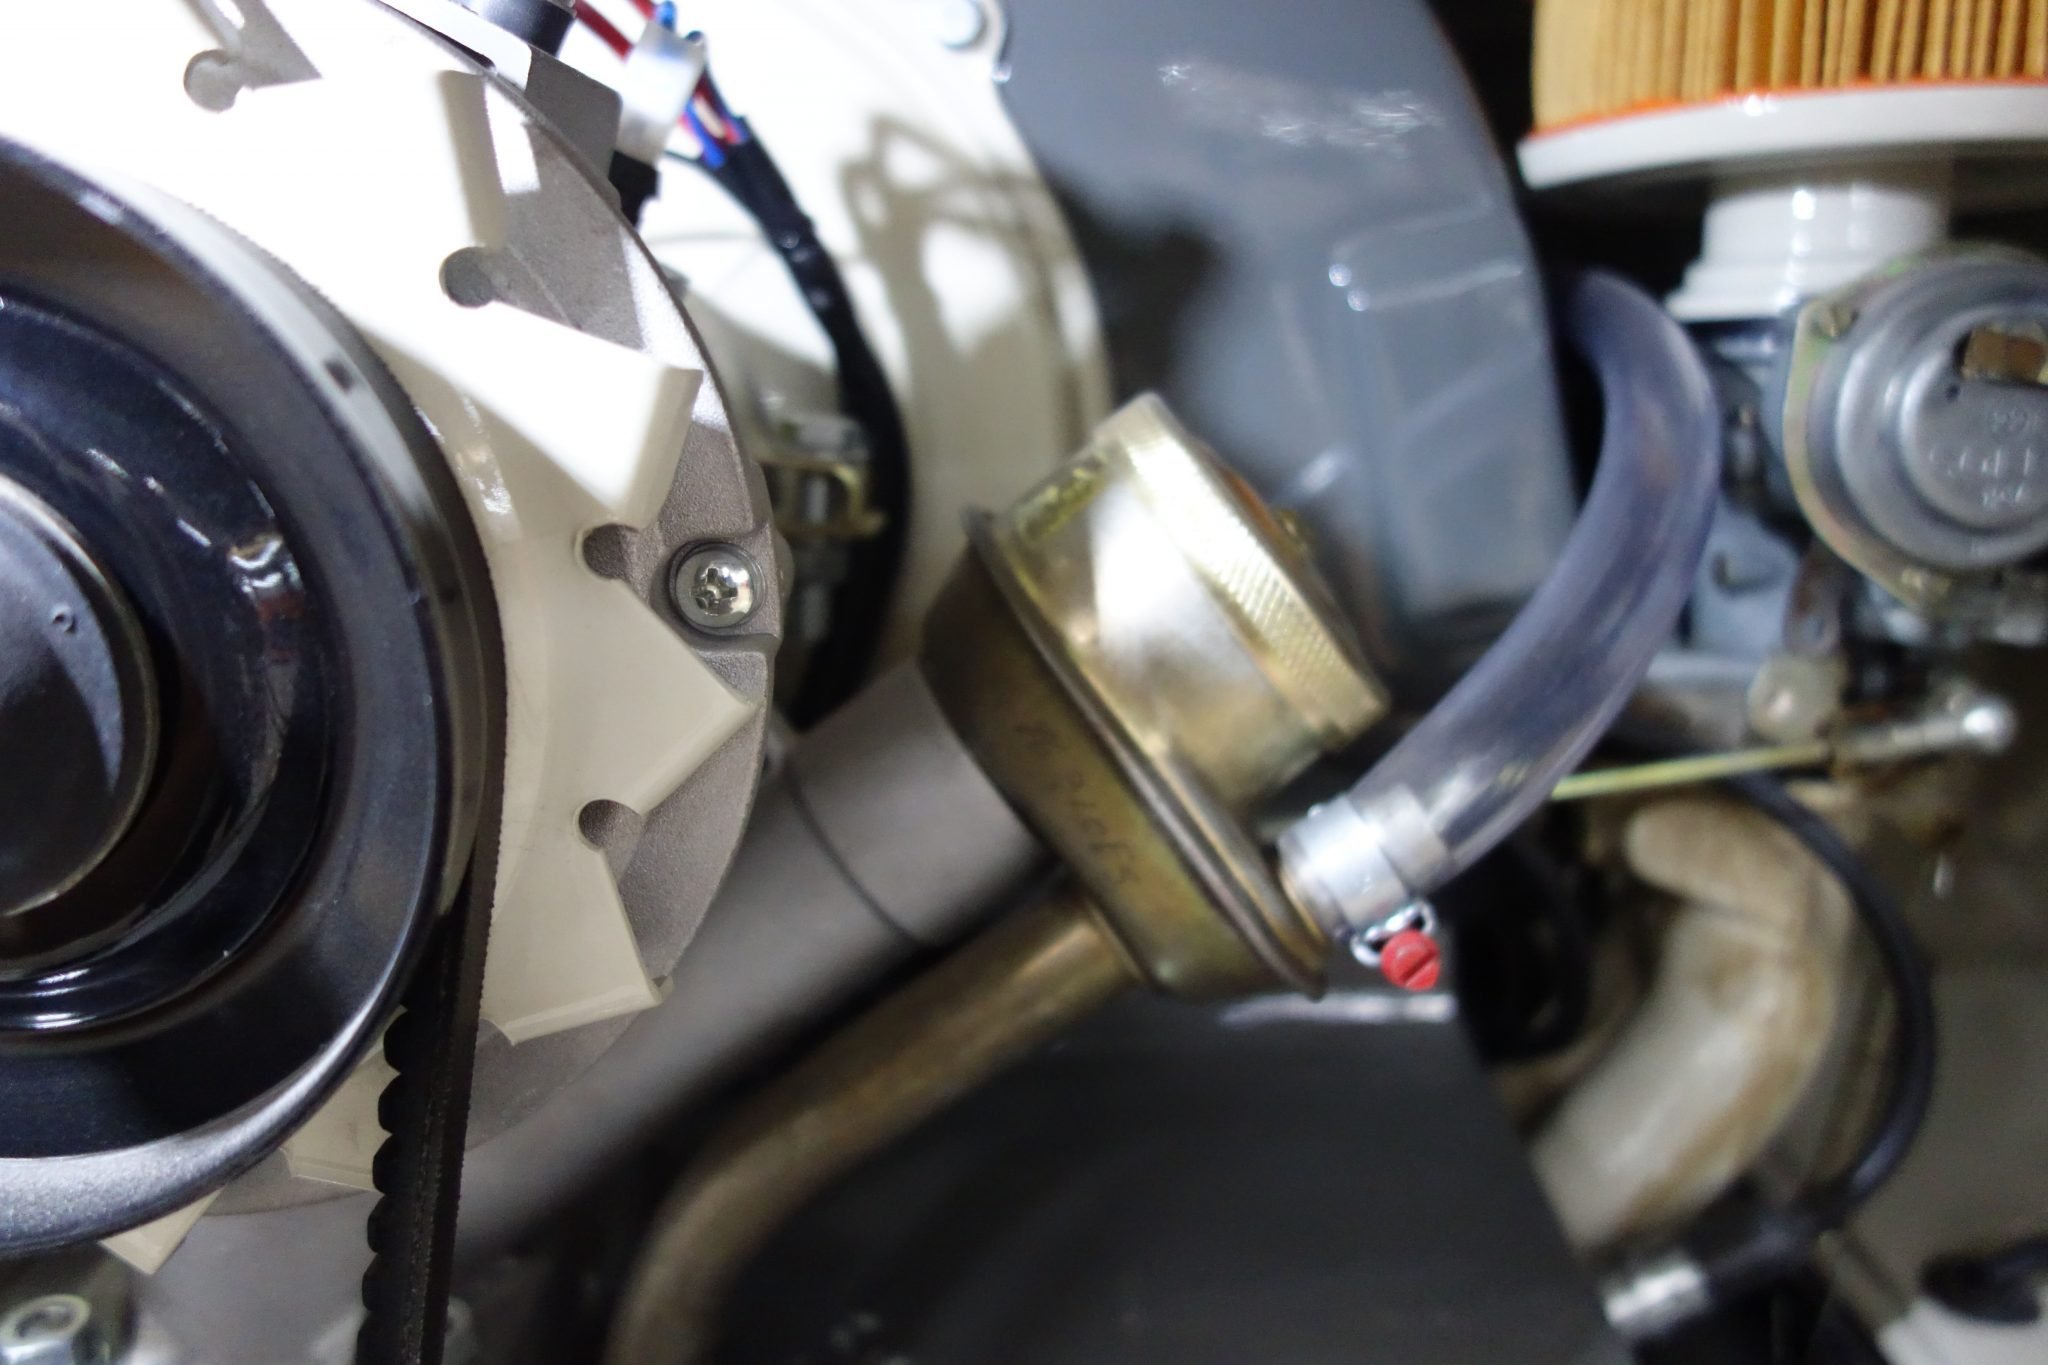
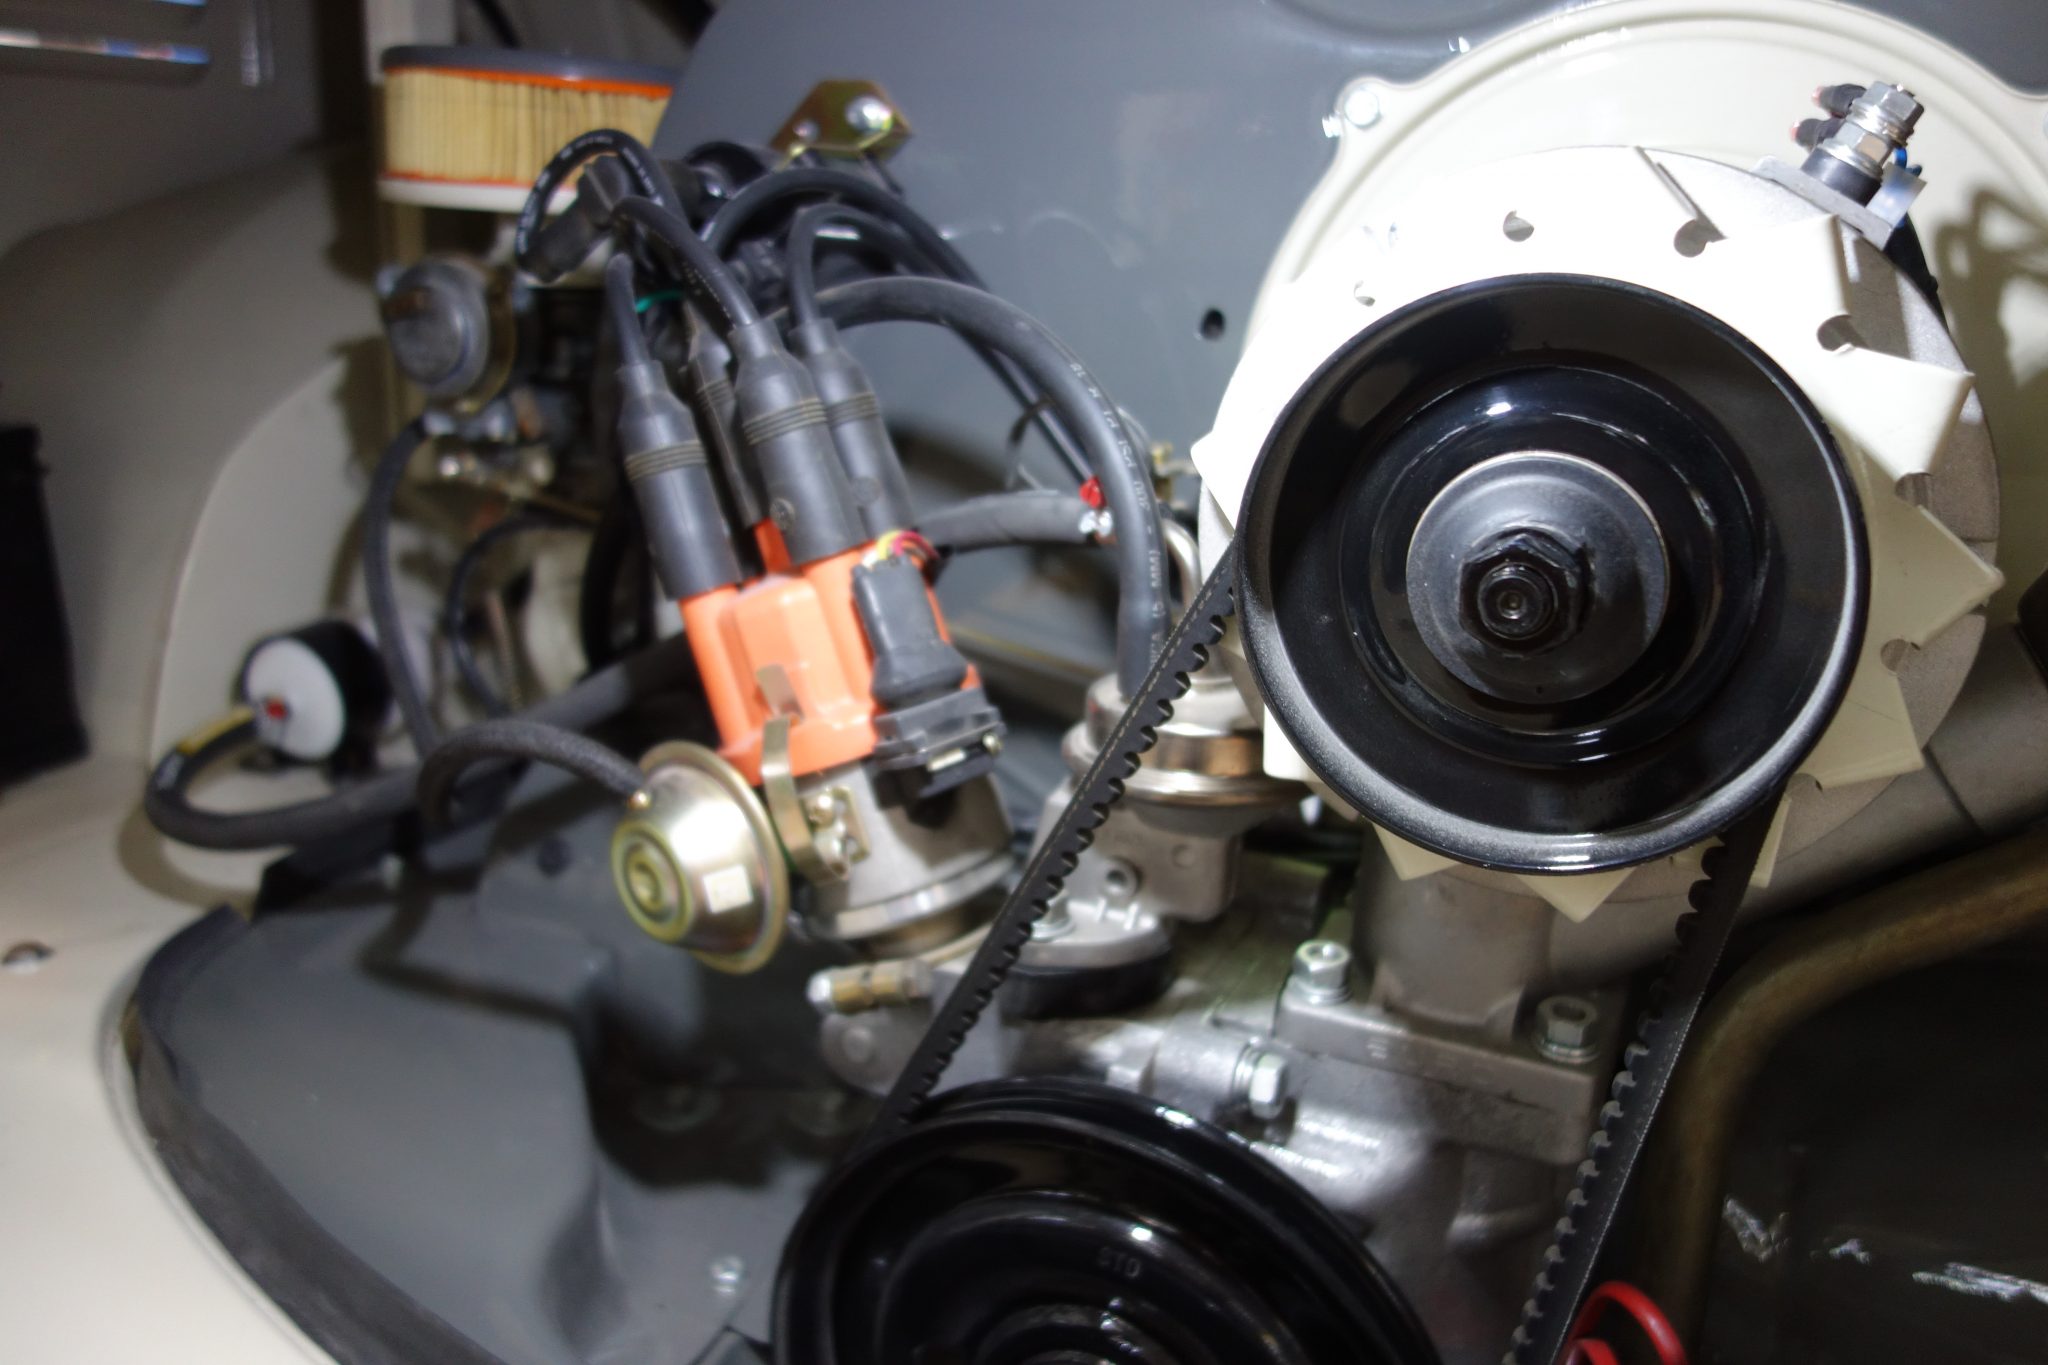
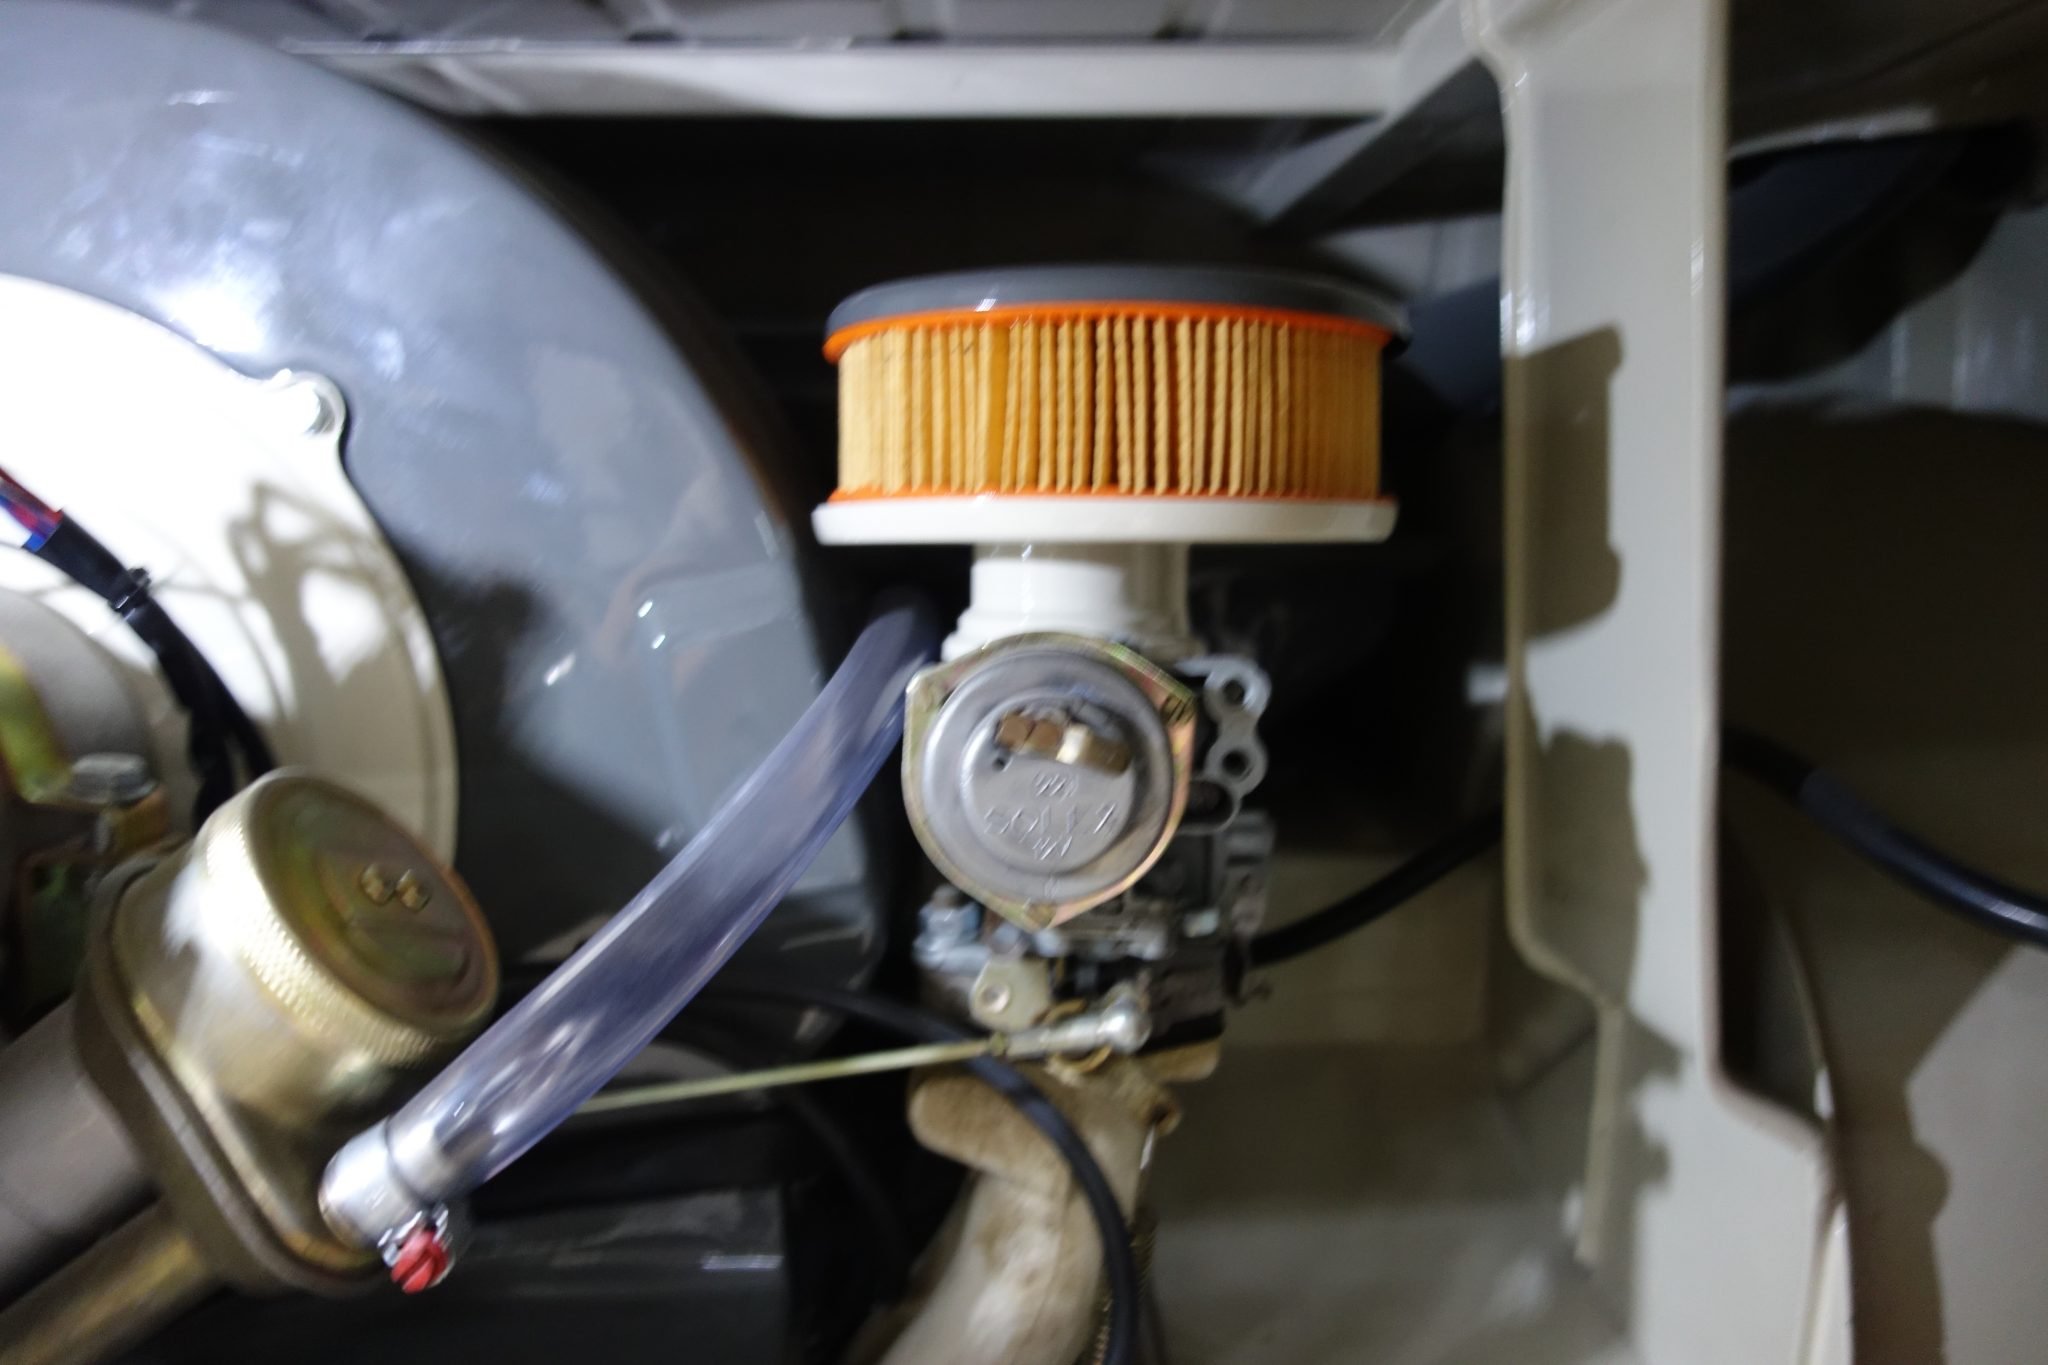
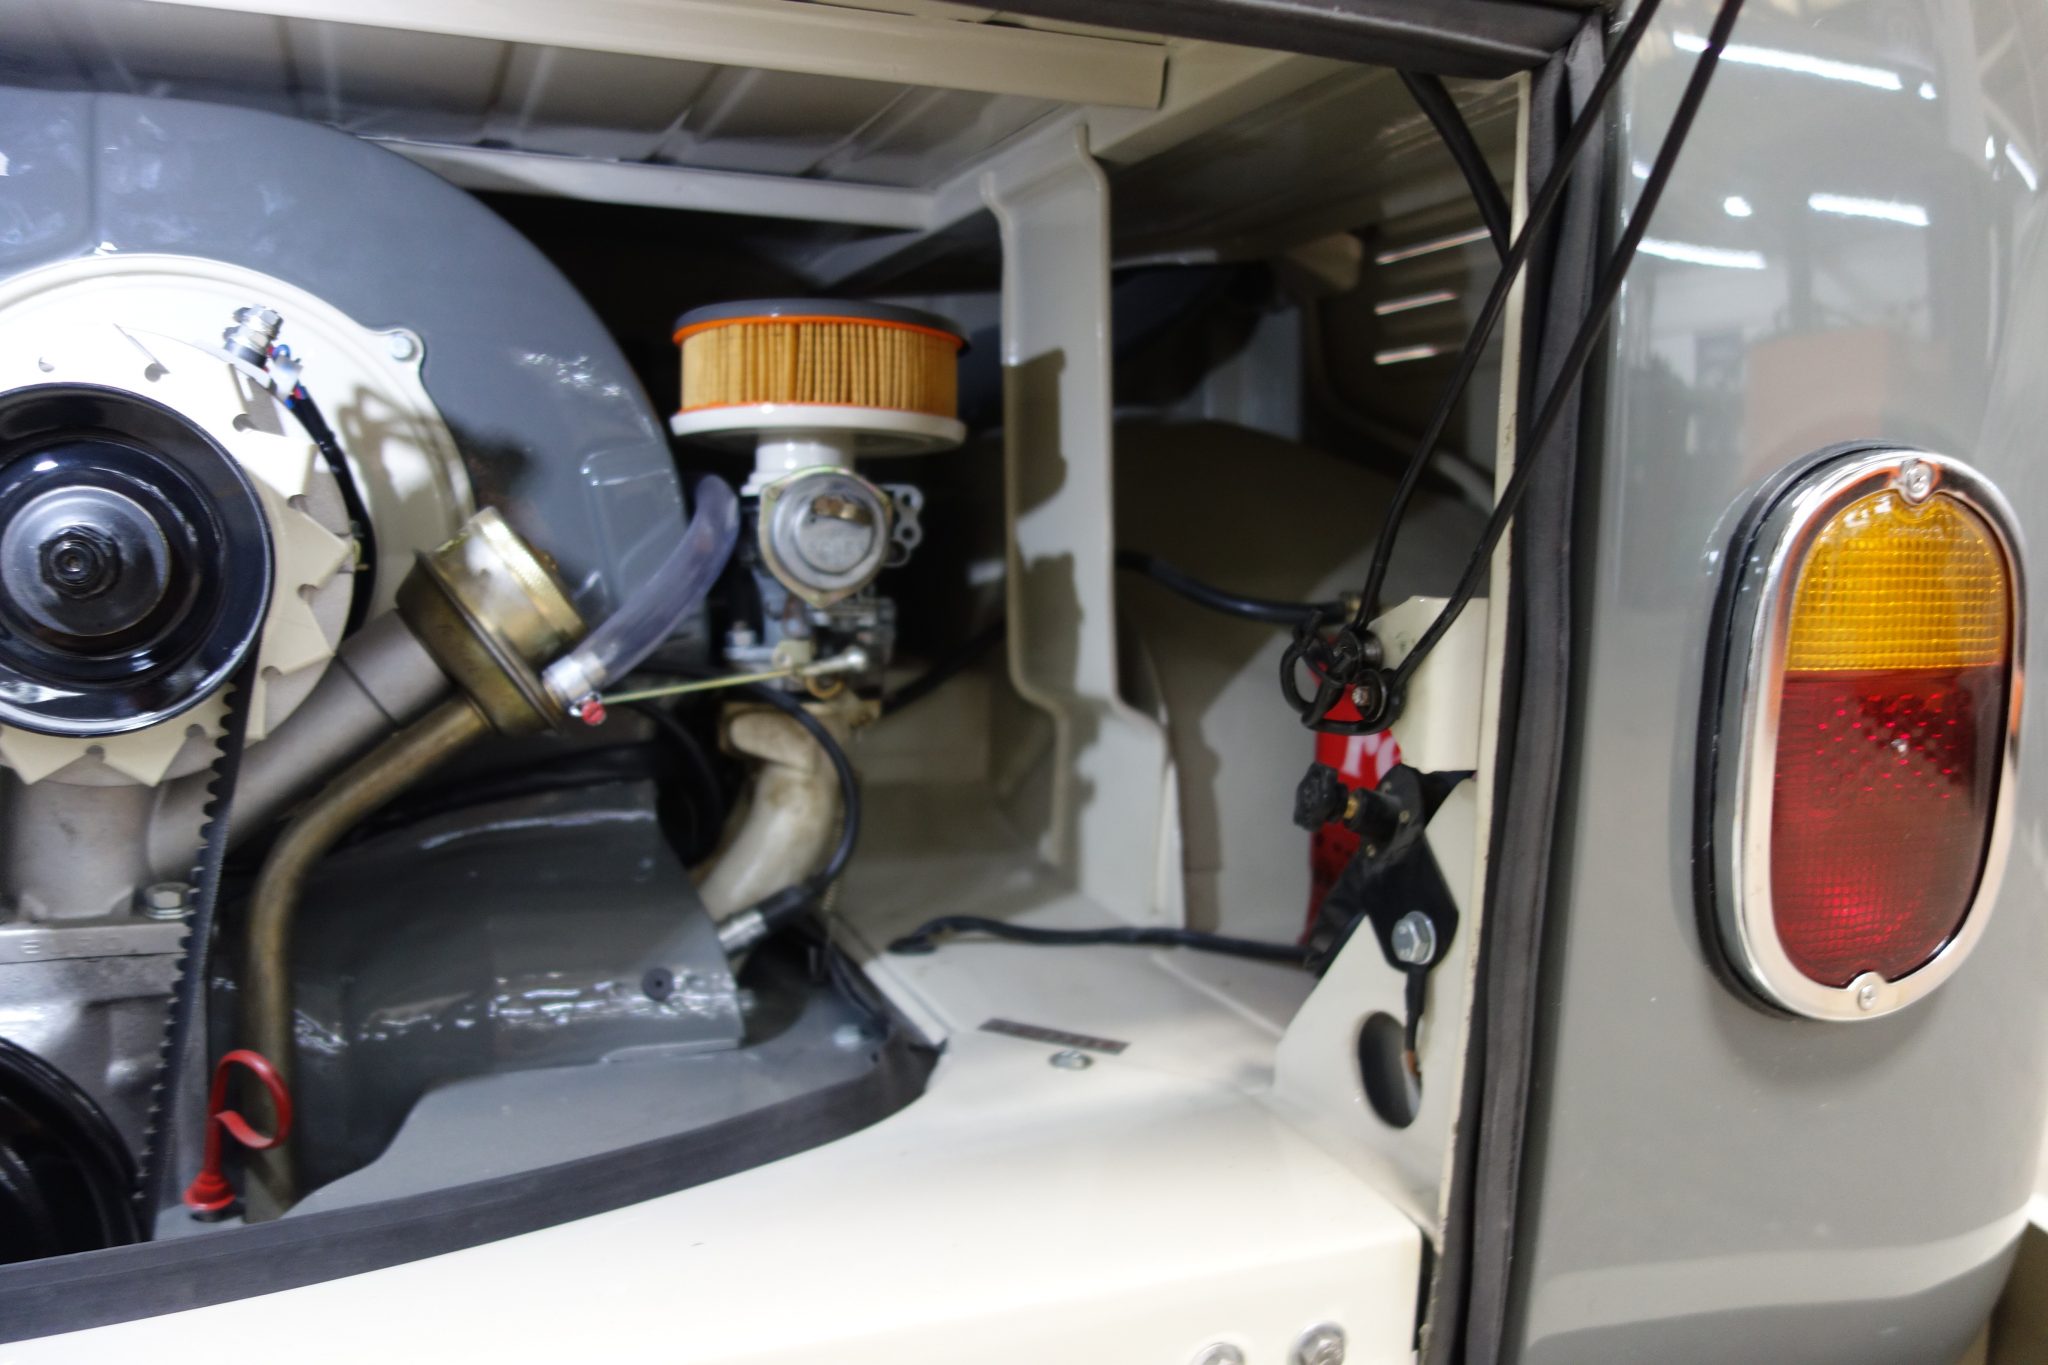
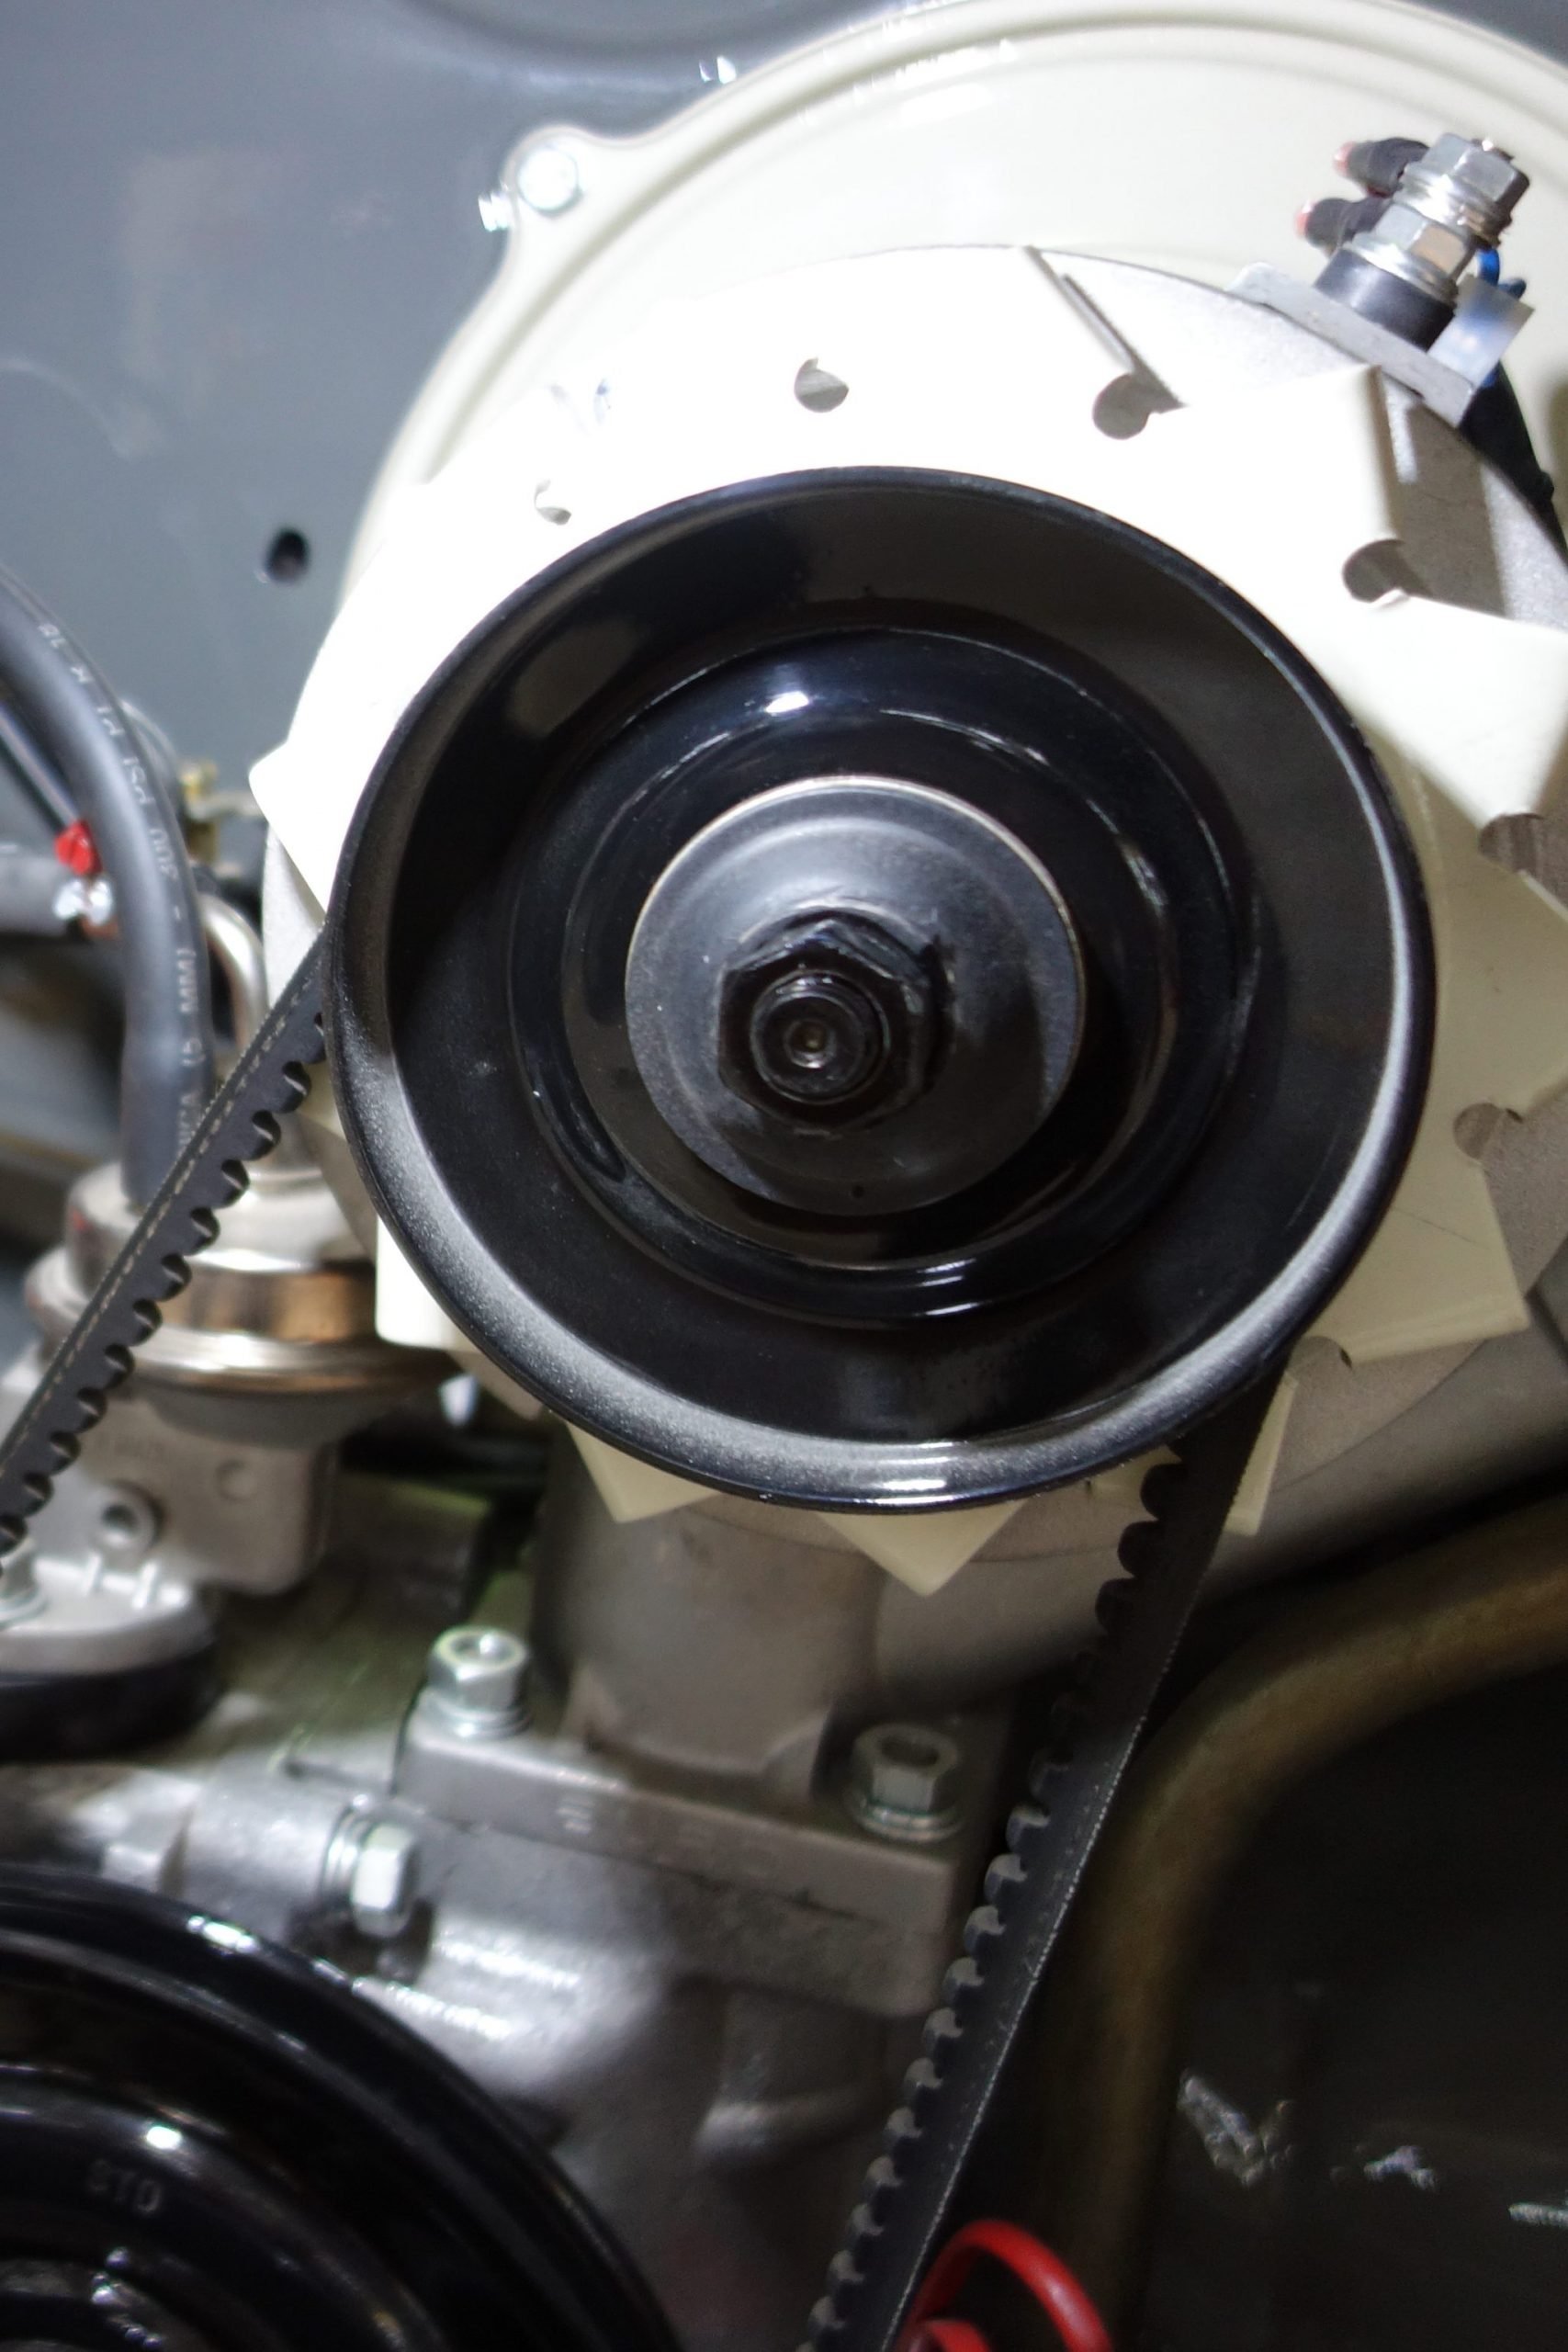
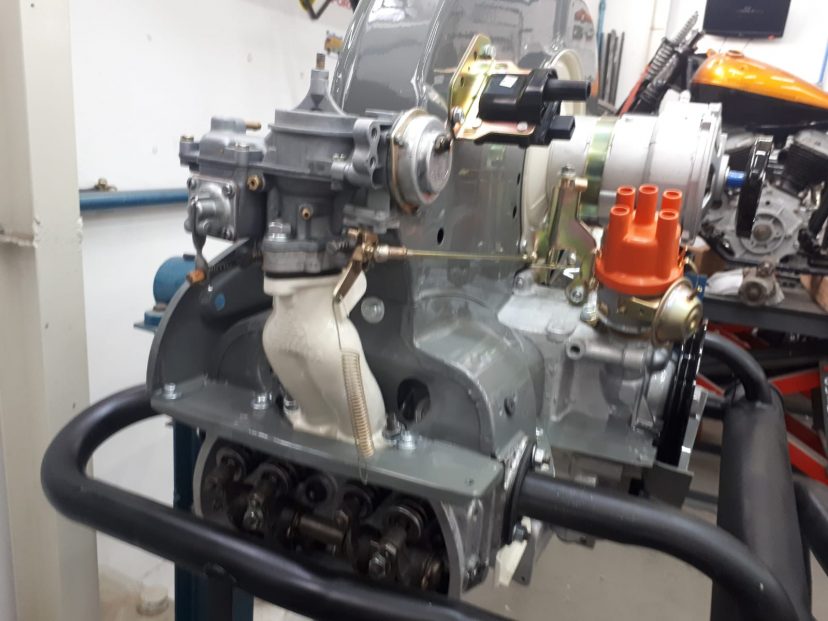
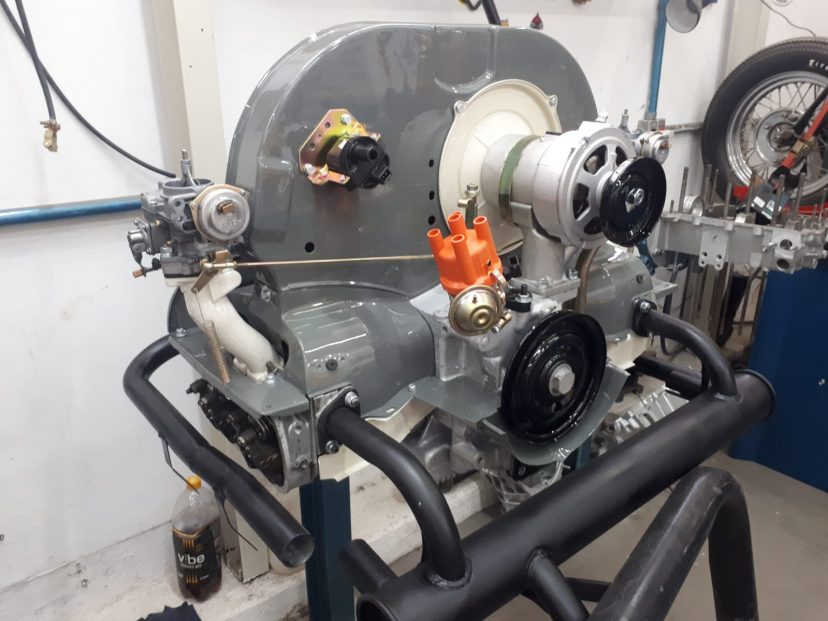
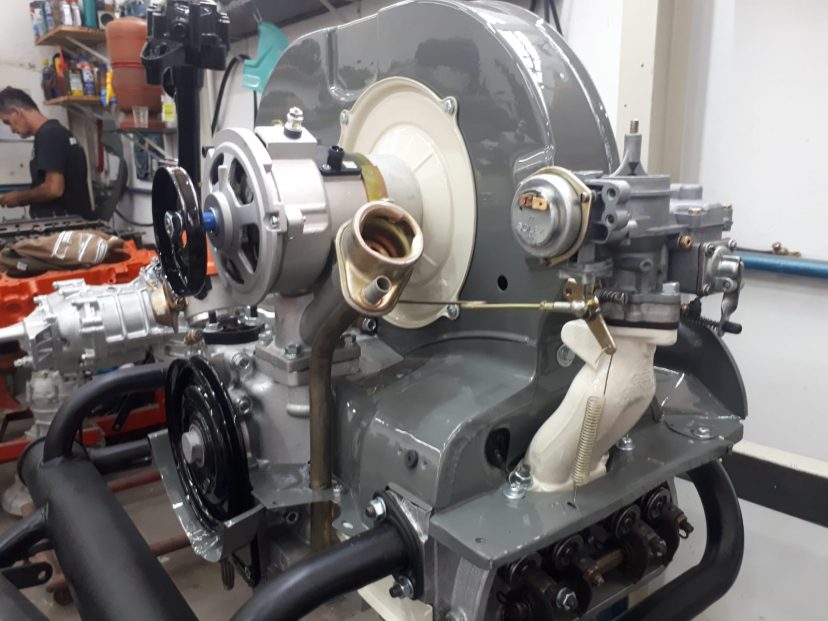
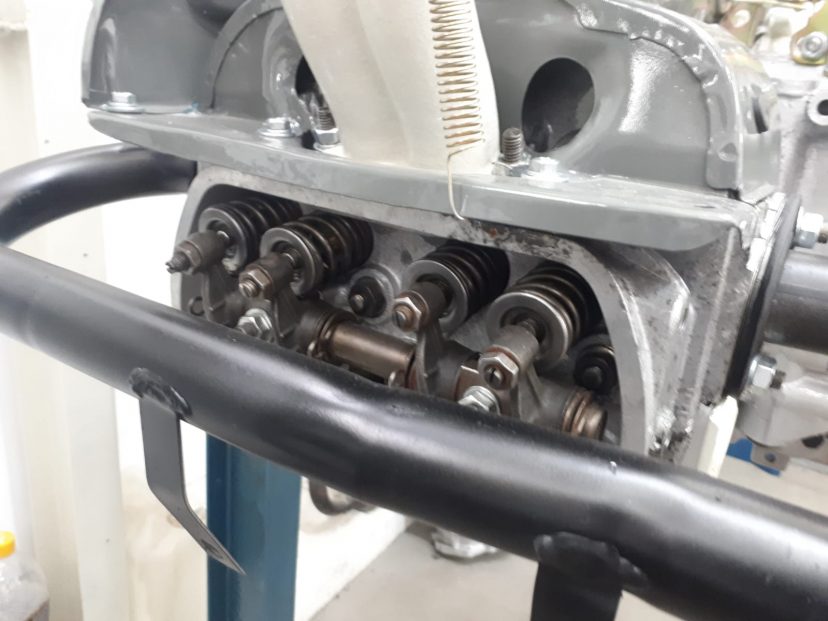
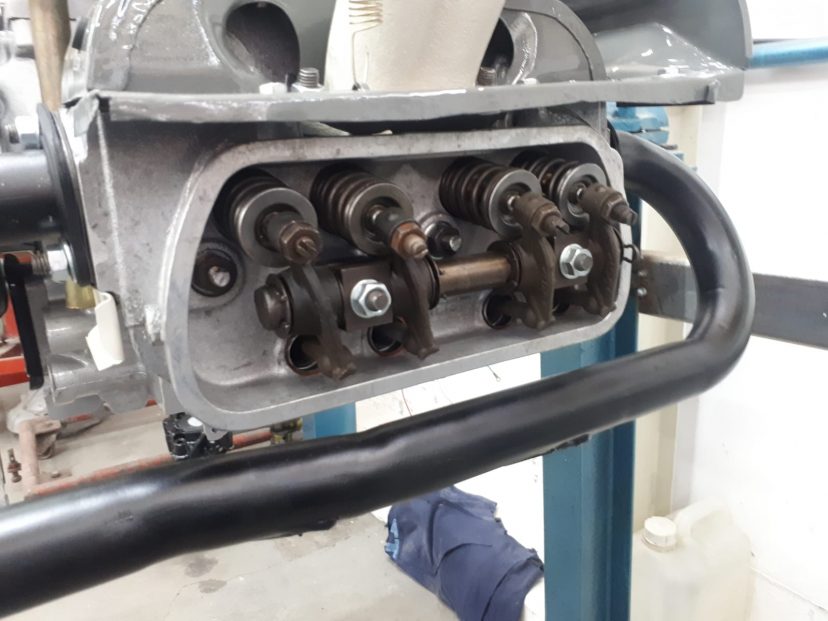
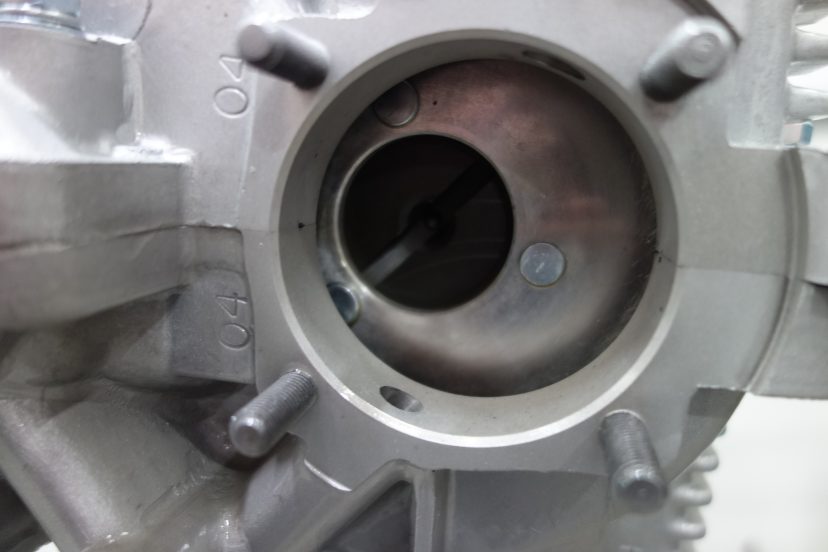
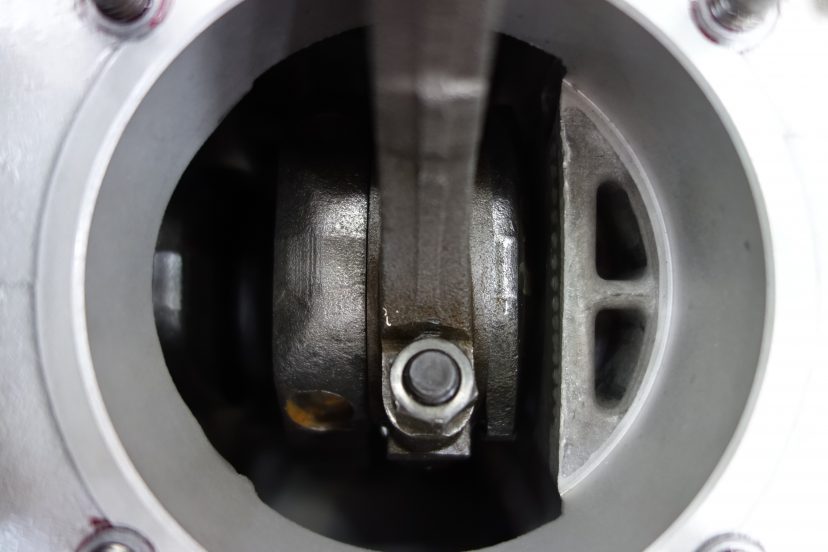
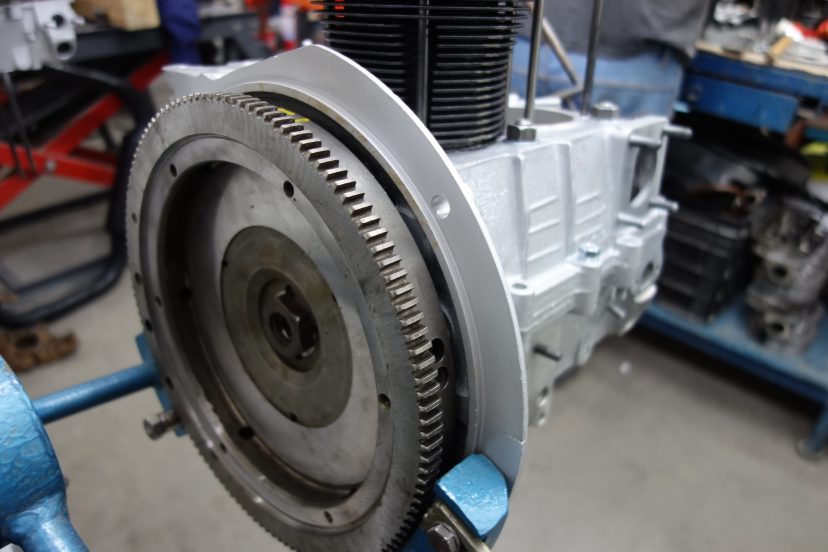
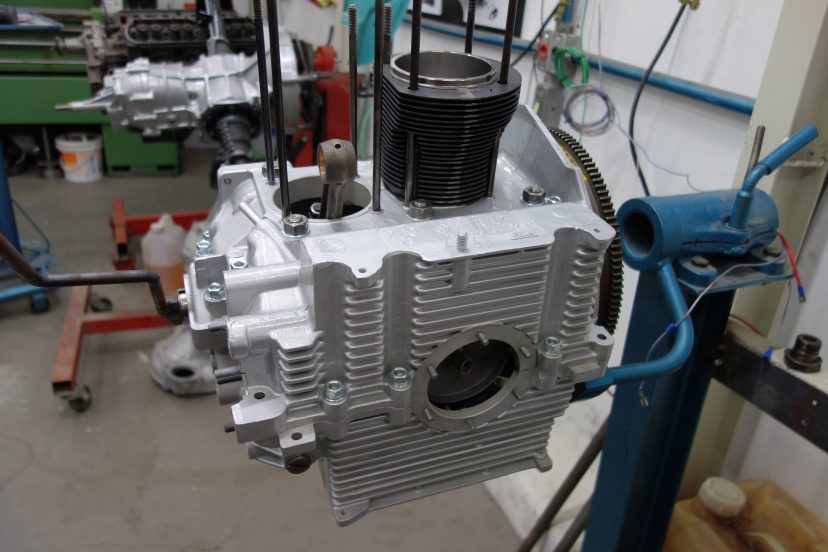
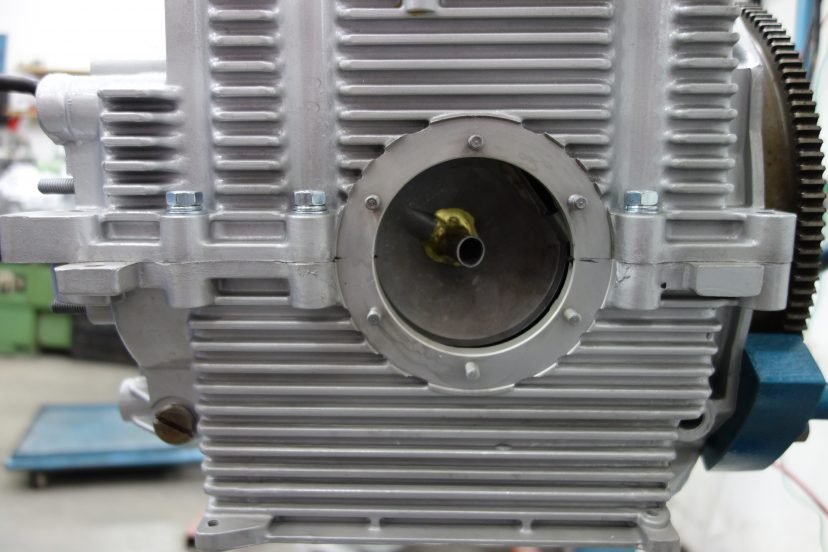
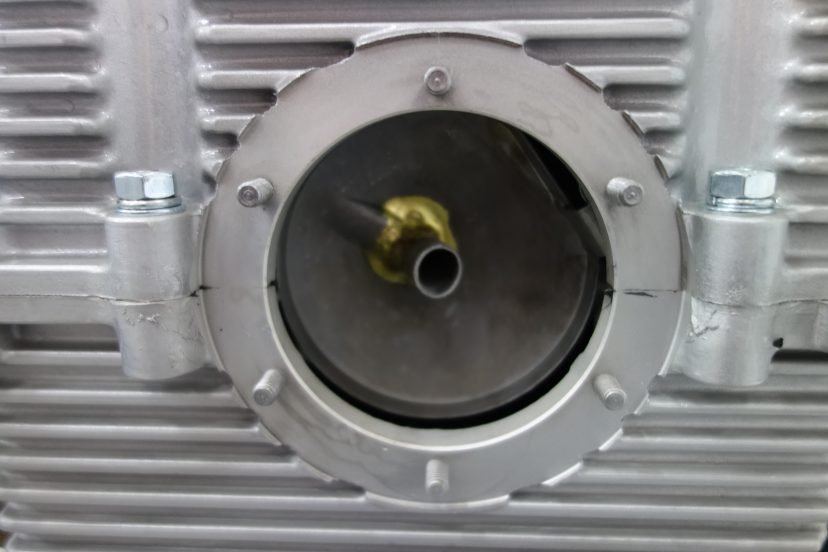
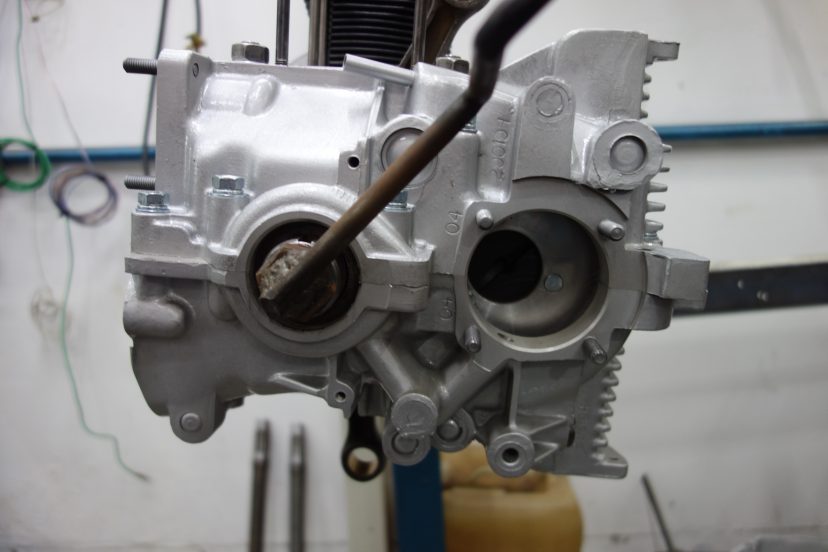
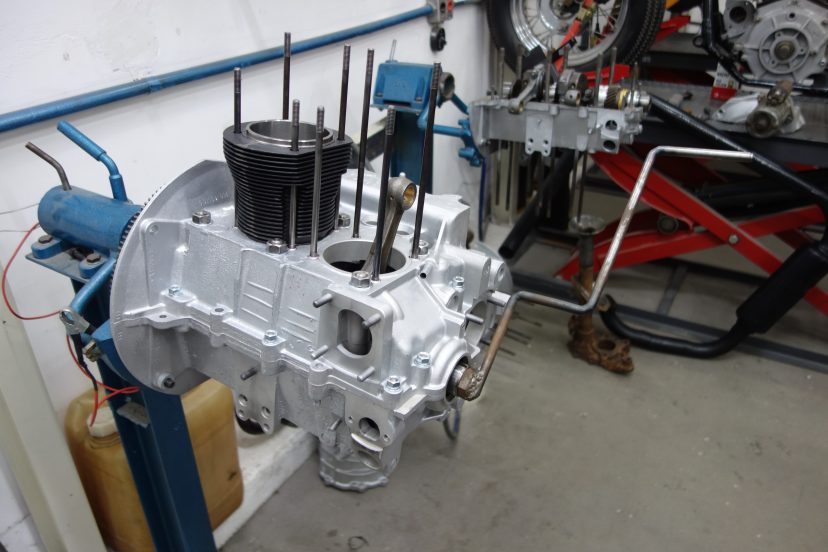
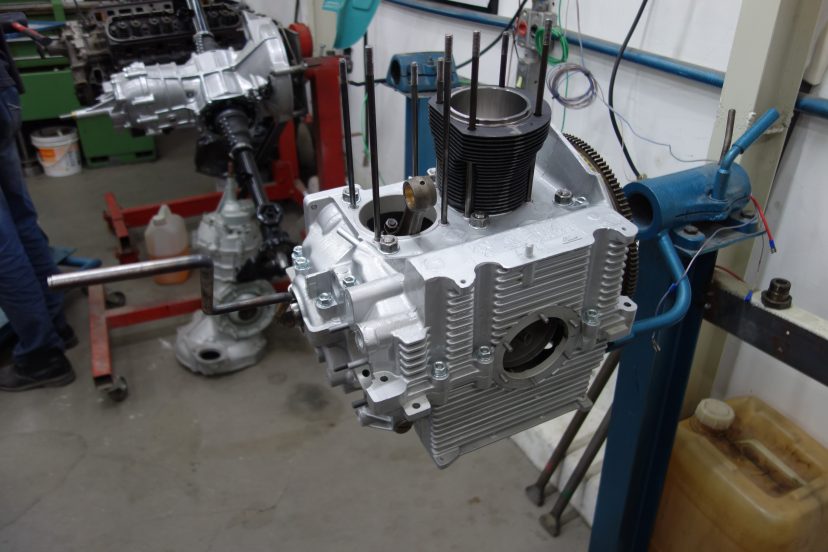
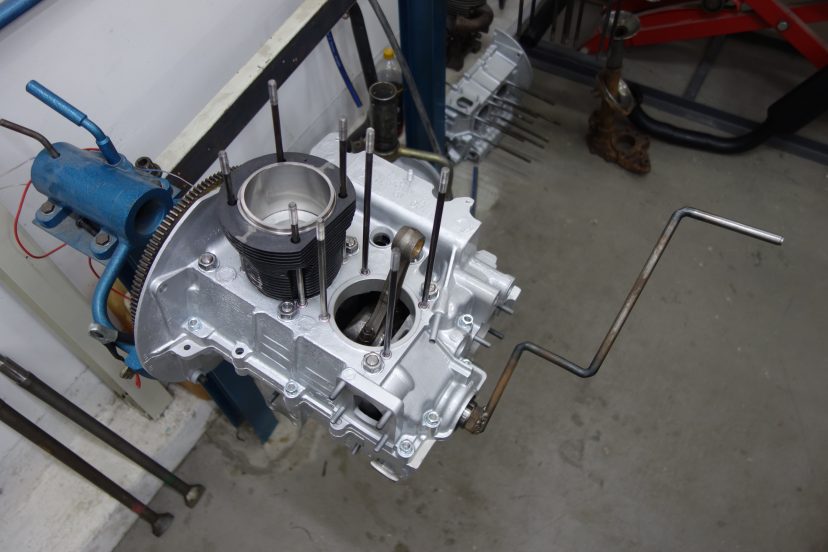
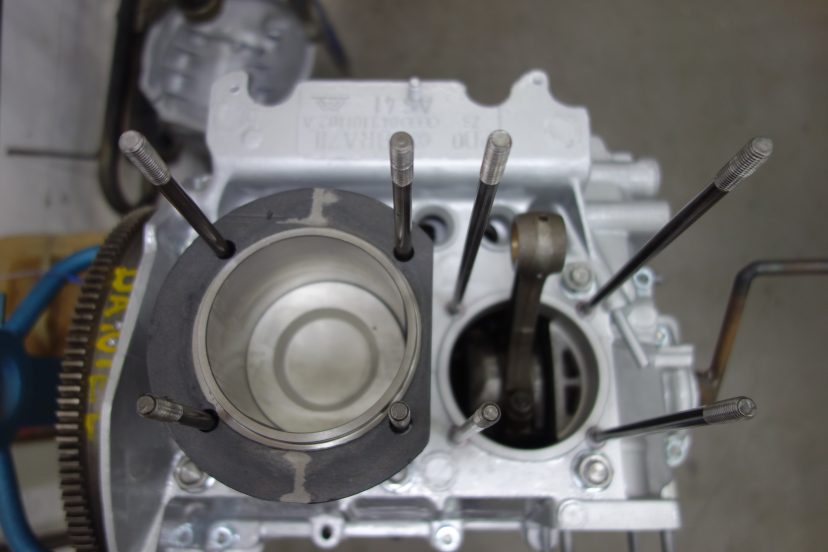
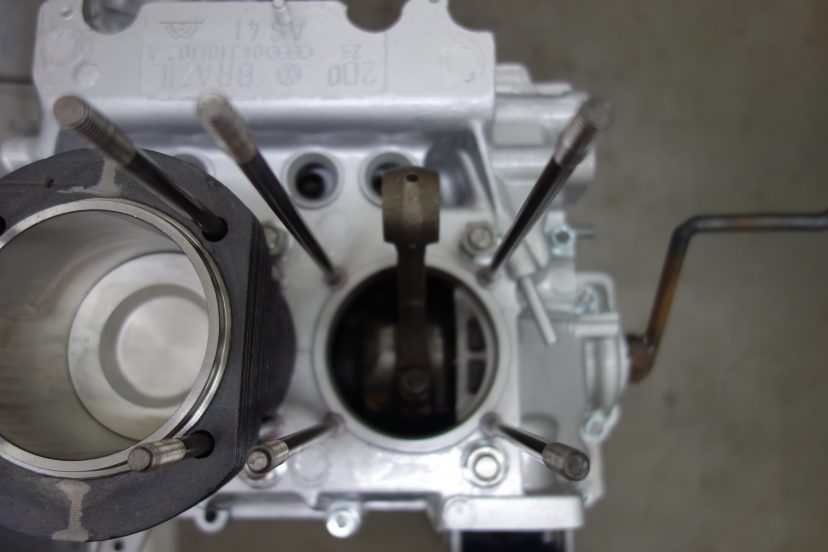
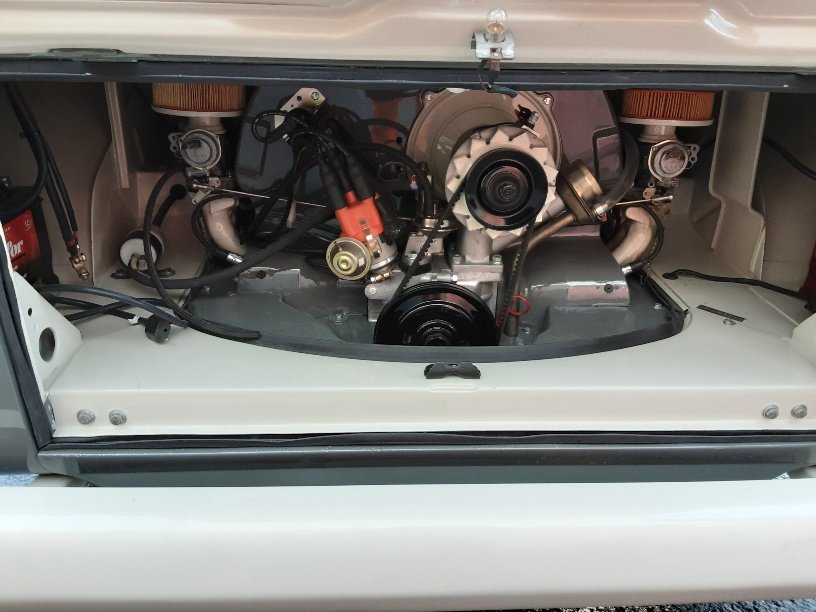
Phase 10: Motor (Video)
Hier sind einige erstaunliche Bilder der neuen 1,5-Liter-VW Motor. Wir versuchen, das originale Gehäuse zu verwenden, aber wenn es gefährdet ist, kaufen wir ein neues Gehäuse und installieren neue Zylinder, Ventile, Kolben, Kurbelwellen, Nockenwellen sowie alle externen Elemente.
Bevor wir den Motor in den Bus einbauen, wird er auf dem Prüfstand ausführlich getestet und kalibriert.


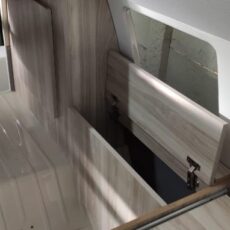
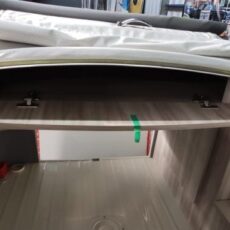
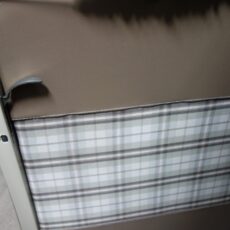
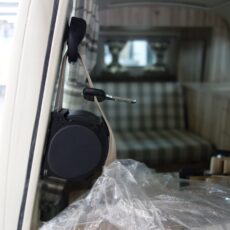
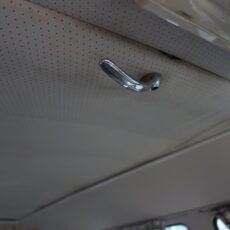
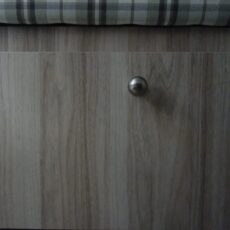
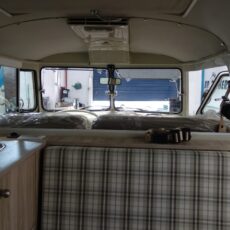
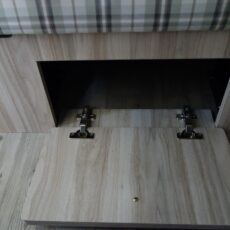
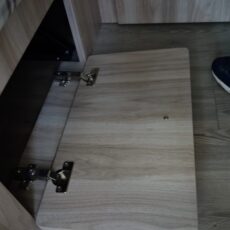
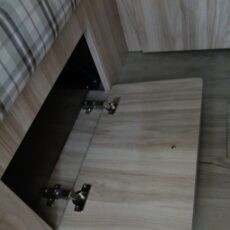
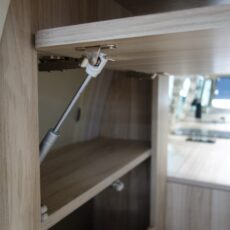
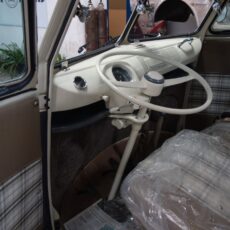
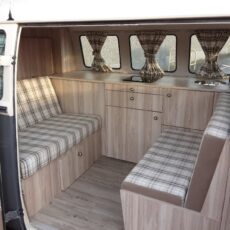
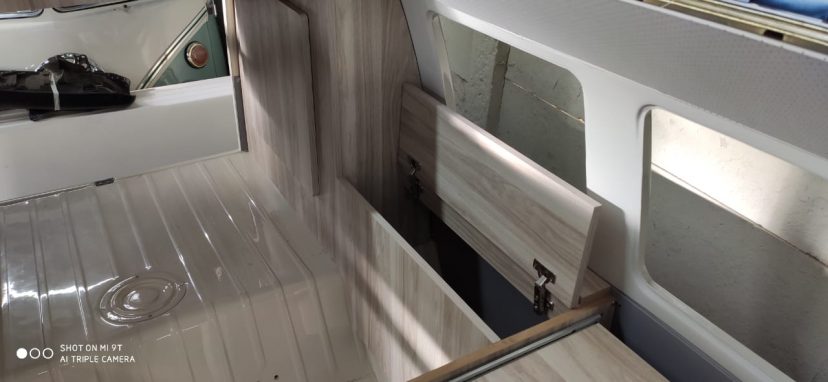
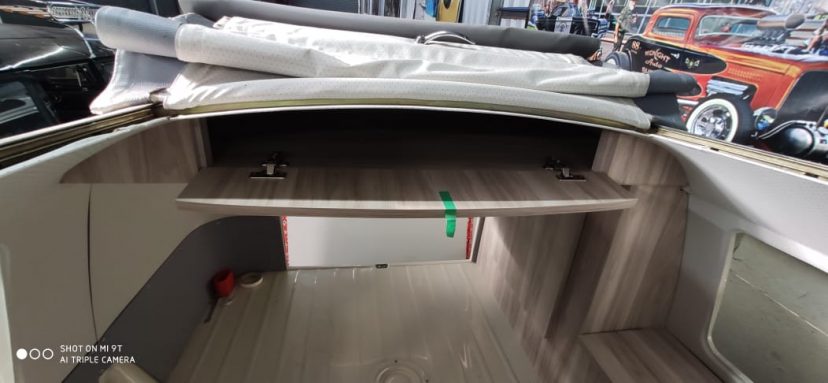
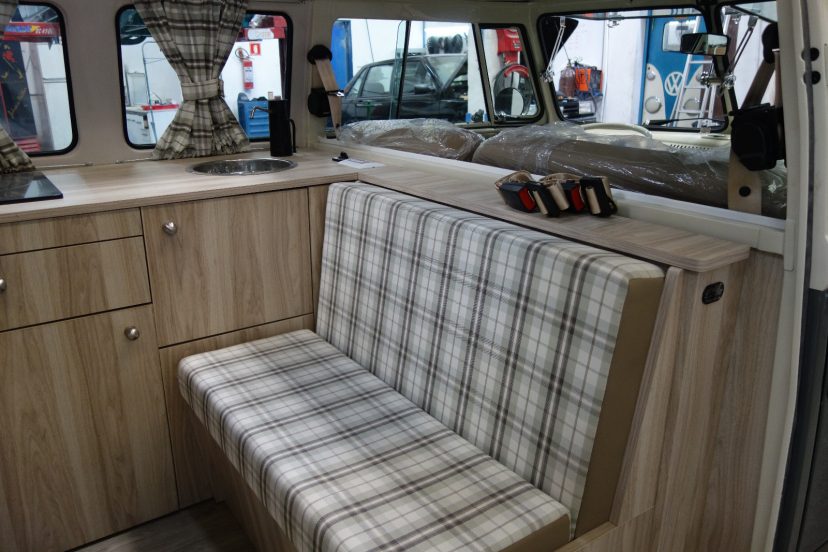
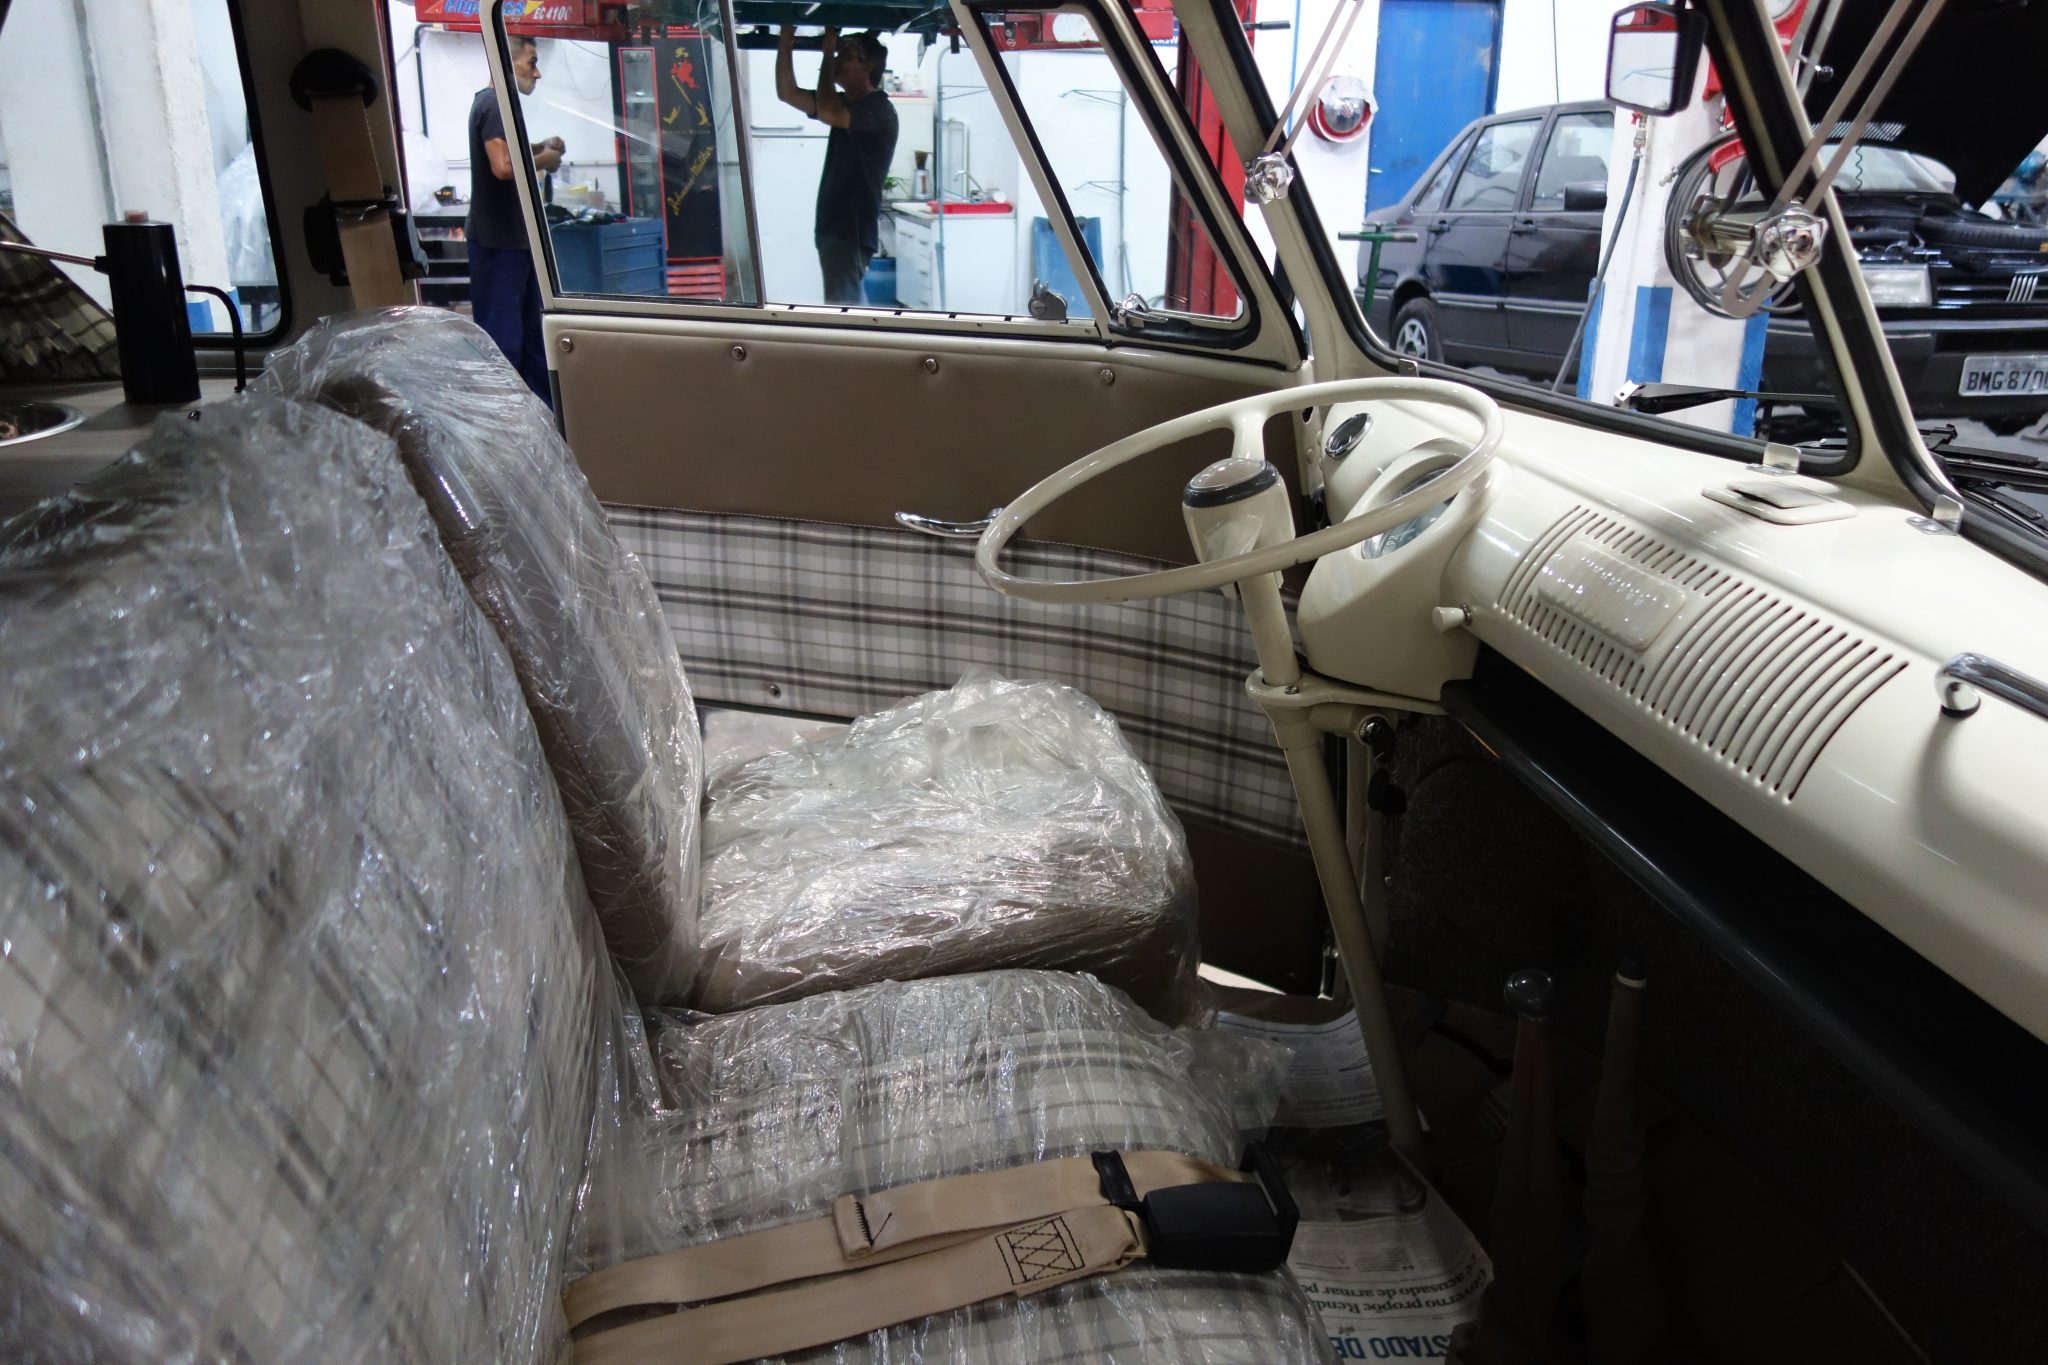
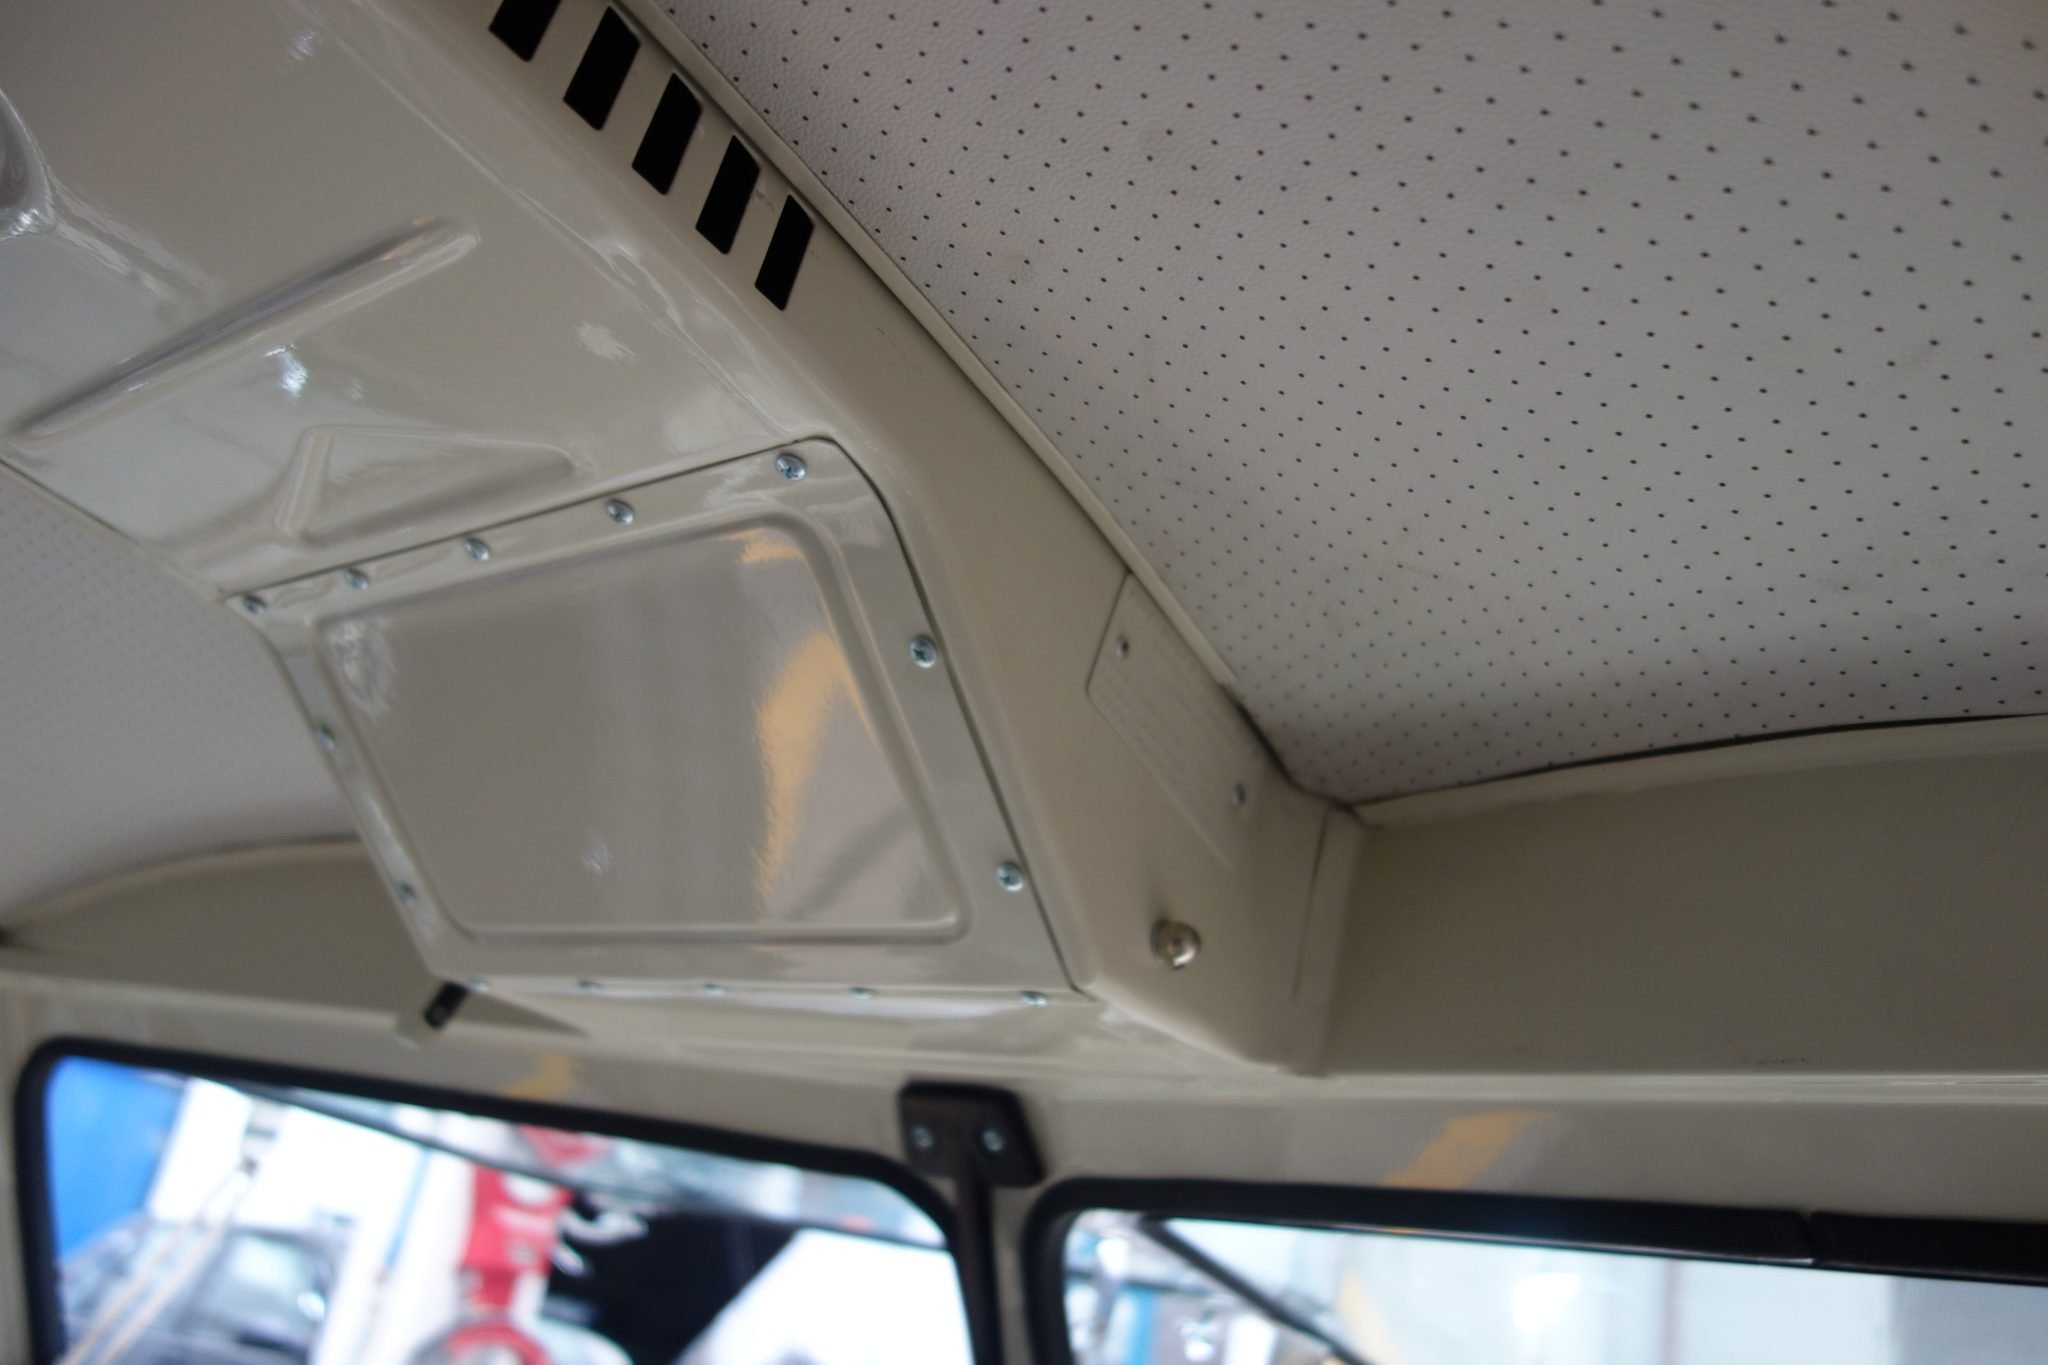
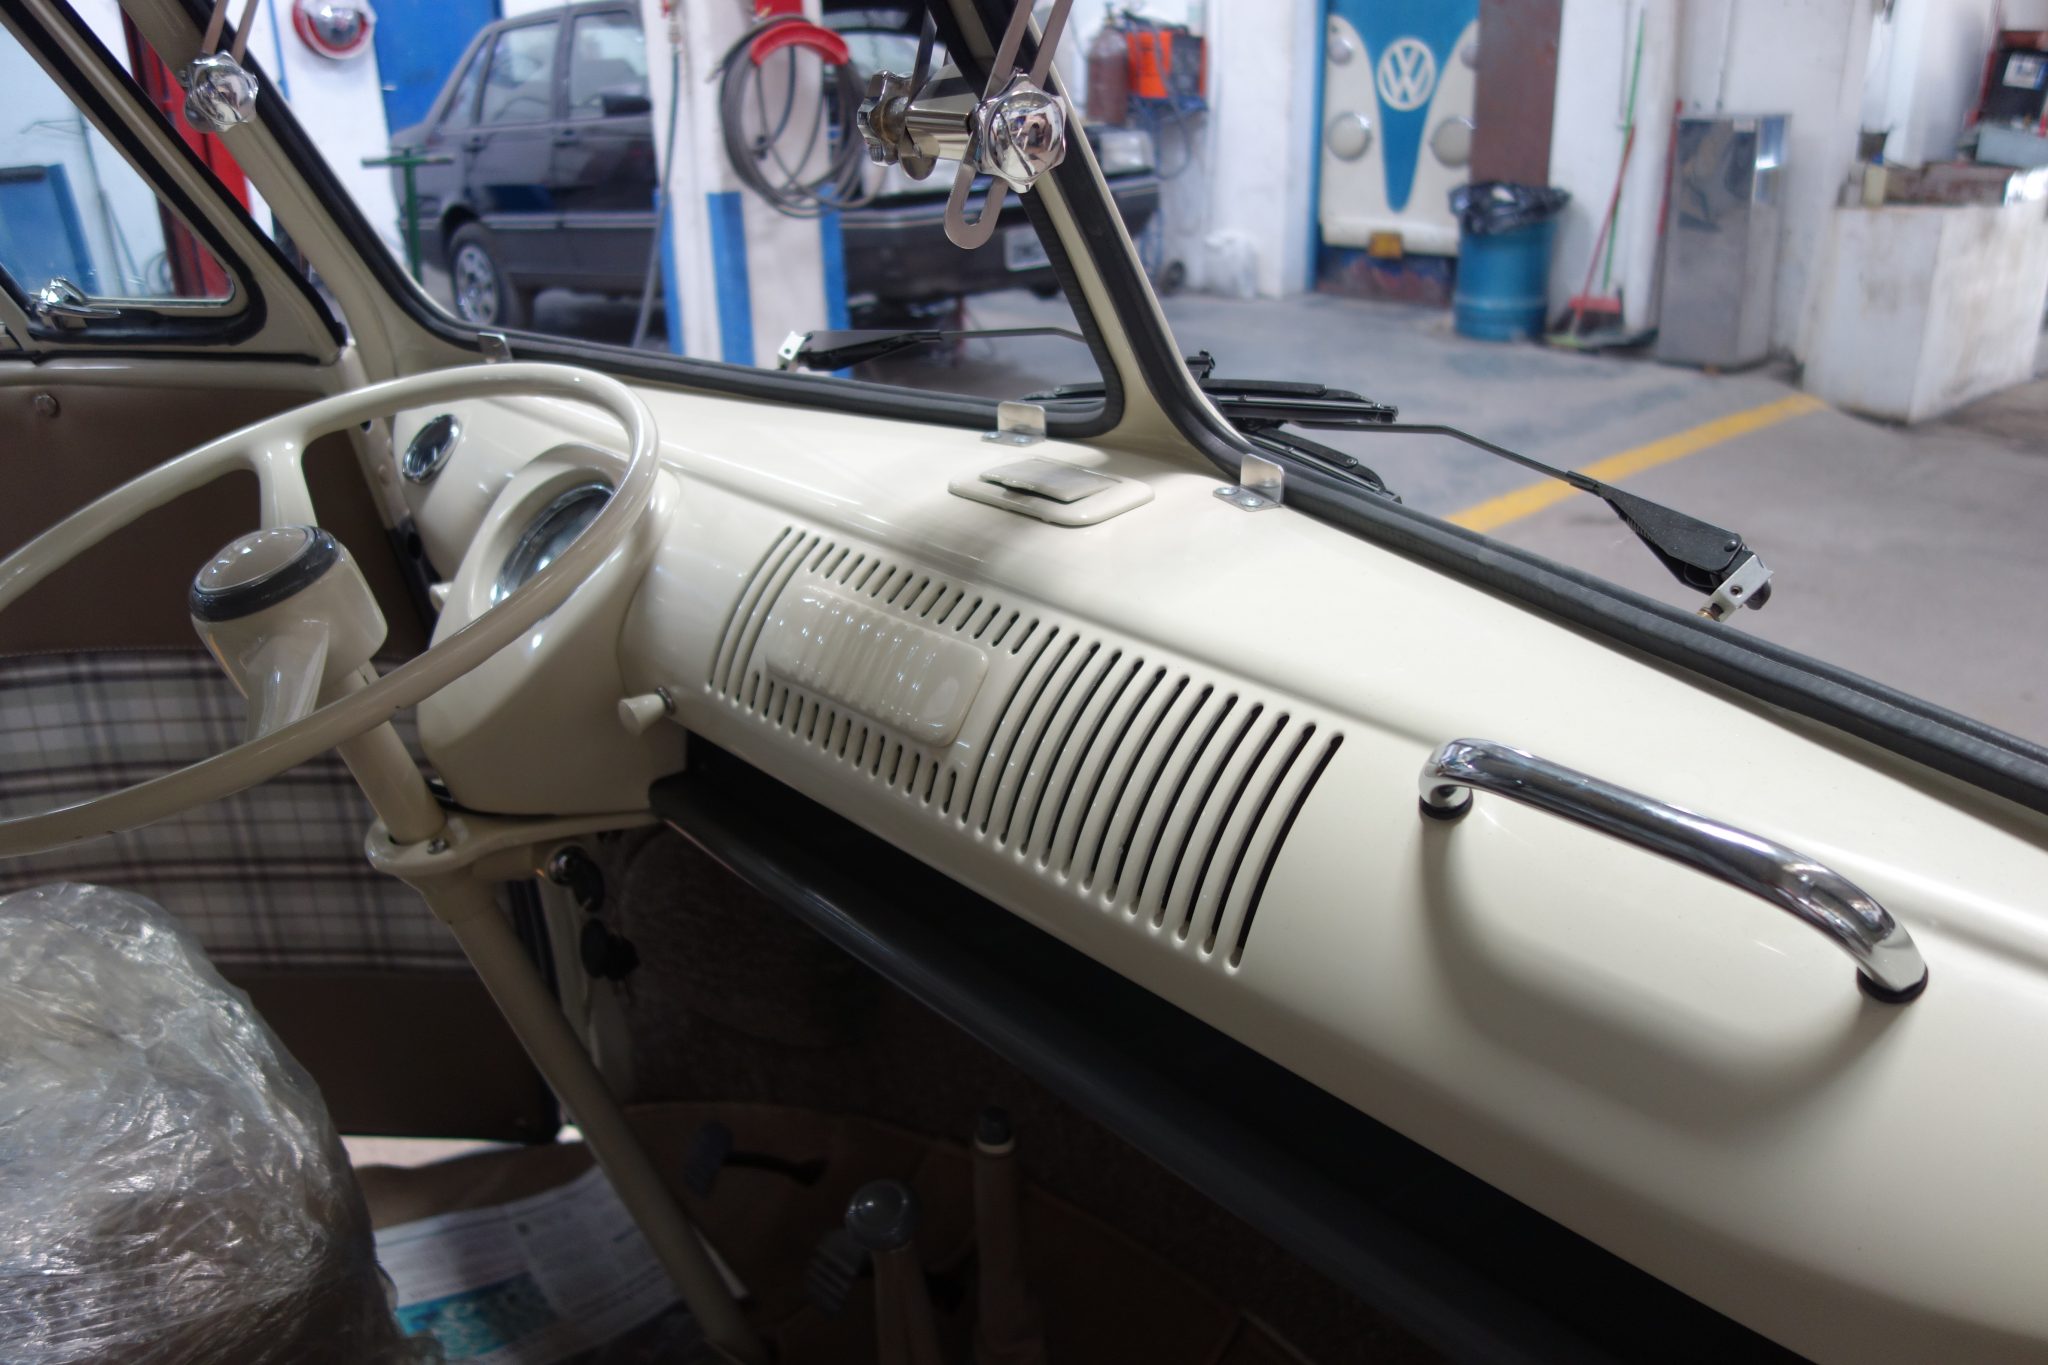
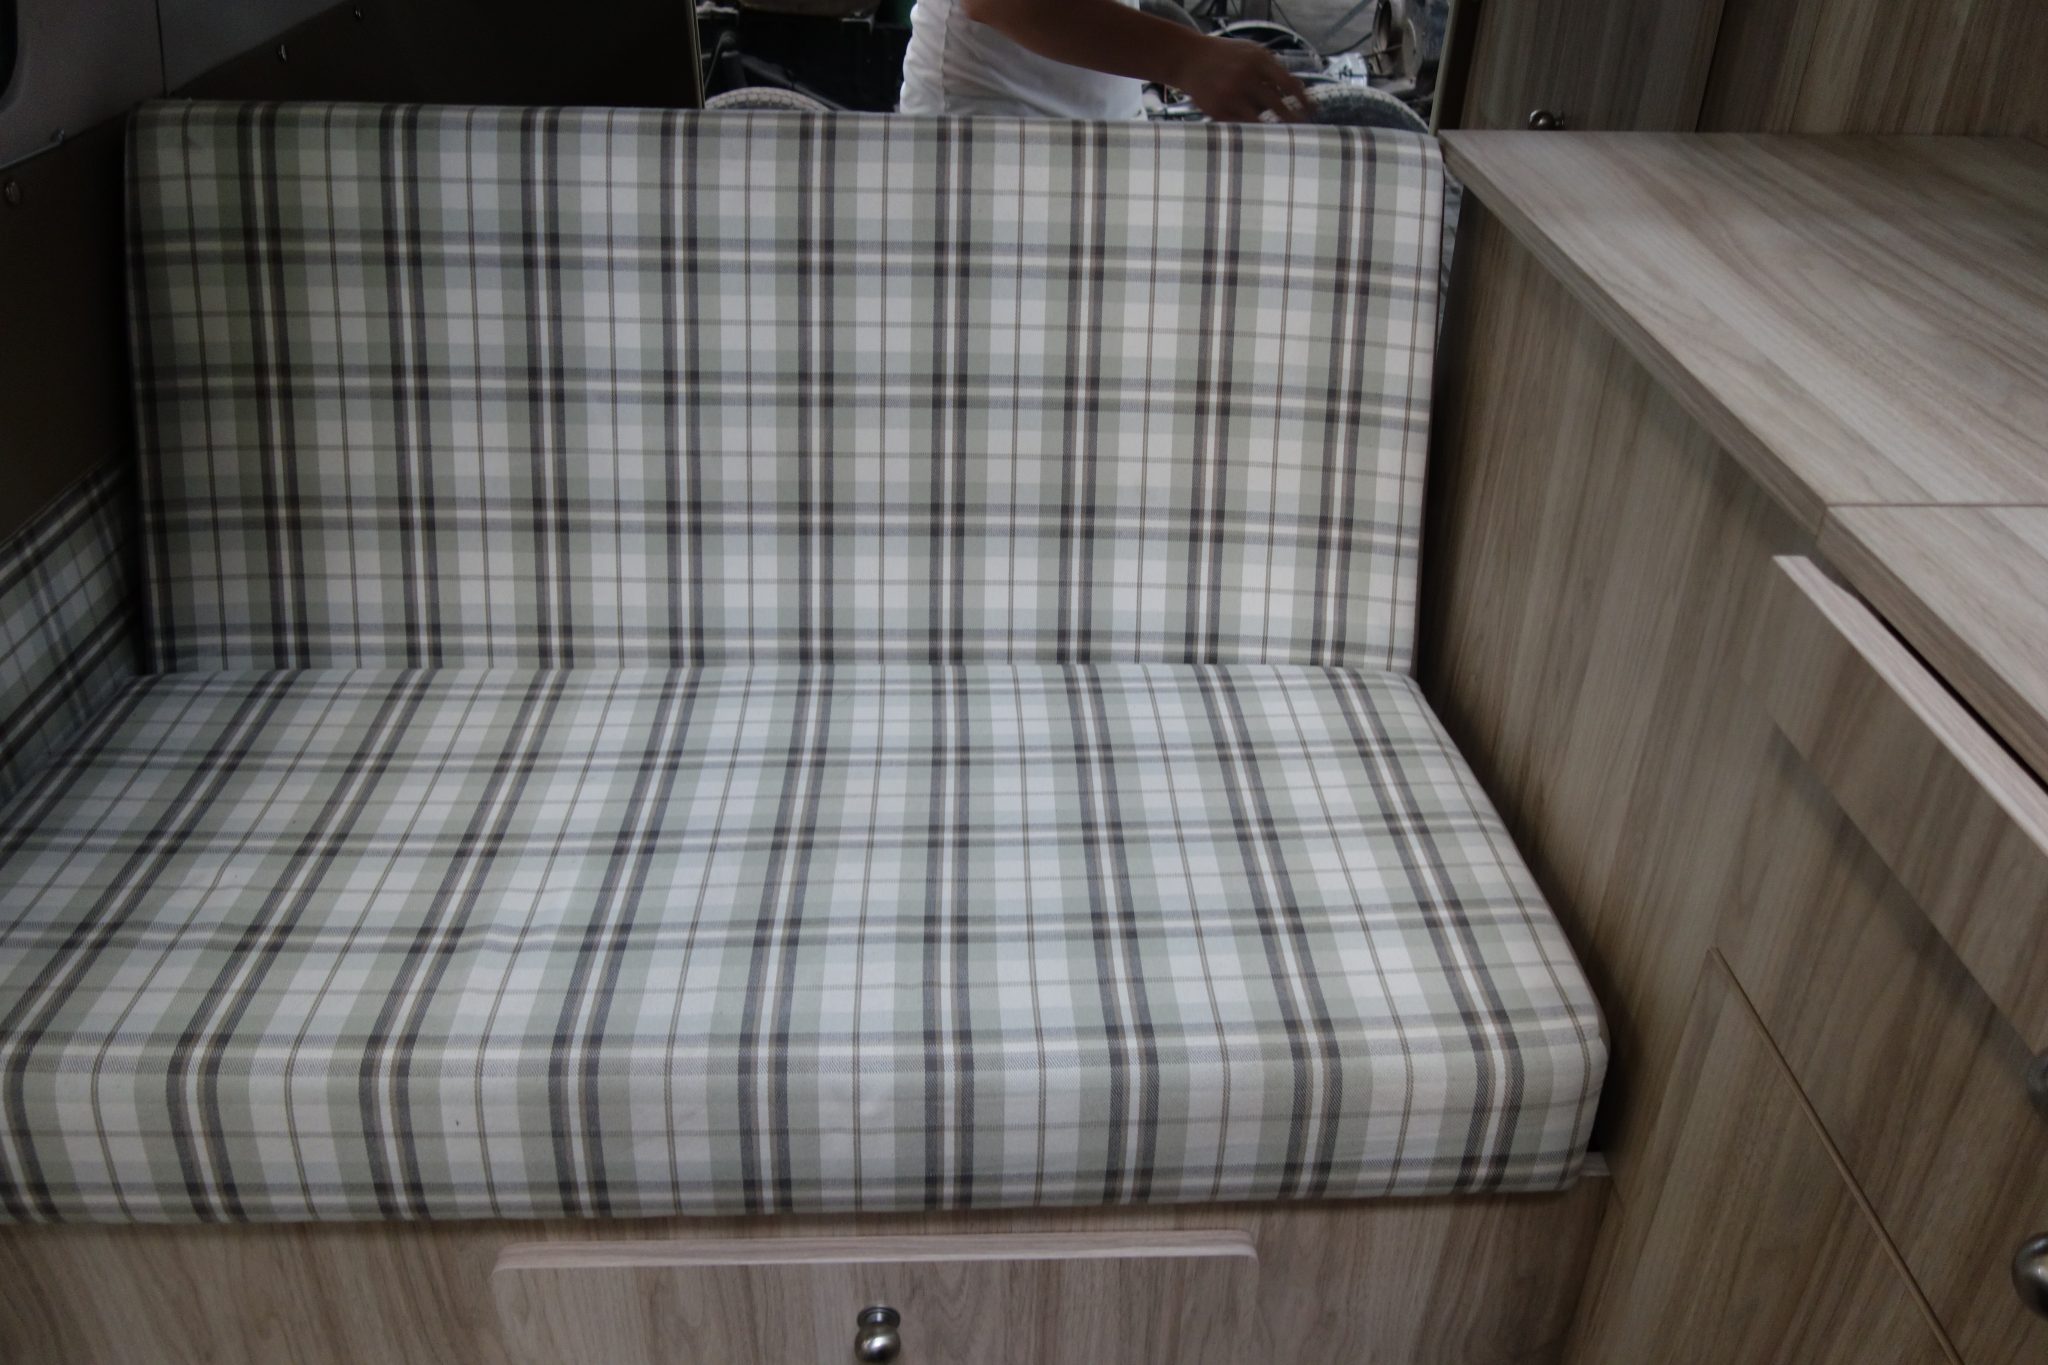
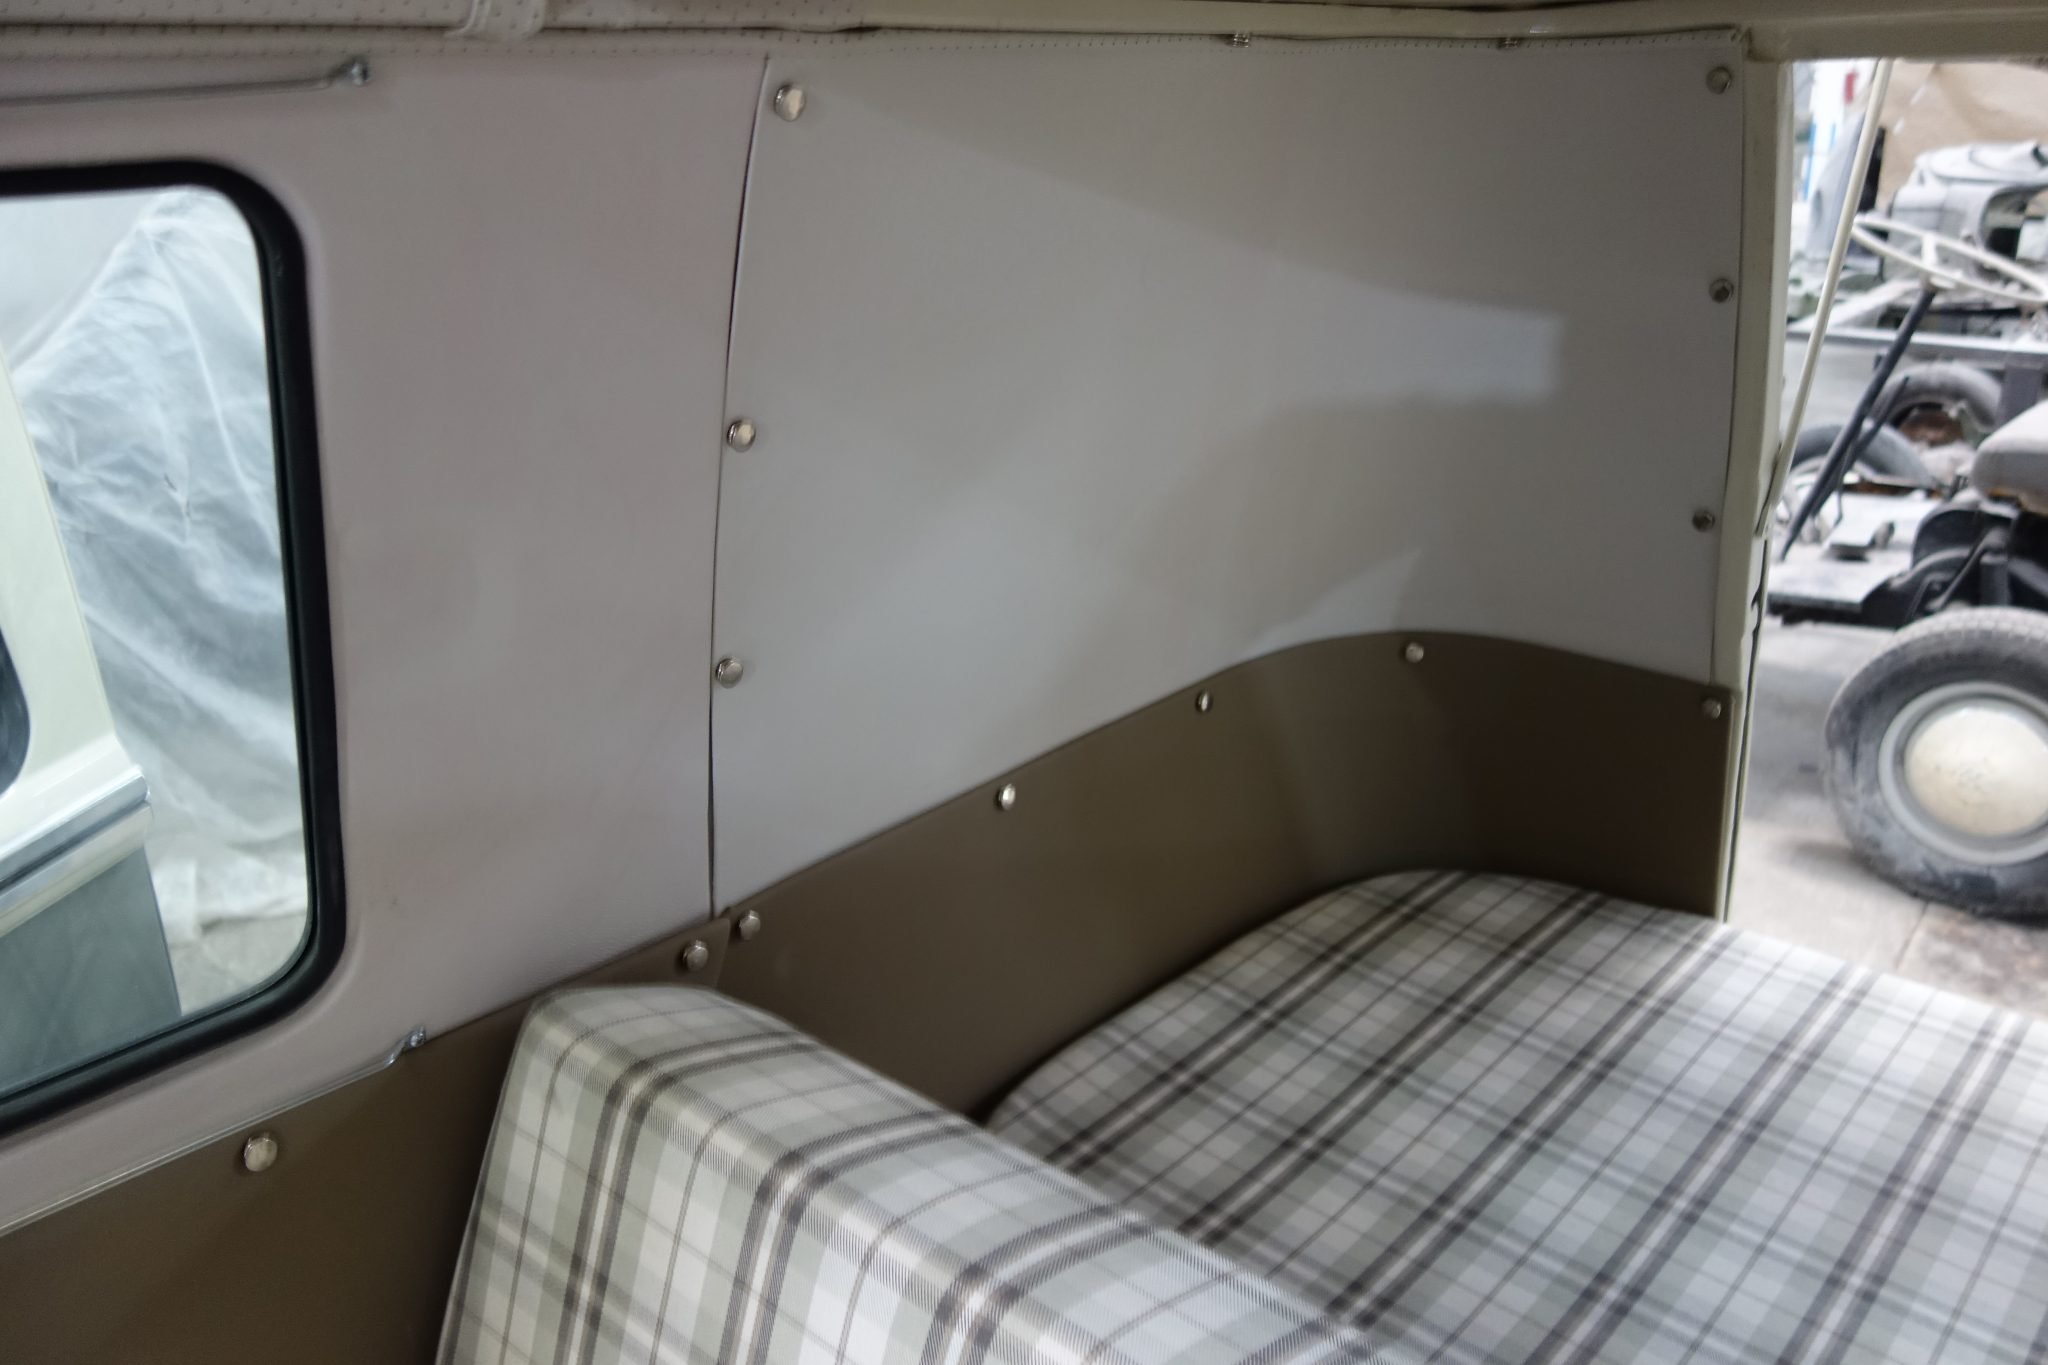
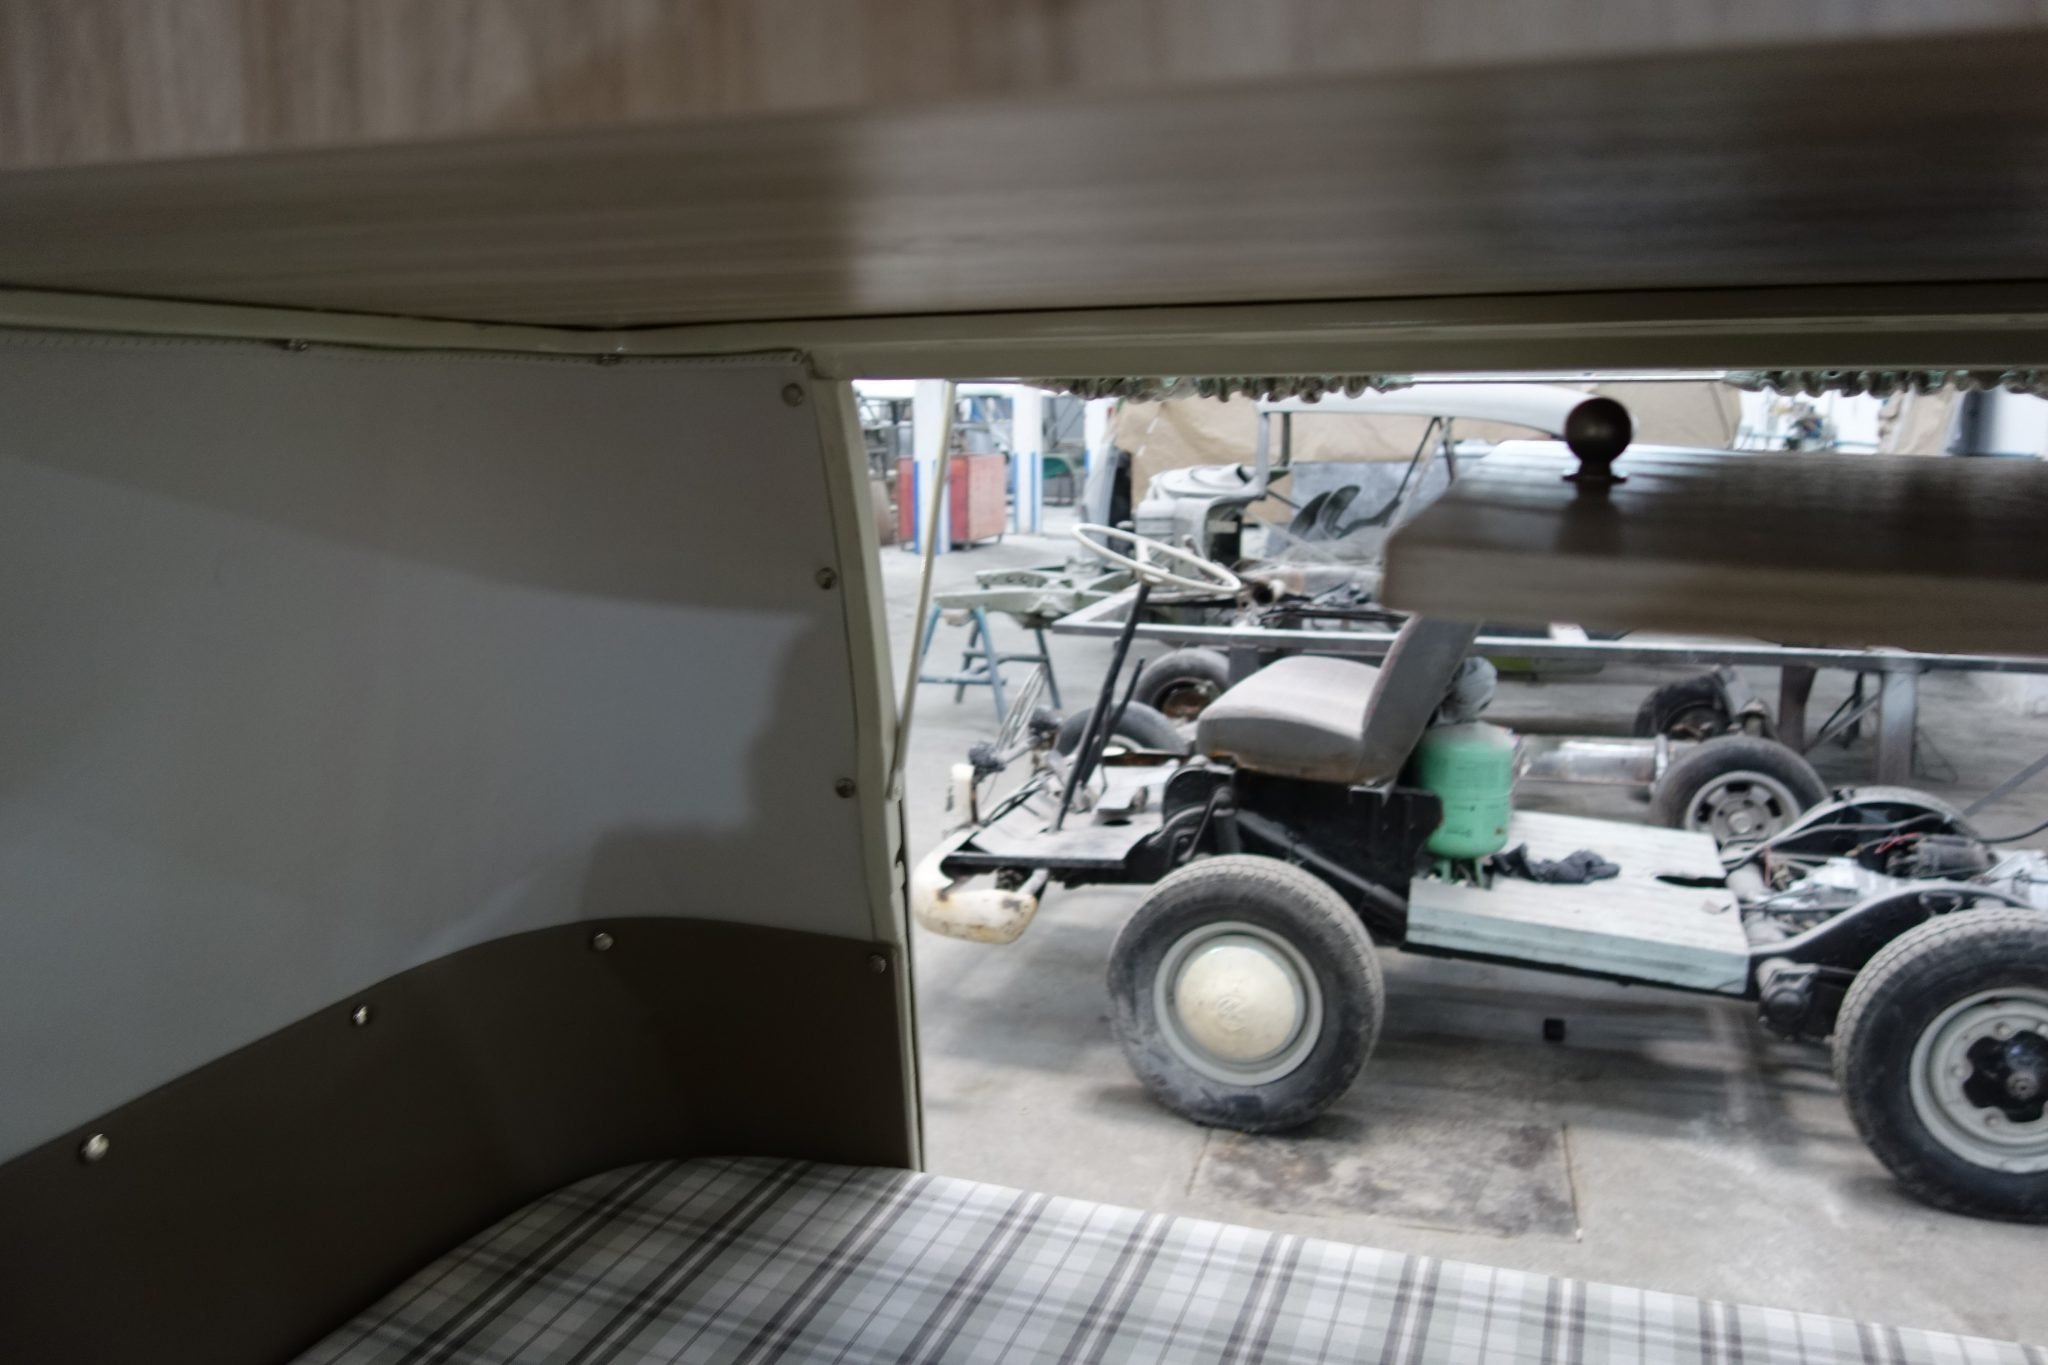
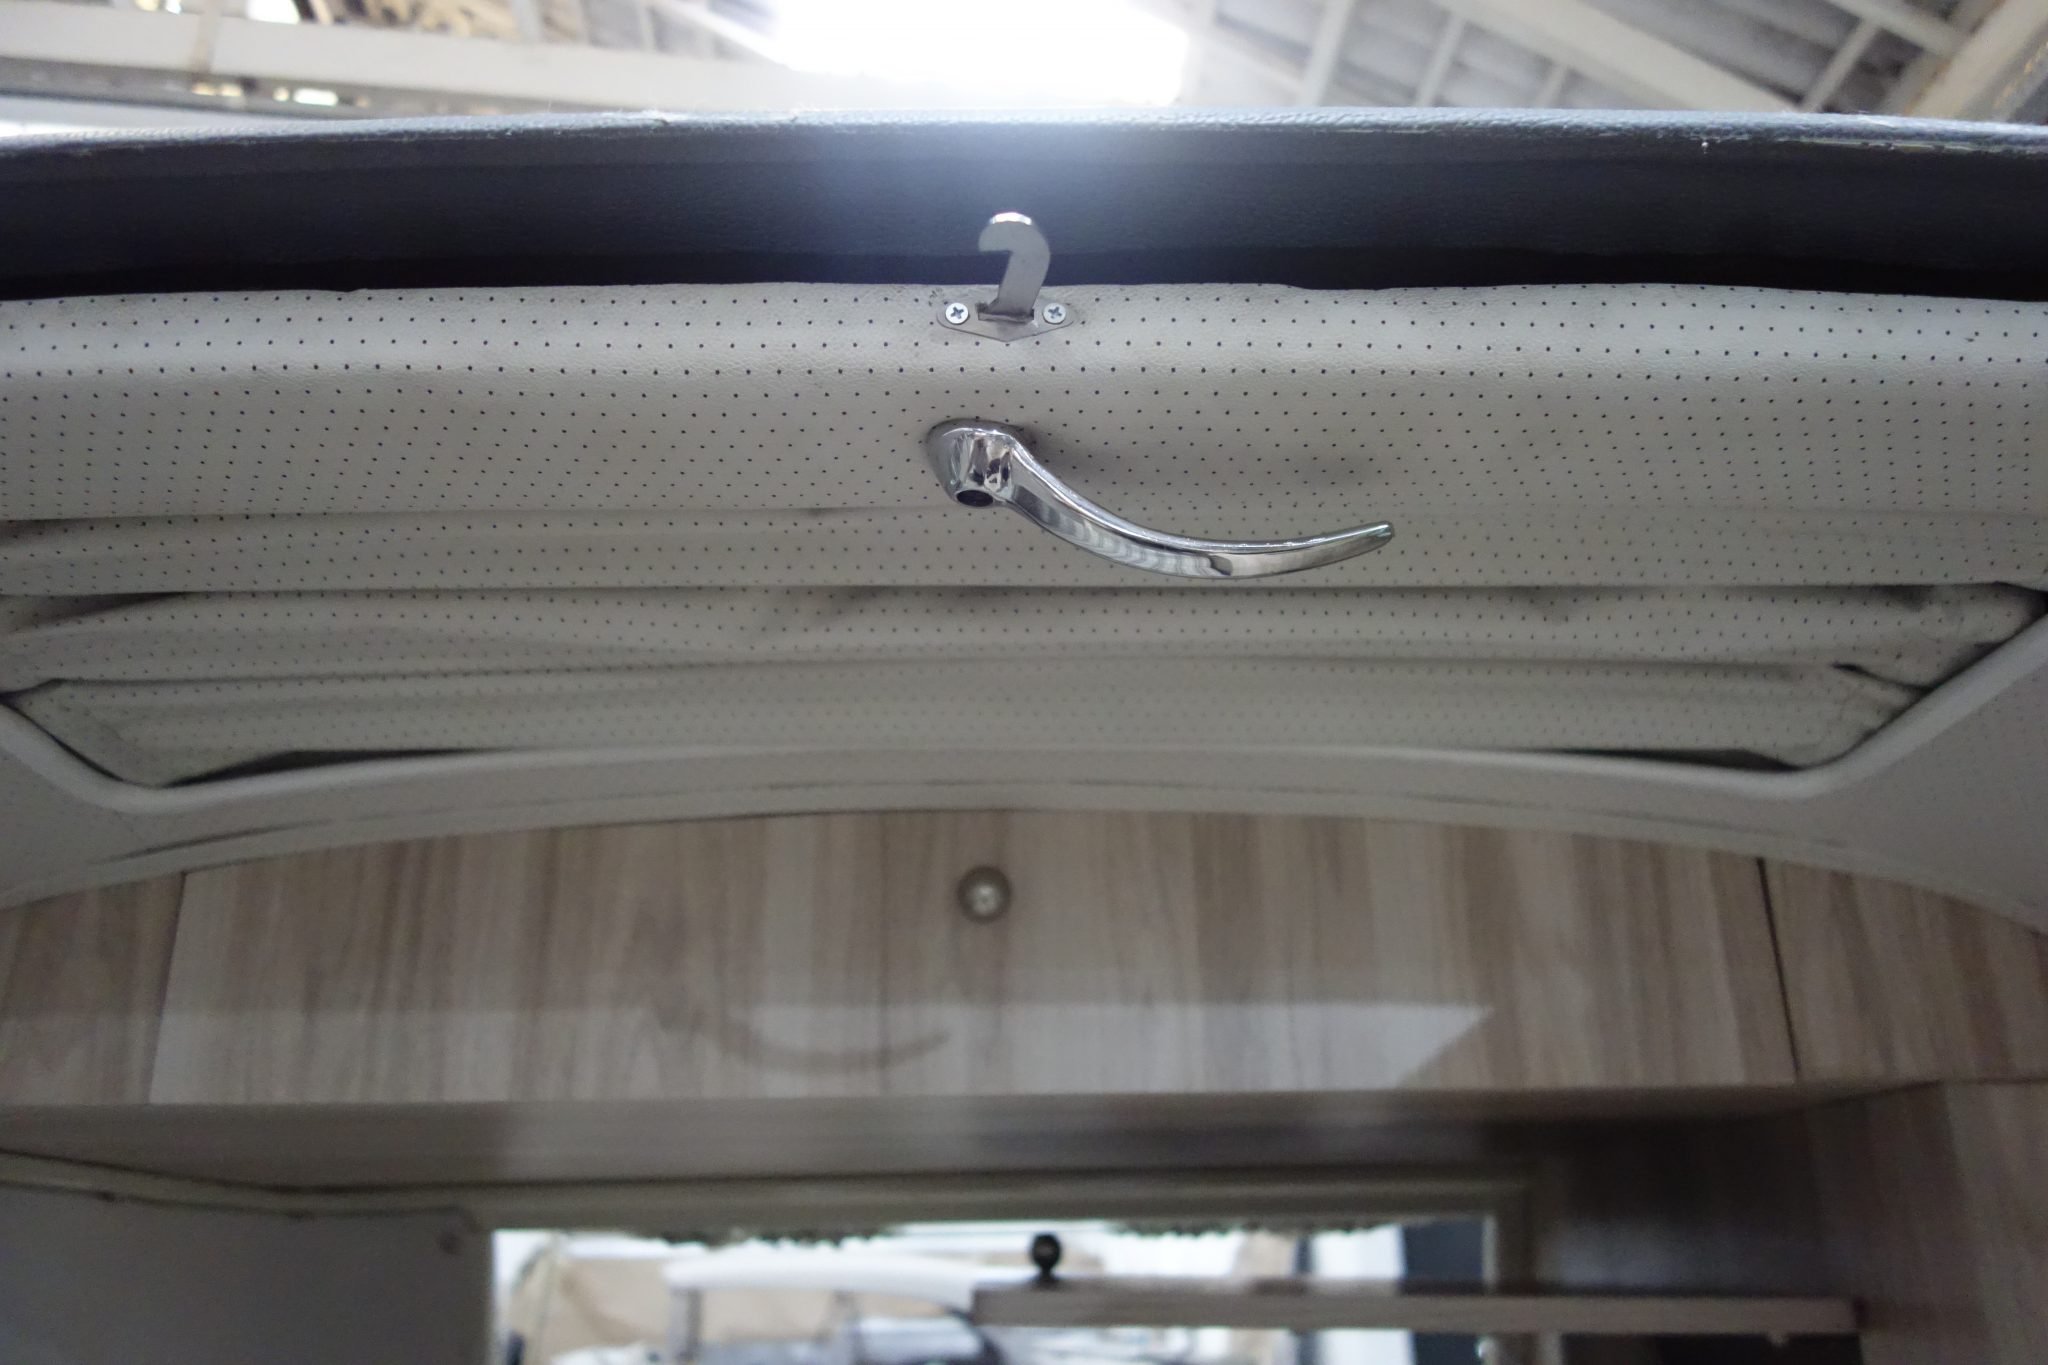
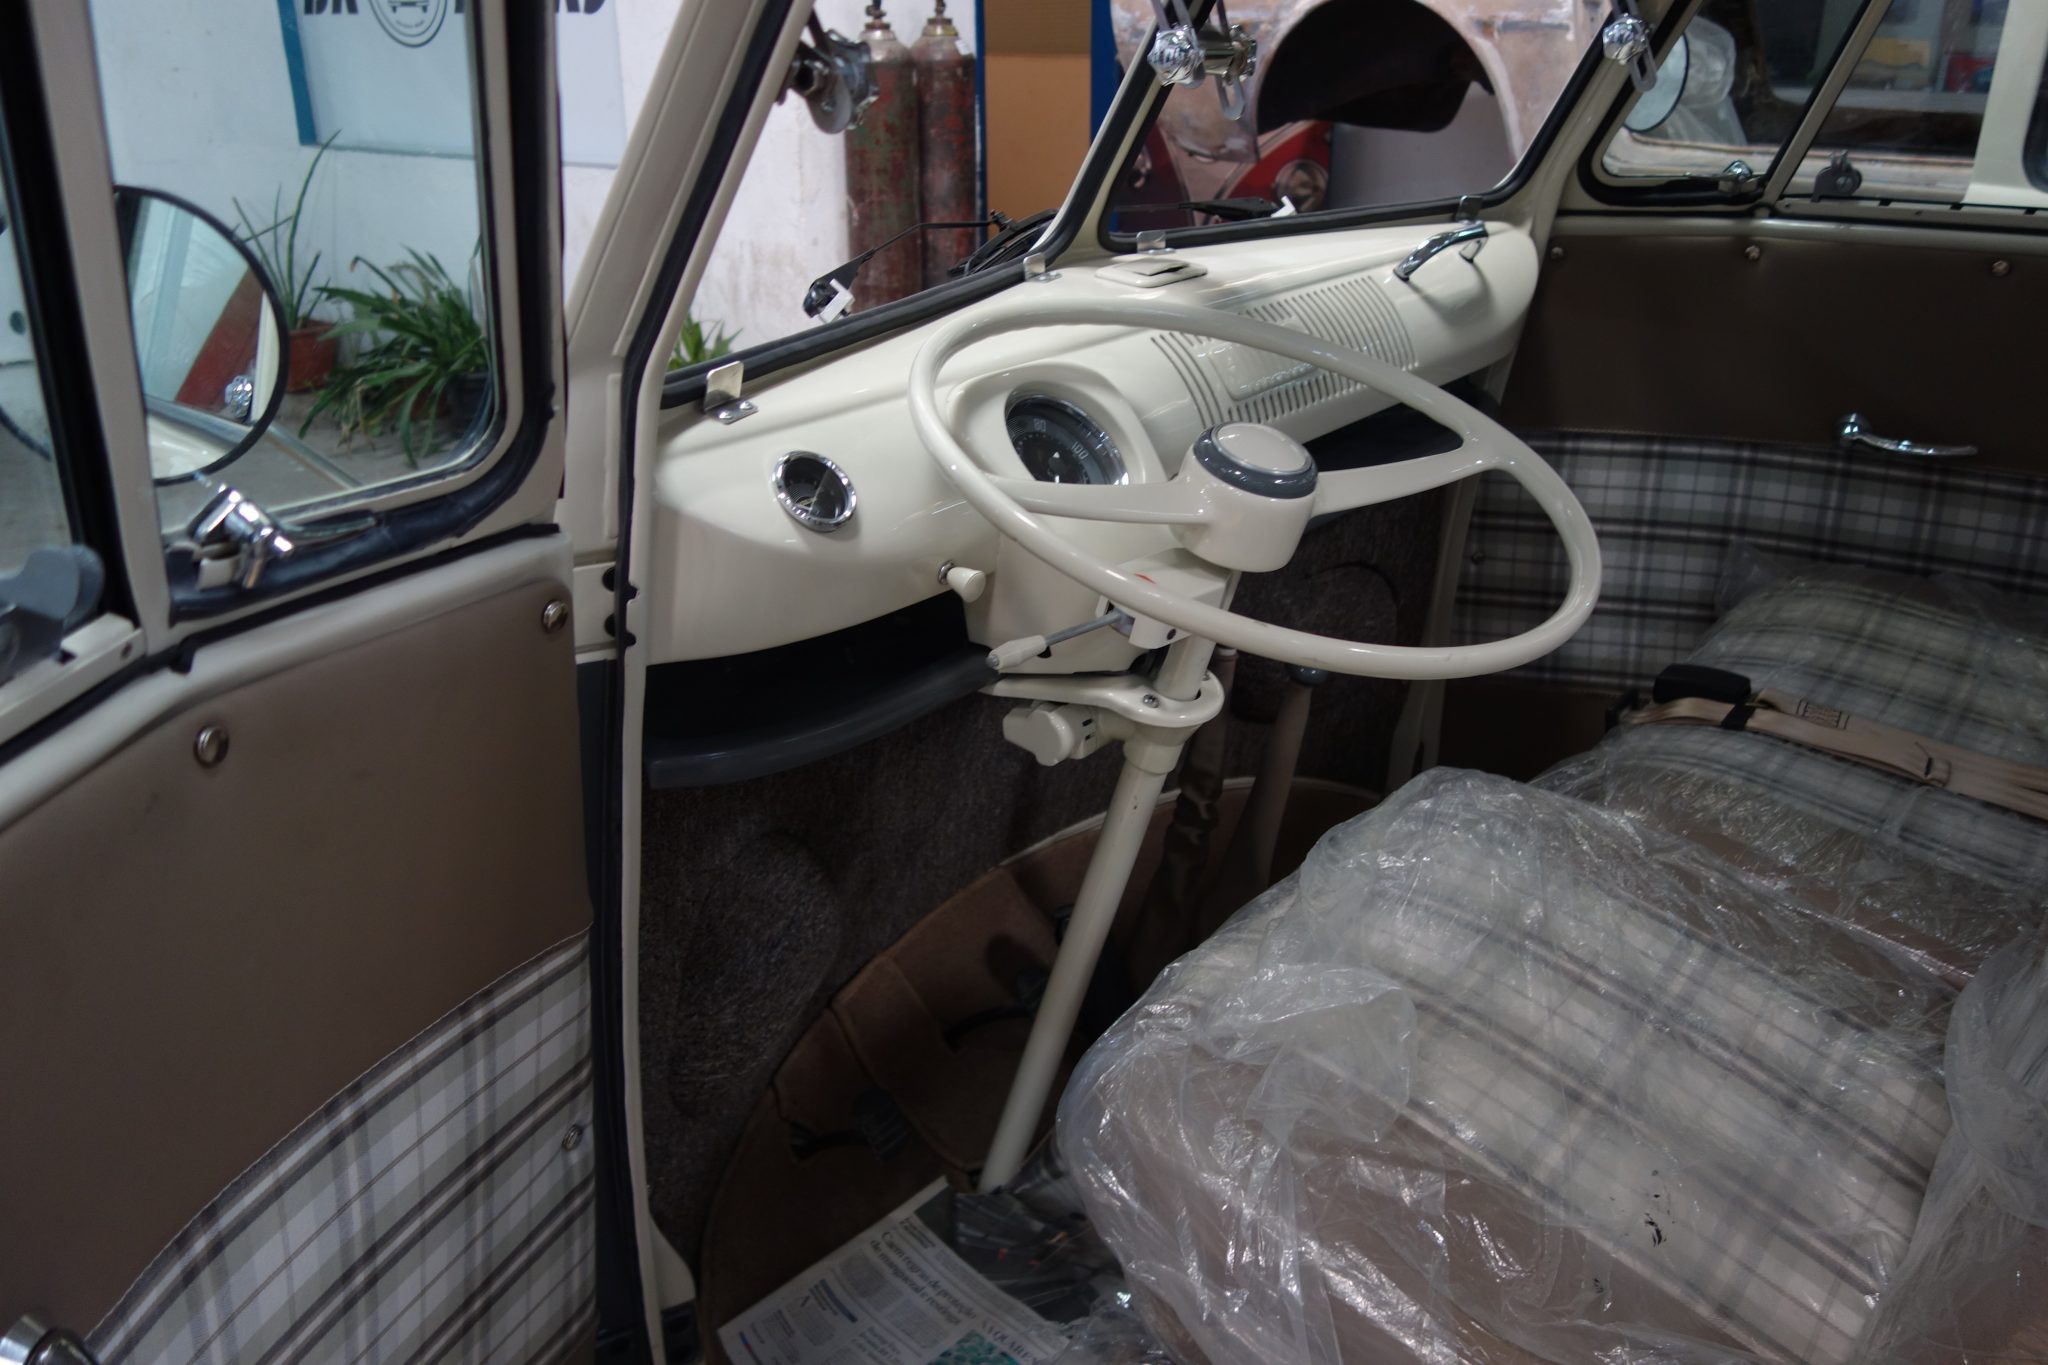
Phase 11: Camper Construction
At this stage the camper interior takes shape. Our customers are always kept up to date with pictures of the whole process, so they can approve the work and also add some details to touch.

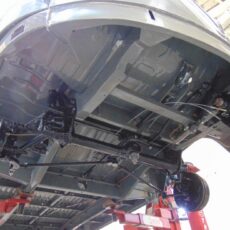
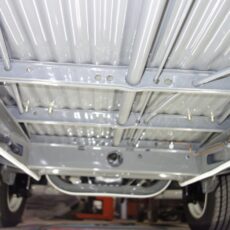
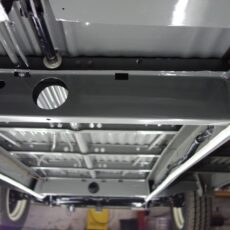
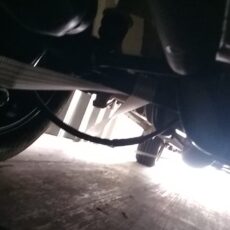
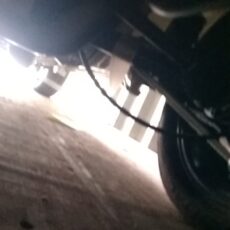
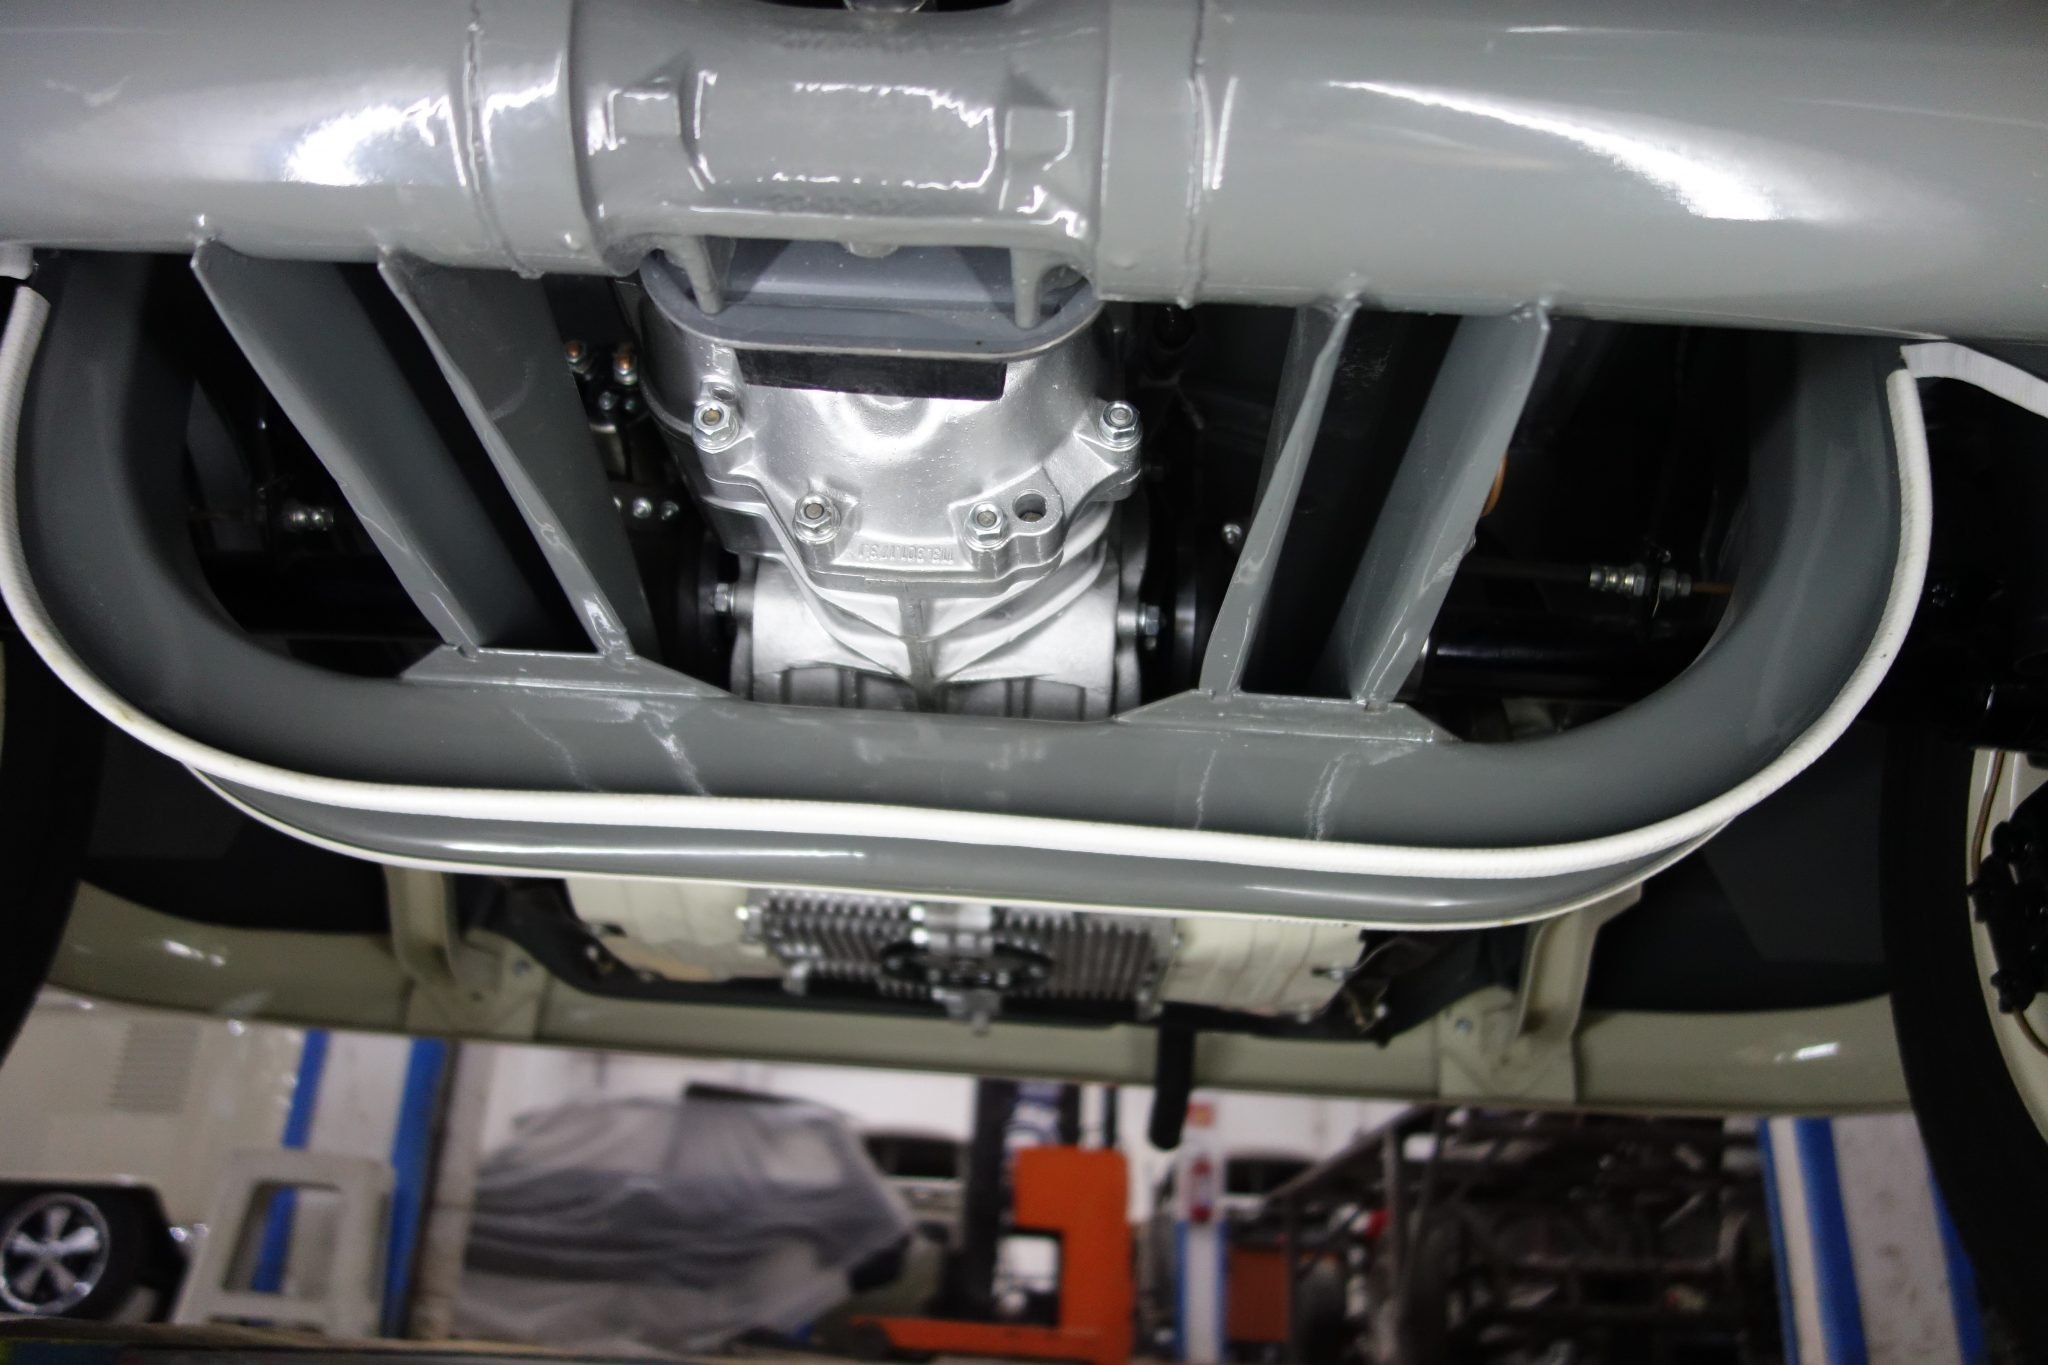
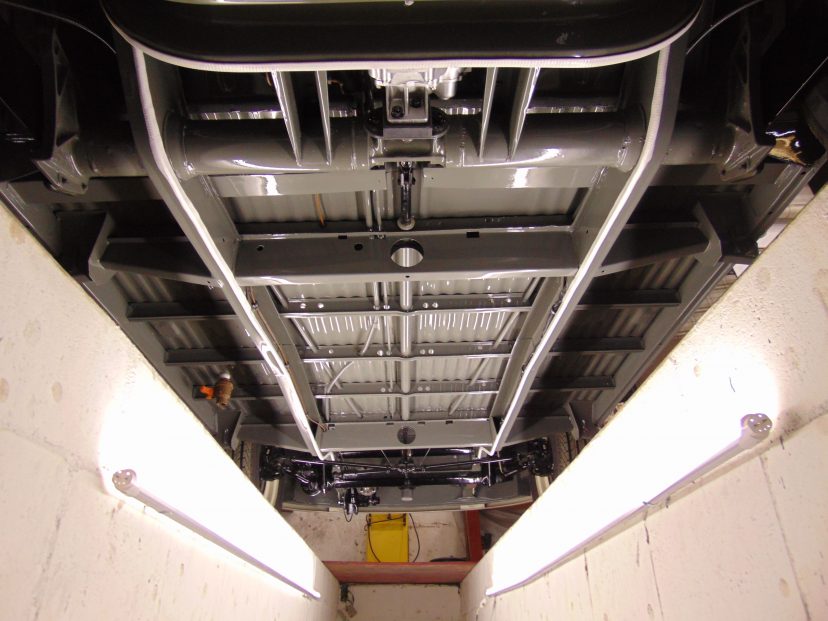
Phase 12: Finished underbody


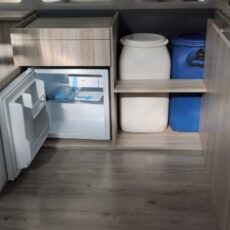
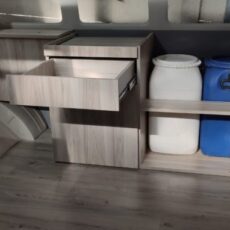
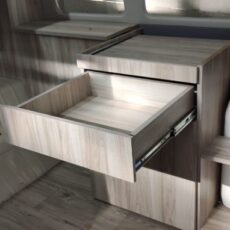
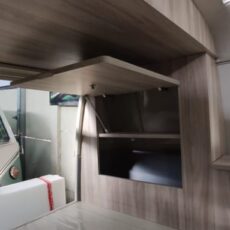
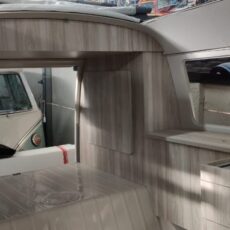
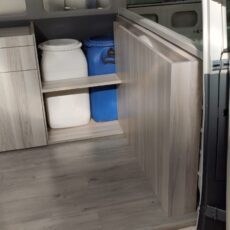
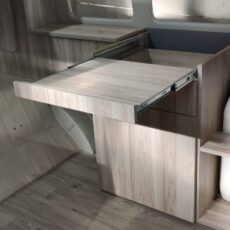
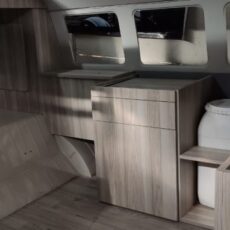
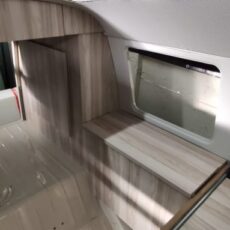
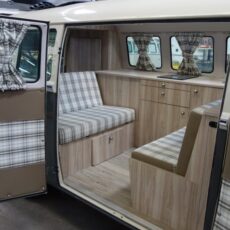
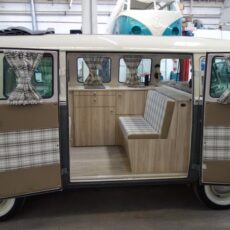
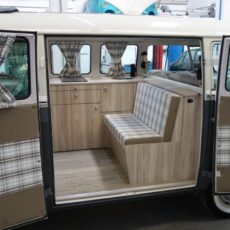
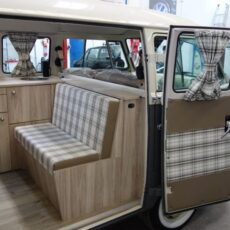
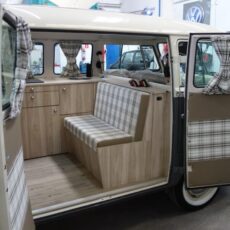
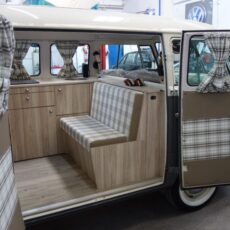
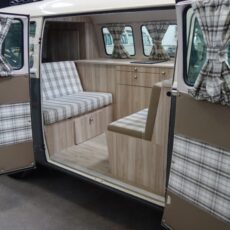
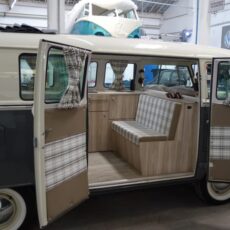
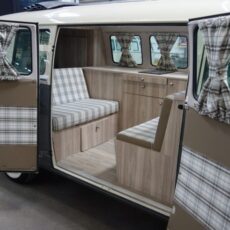
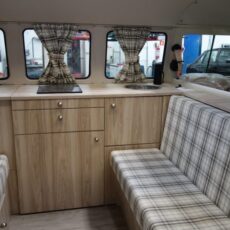
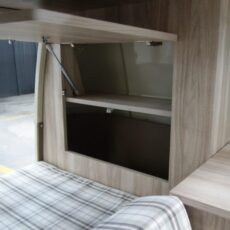
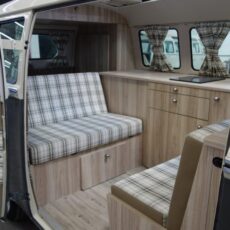
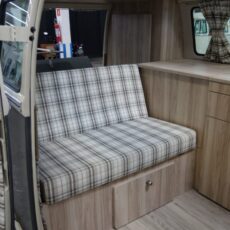
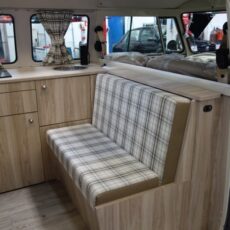
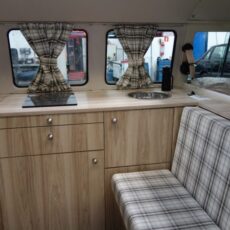
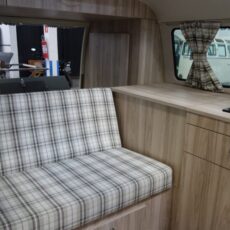
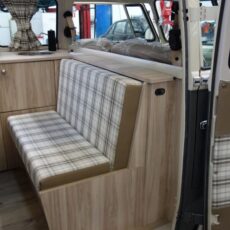
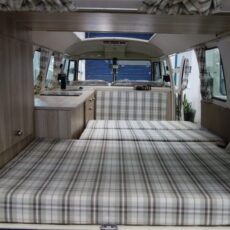
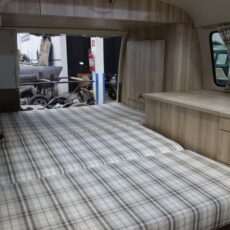
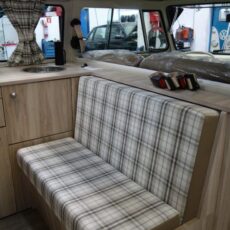
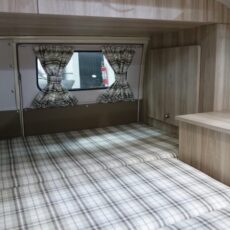
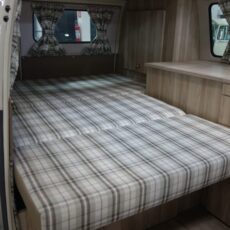
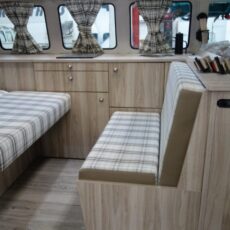
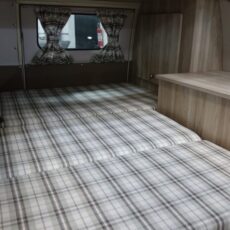
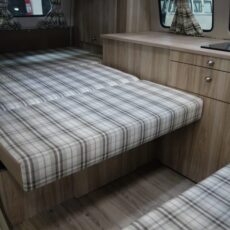
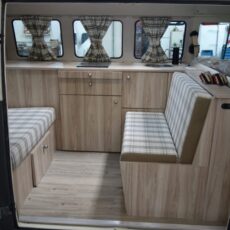
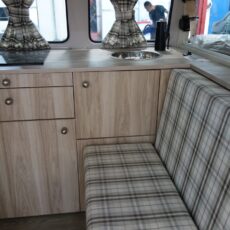
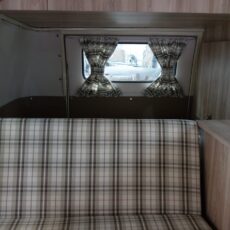
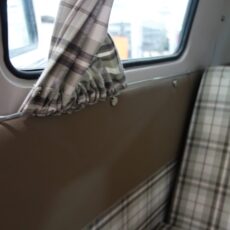
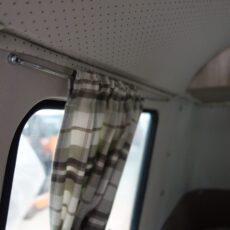
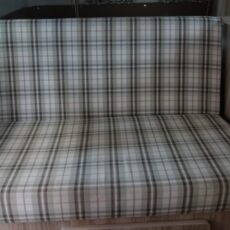
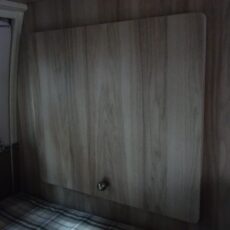
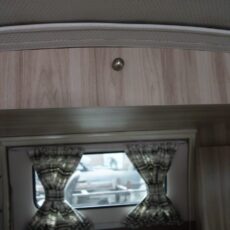
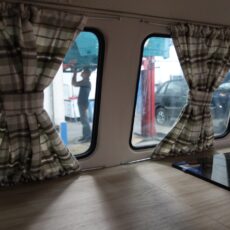
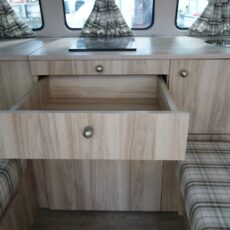
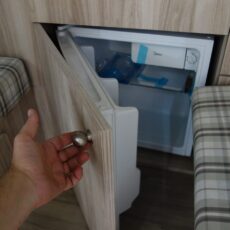
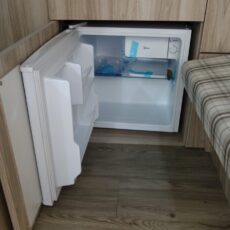
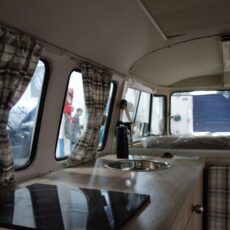
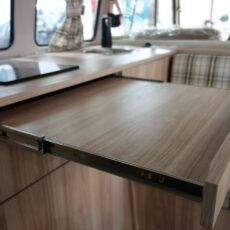
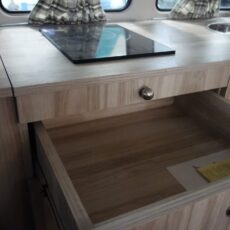
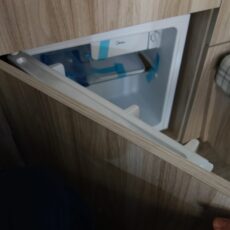
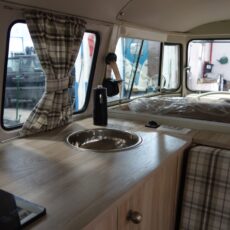
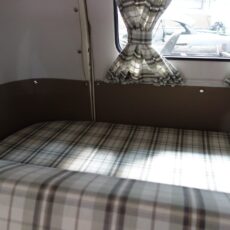
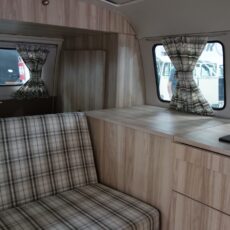
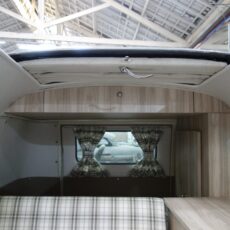
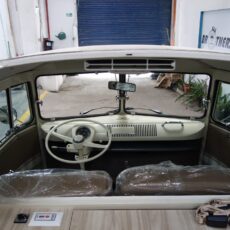
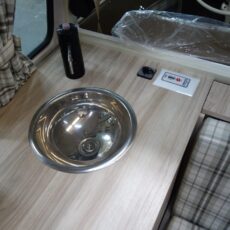
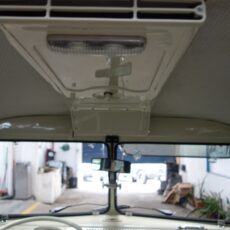
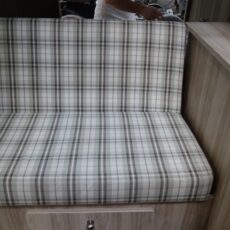
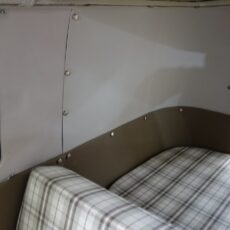
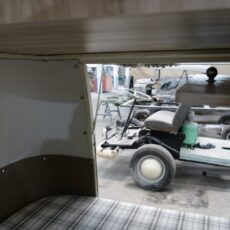
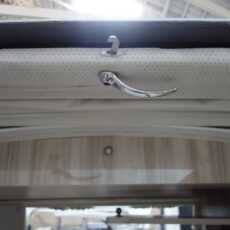
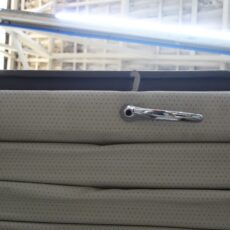
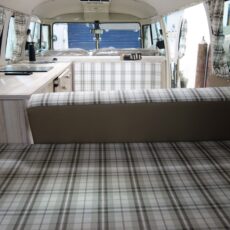
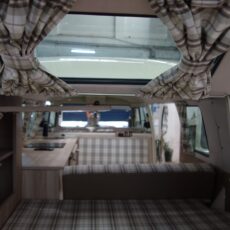
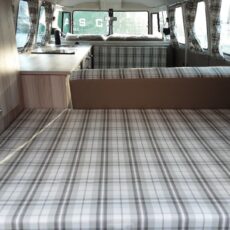
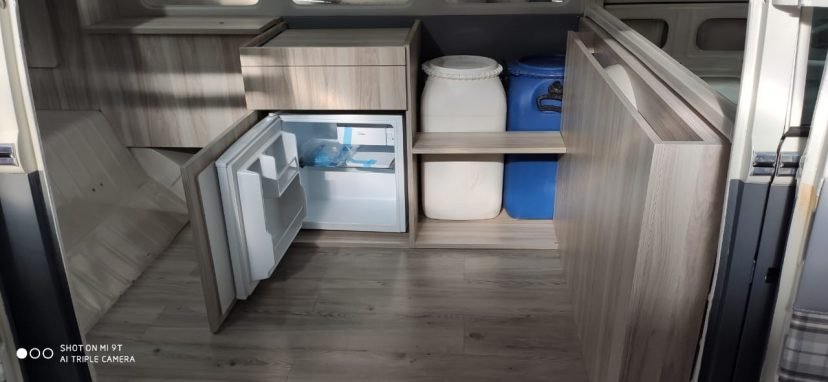
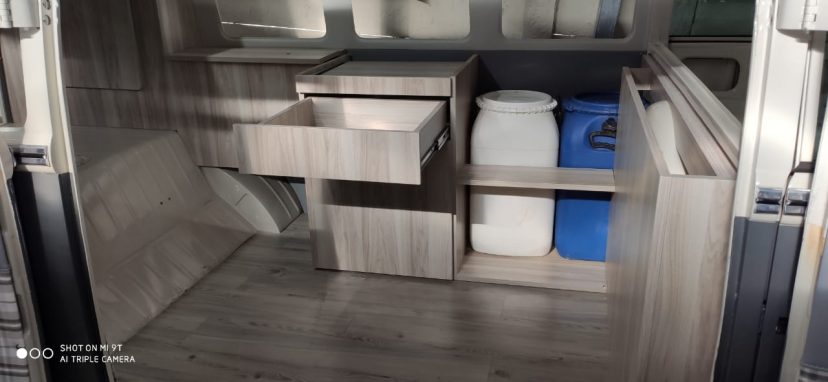
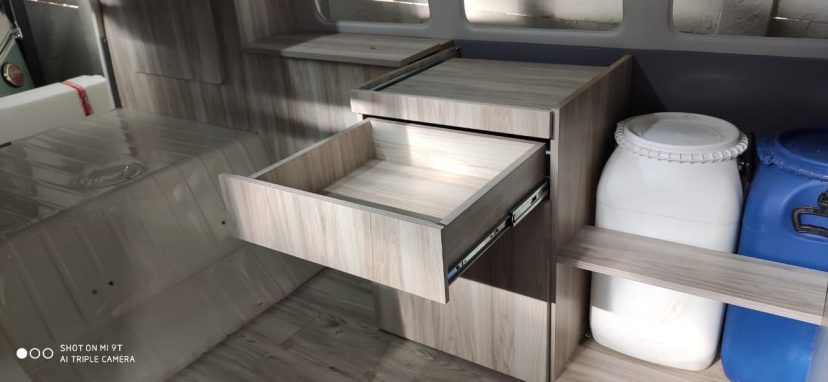
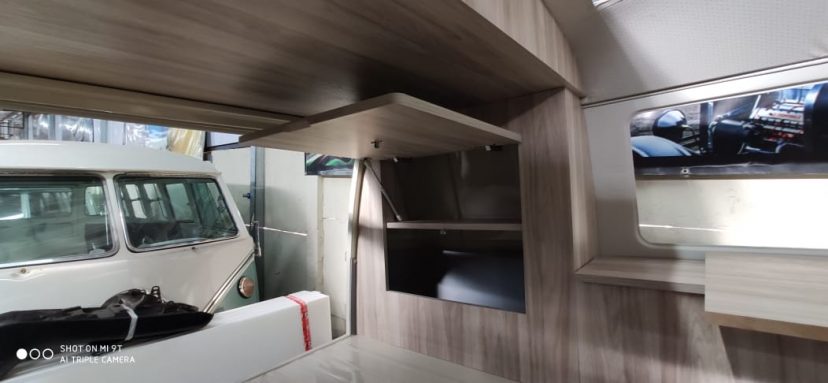
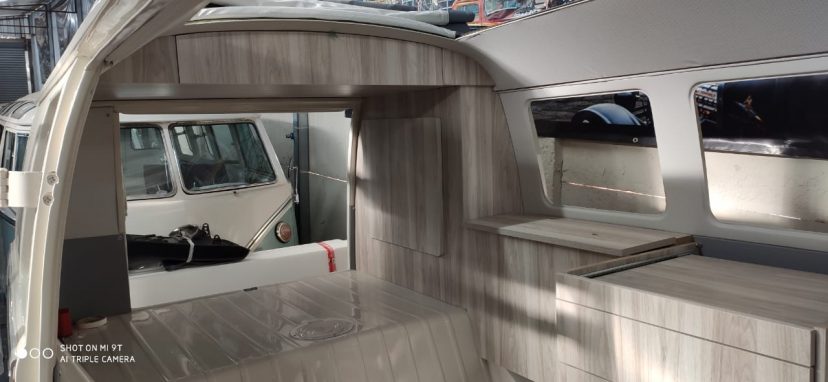
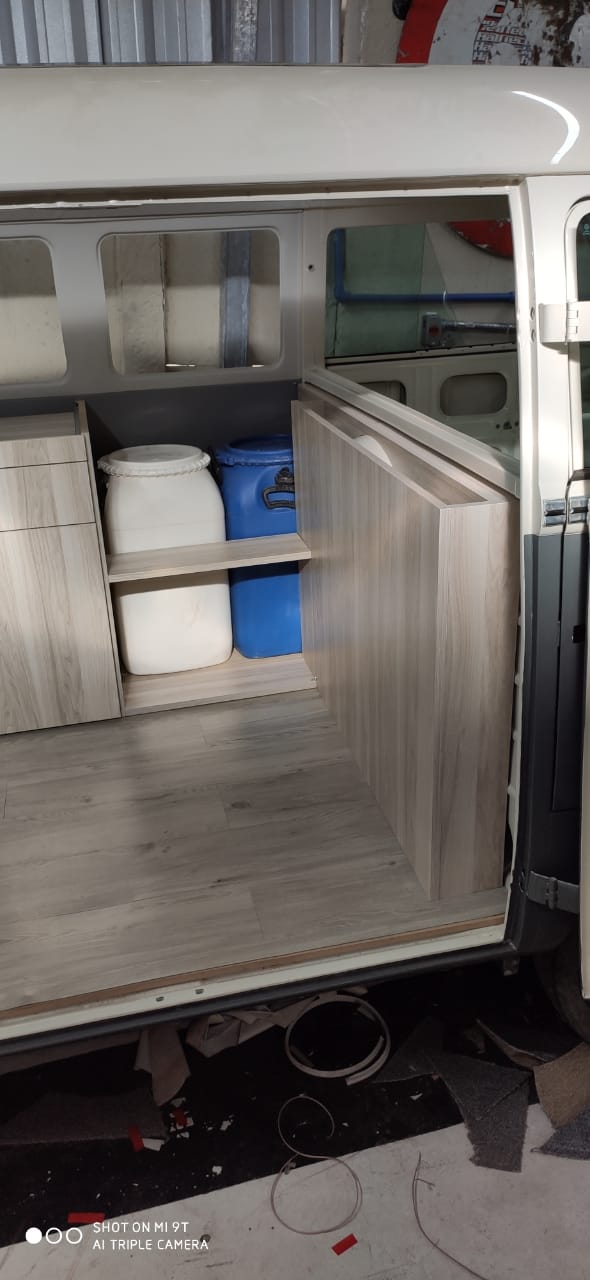
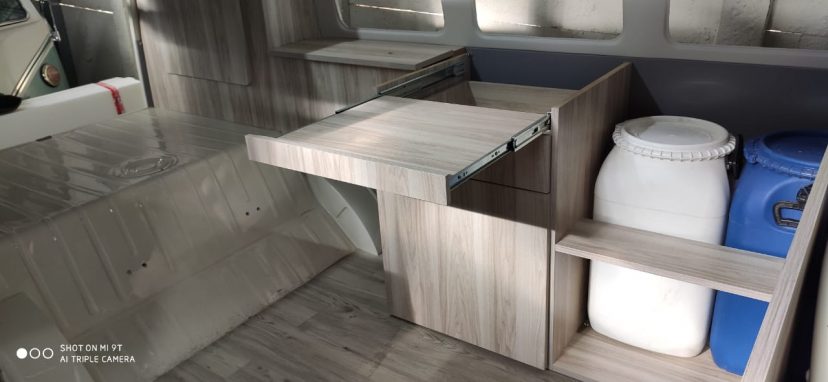
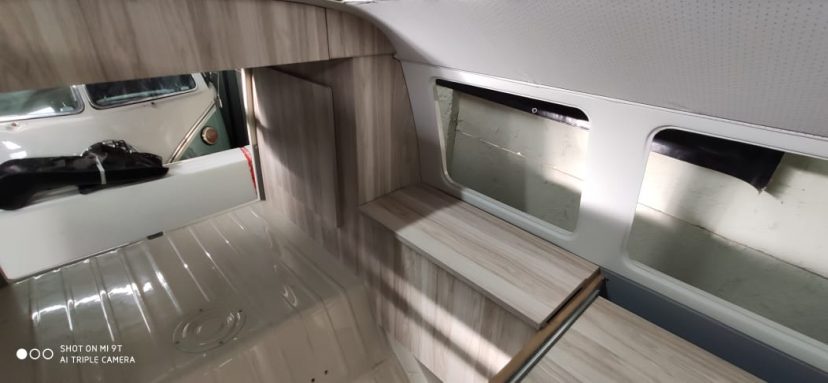
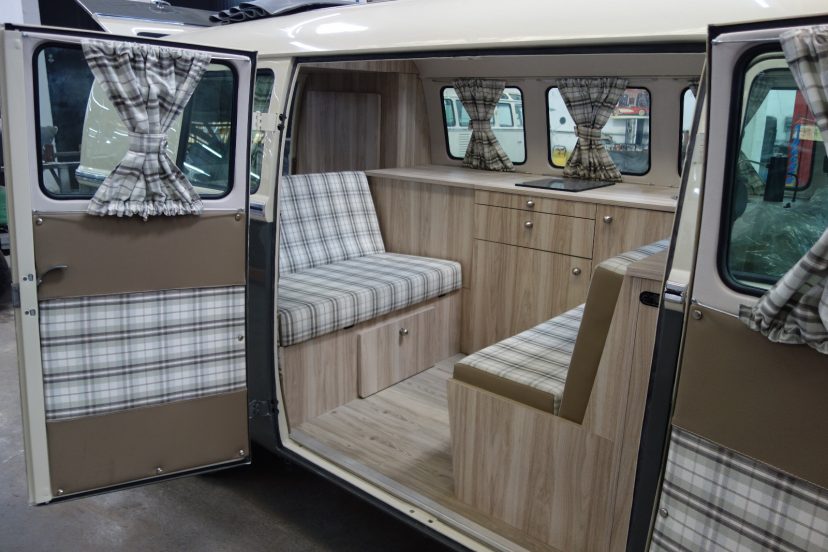
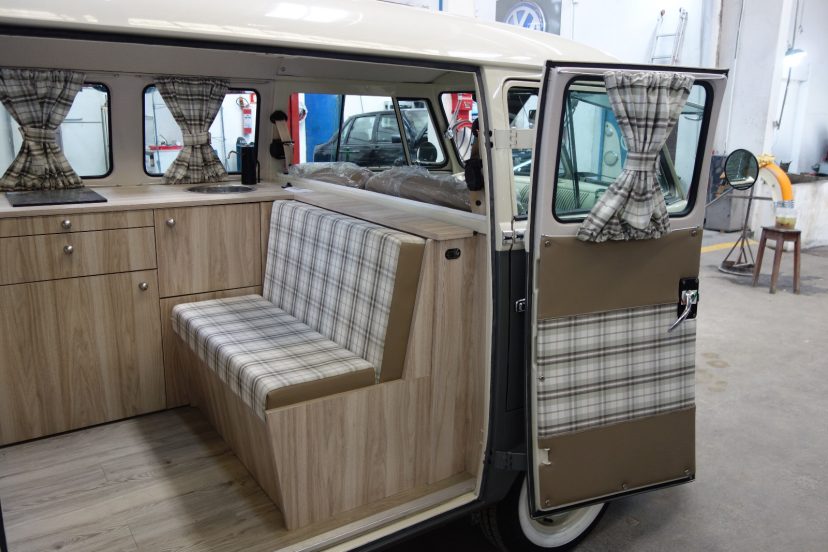
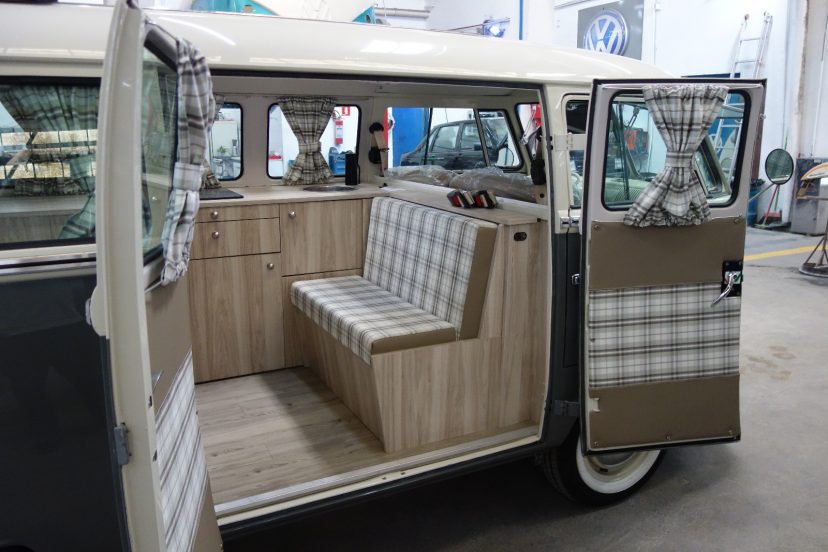
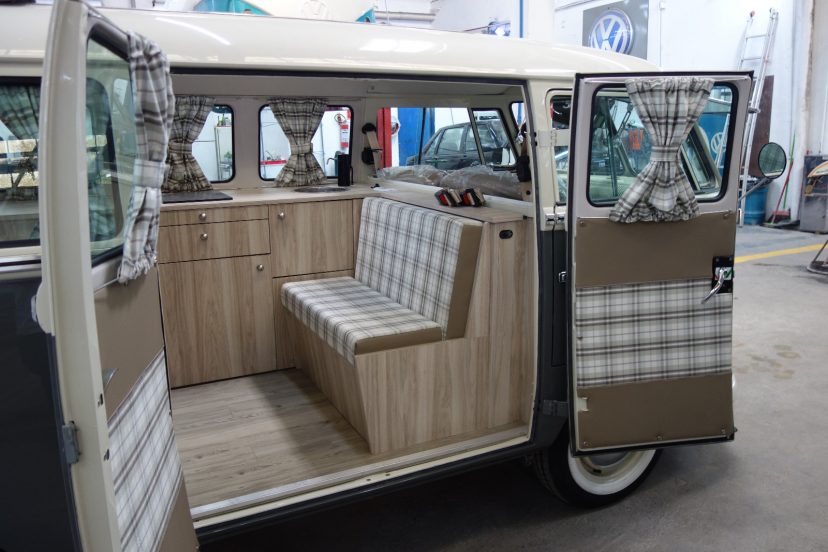
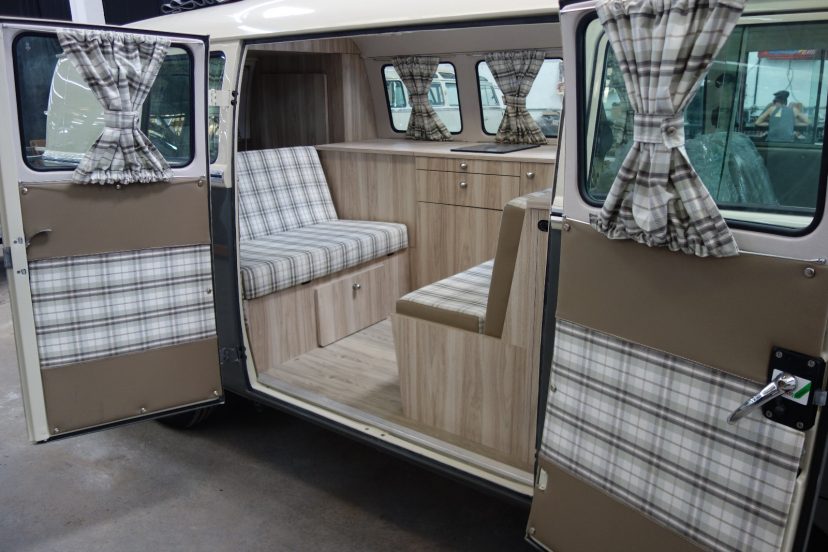
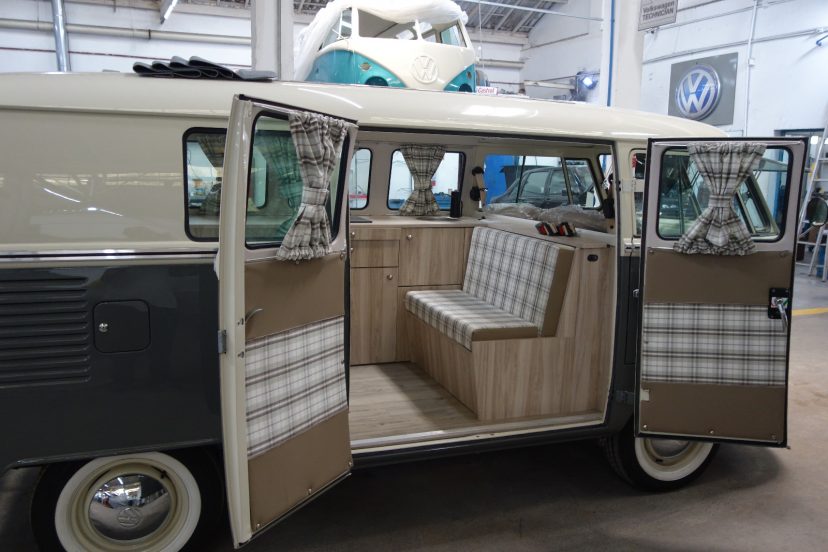
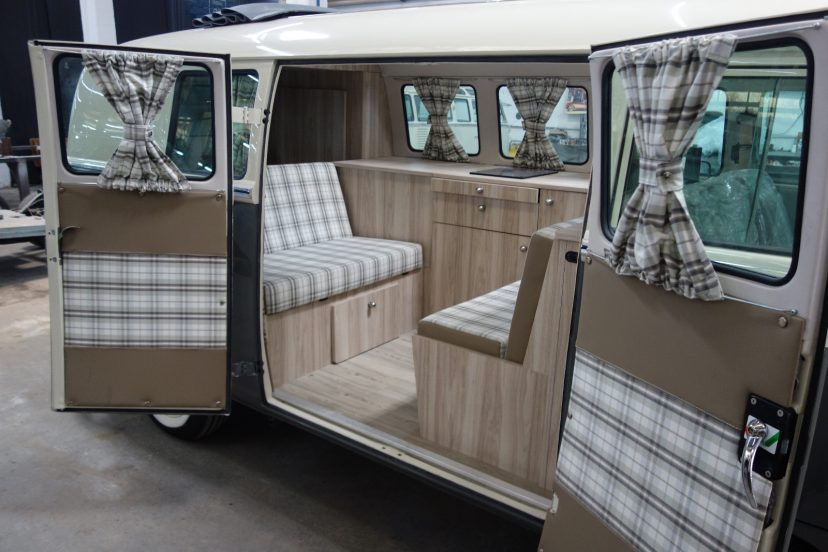
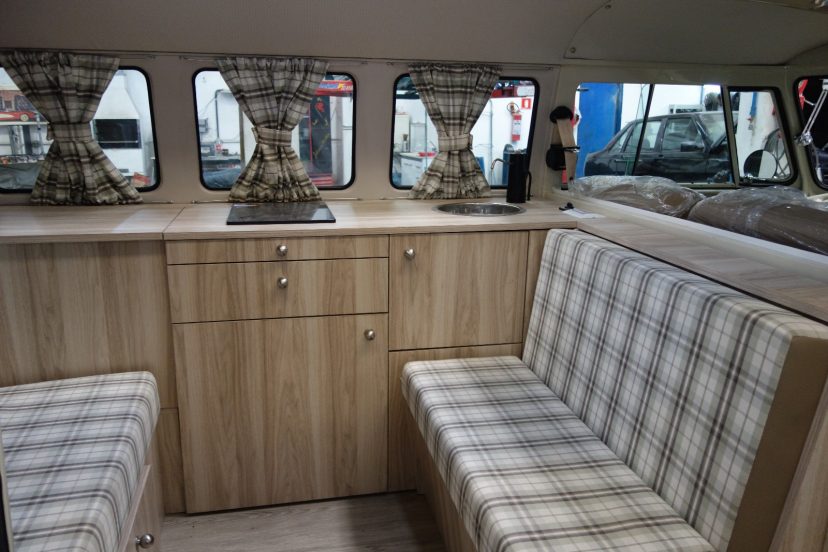
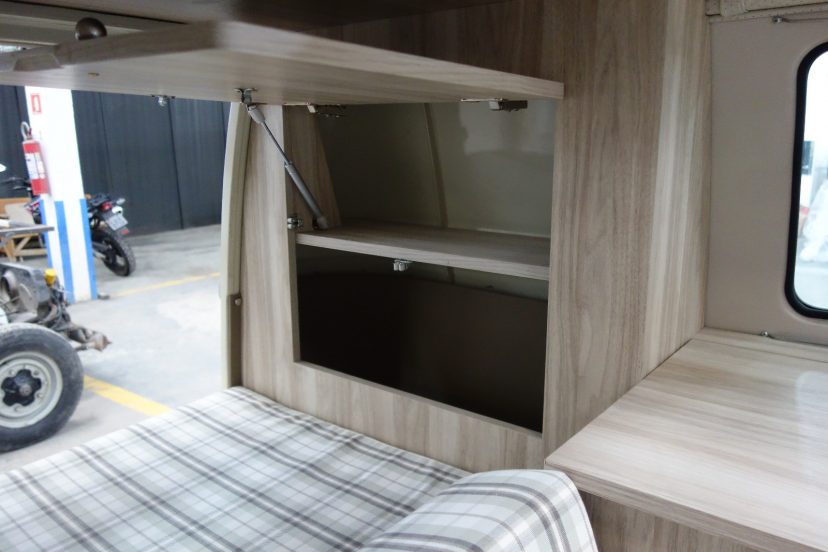
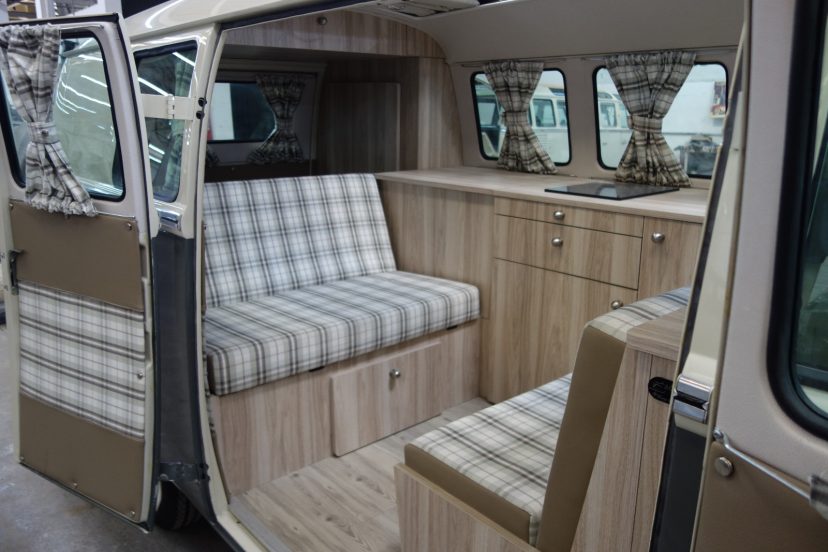
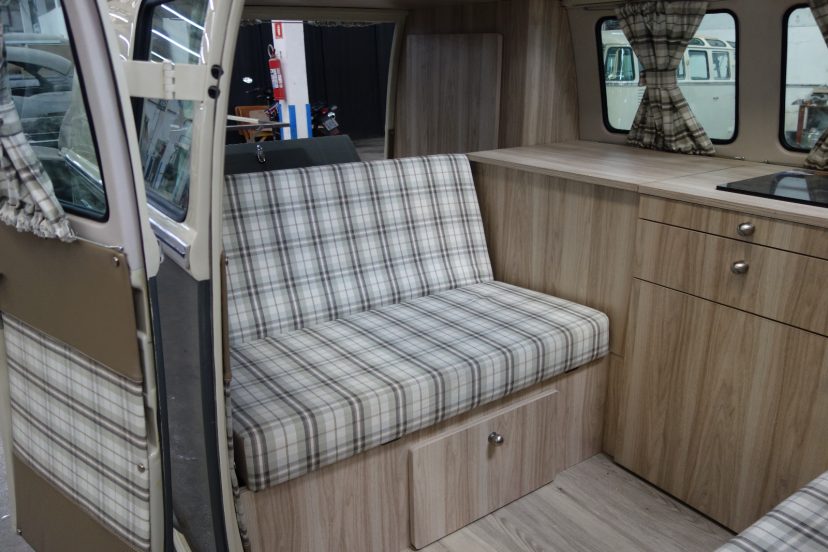
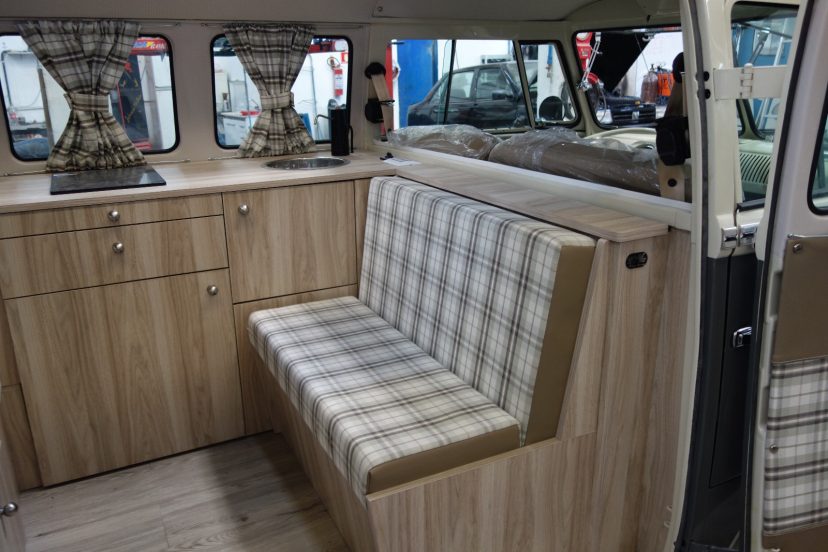
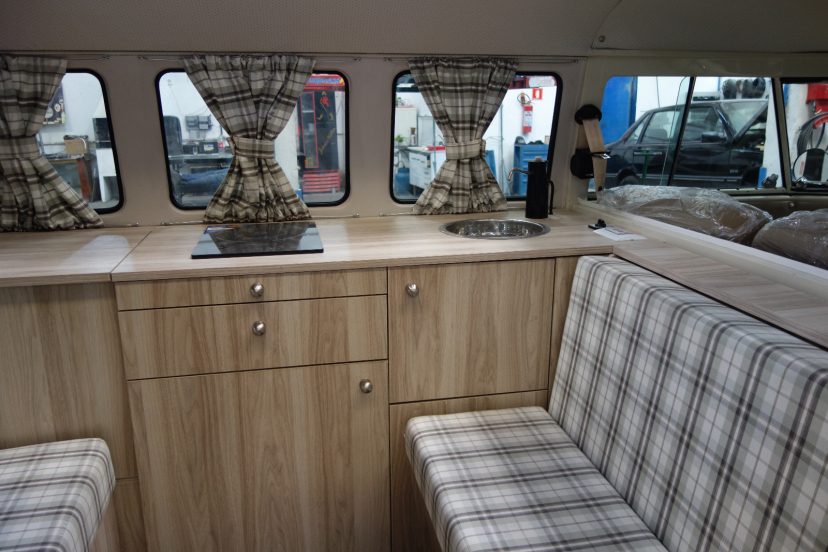
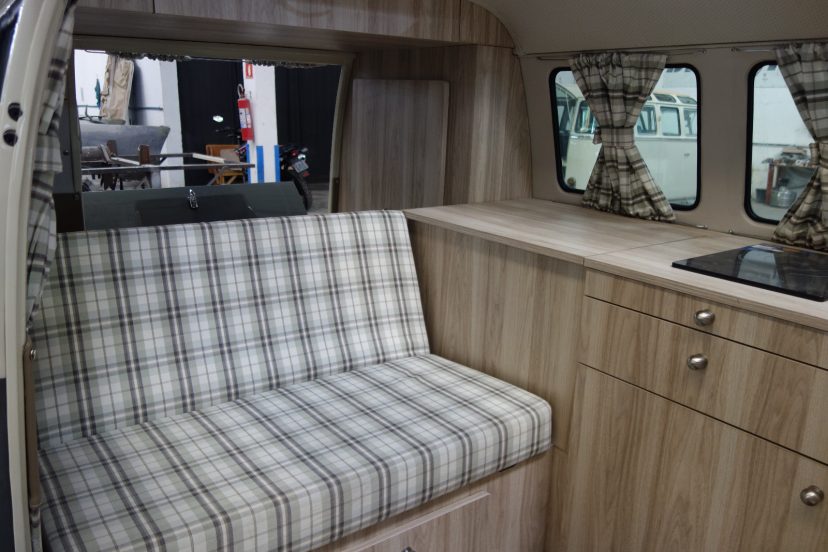
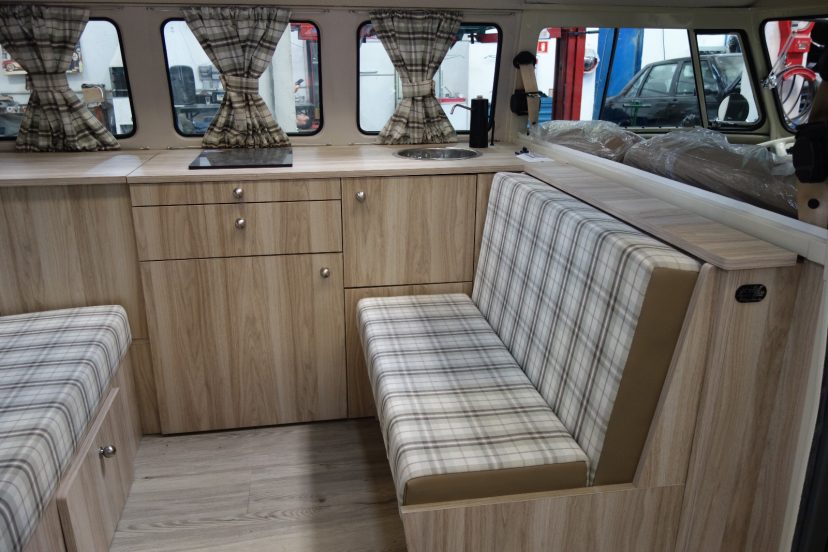
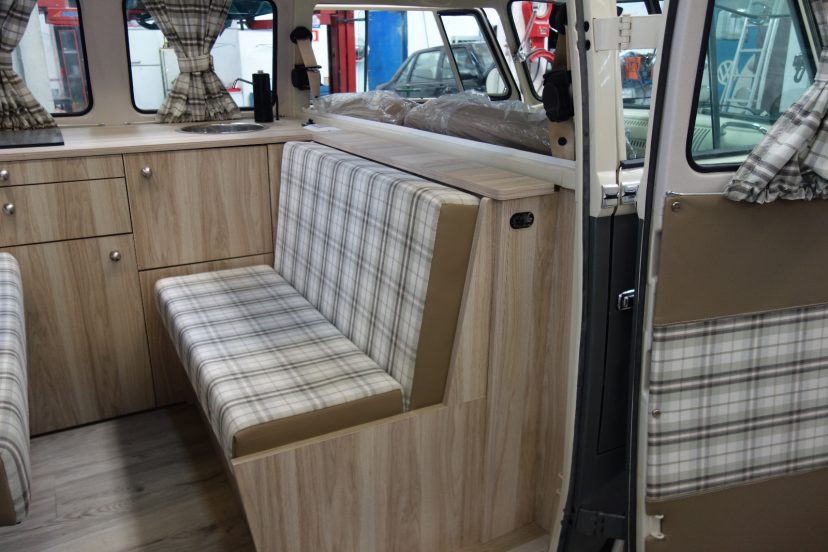
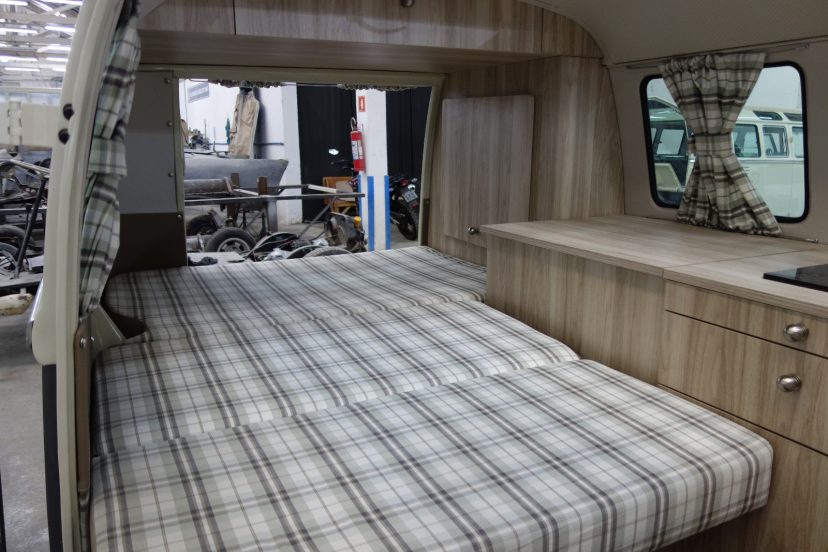
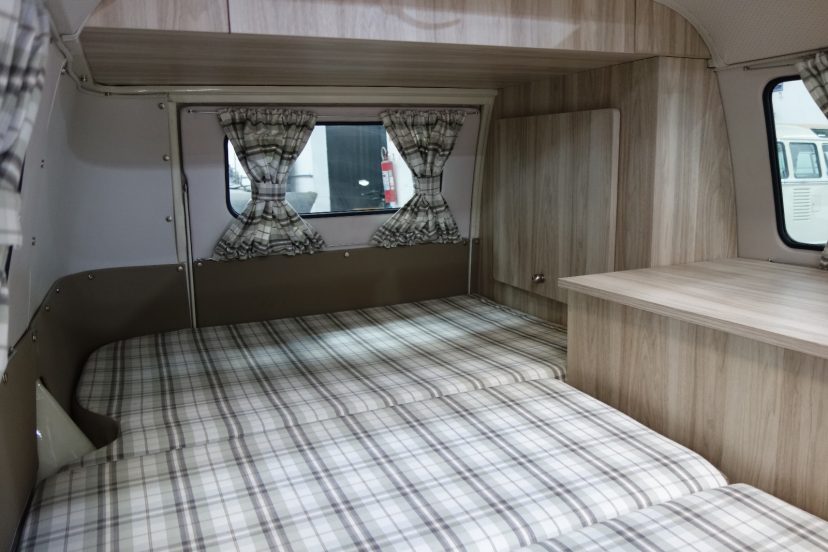
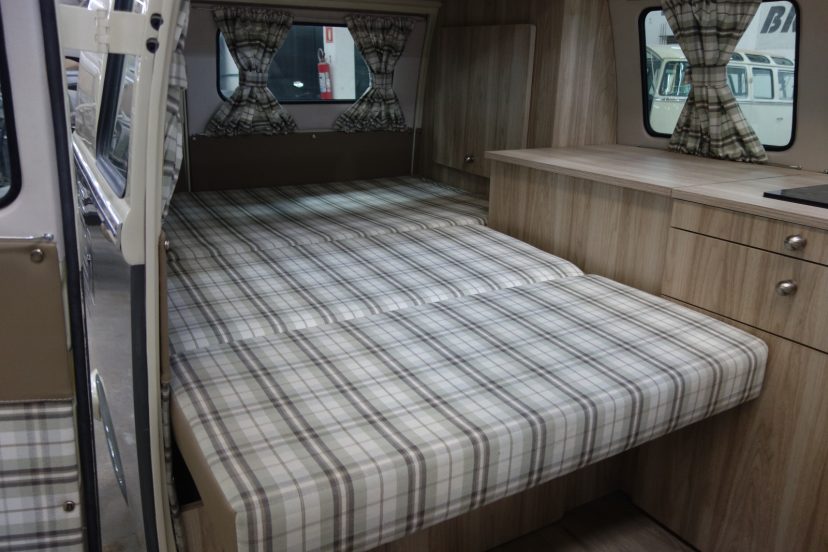
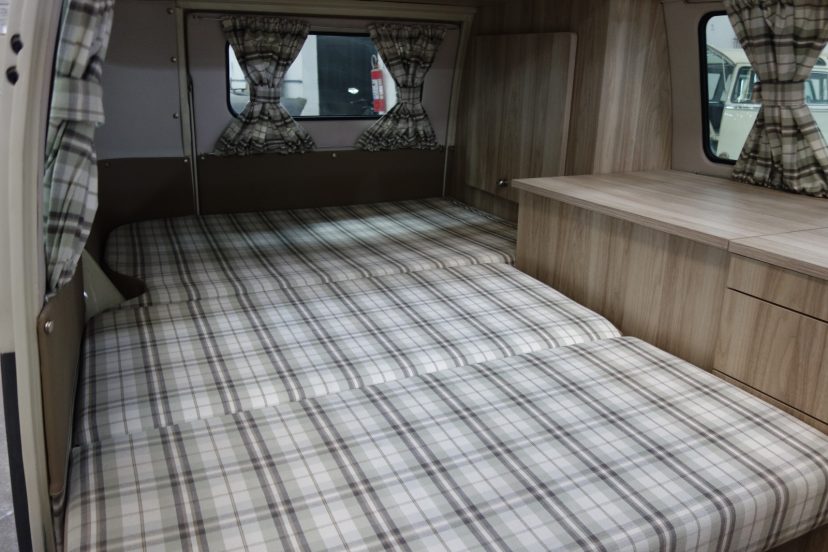
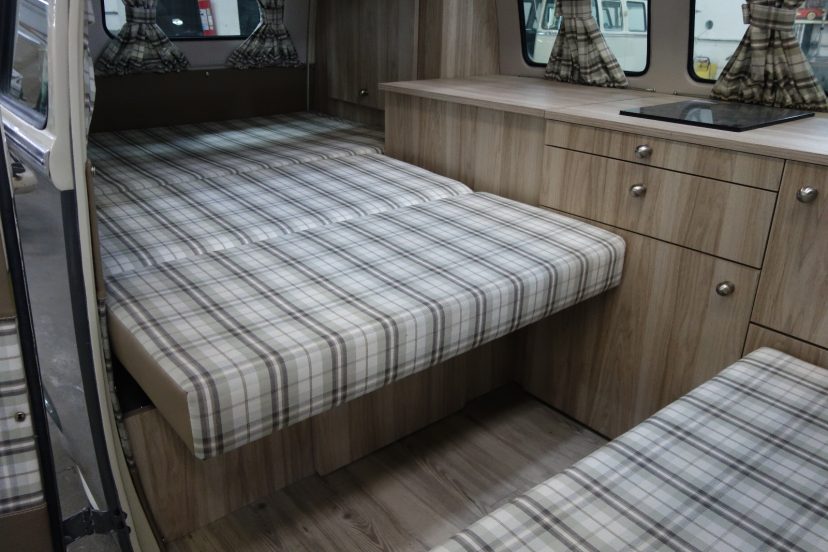
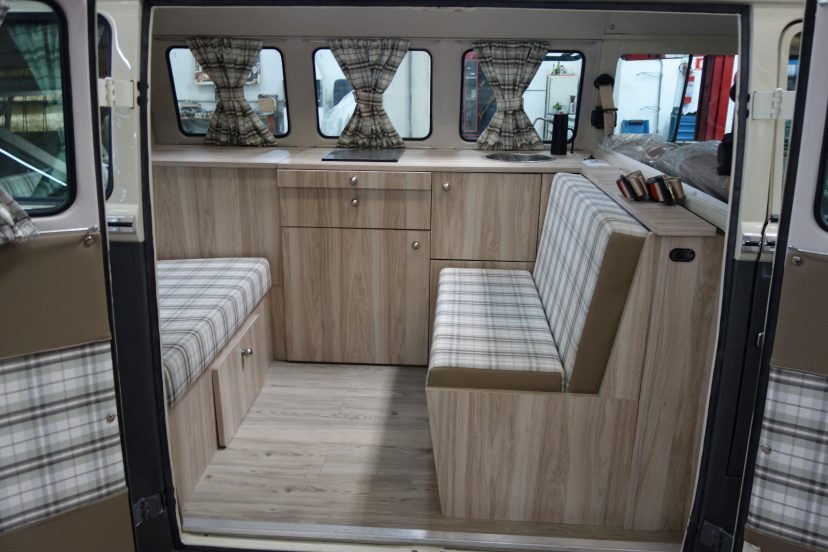
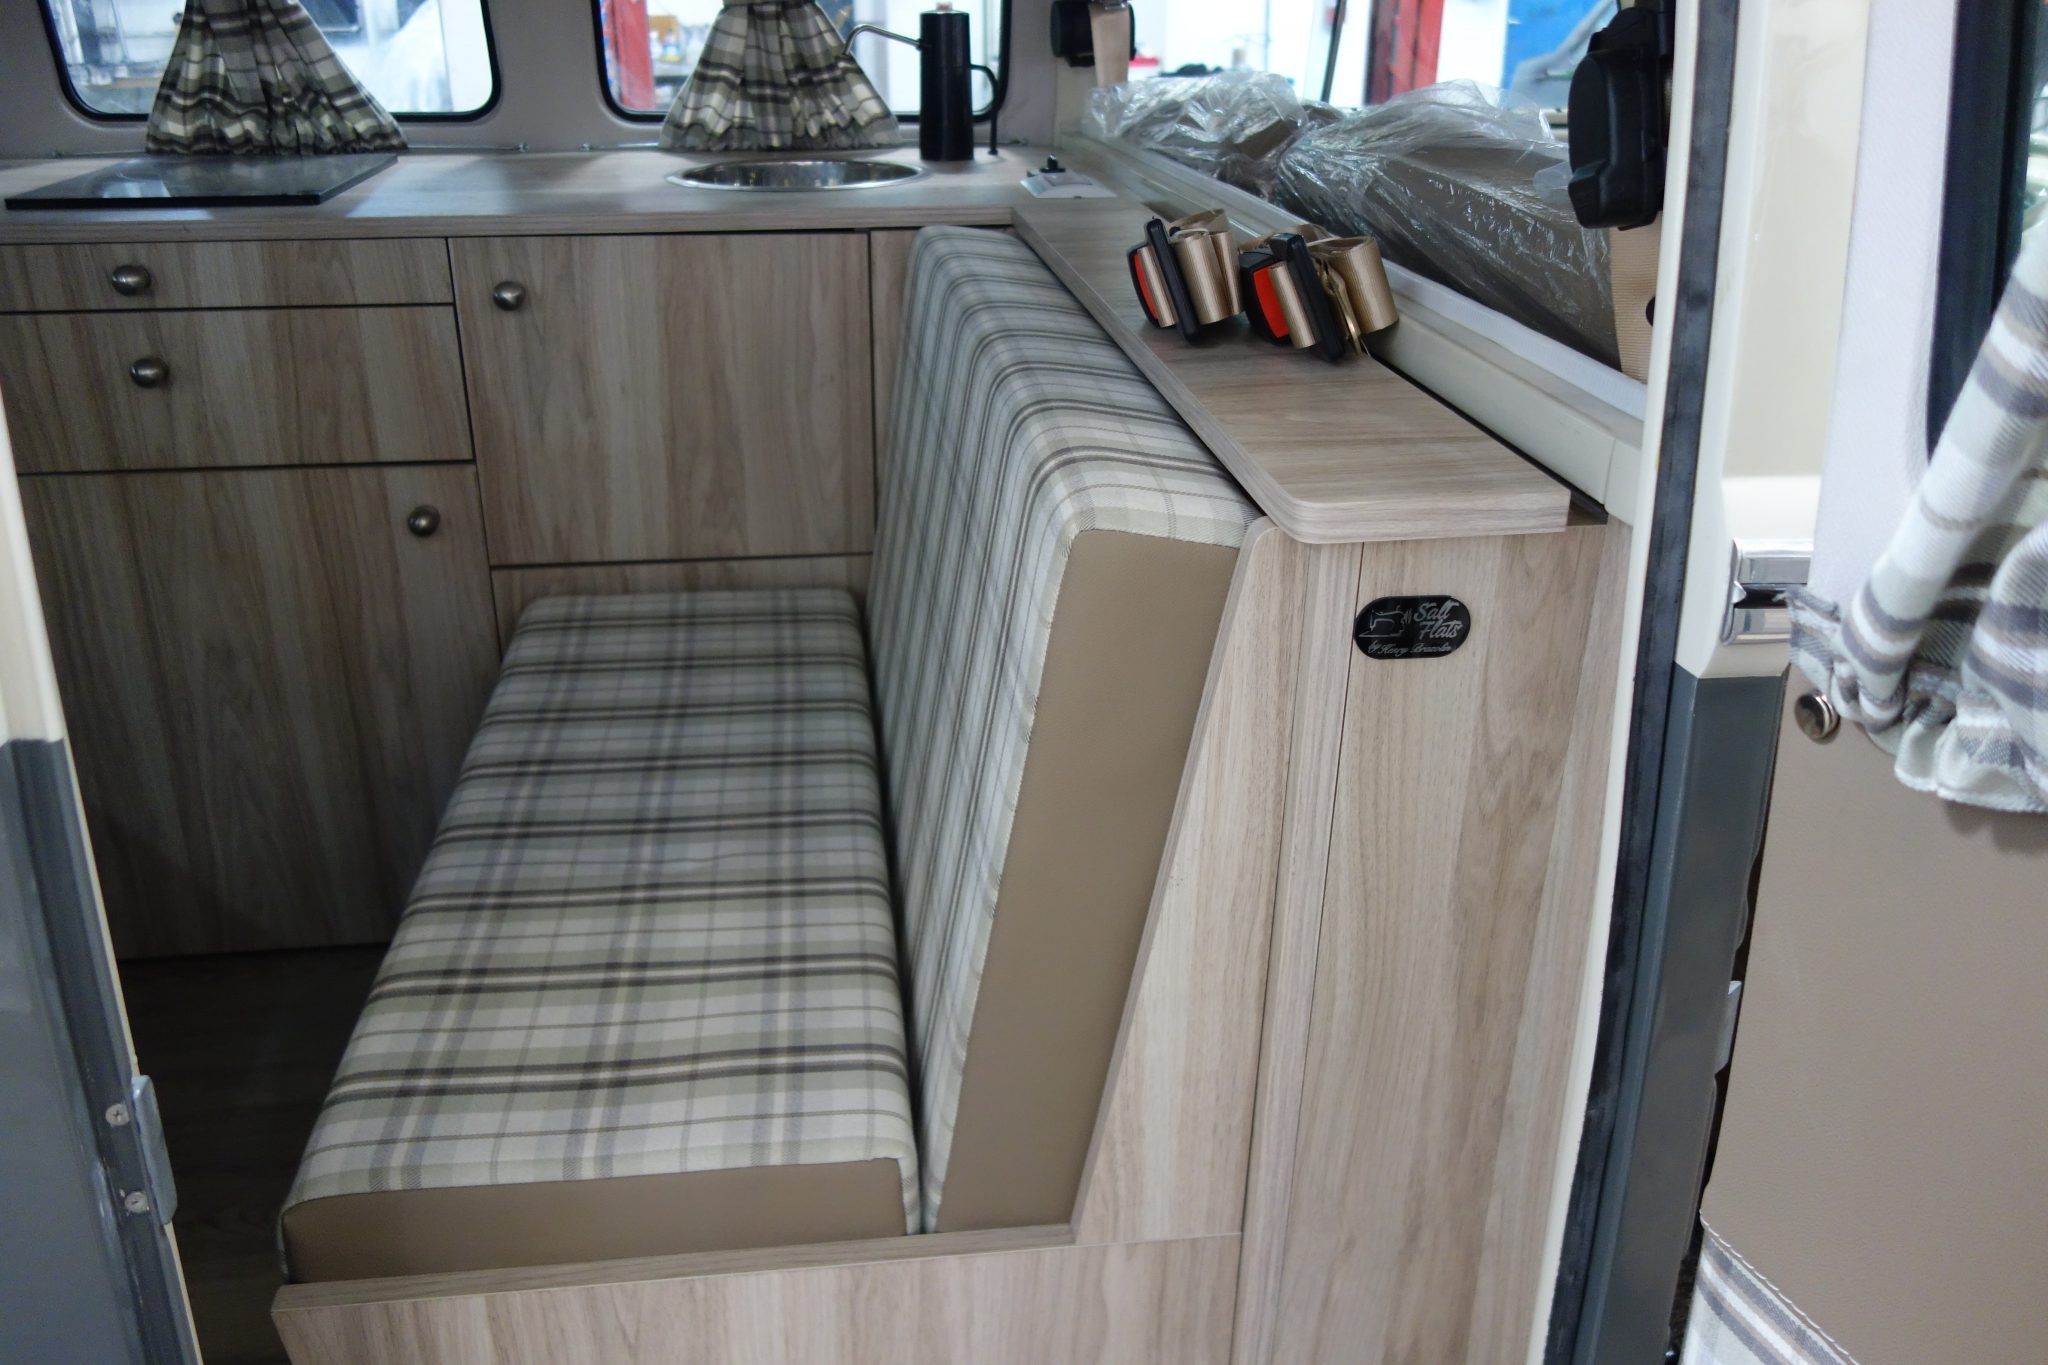
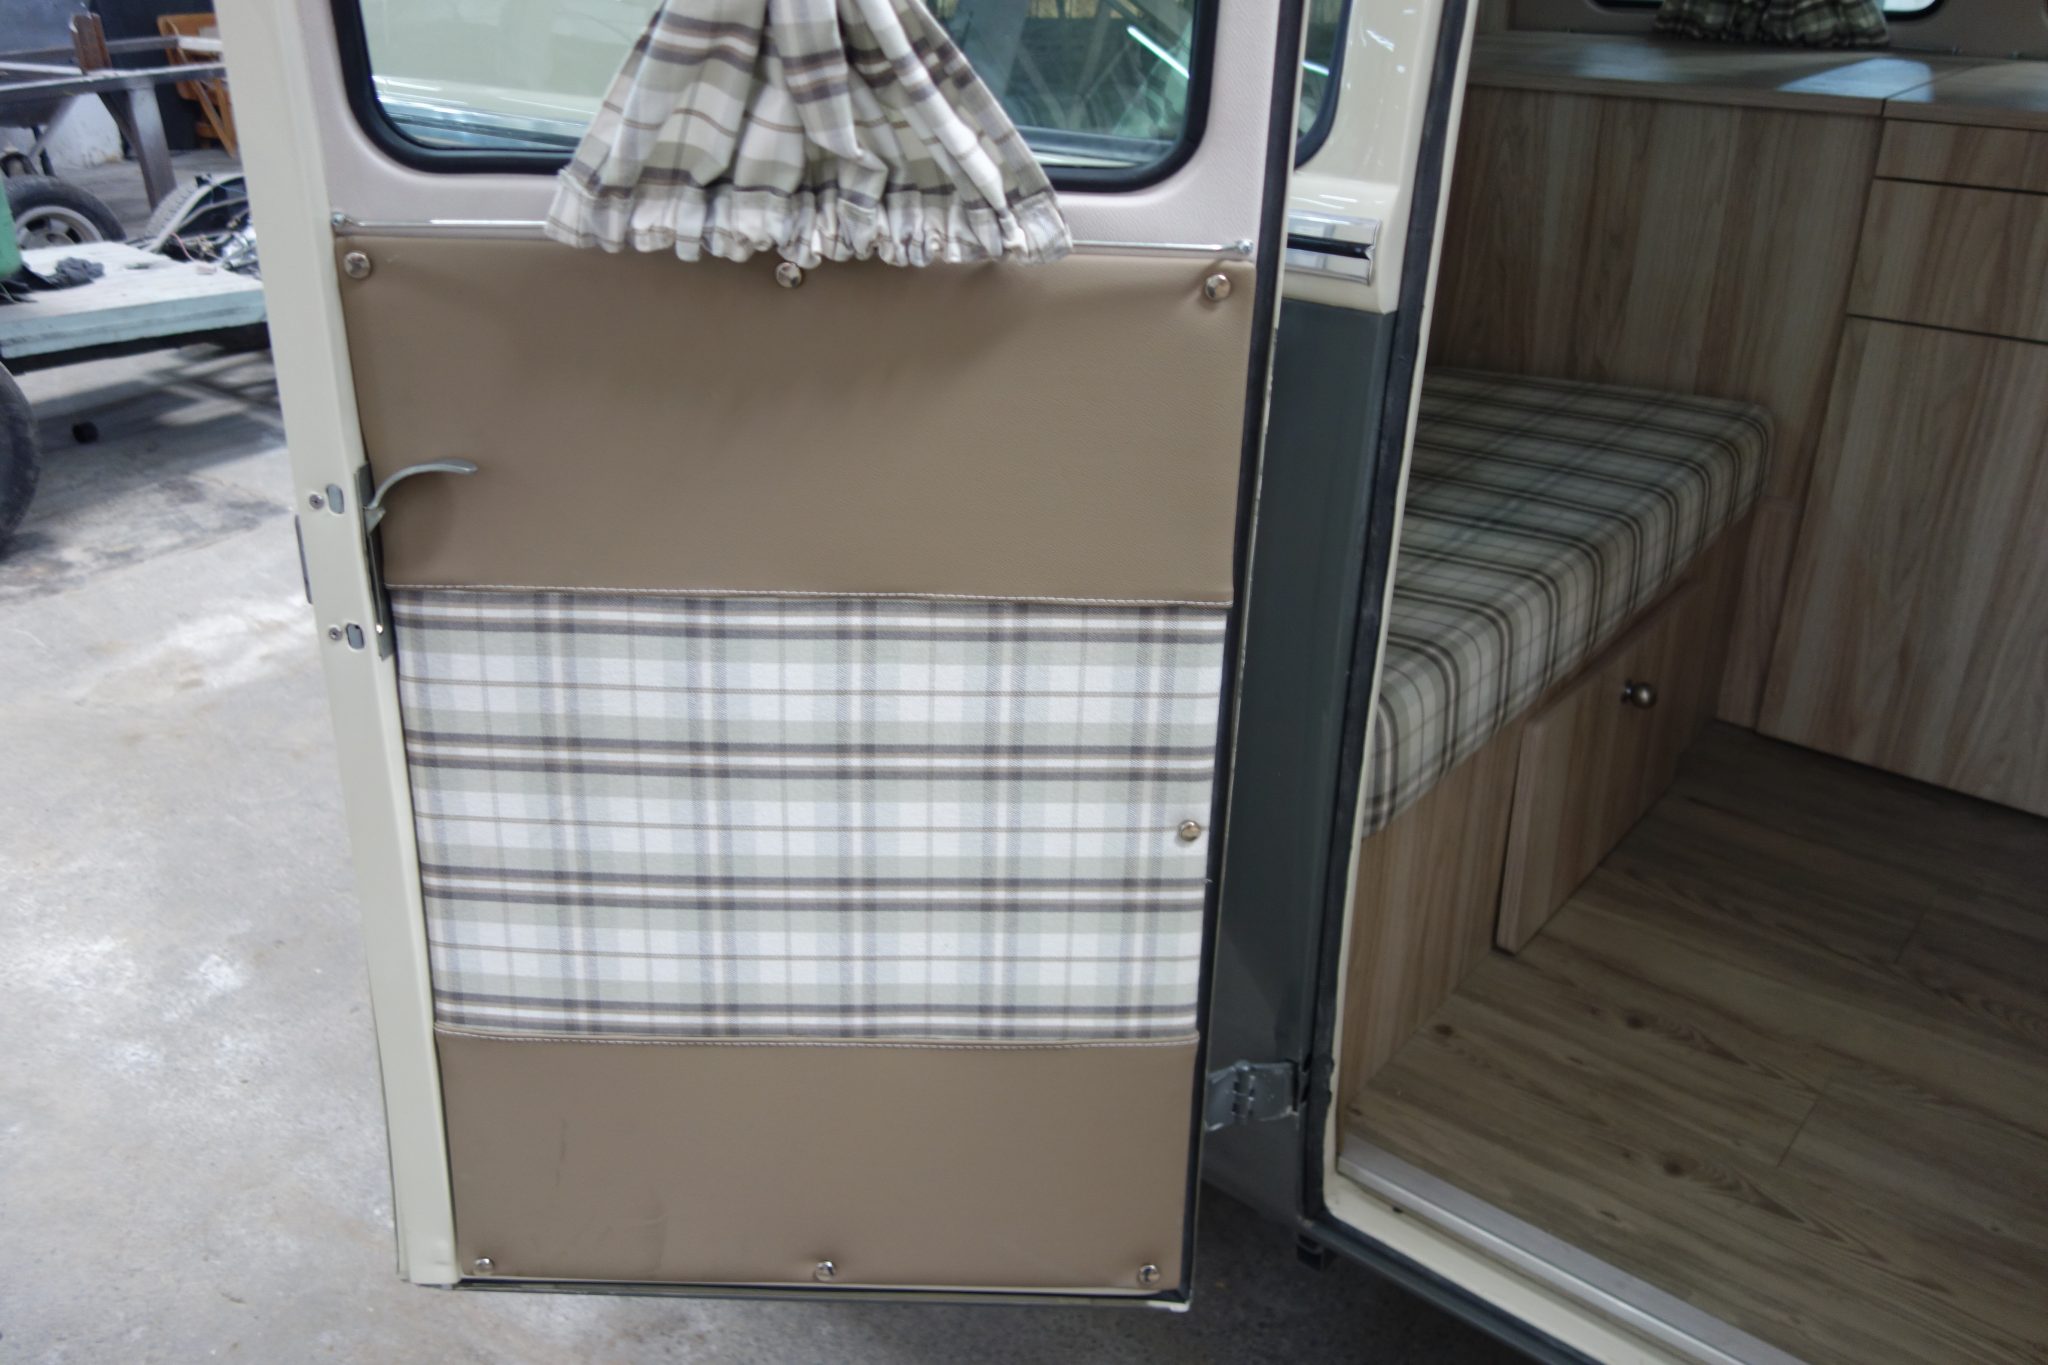
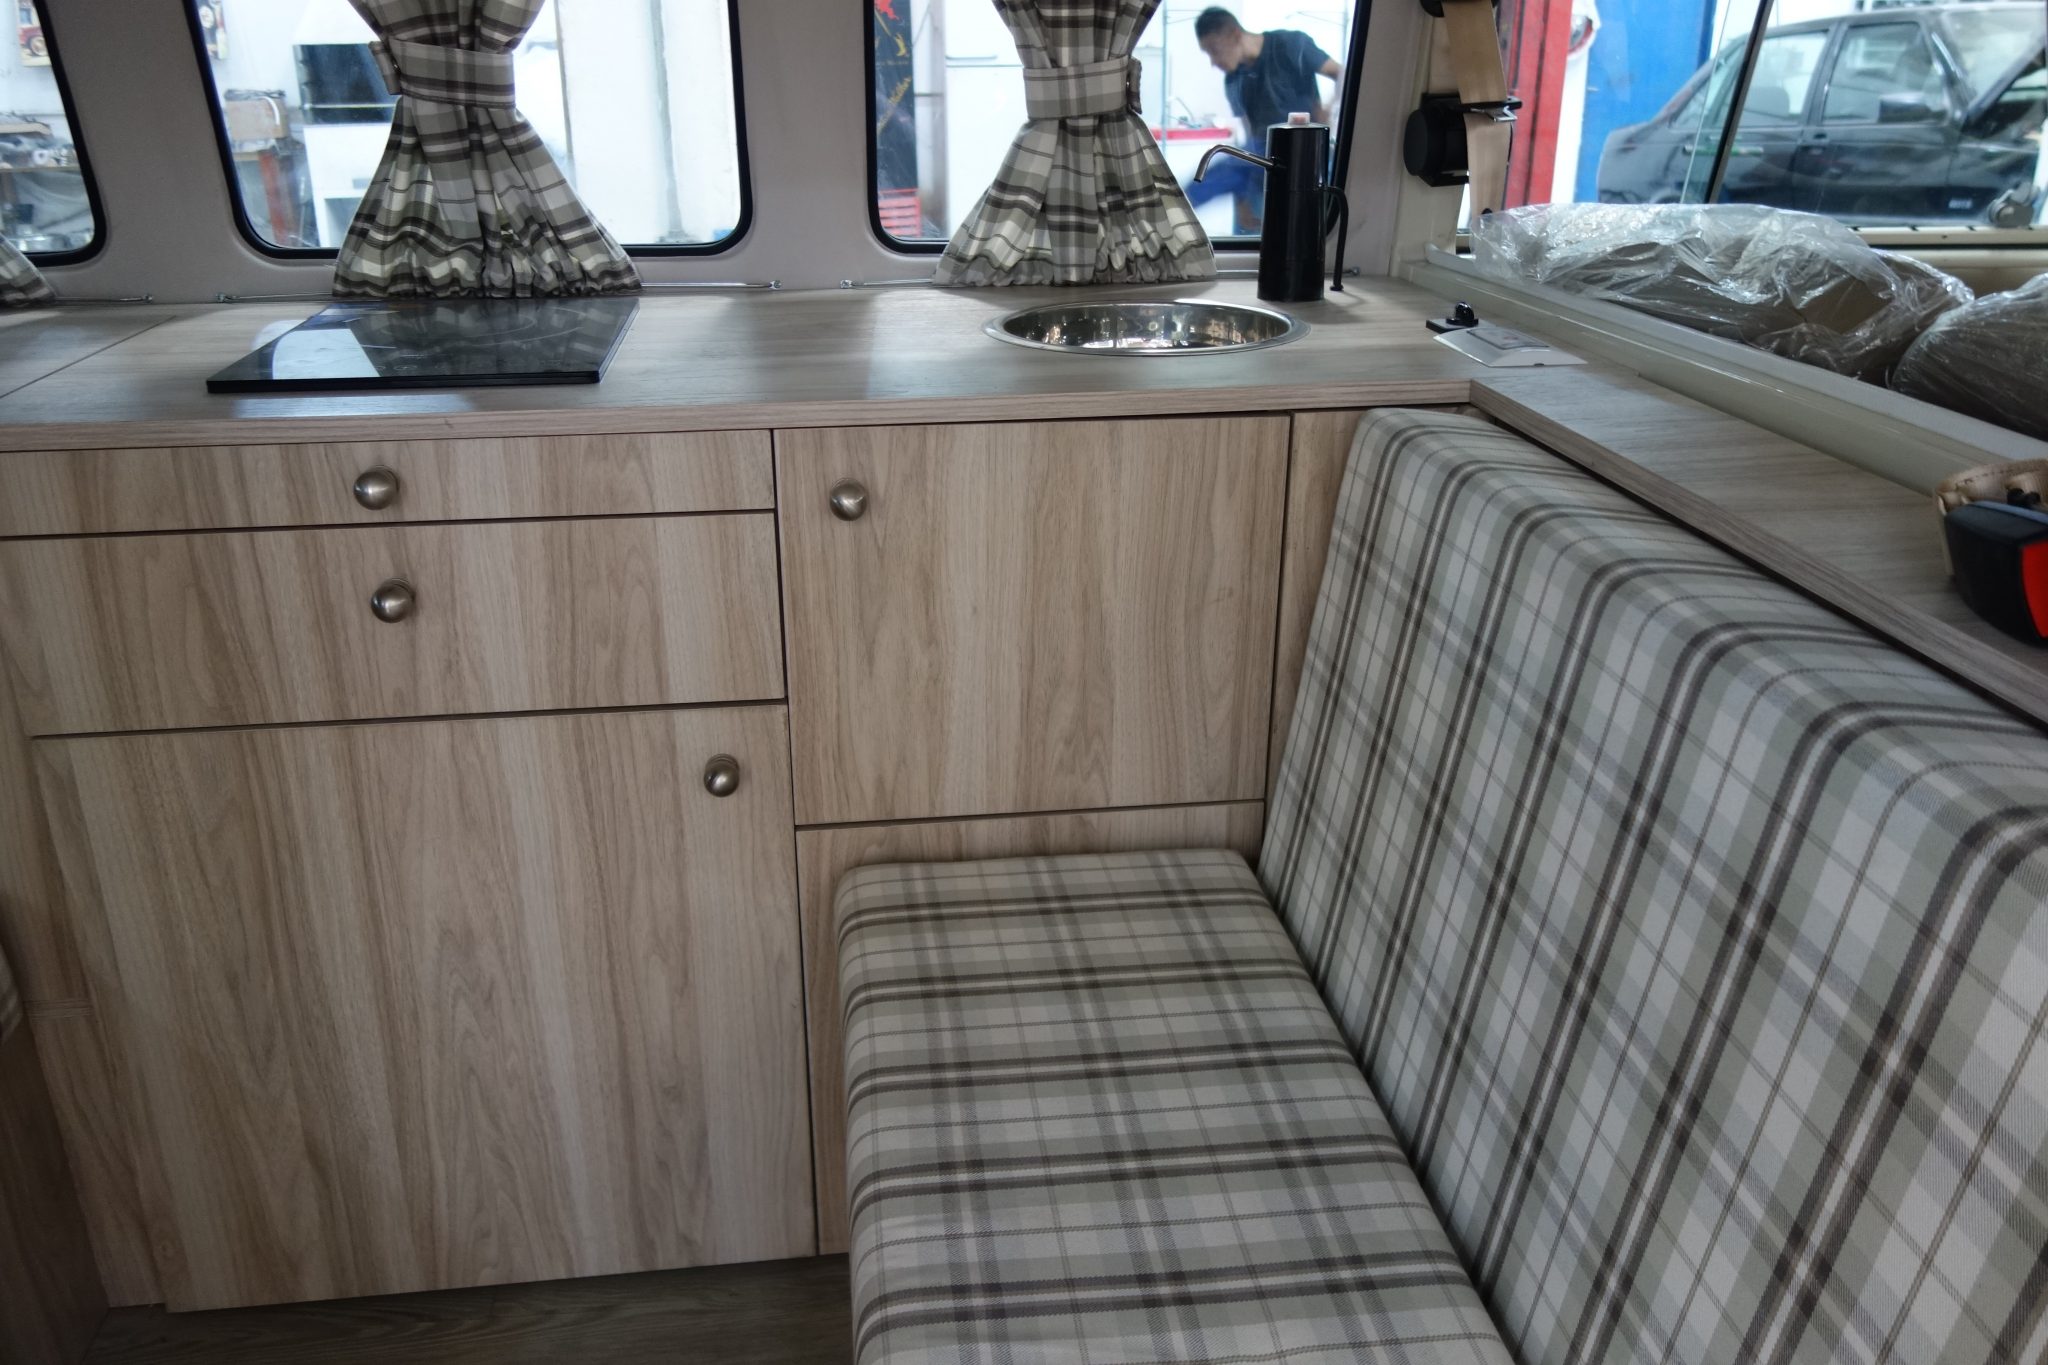
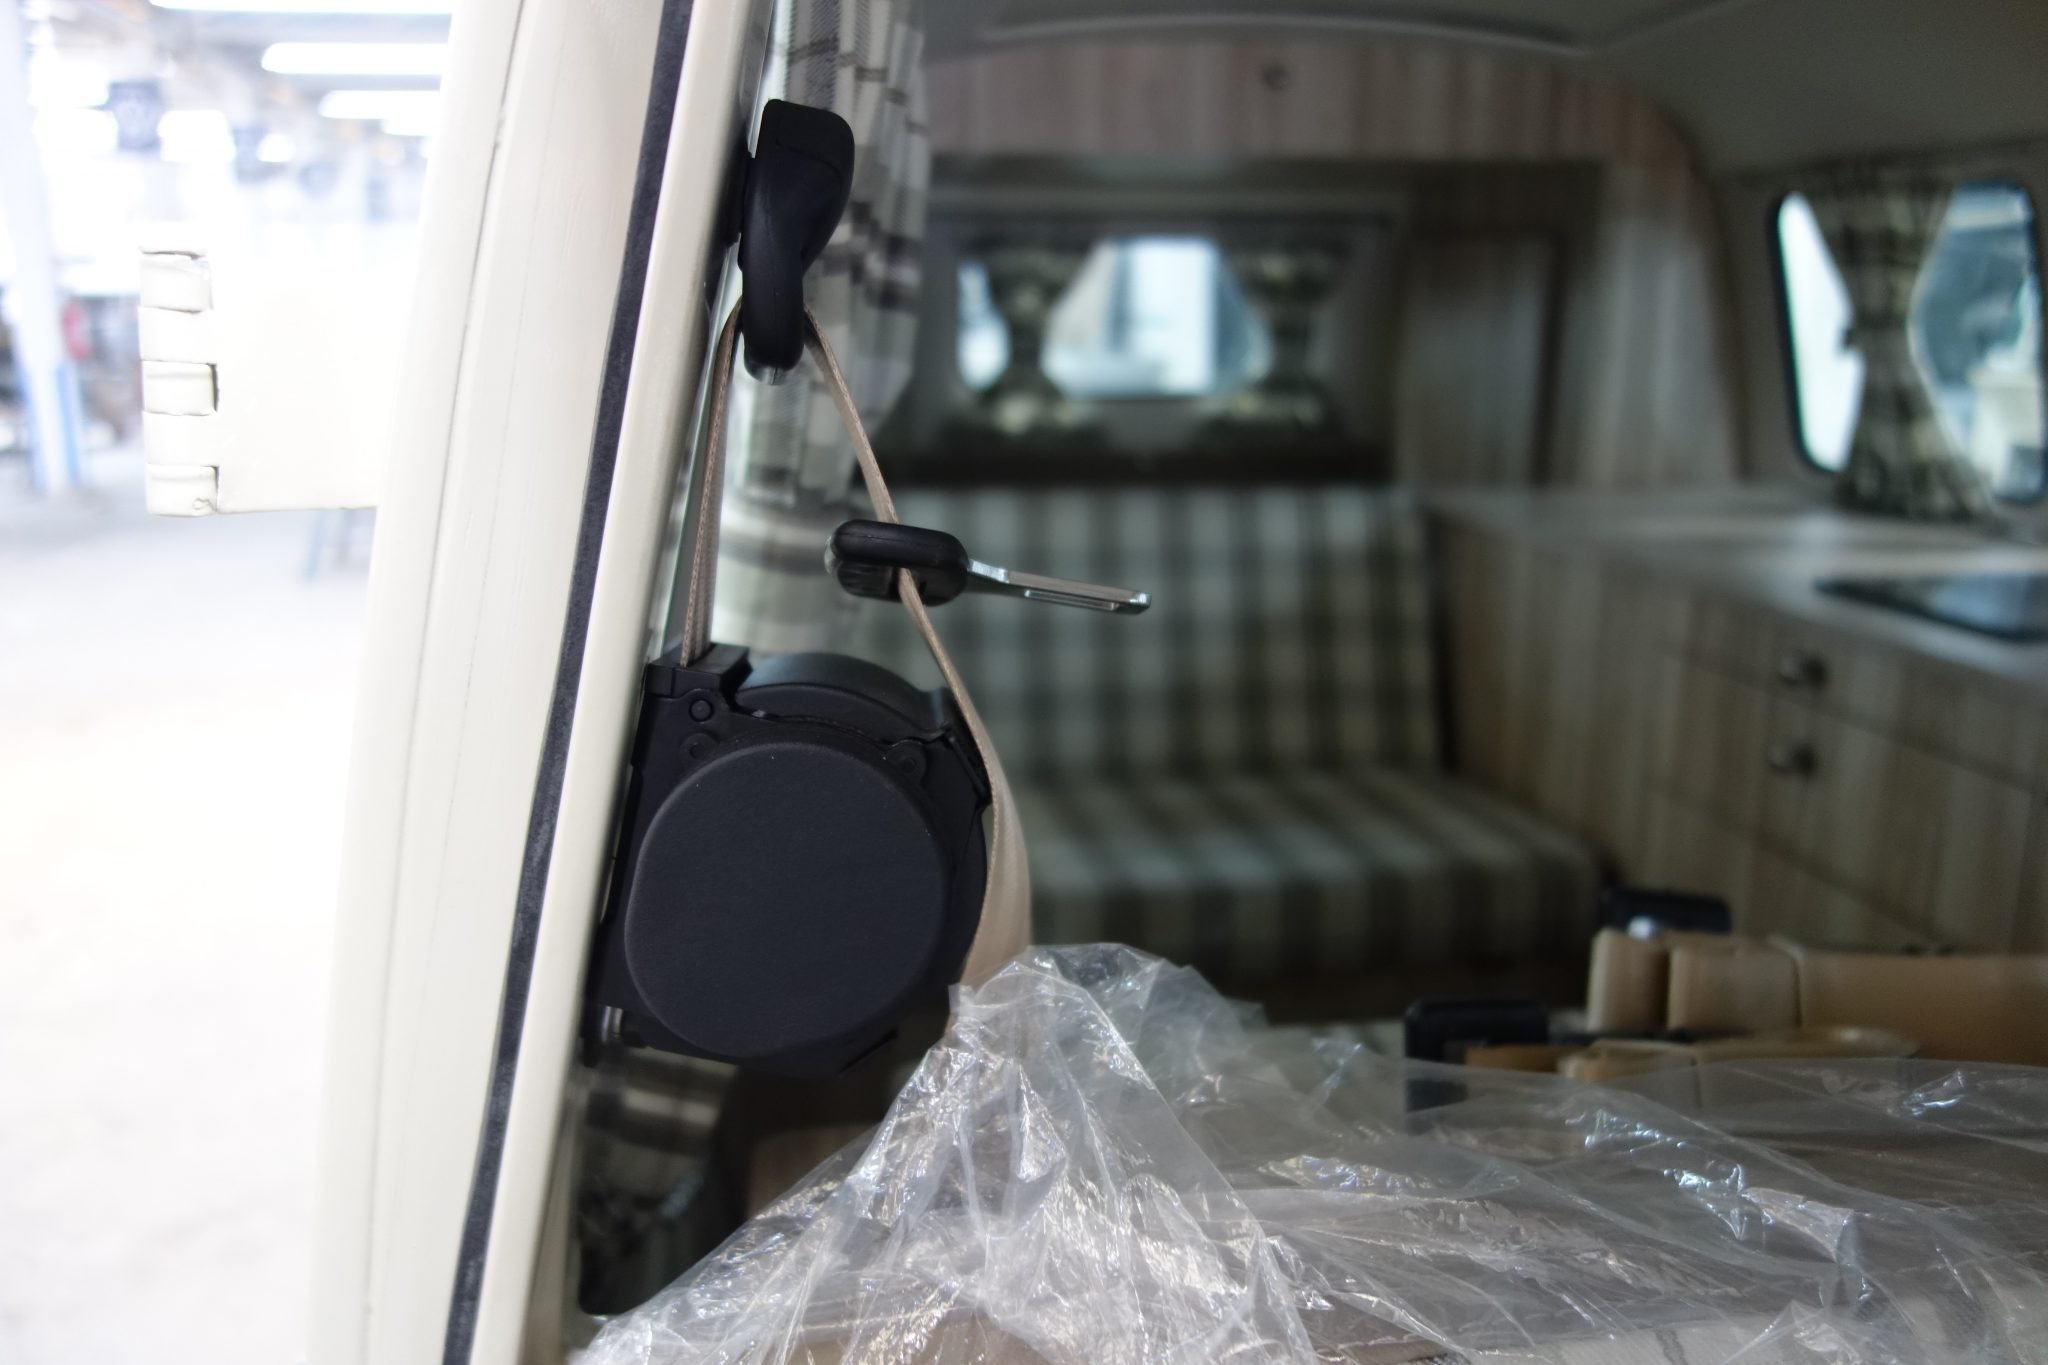
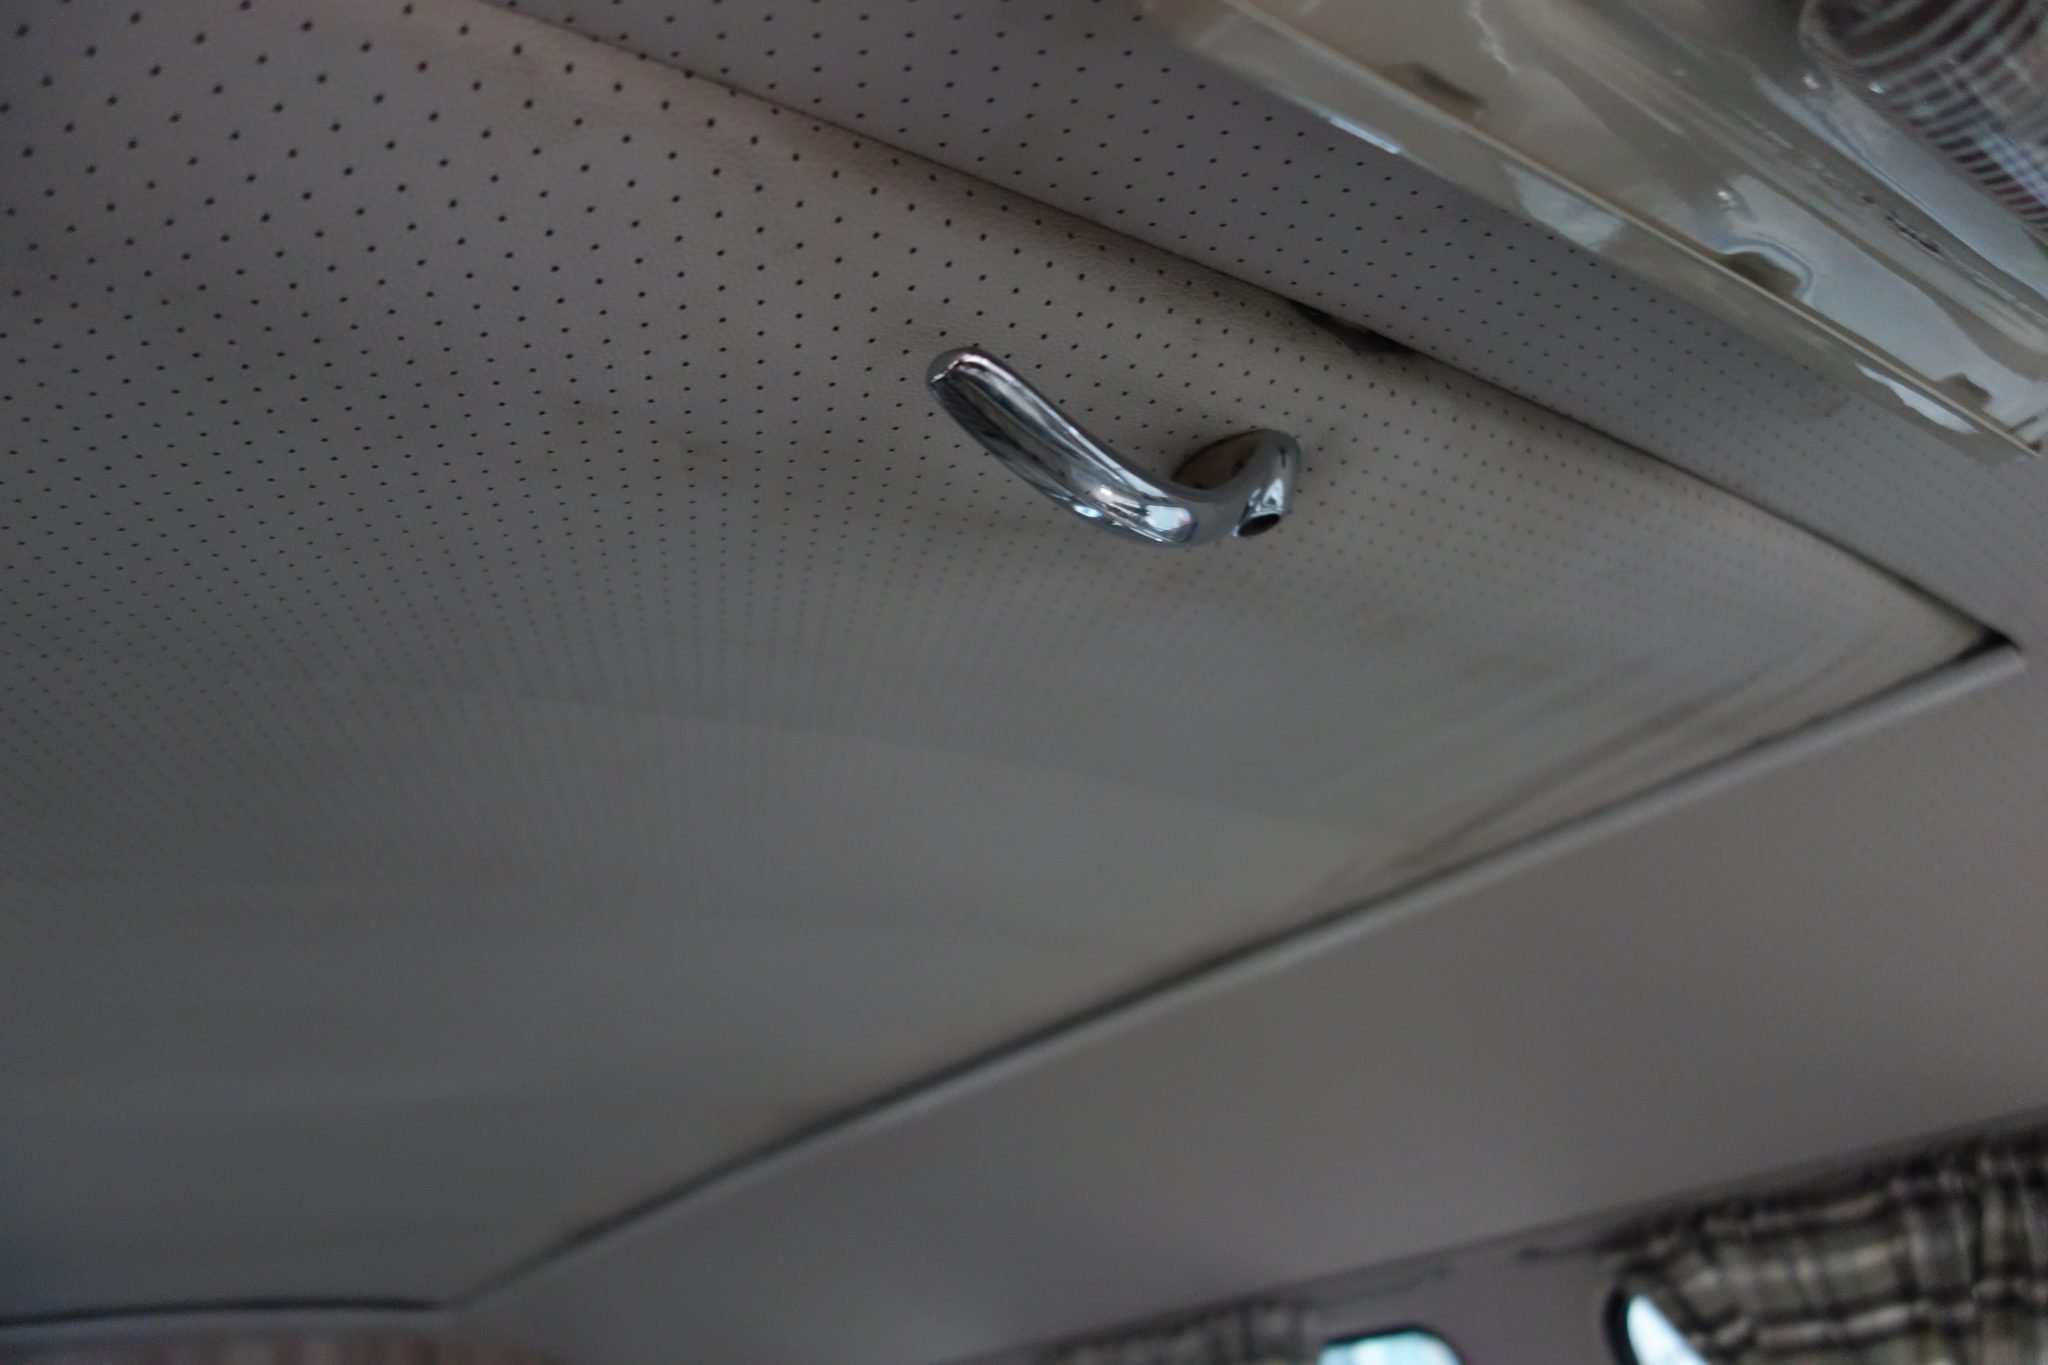
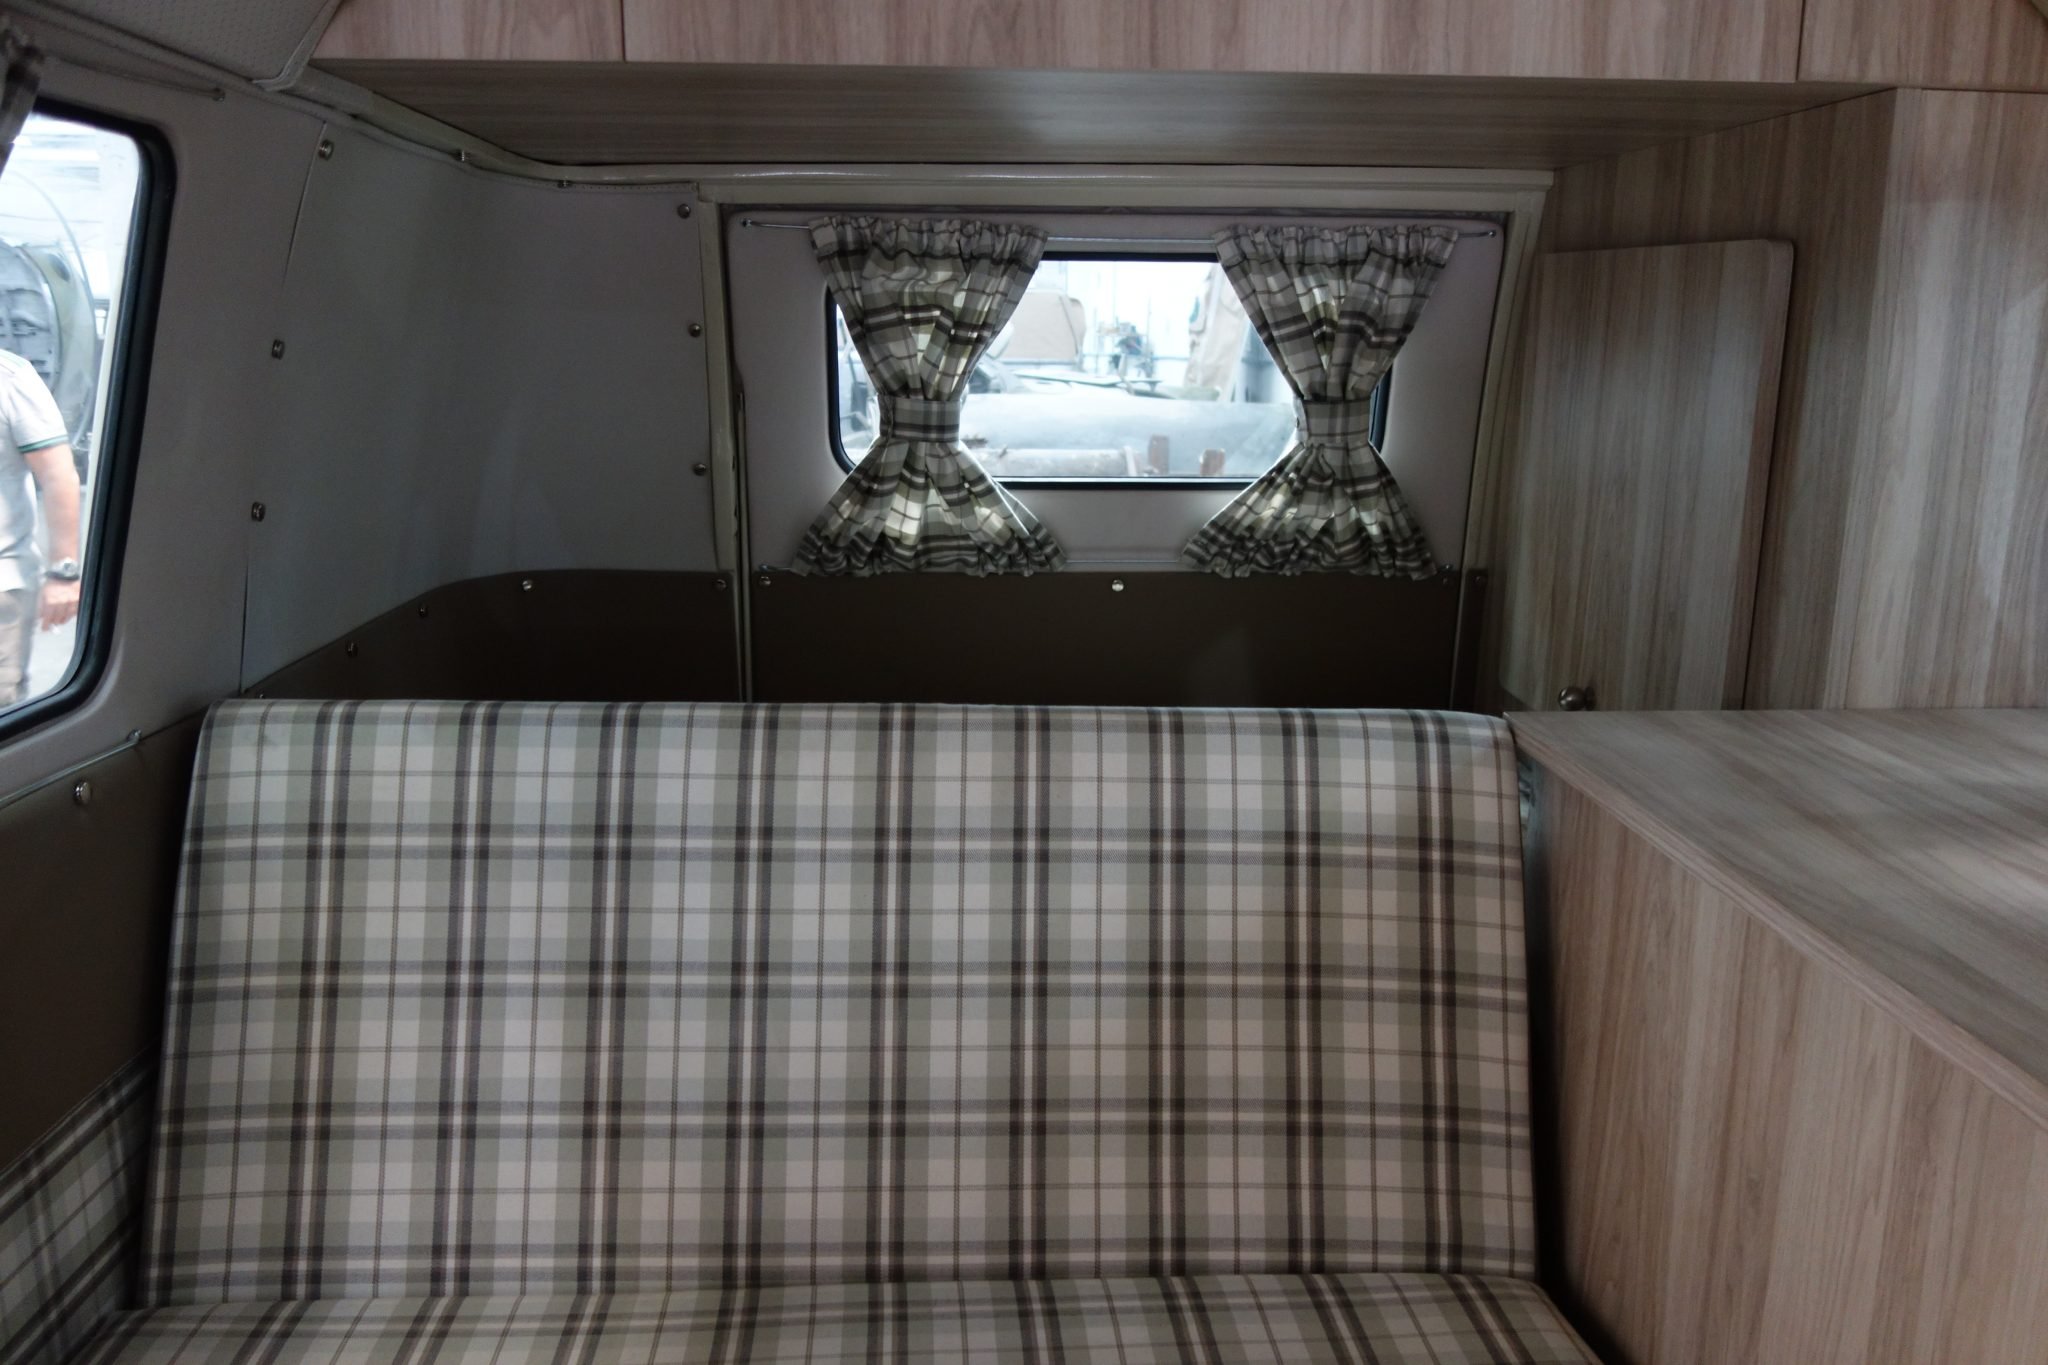
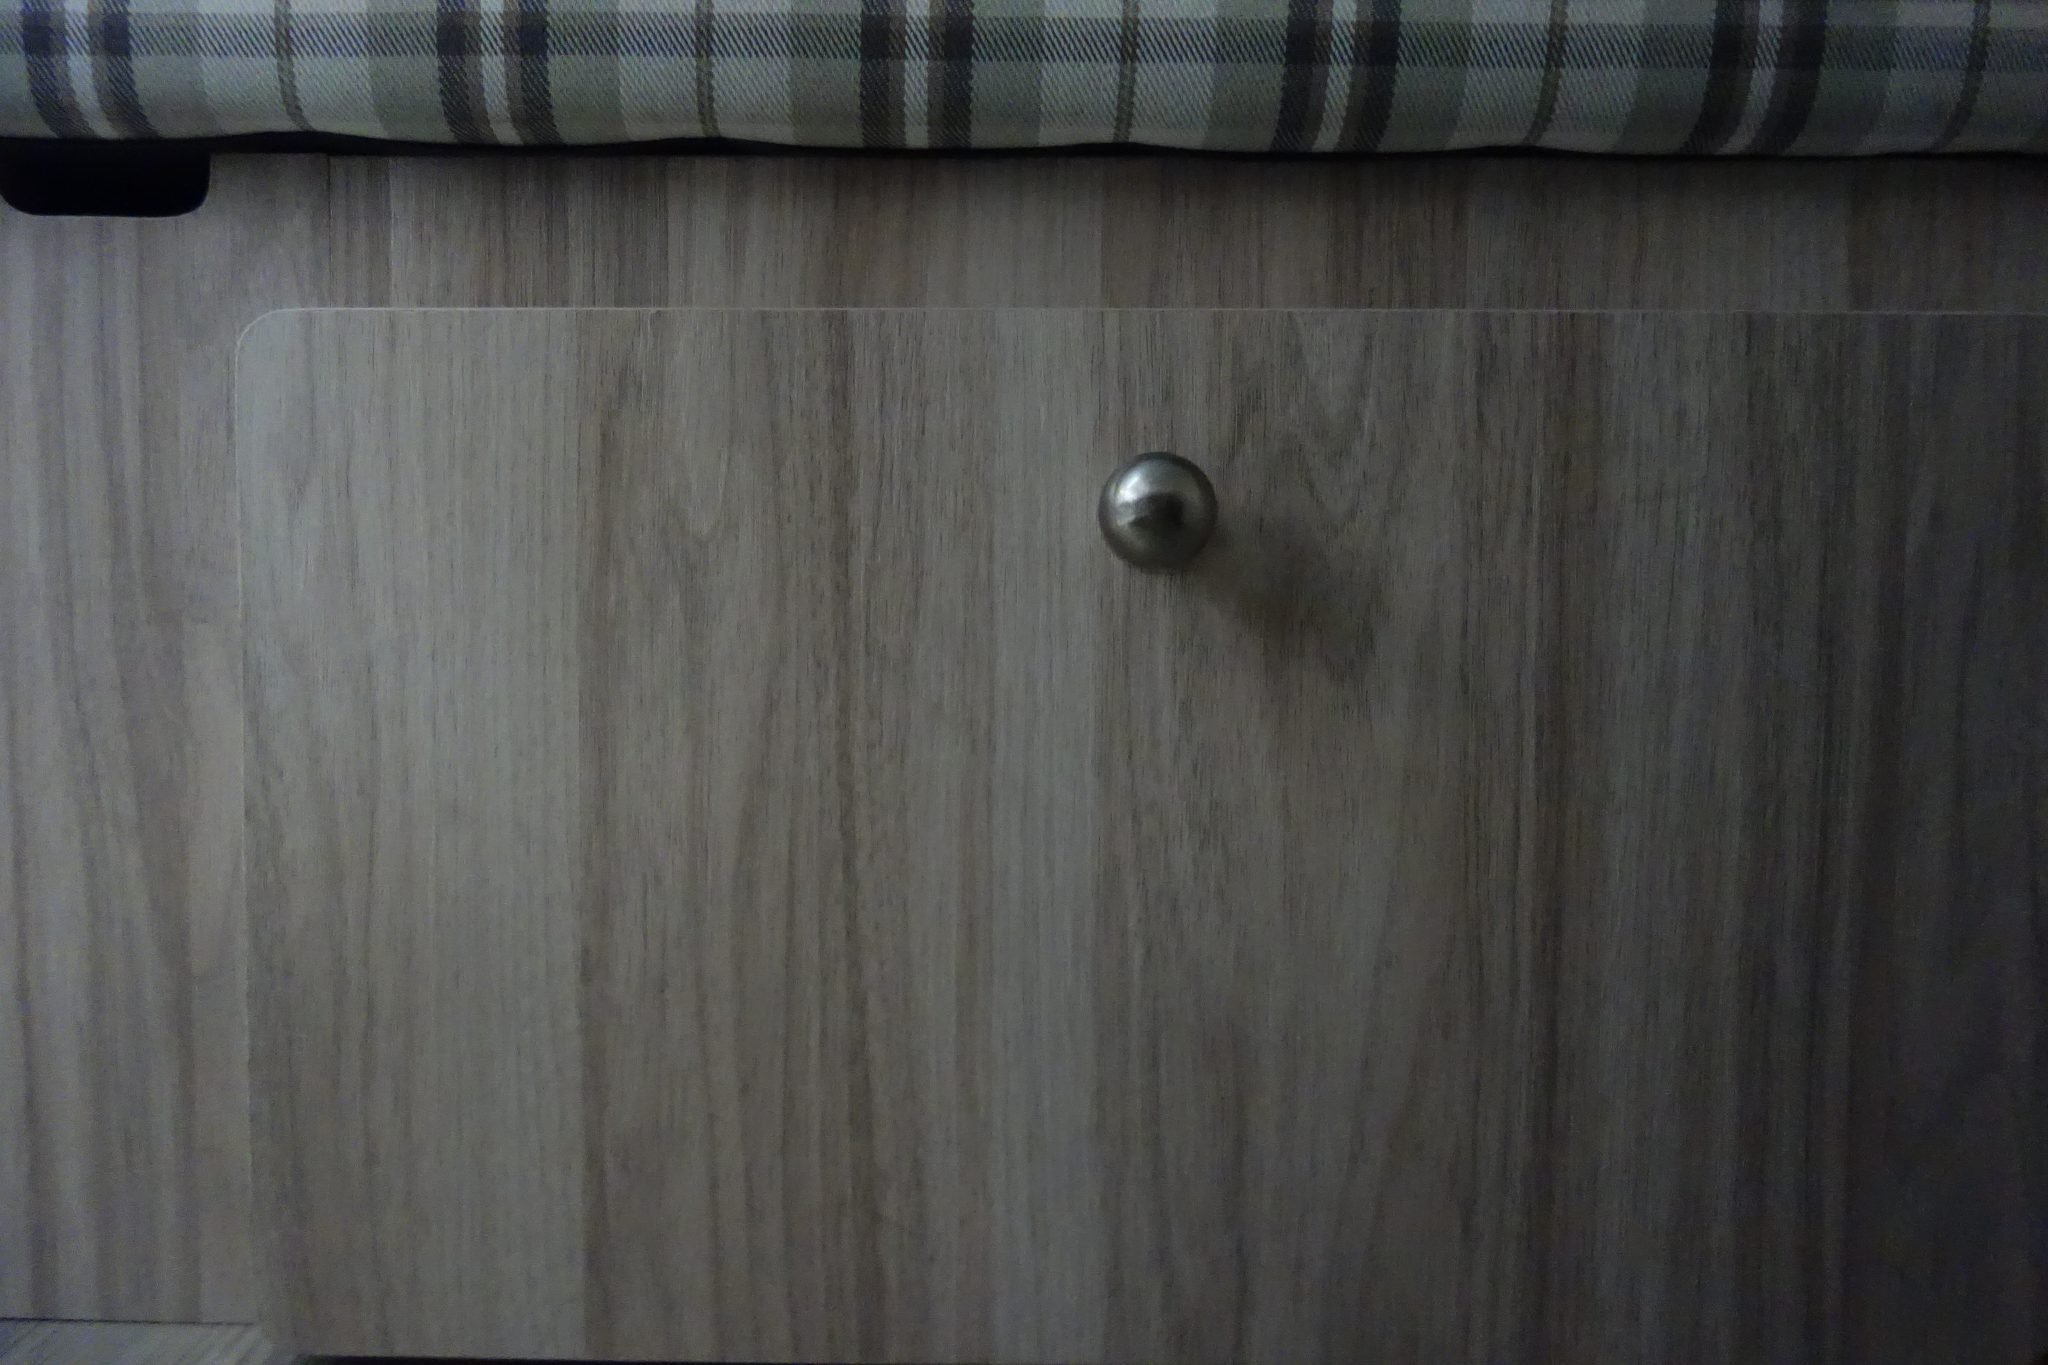
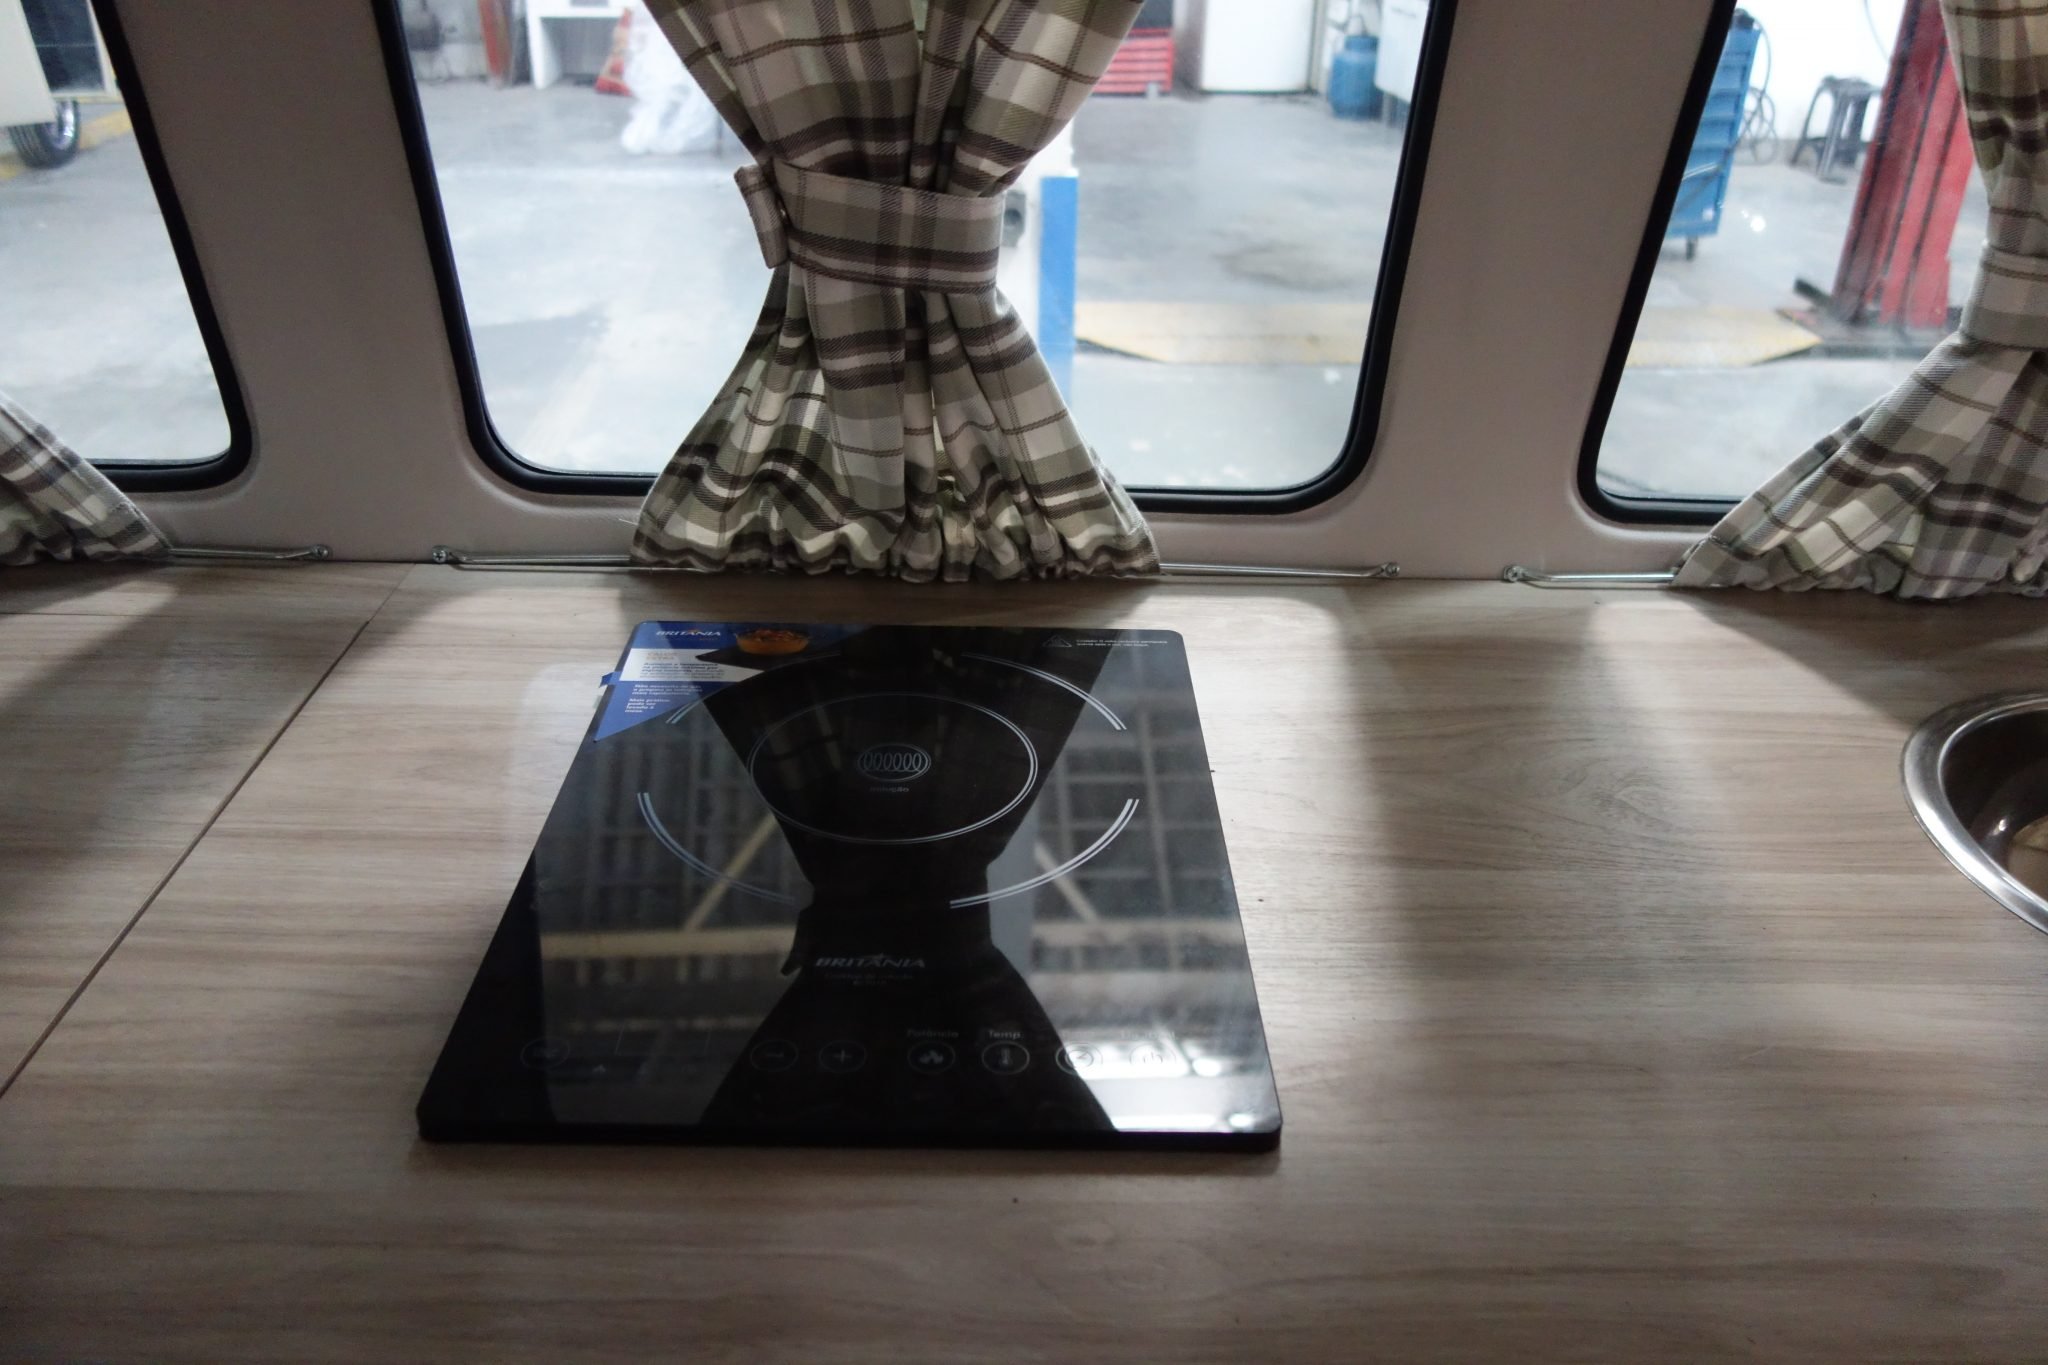
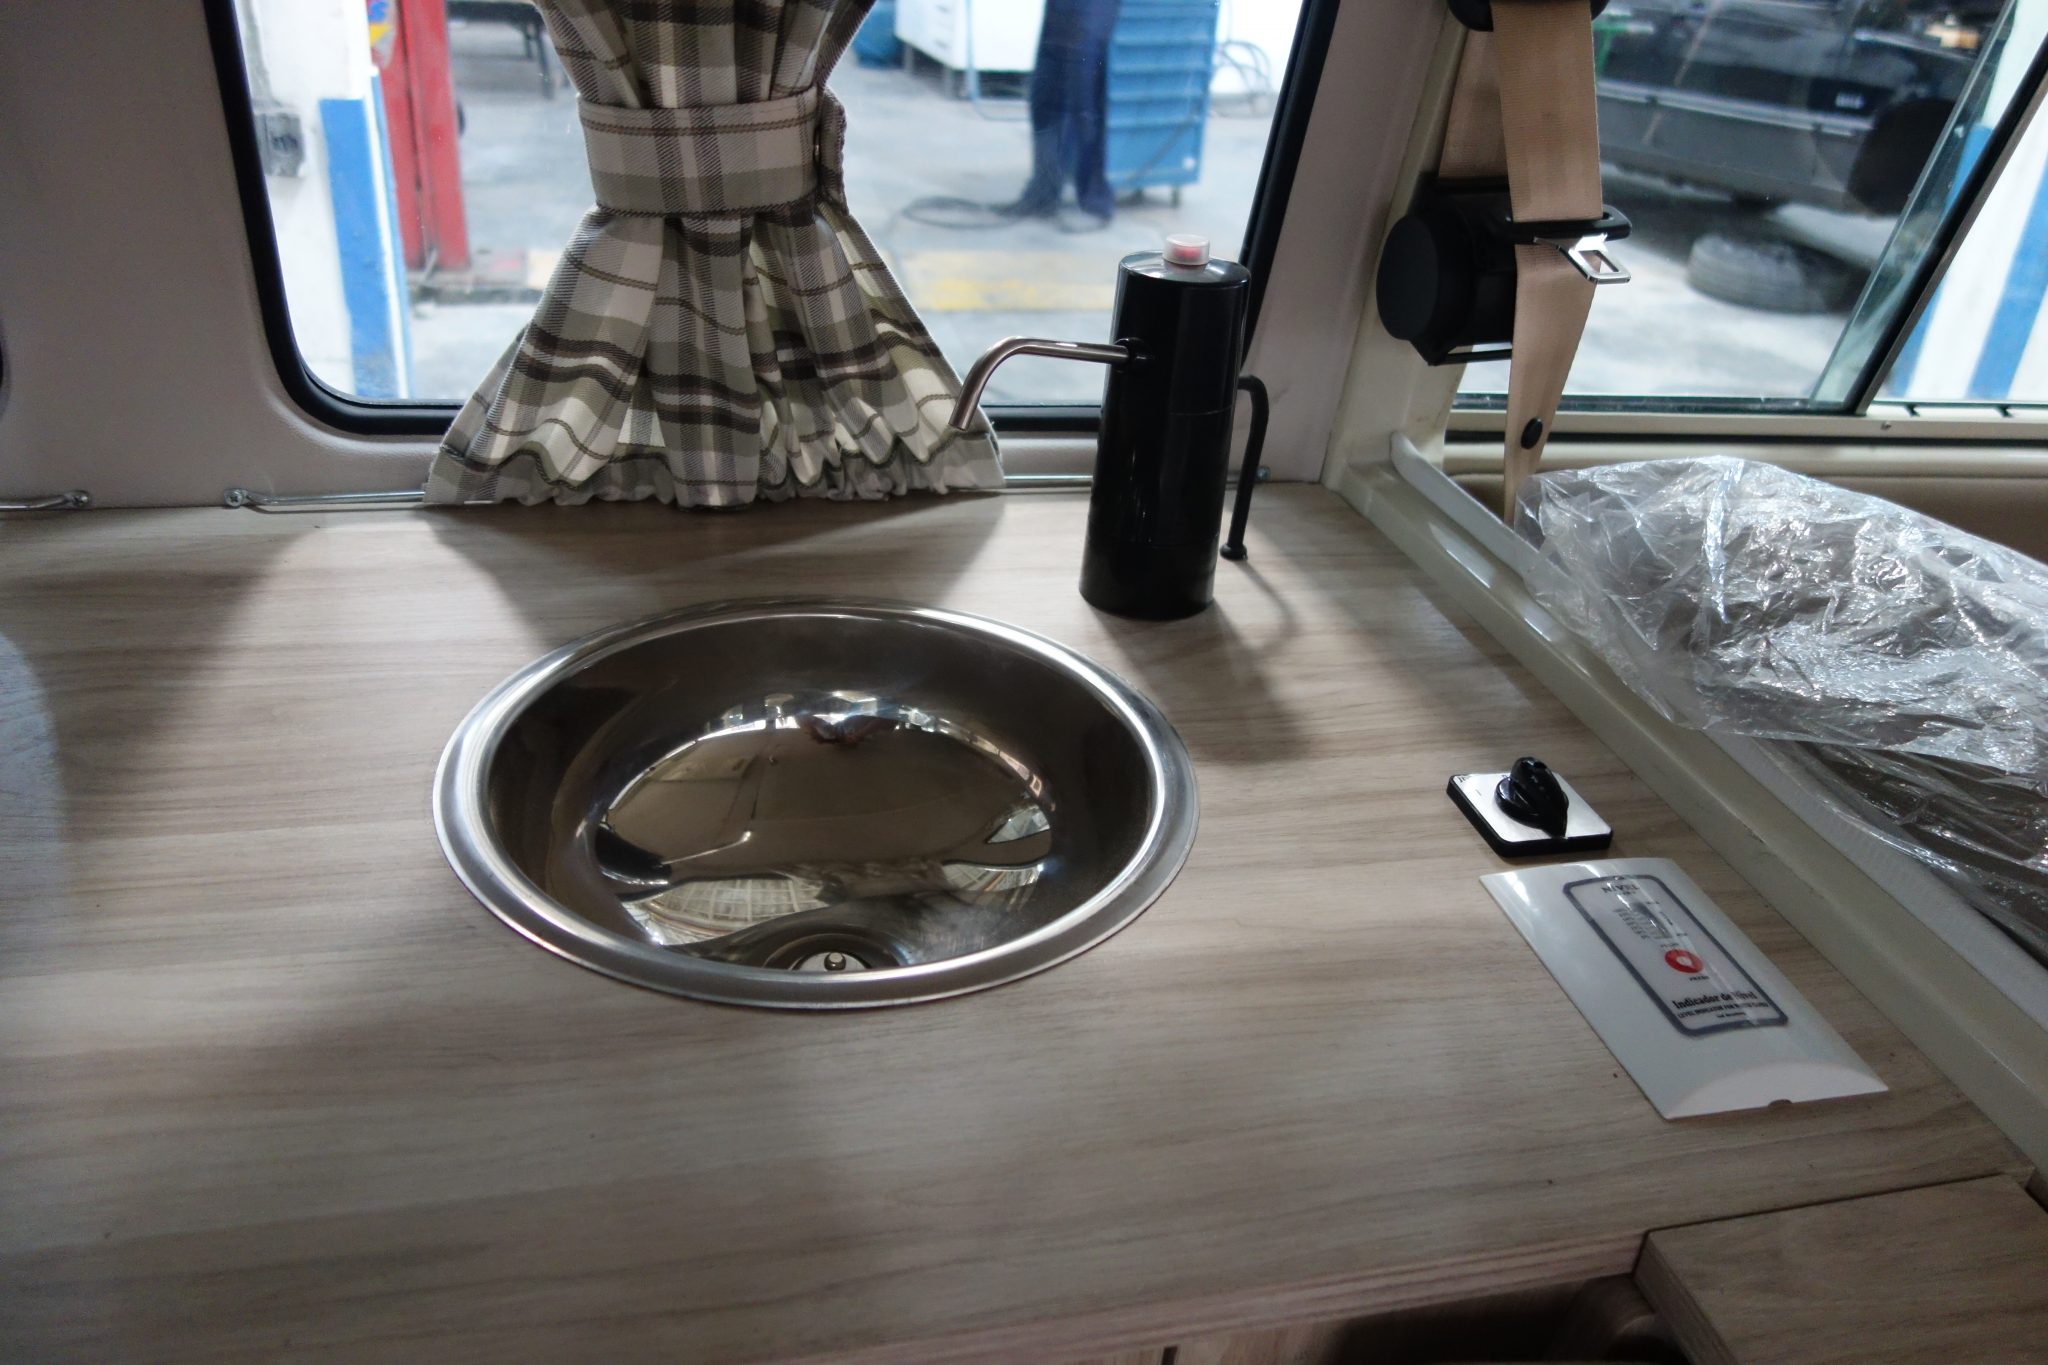
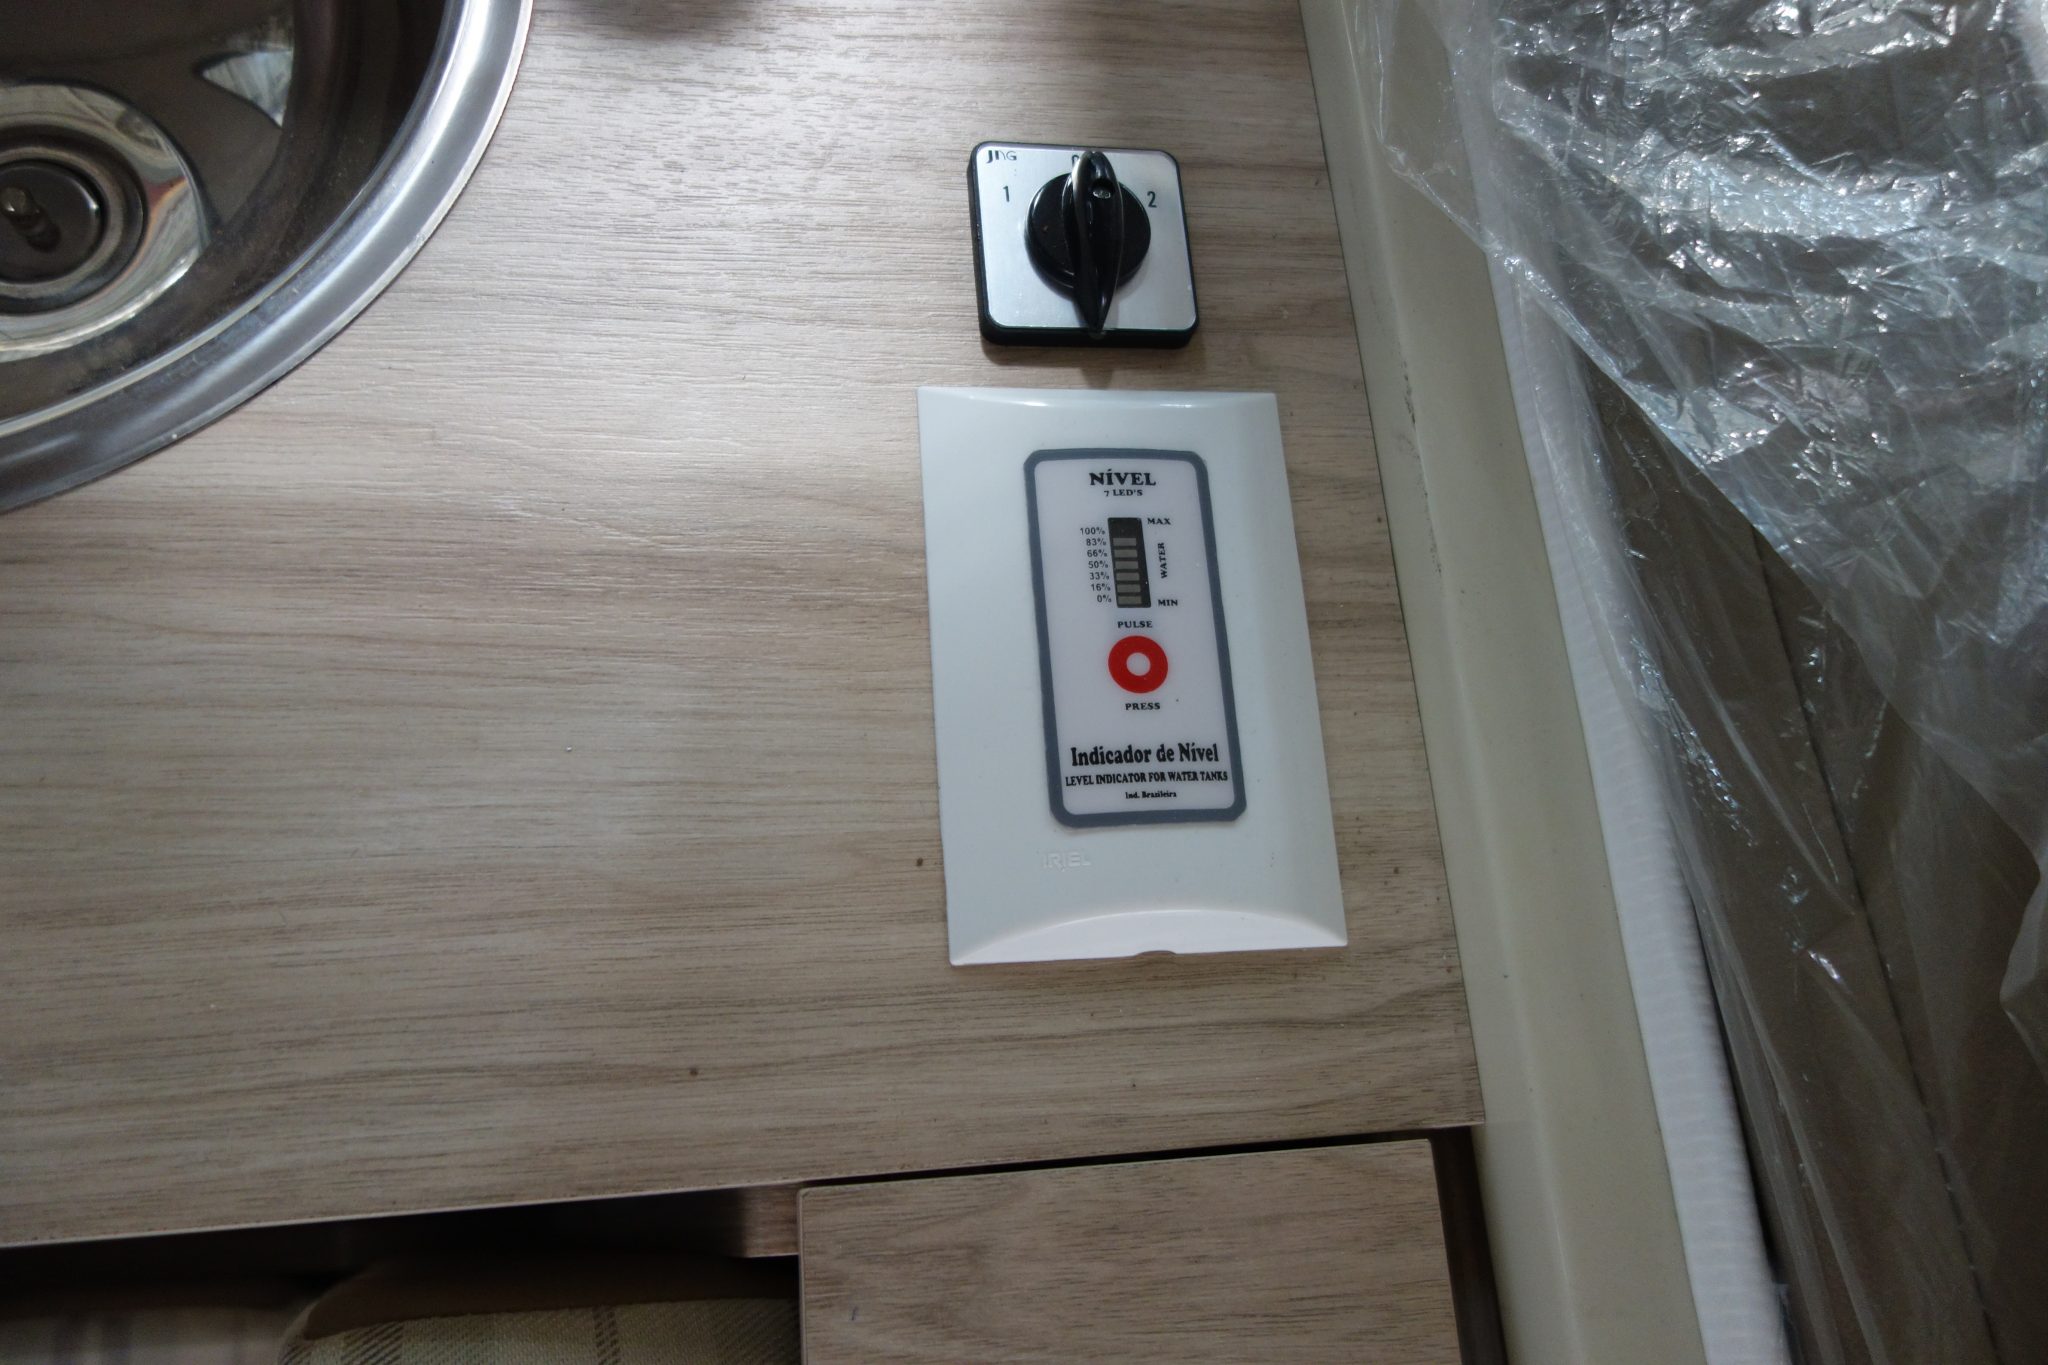
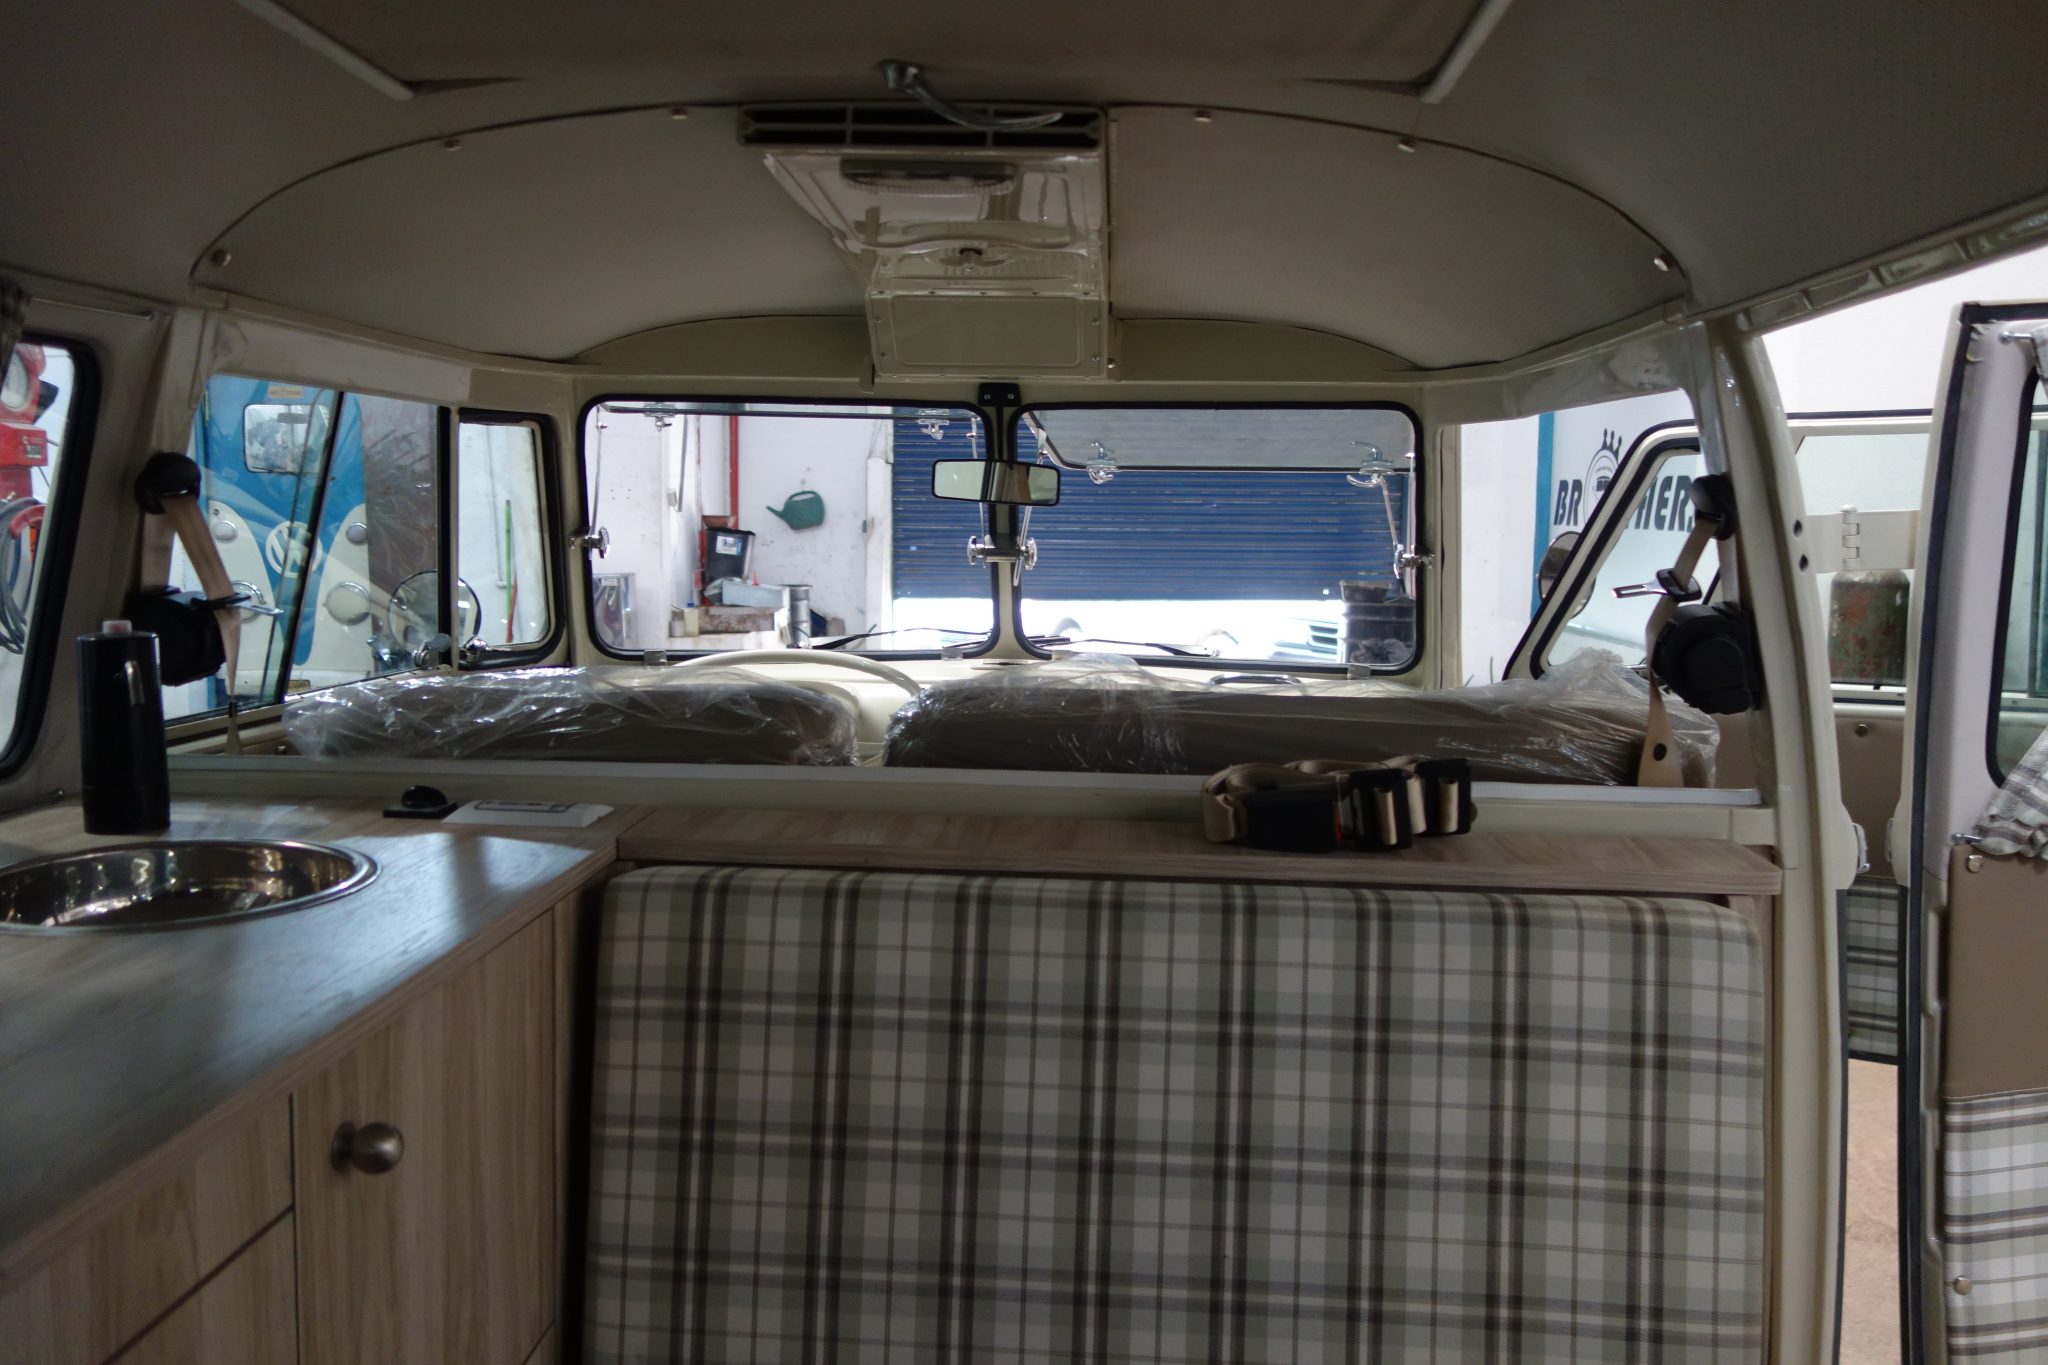
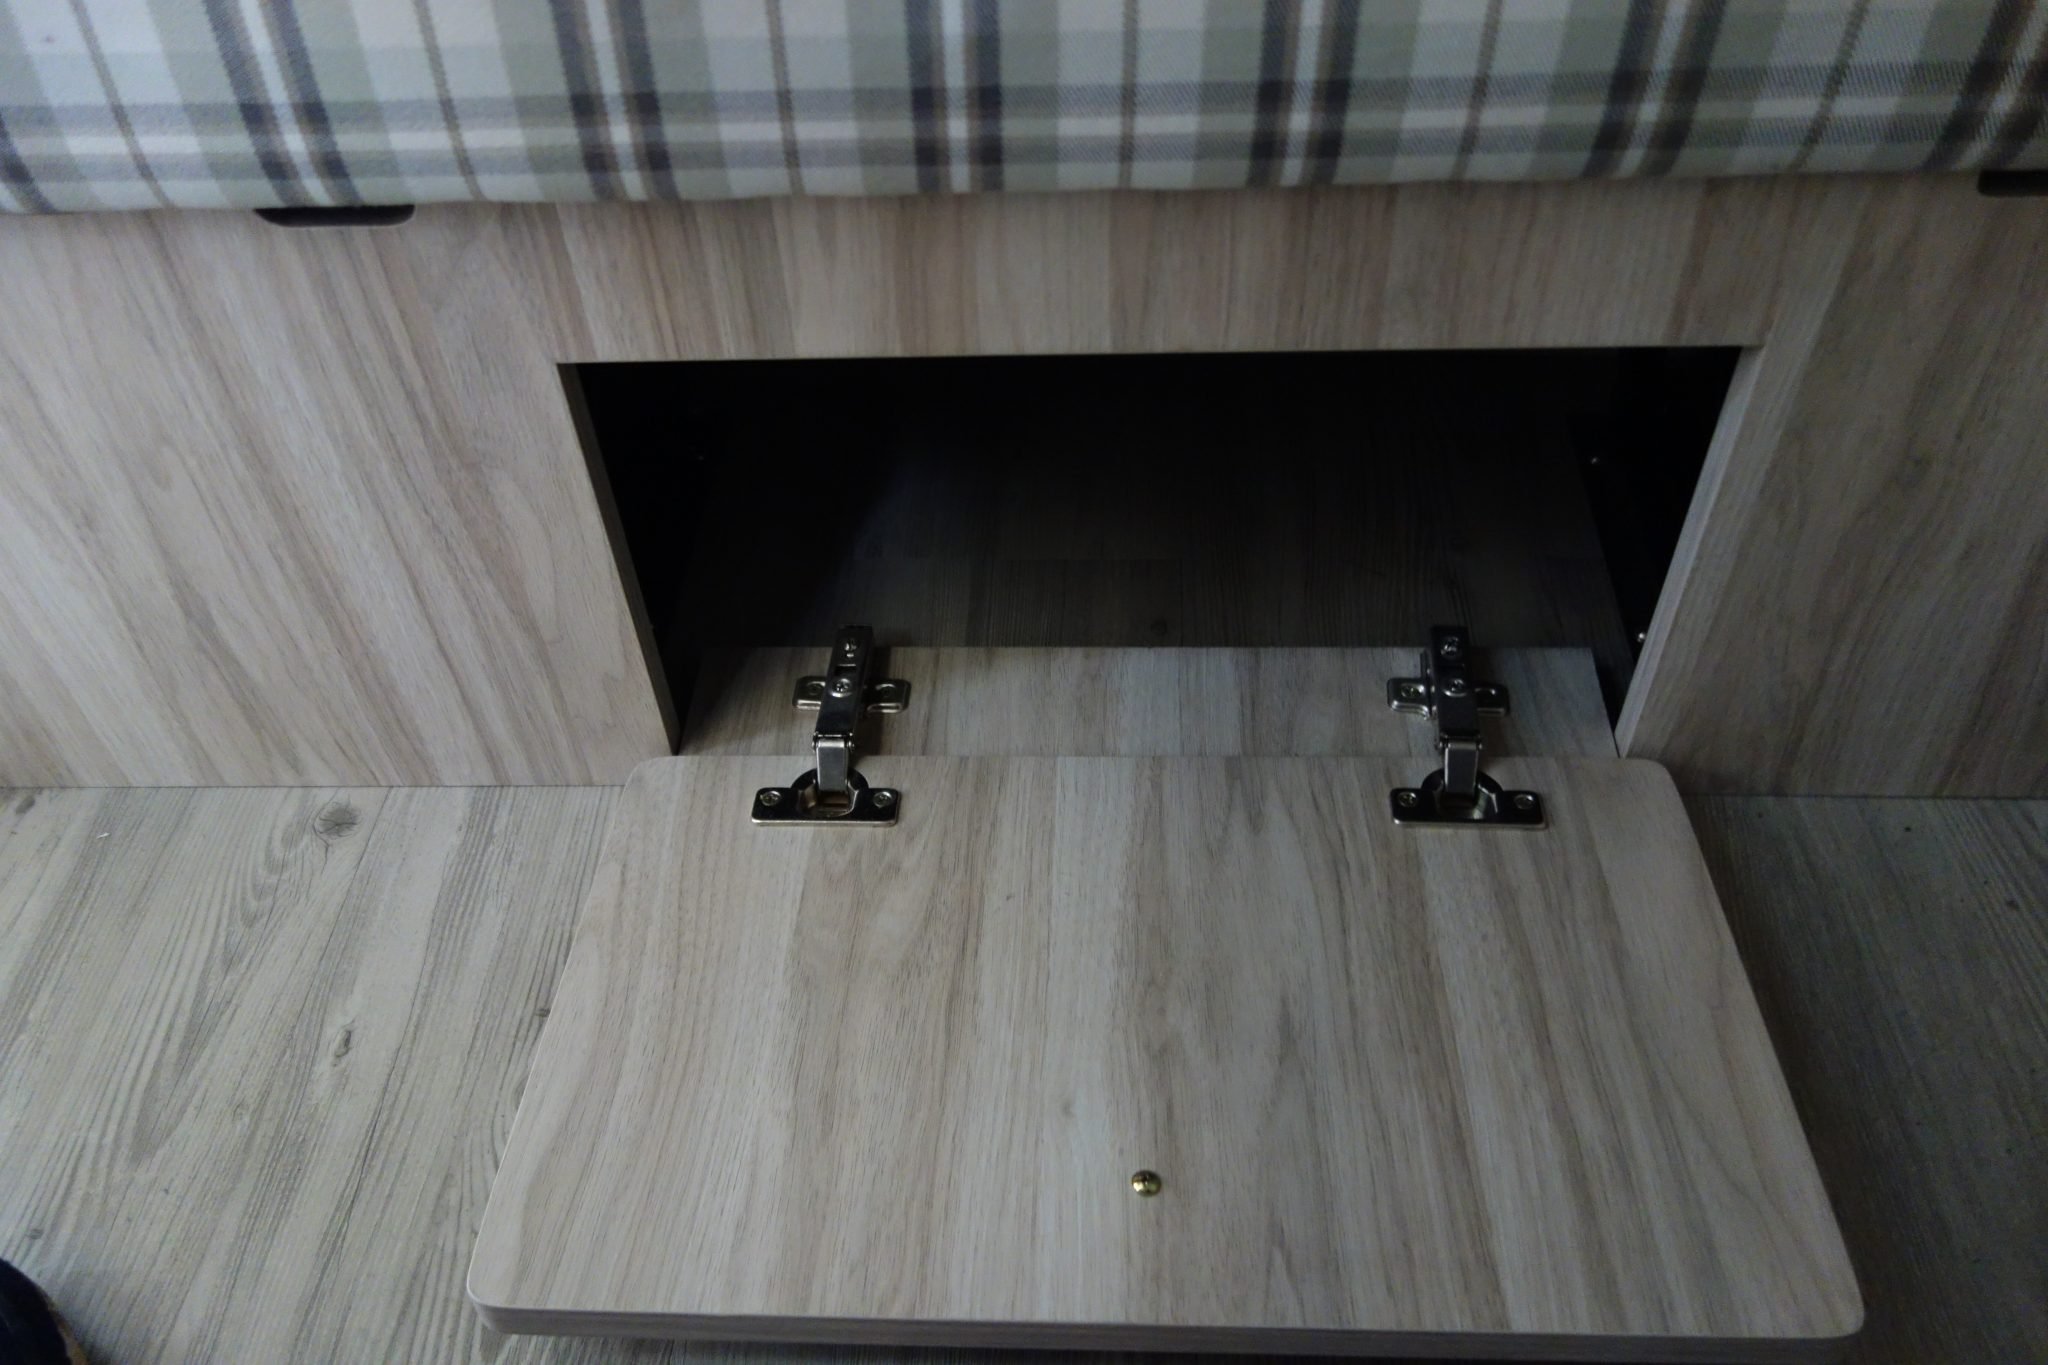
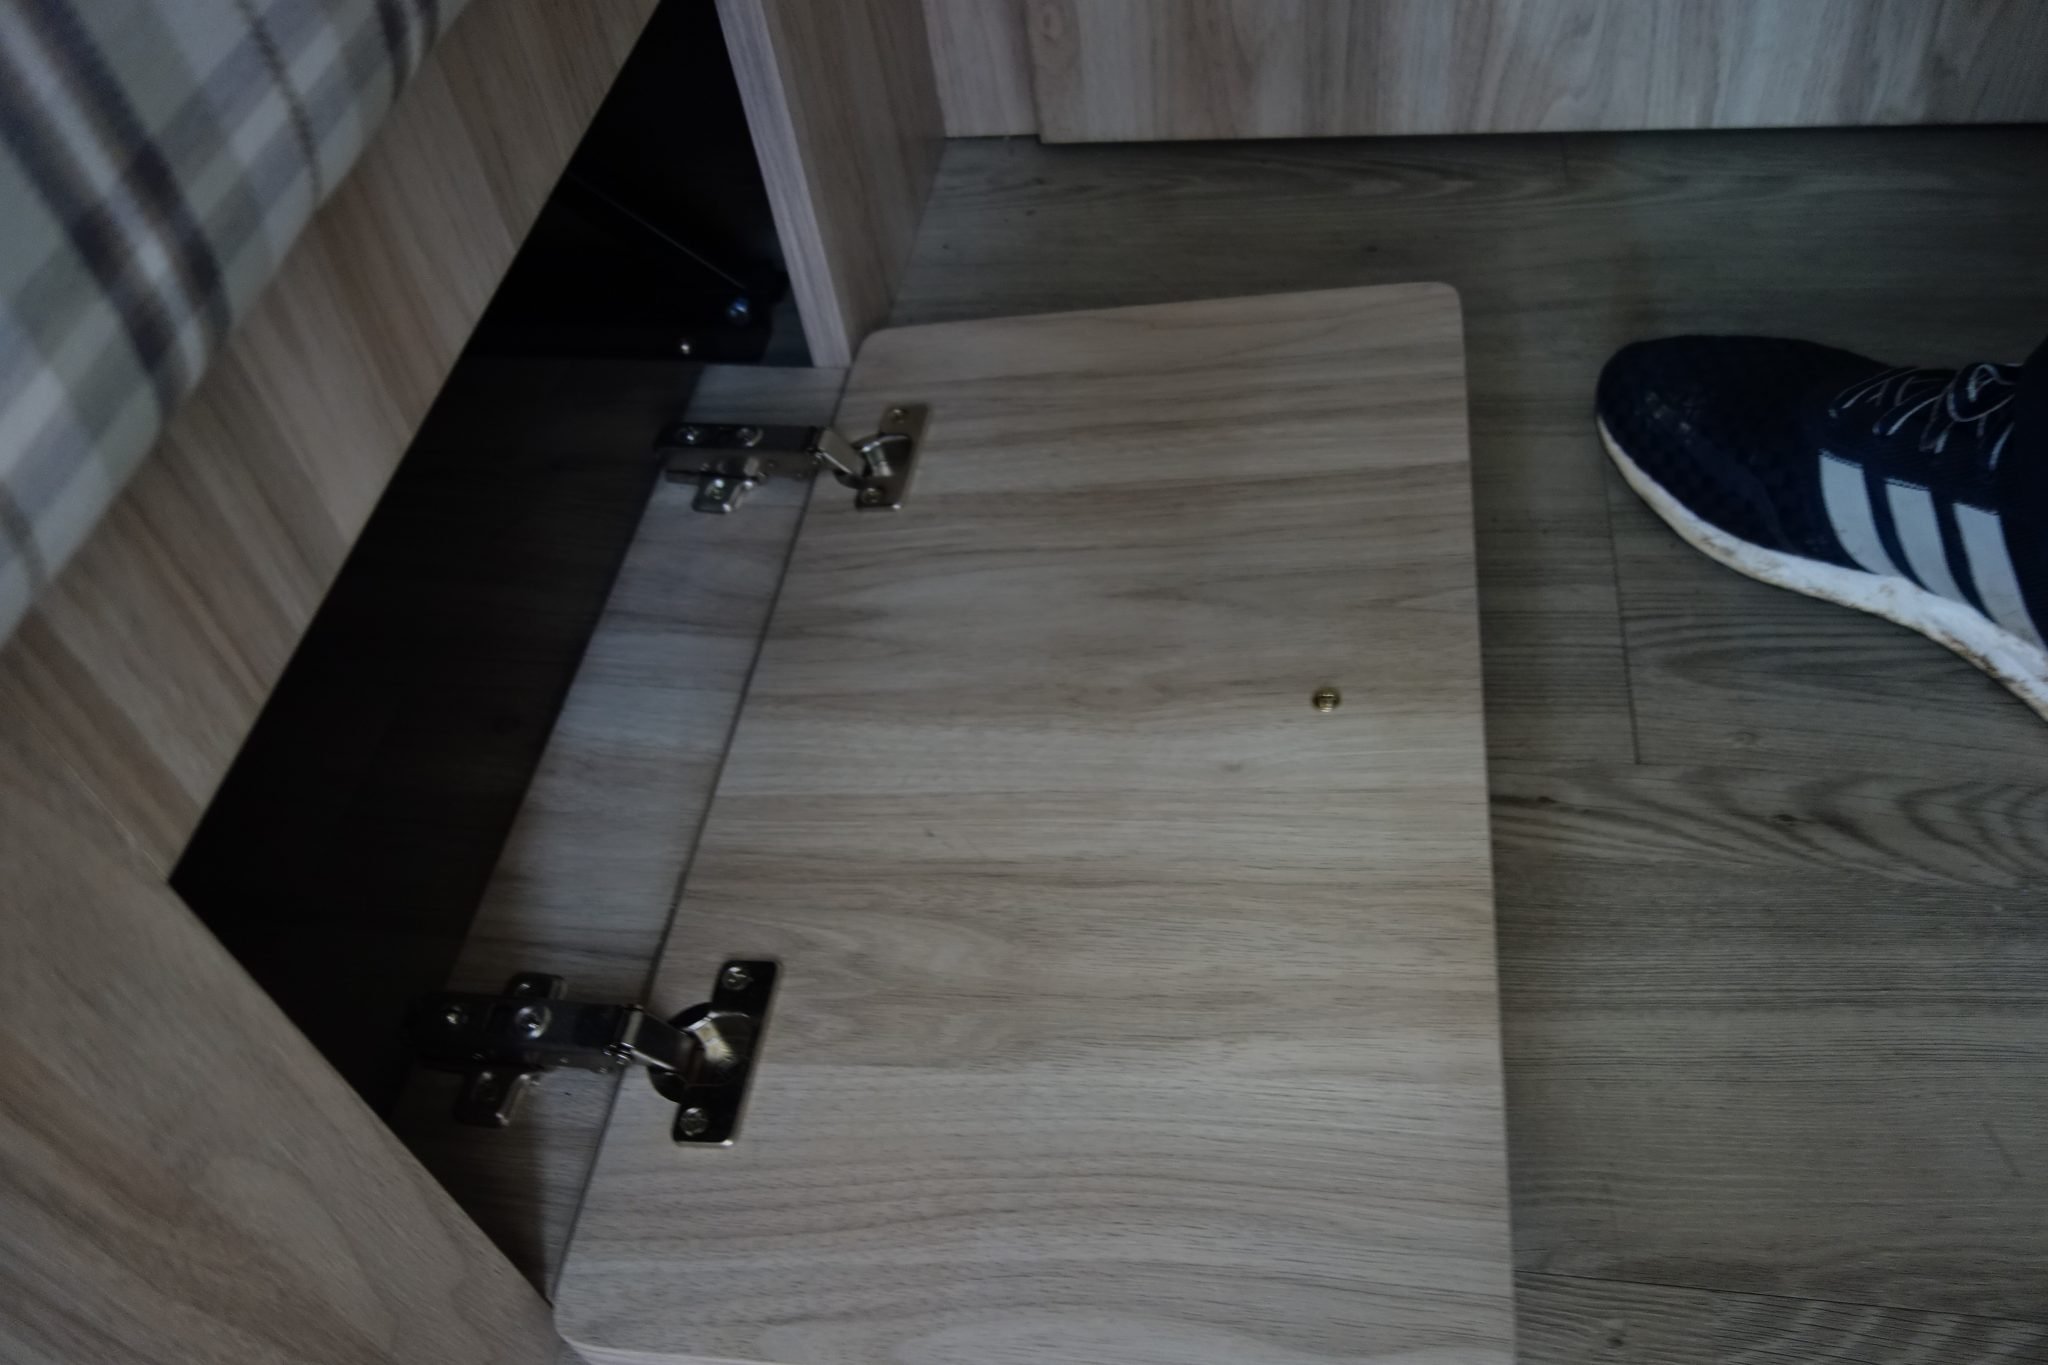
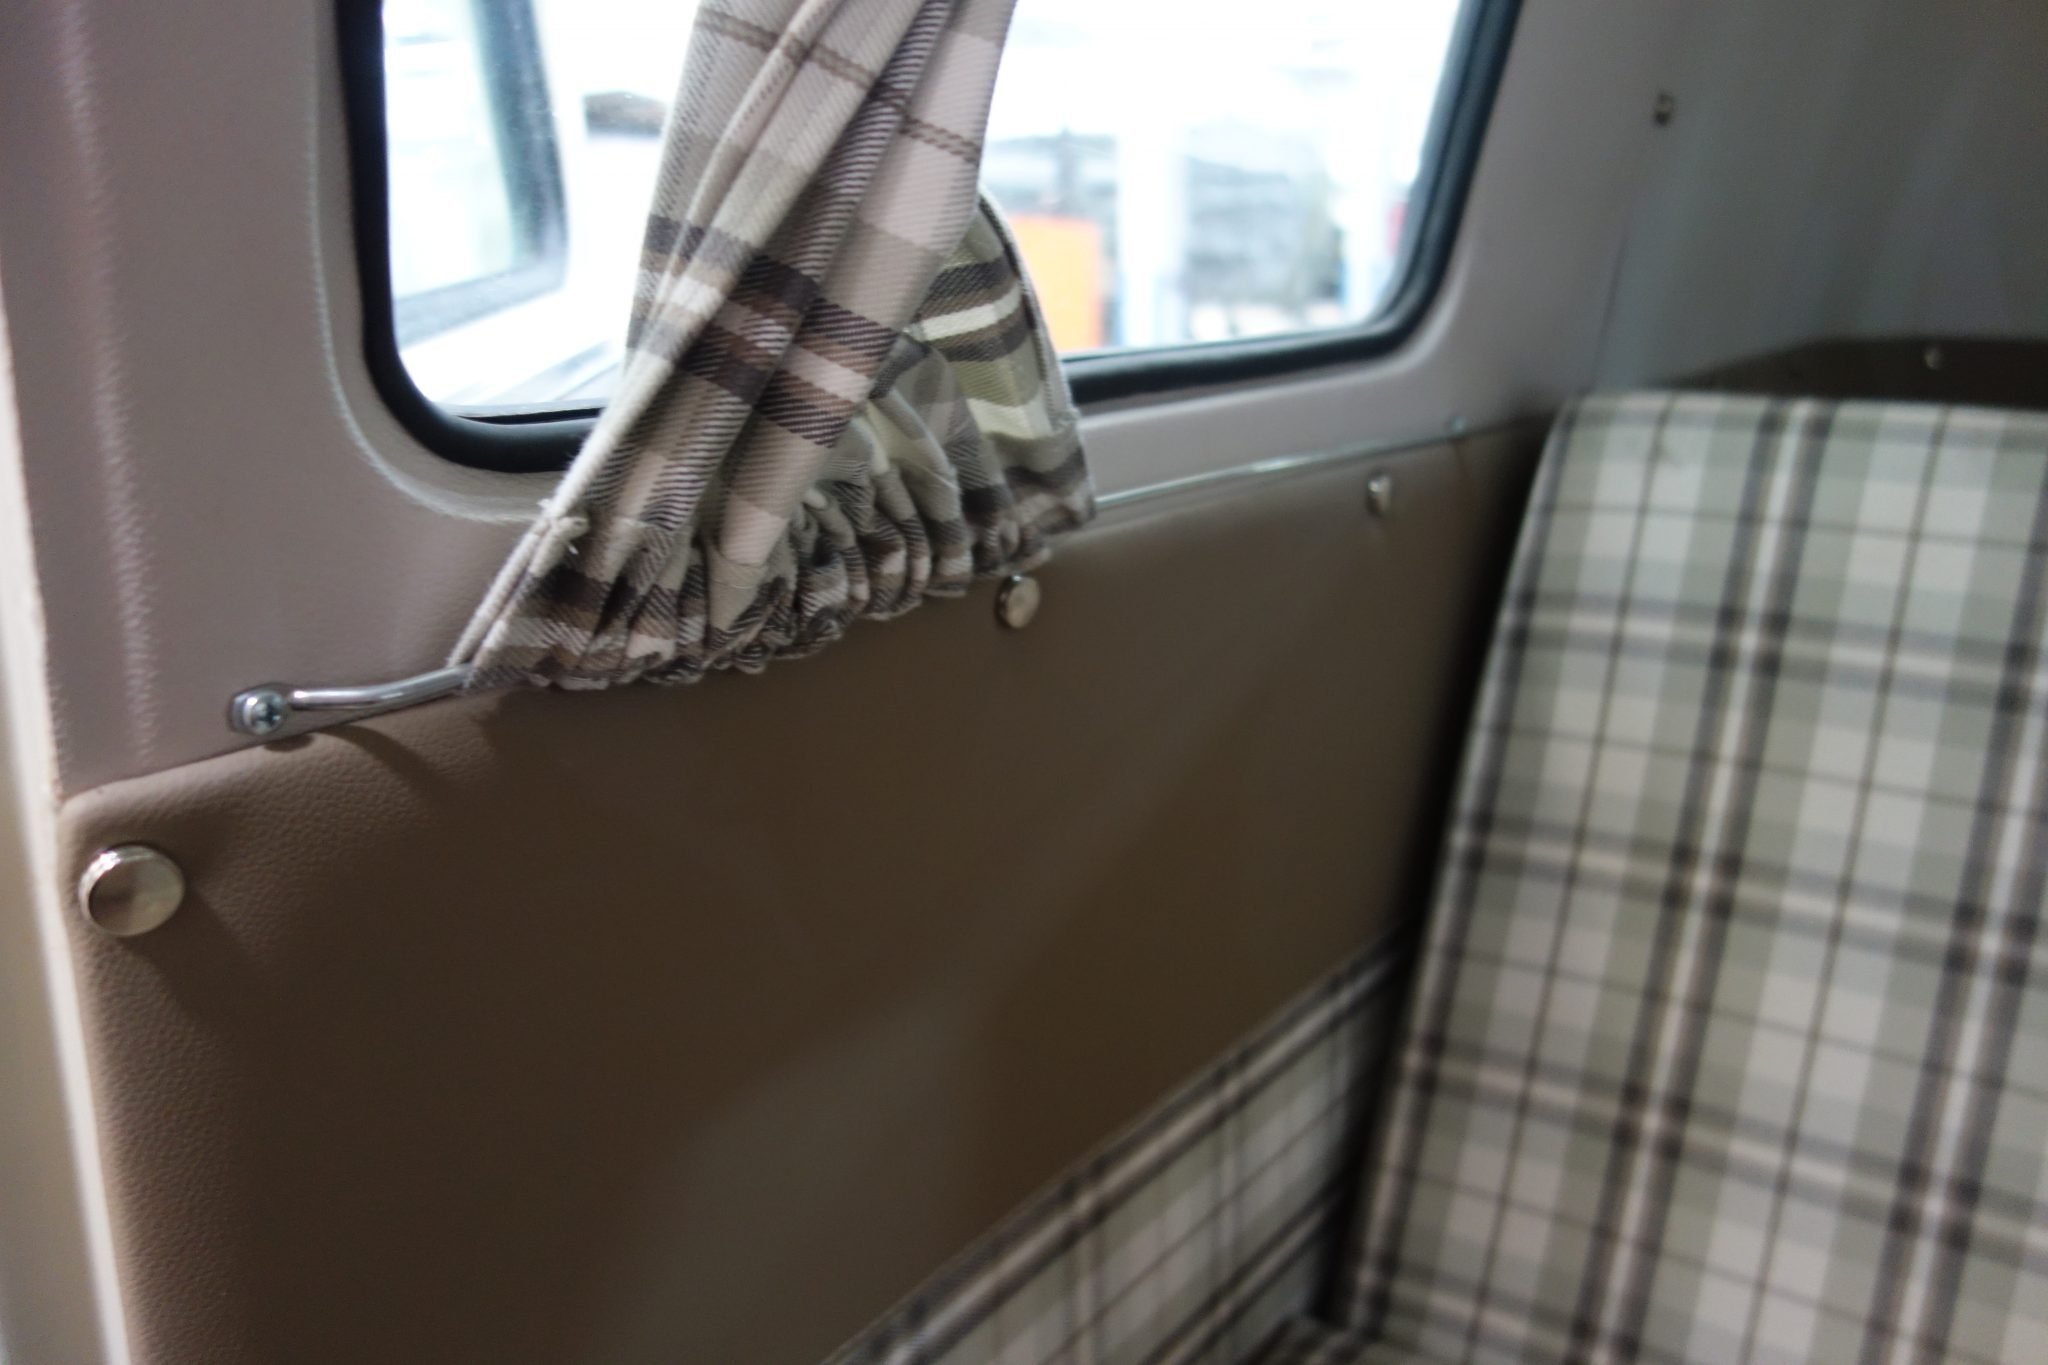
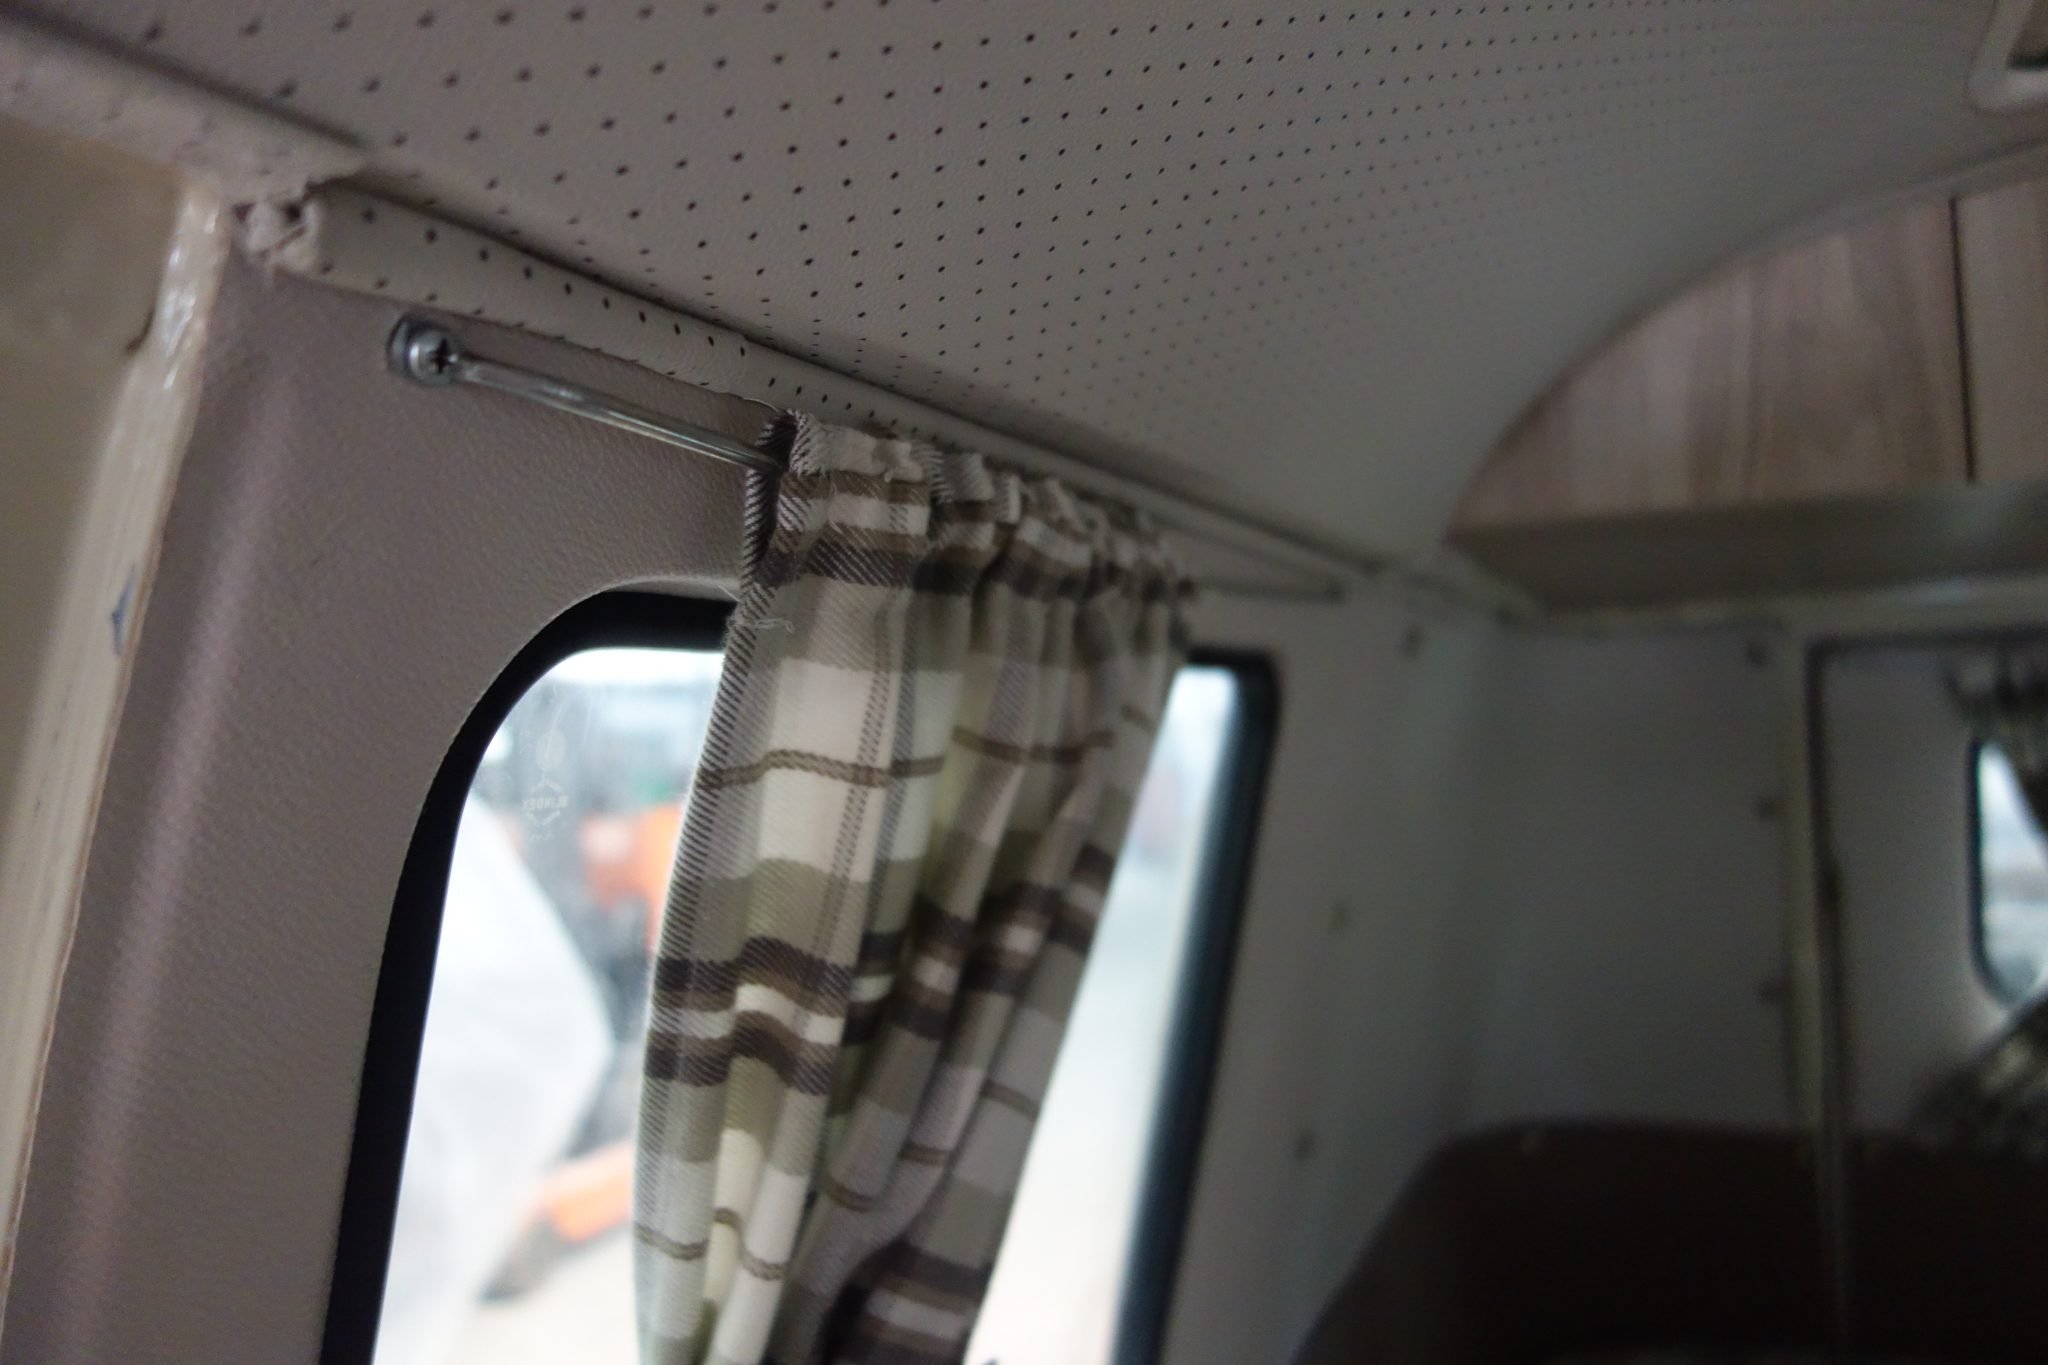
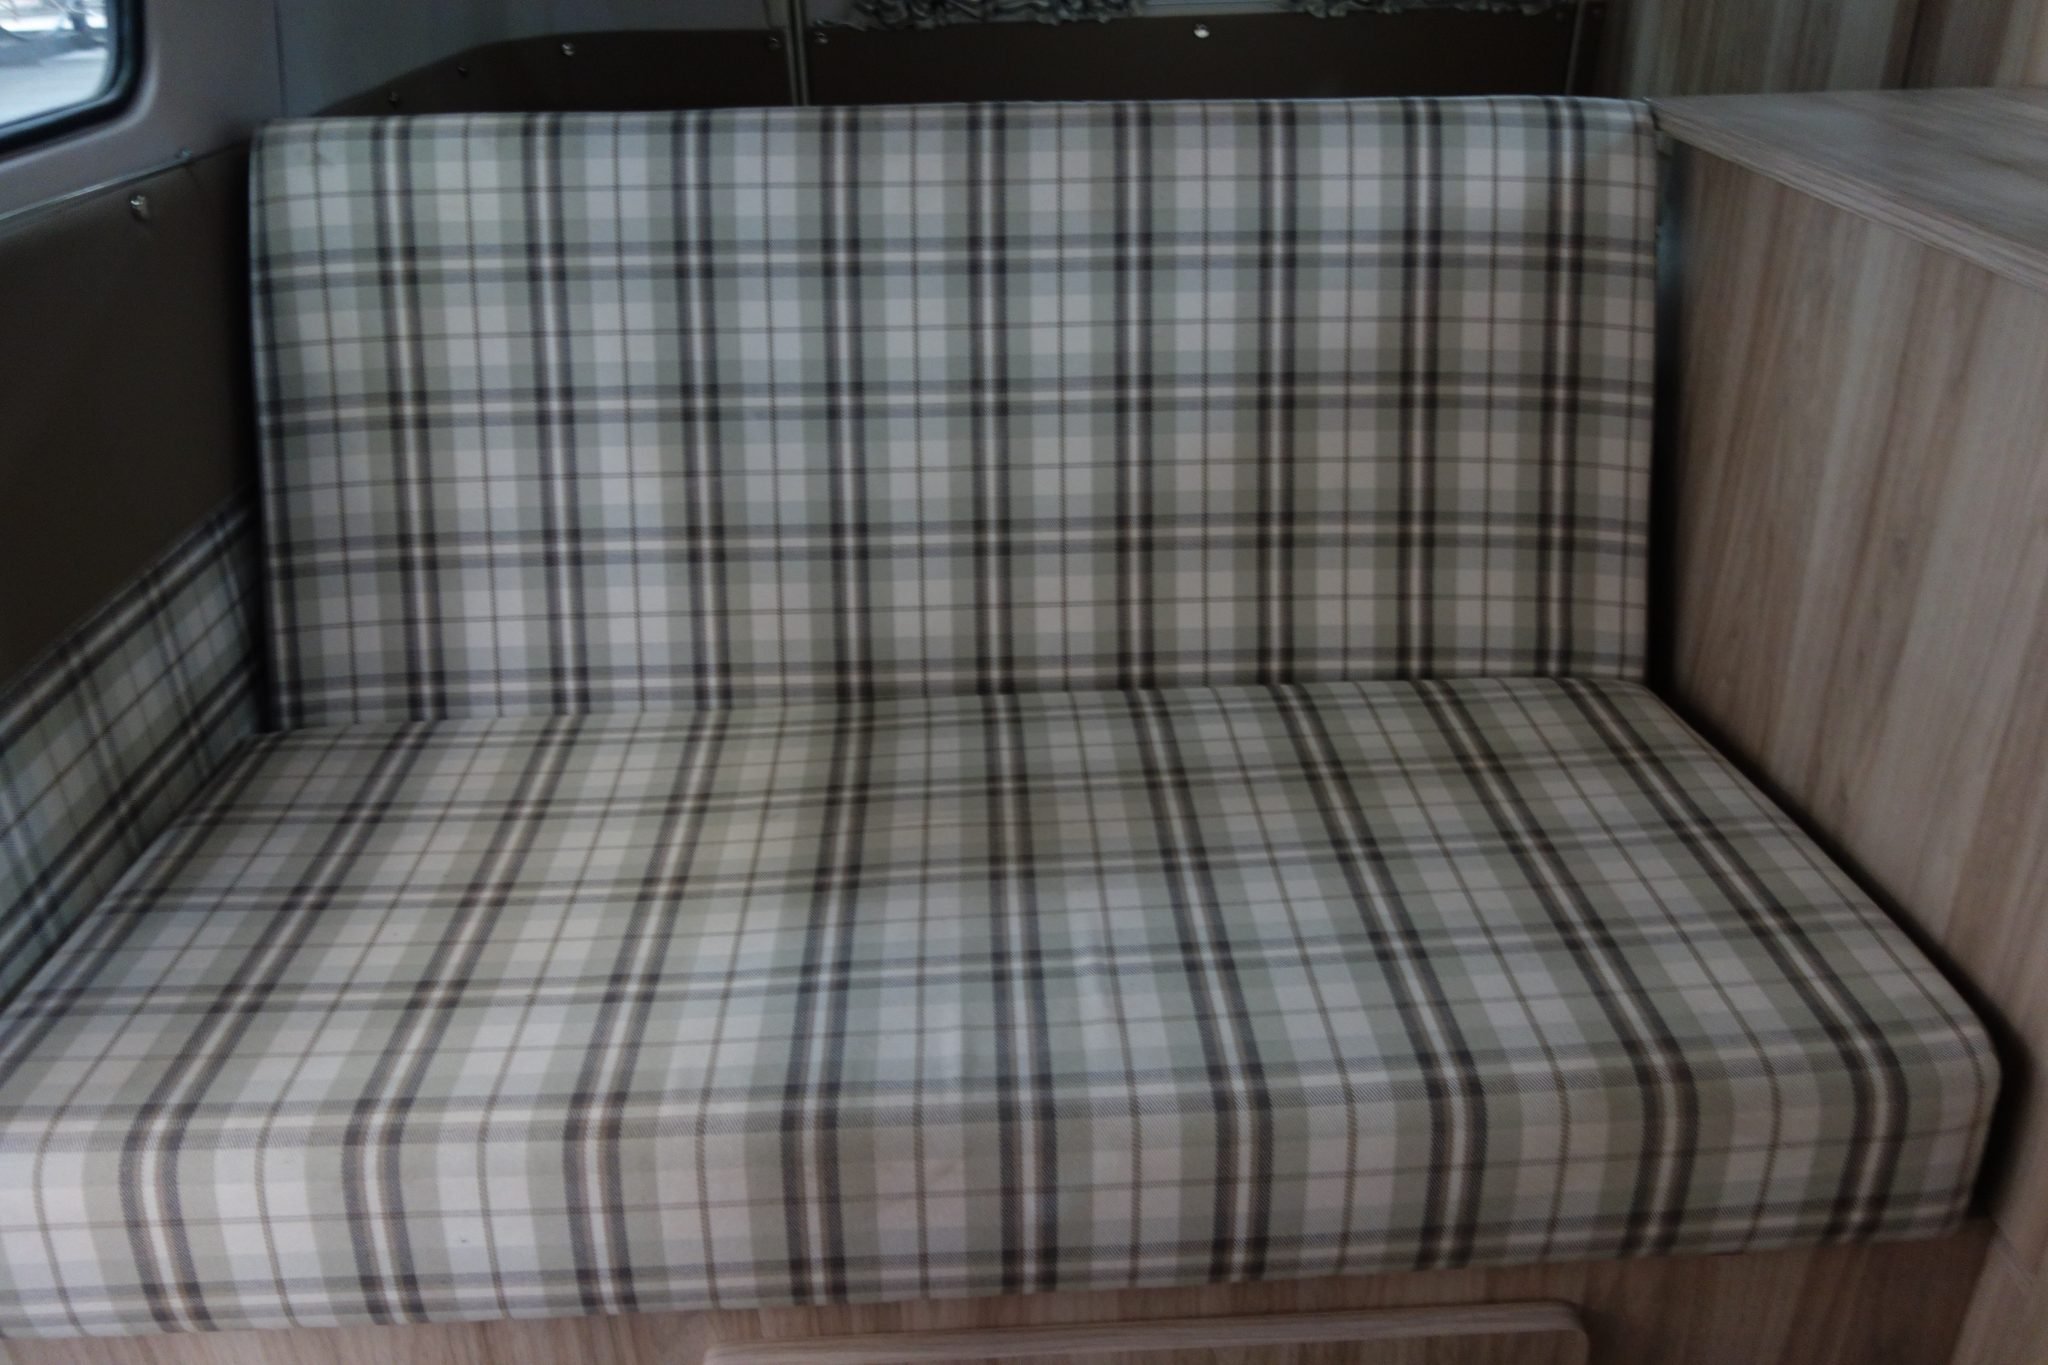
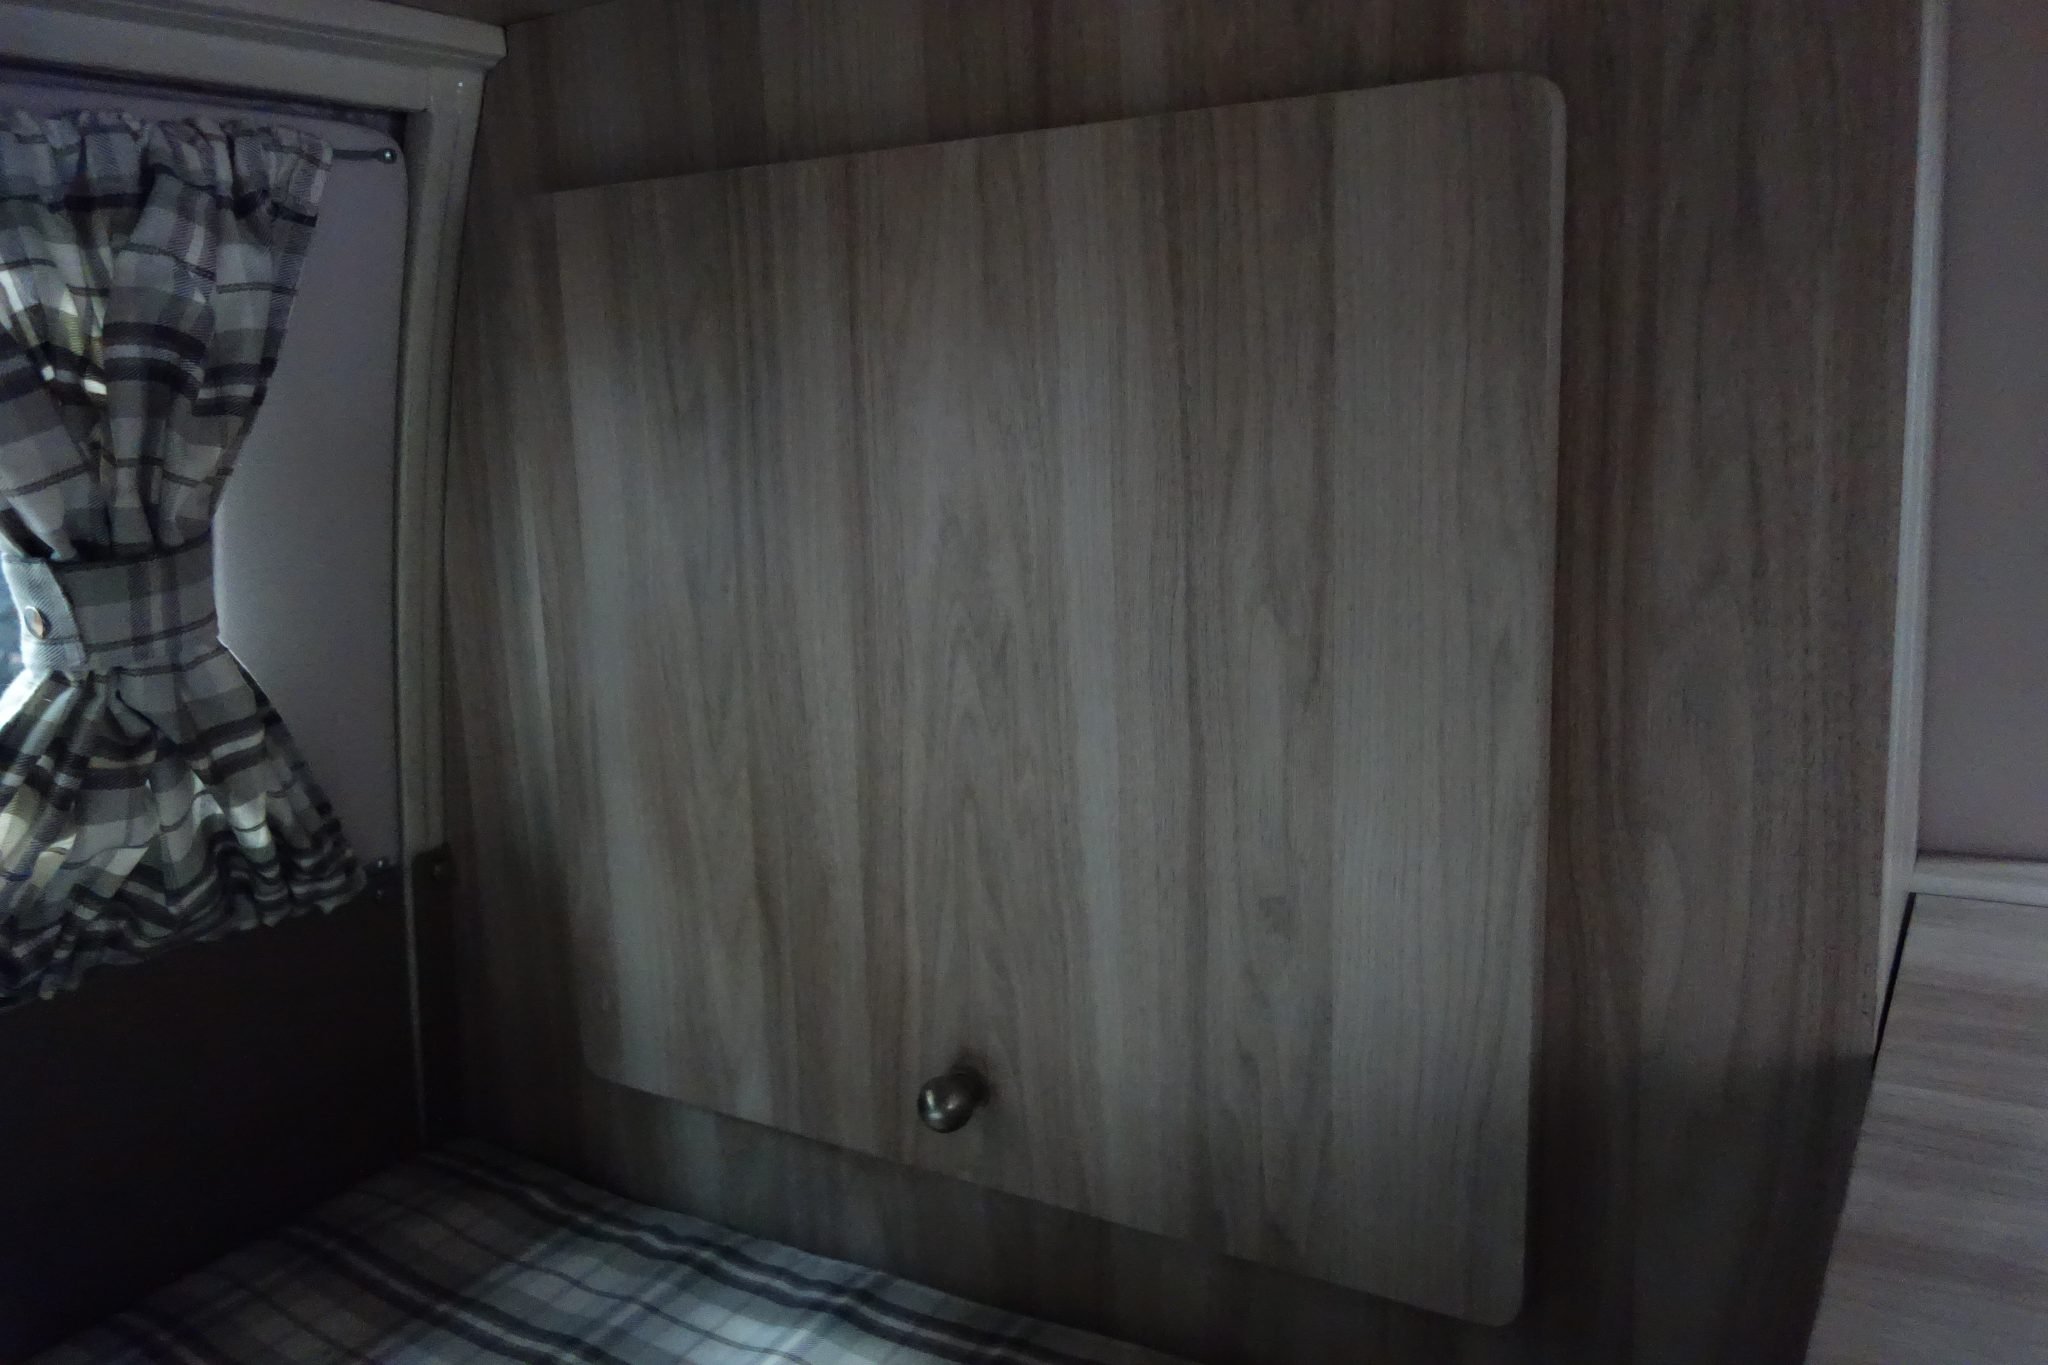
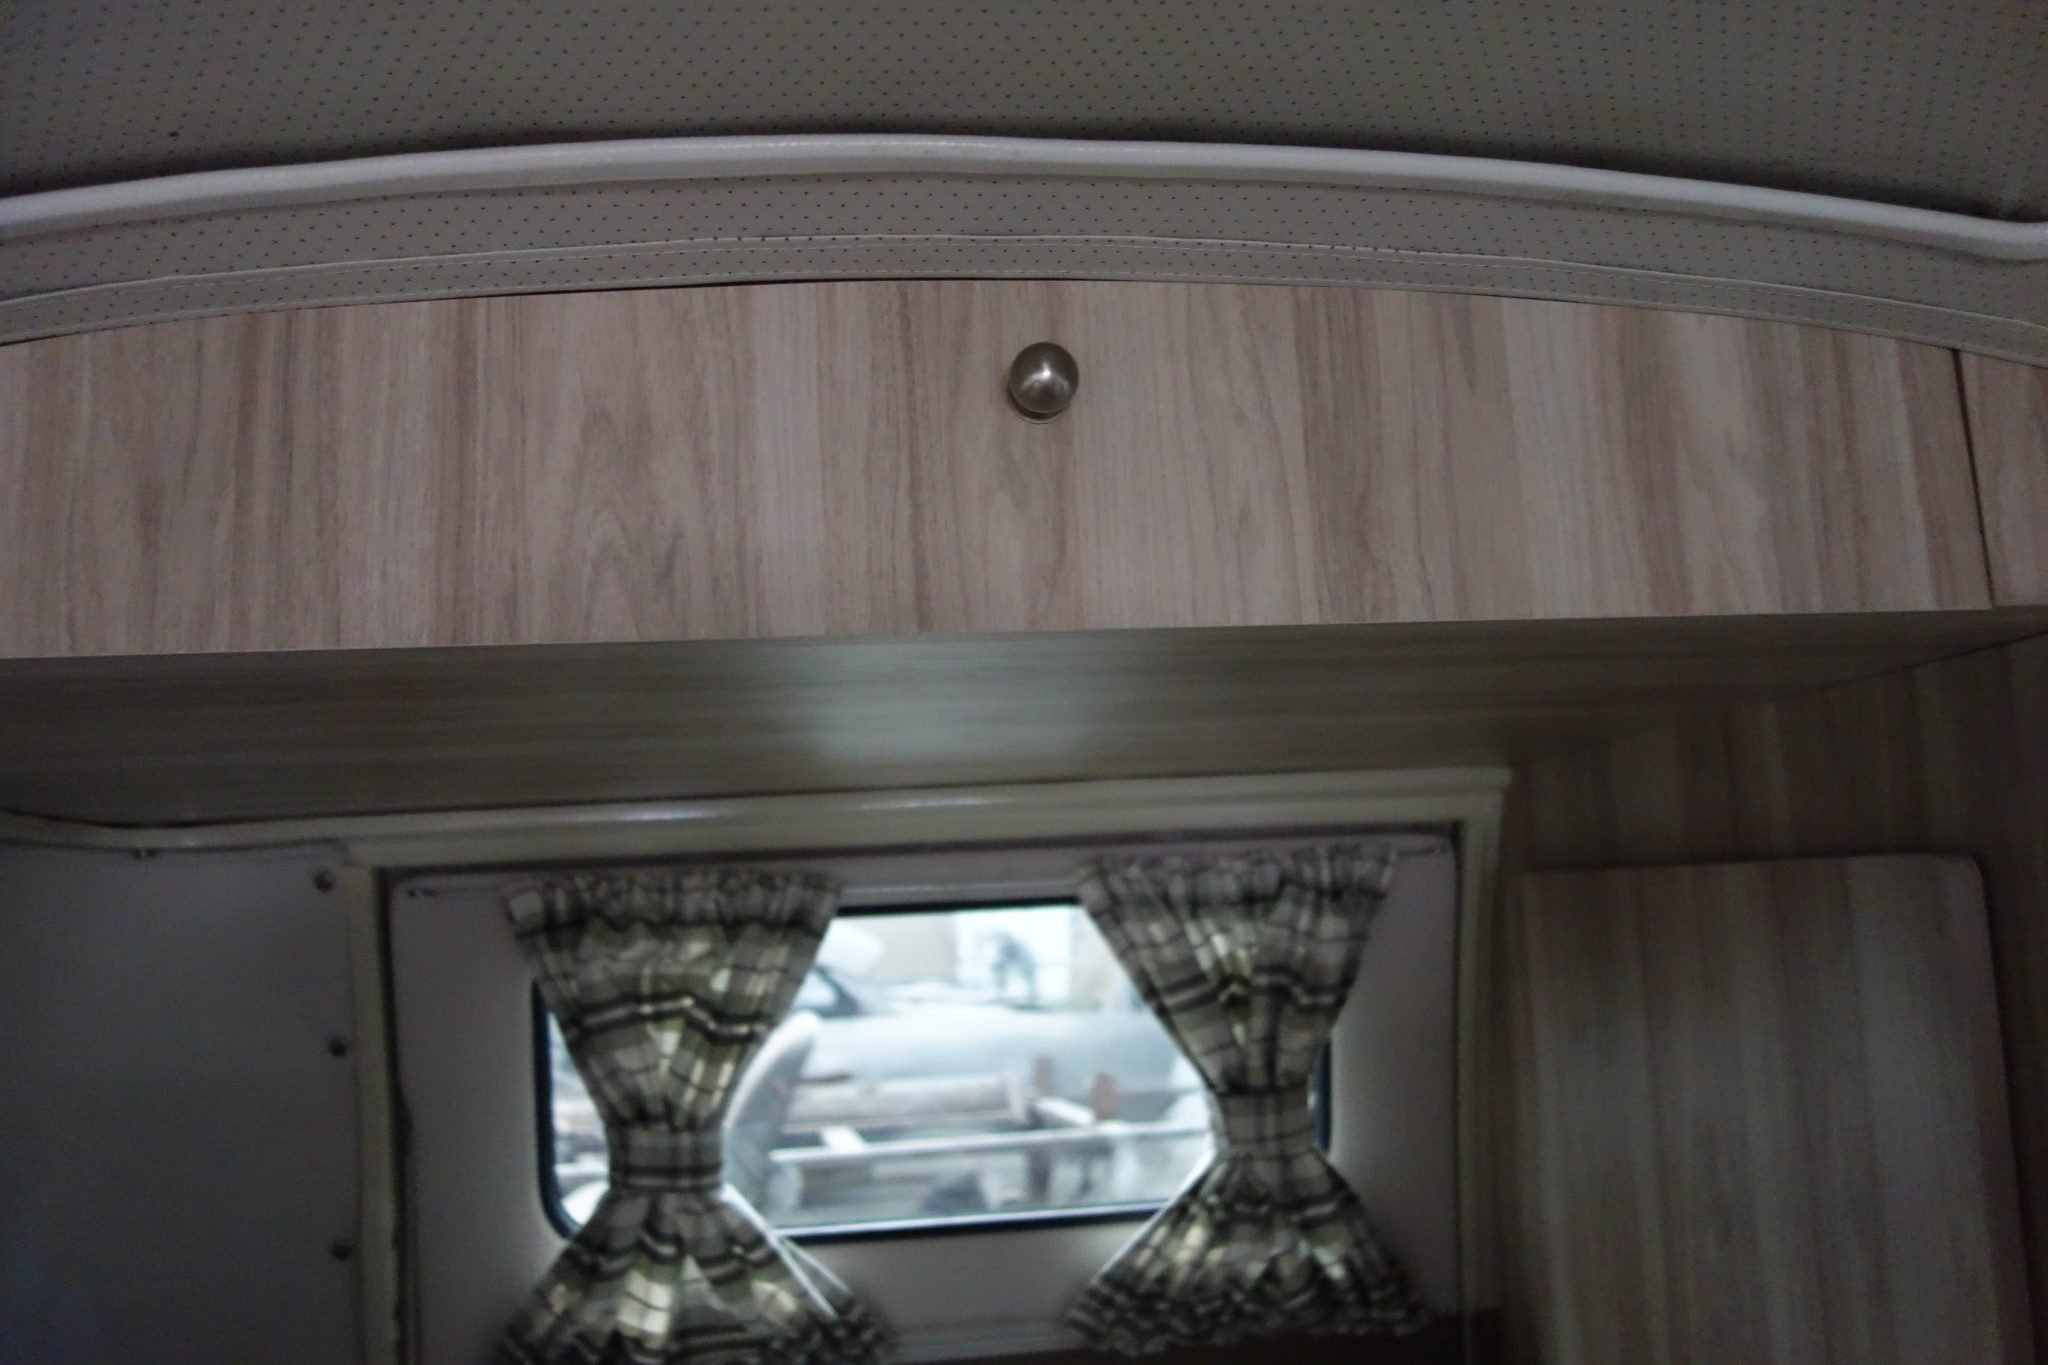
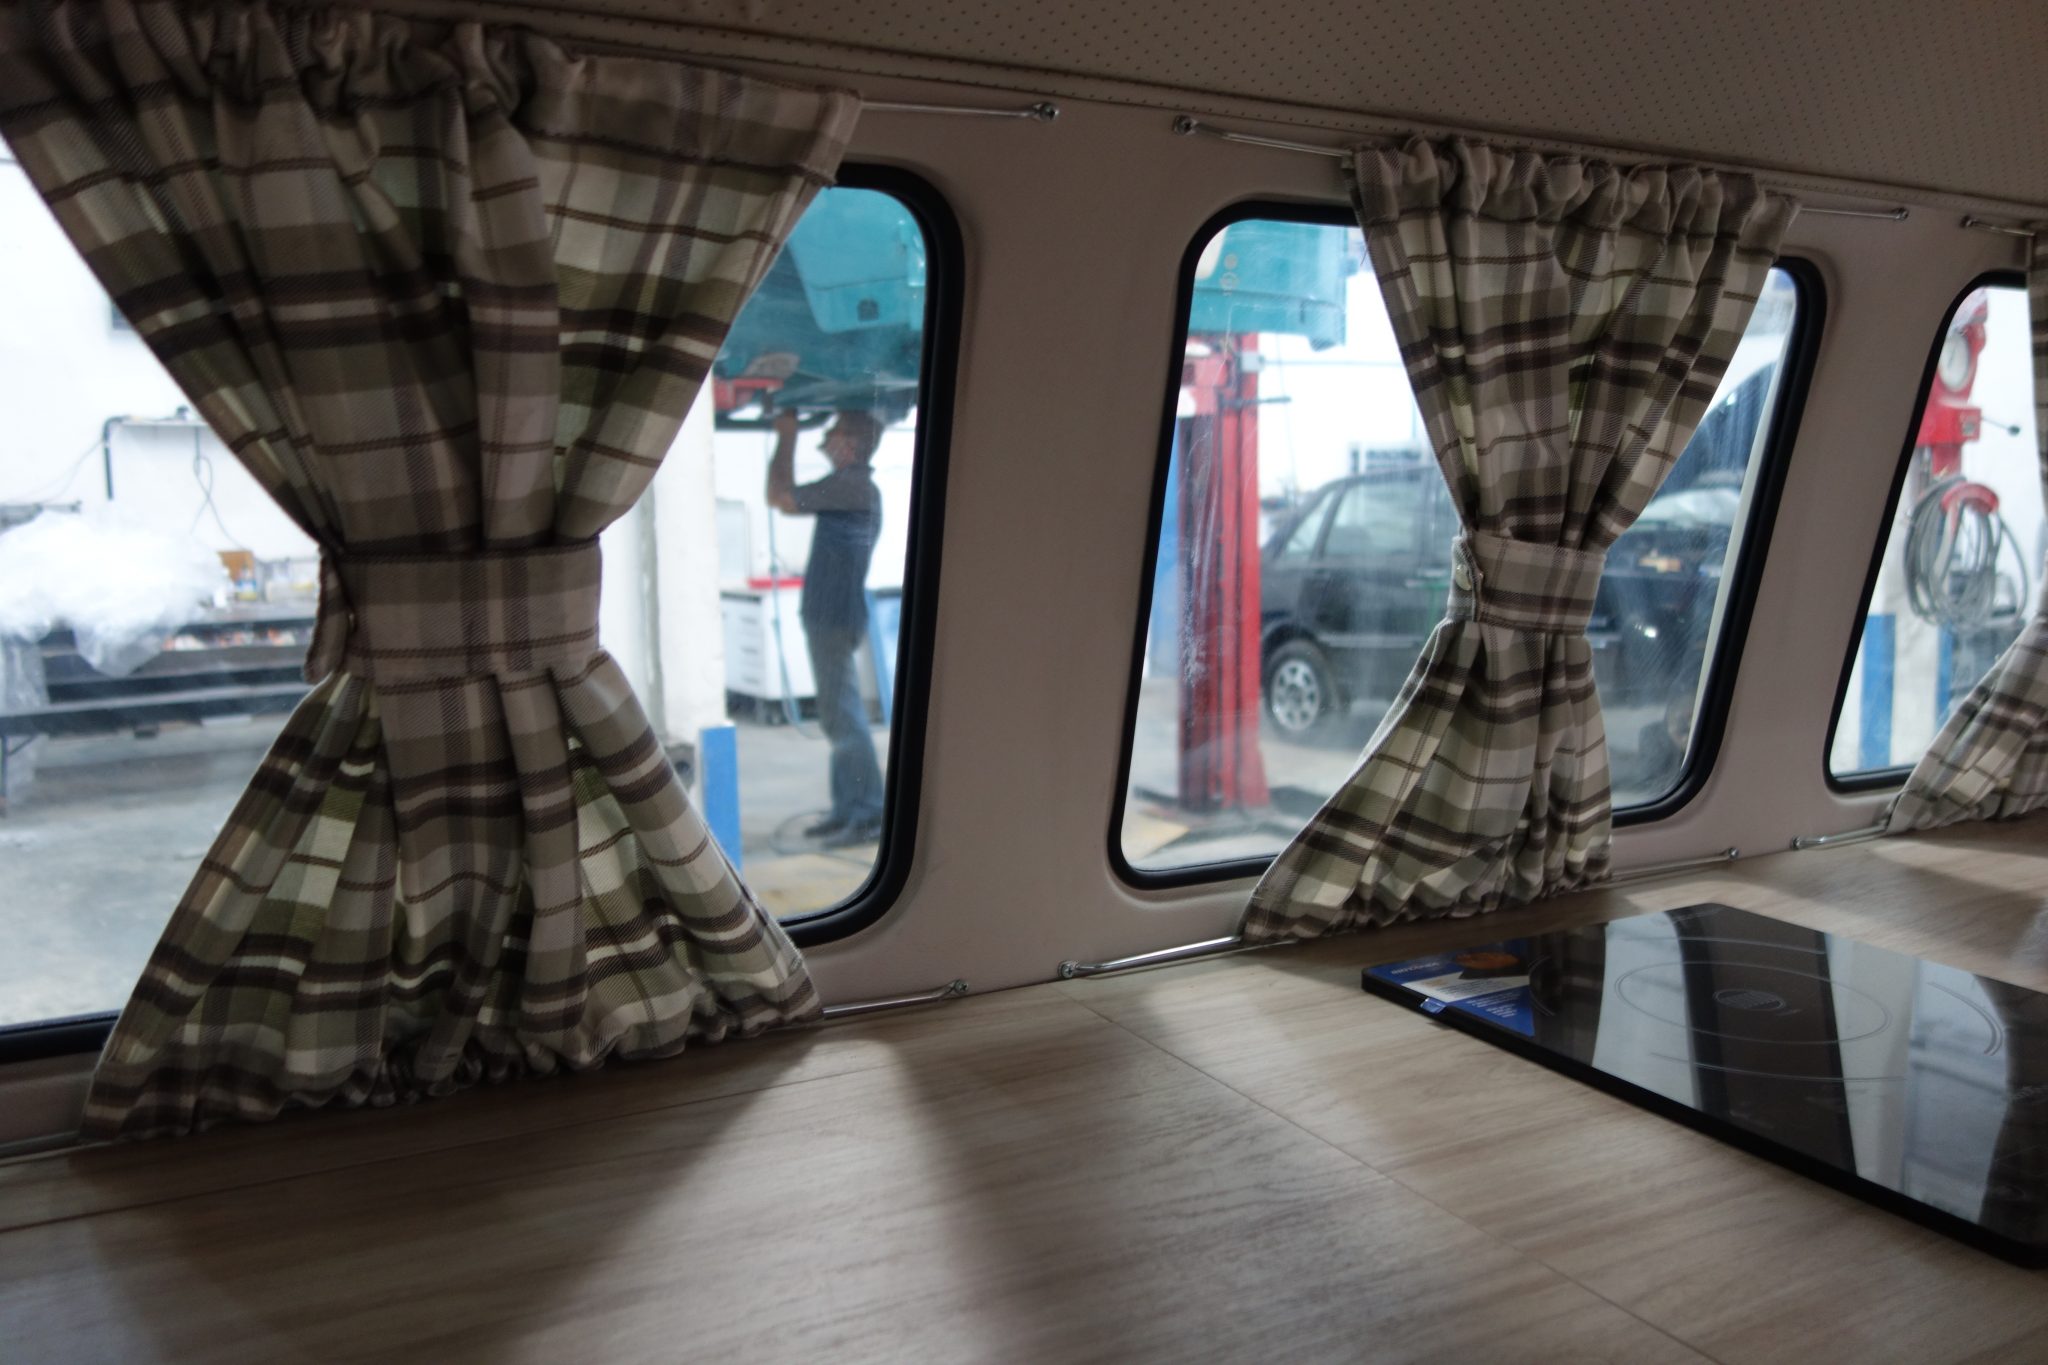
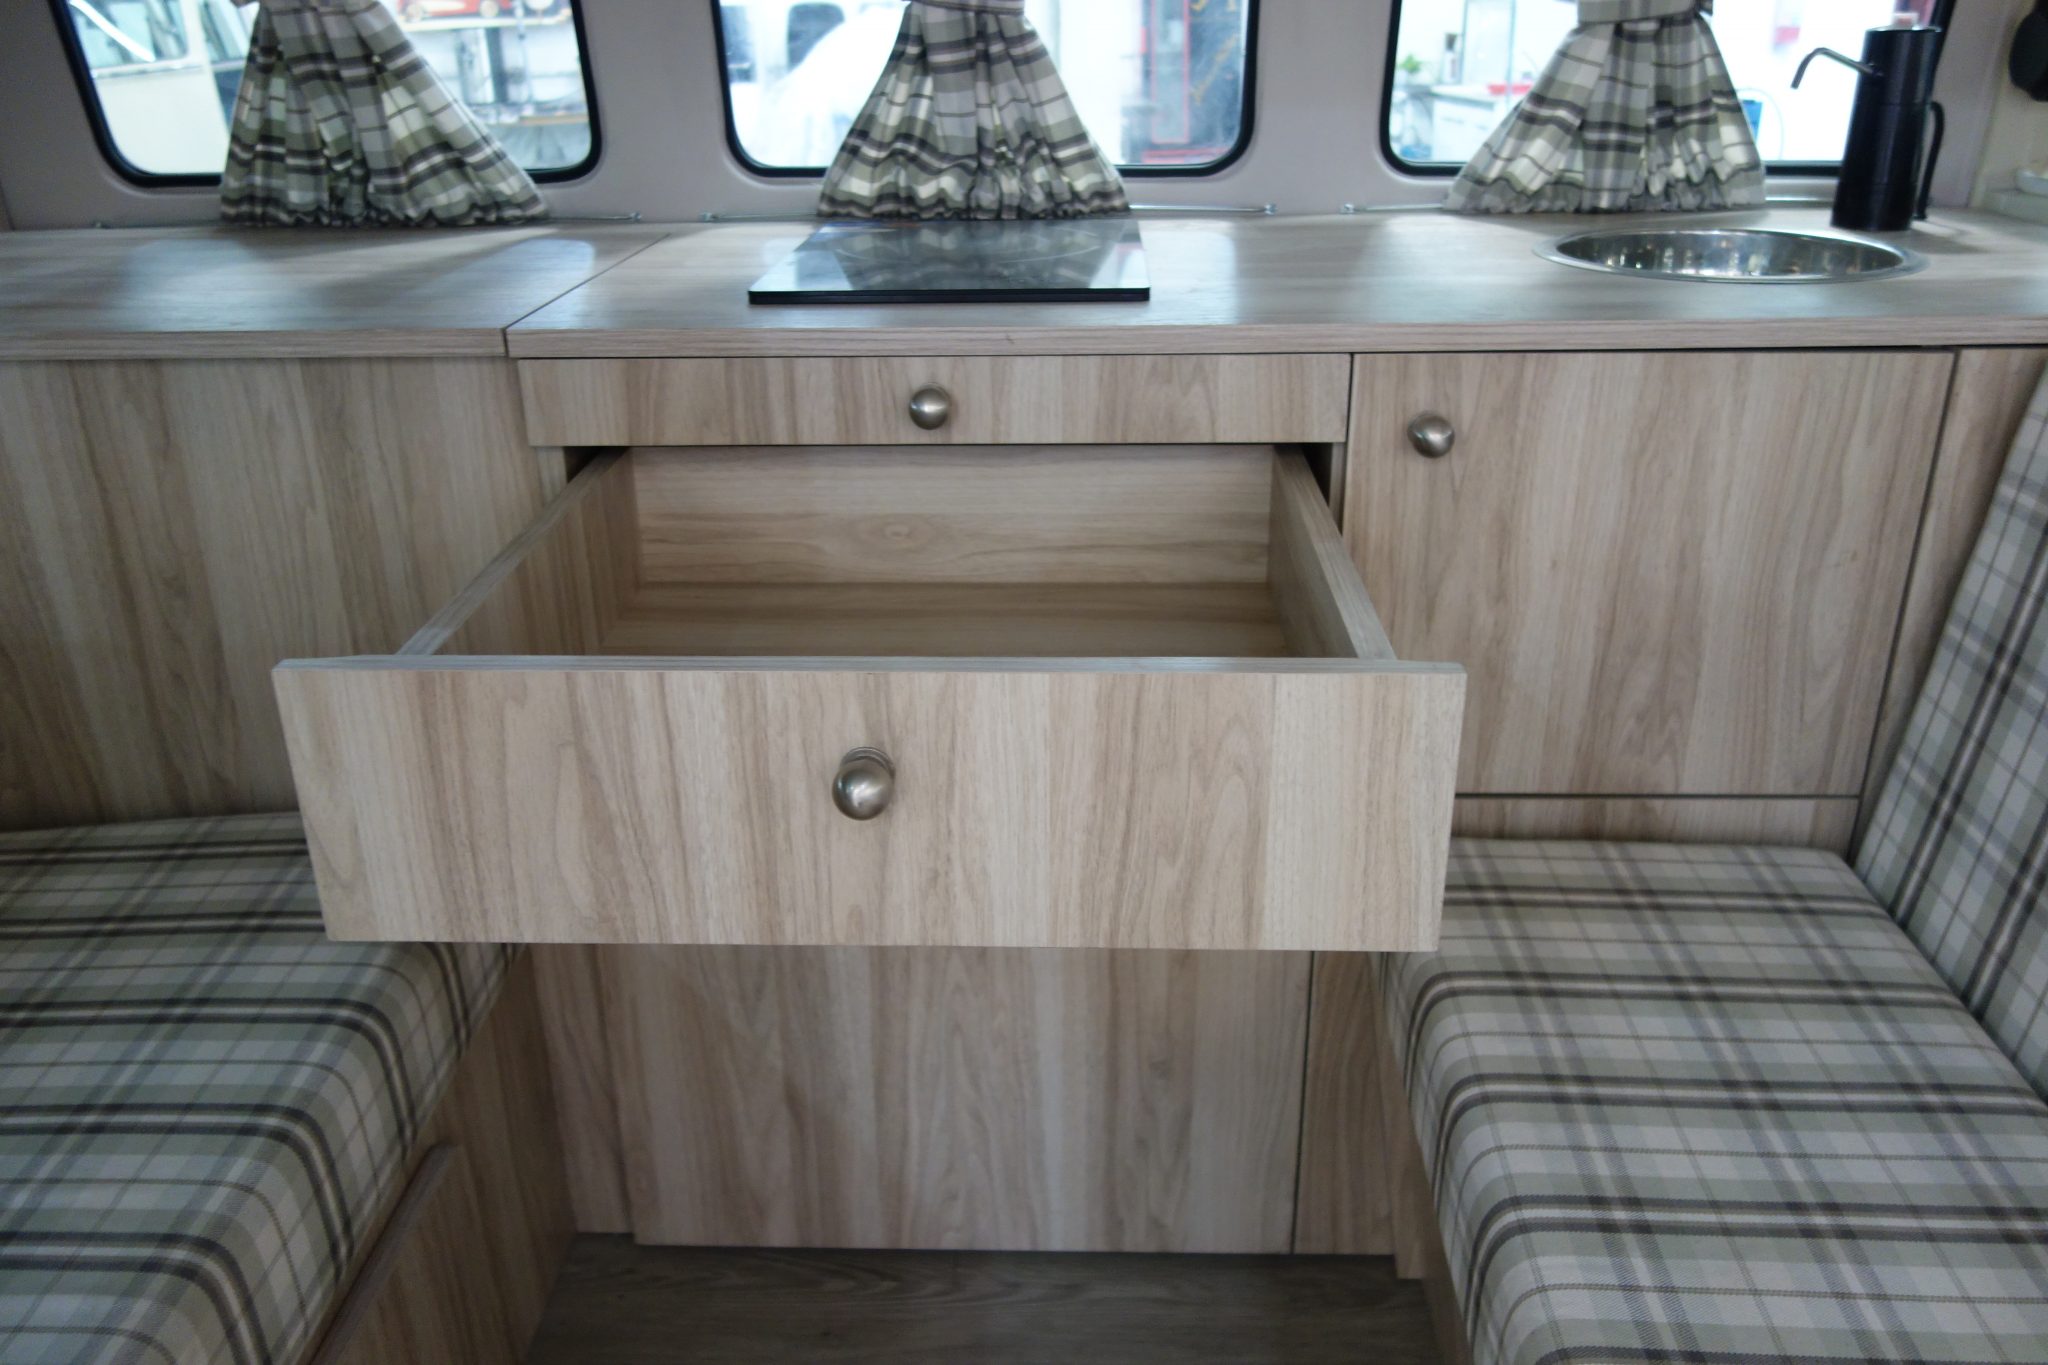
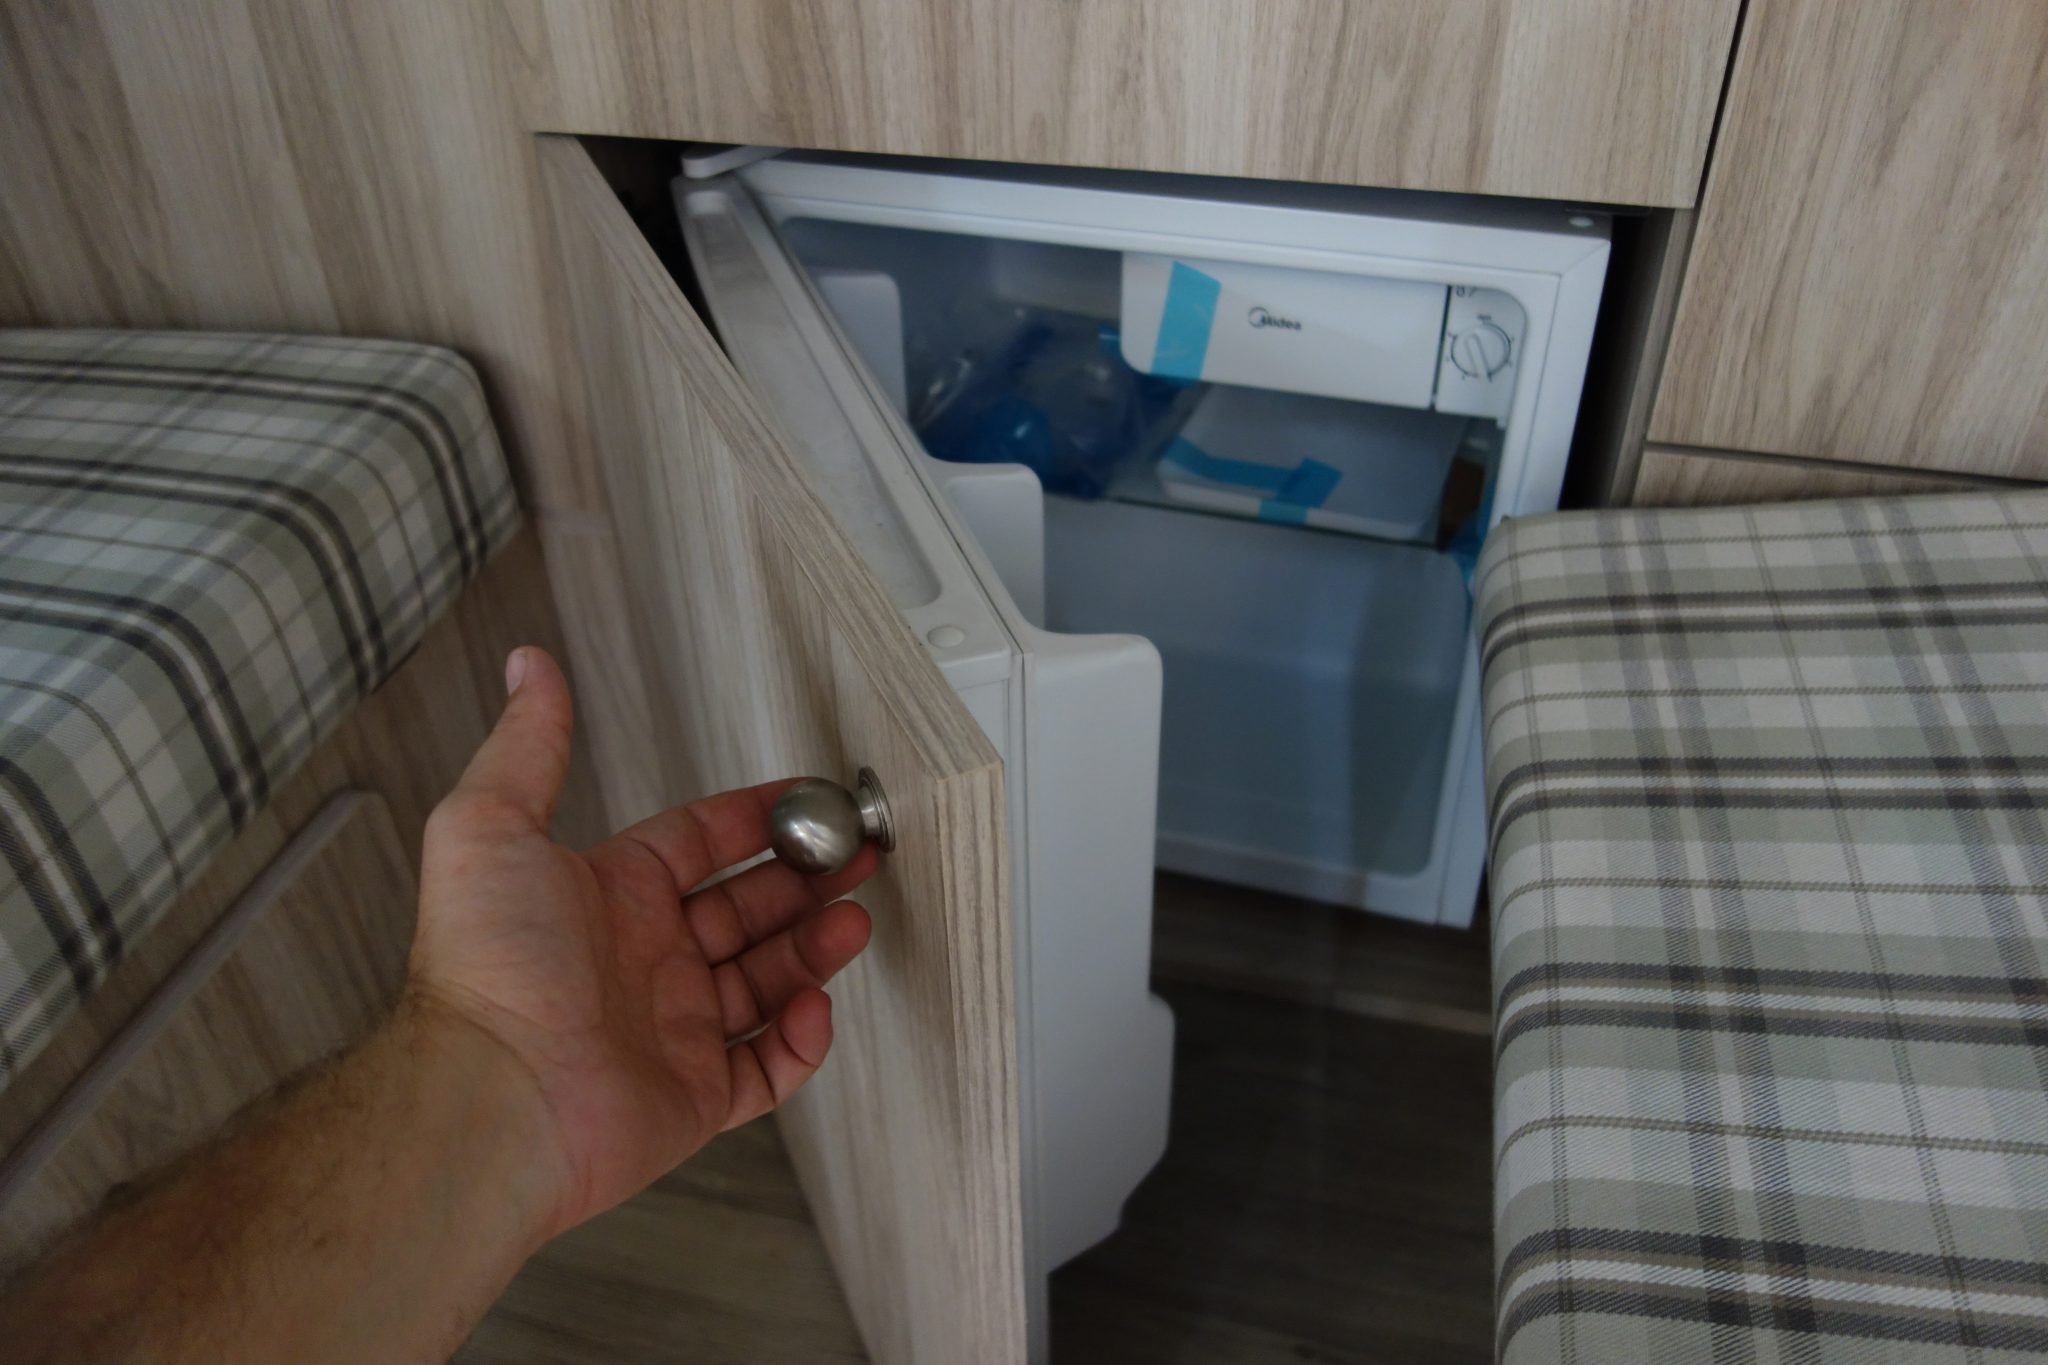
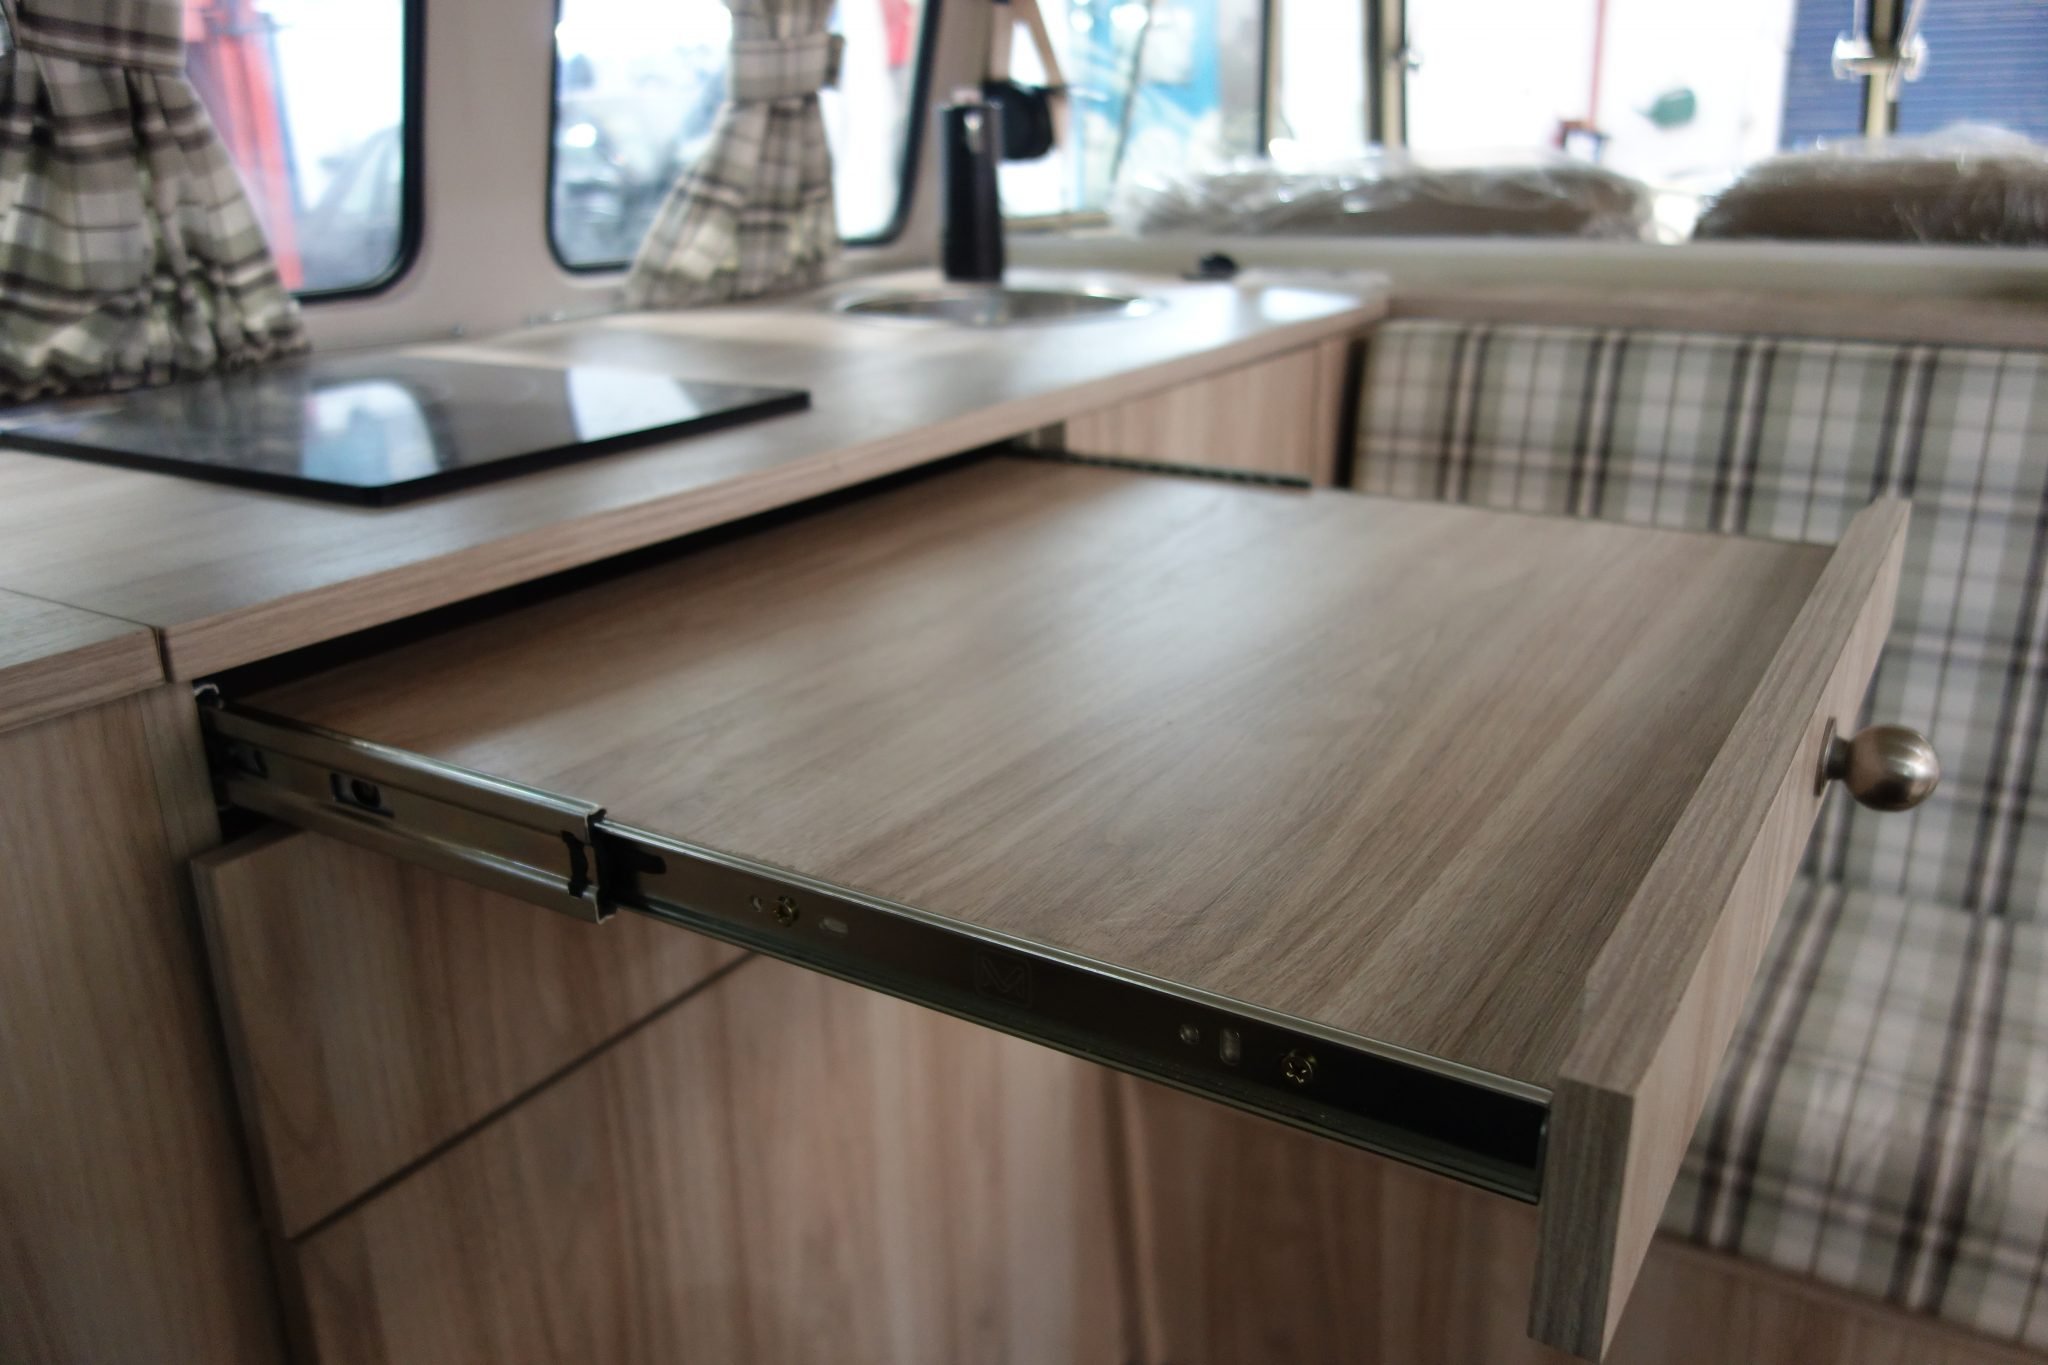
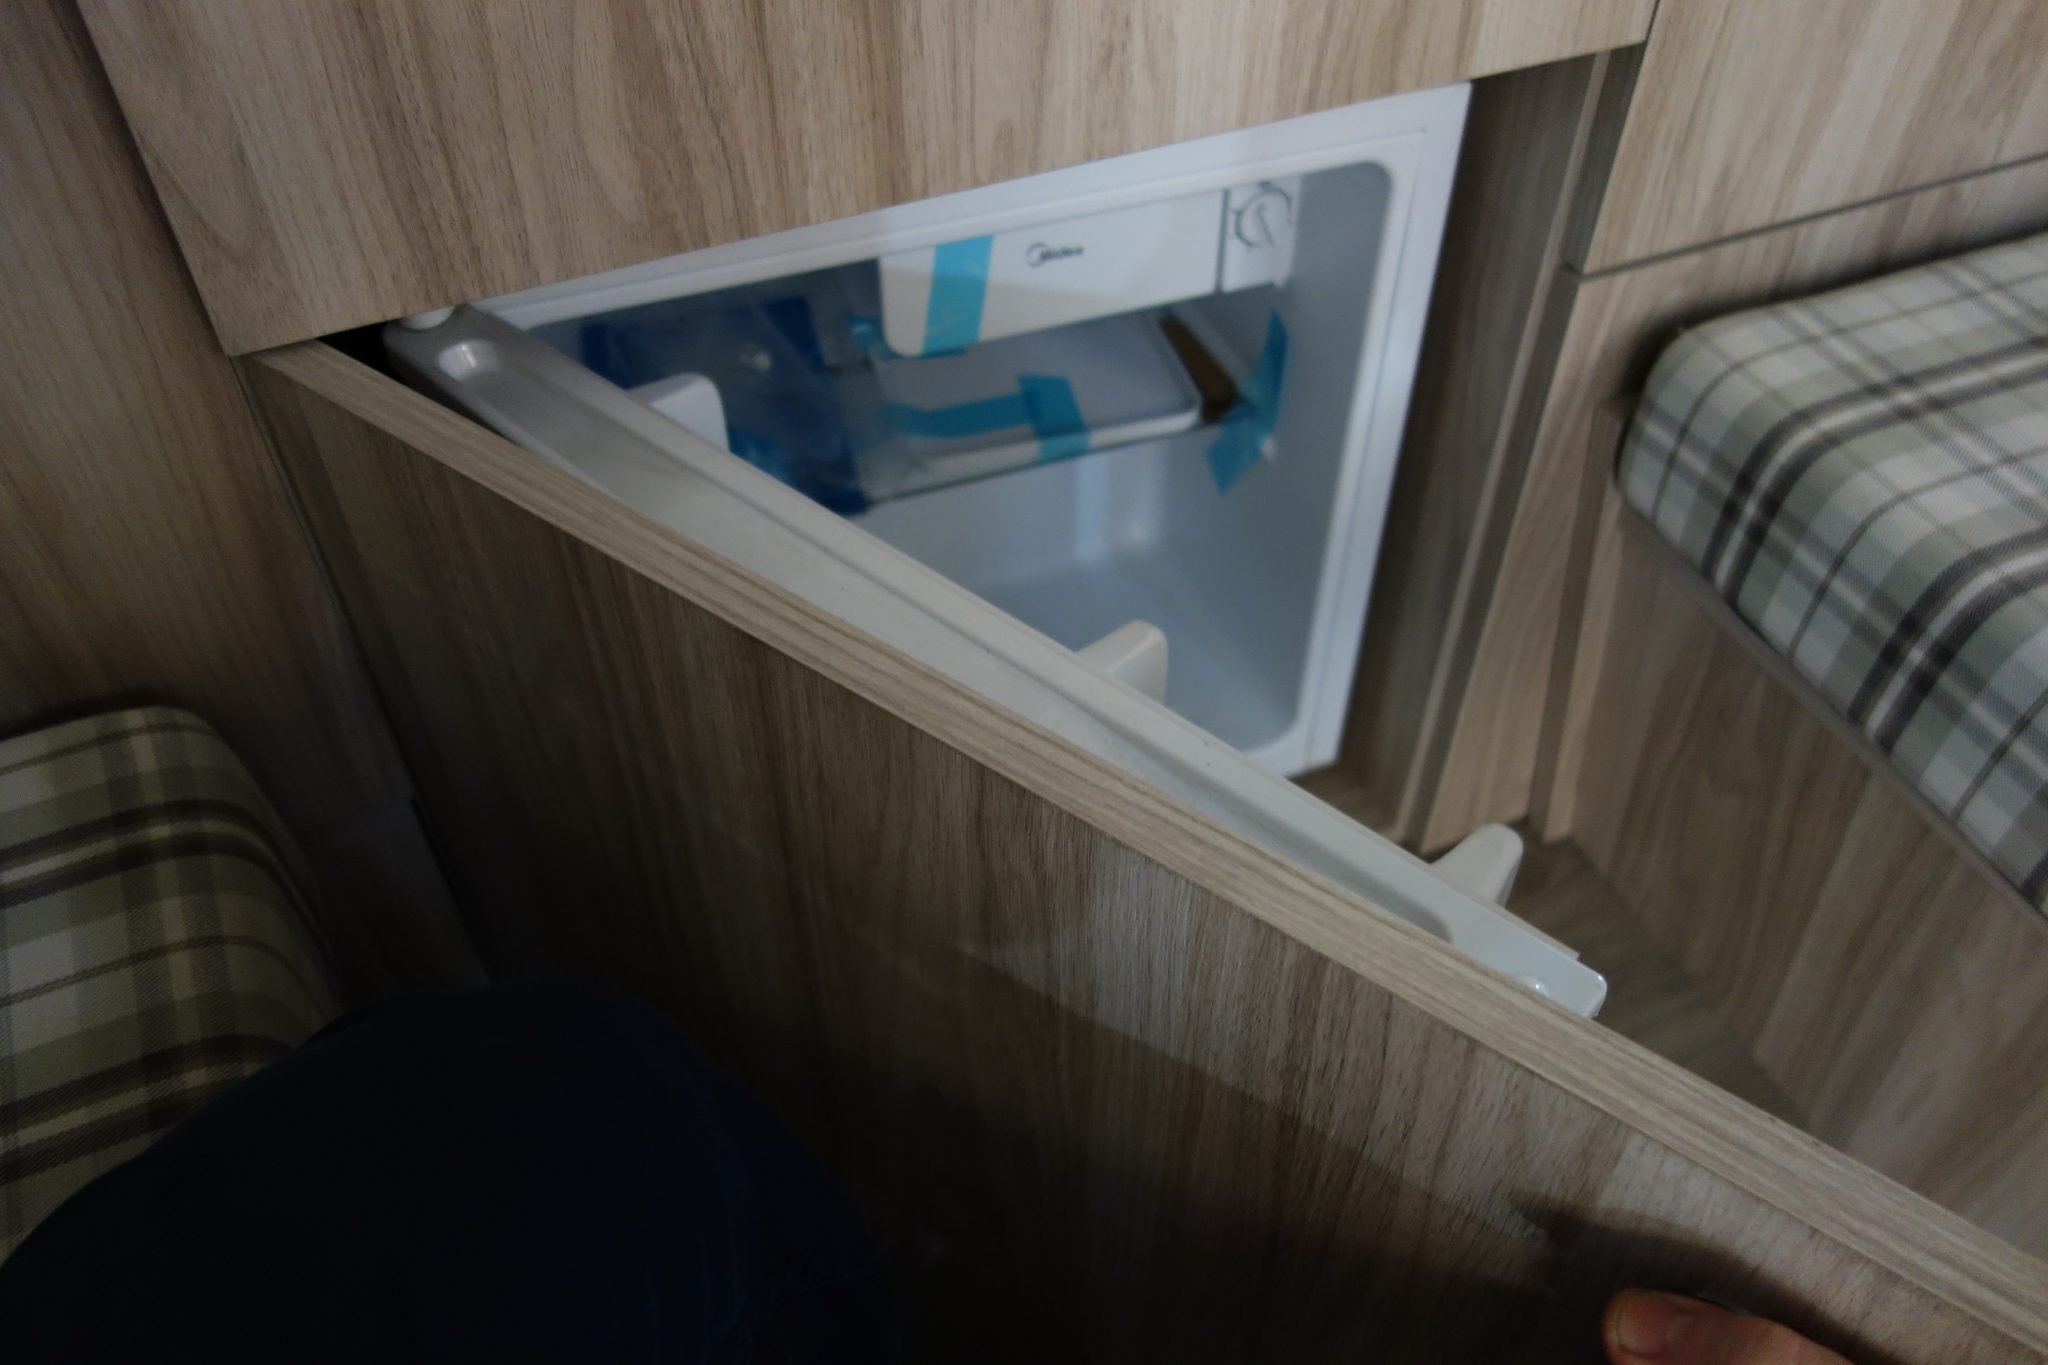
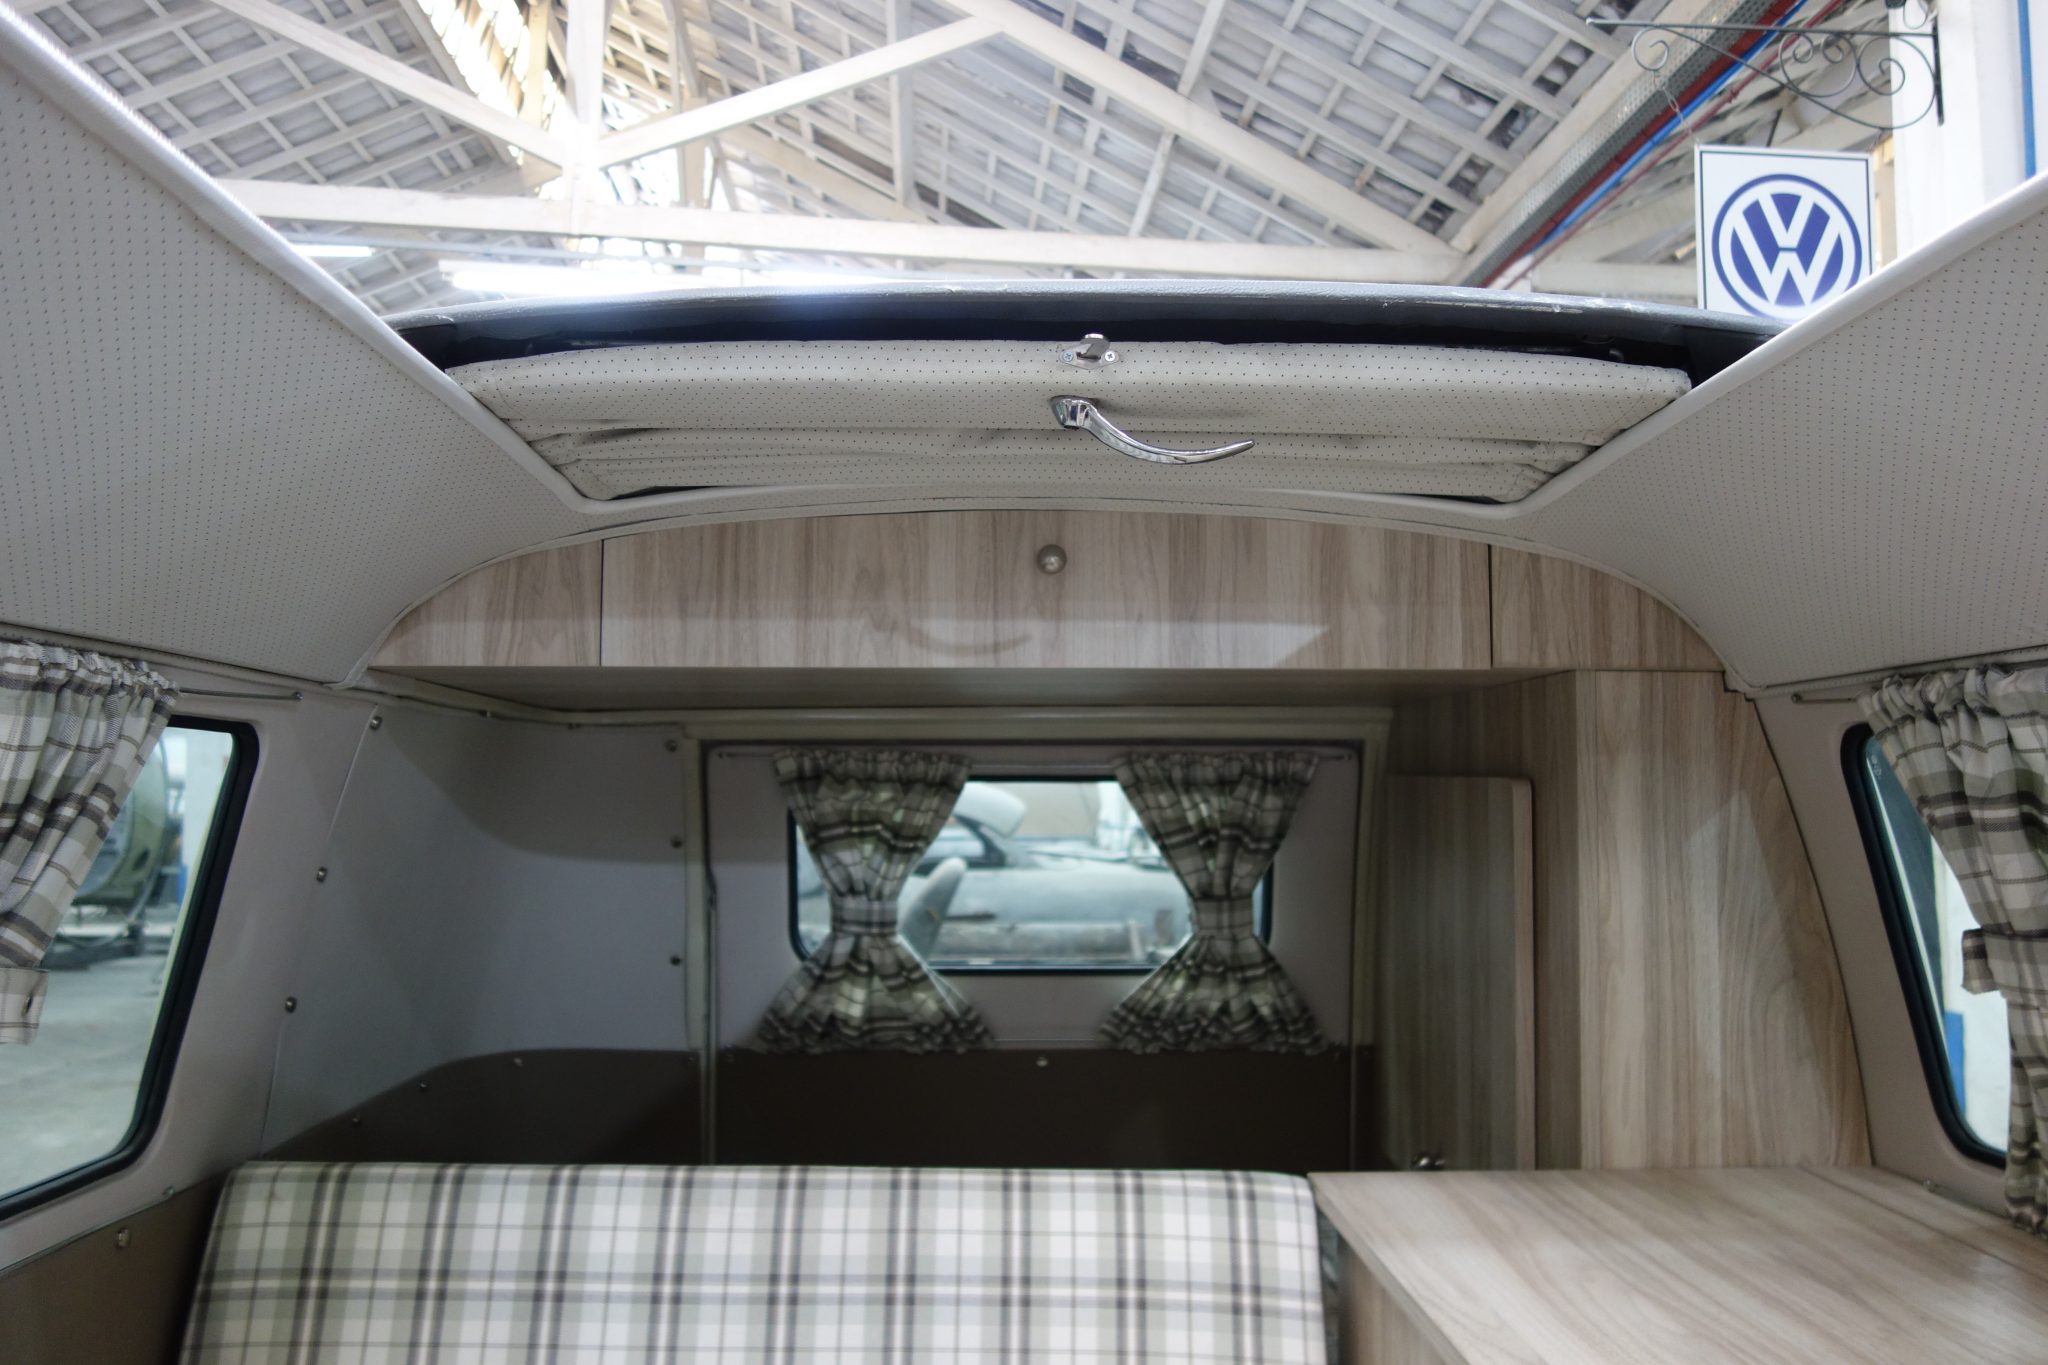
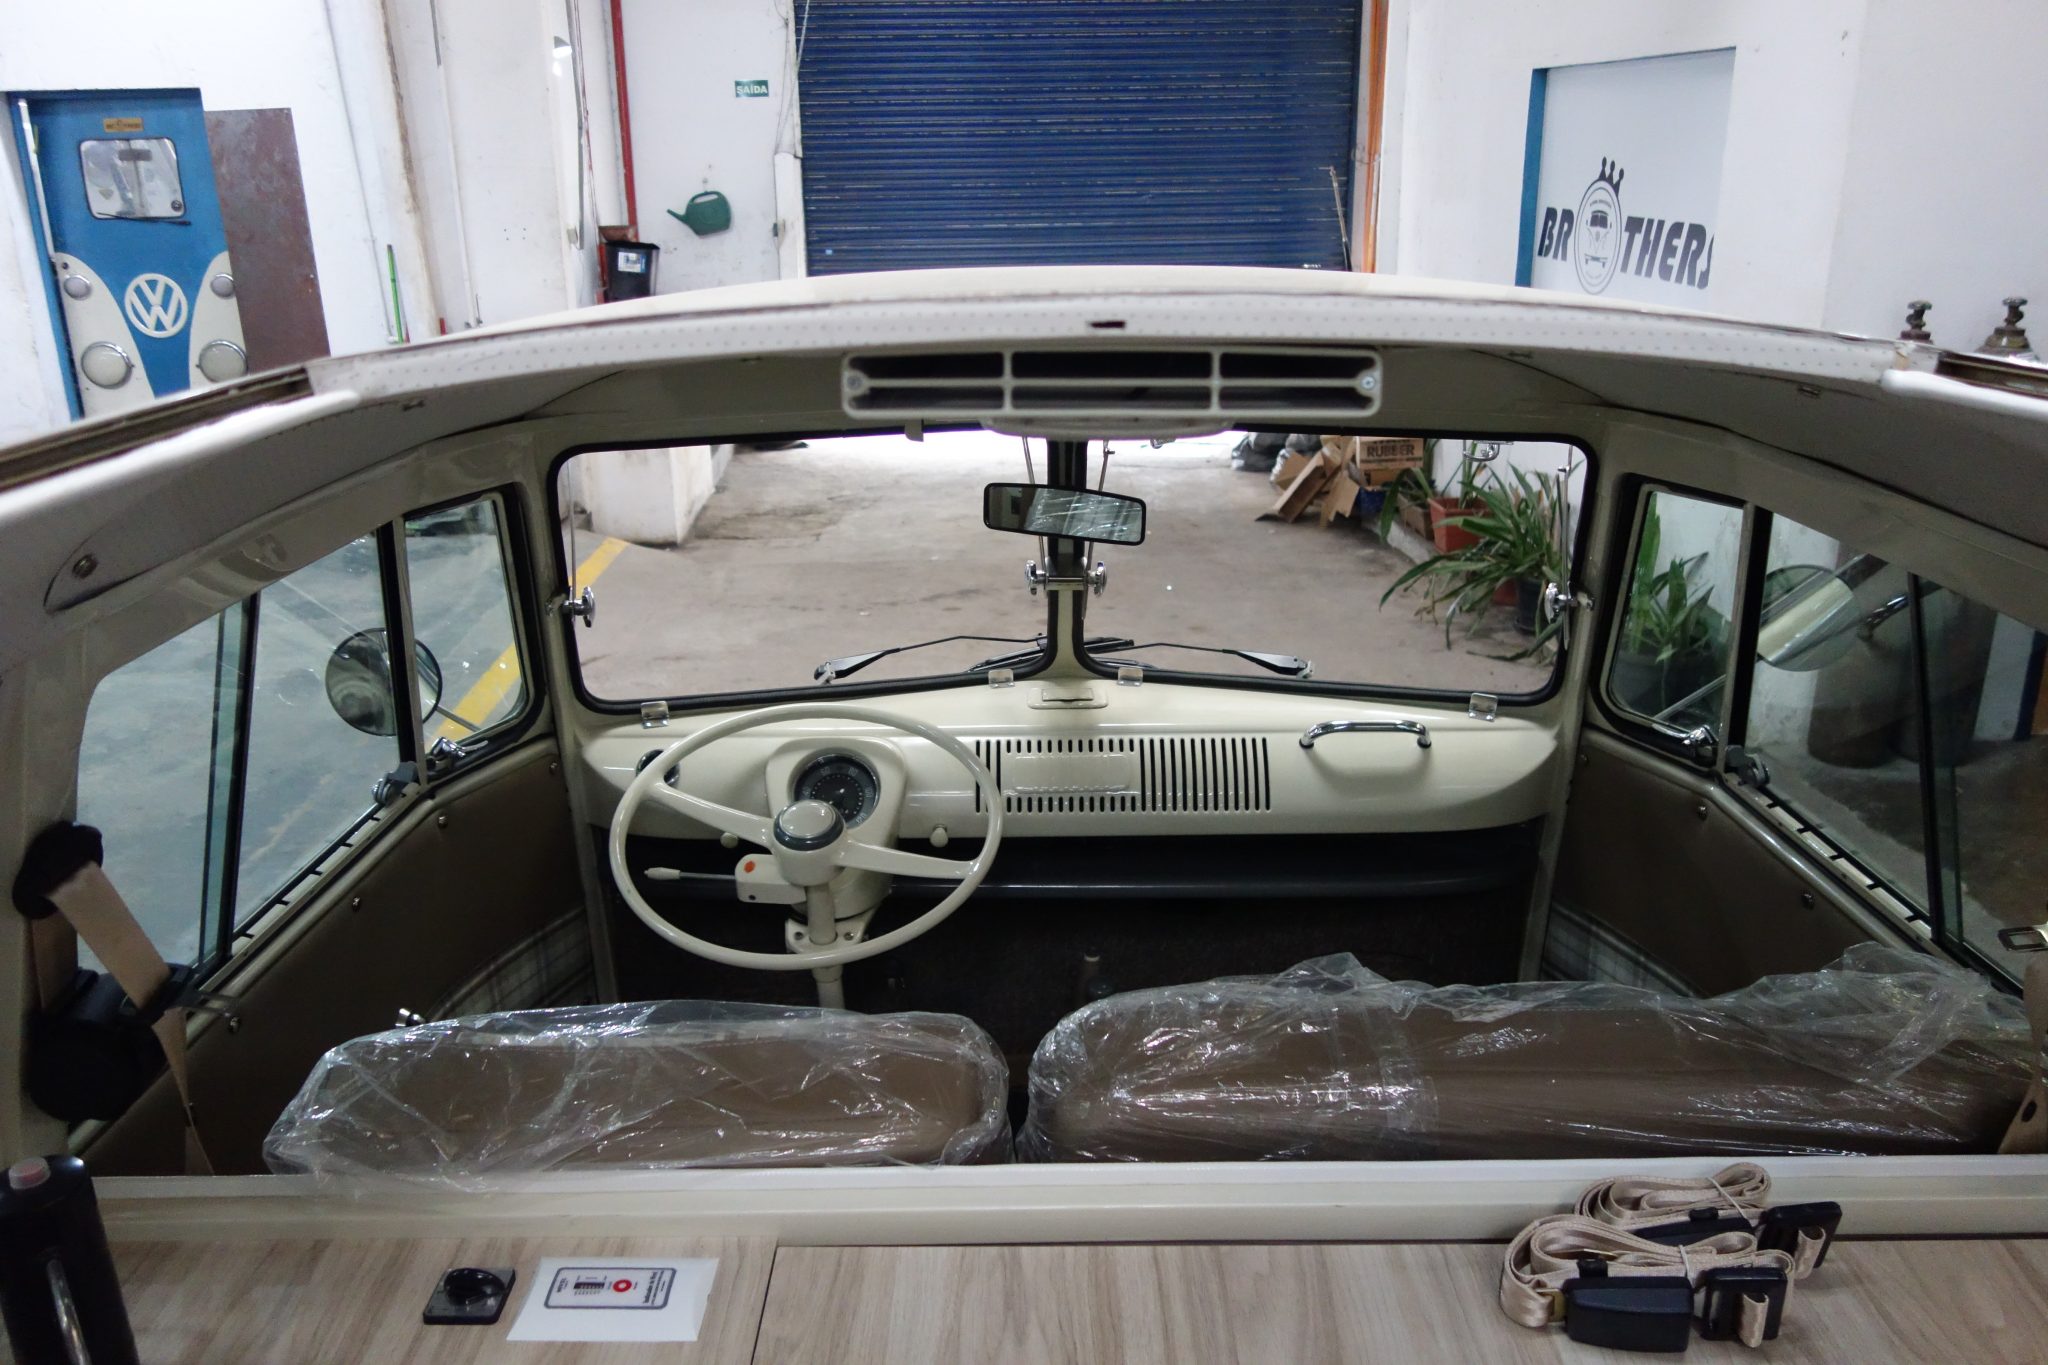
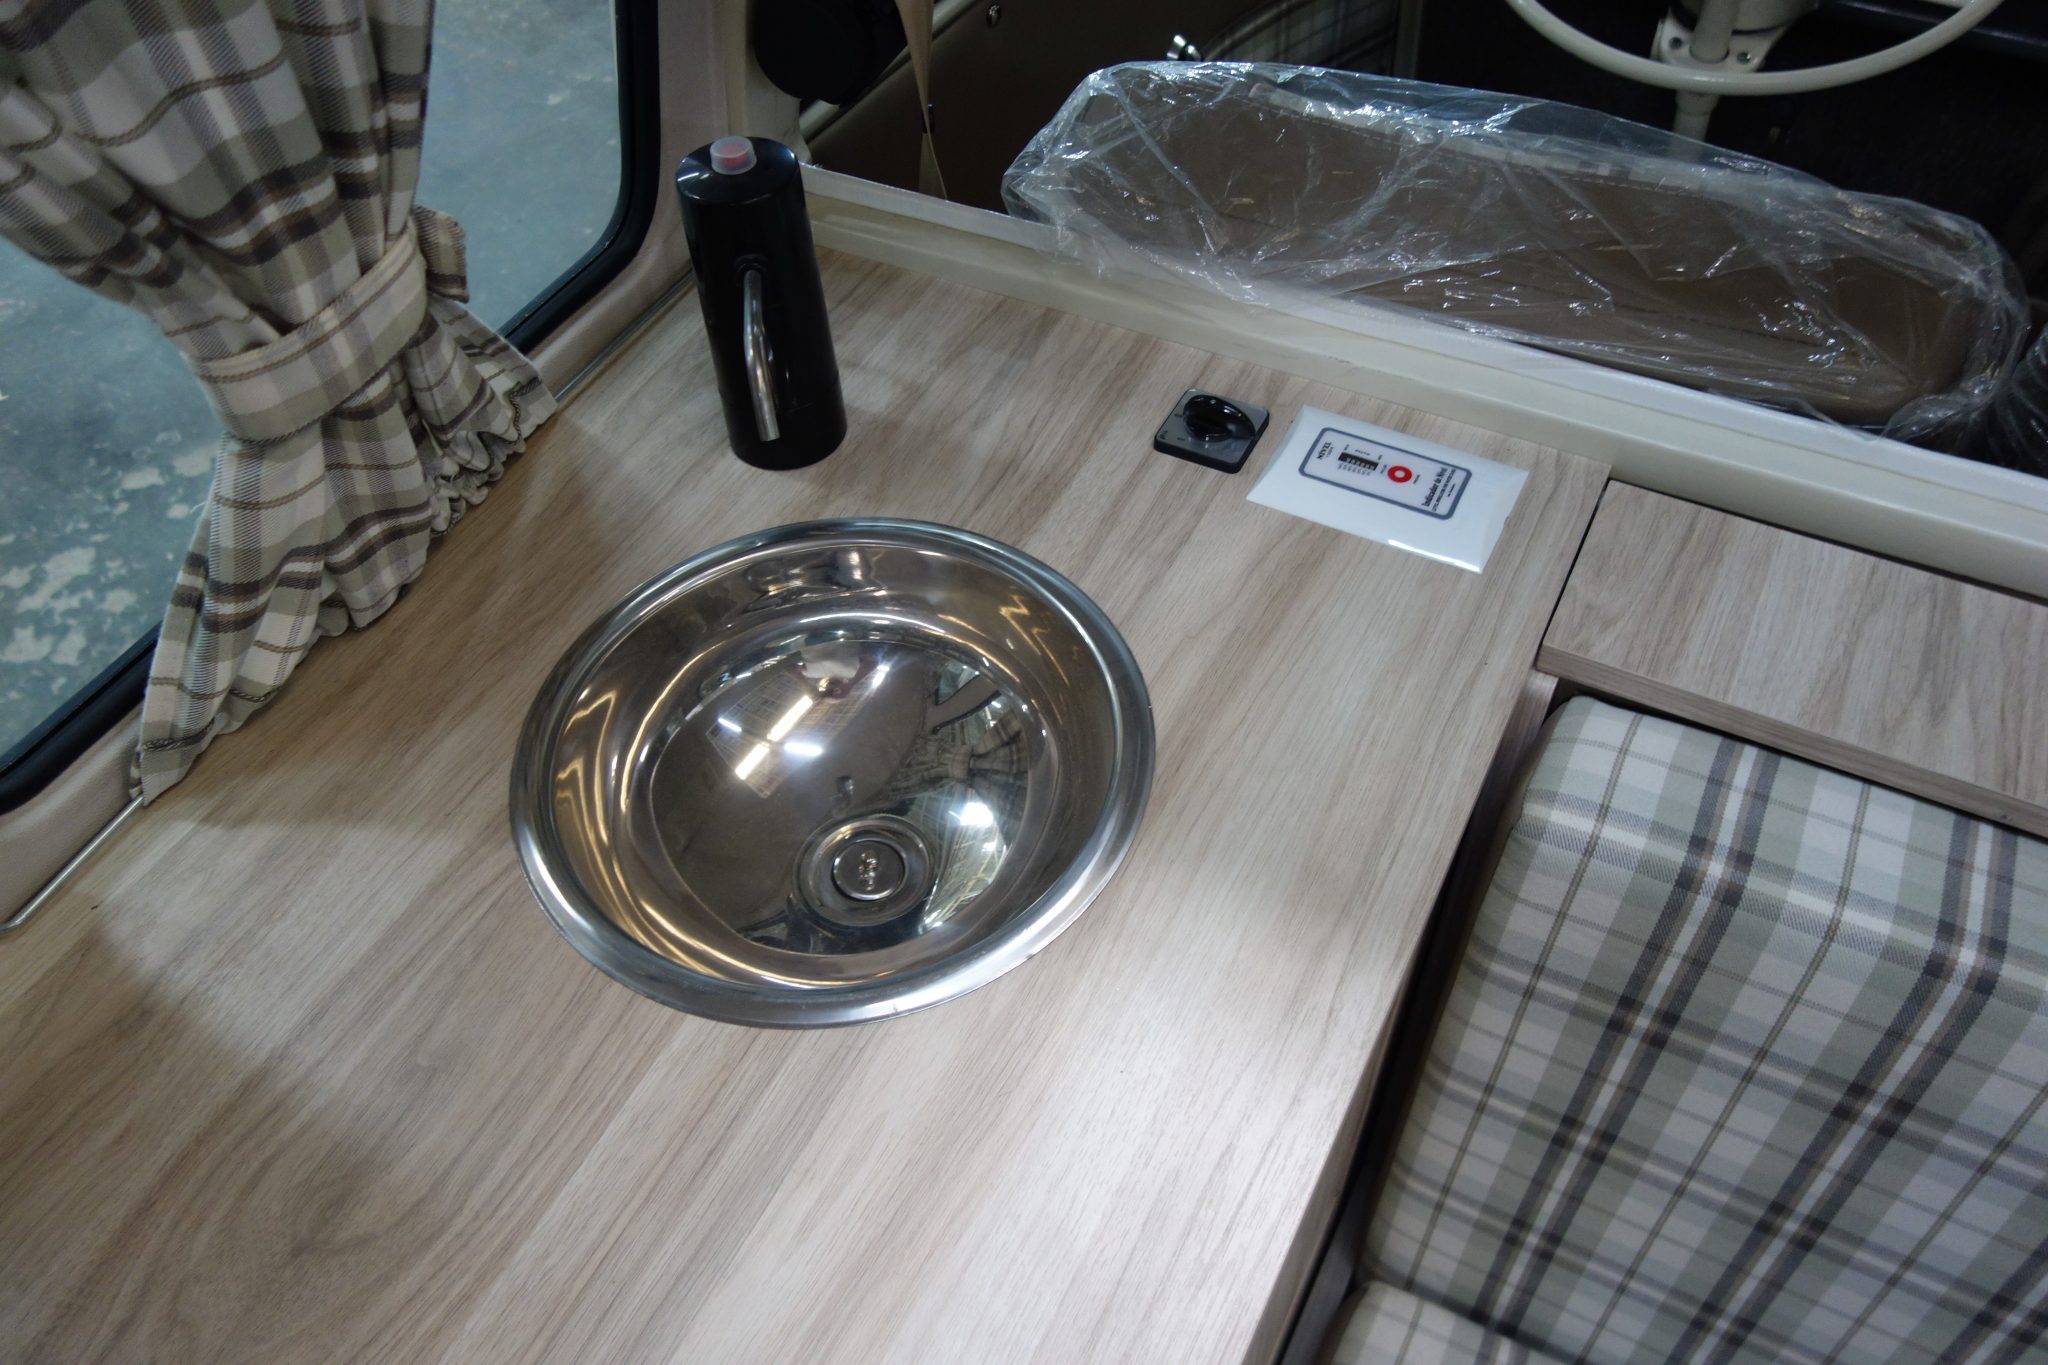
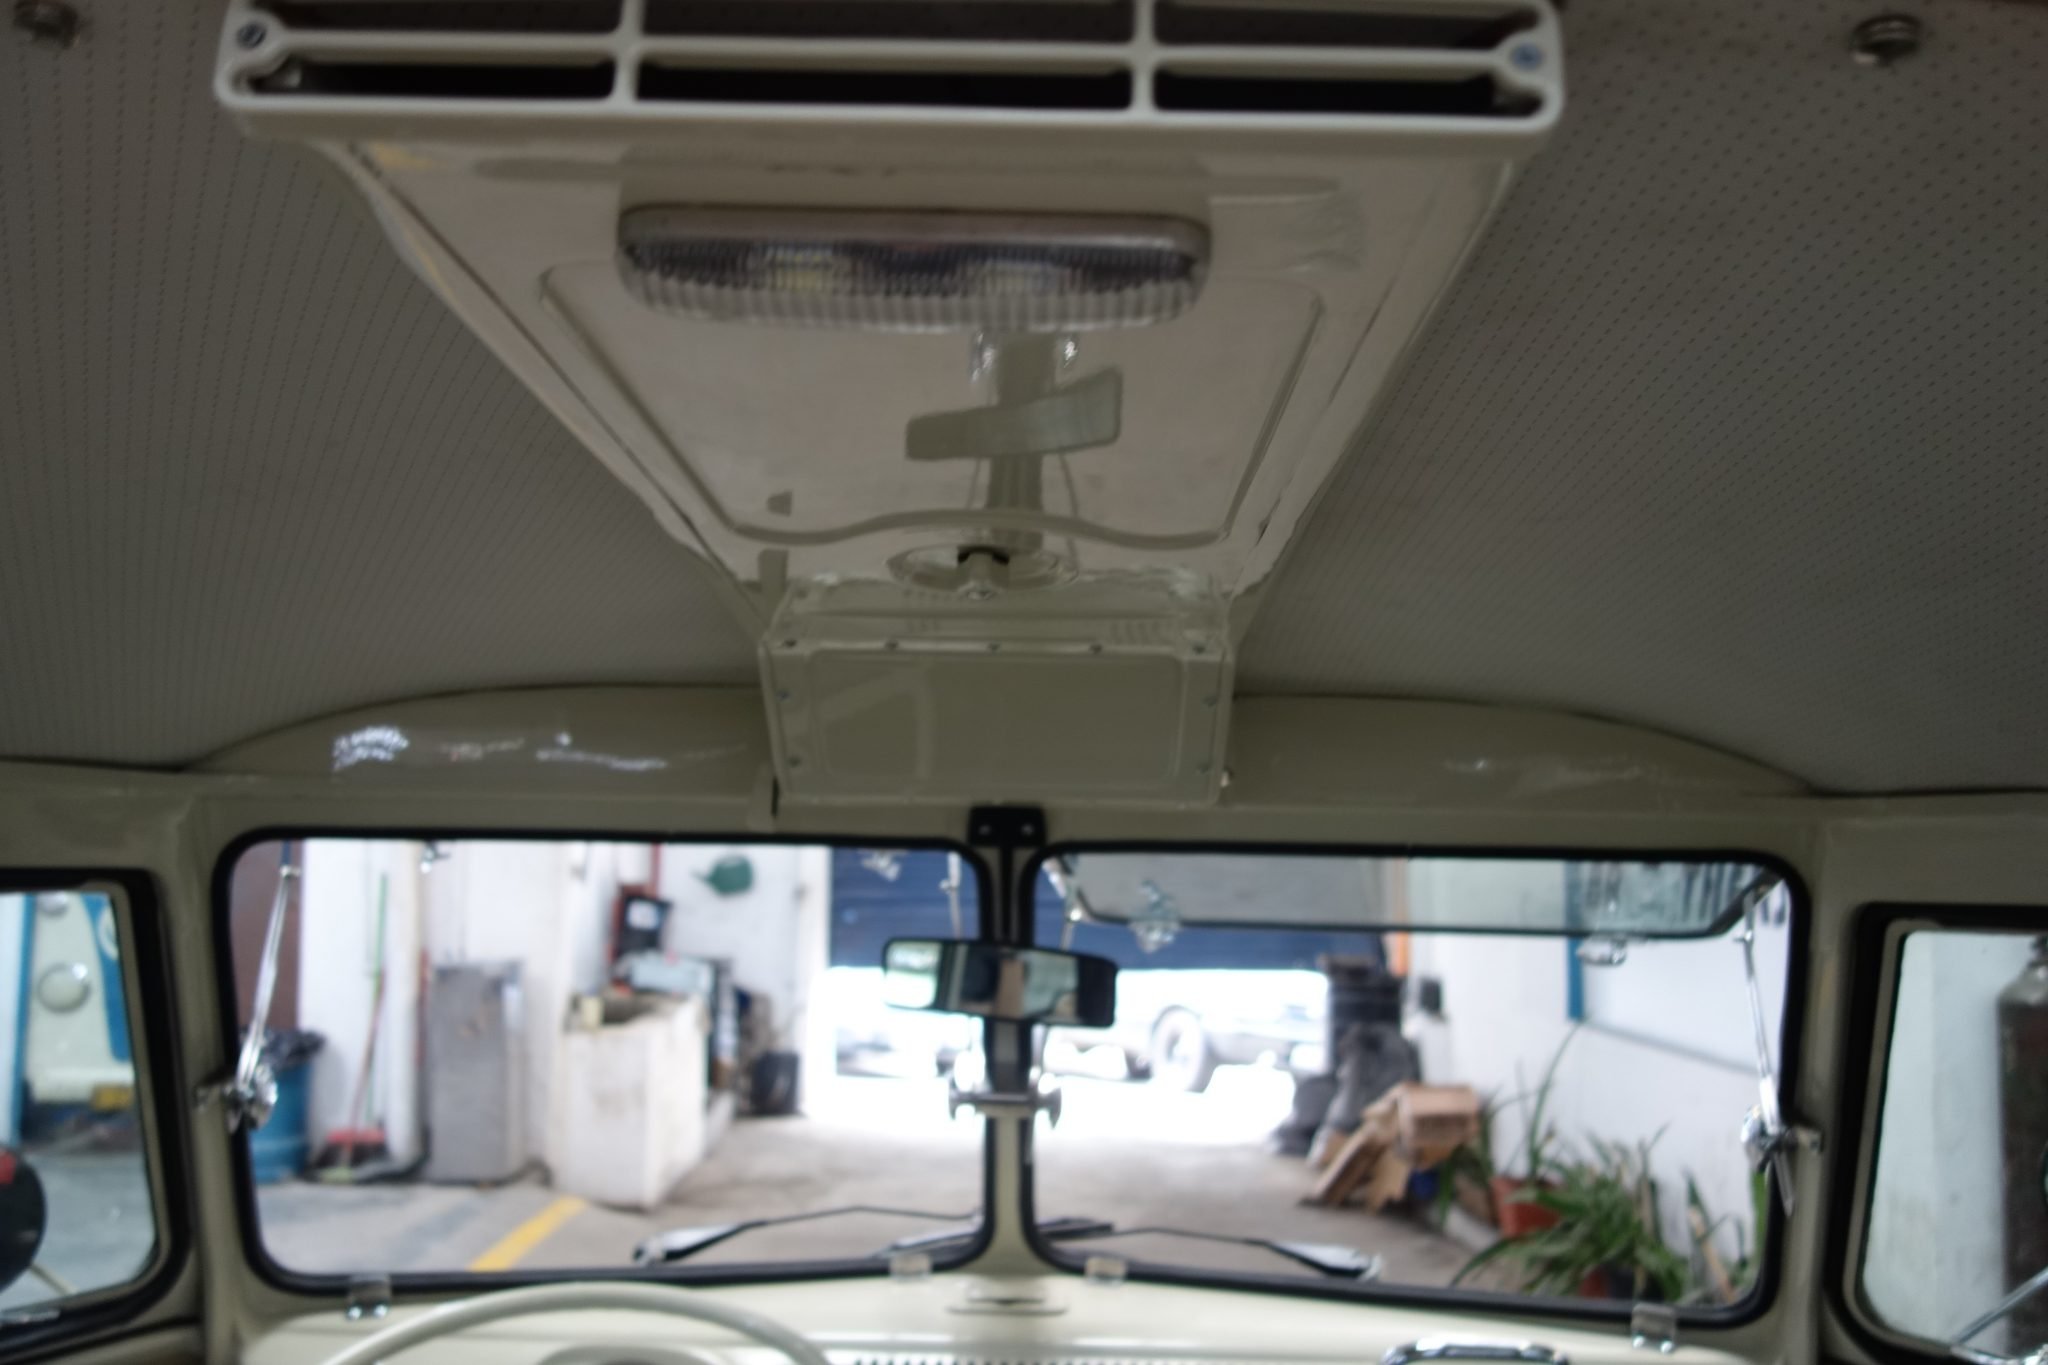
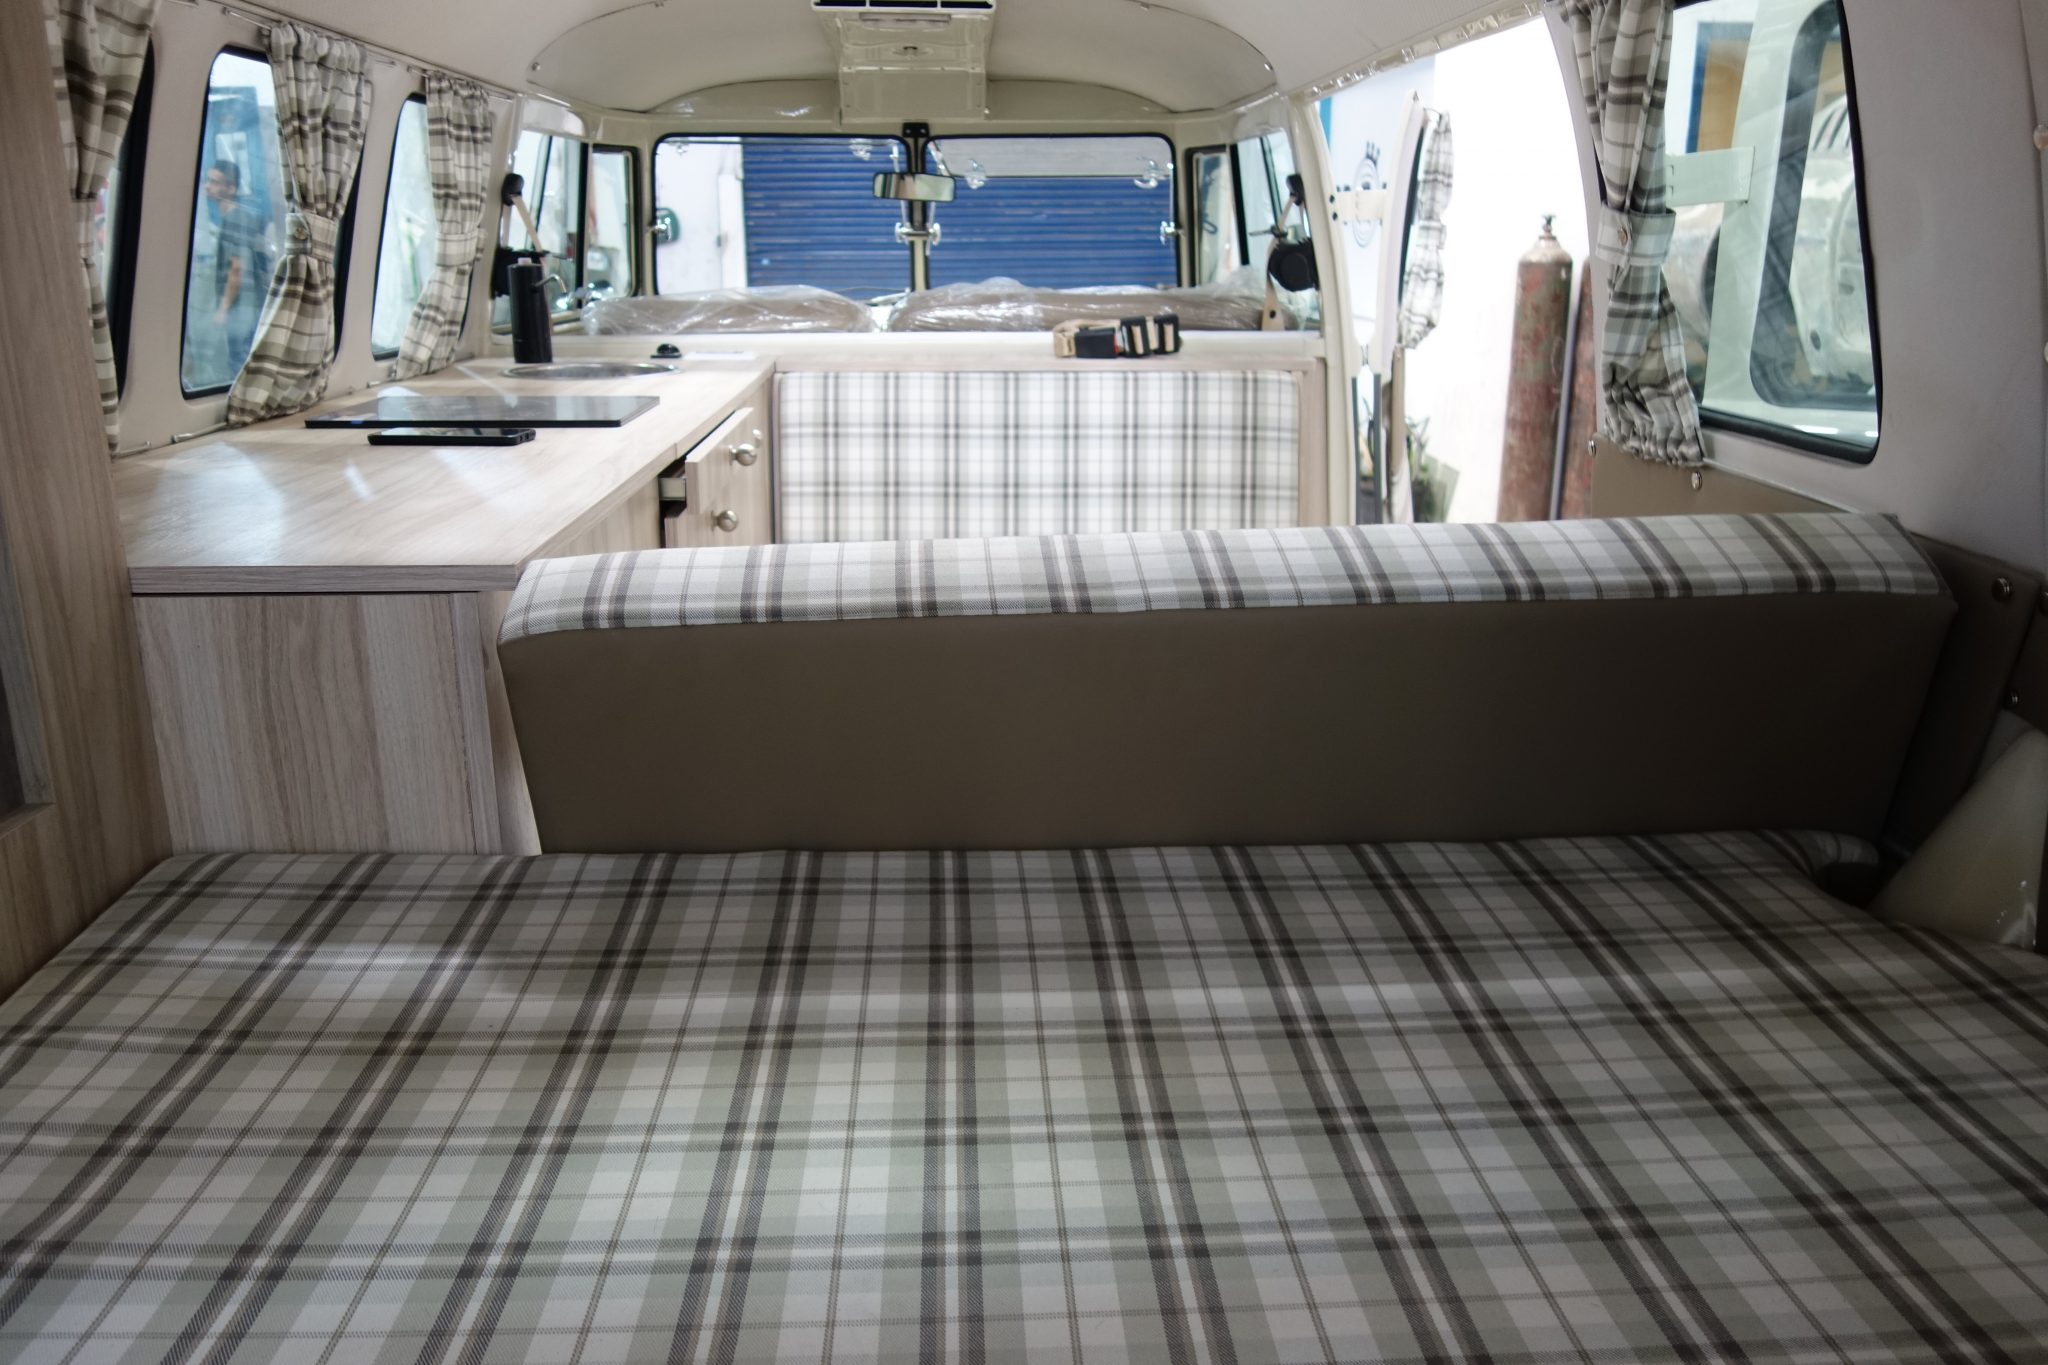
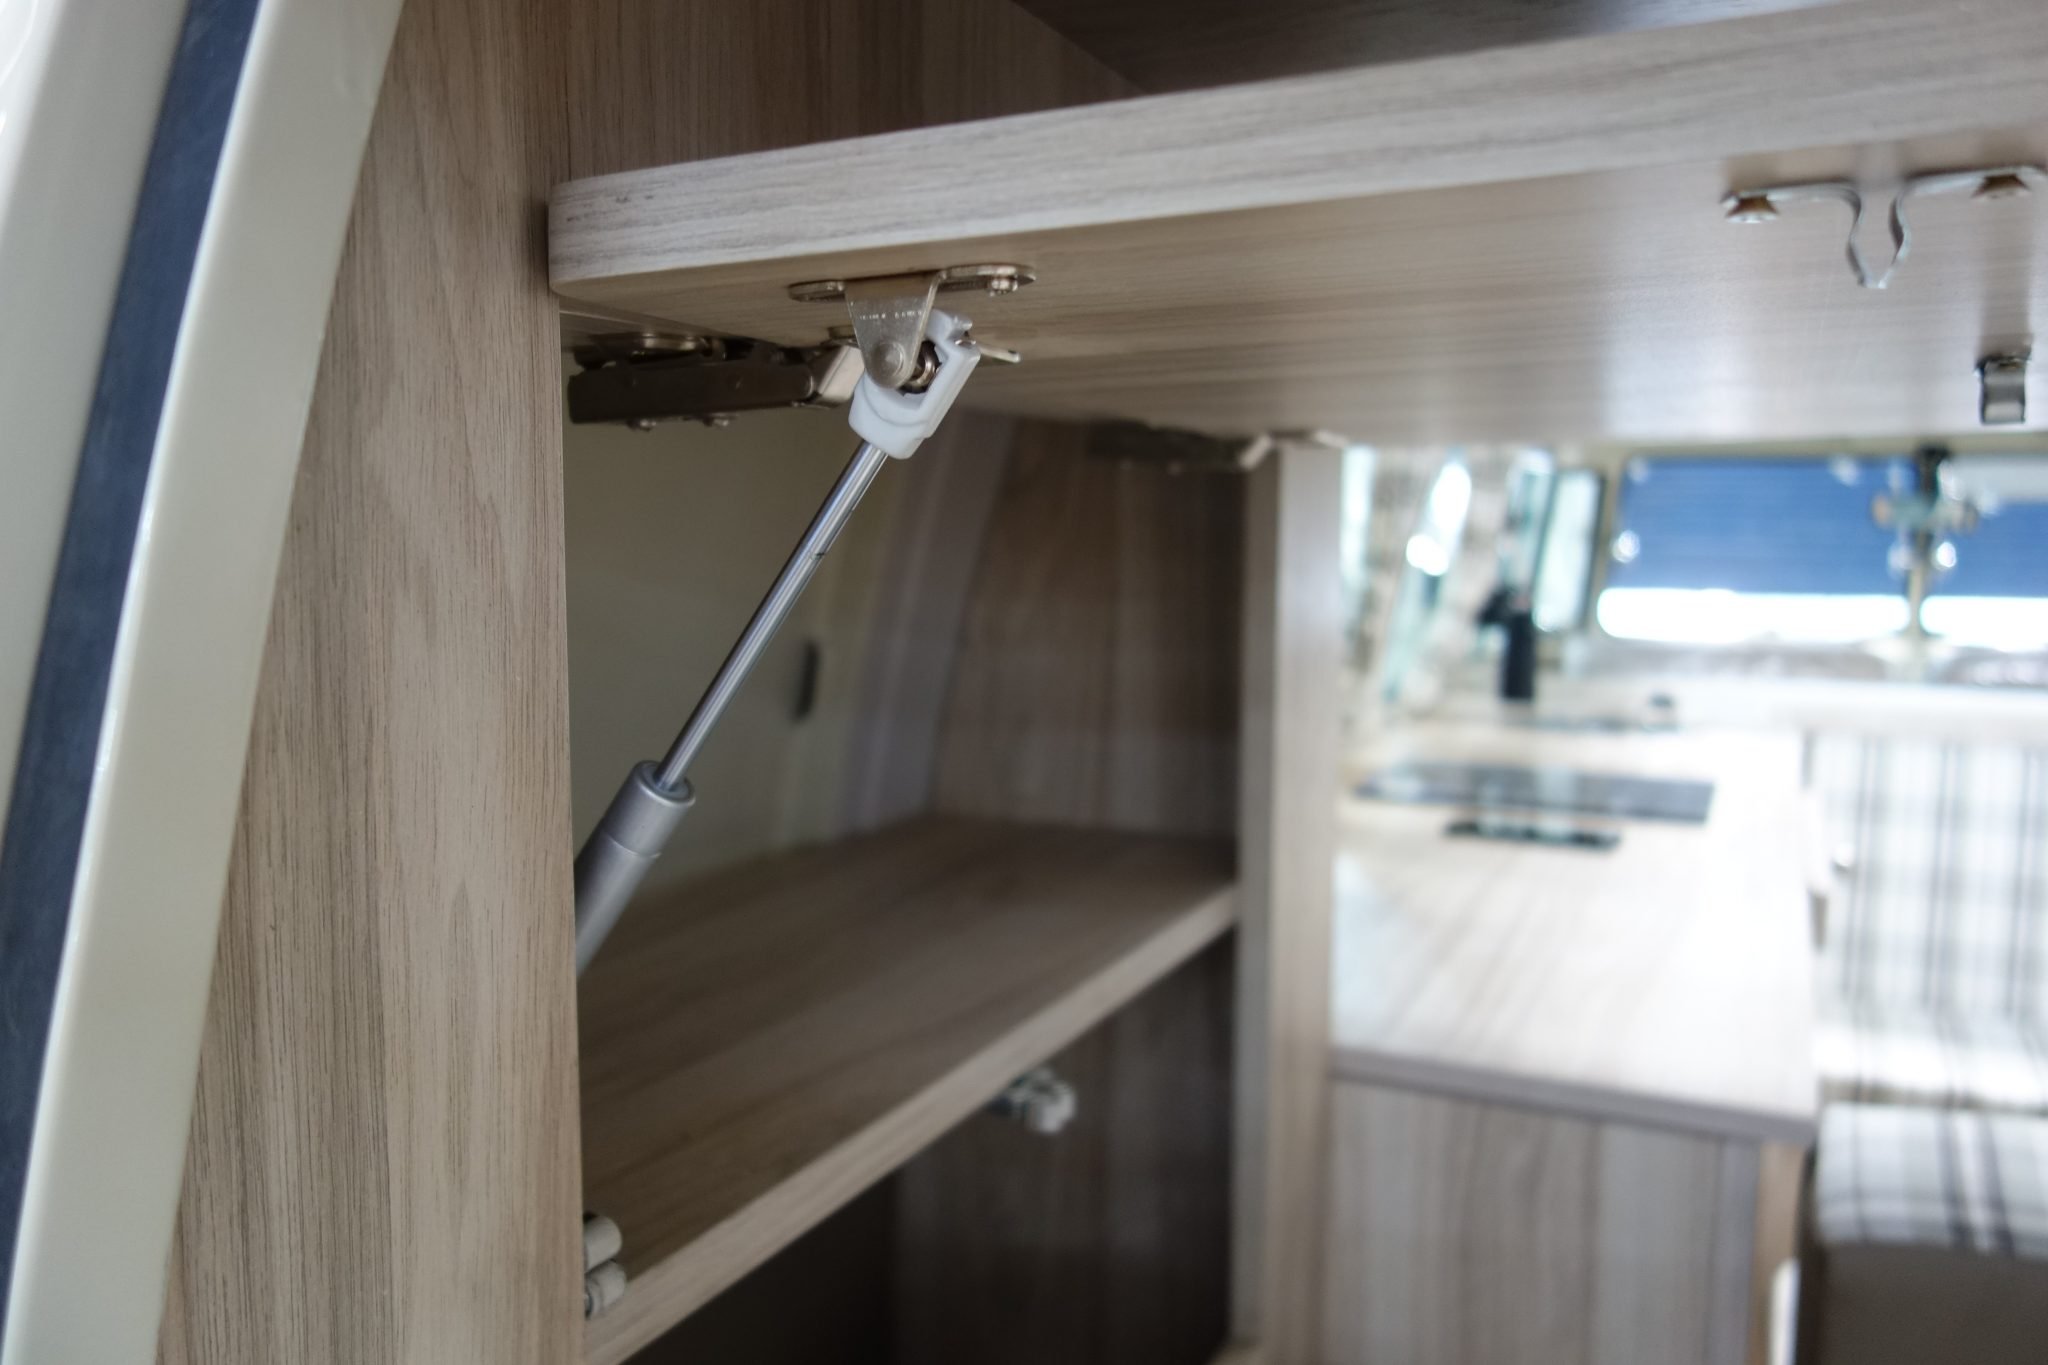
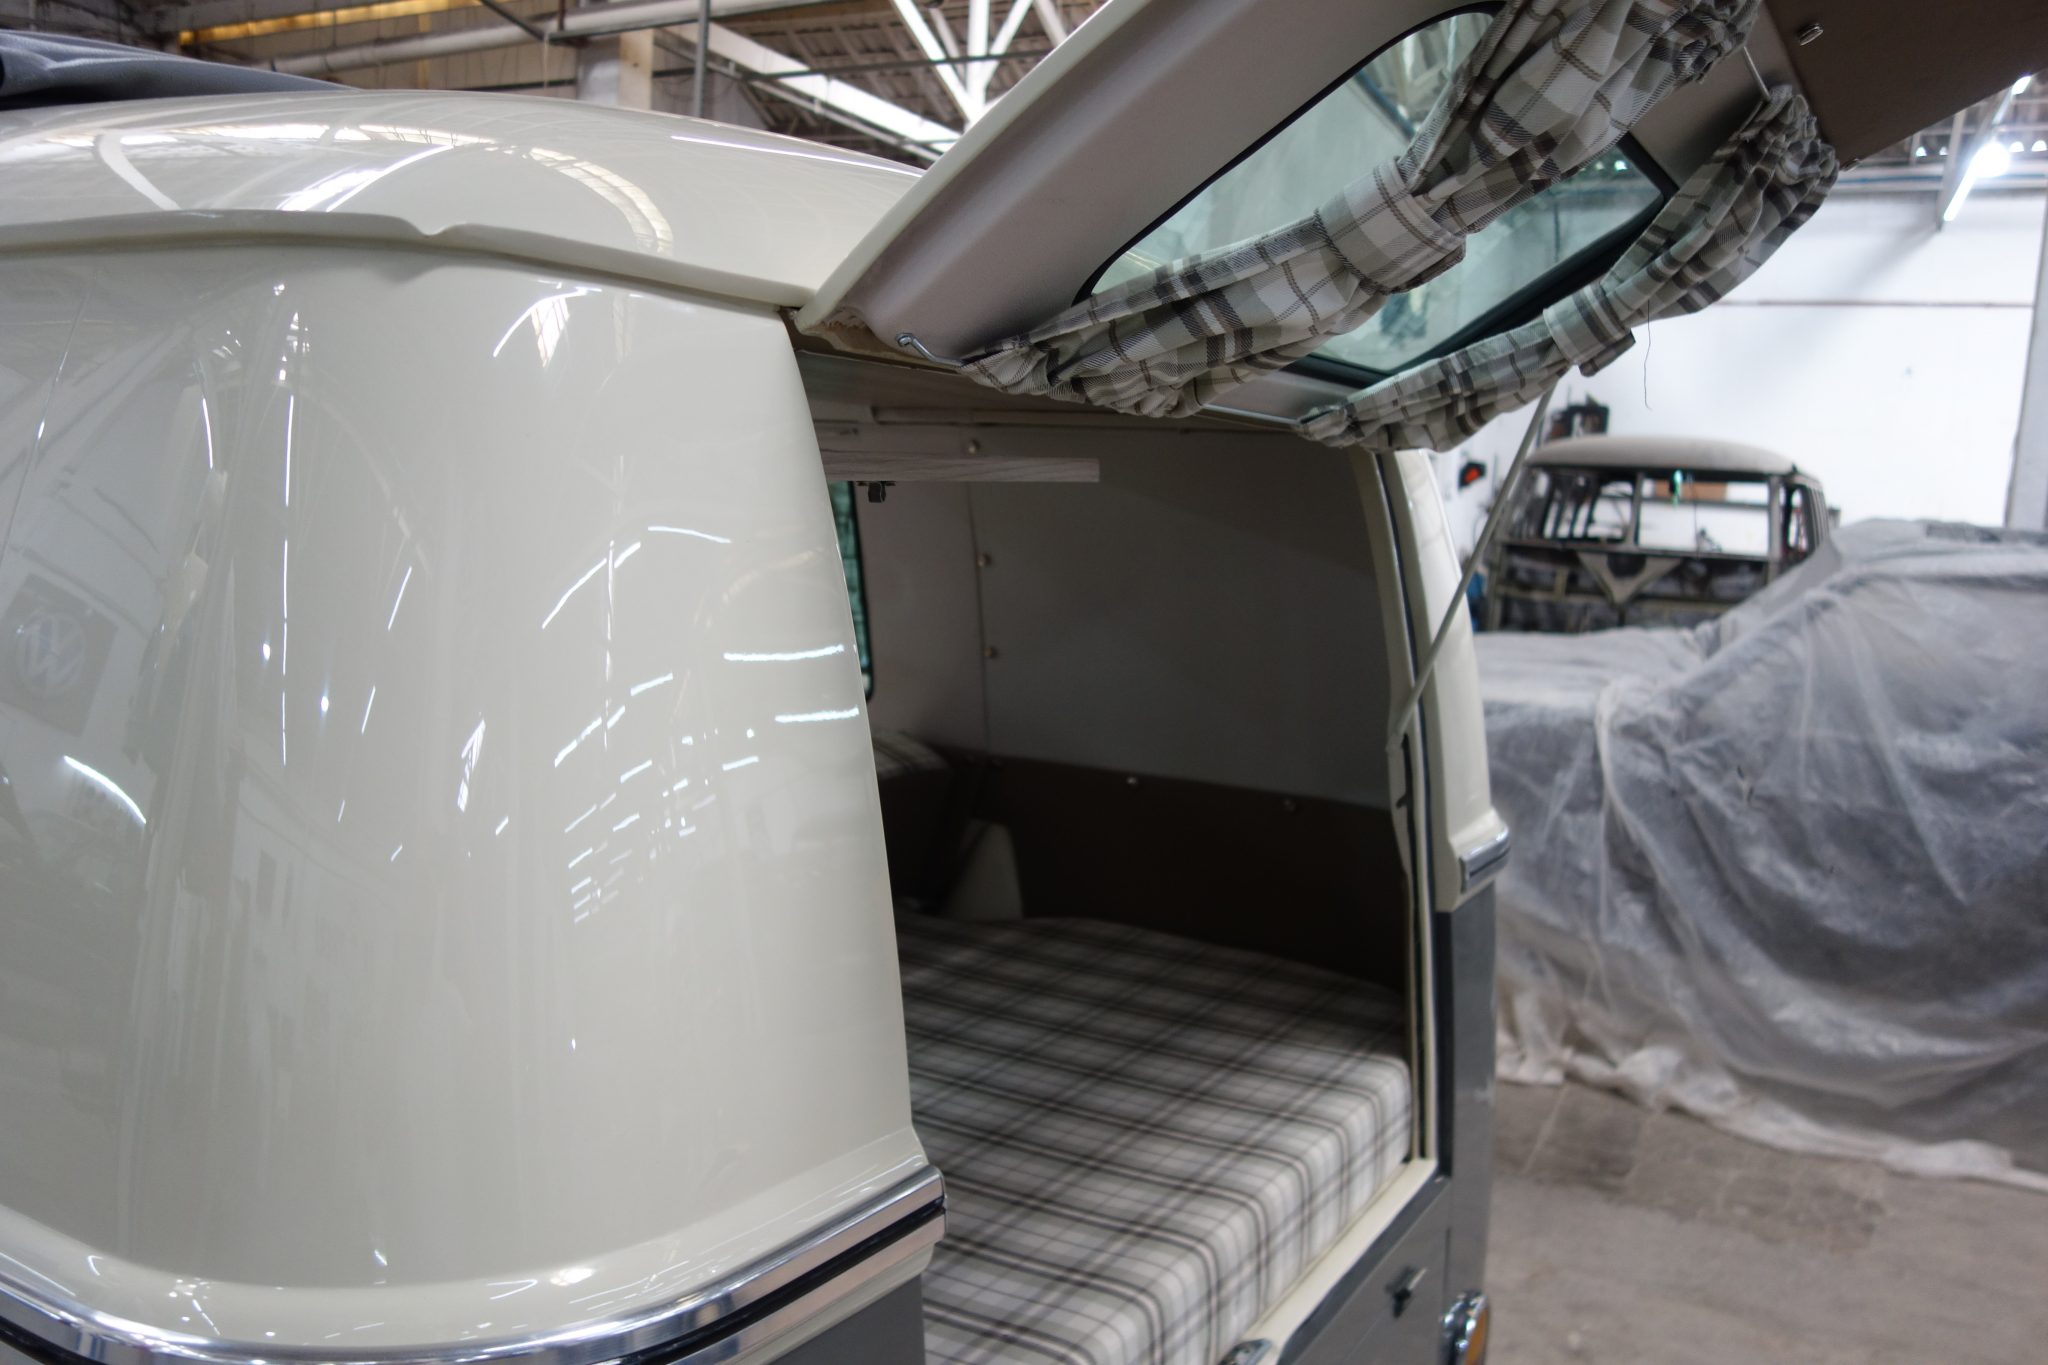
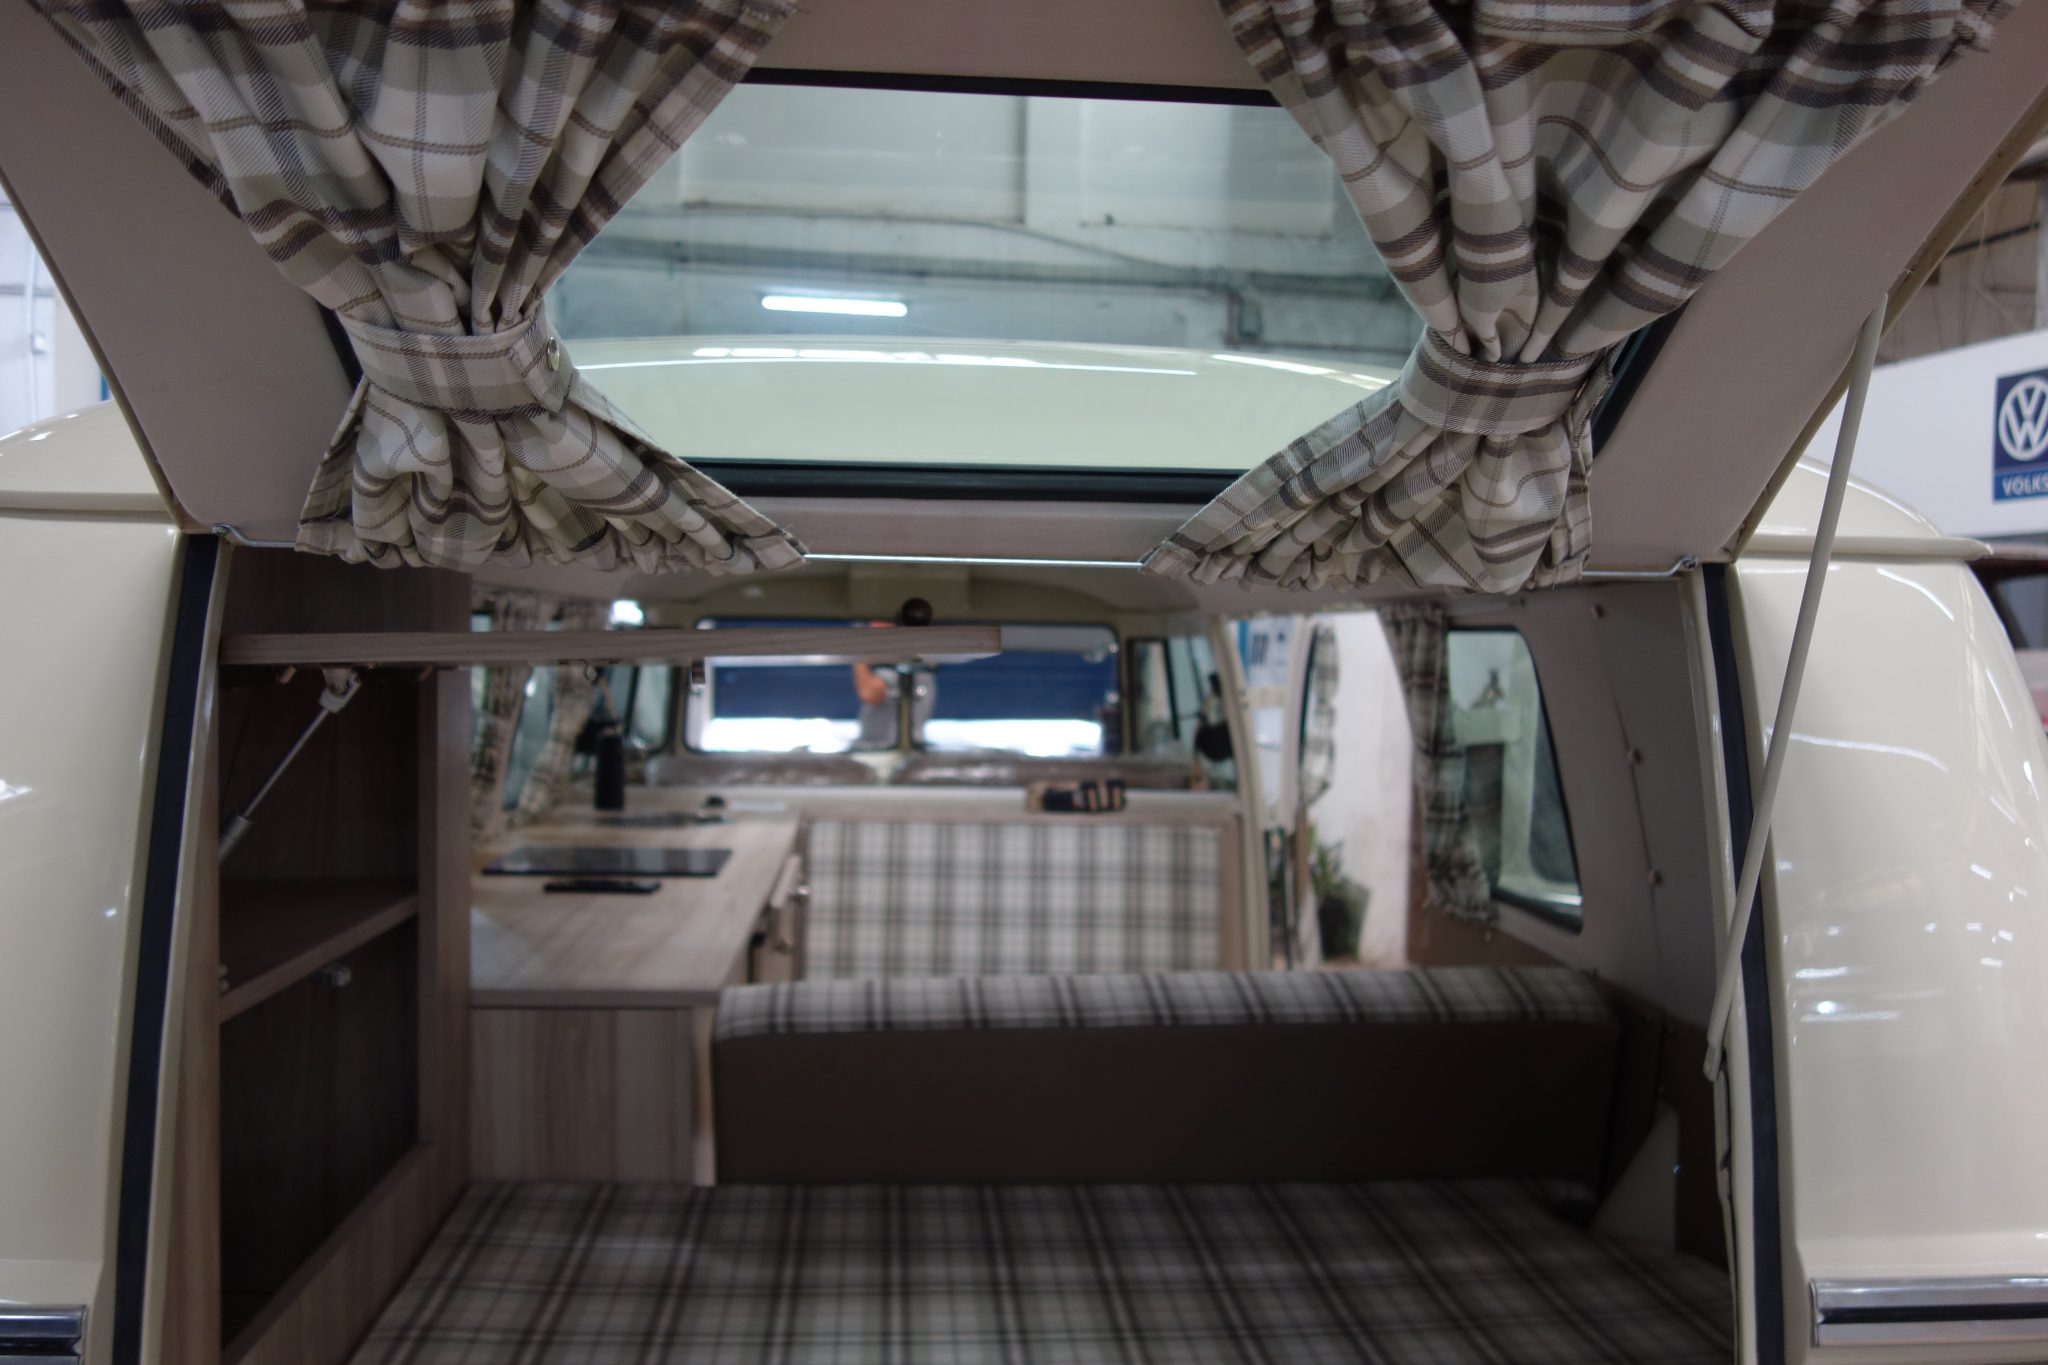
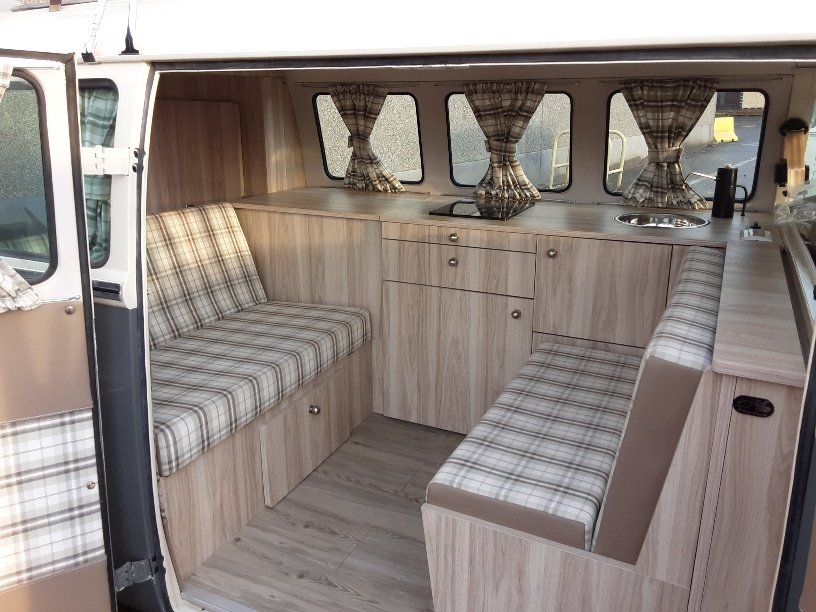
Phase 13: Finished Camper Interior (Video)
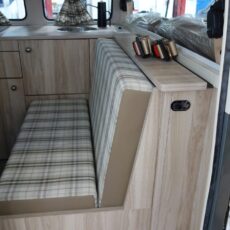
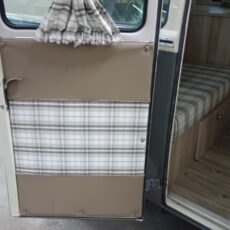
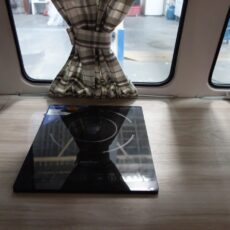
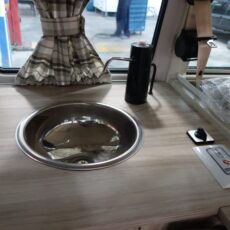
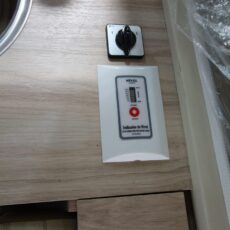
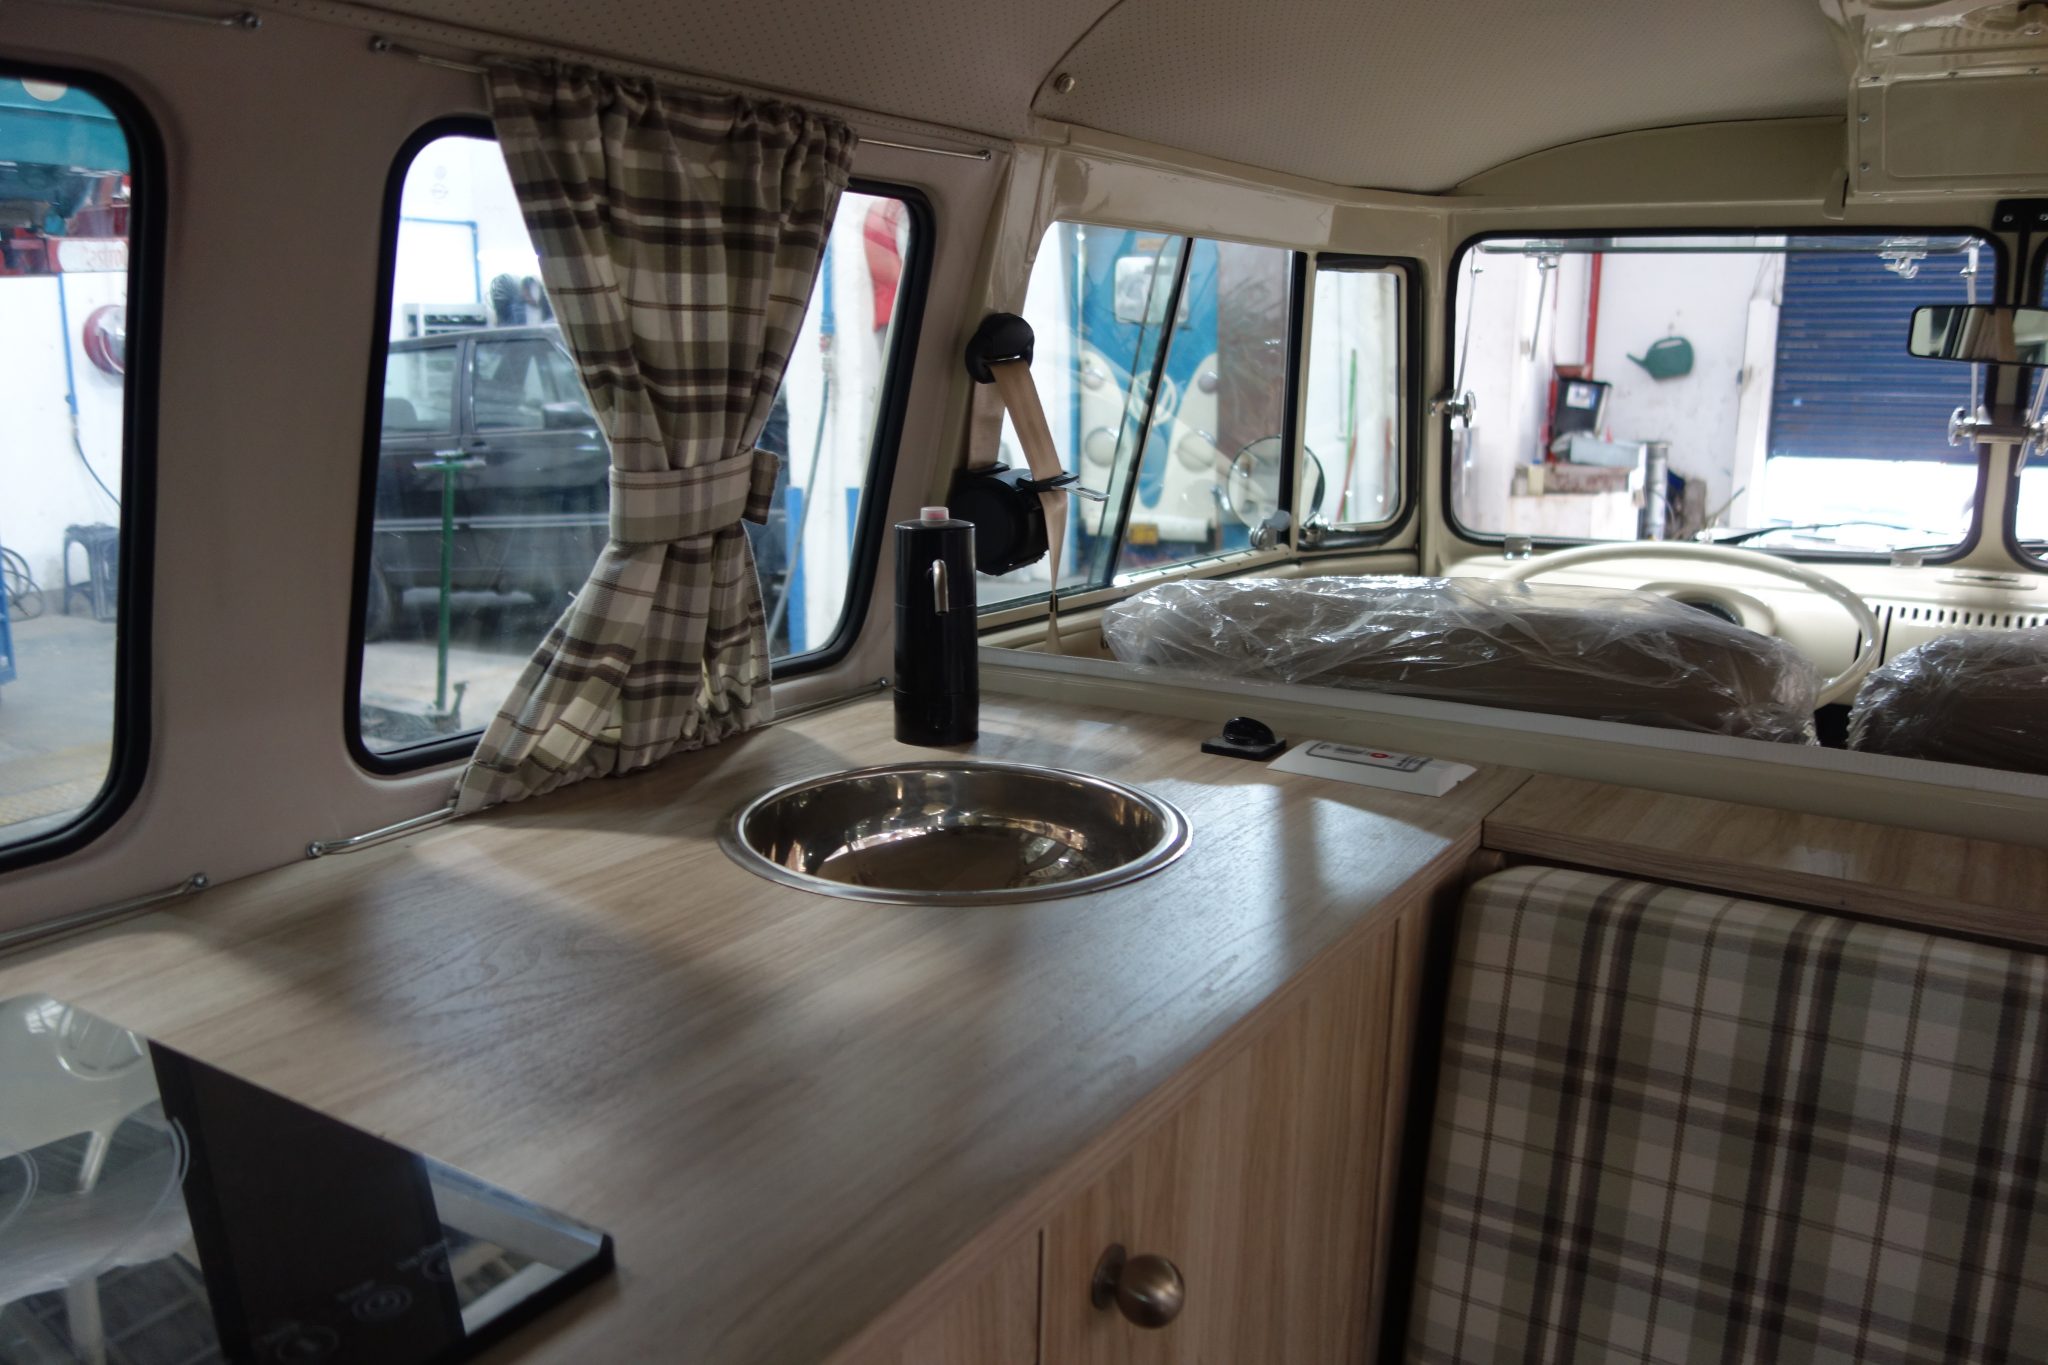
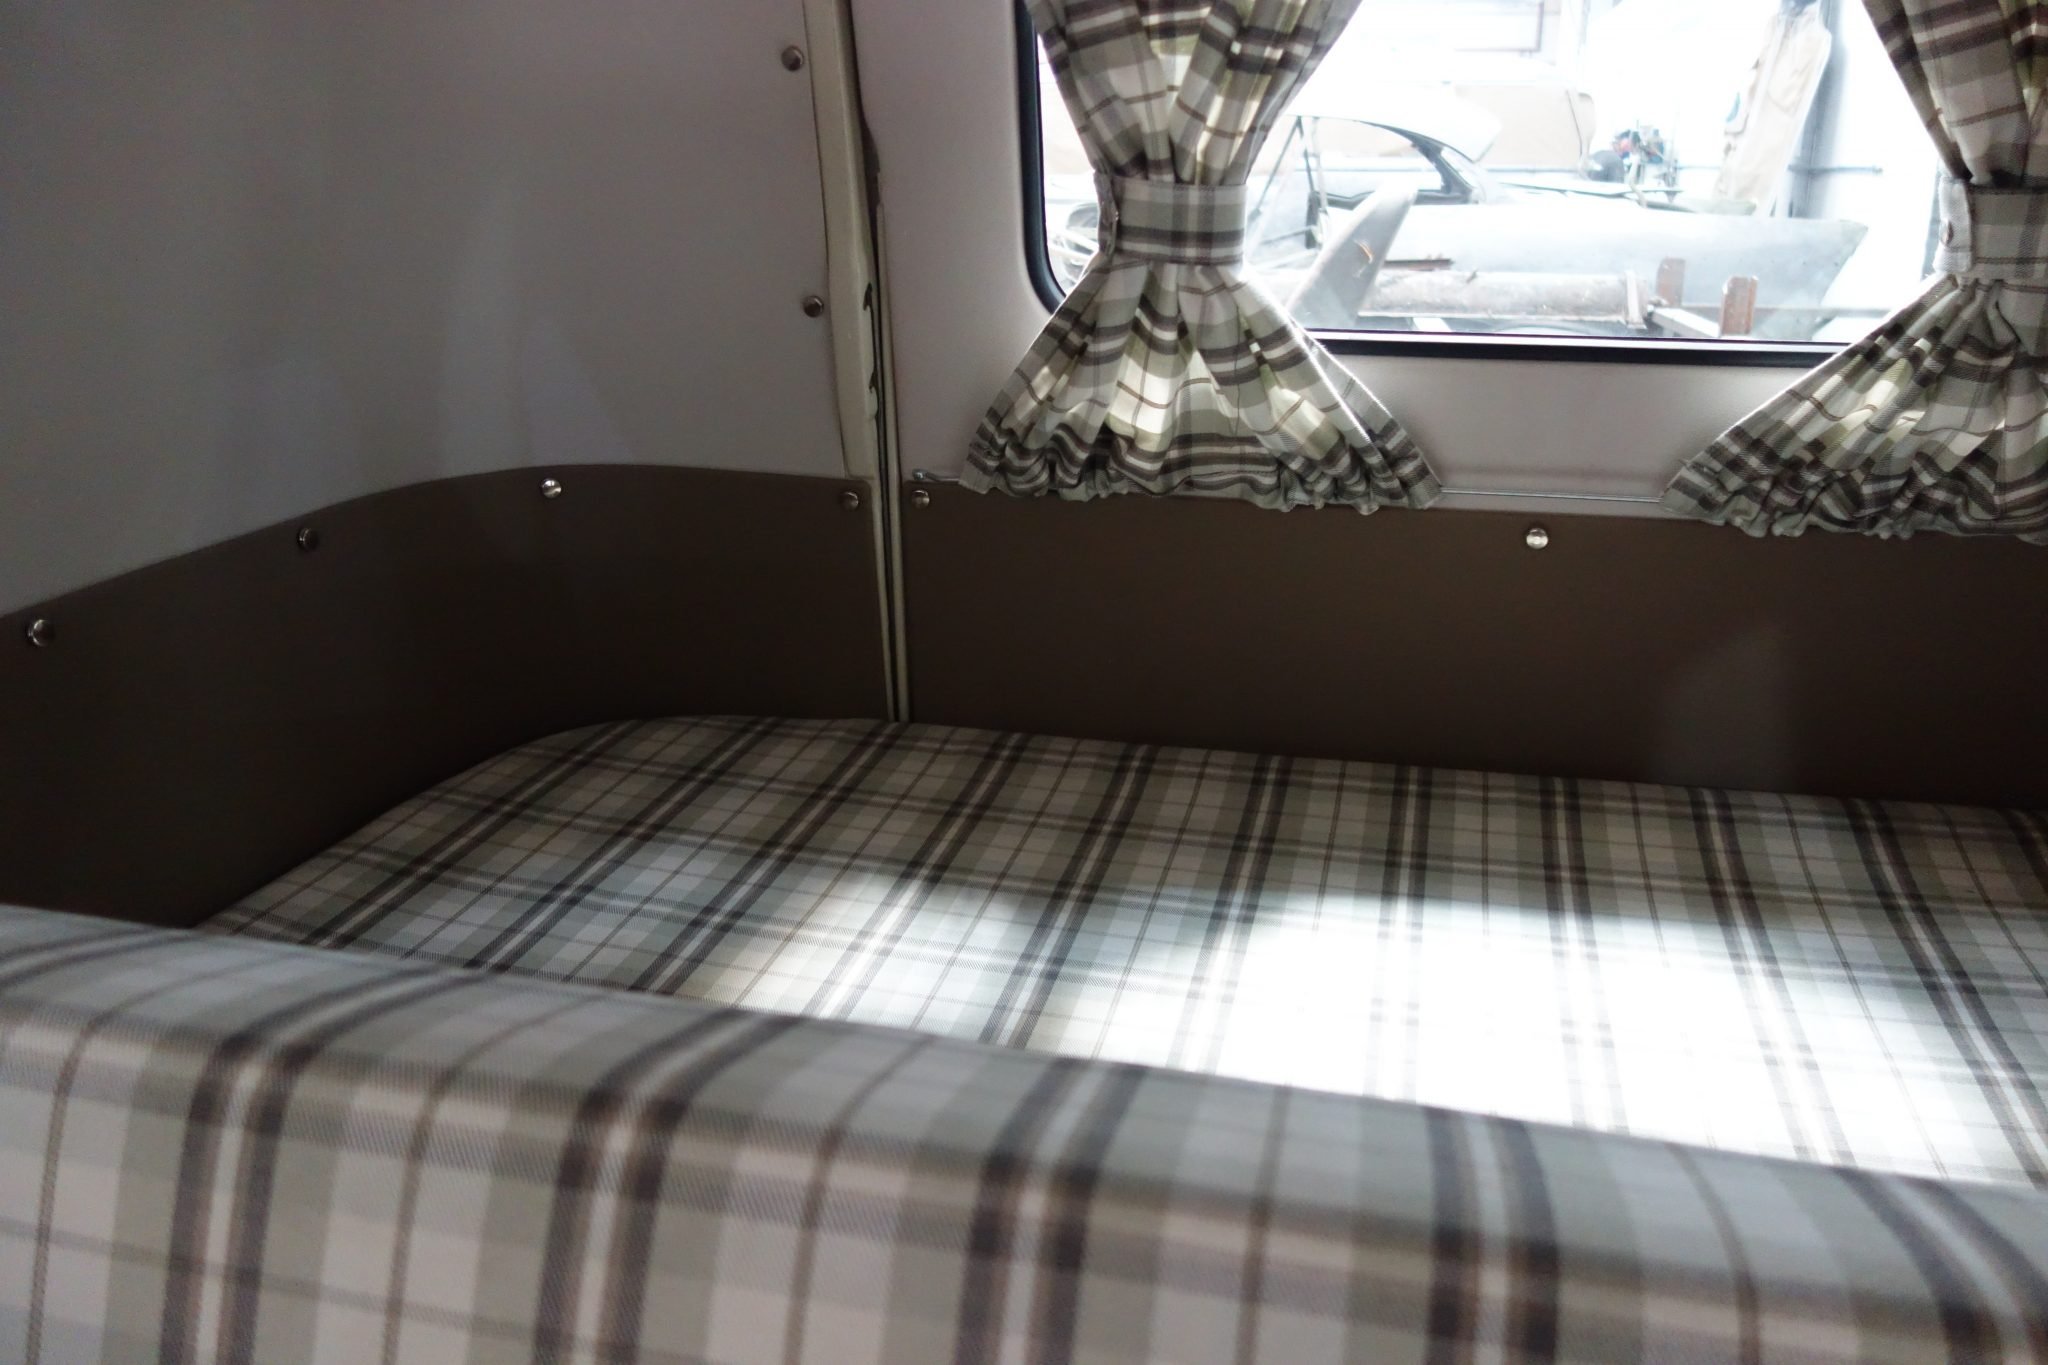
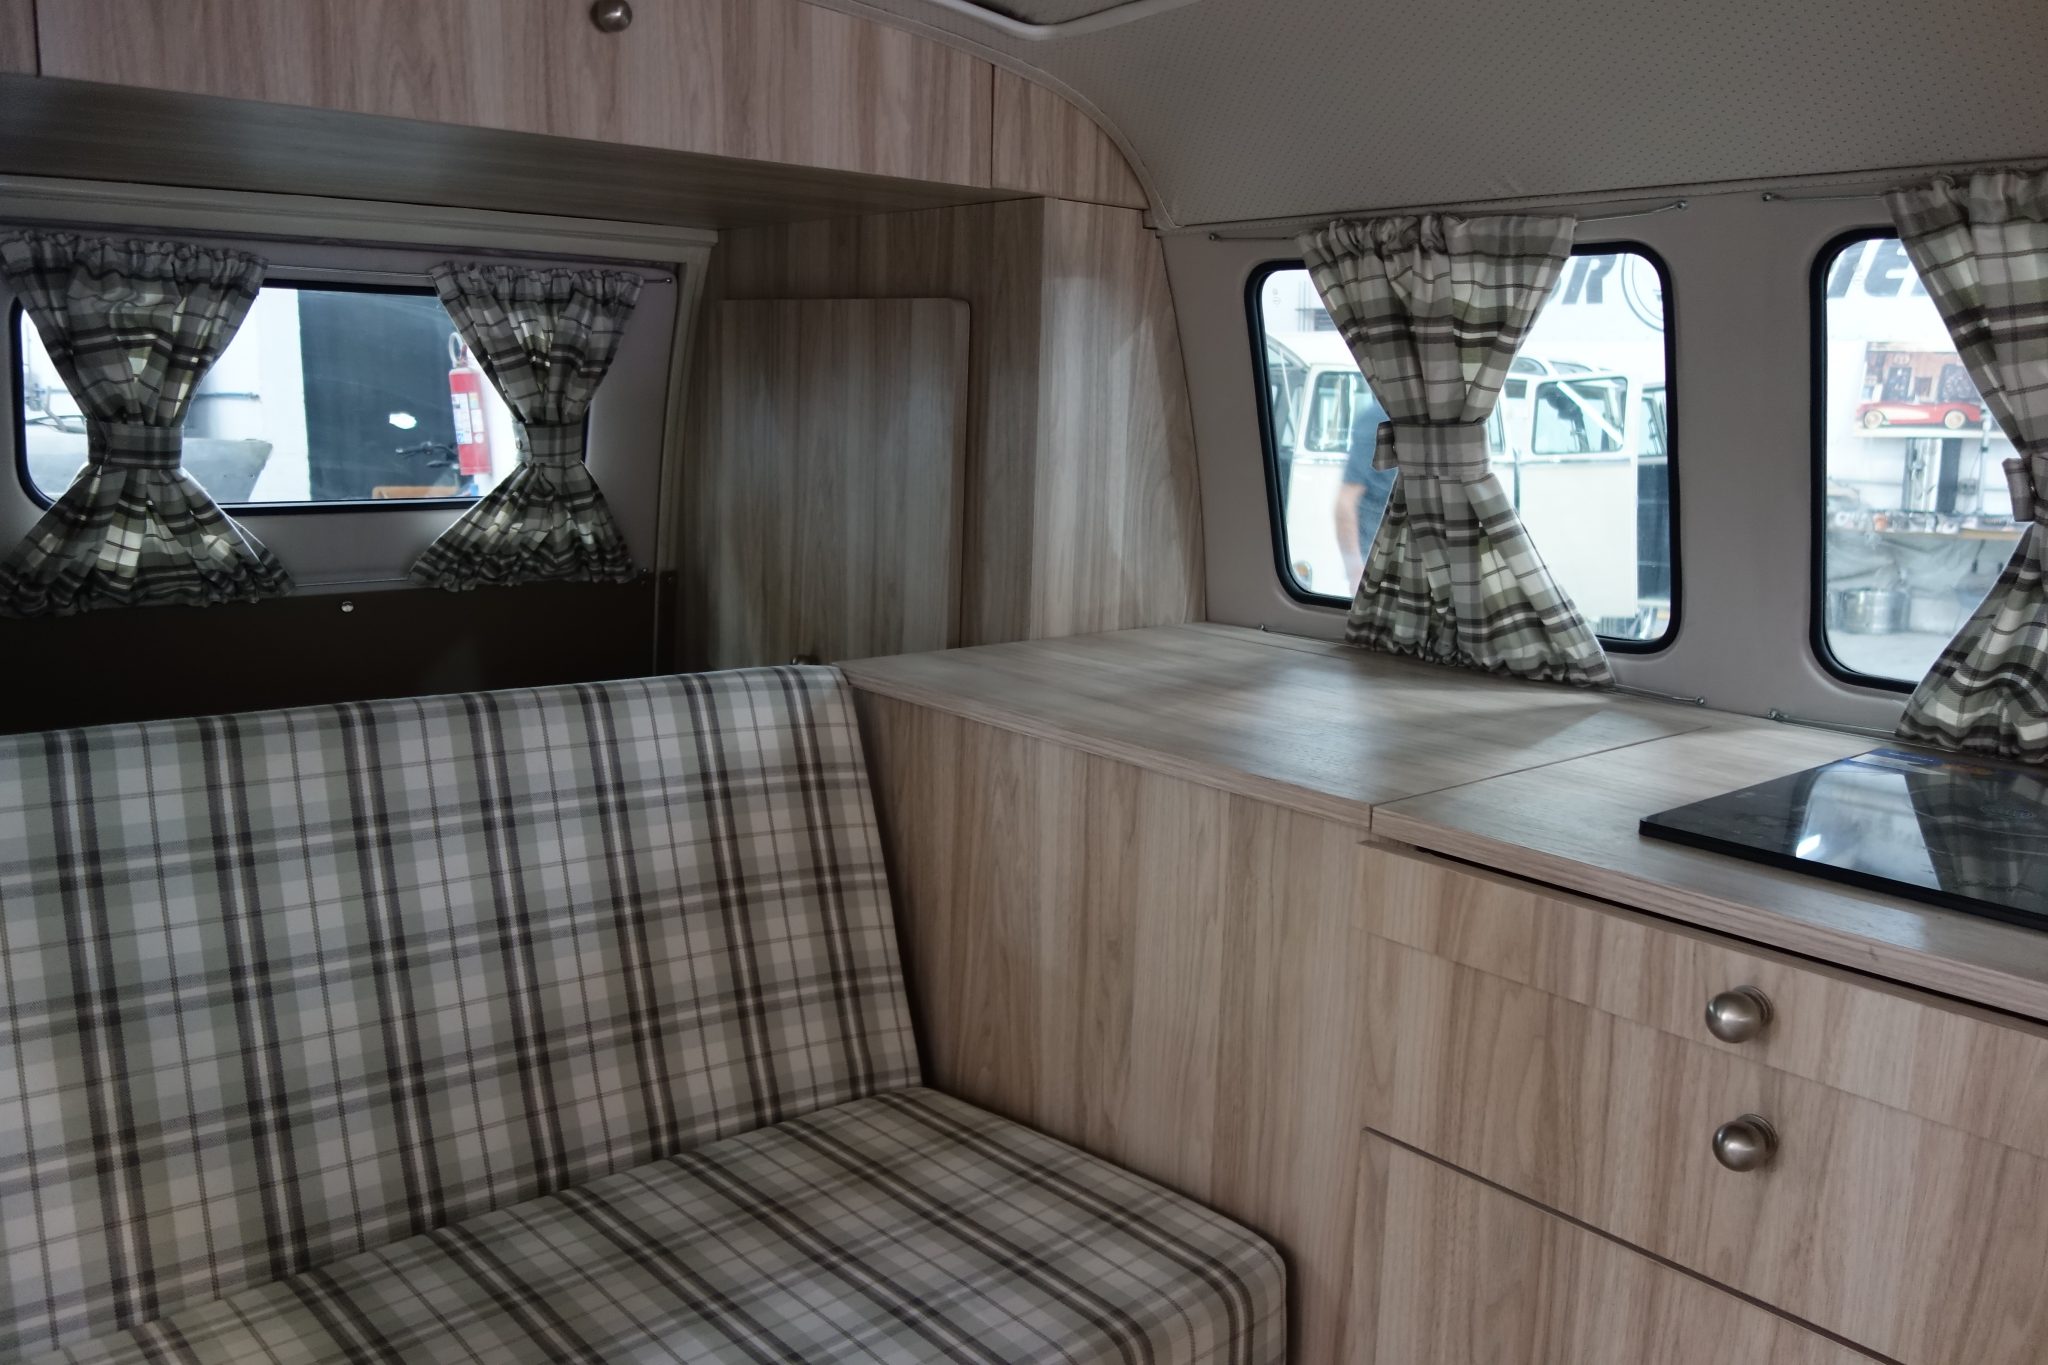
Look at the great pictures of this camper interior. This beautiful model has the following options installed.
- 40-Liter-Kühlschrank
- 40 liter refrigerator
- Washbasin with faucet
- Storage space under the benches
- Storage space above and next to the bed
- 2 – 50 liter water barrels for clean and dirty water
- Induction heating plate
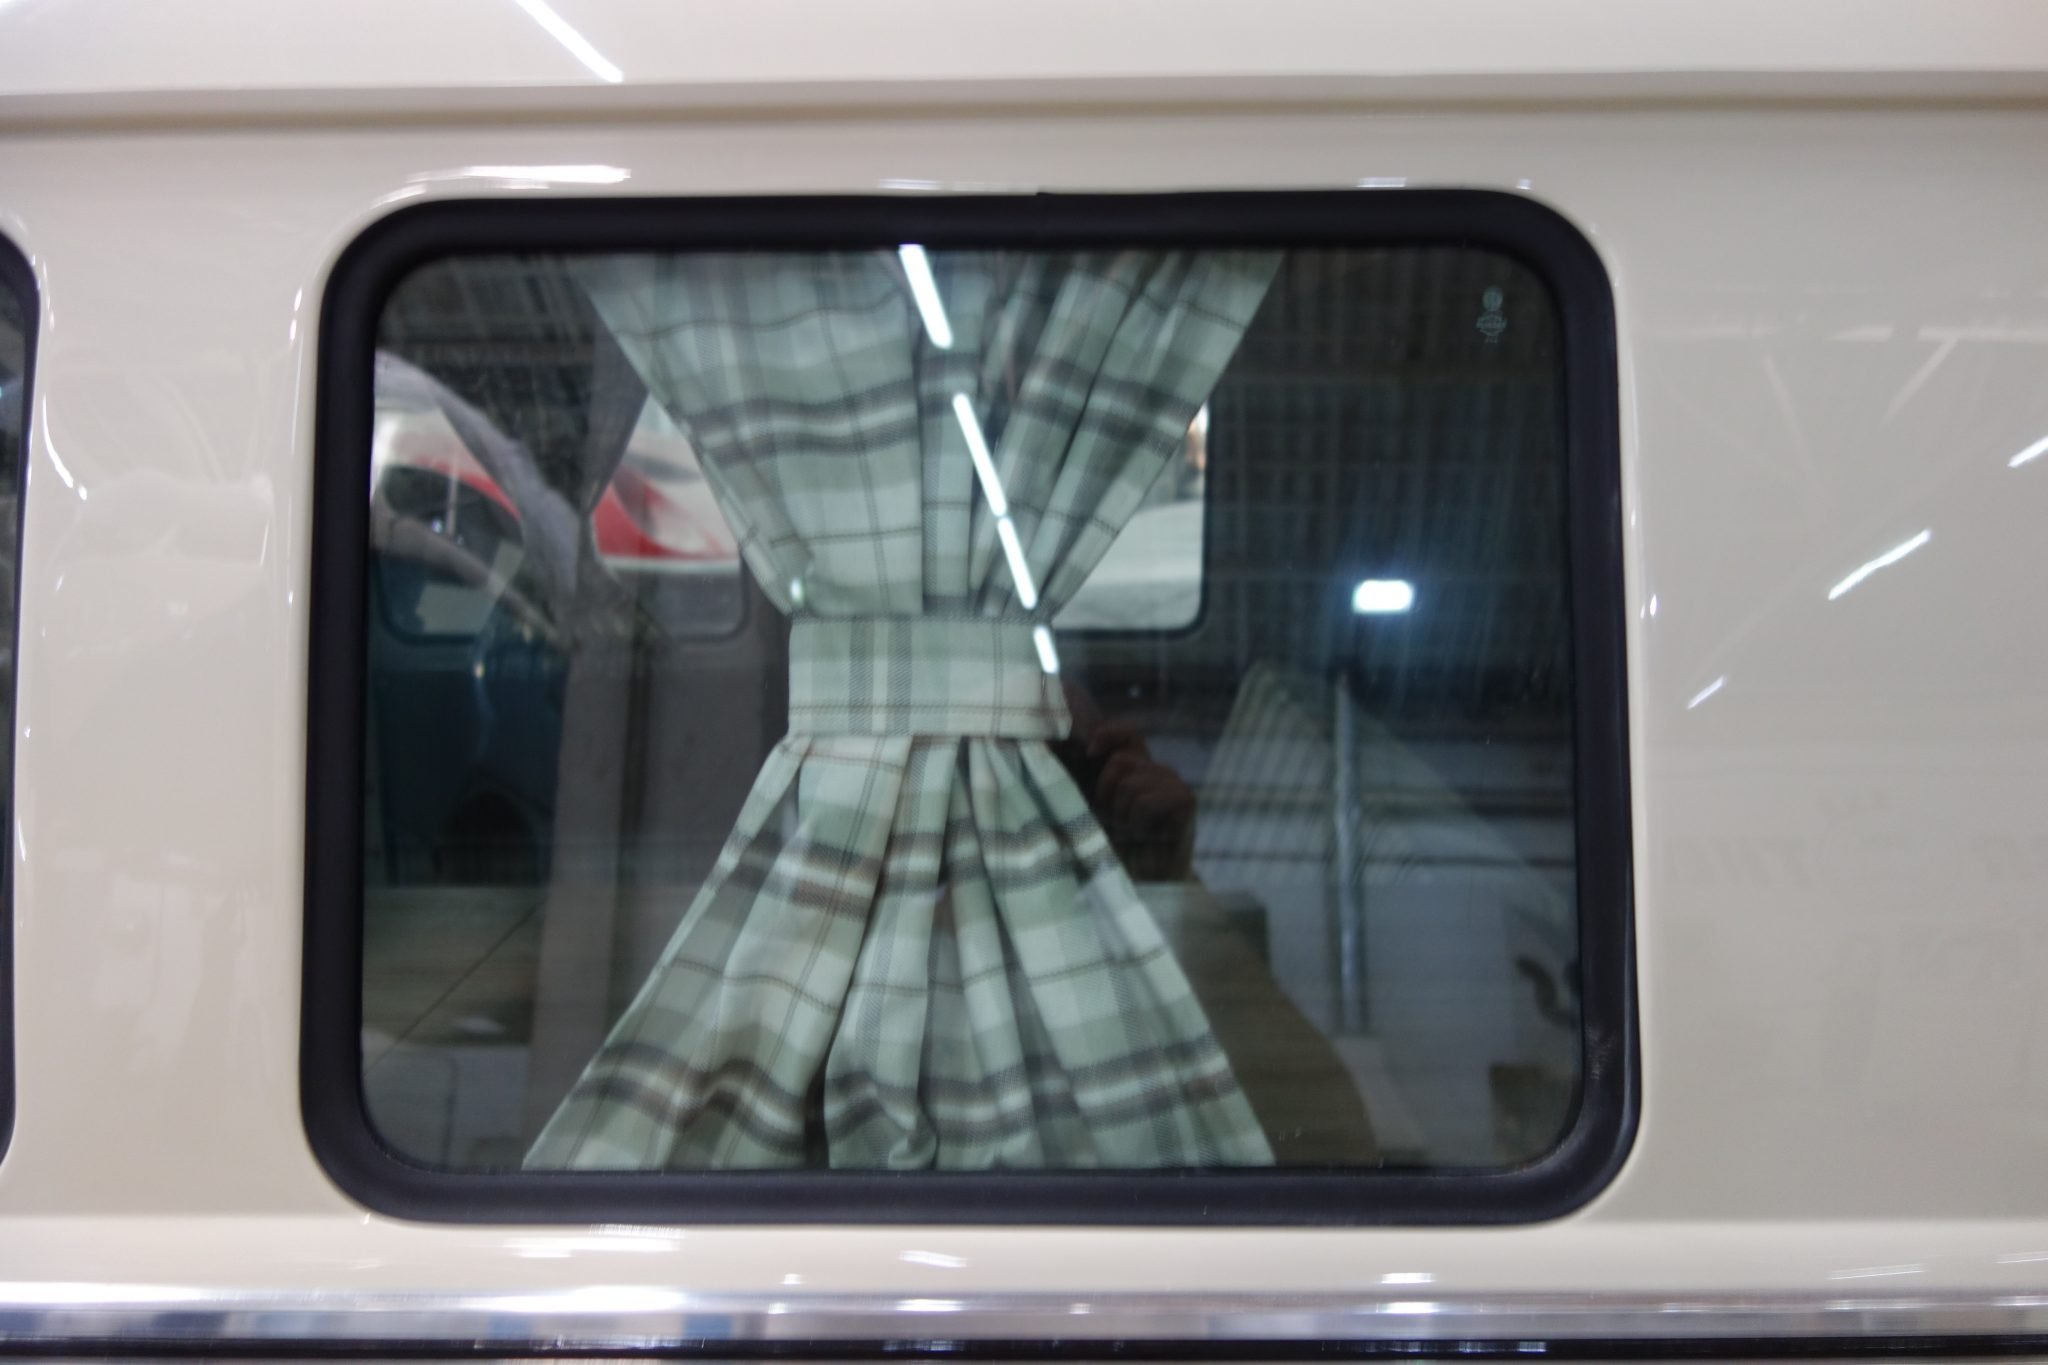
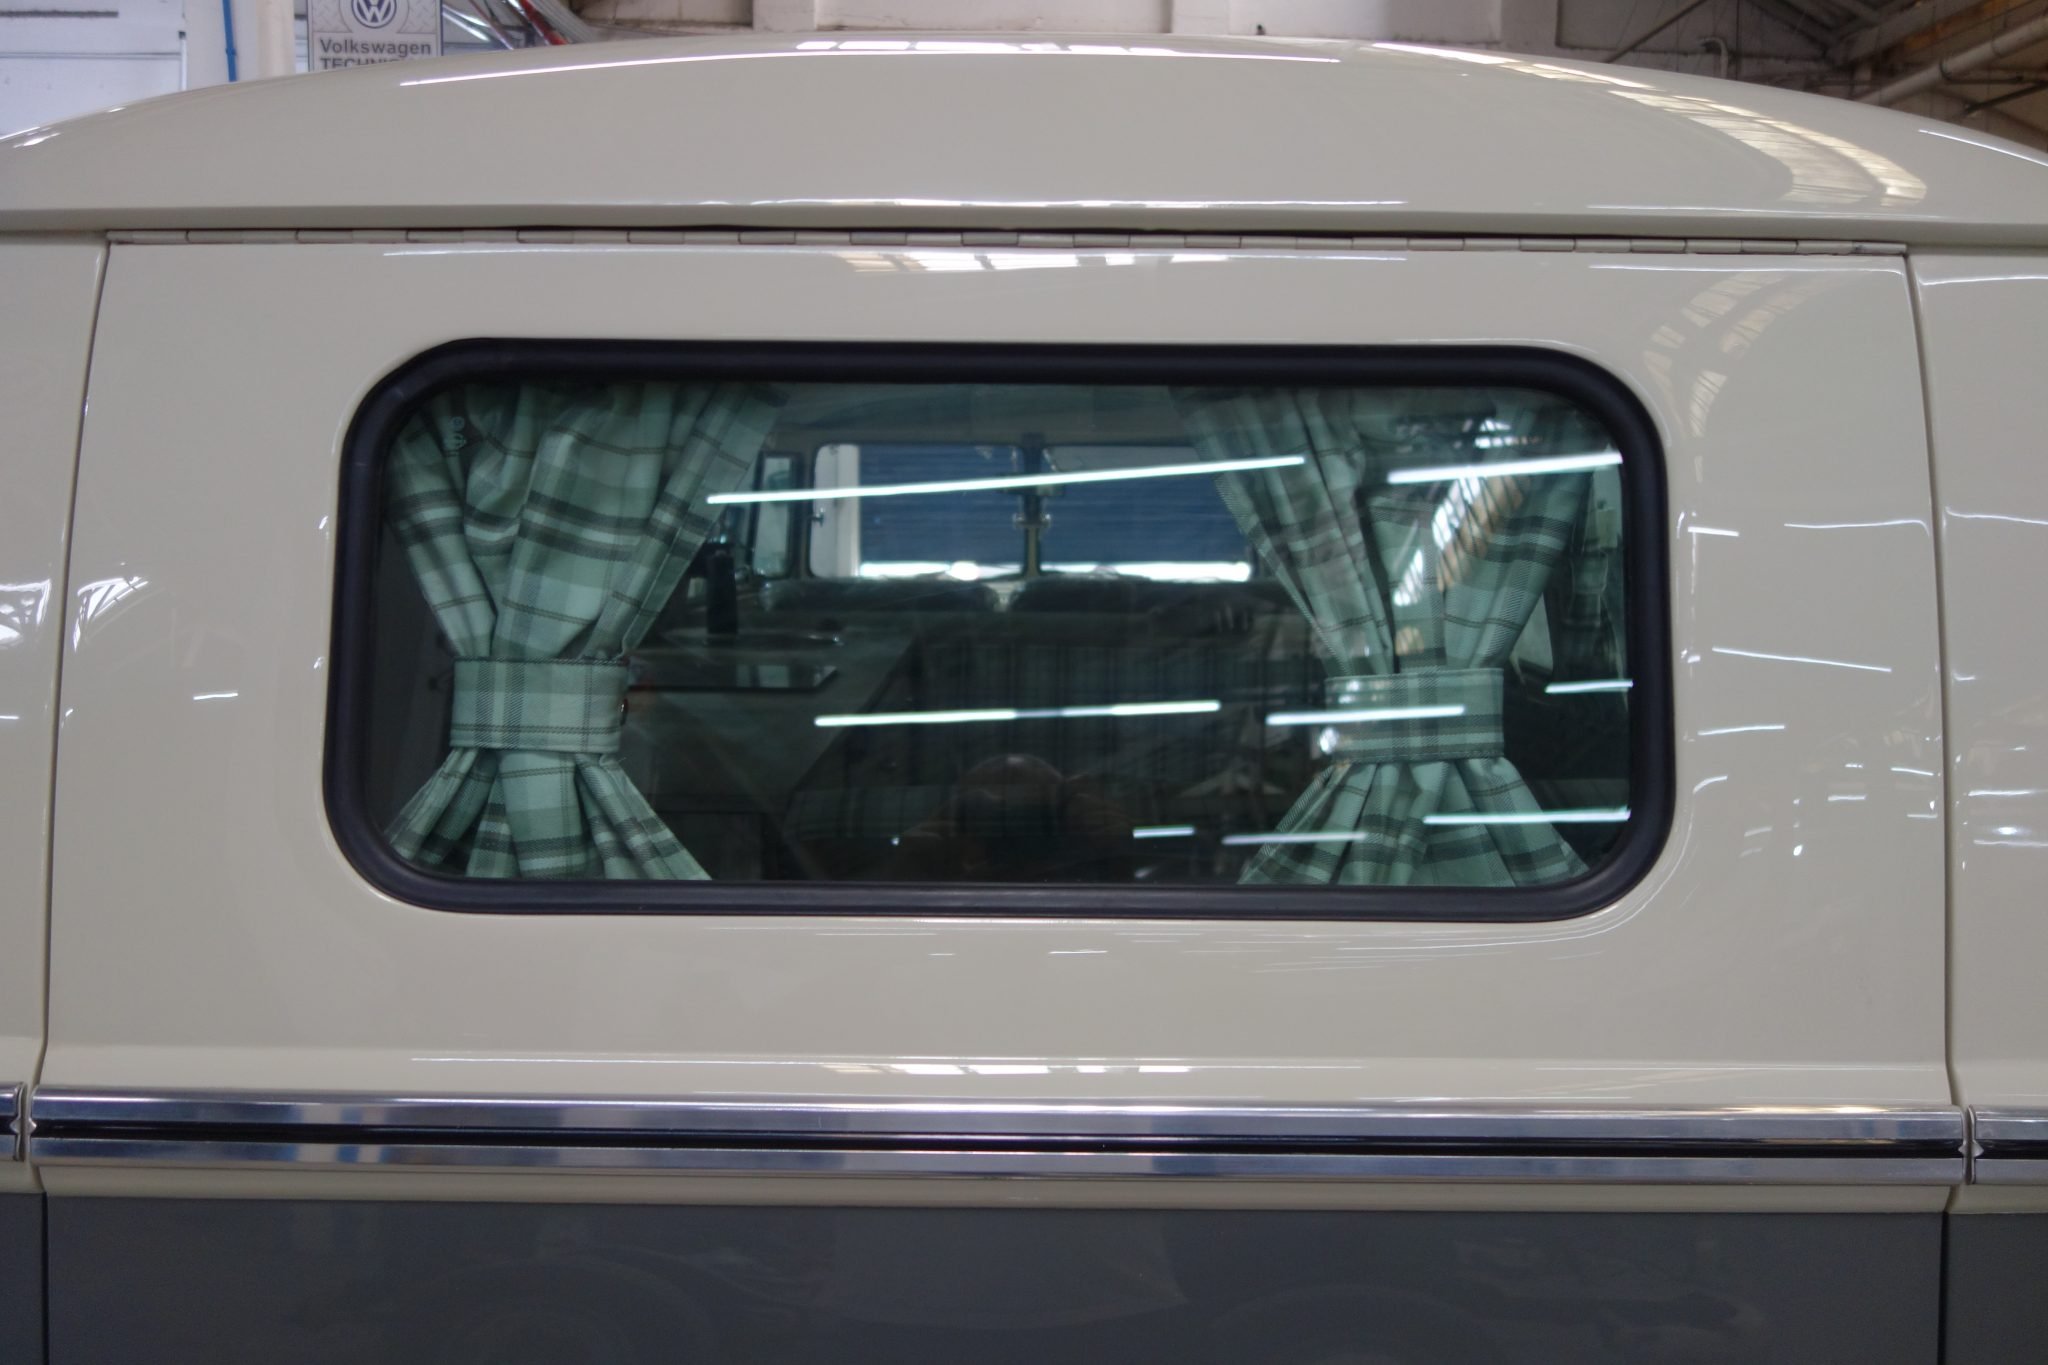
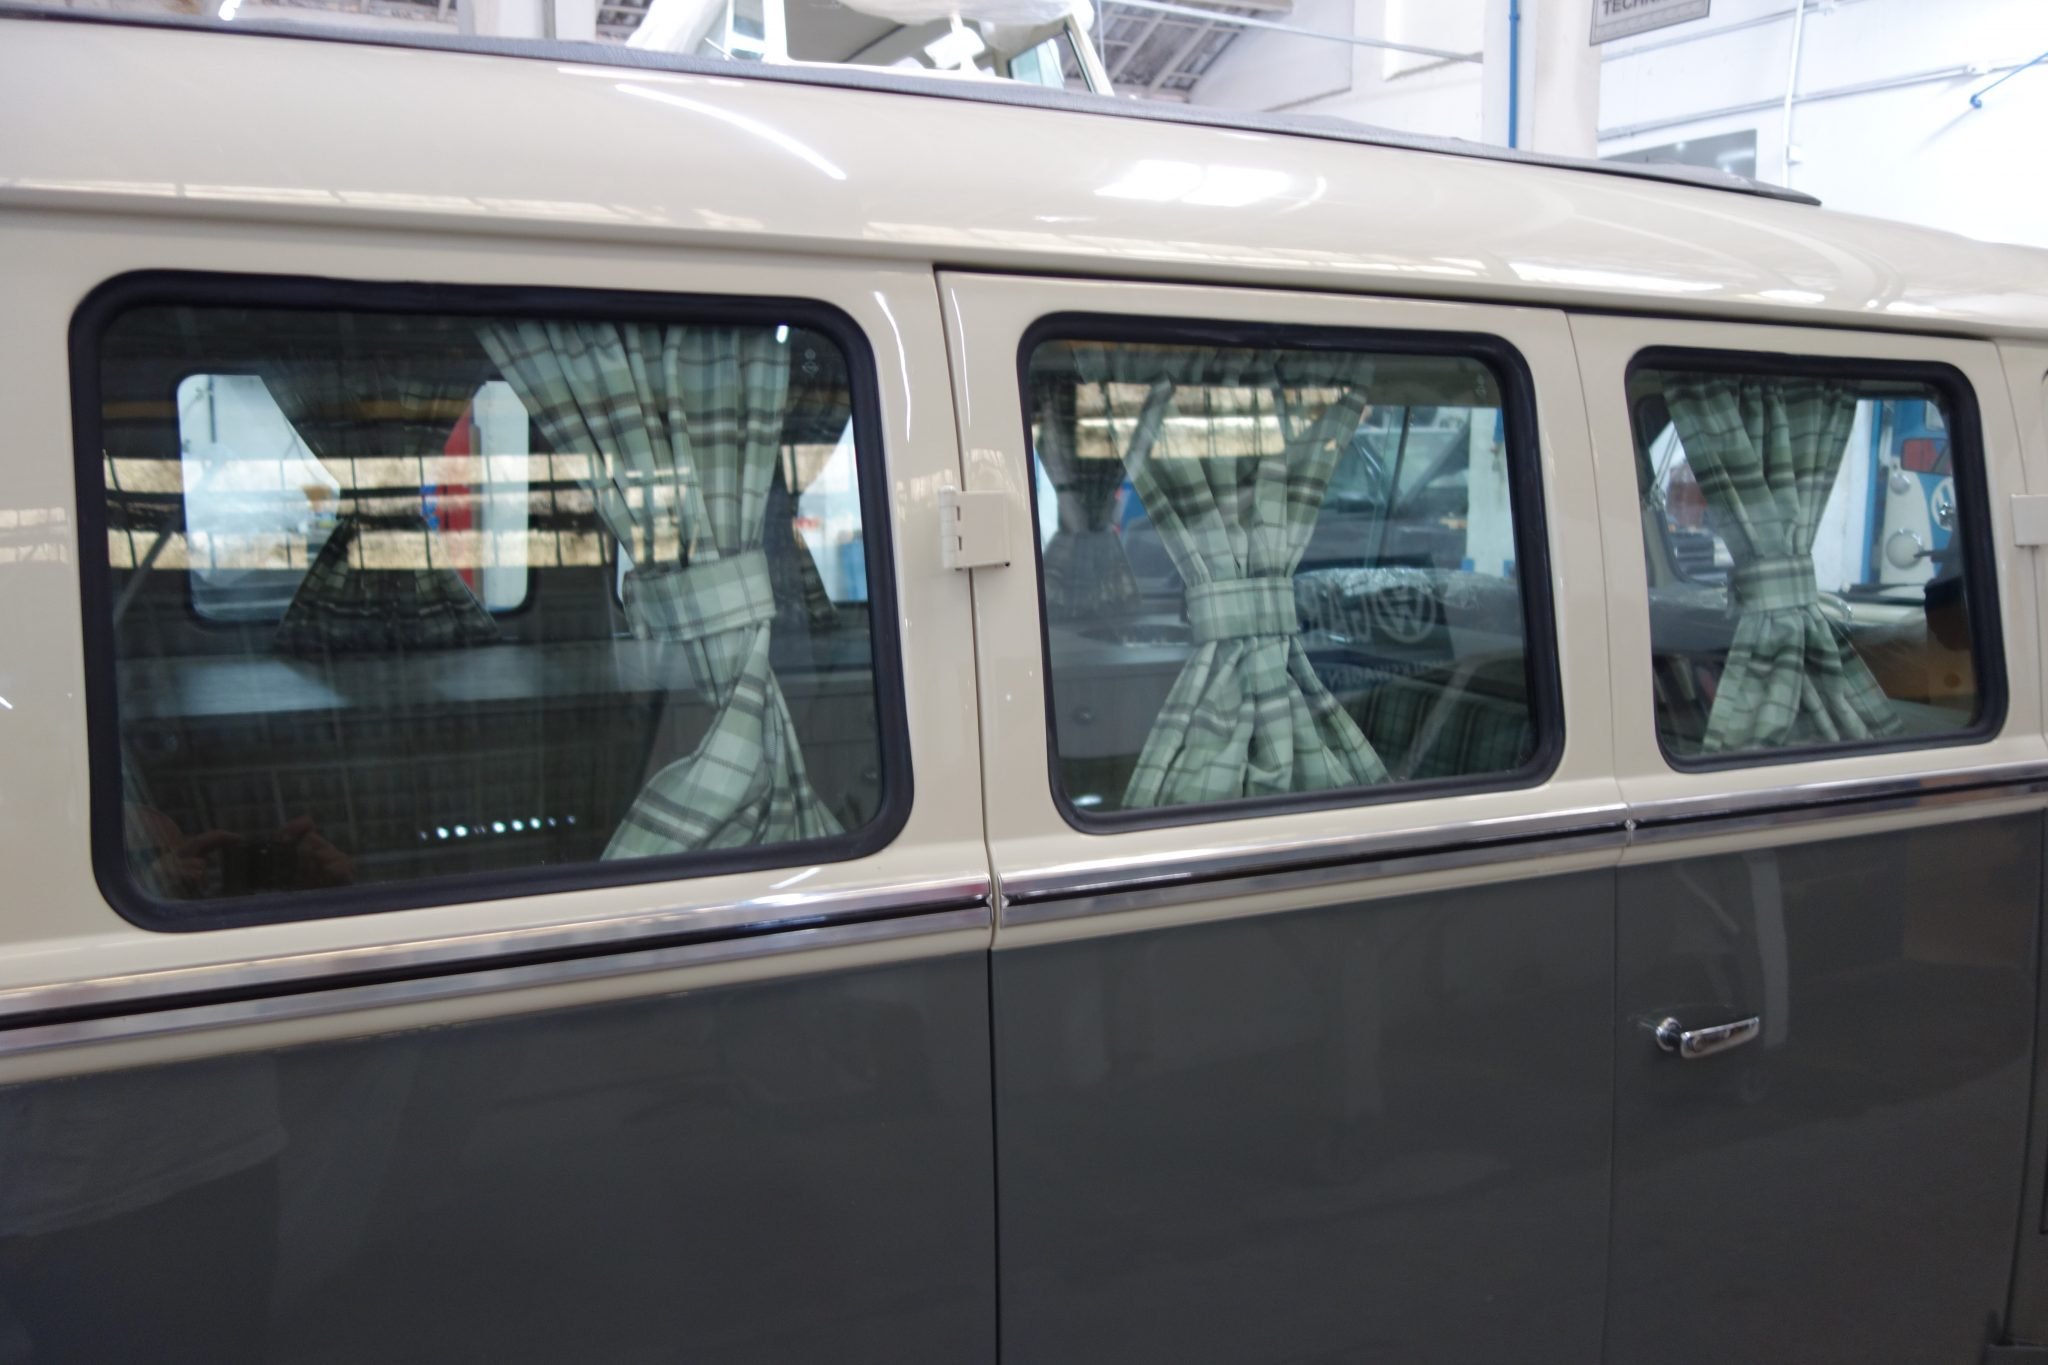
- Curtains
- Extendable camper bed
- USB ports
- Second battery with inverter
- Cabinets
- Extendable table


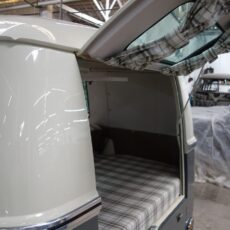
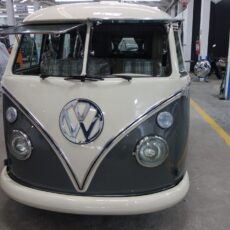
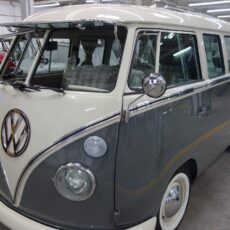
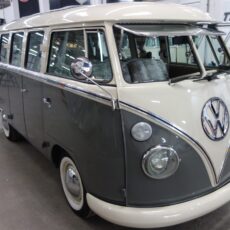
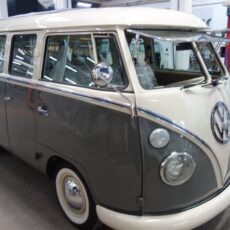
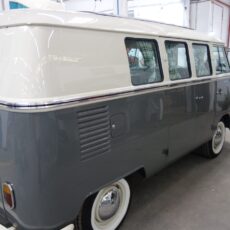
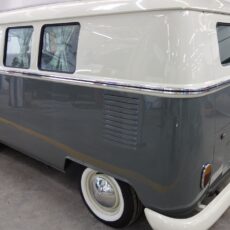
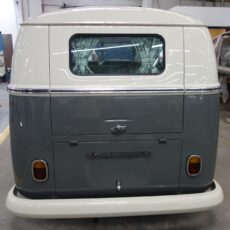
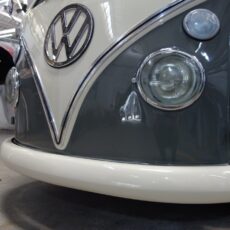
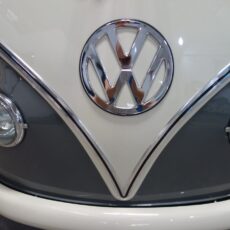
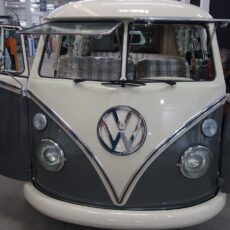
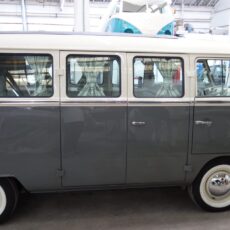
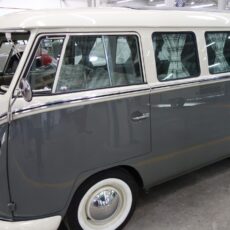
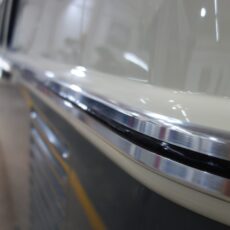
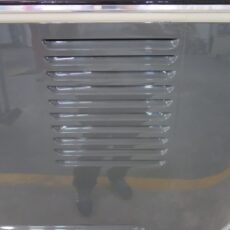
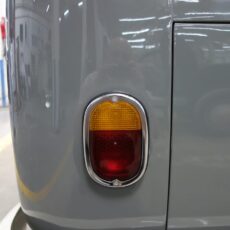
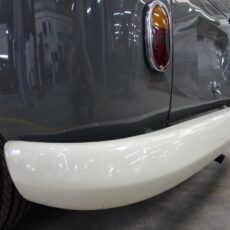
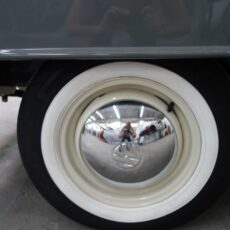
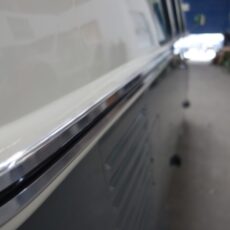
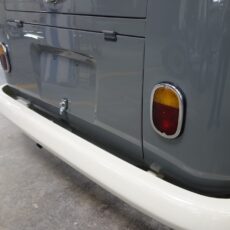
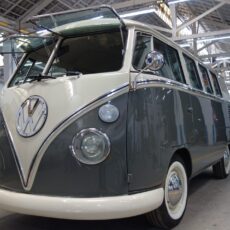
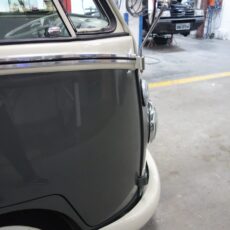
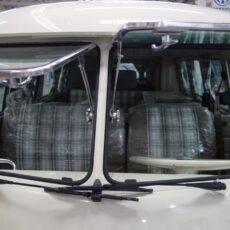
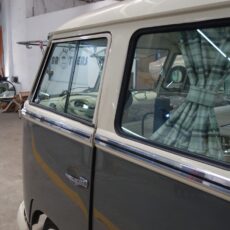
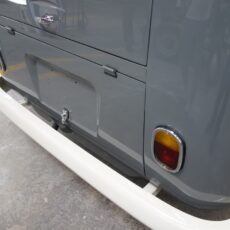
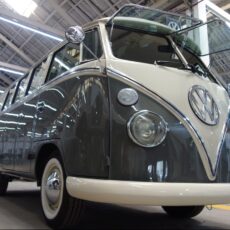
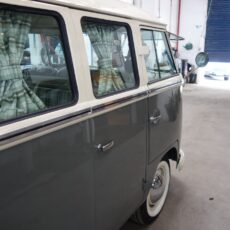
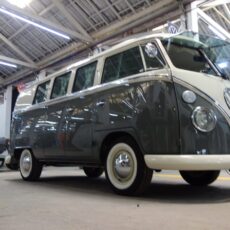
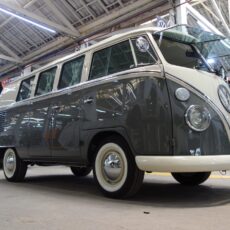
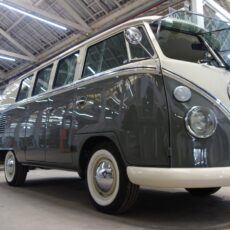
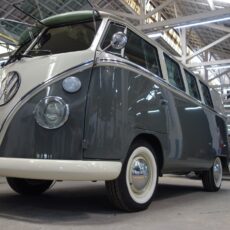
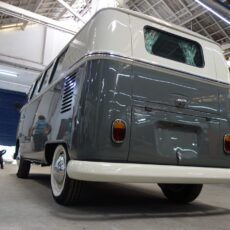
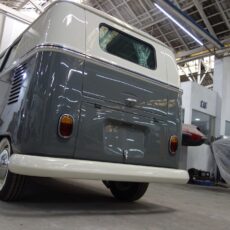
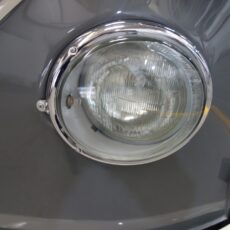
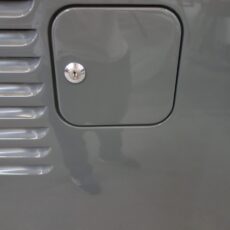
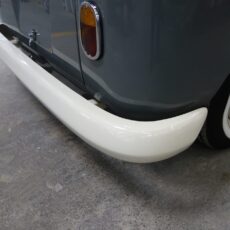
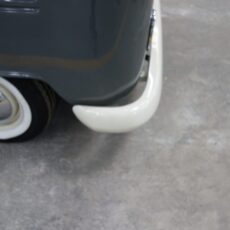
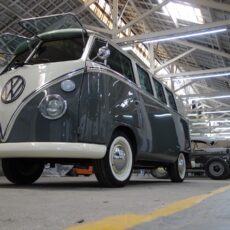
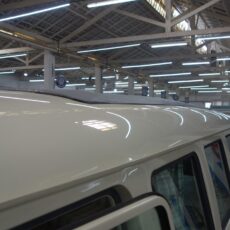
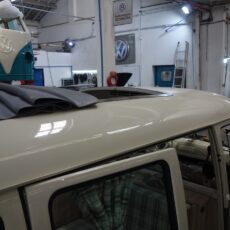
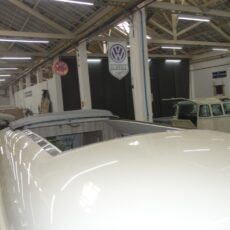
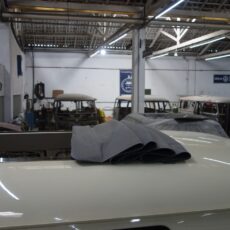
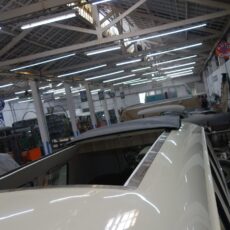
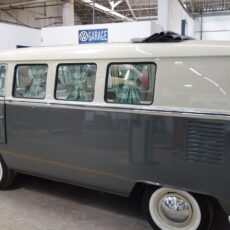
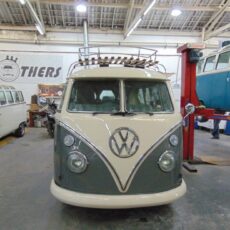
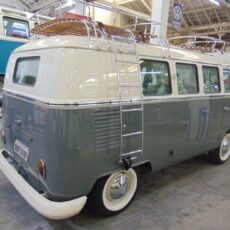
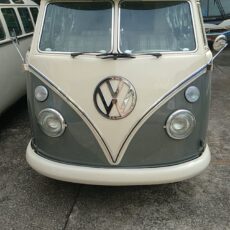
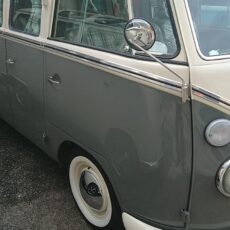
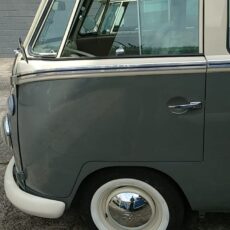
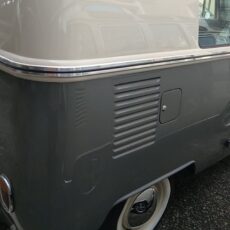
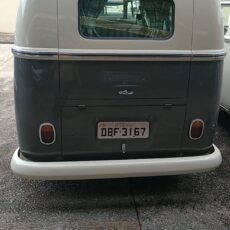
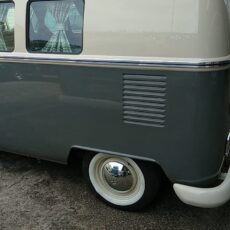
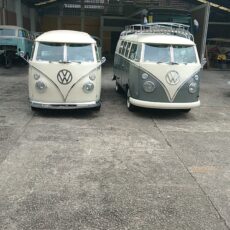
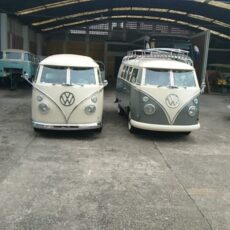
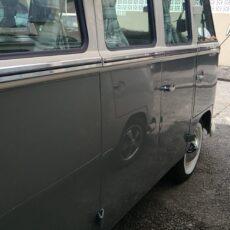
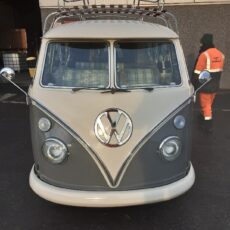
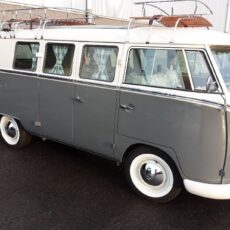
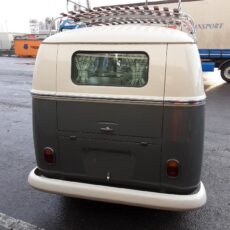
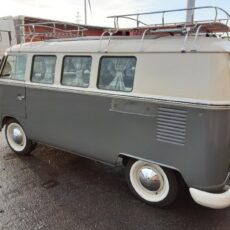
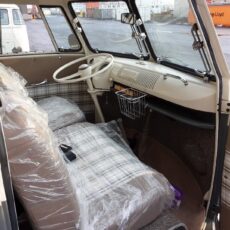
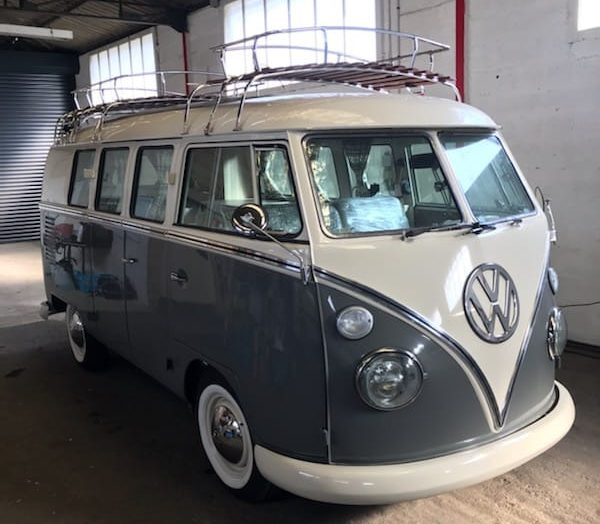
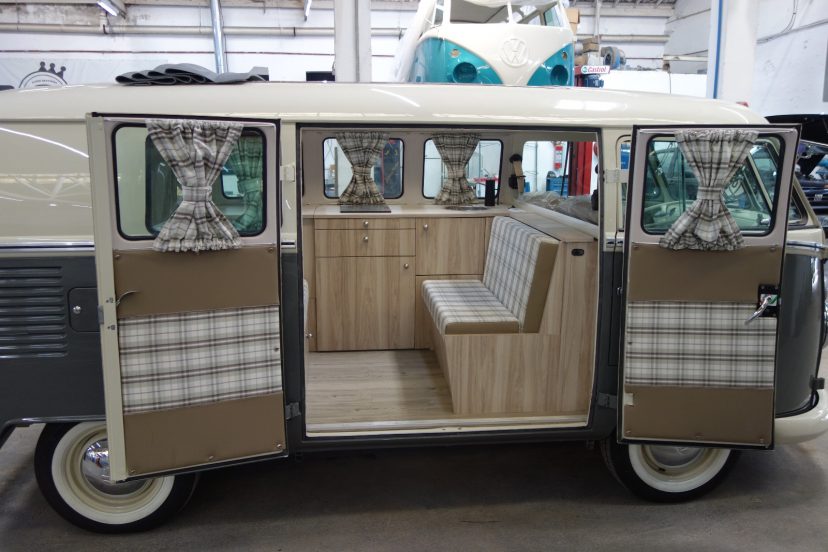
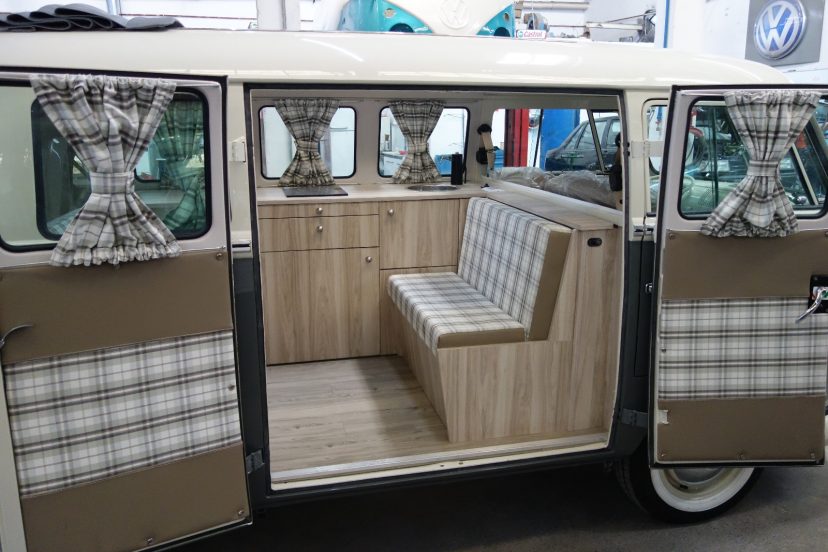
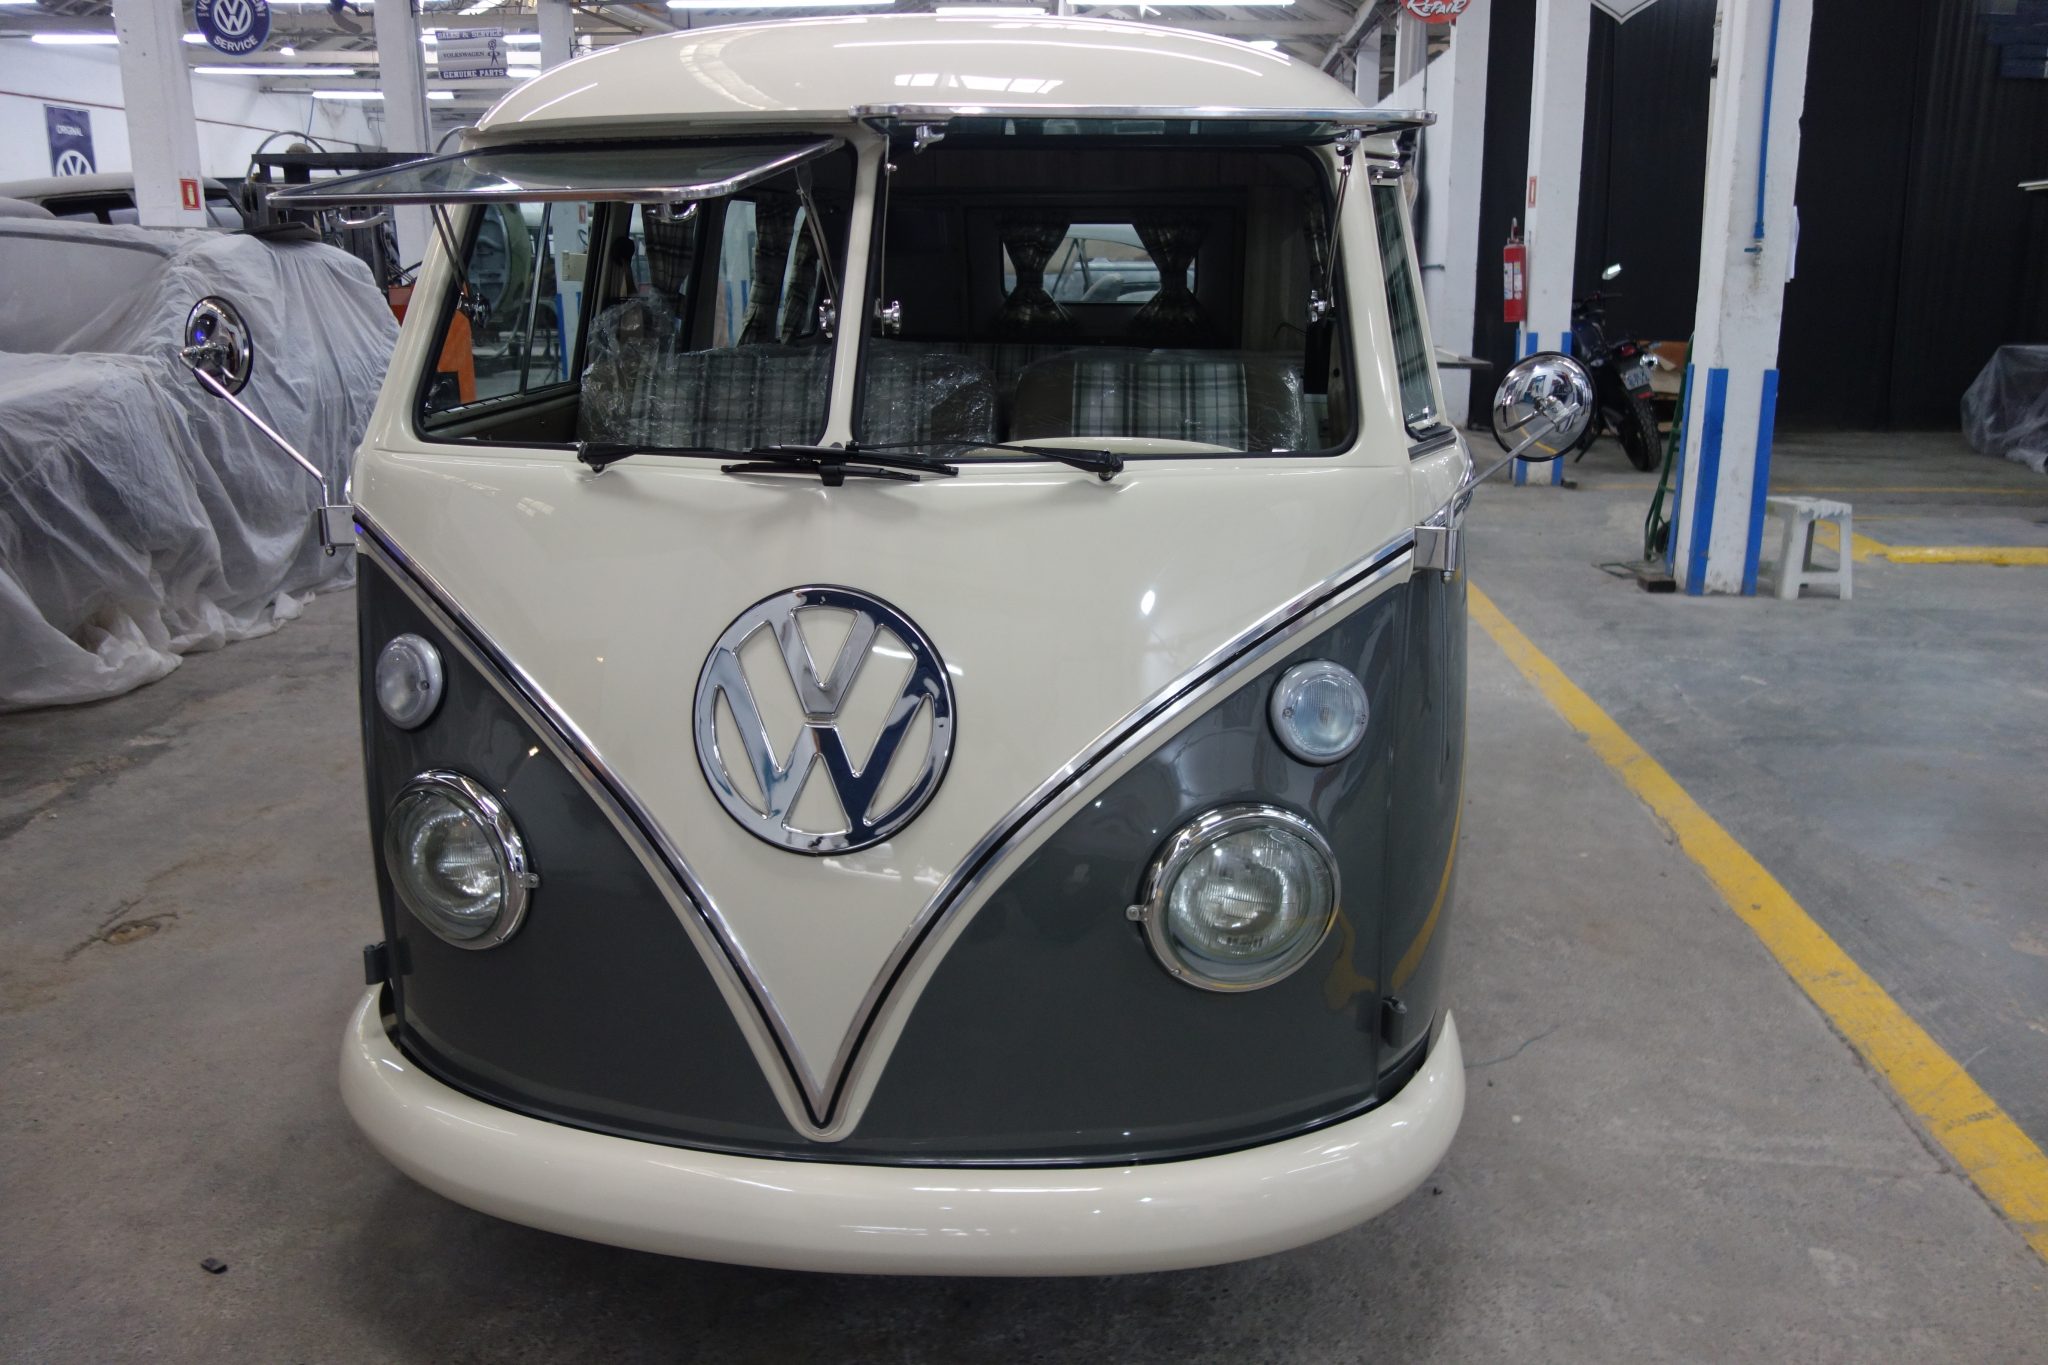
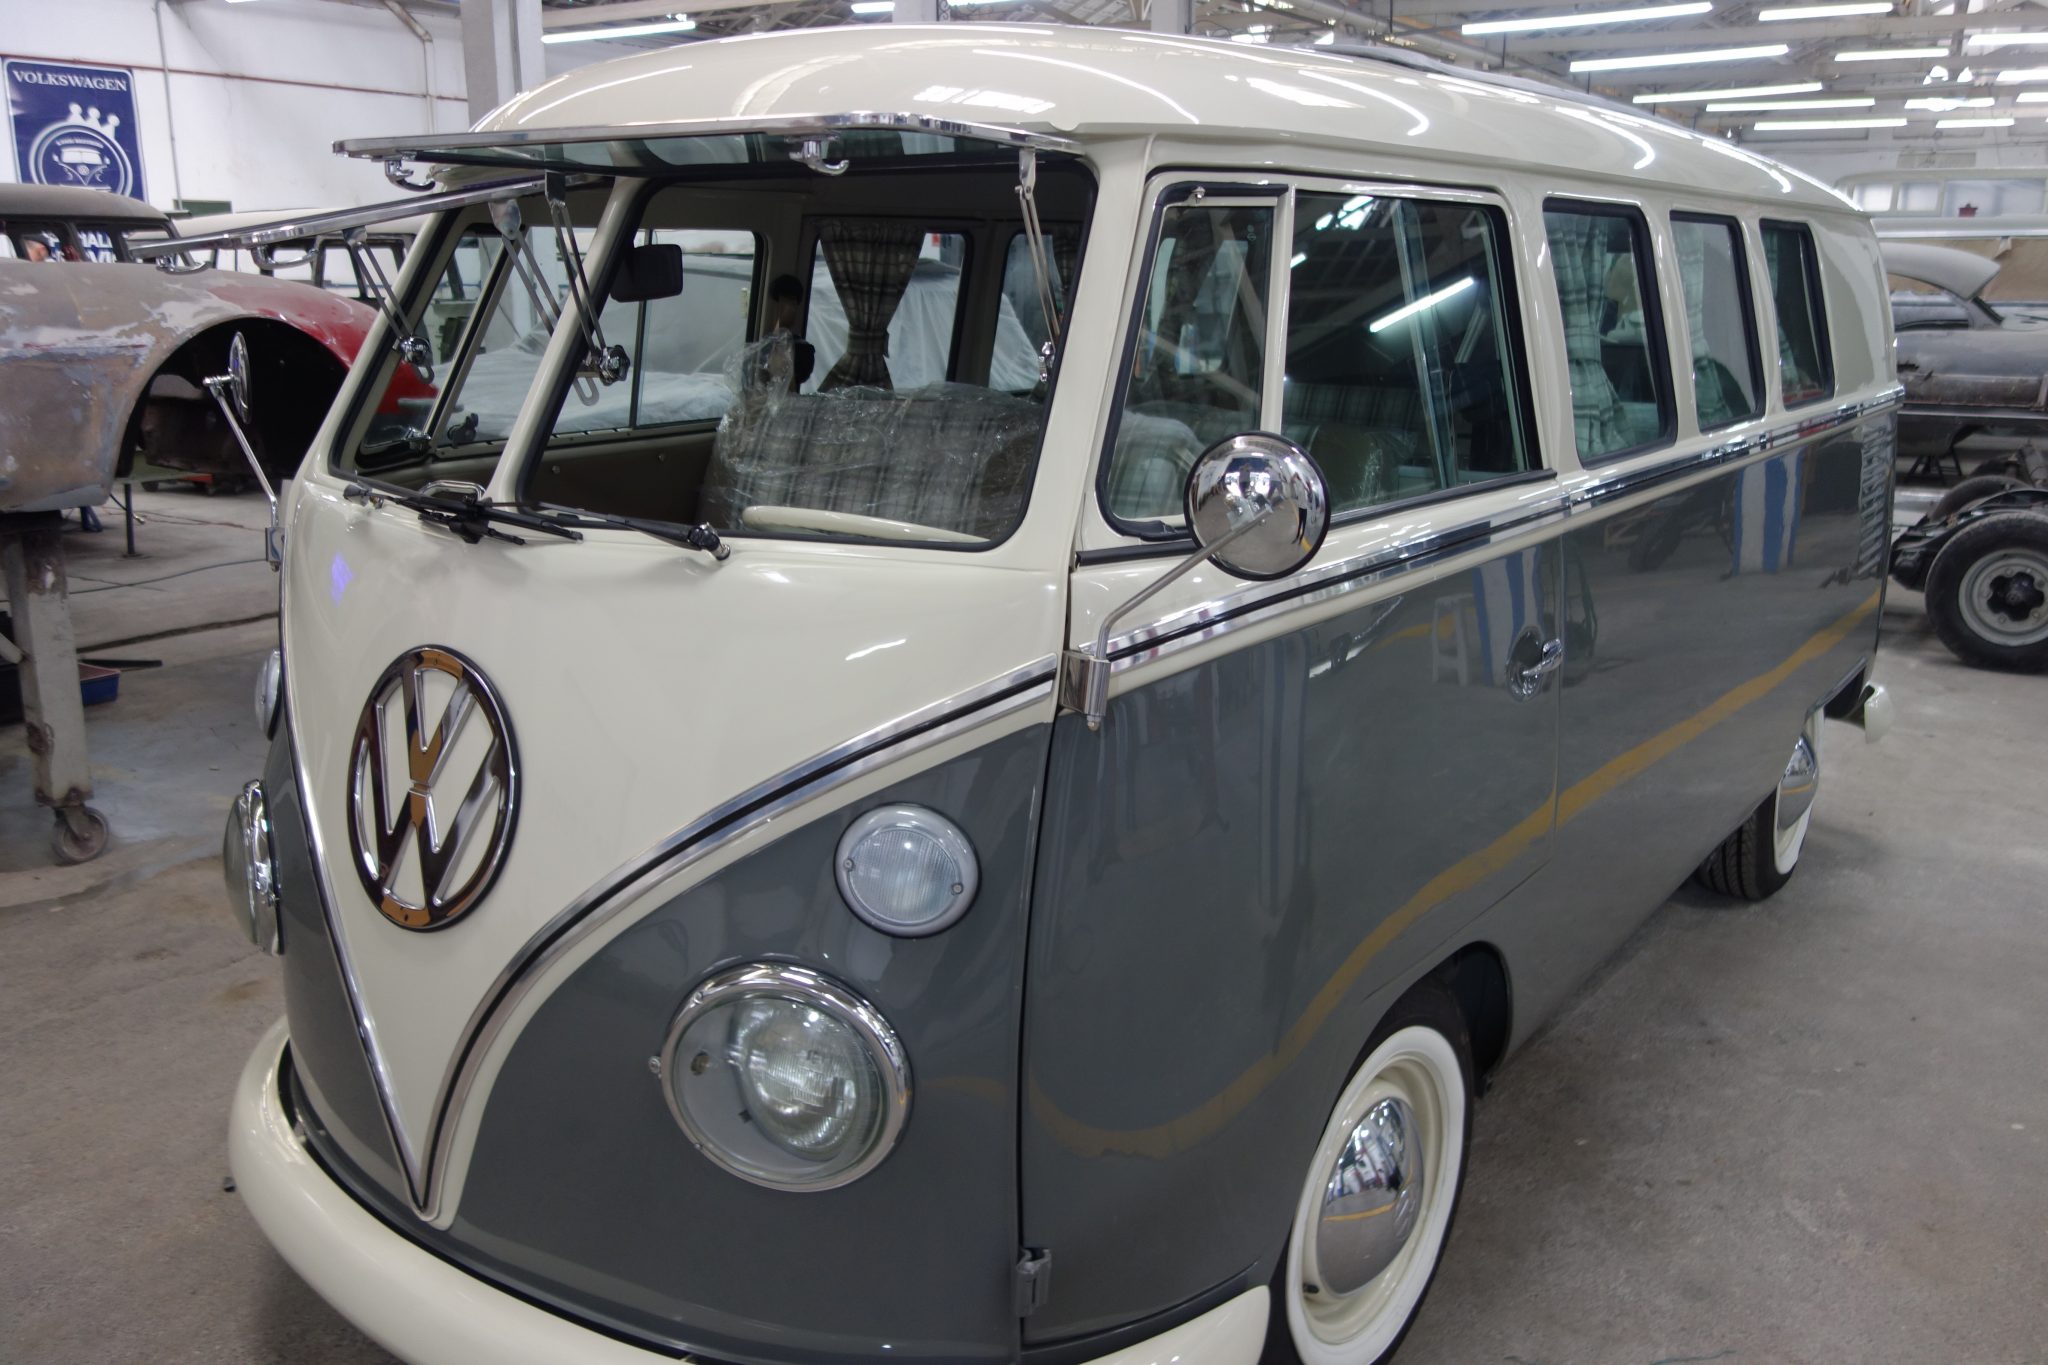
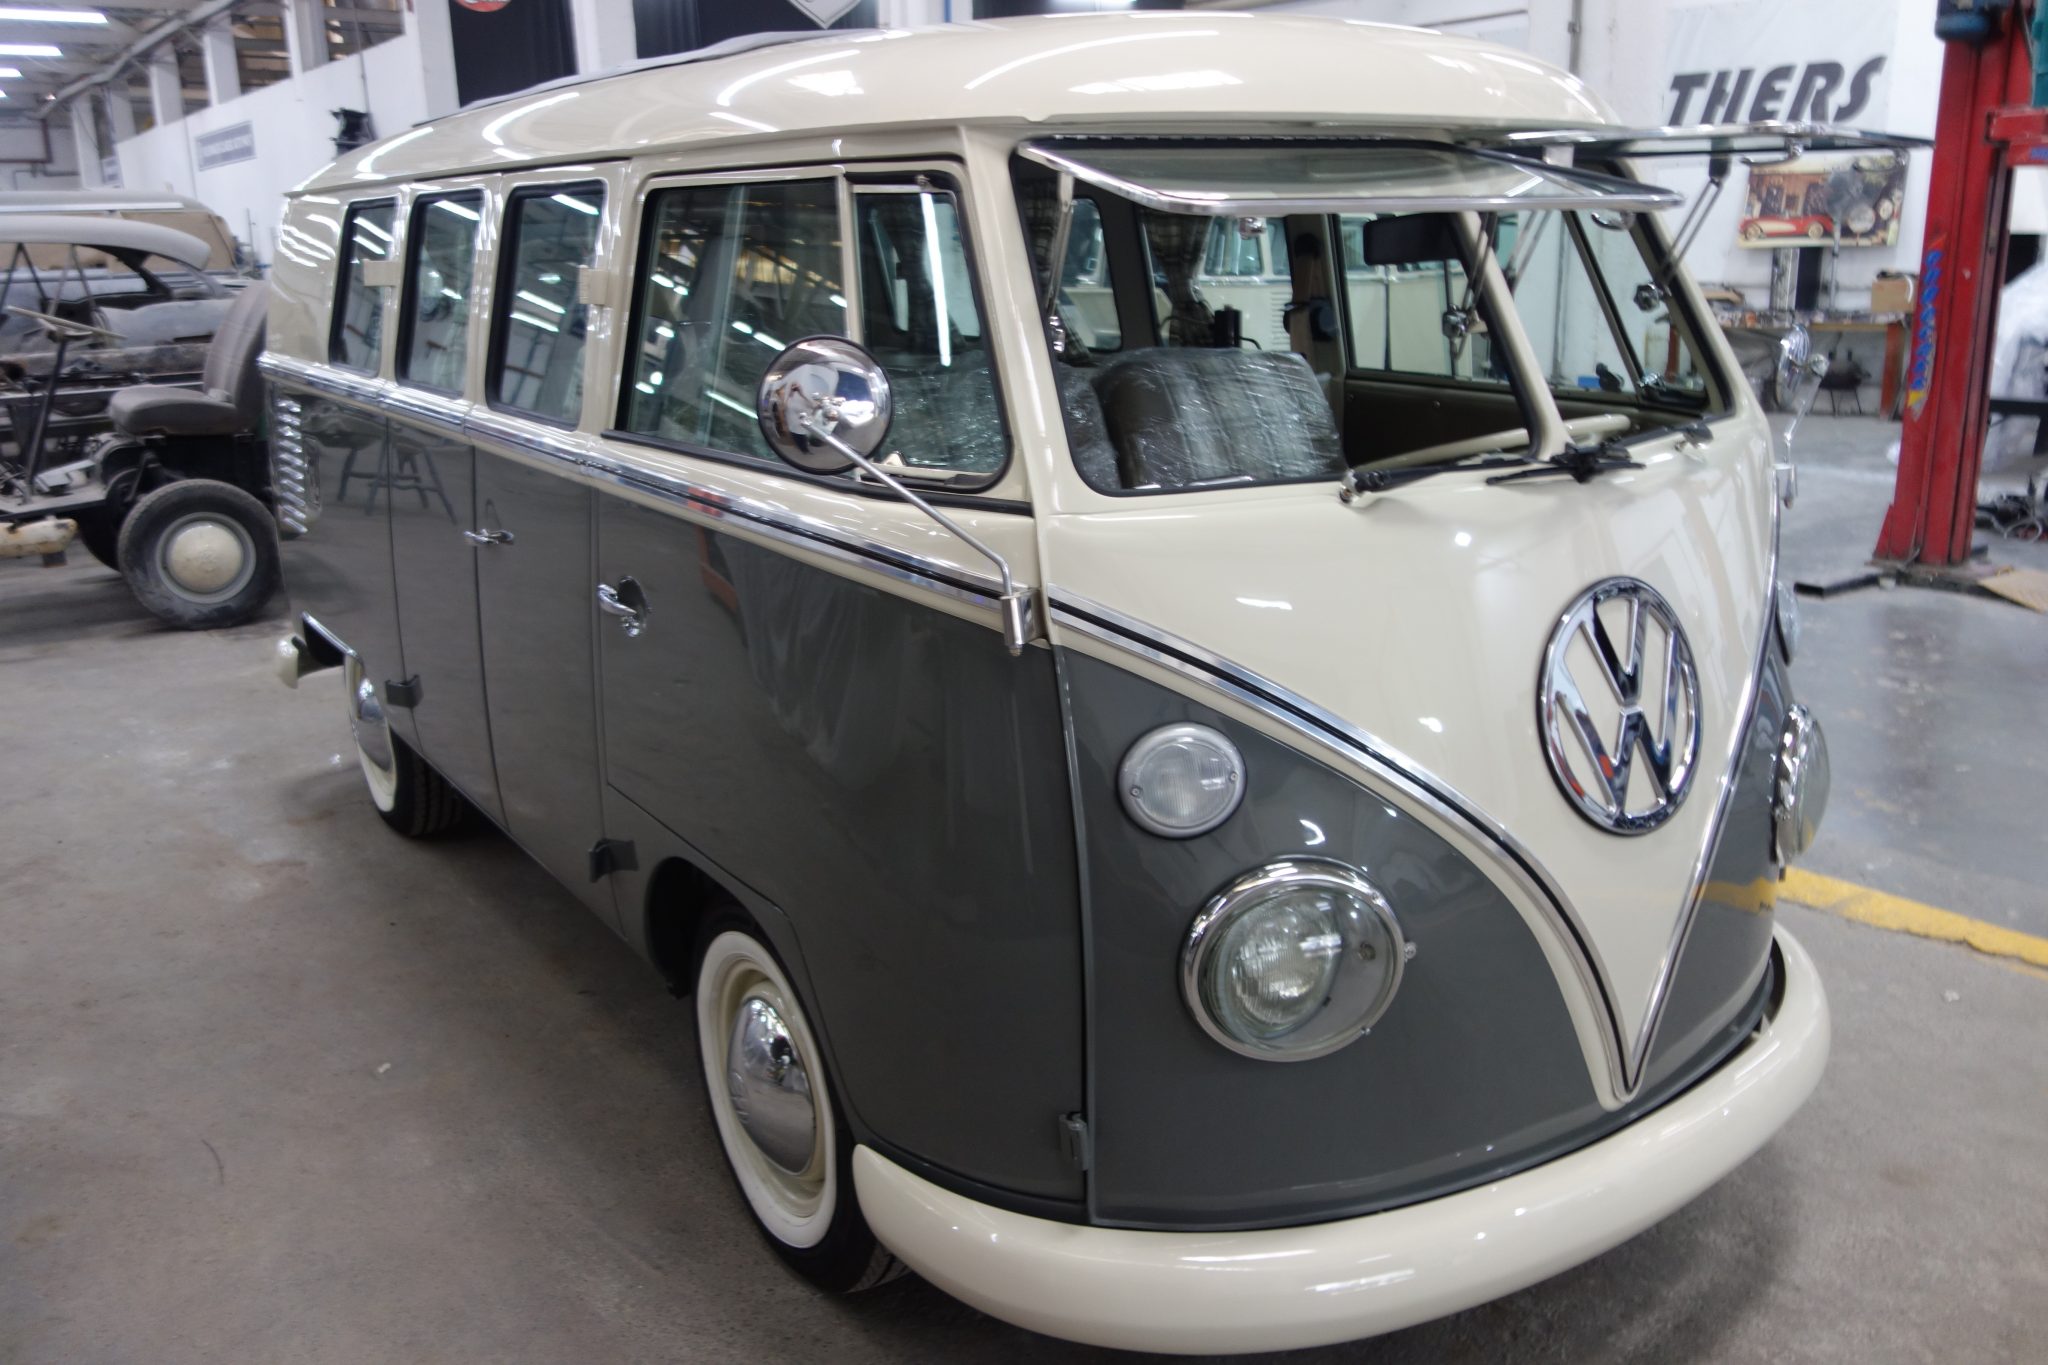
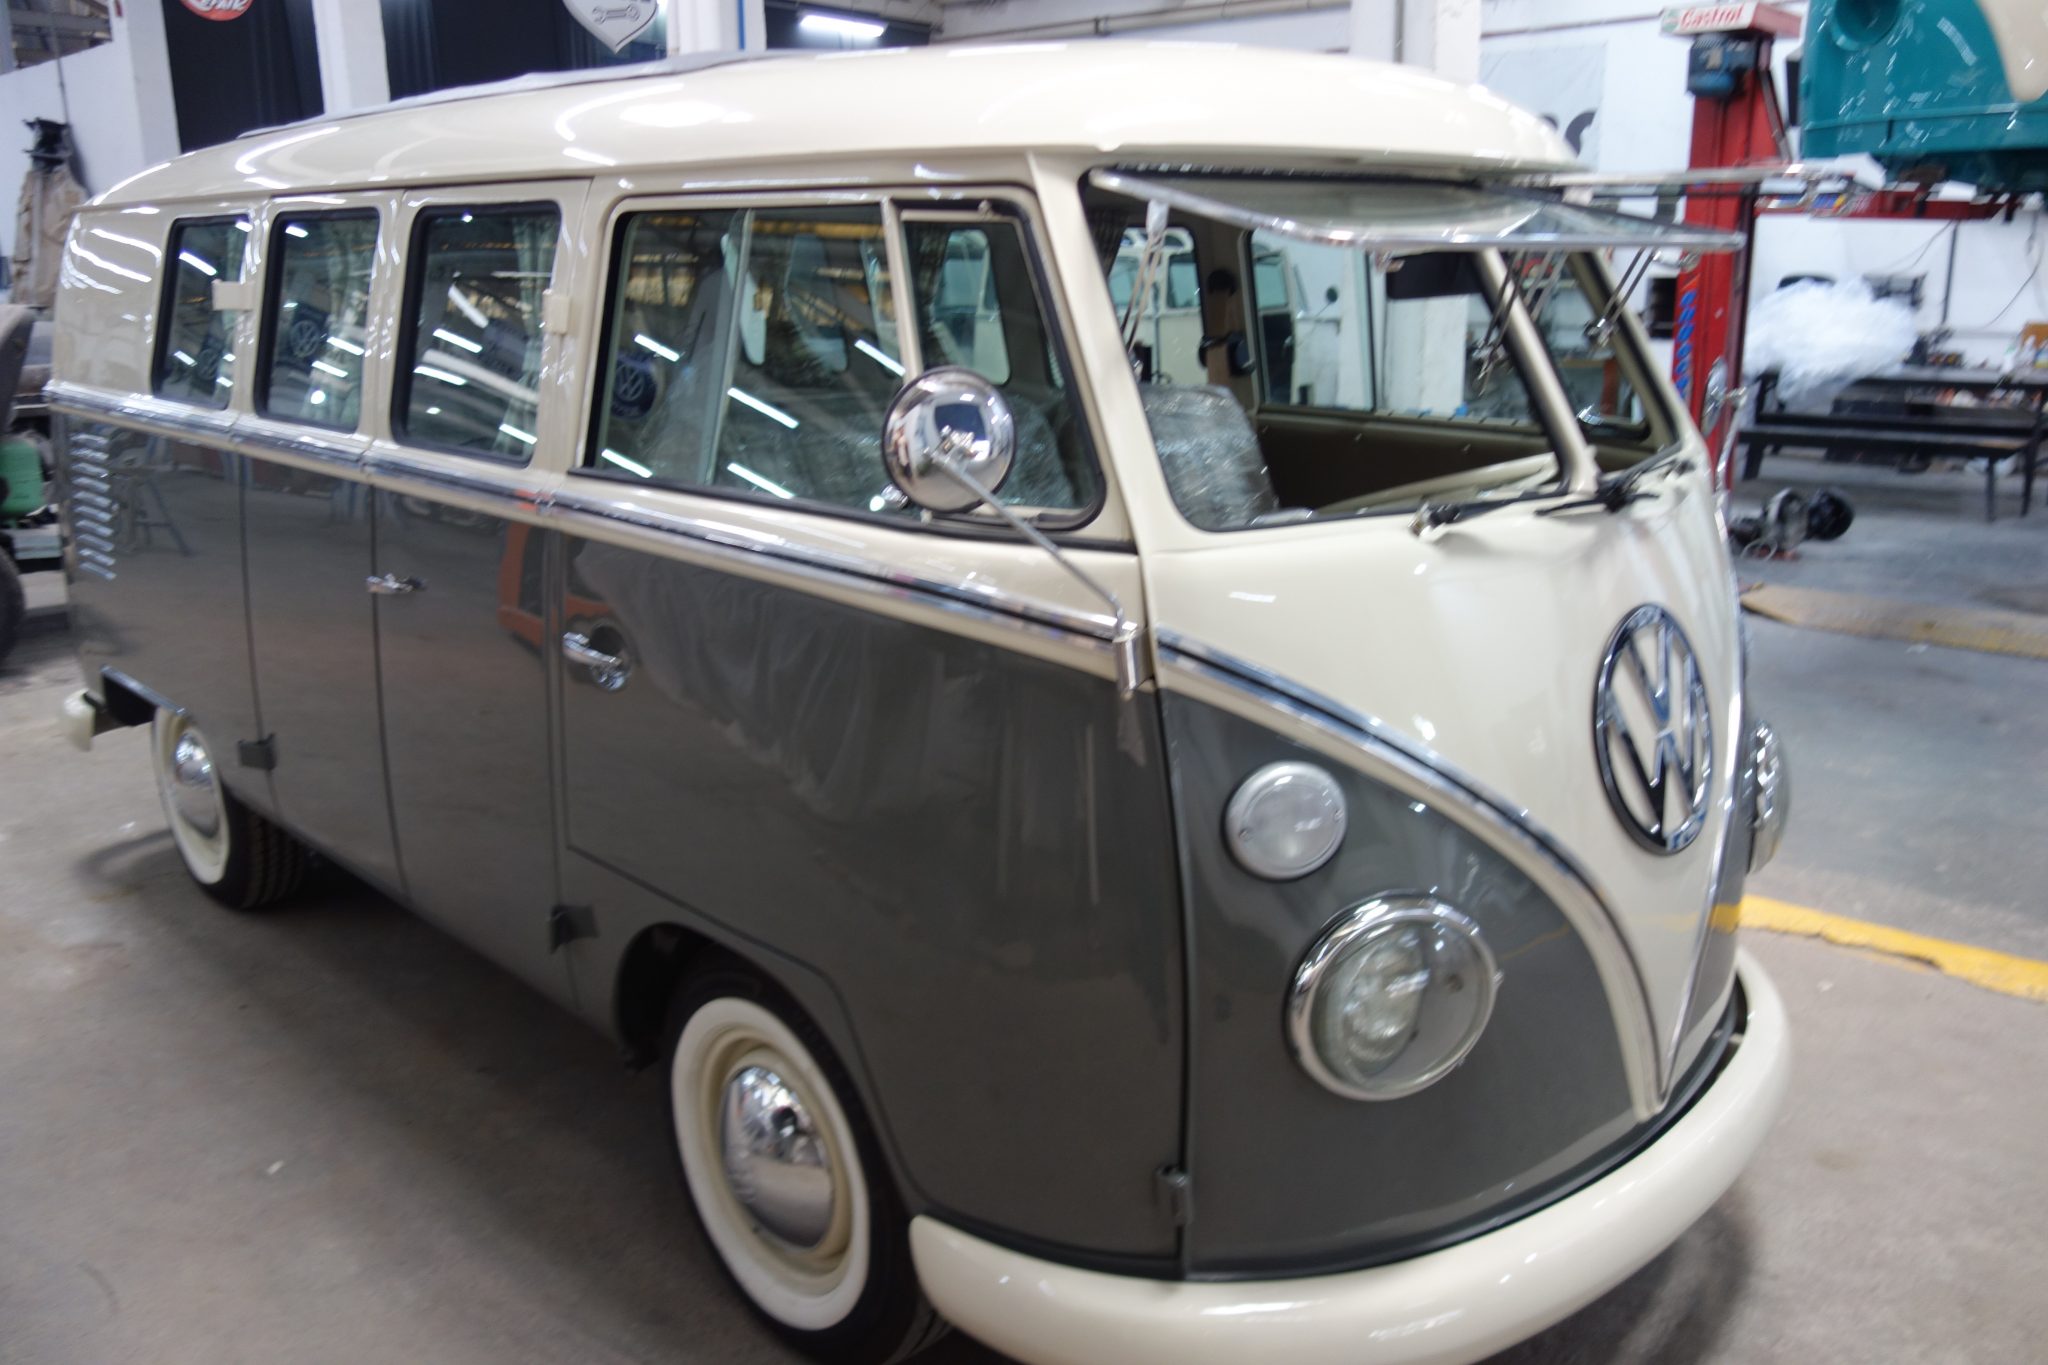
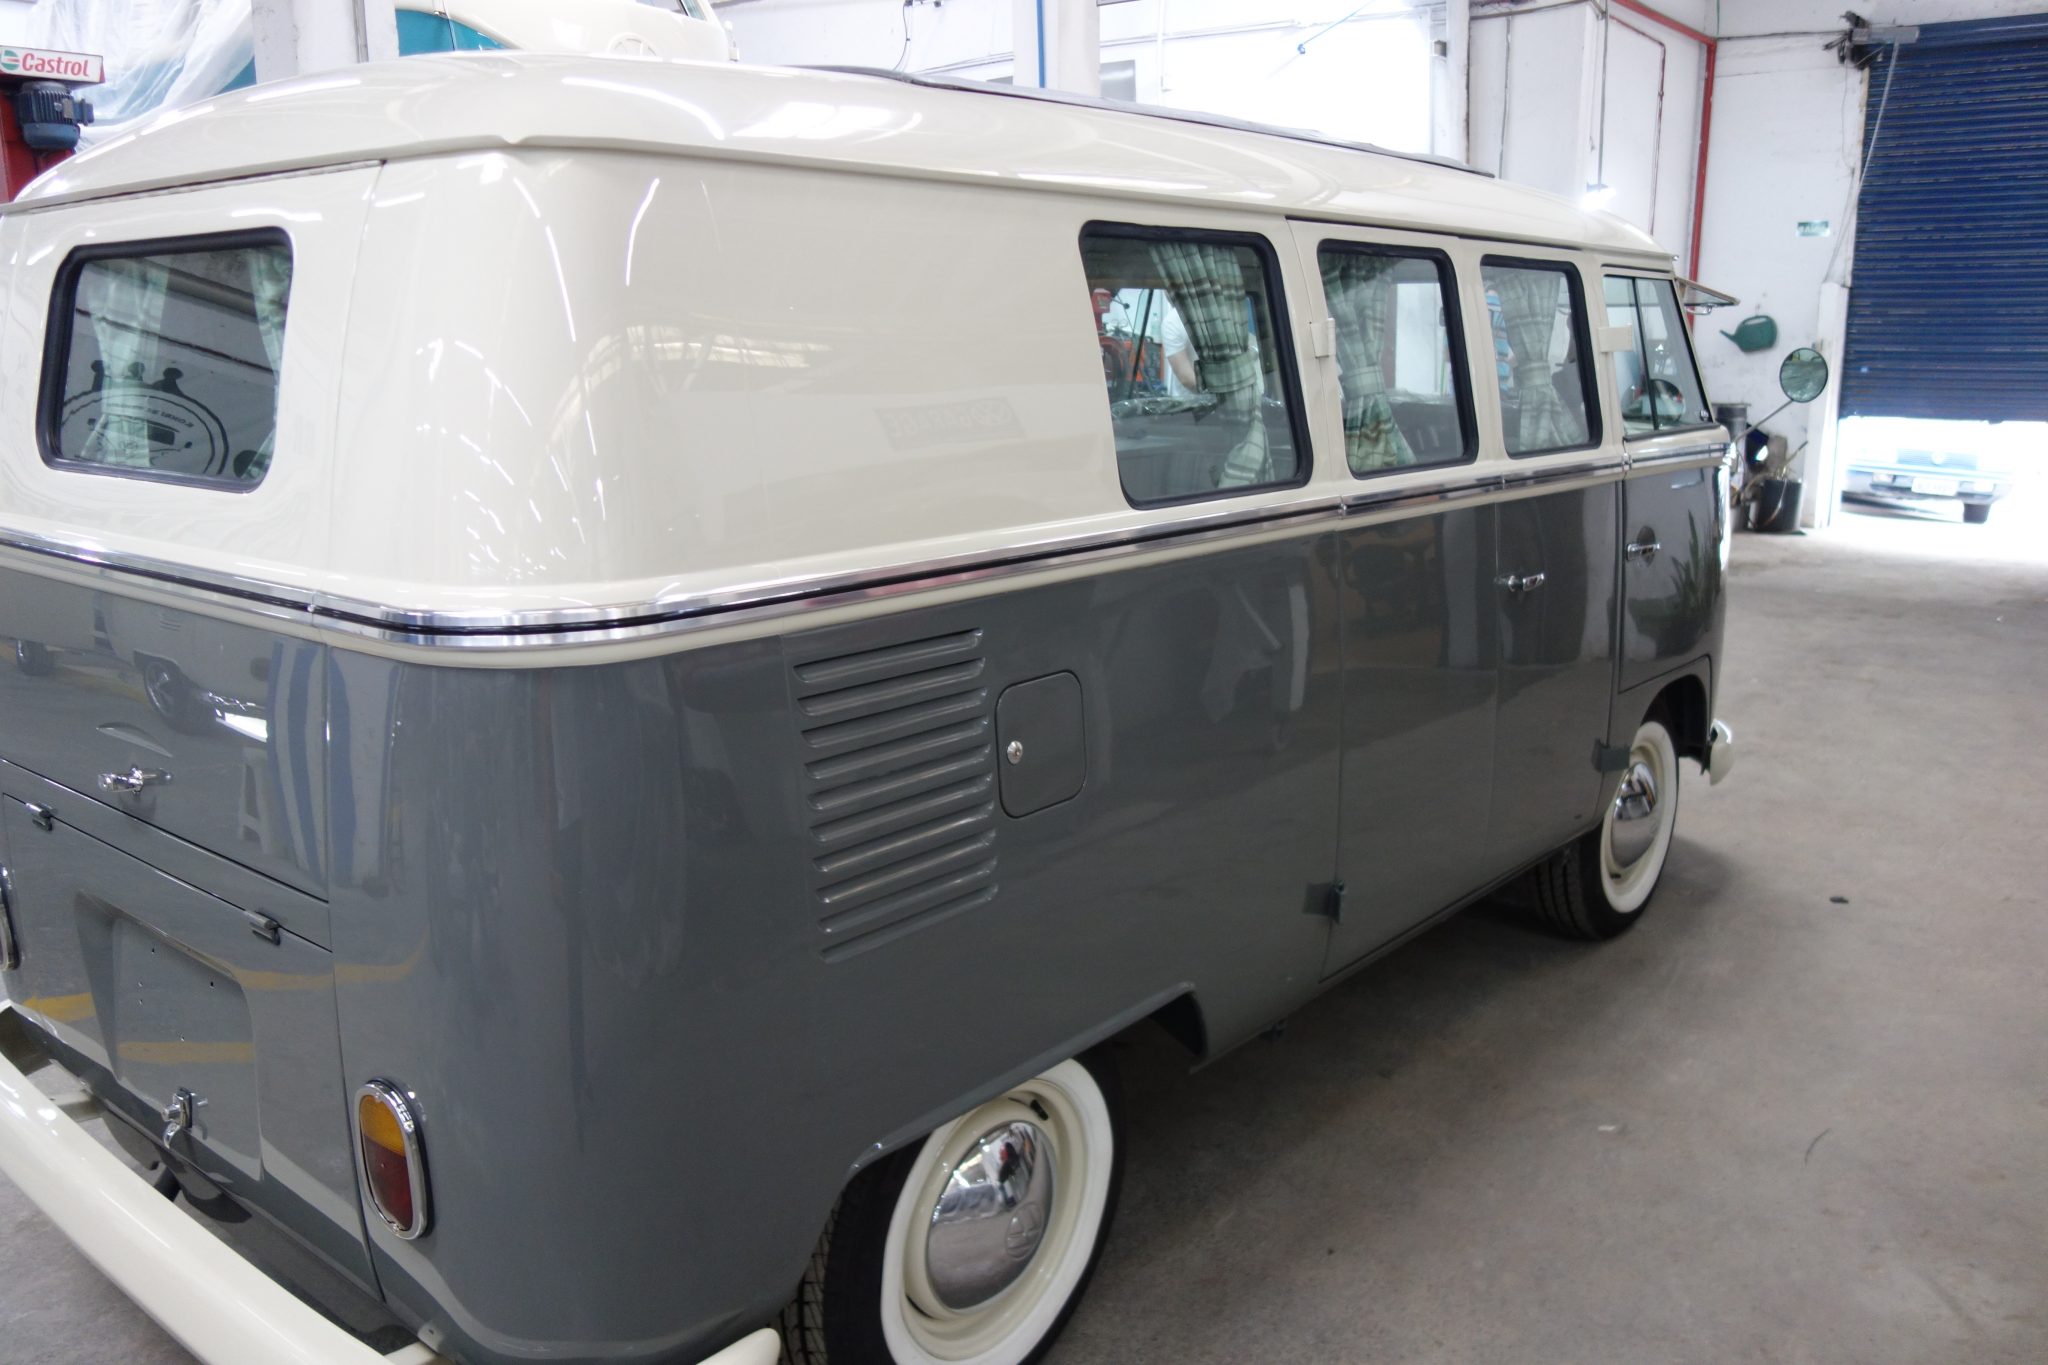
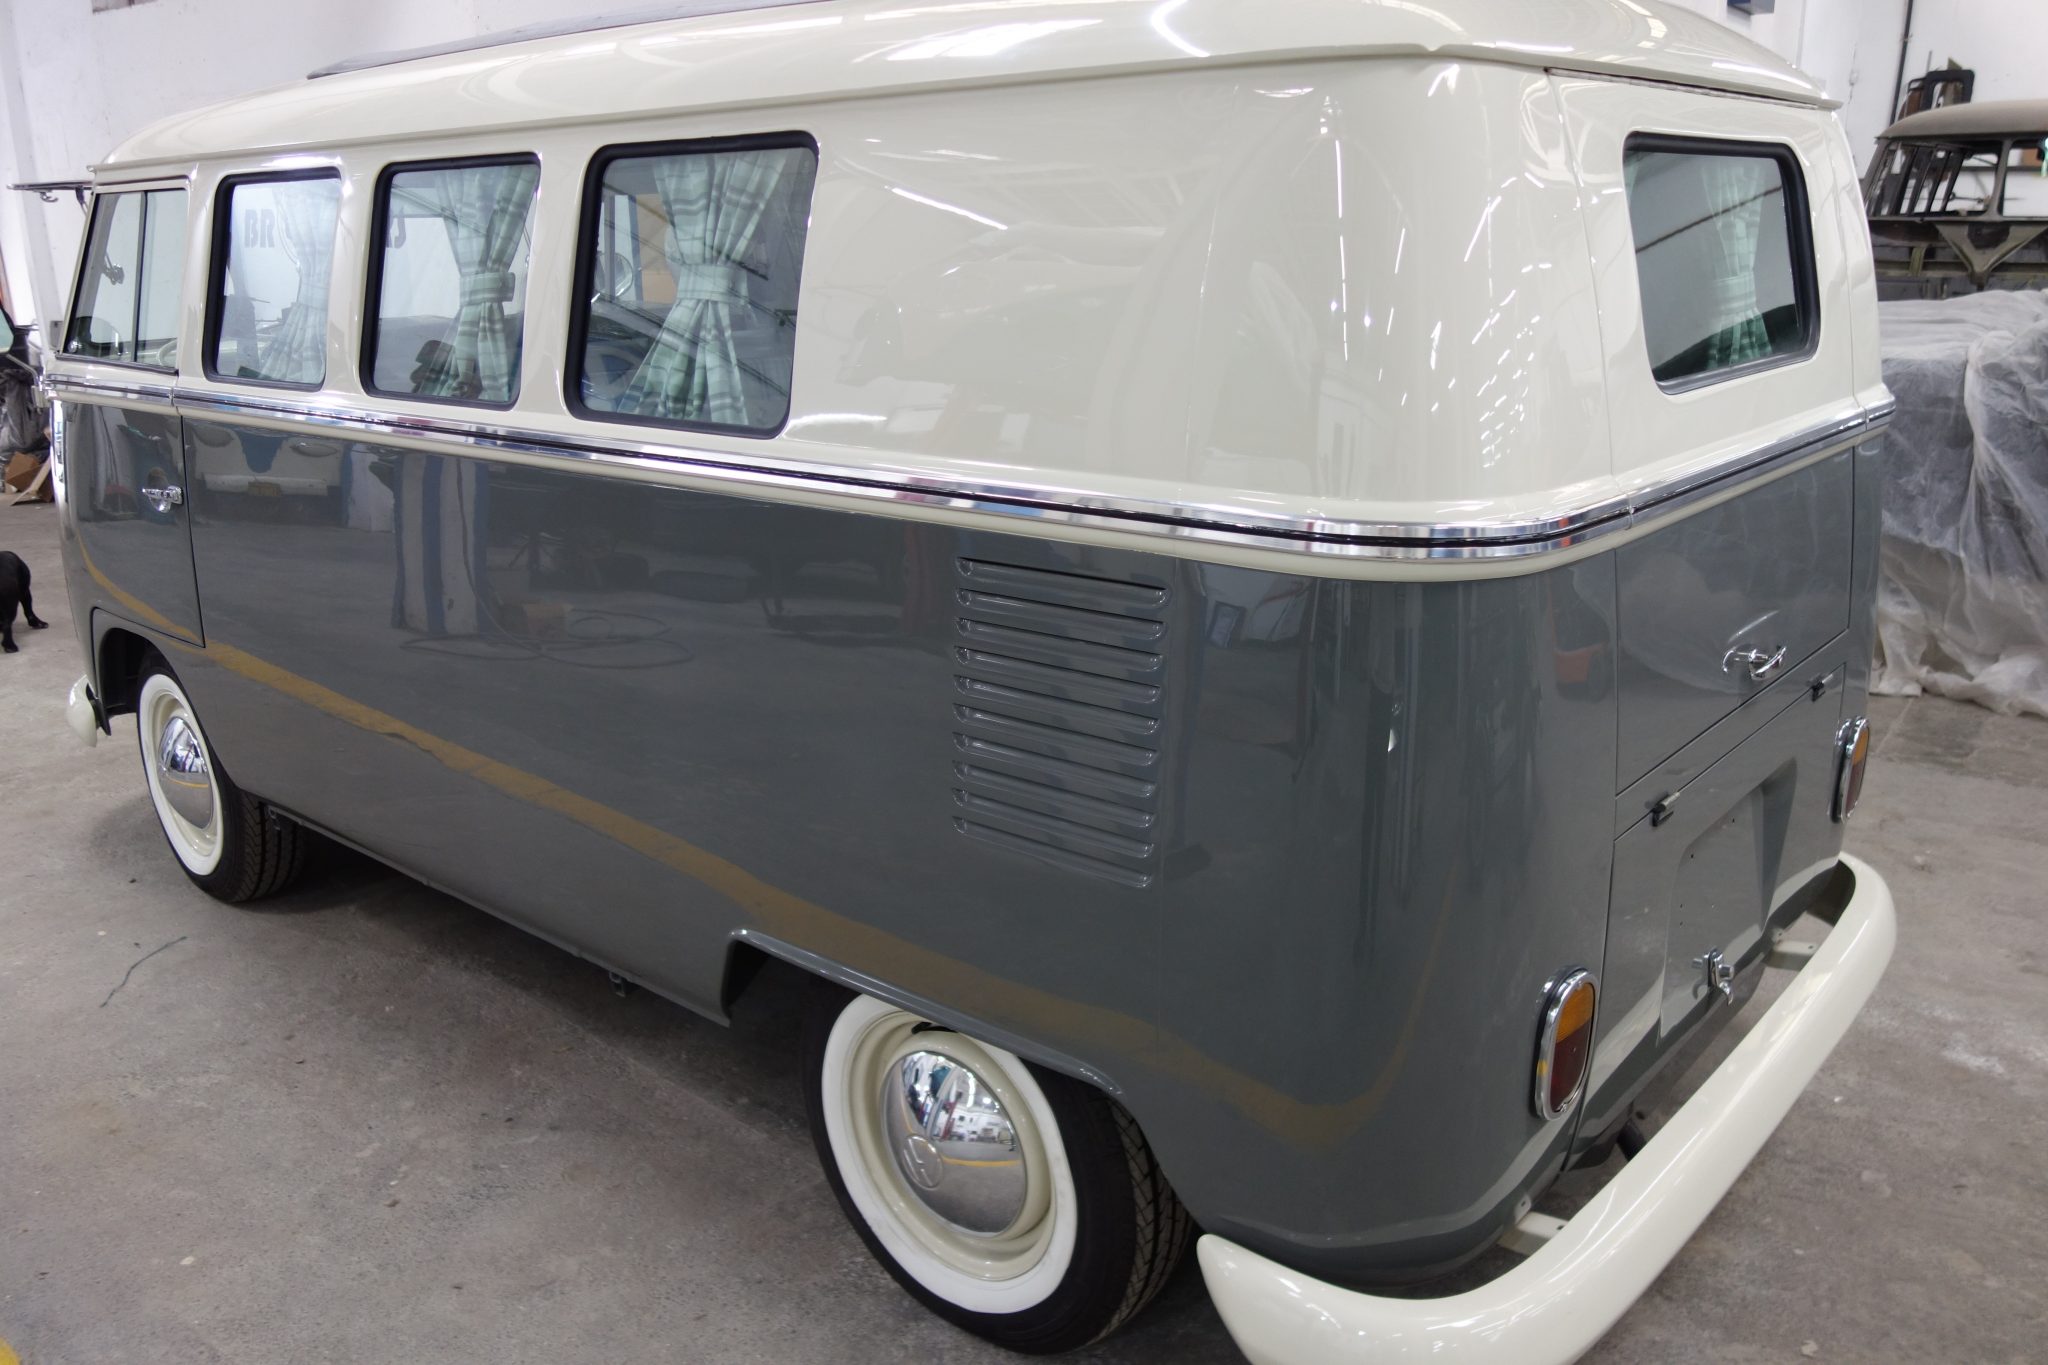
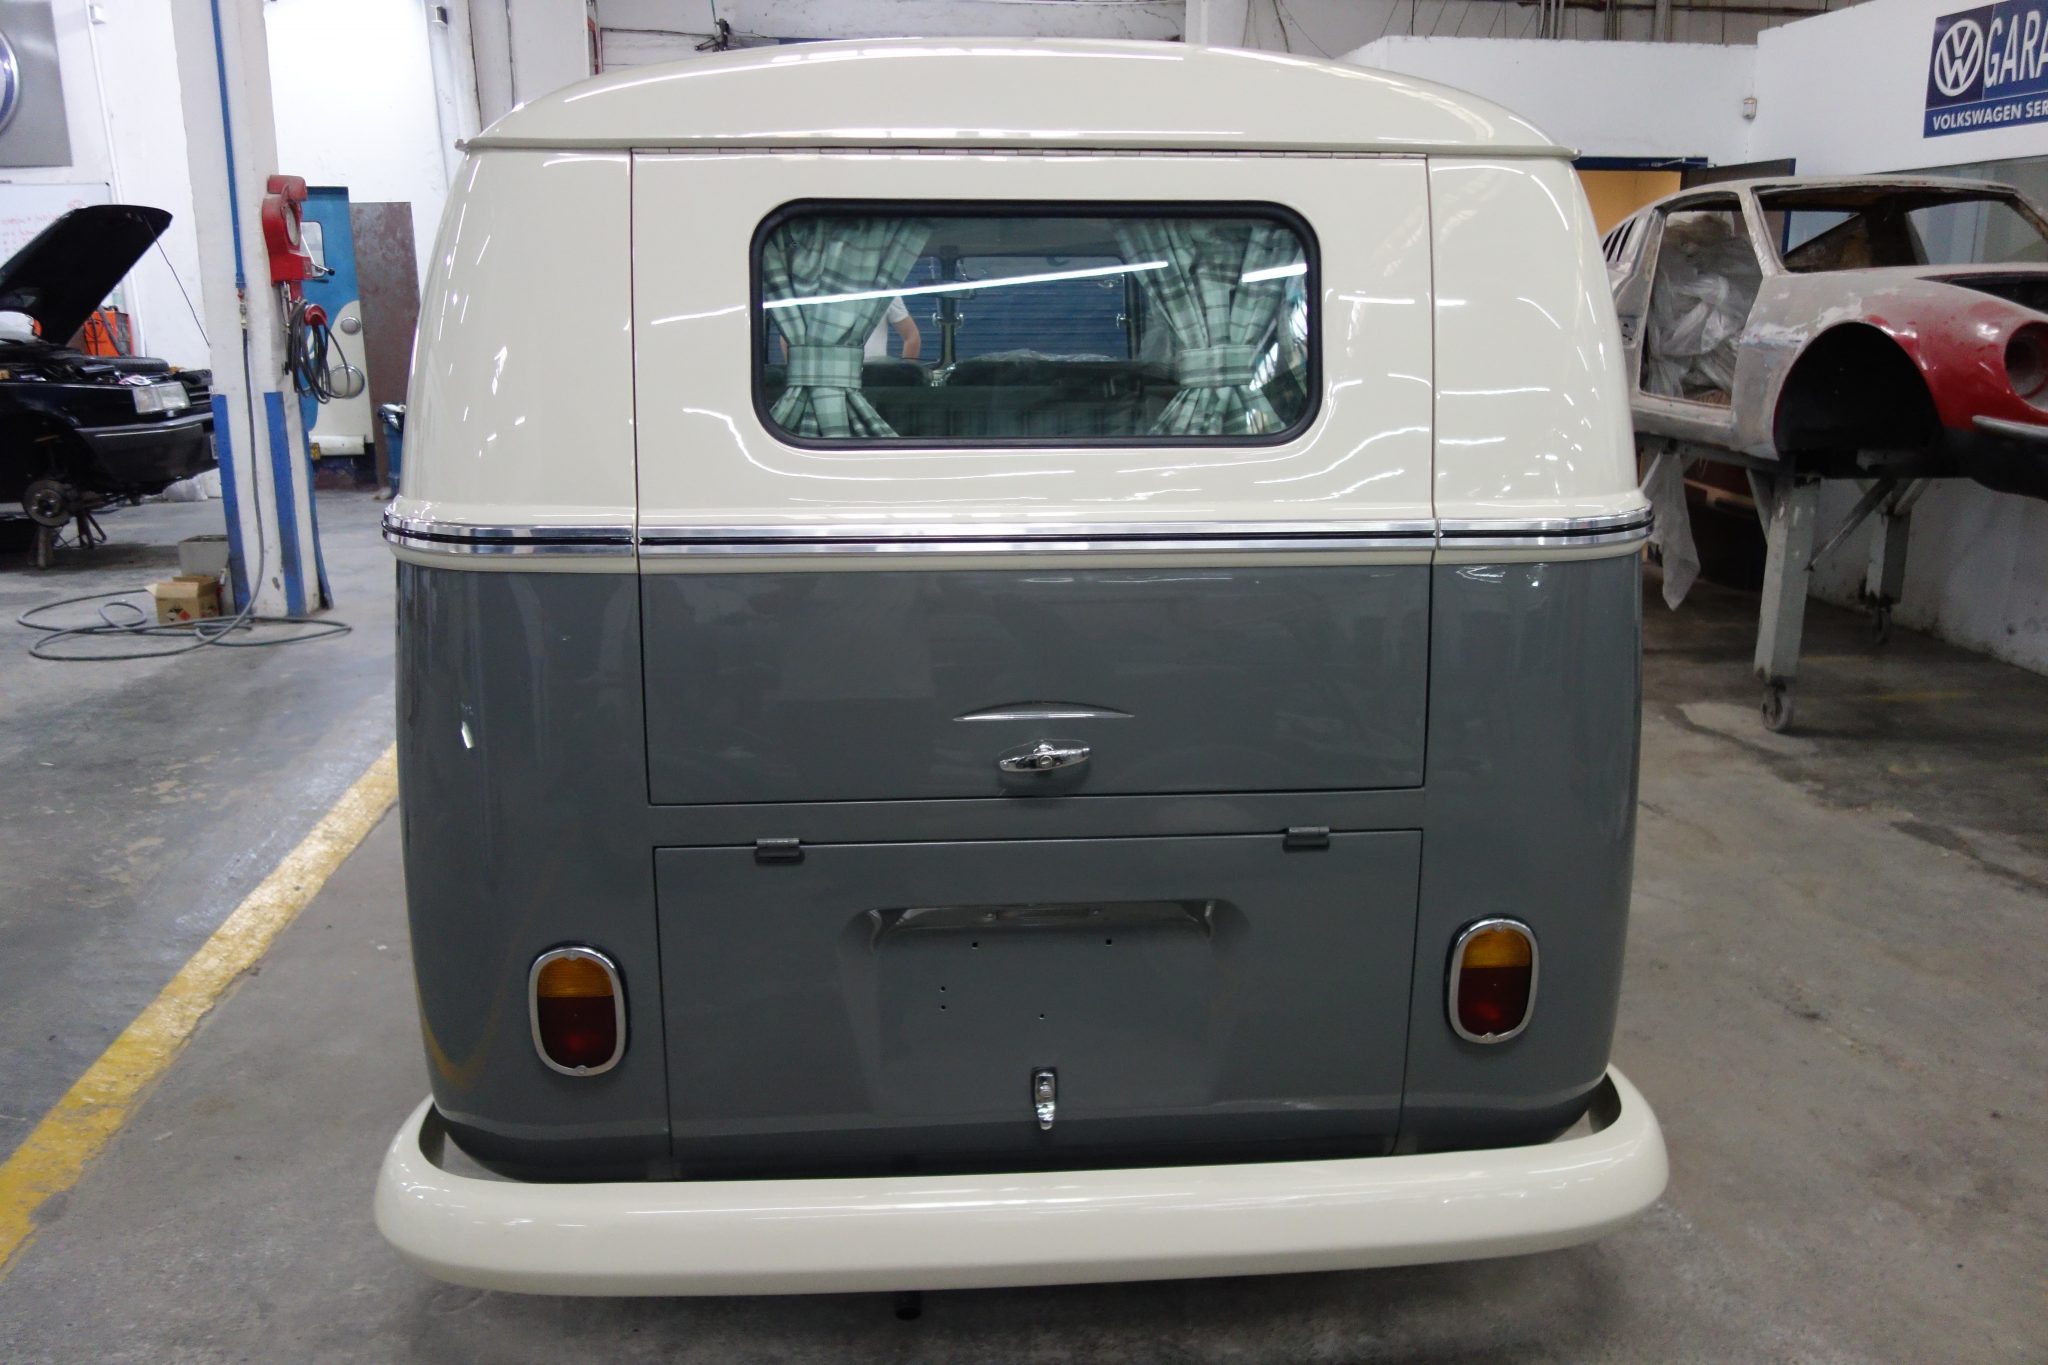
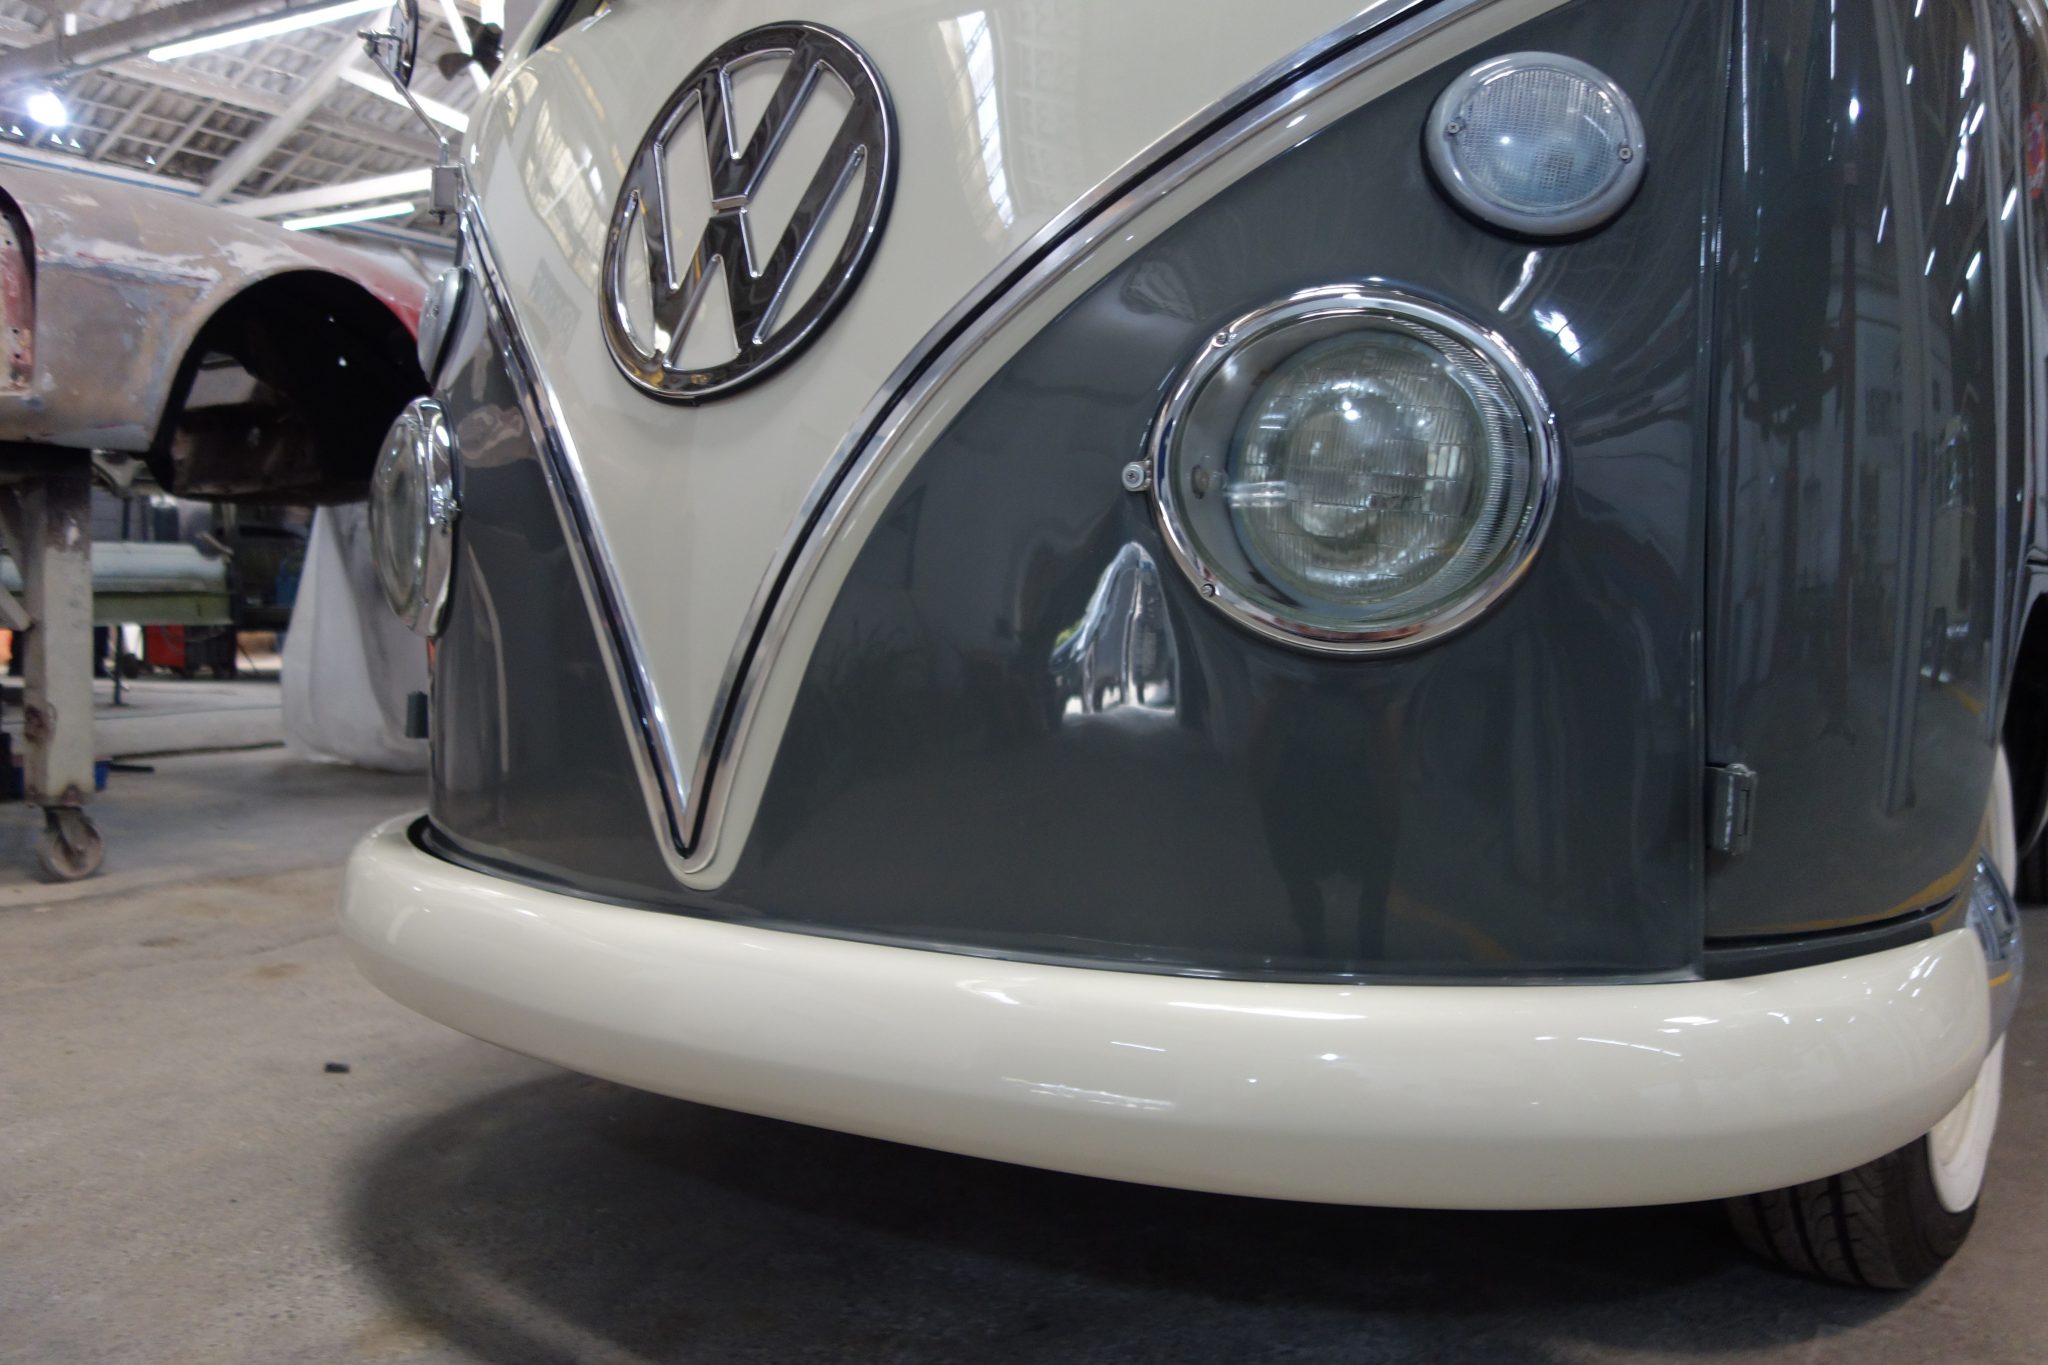
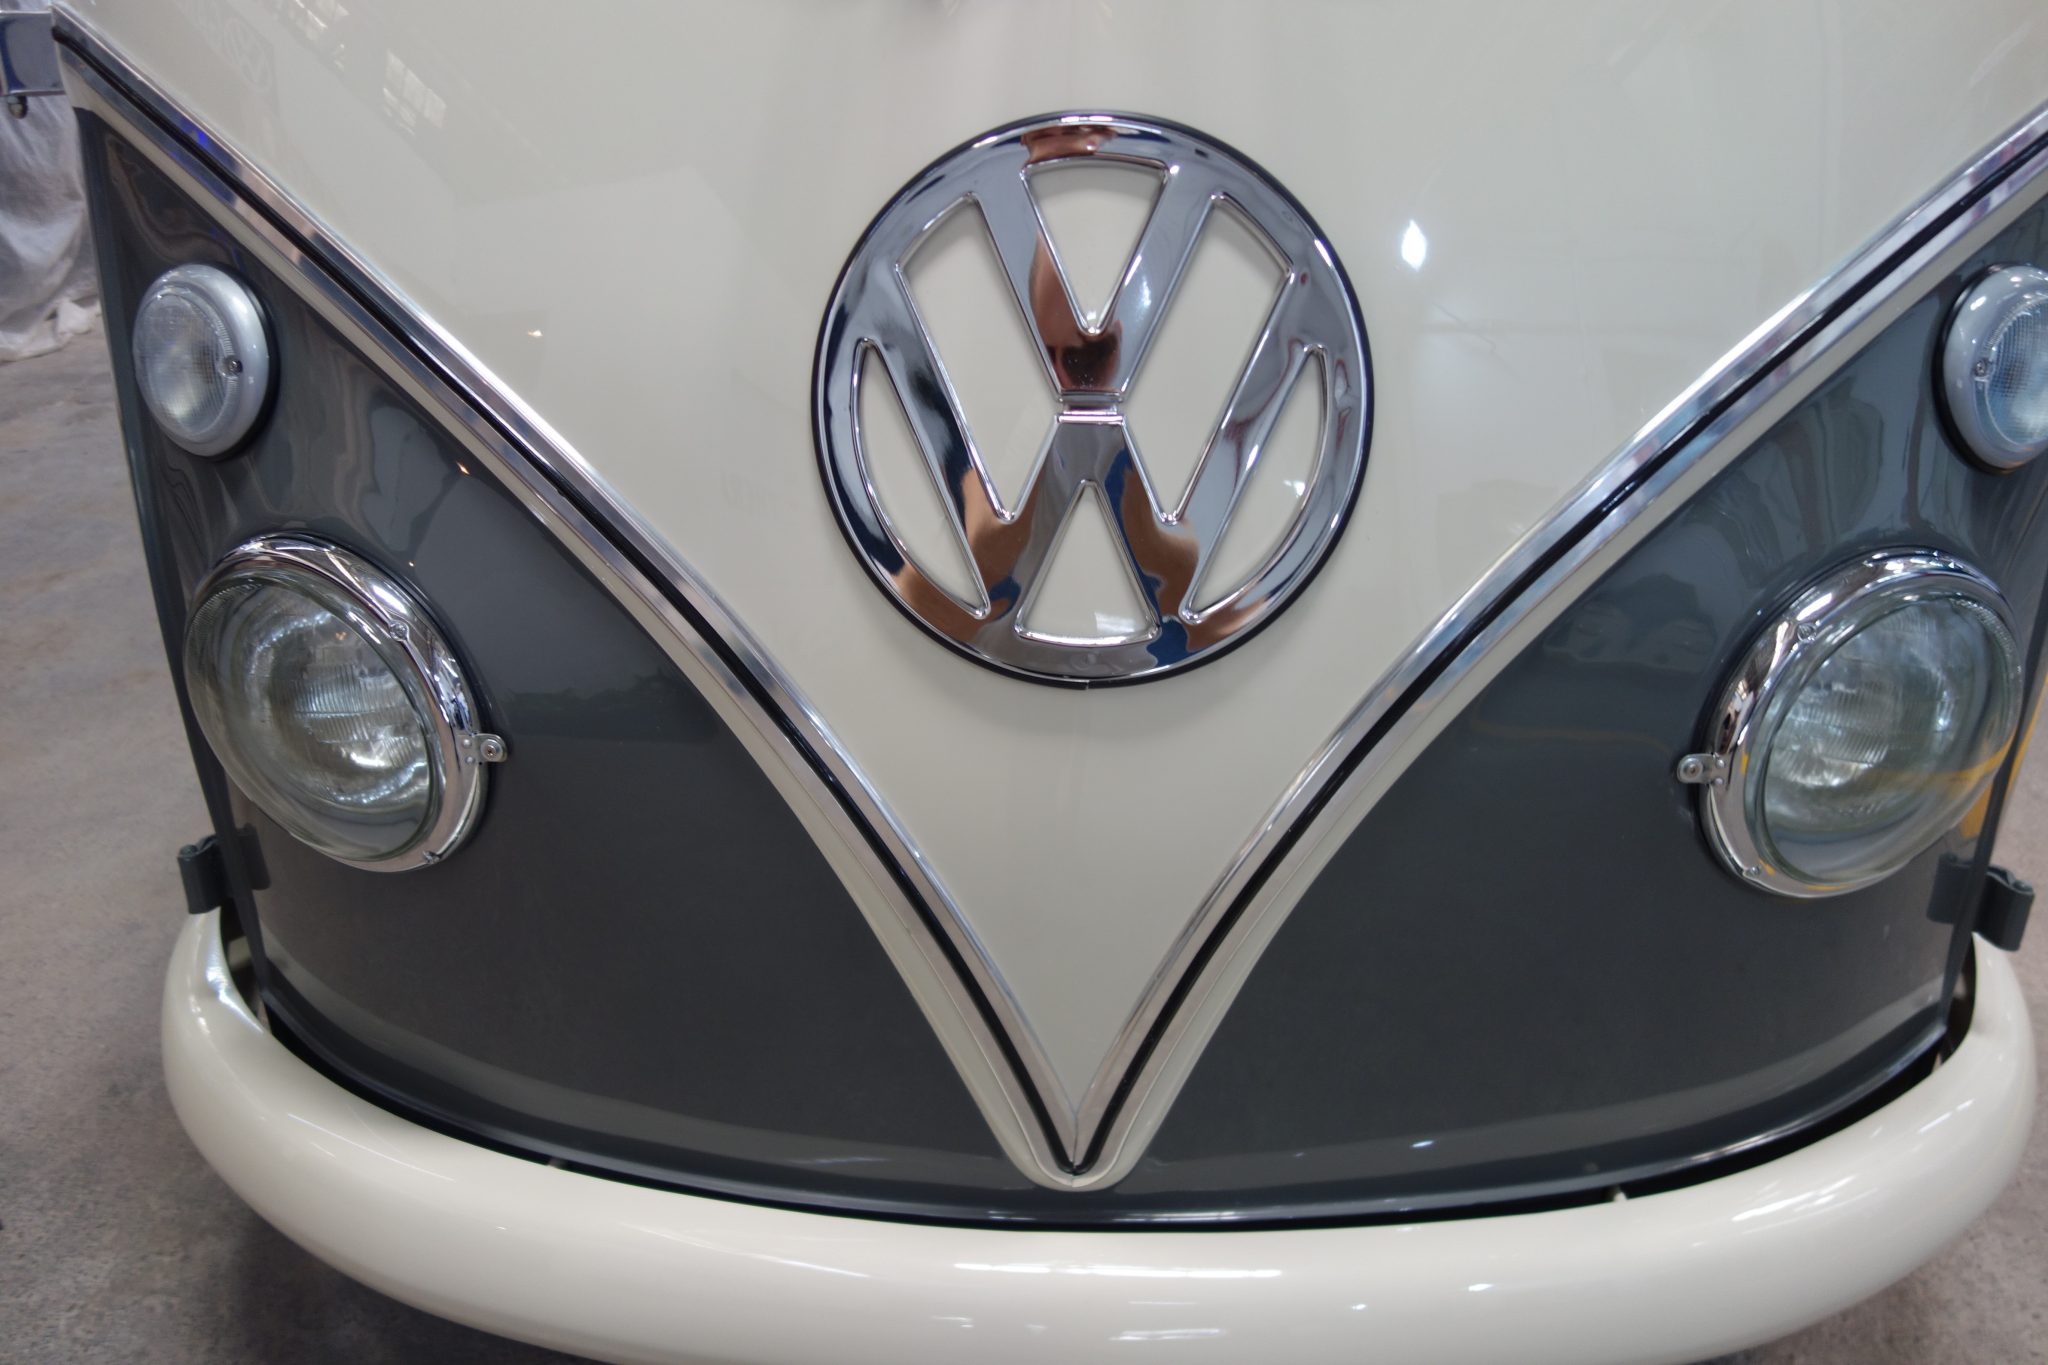
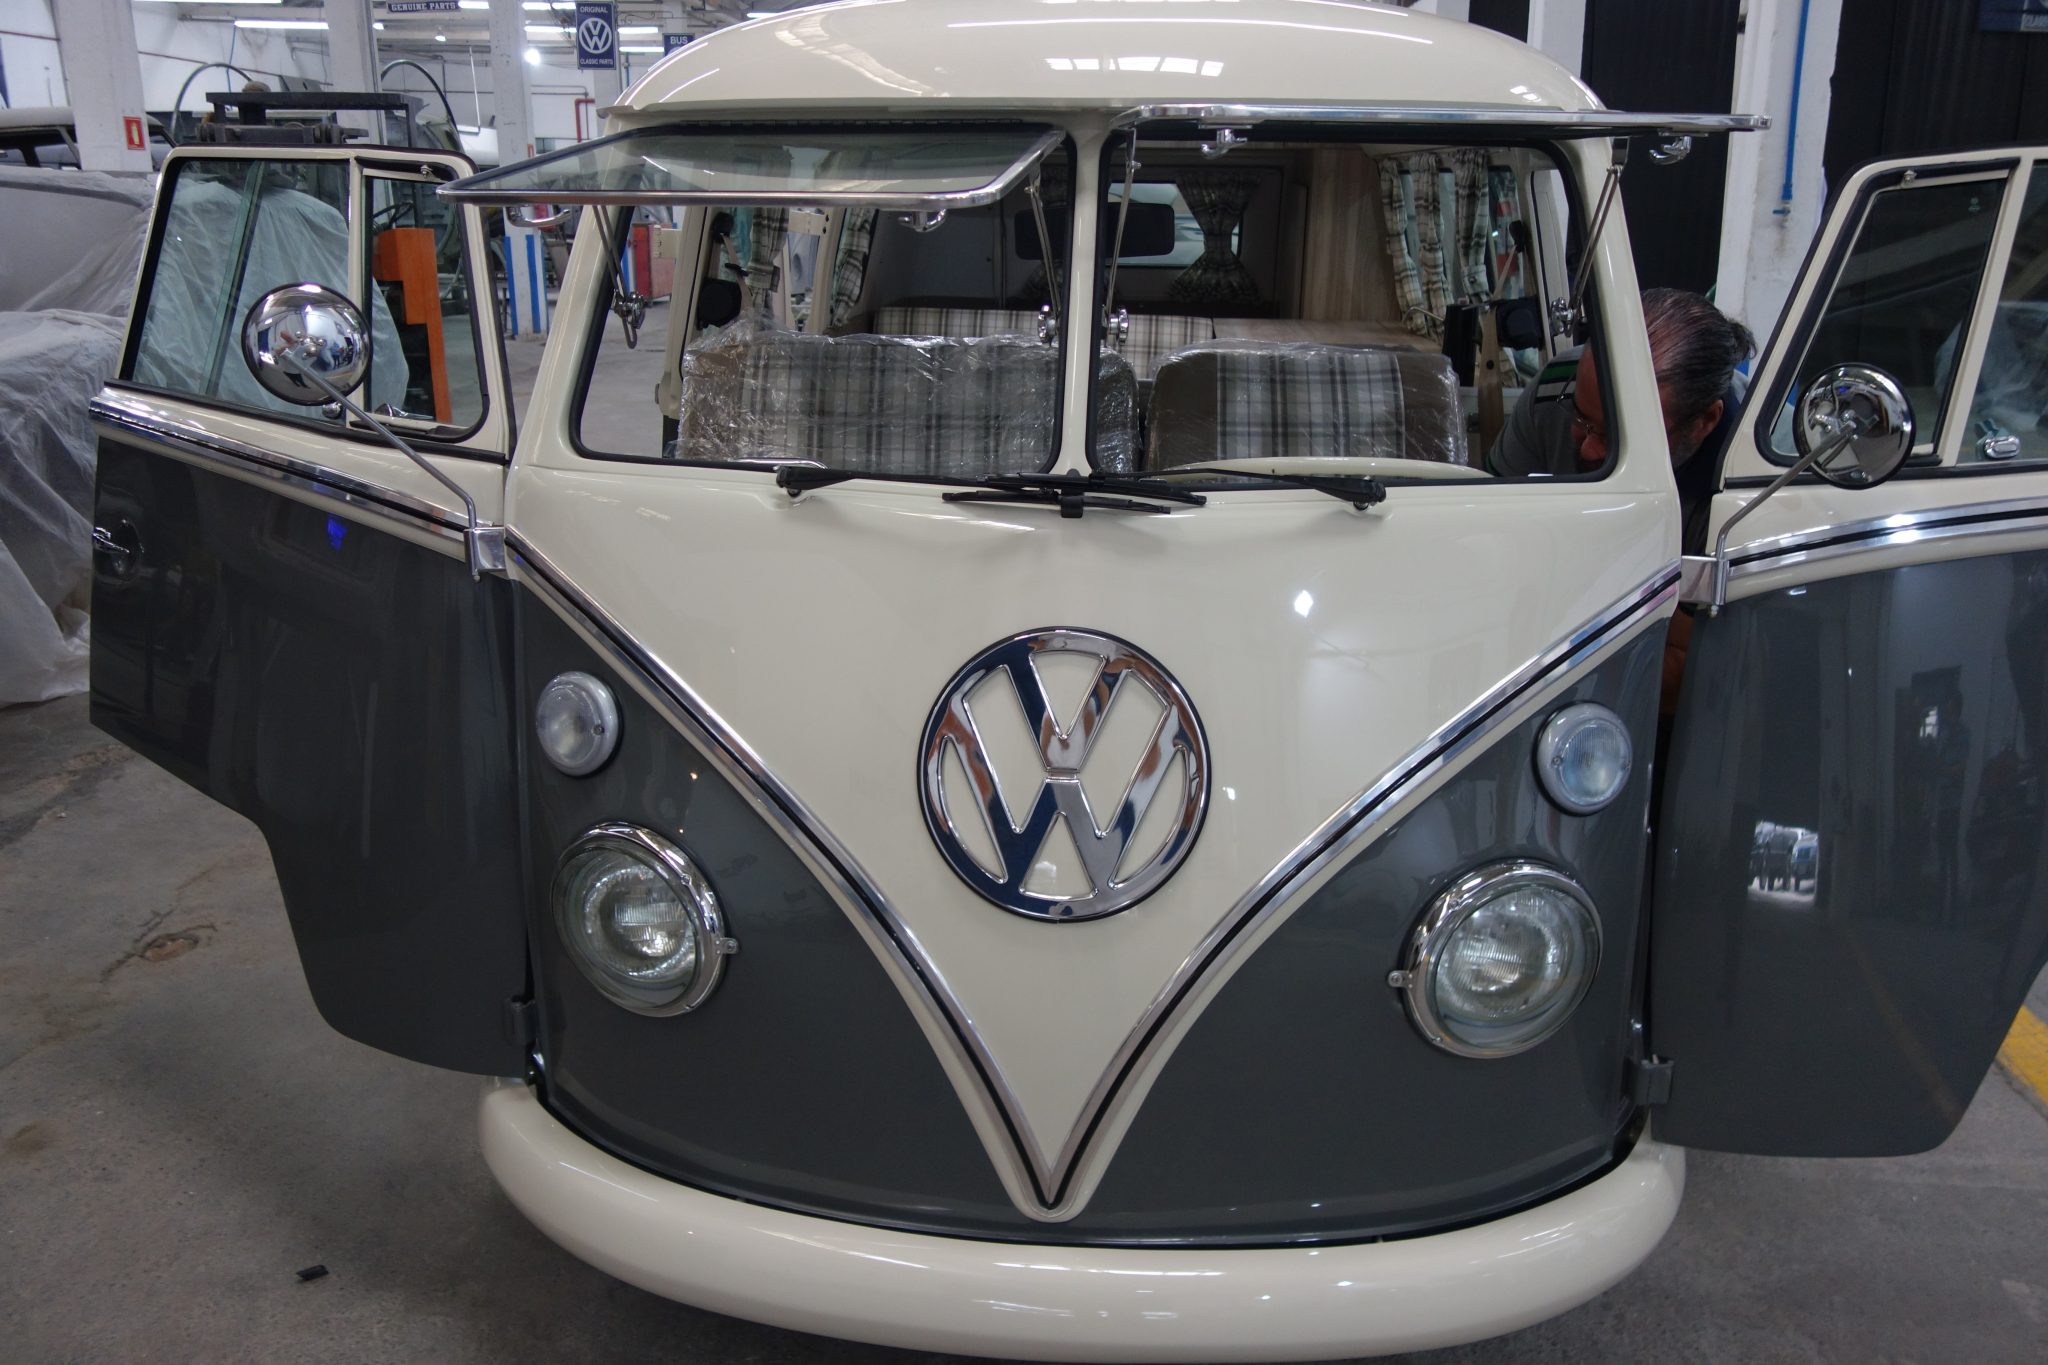
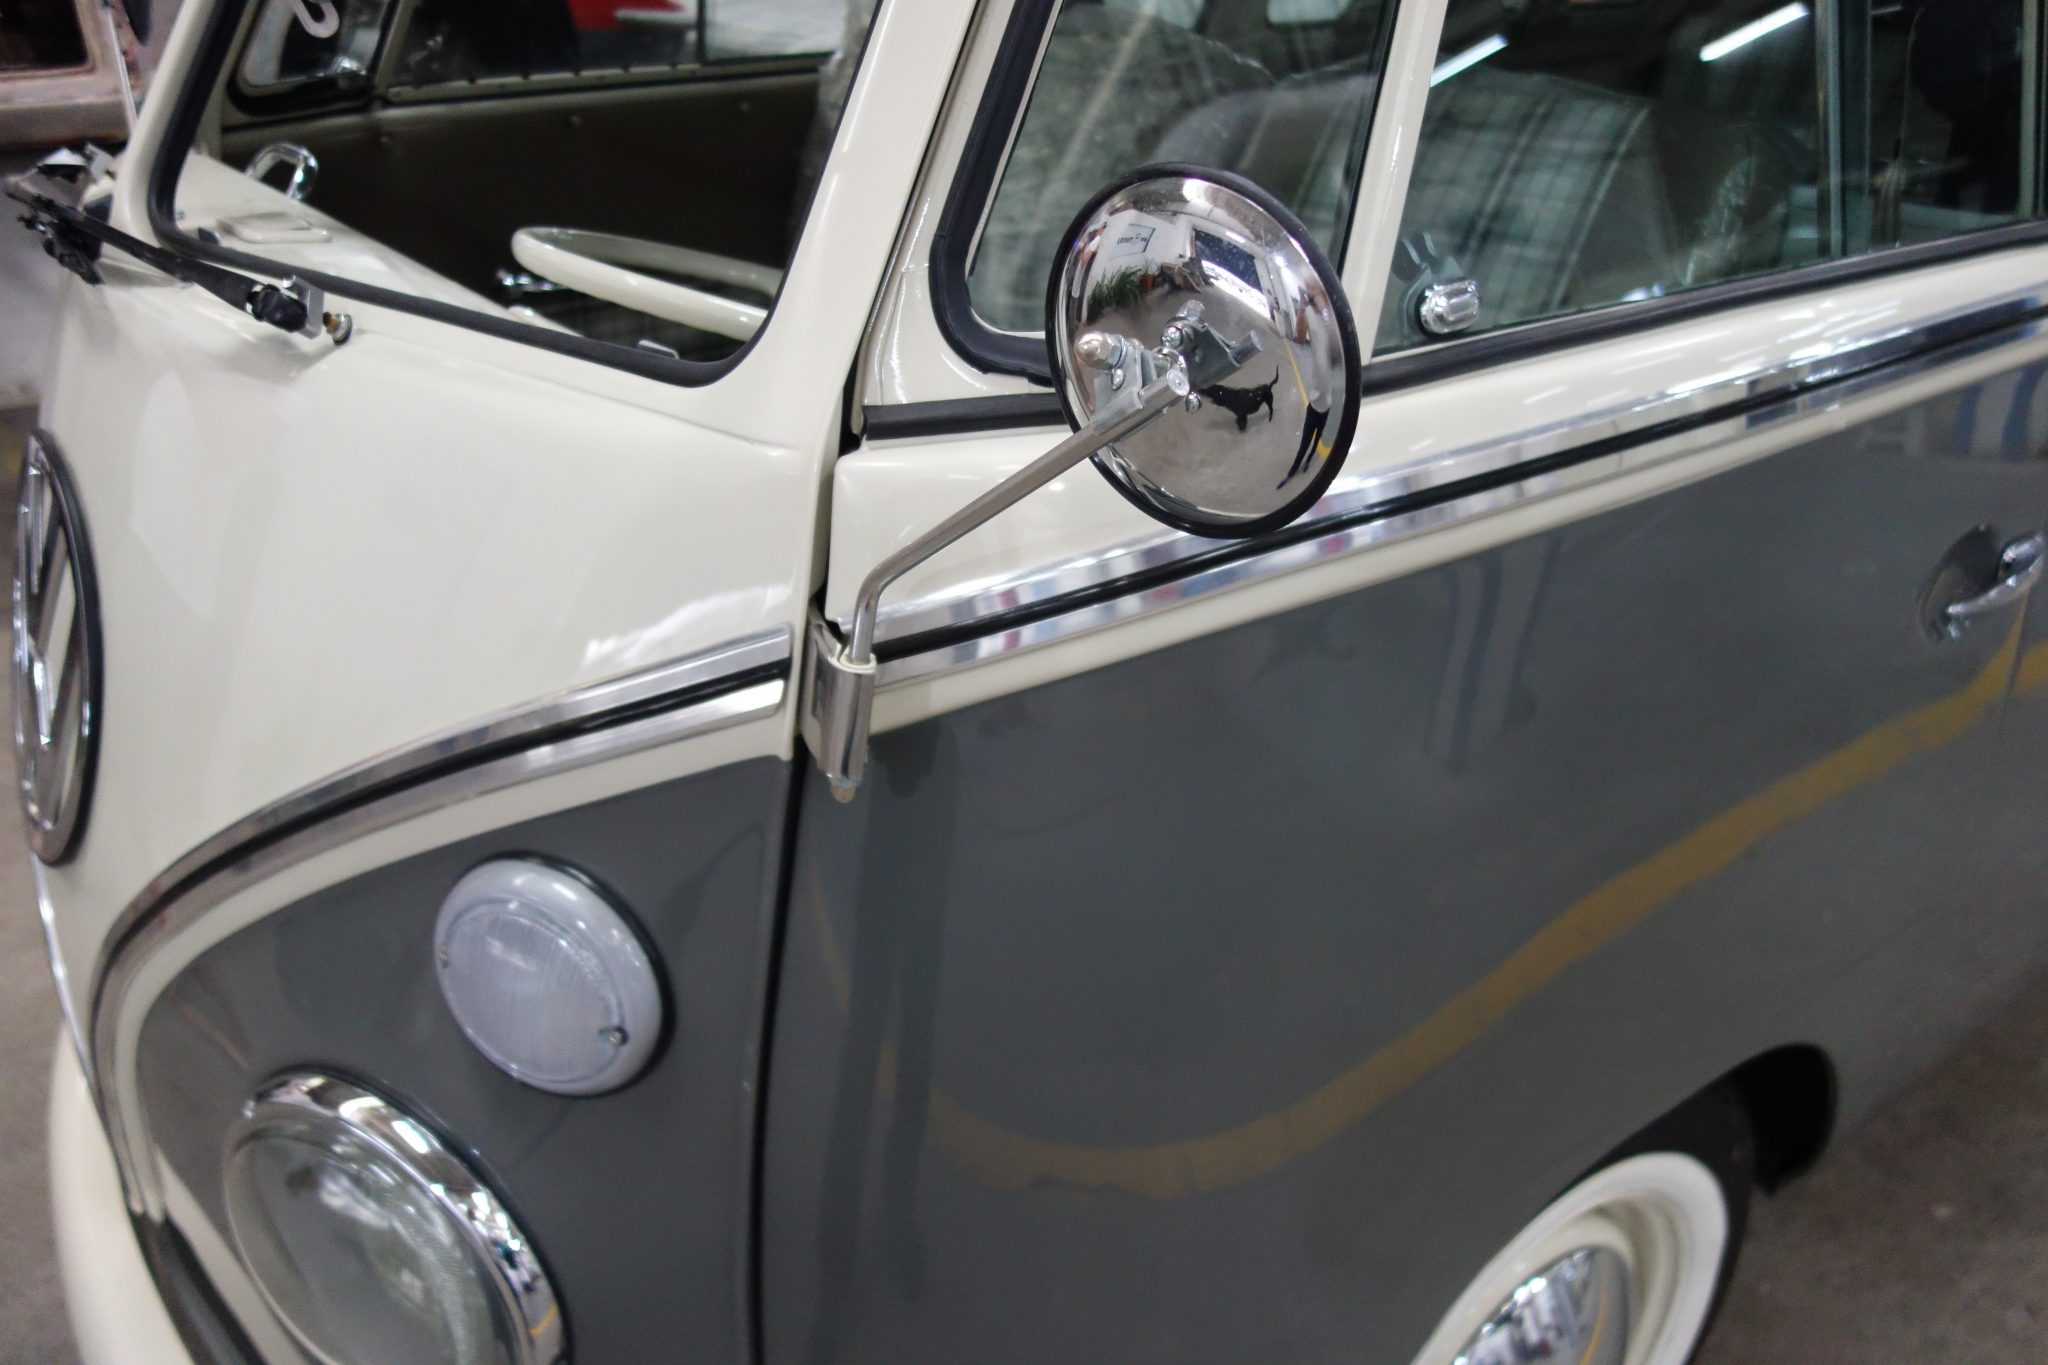
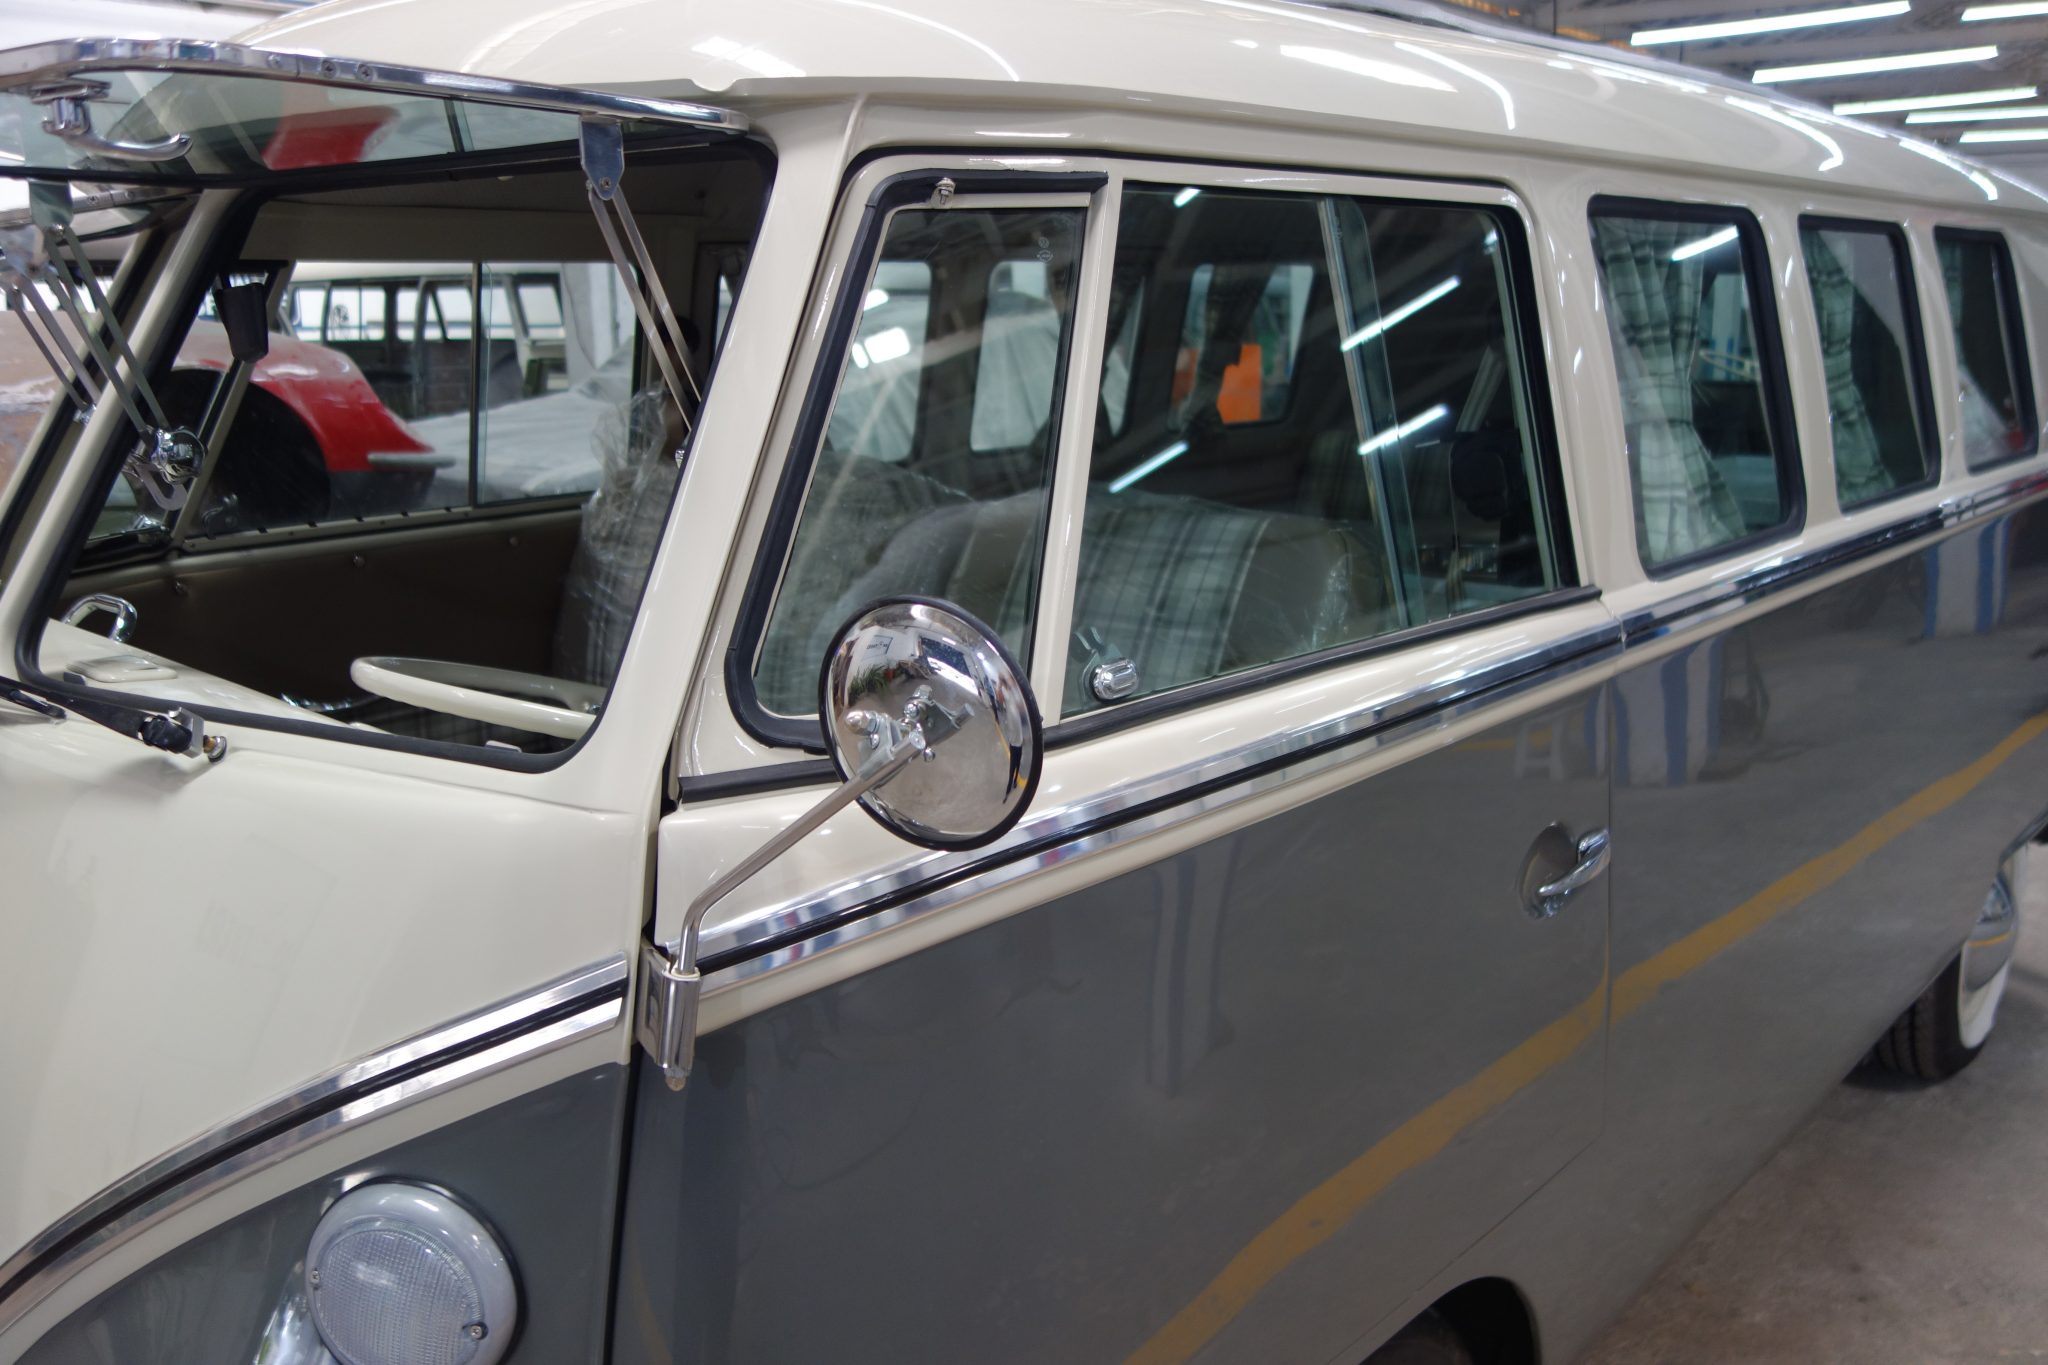
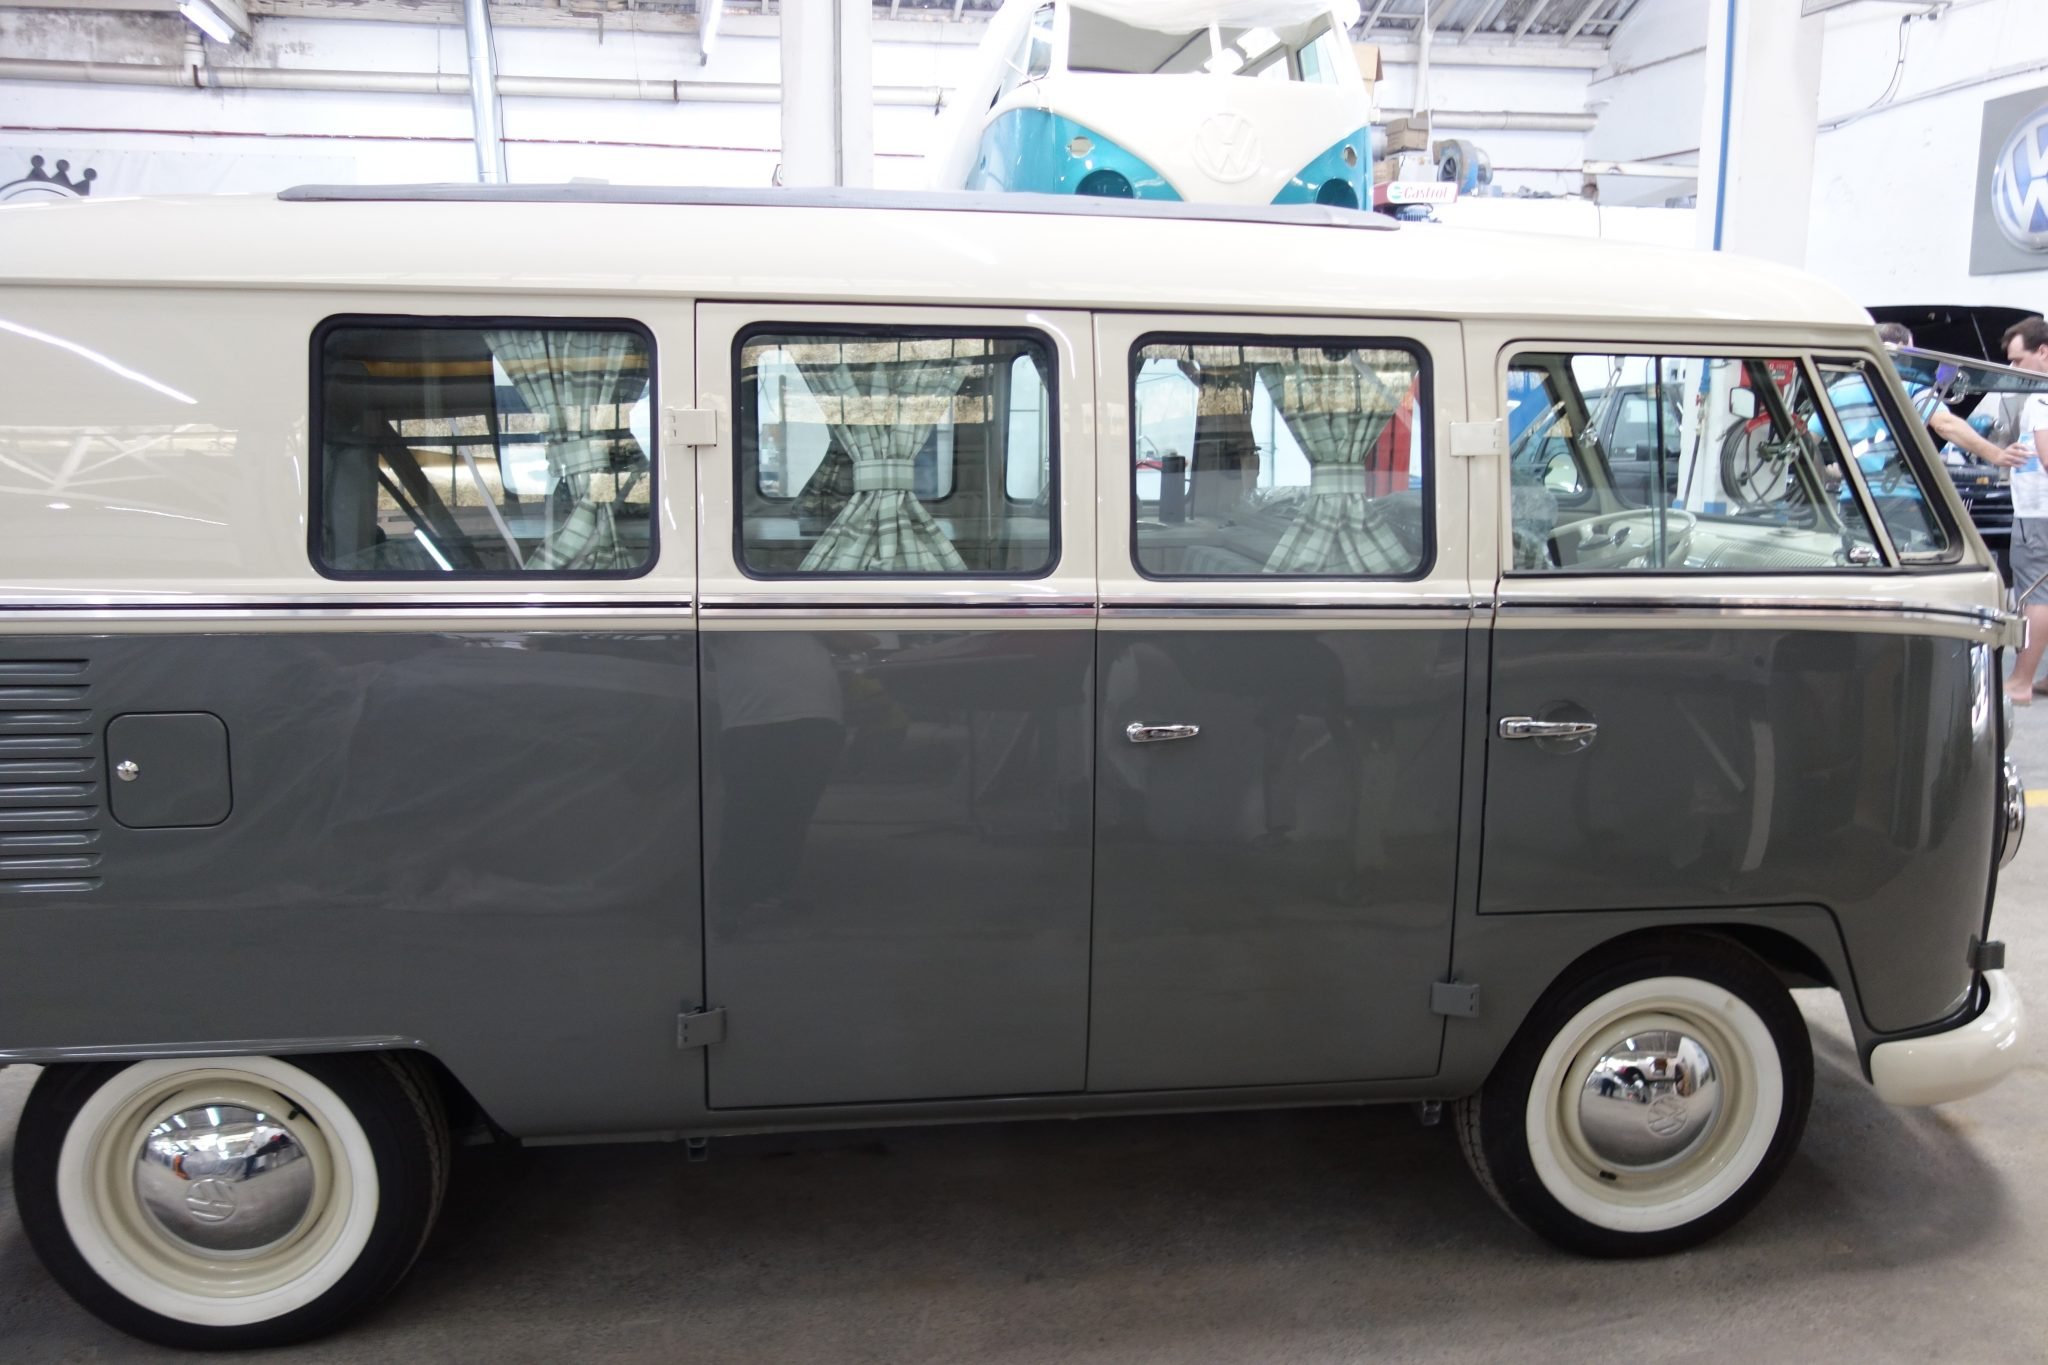
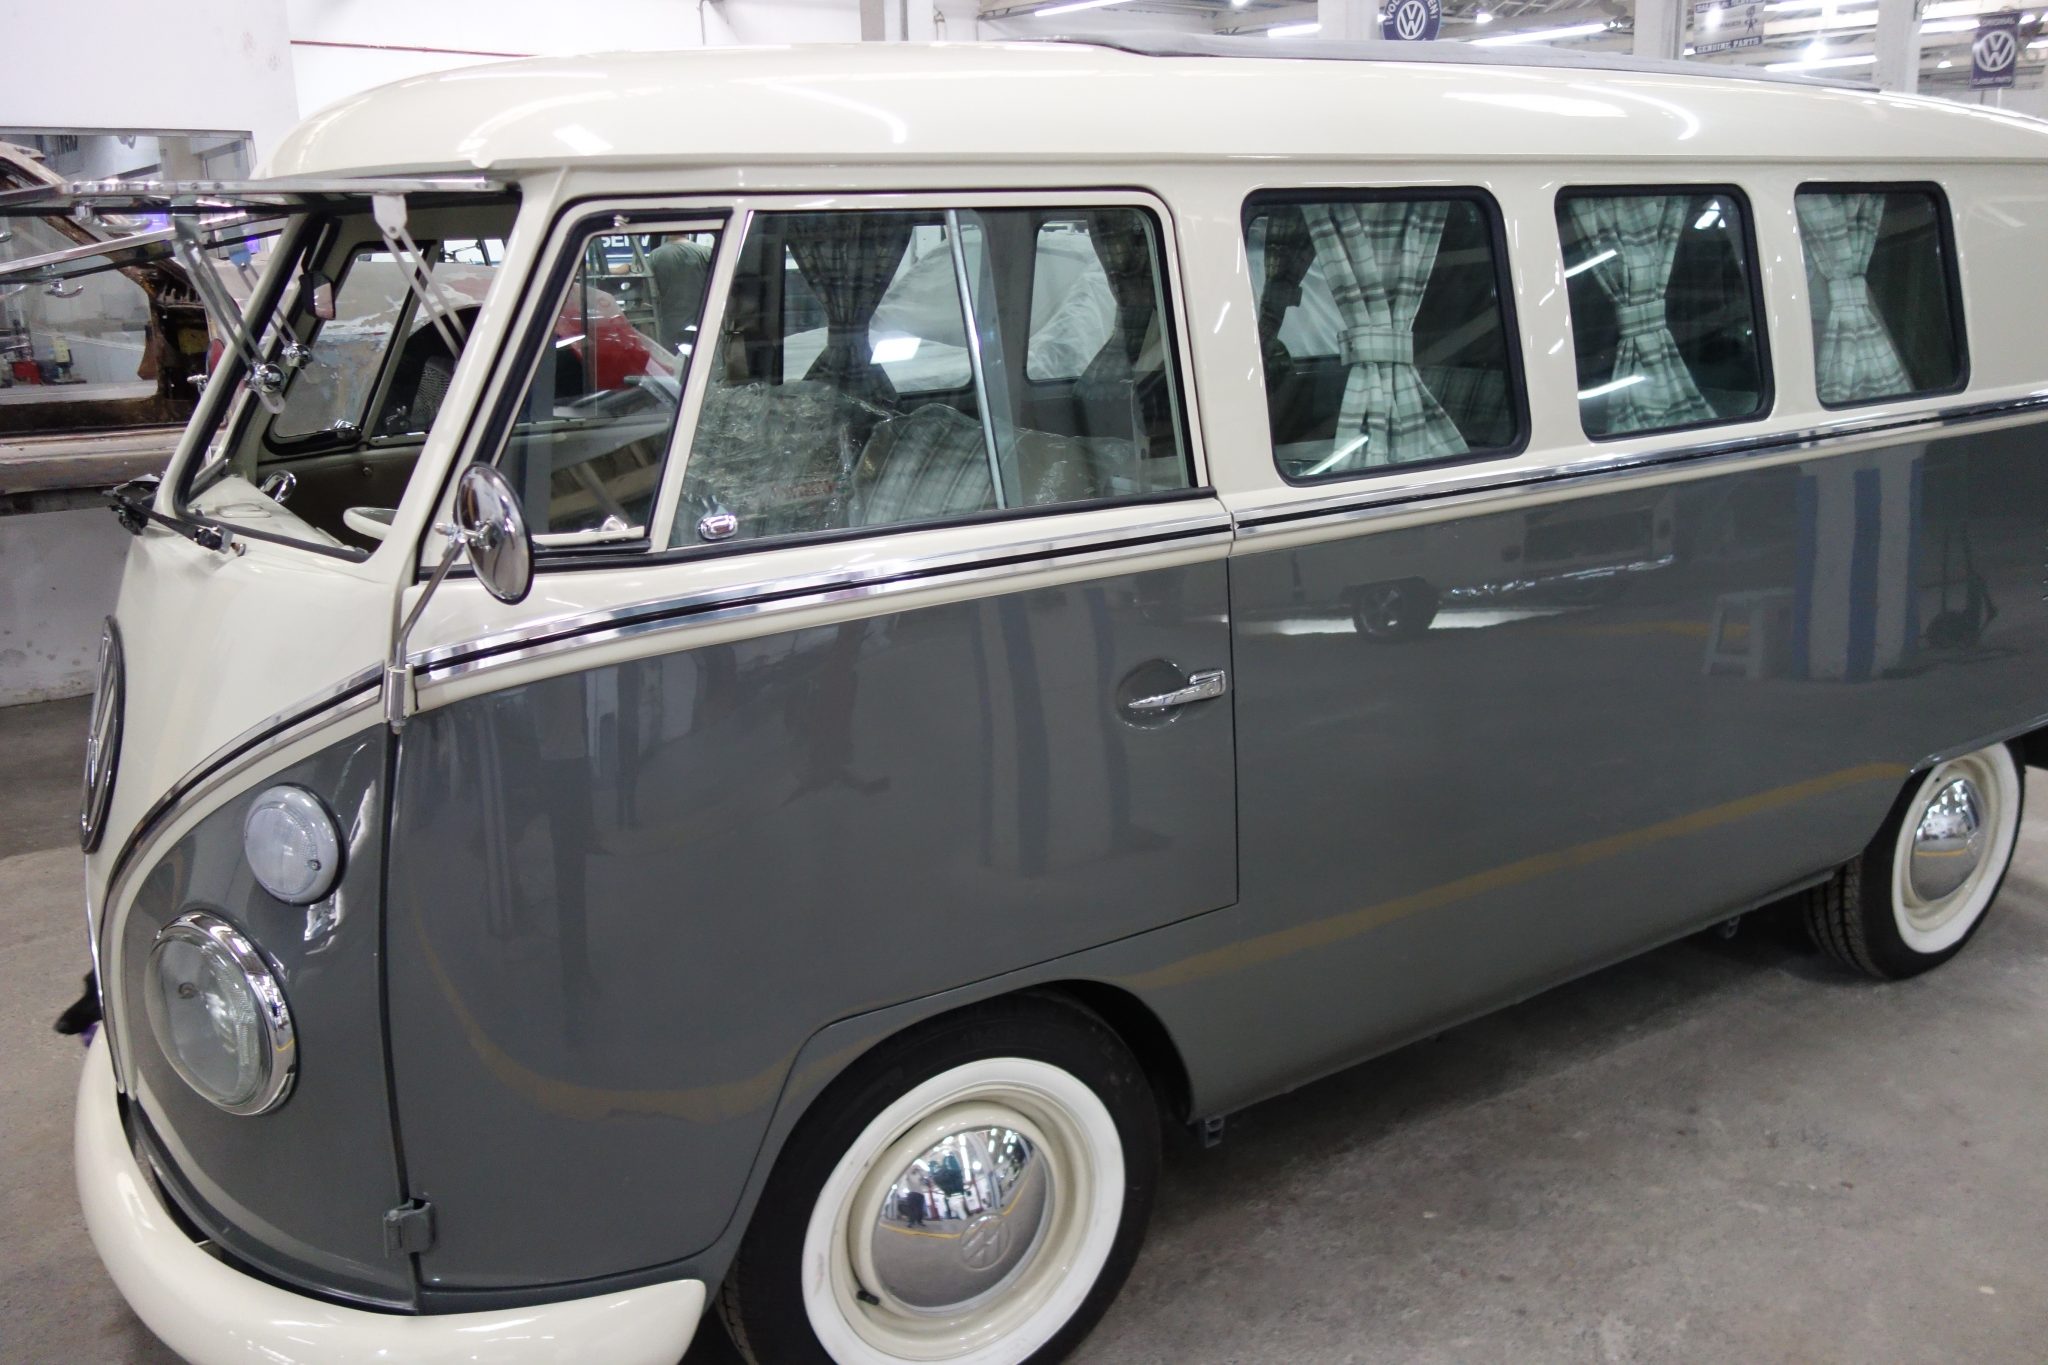
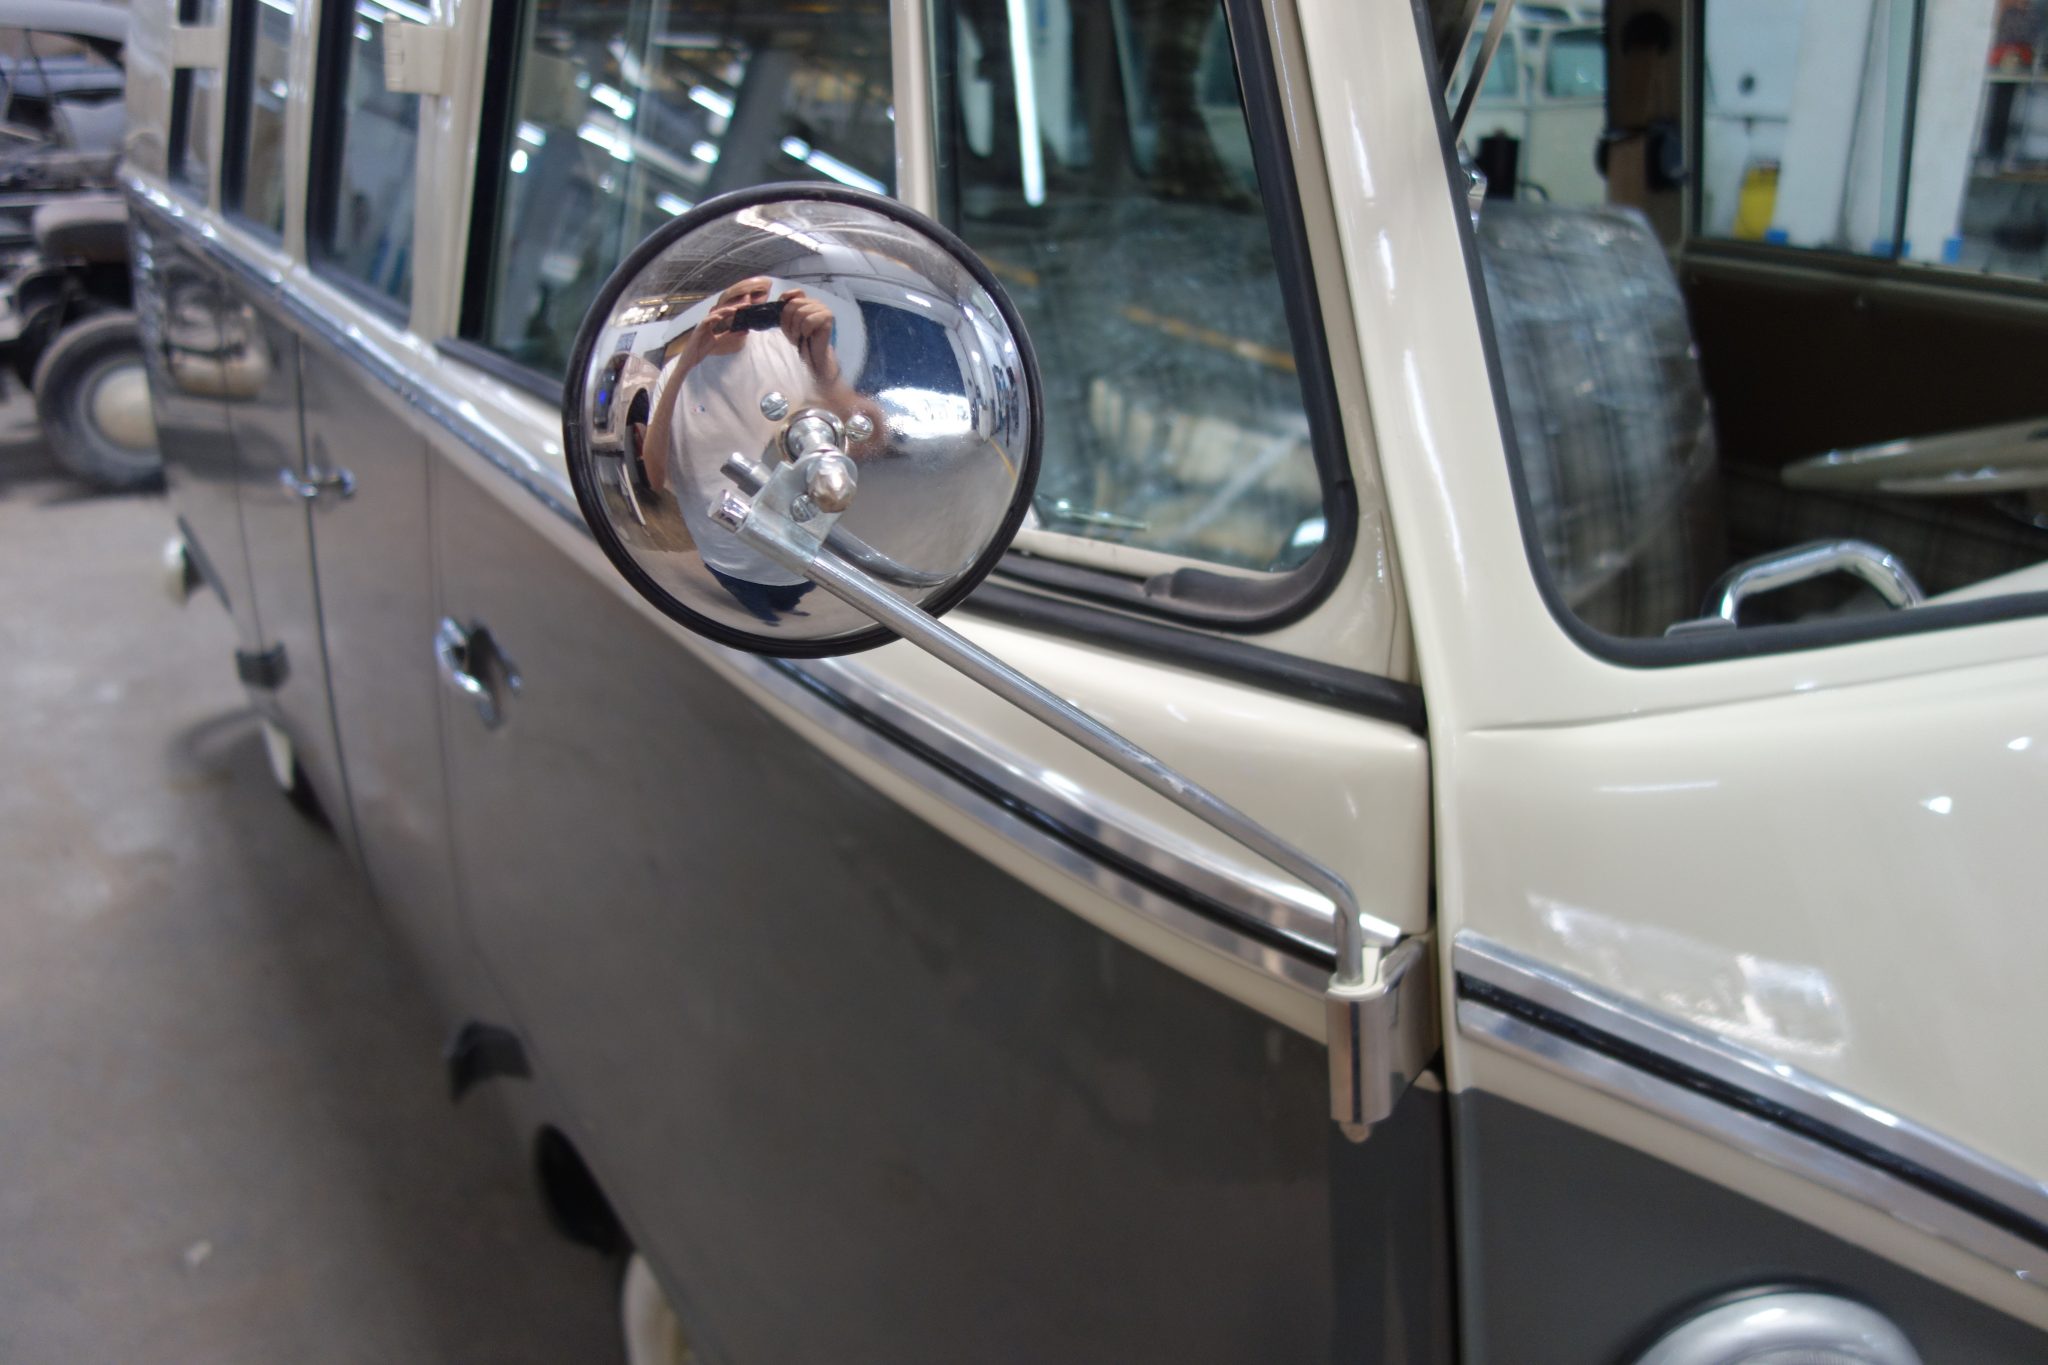
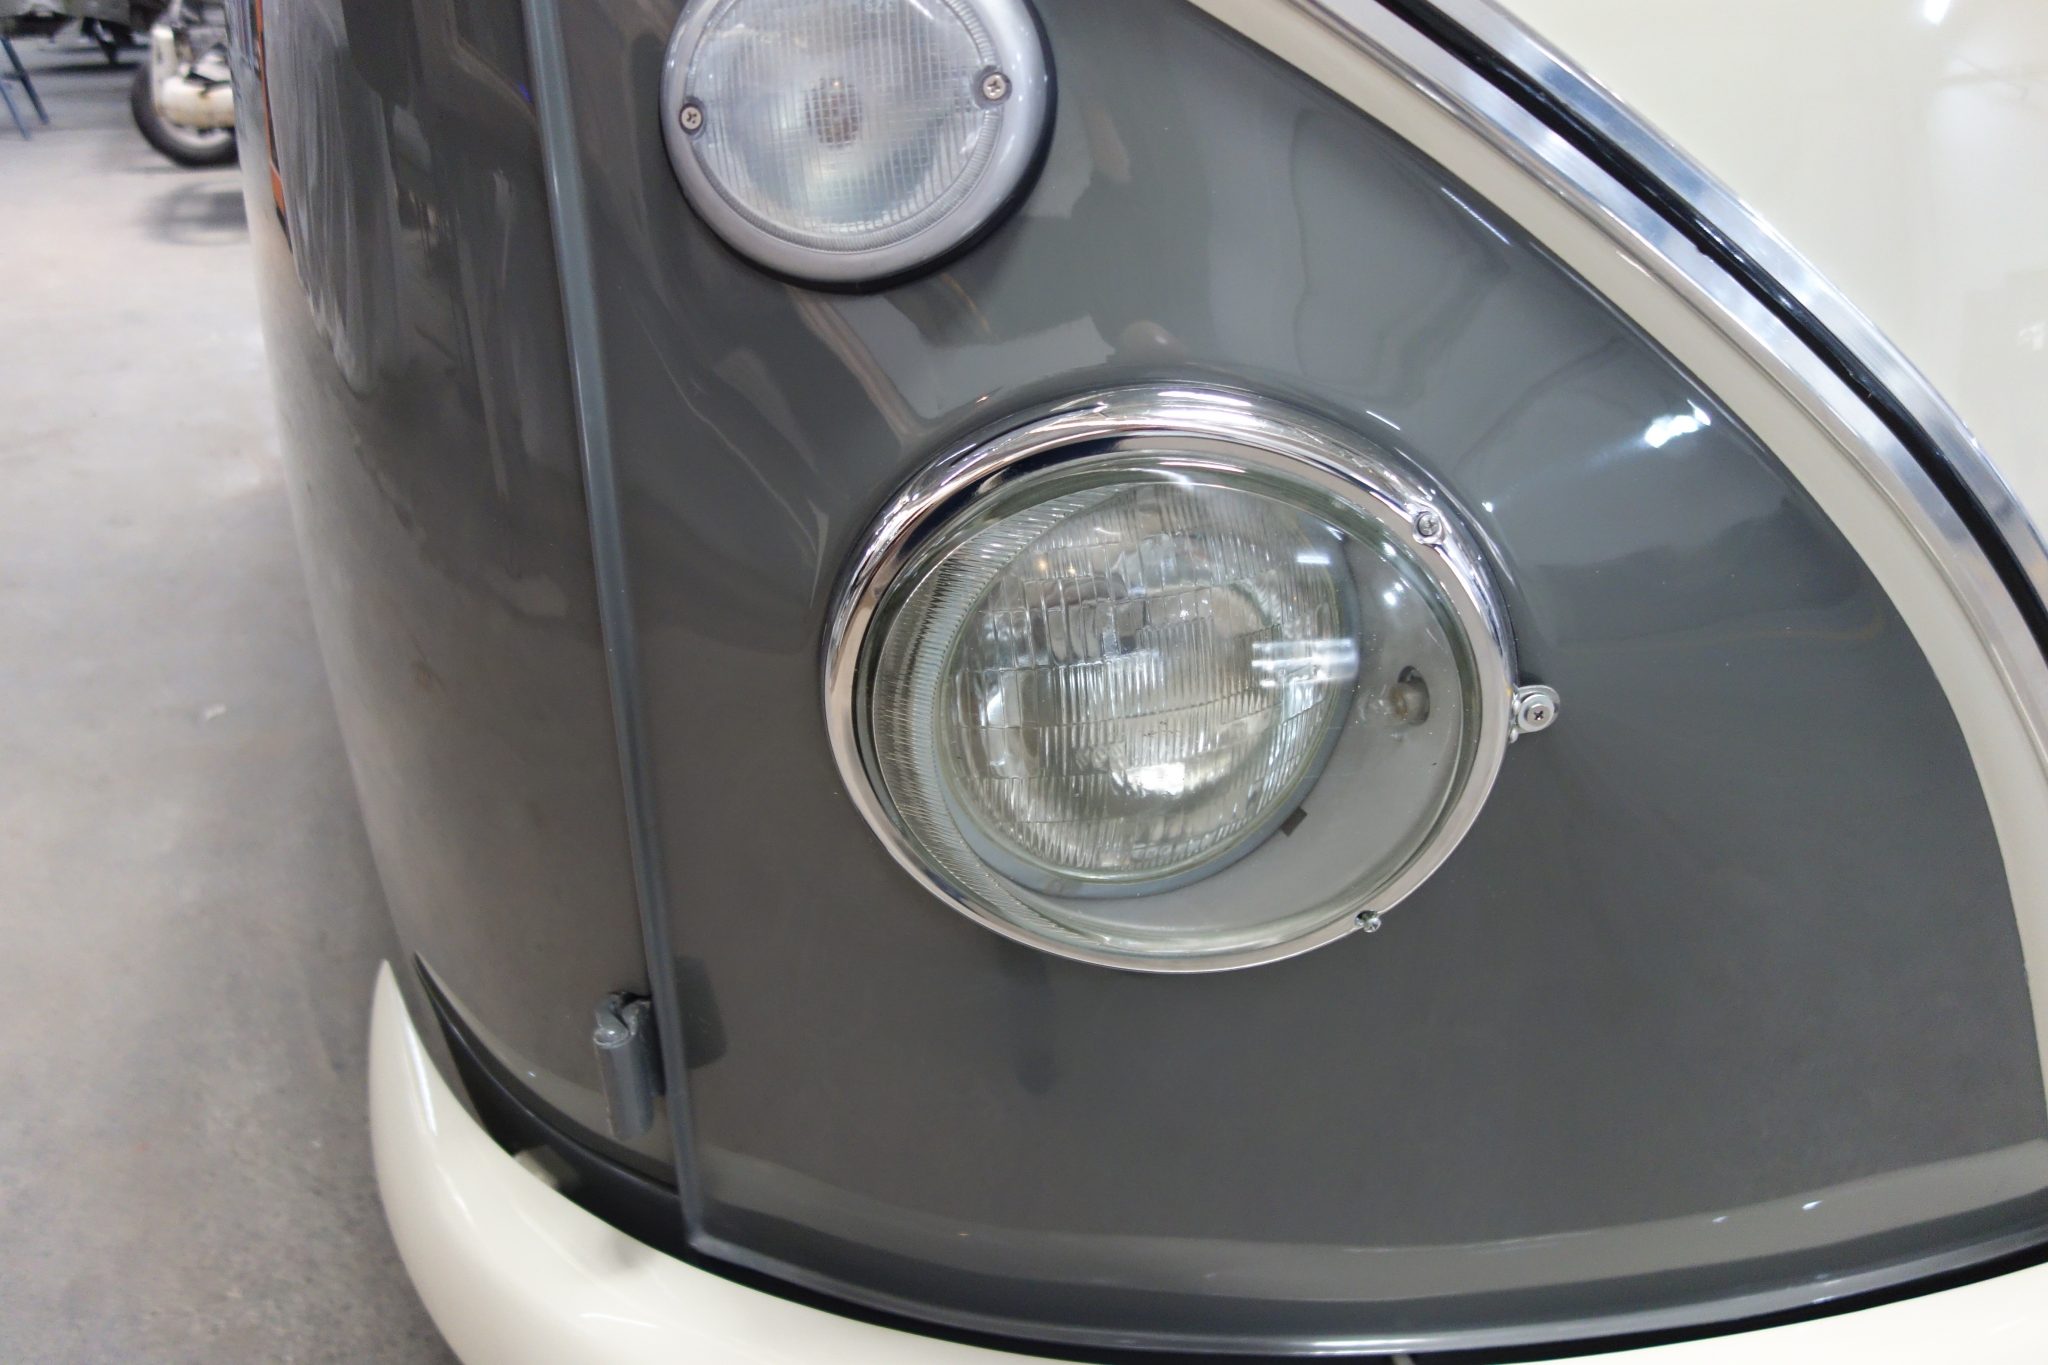
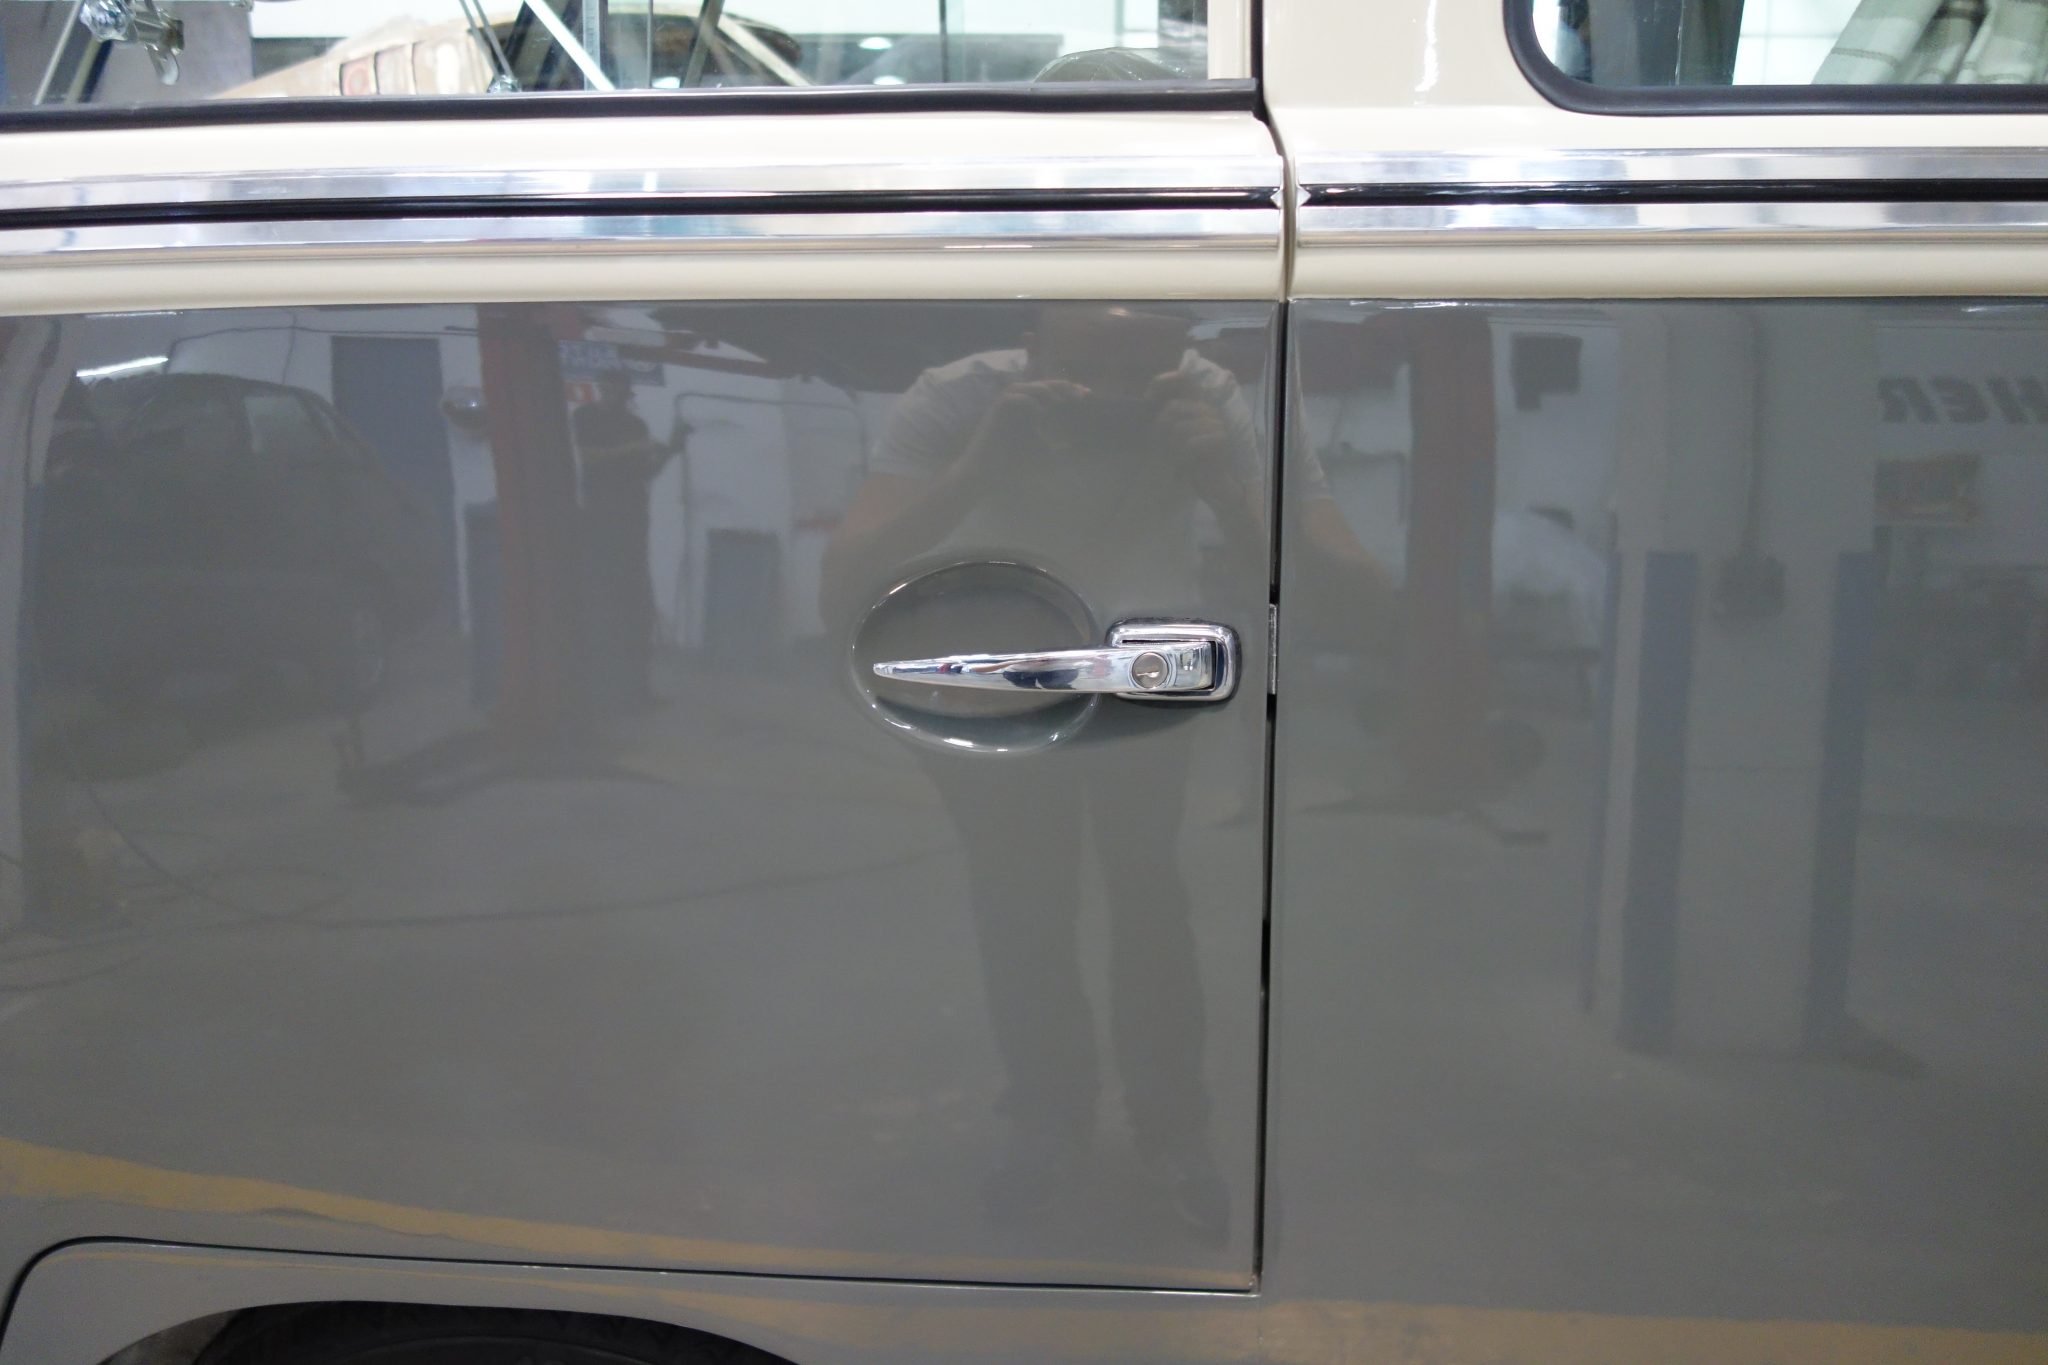
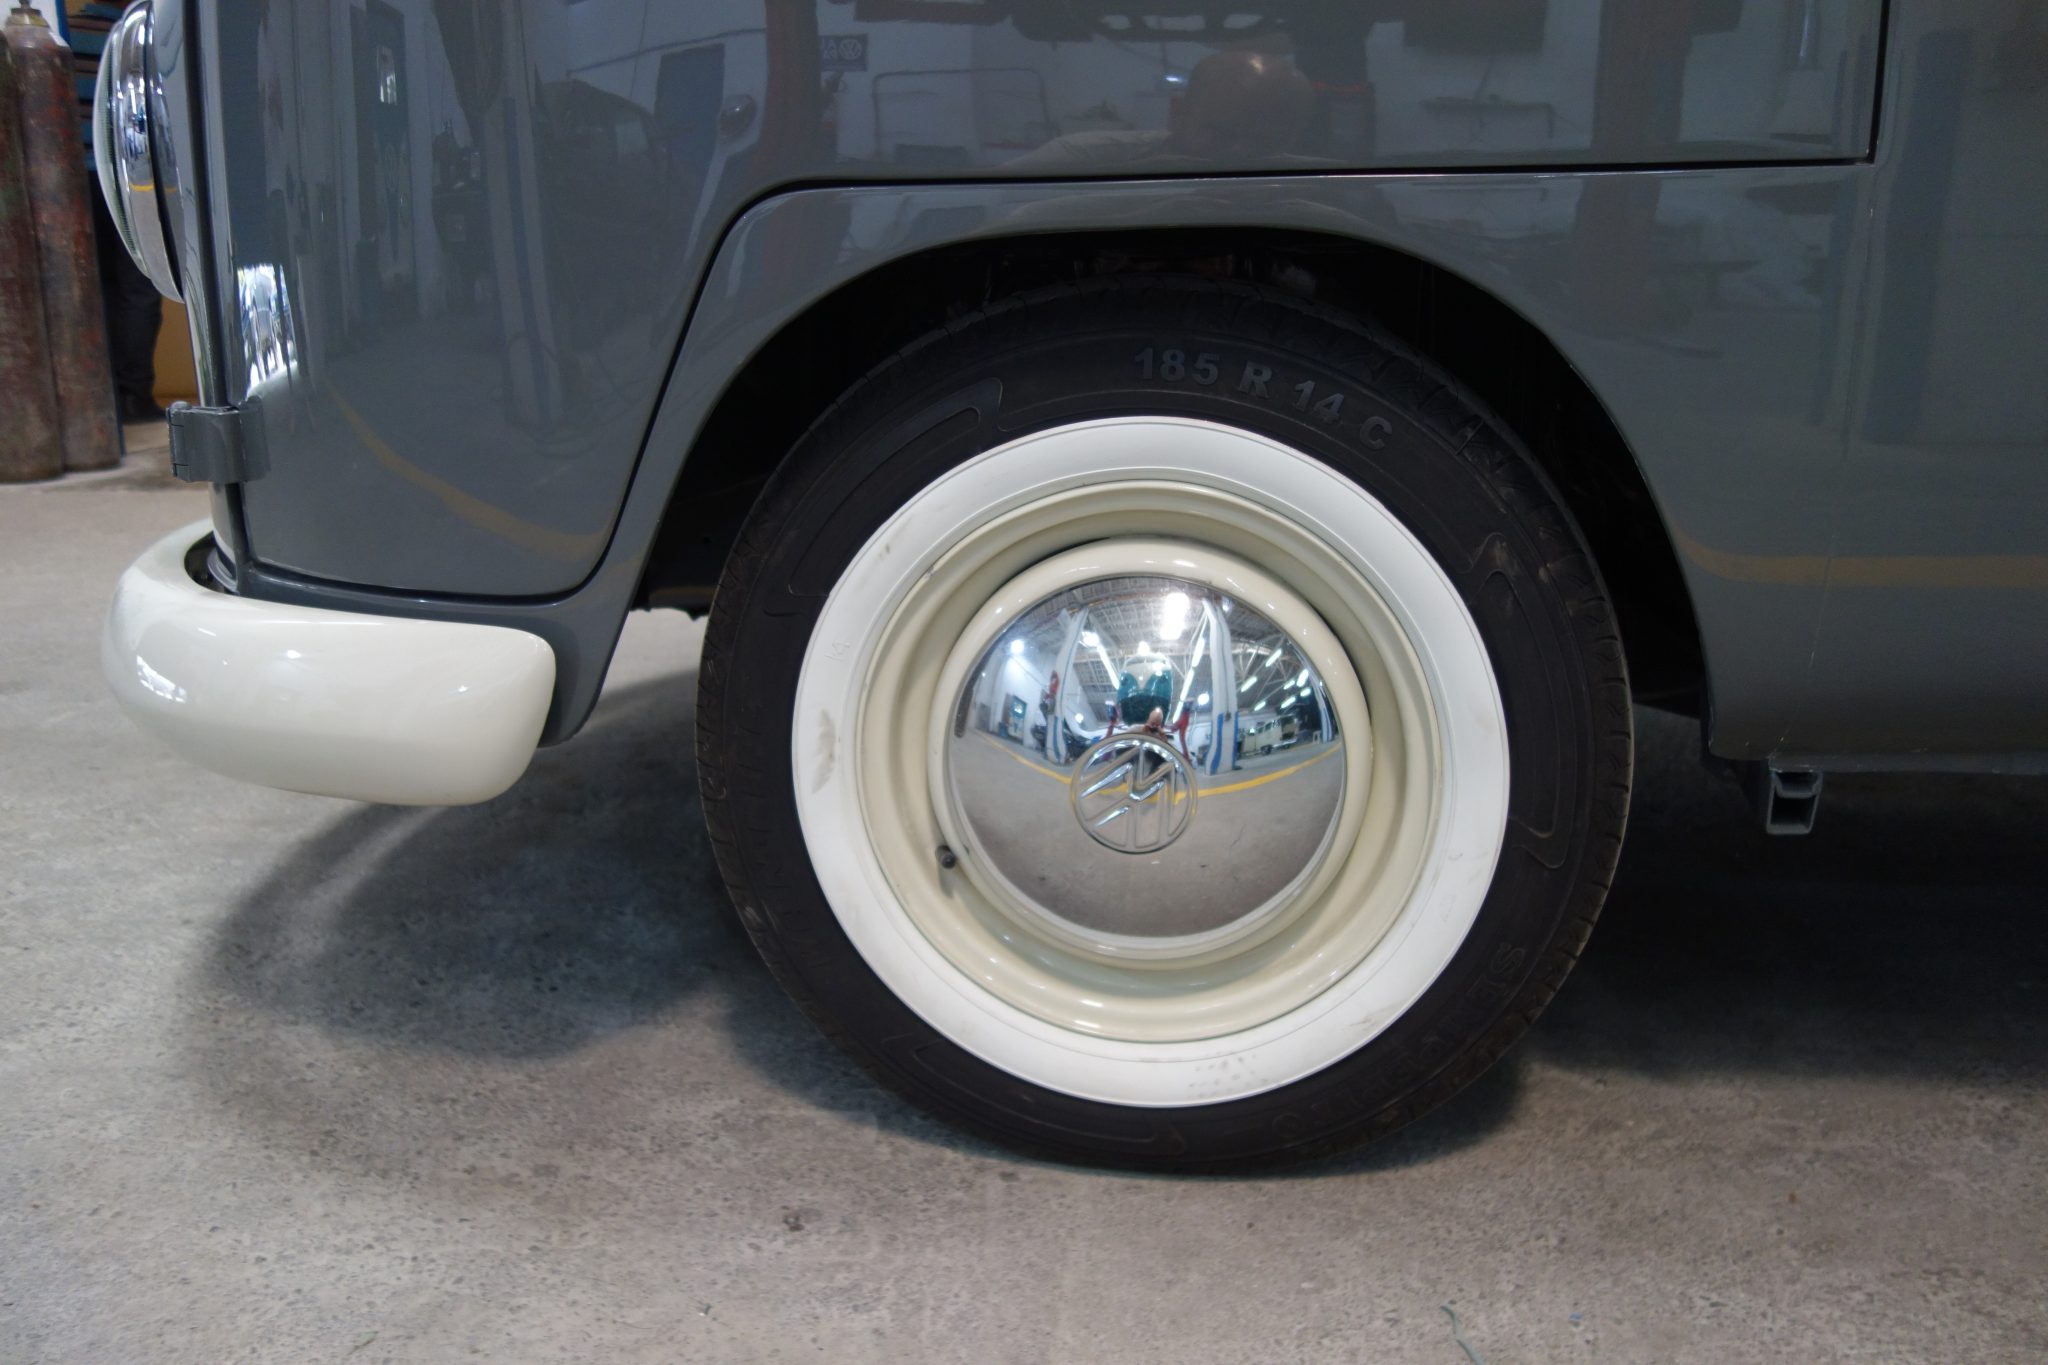
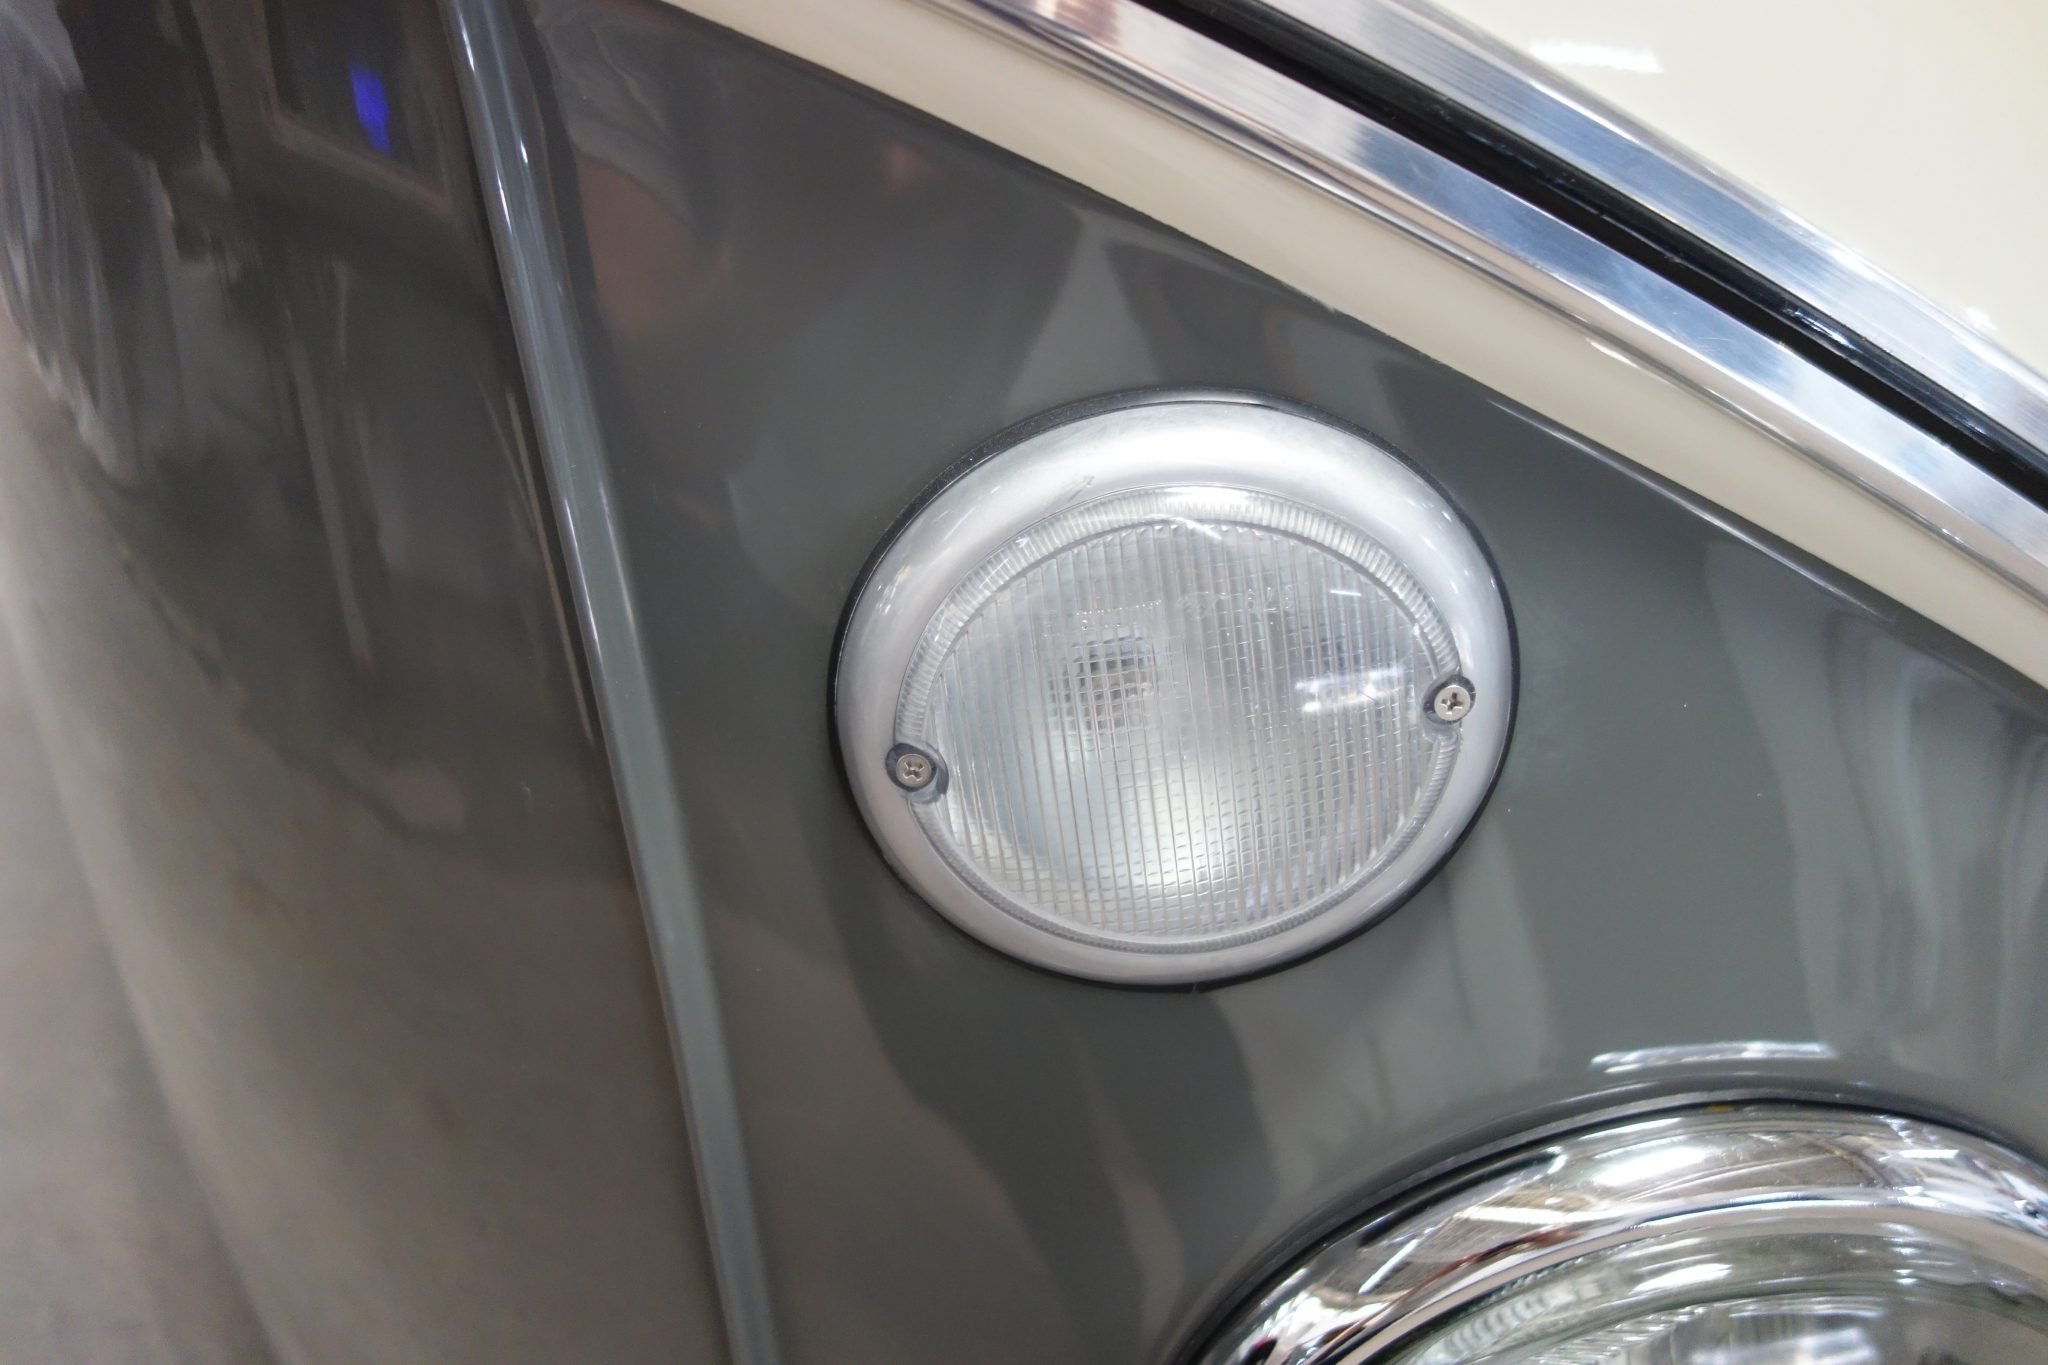
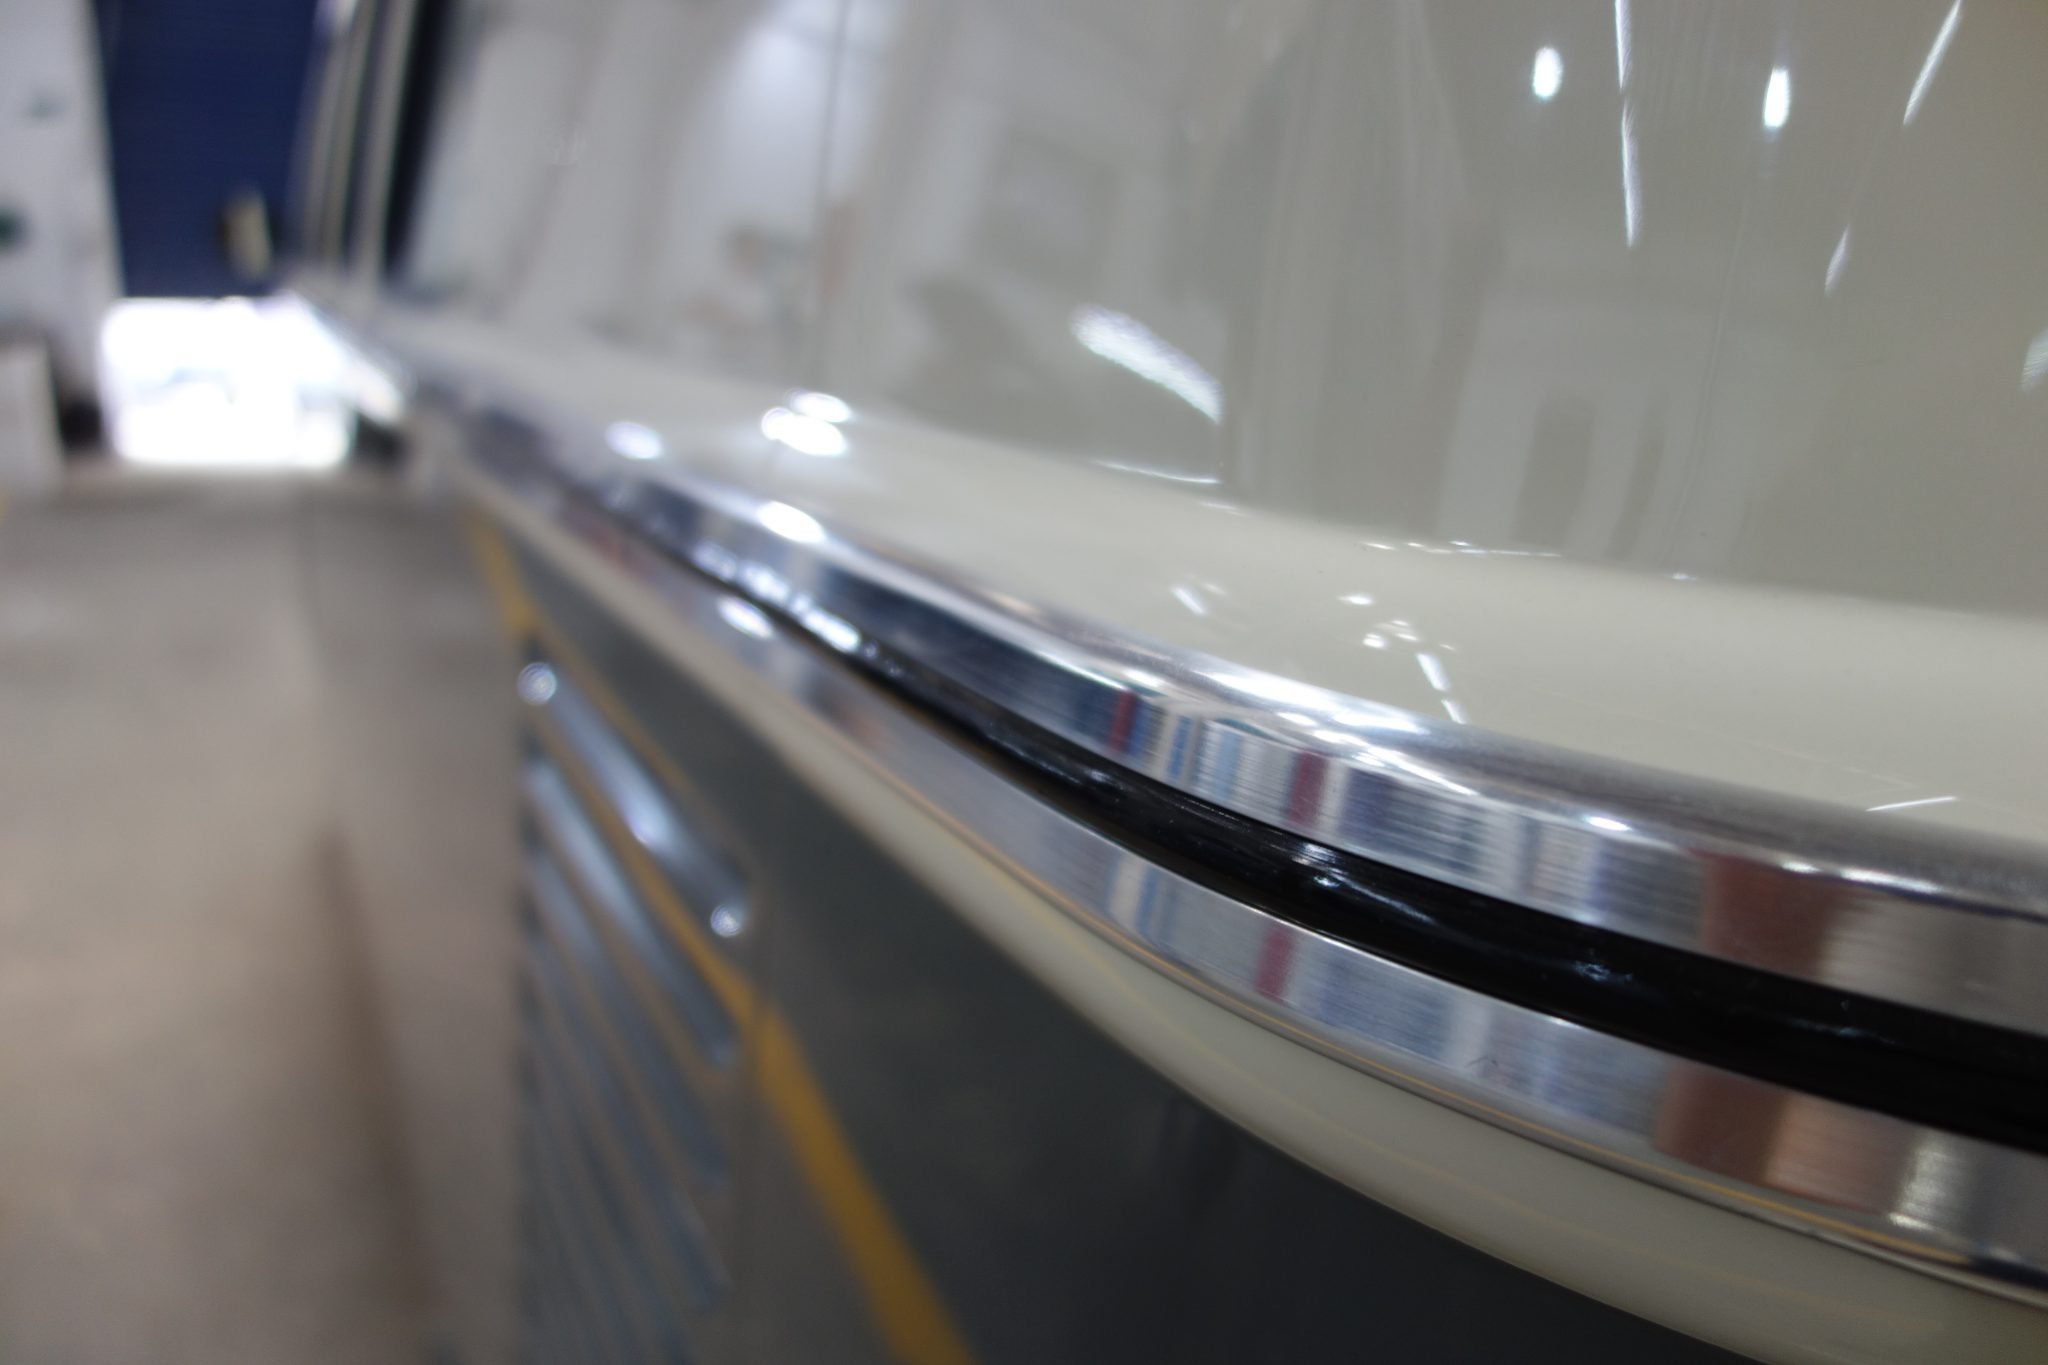
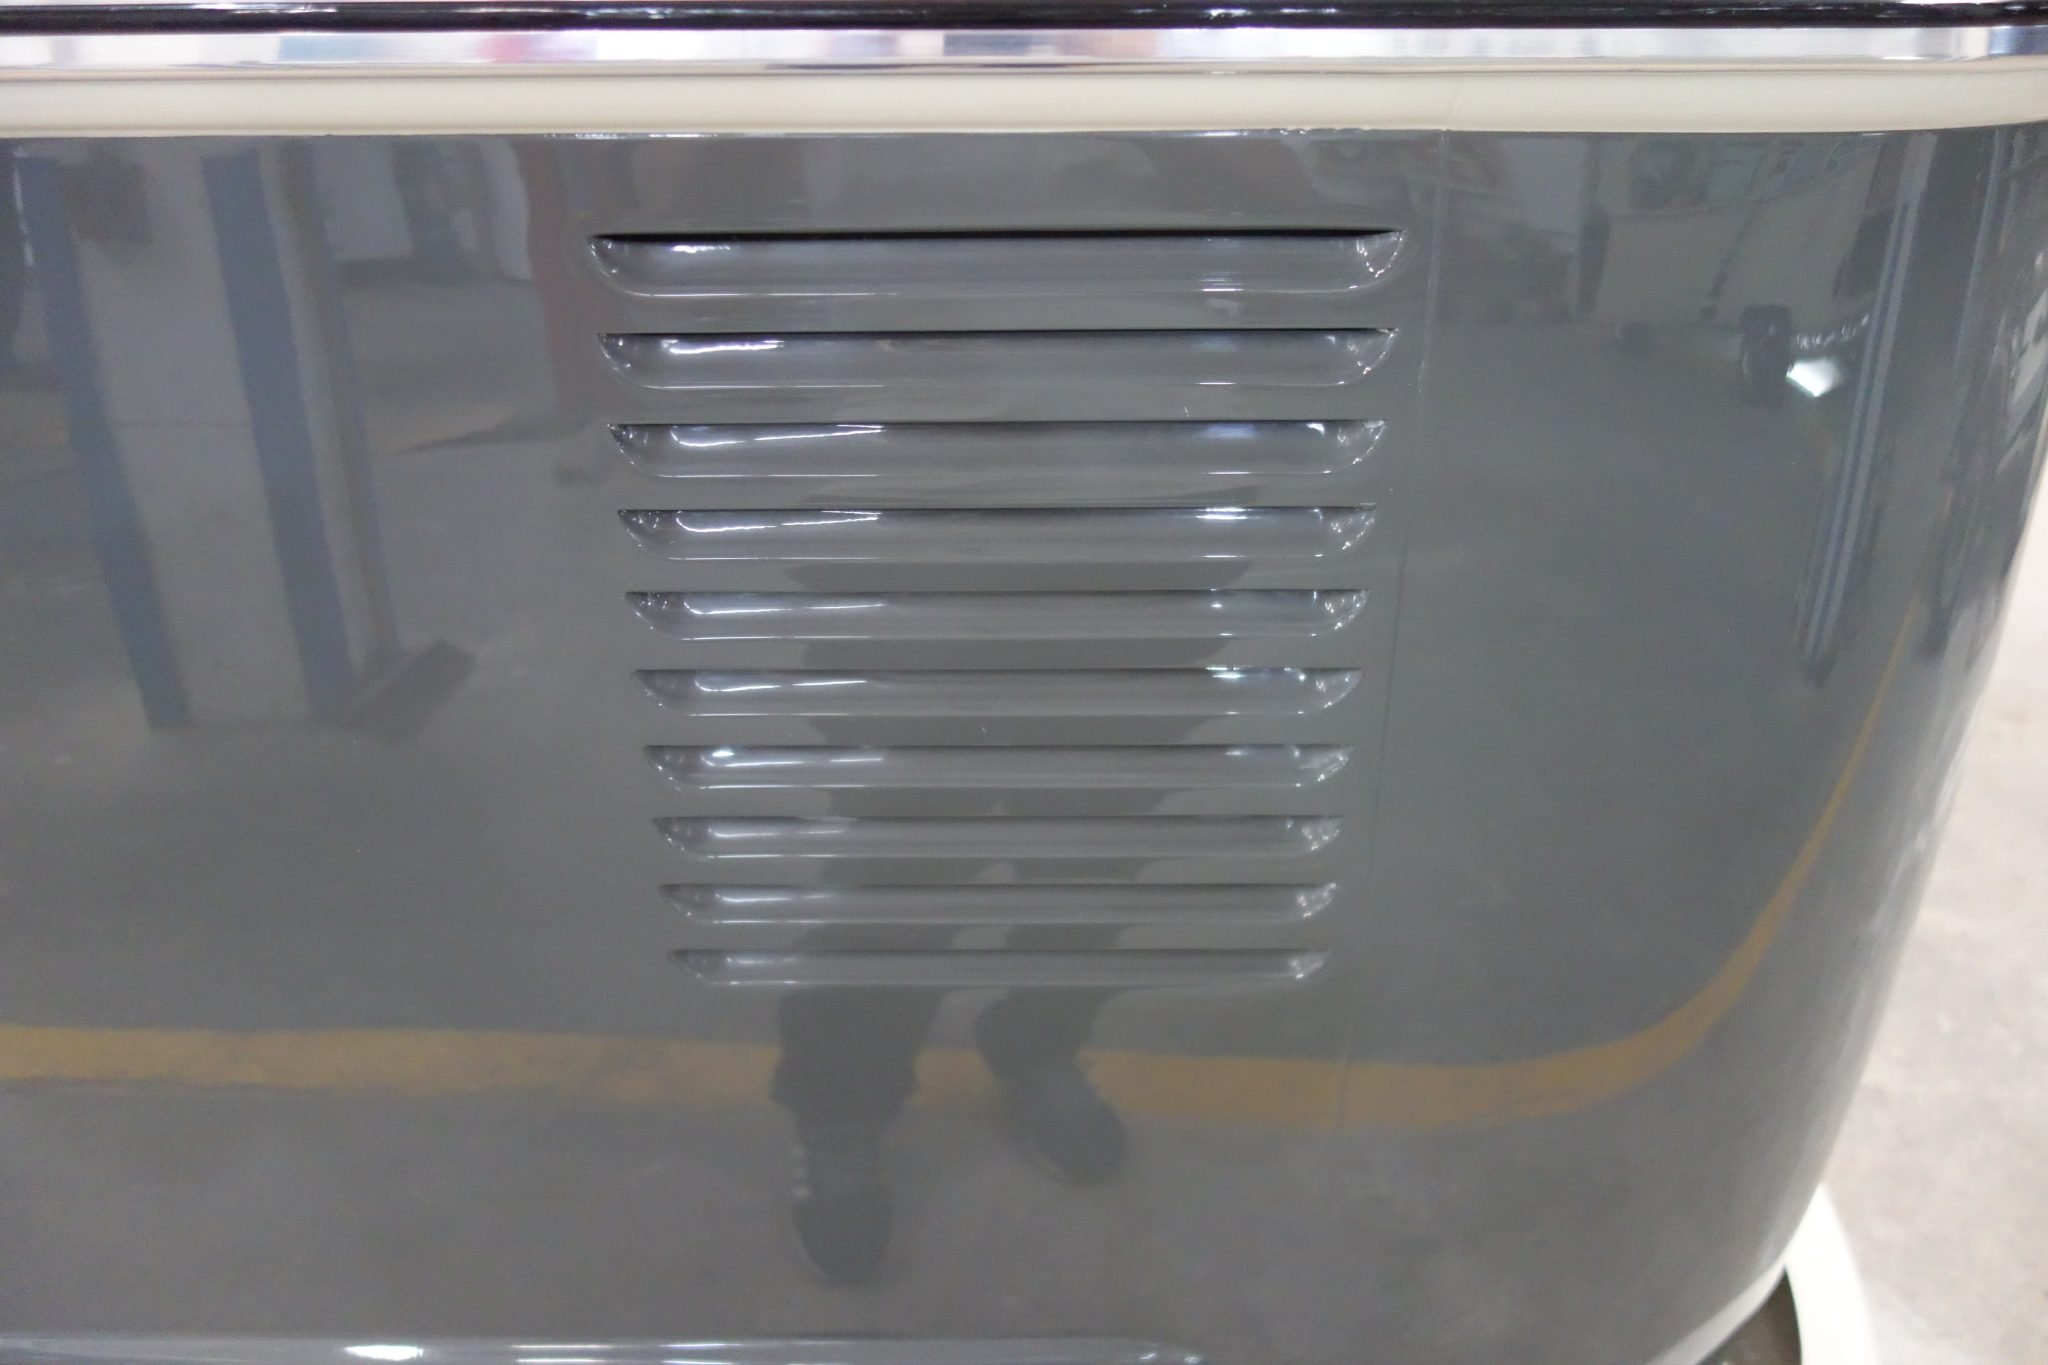
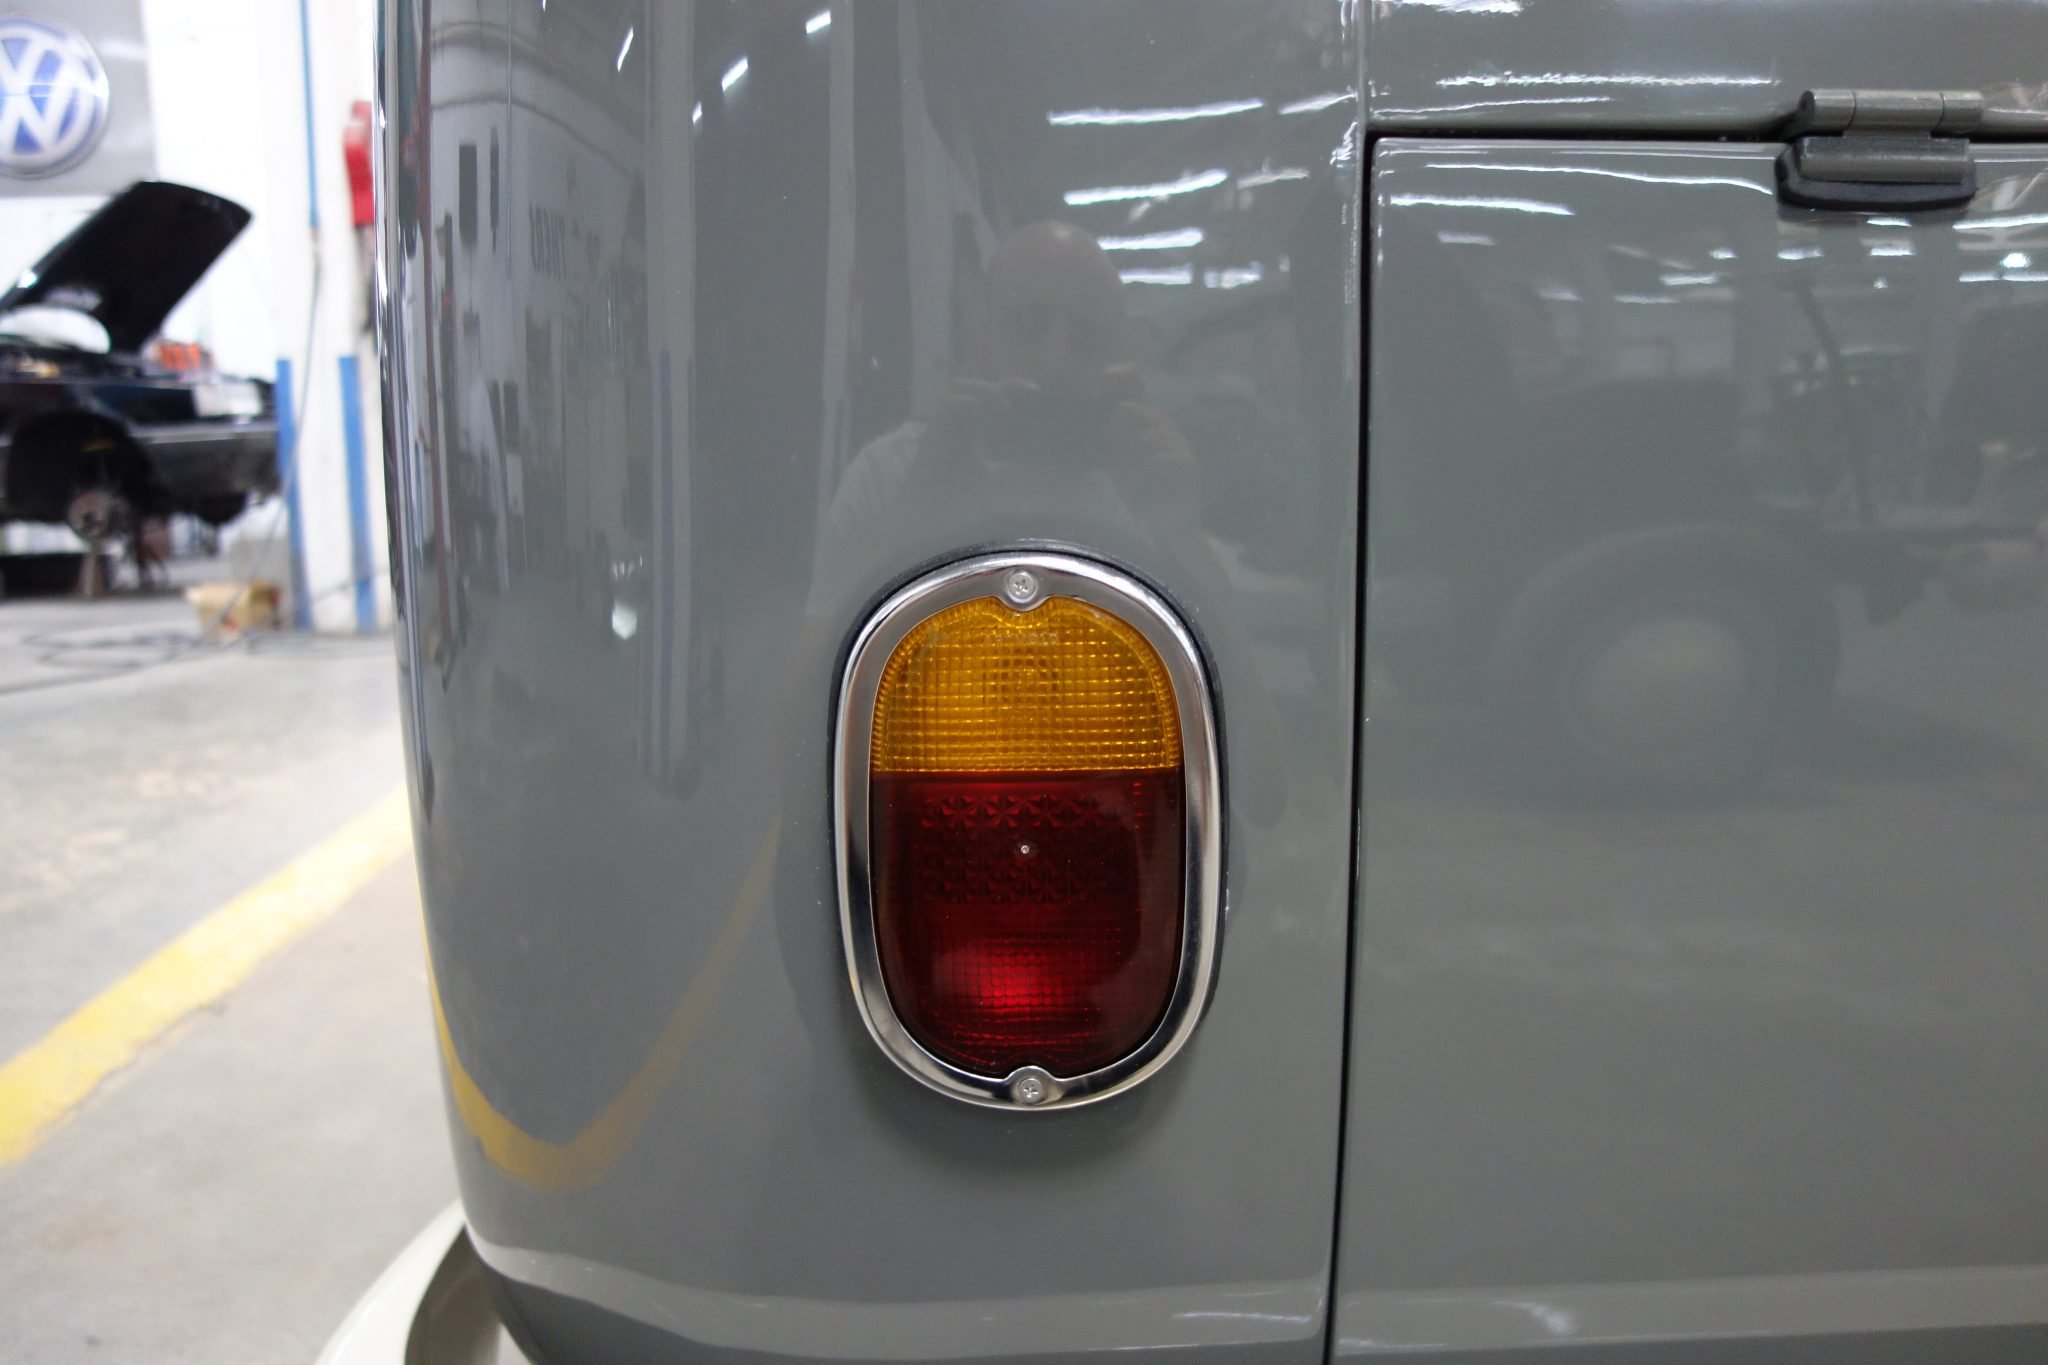
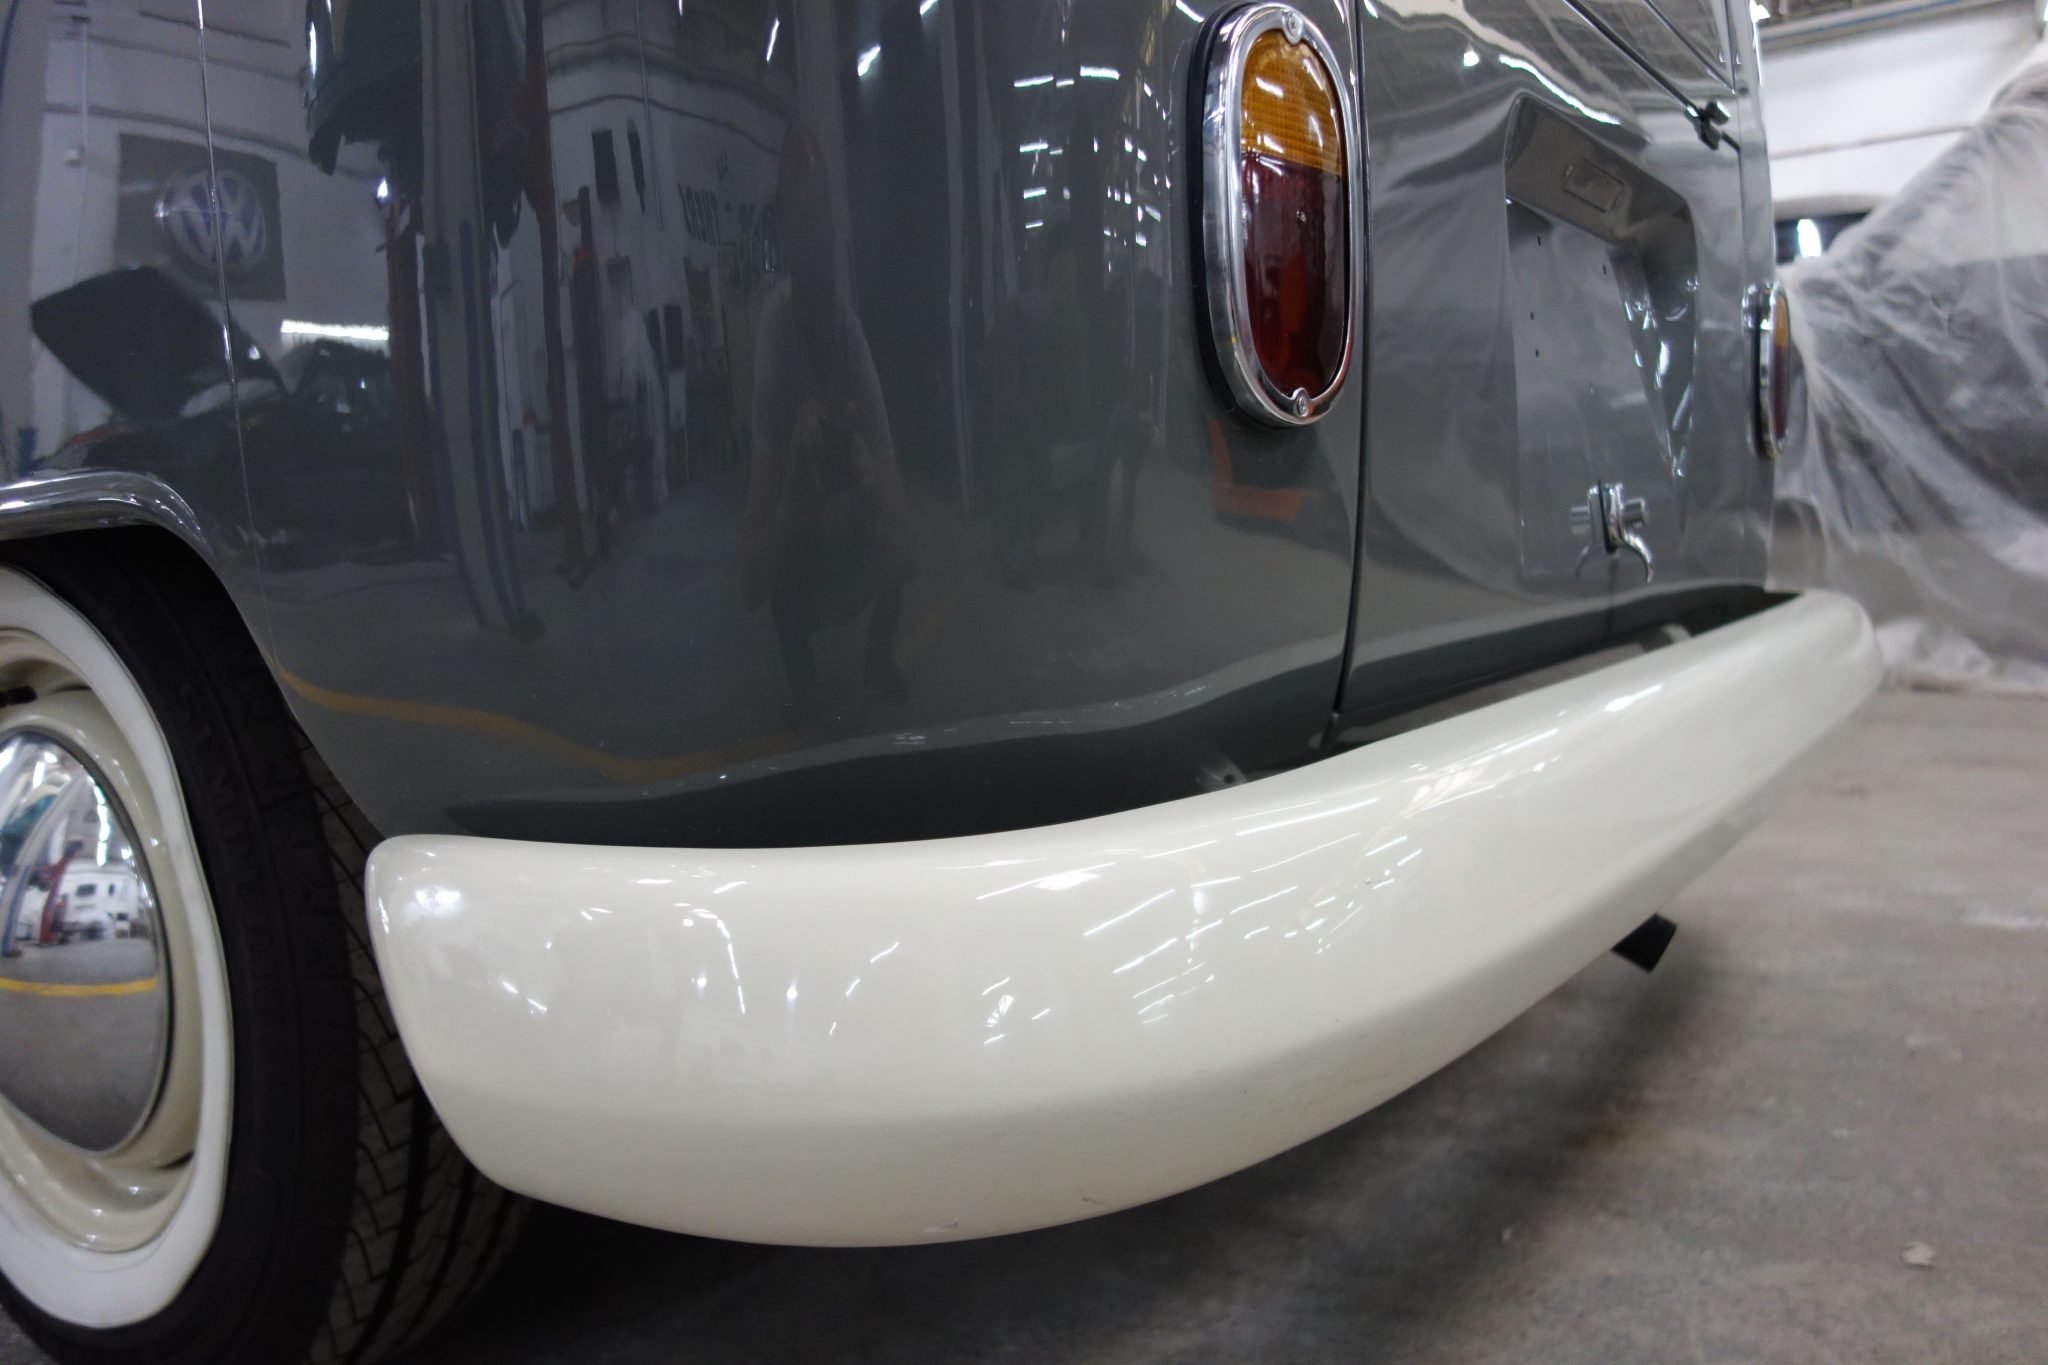
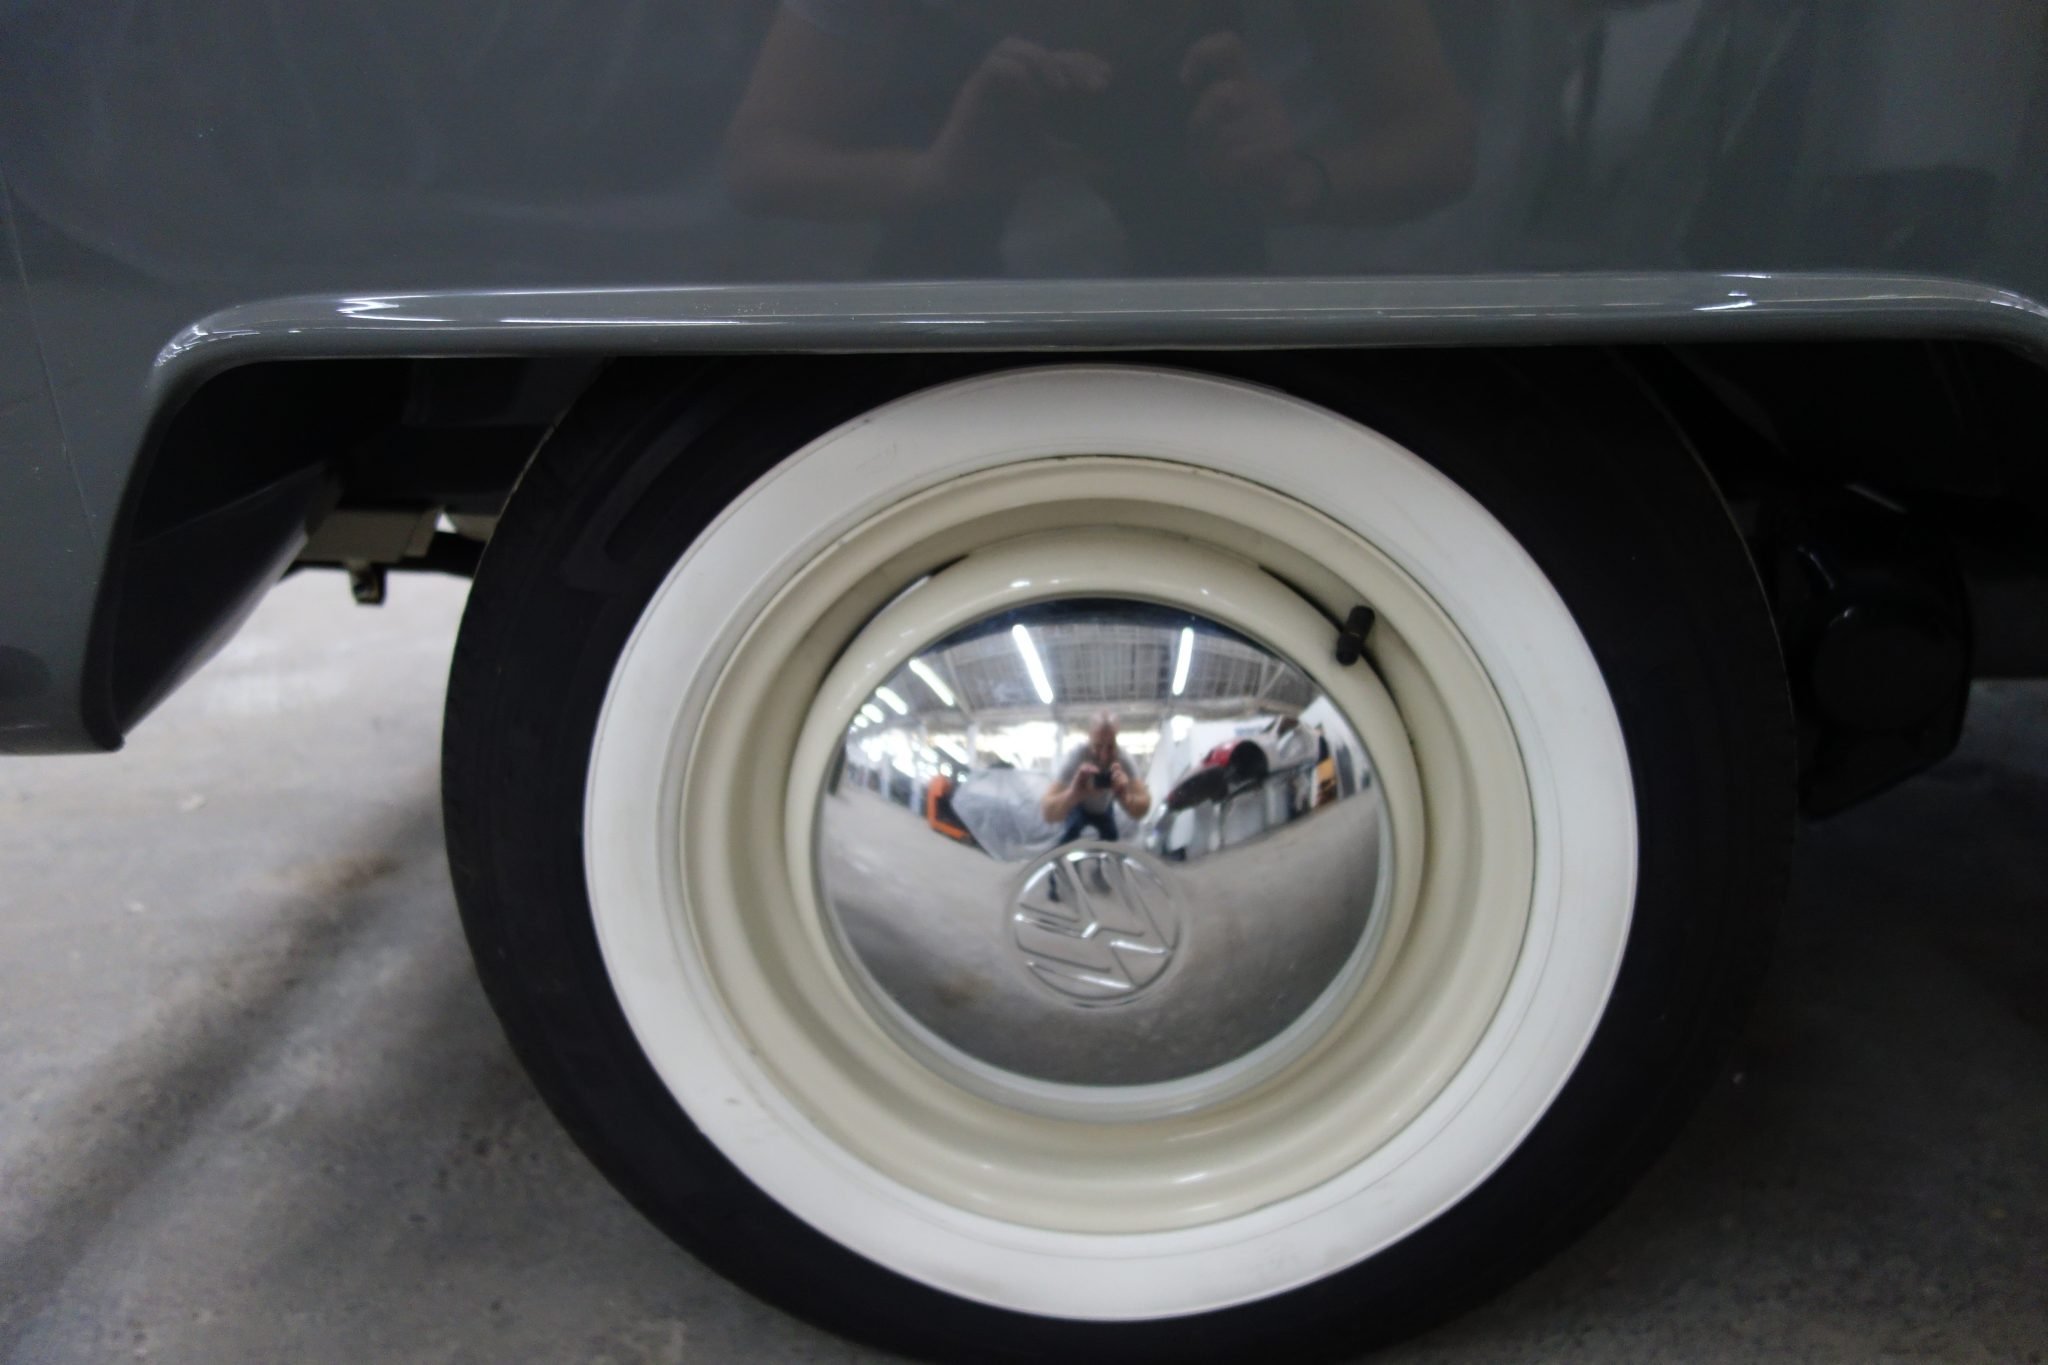
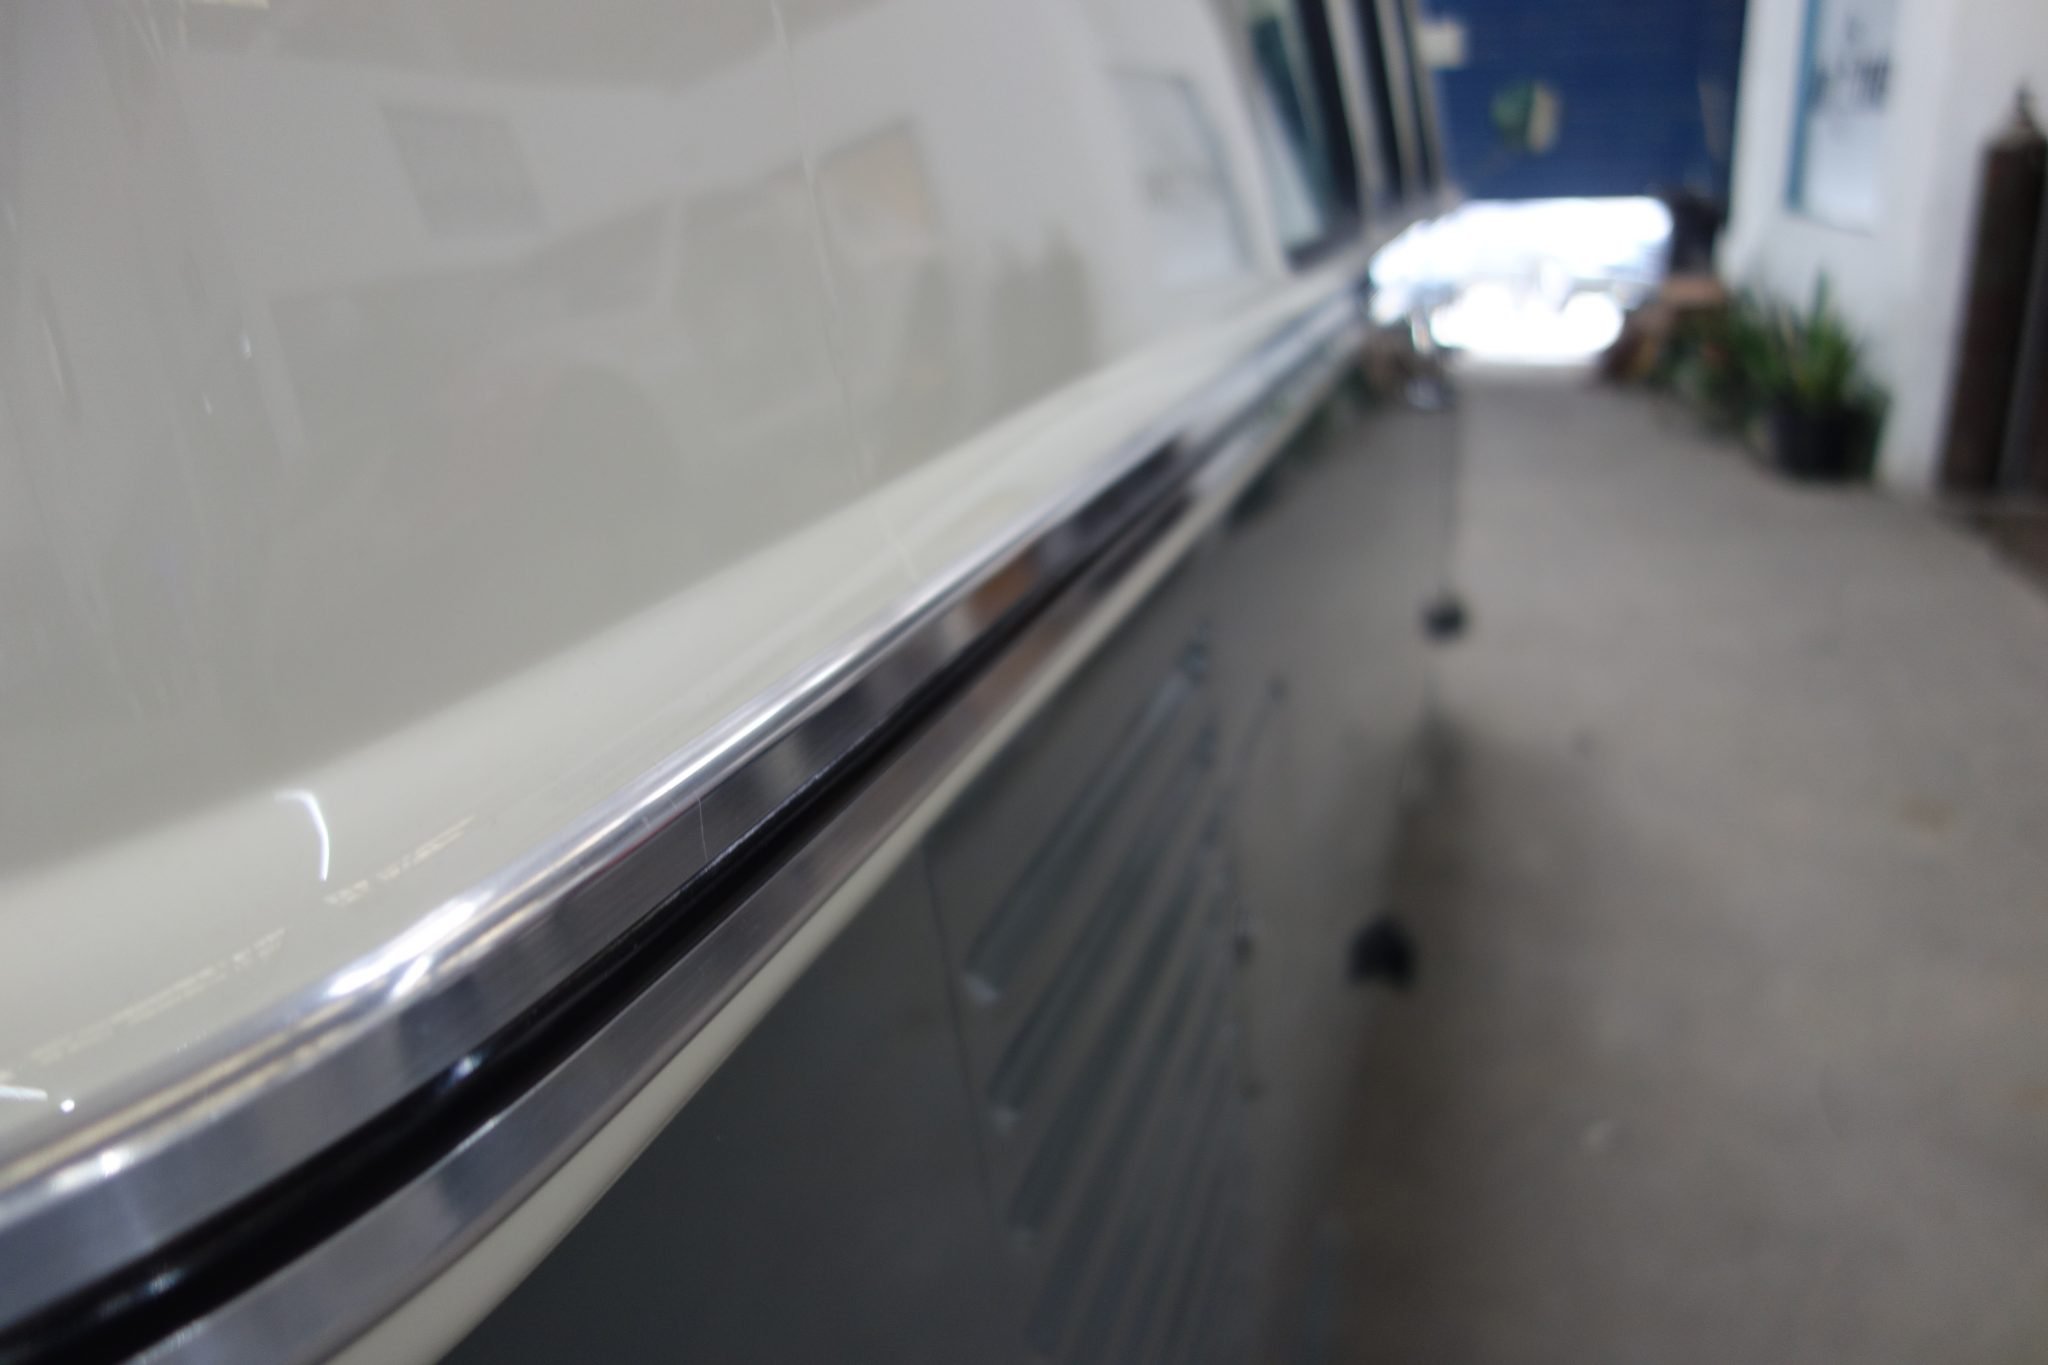
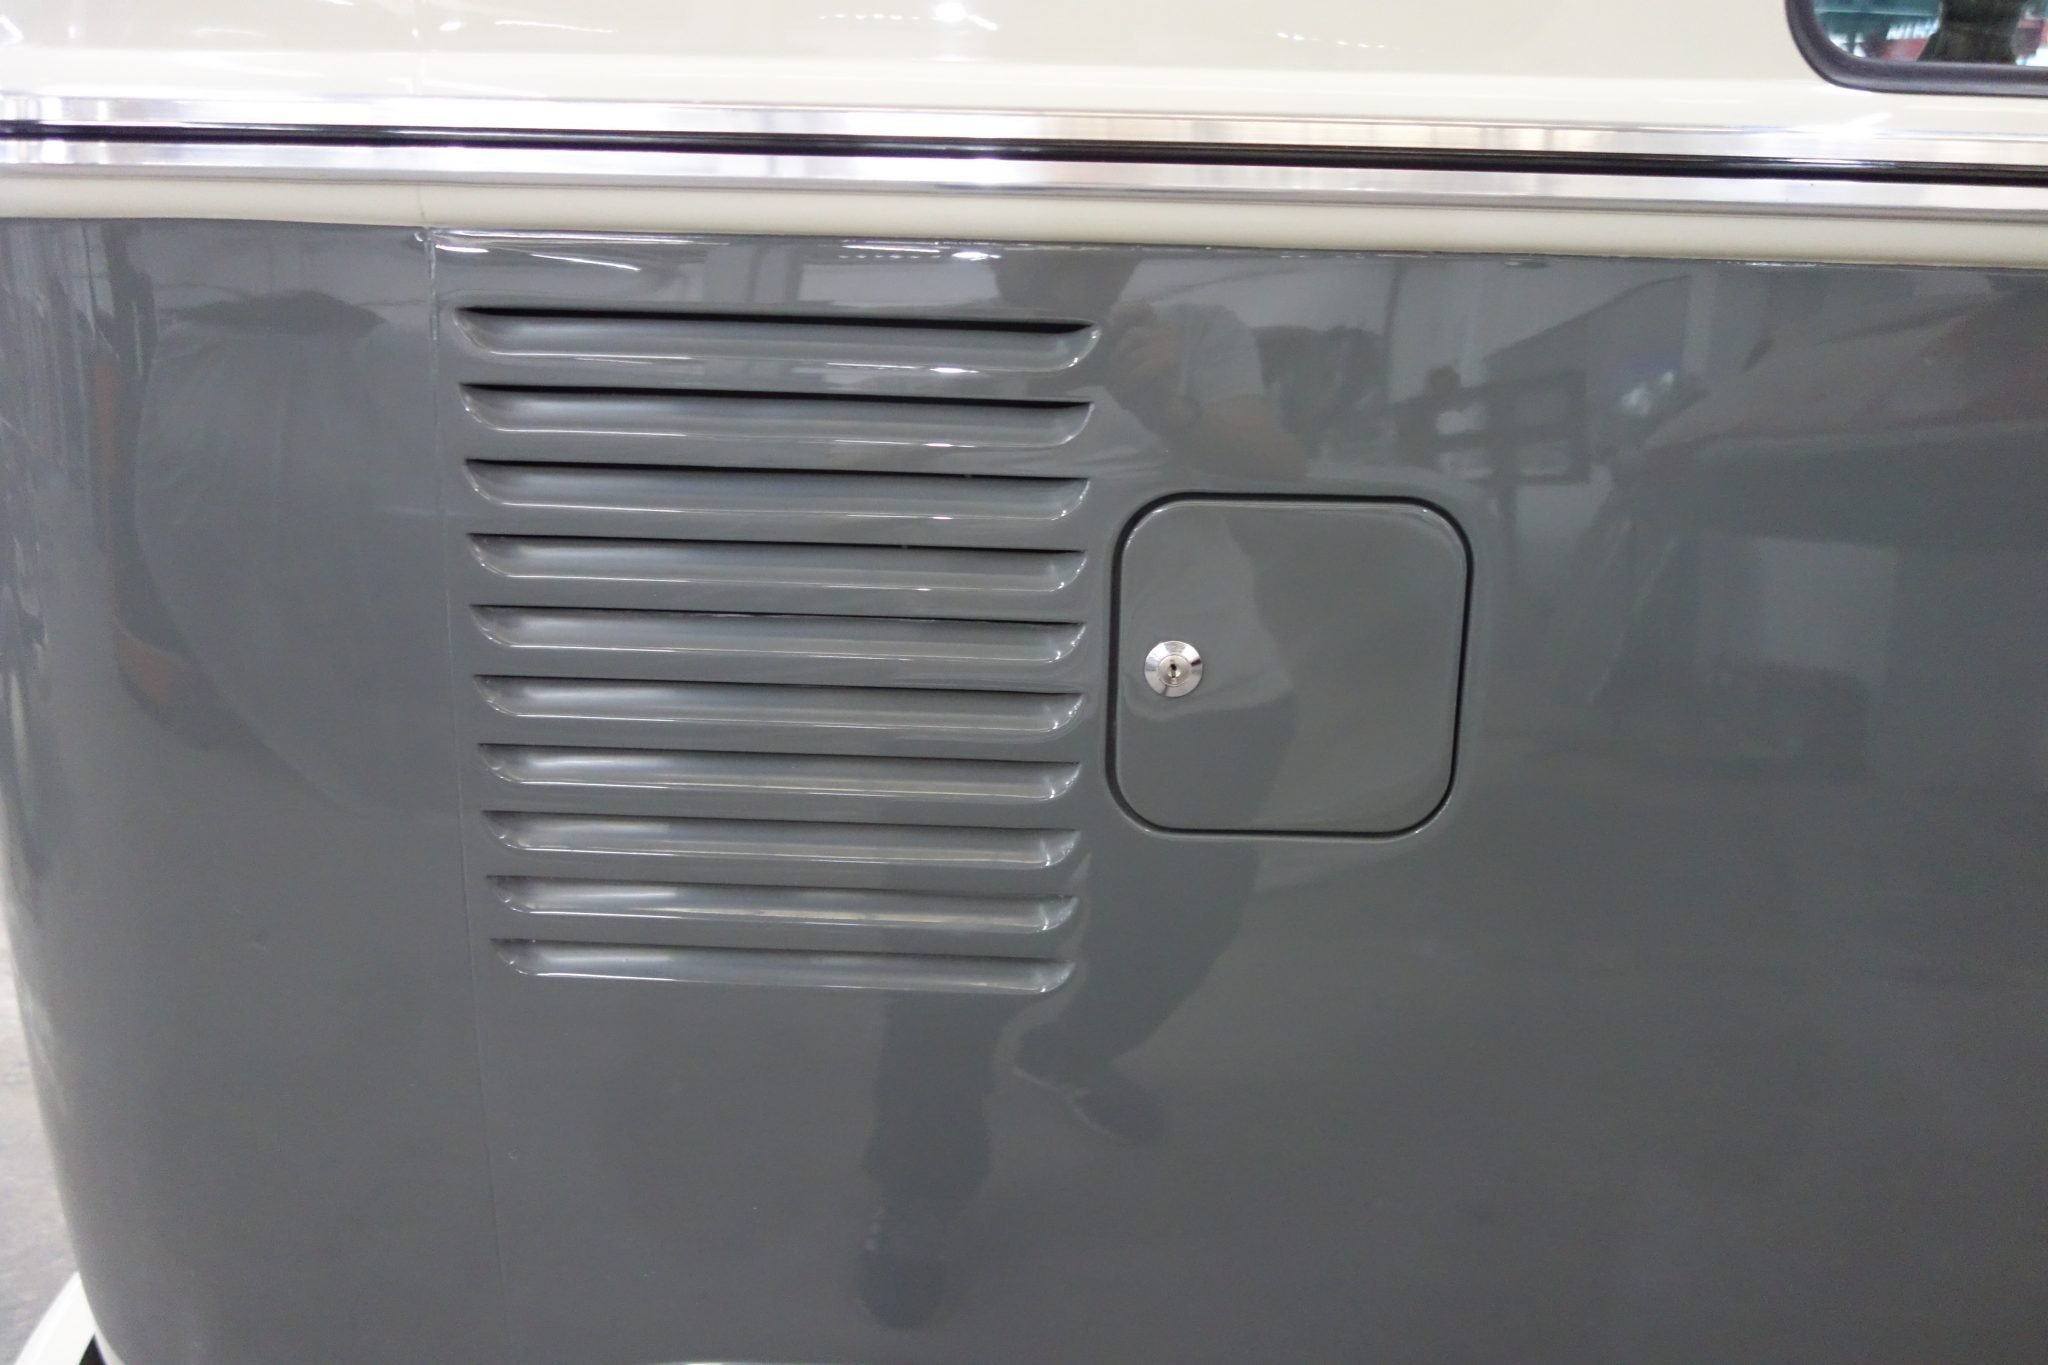
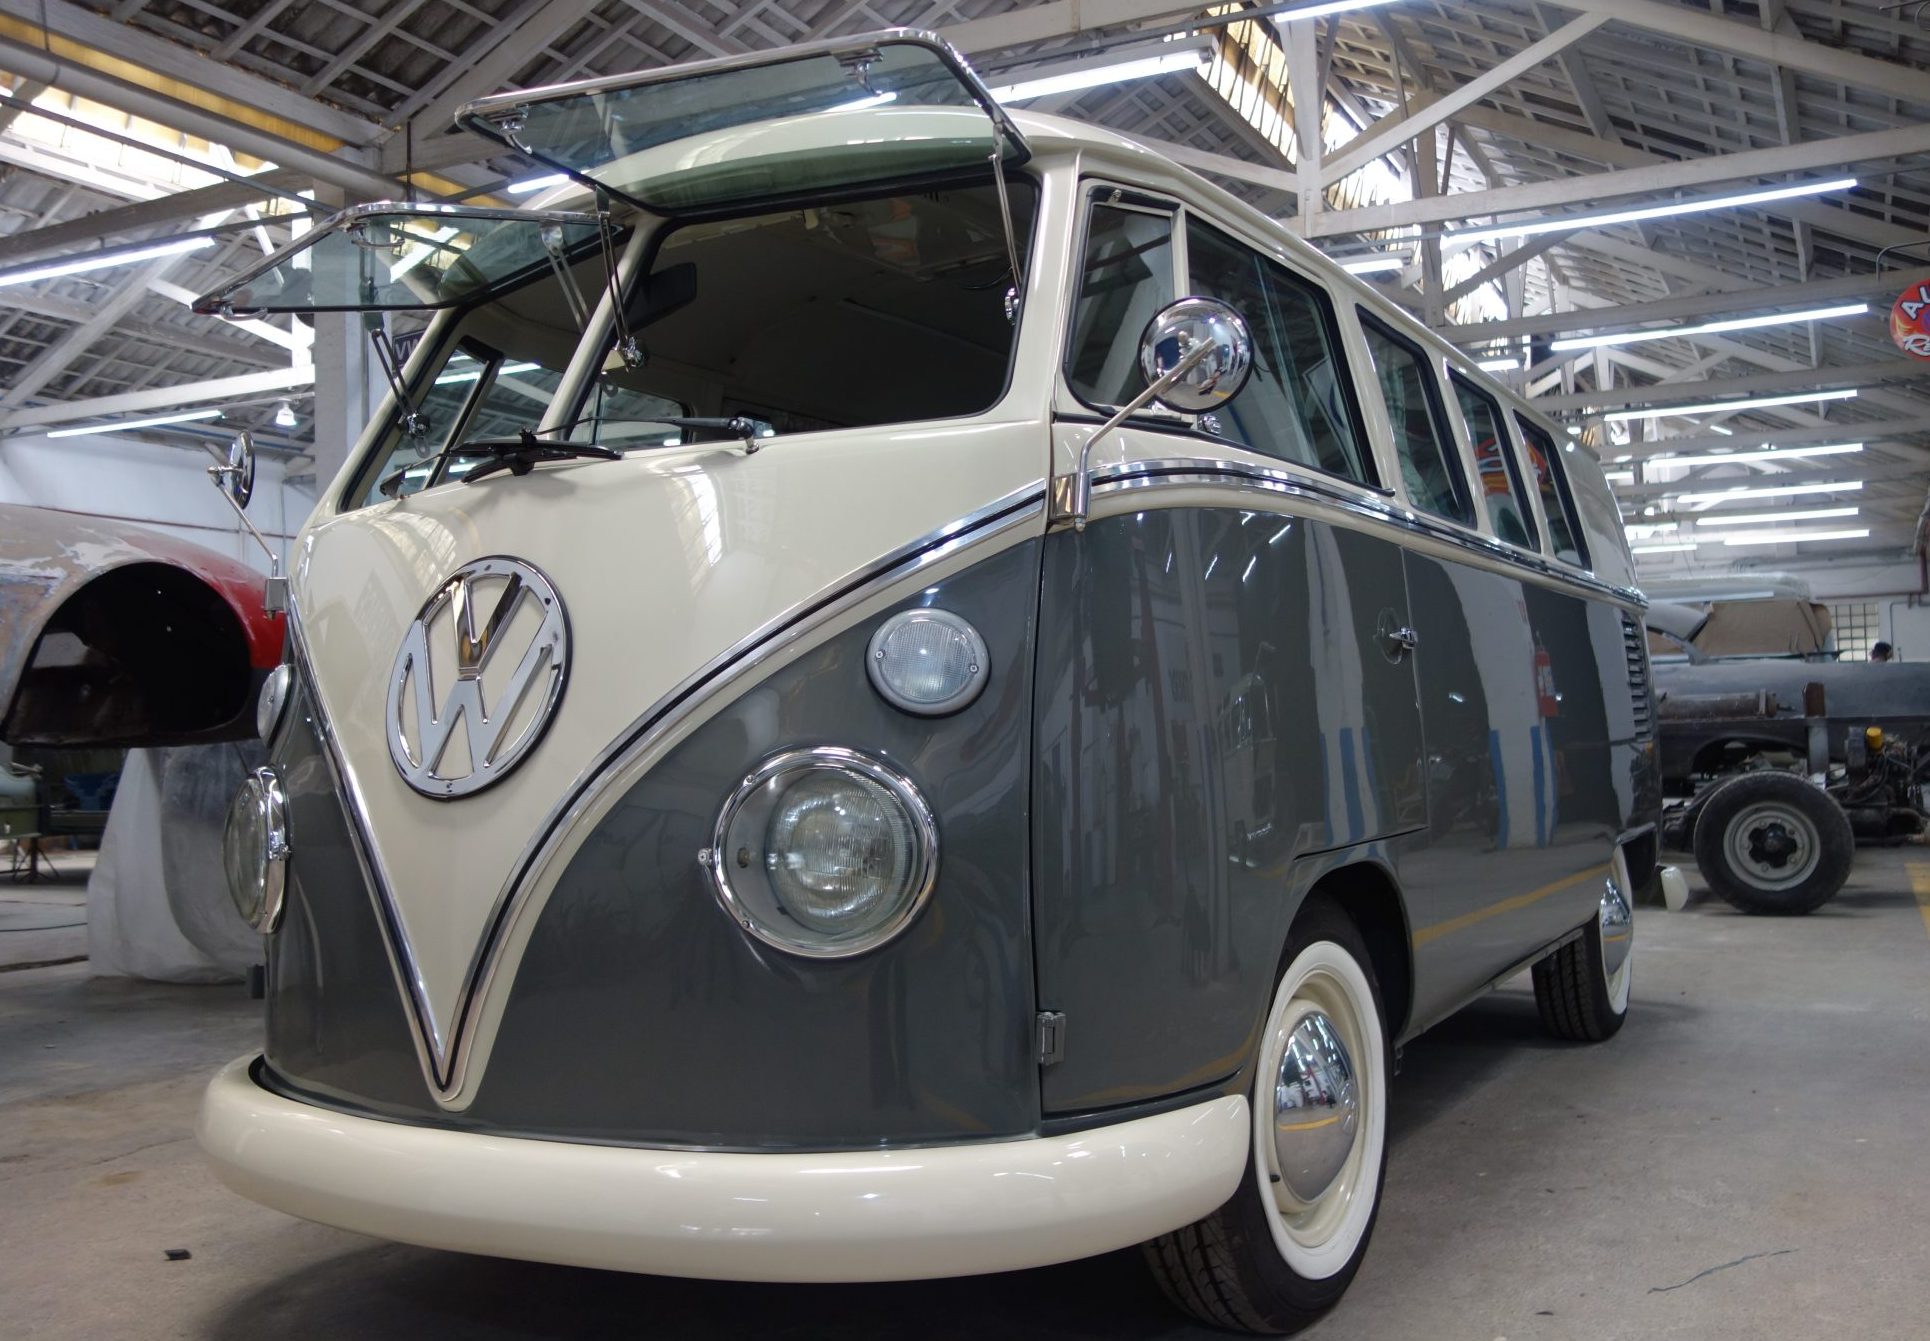
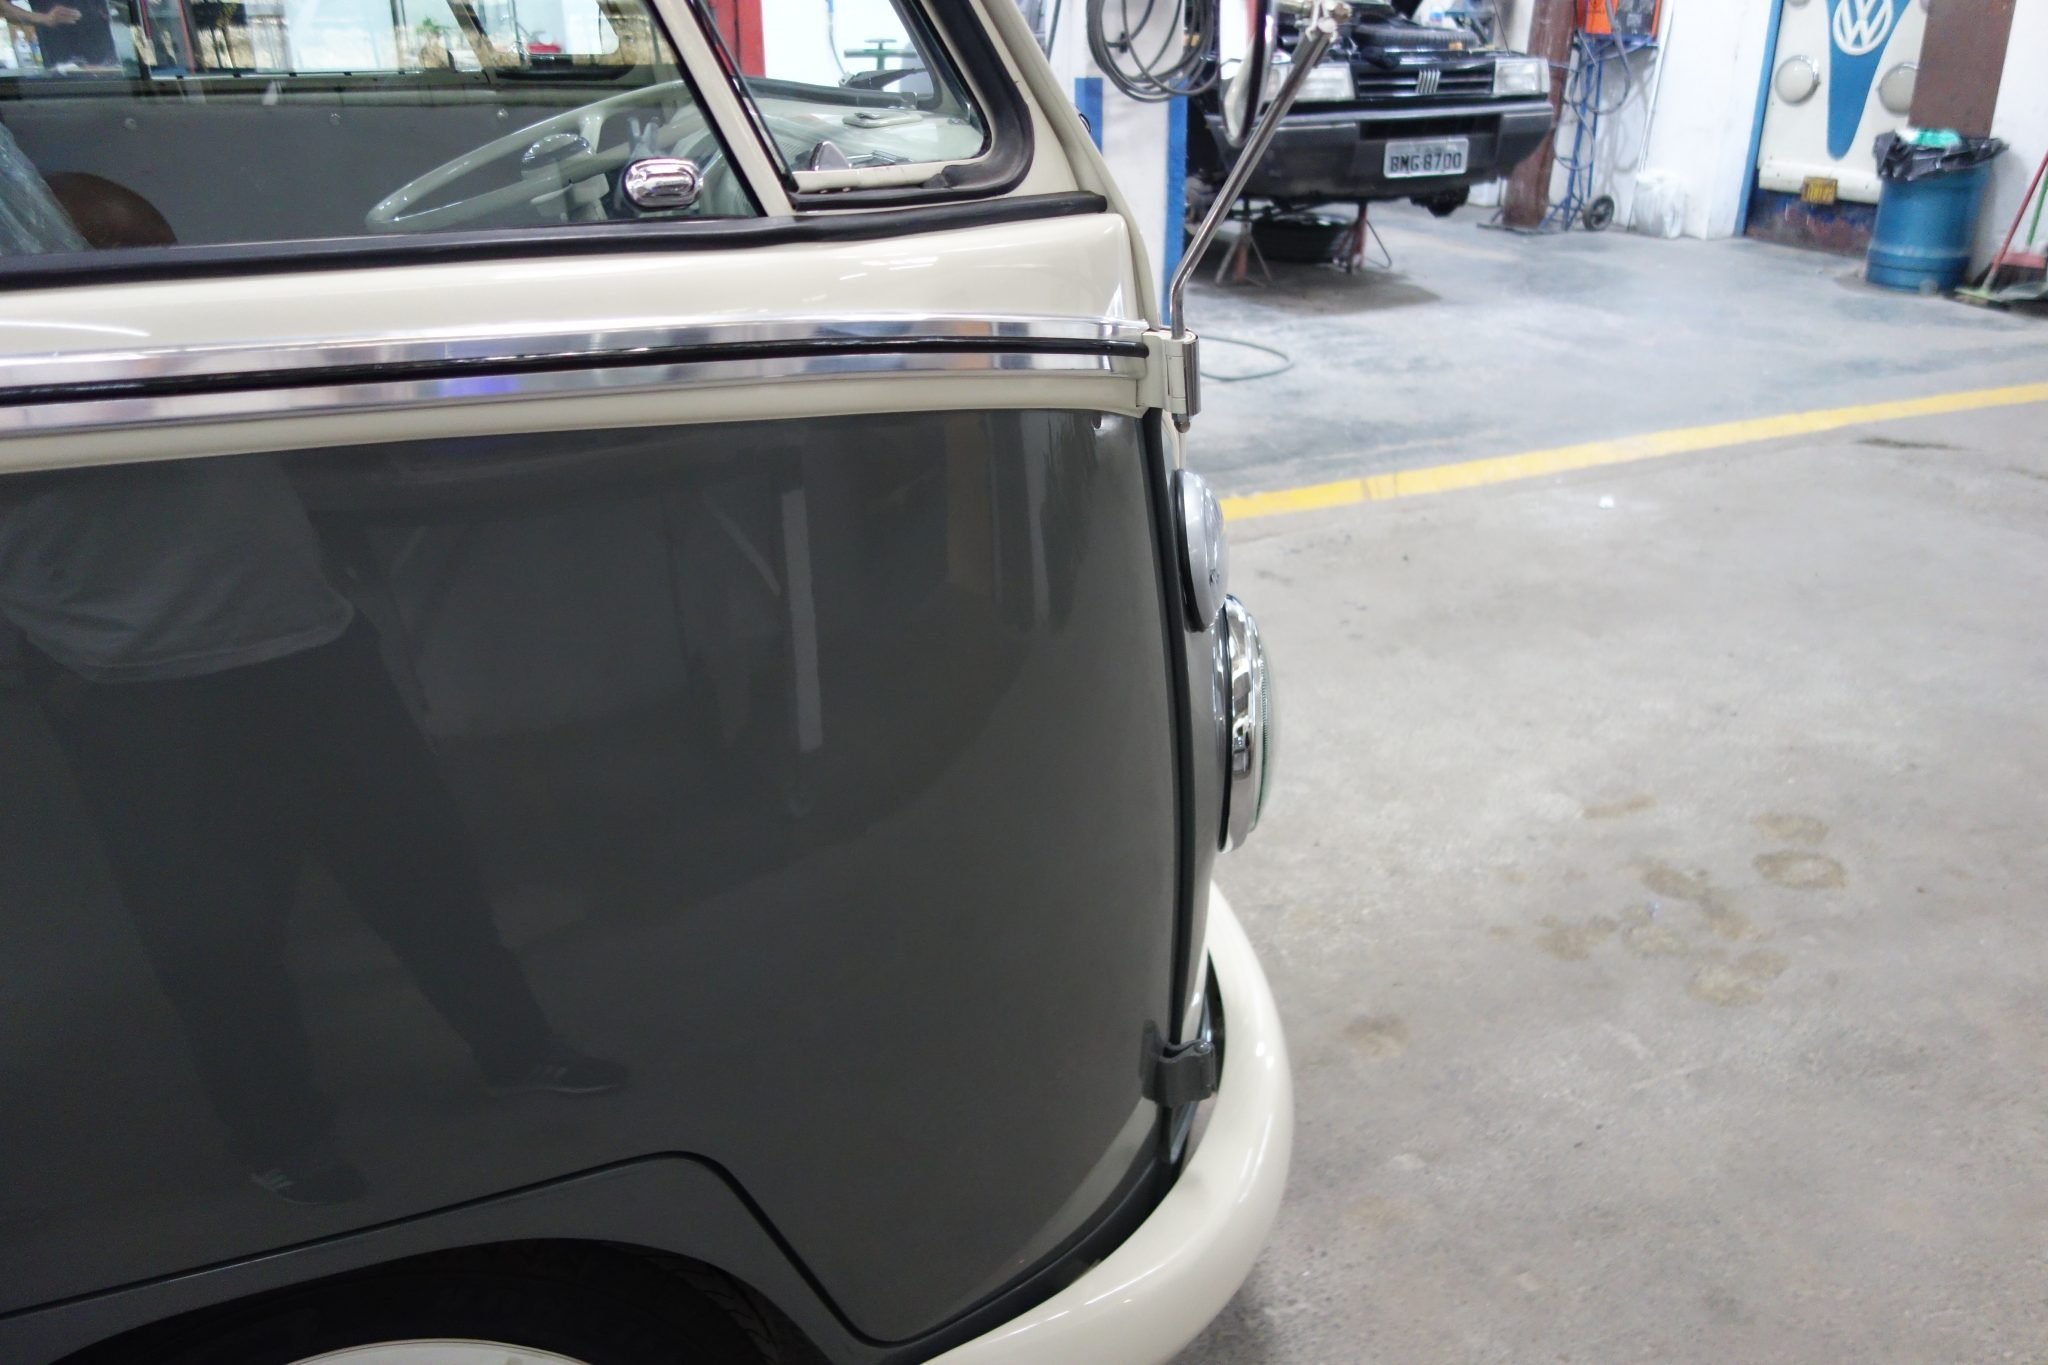
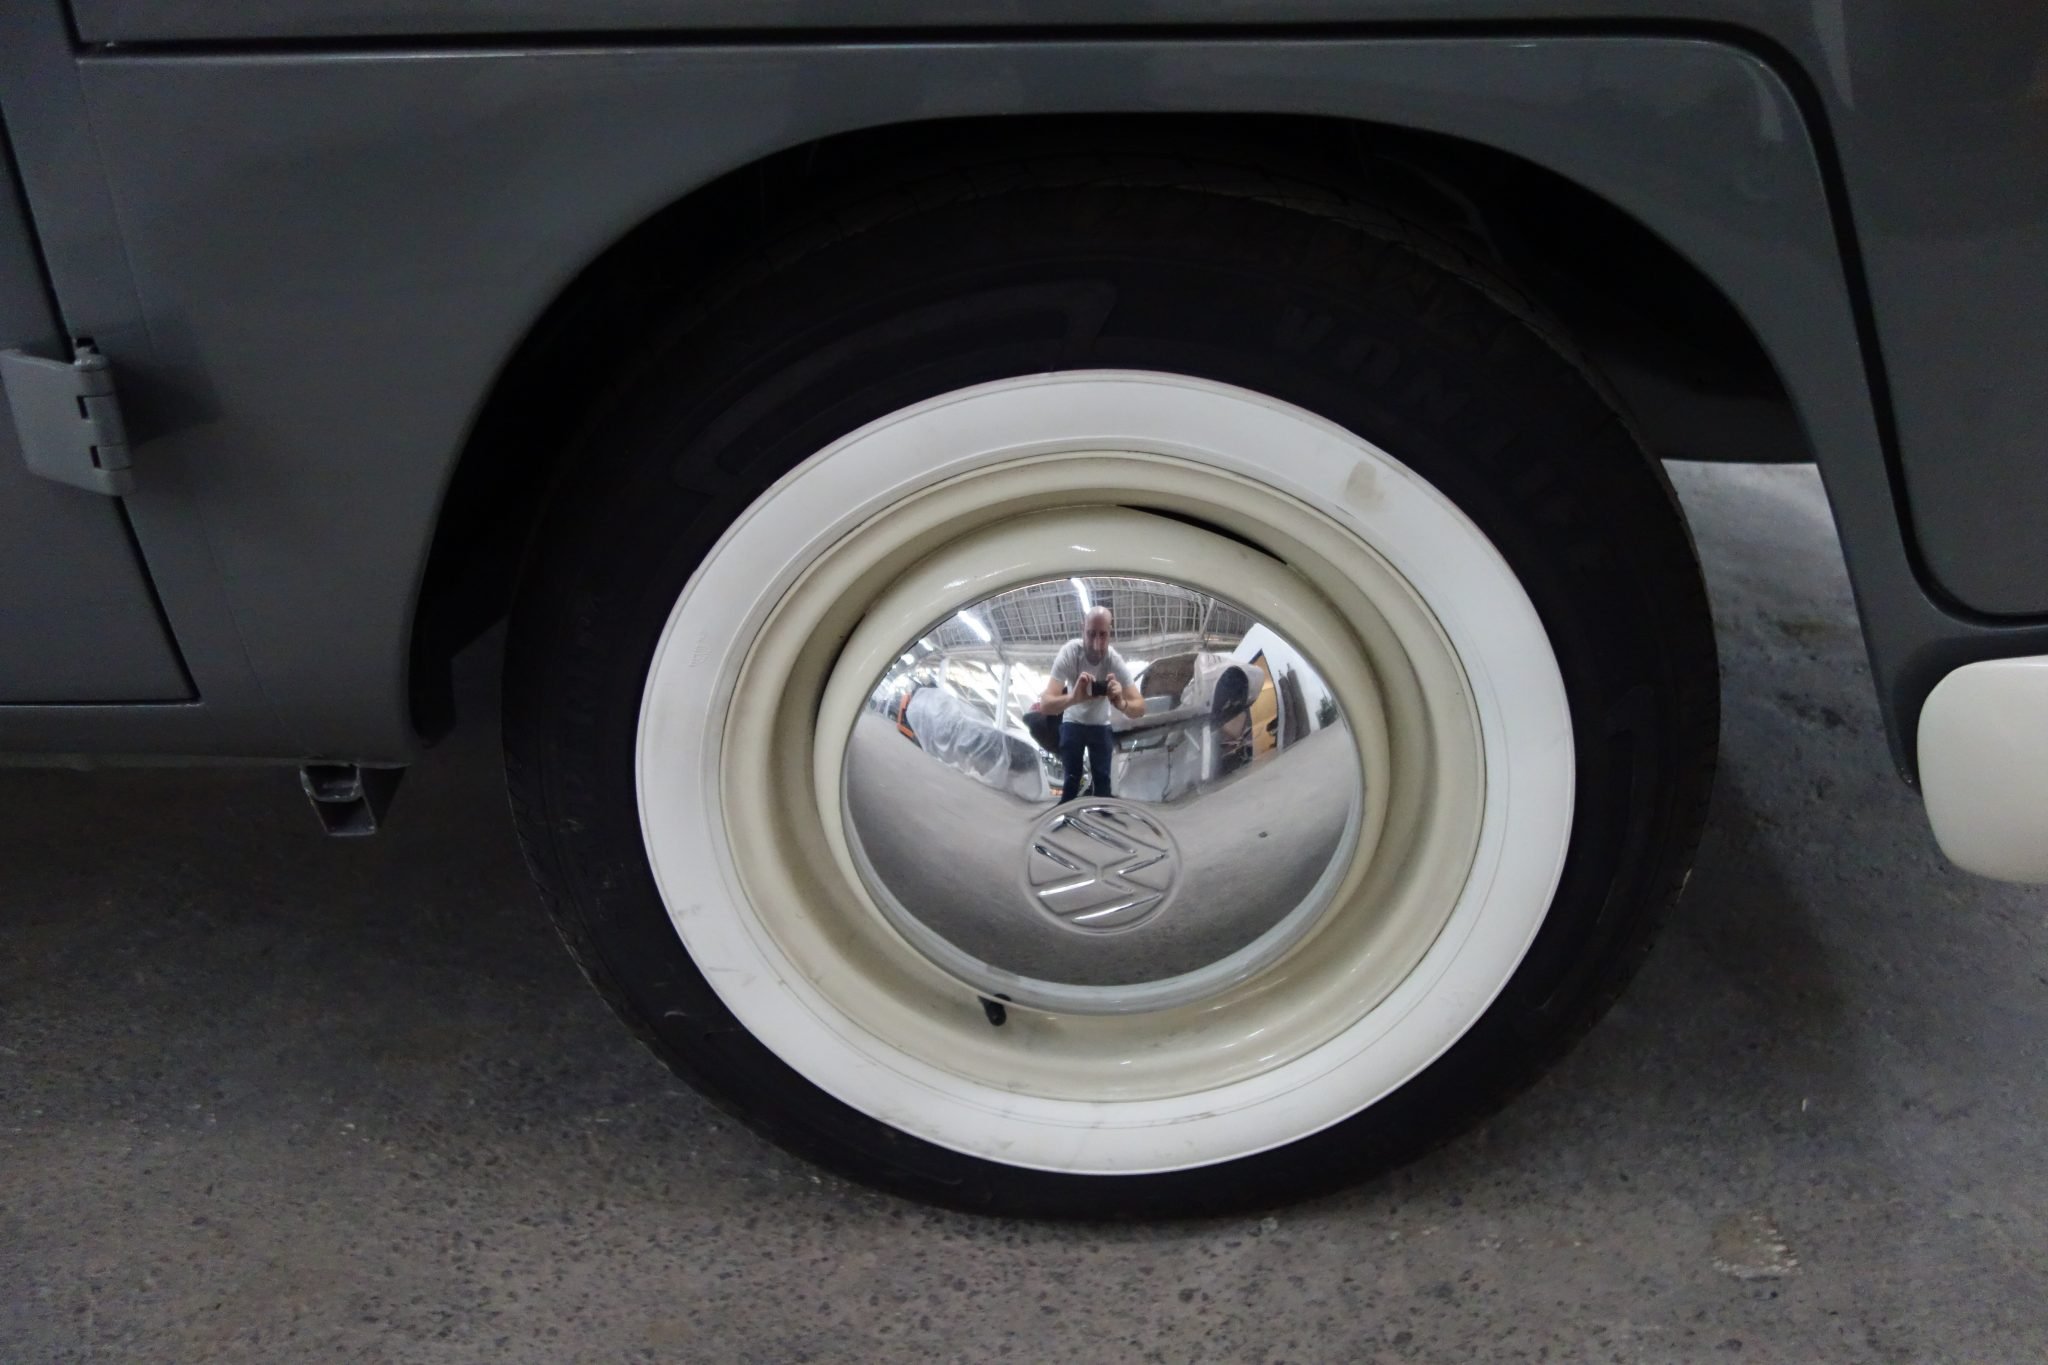
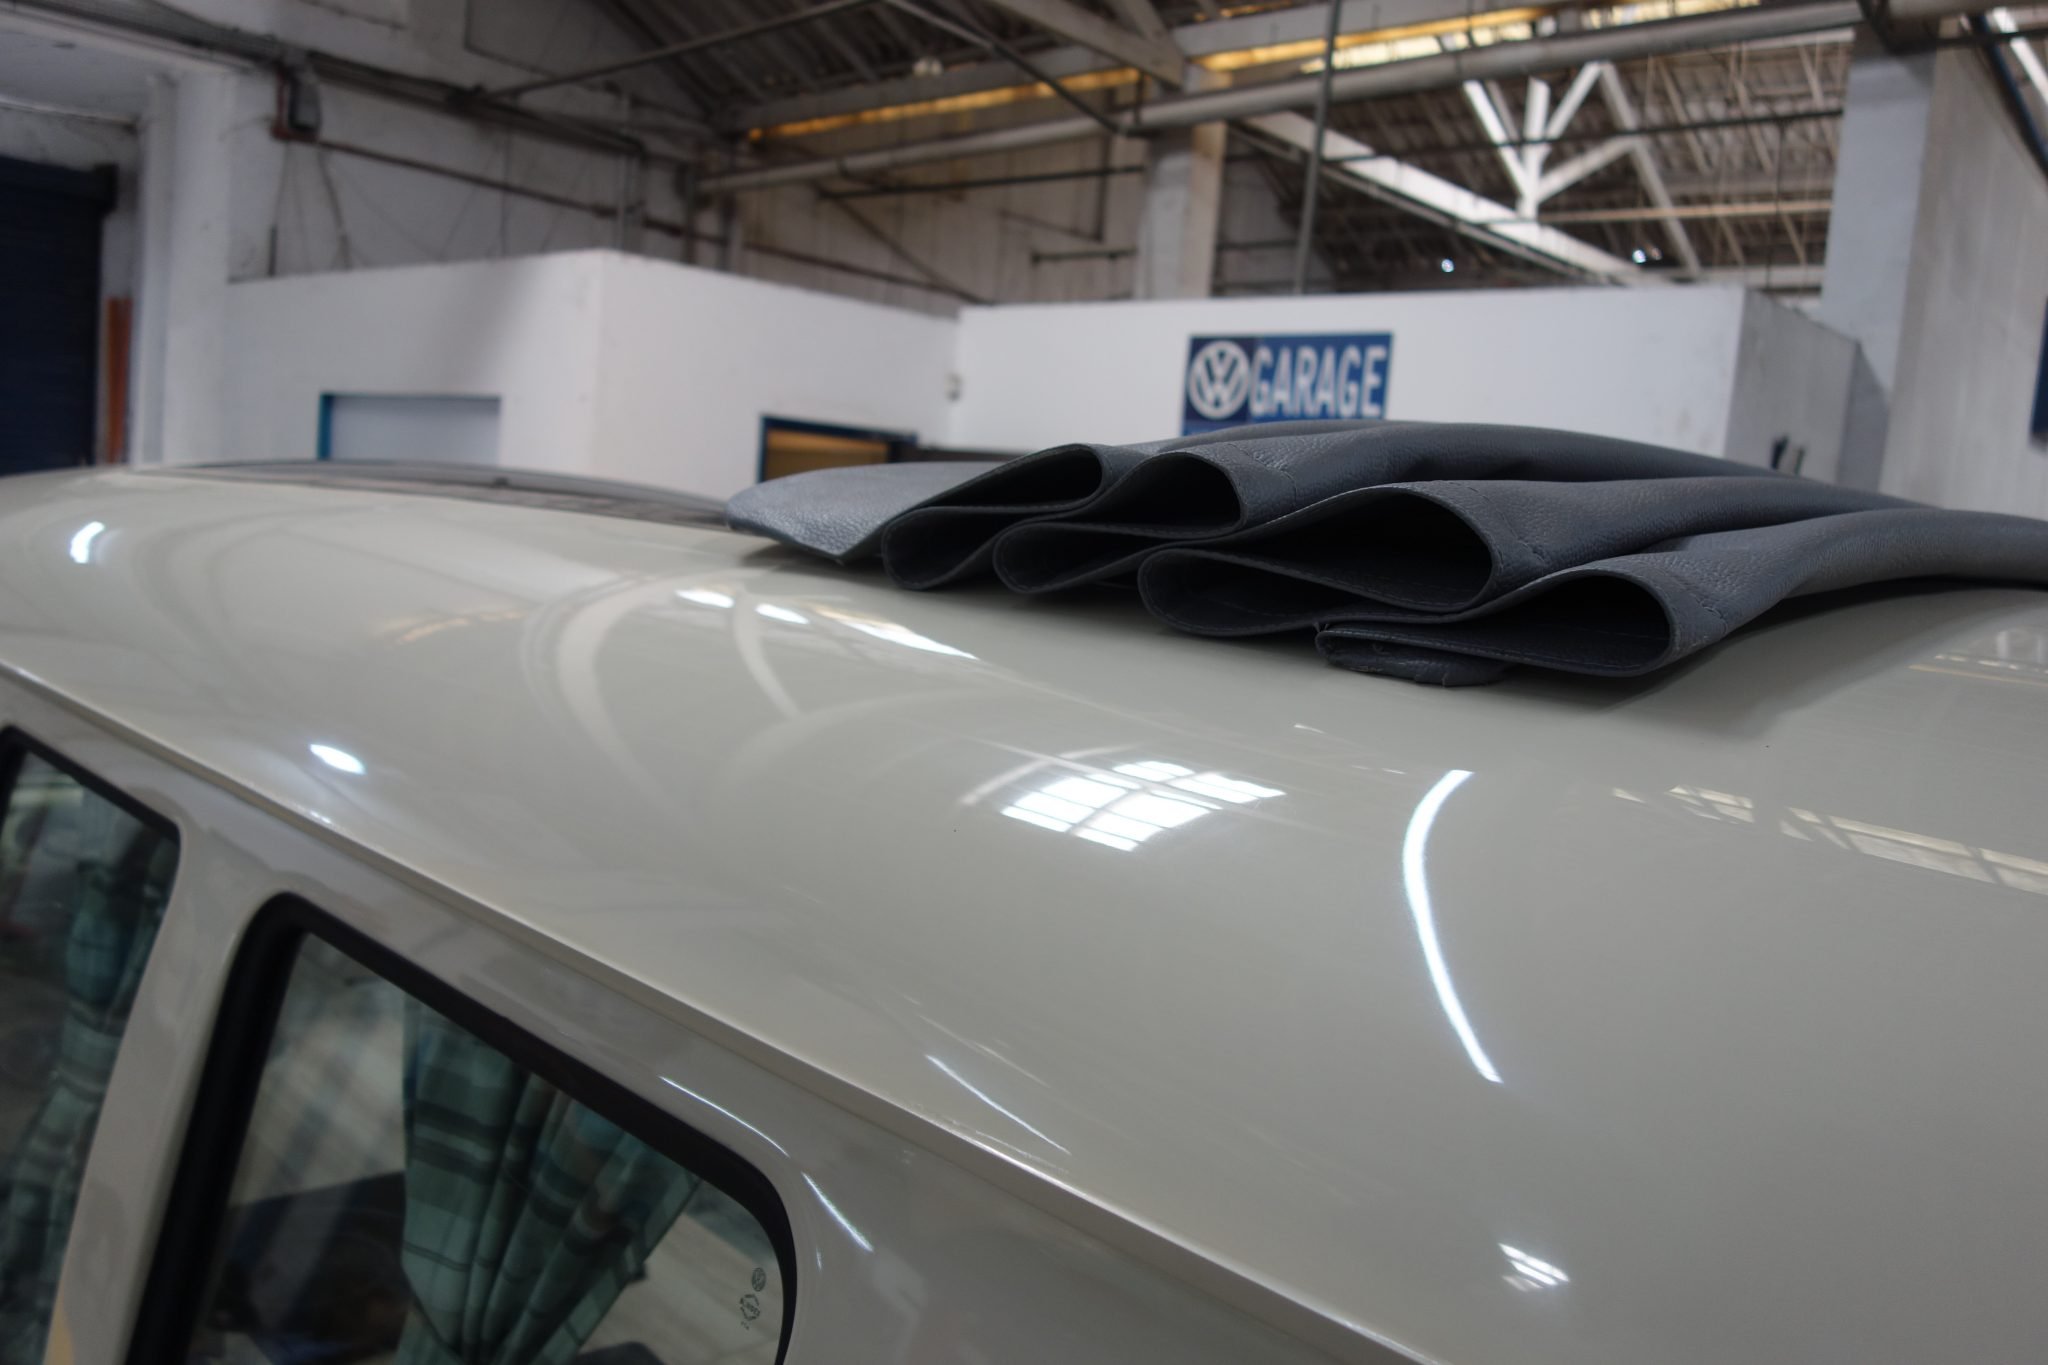
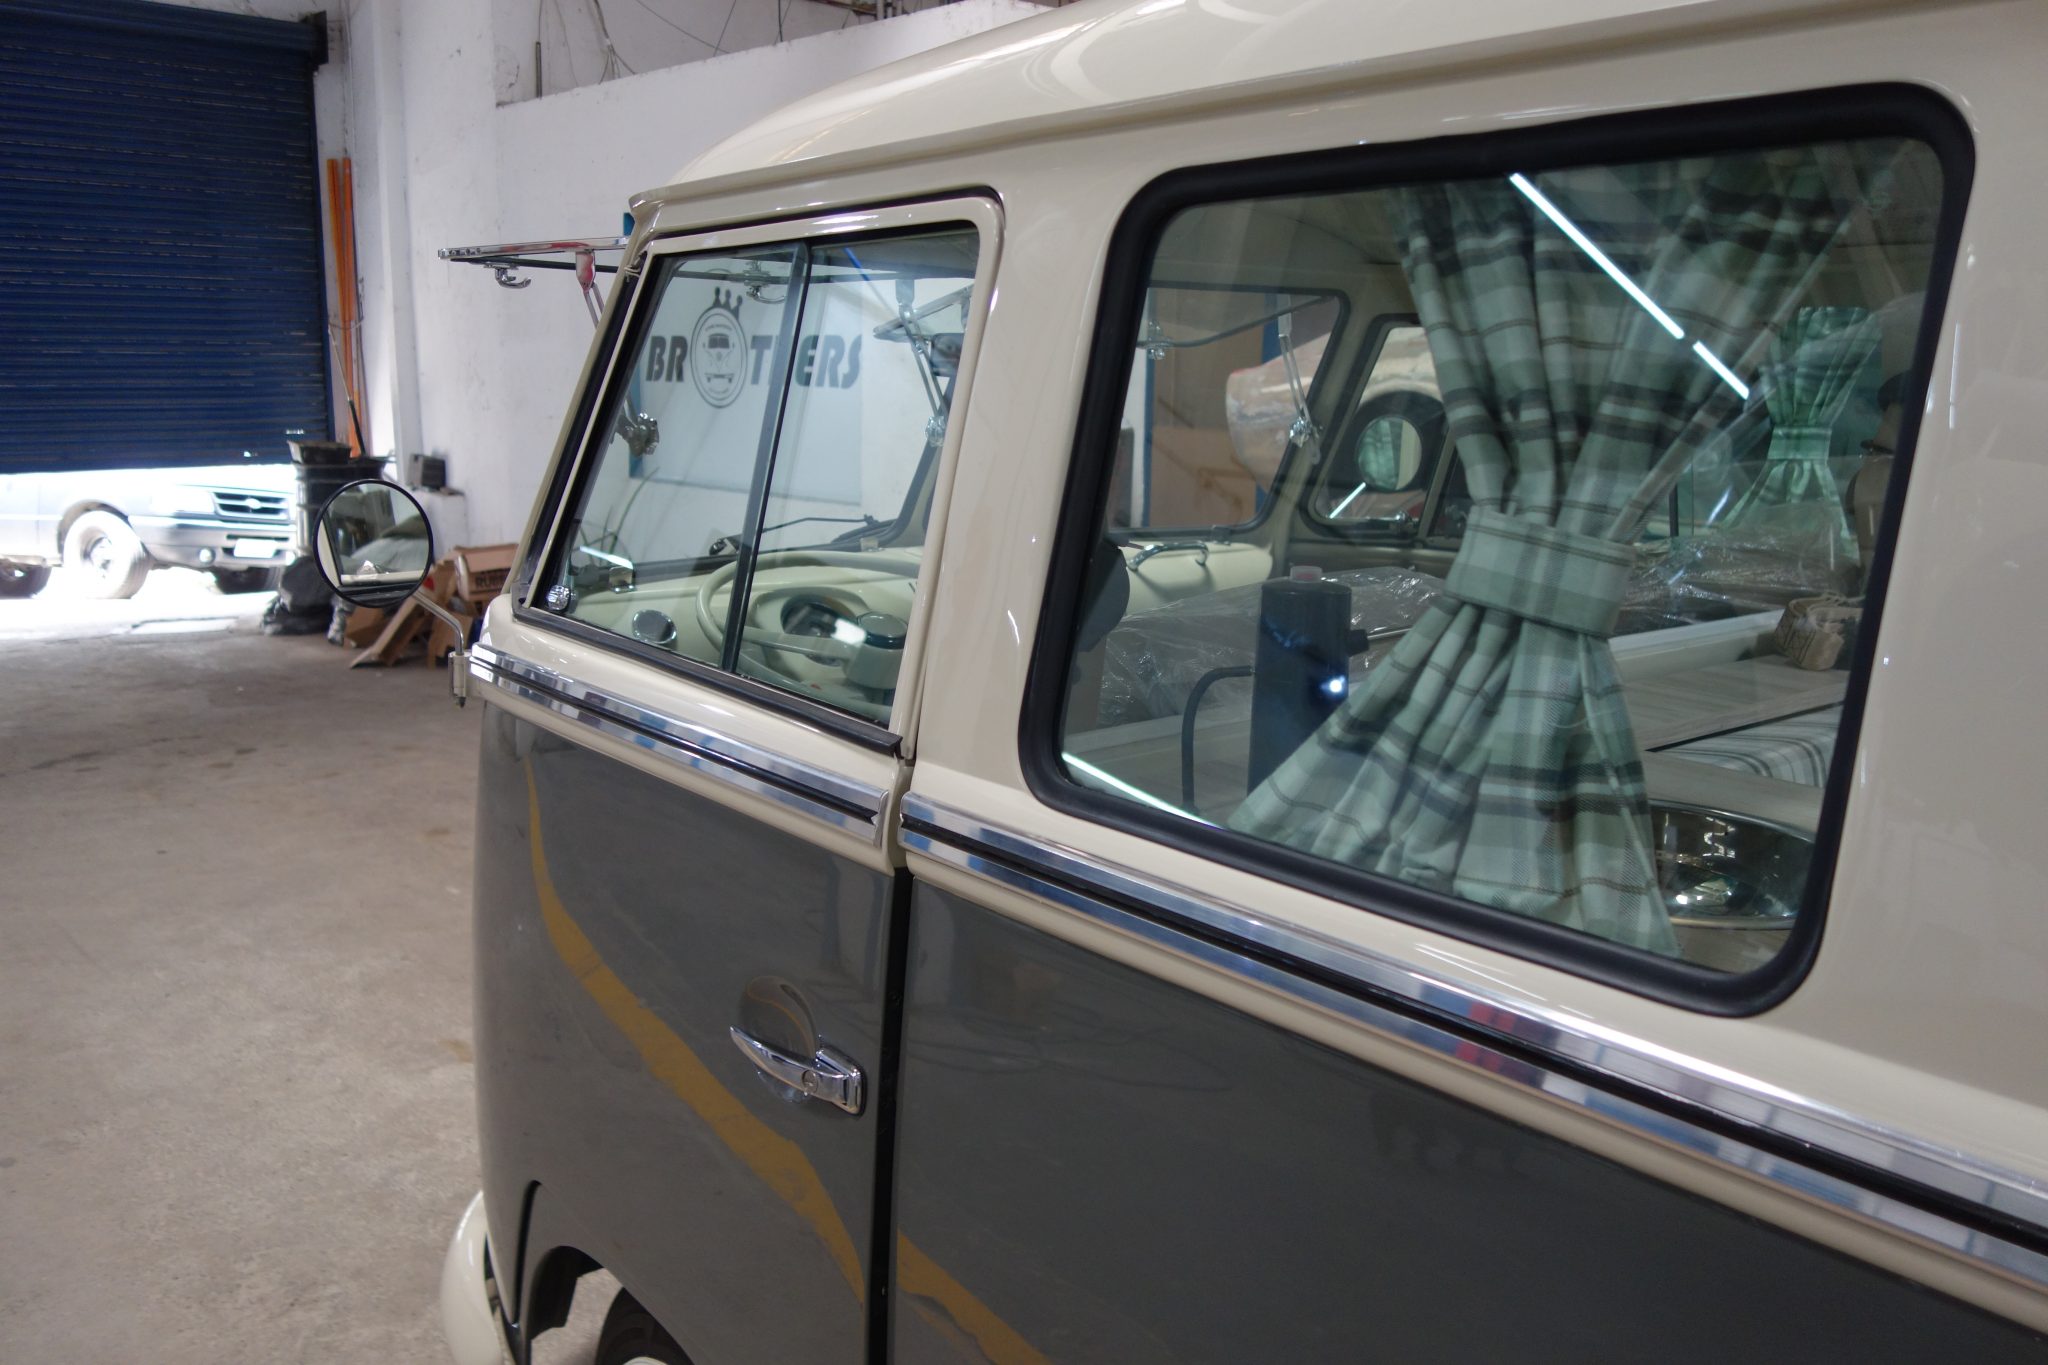
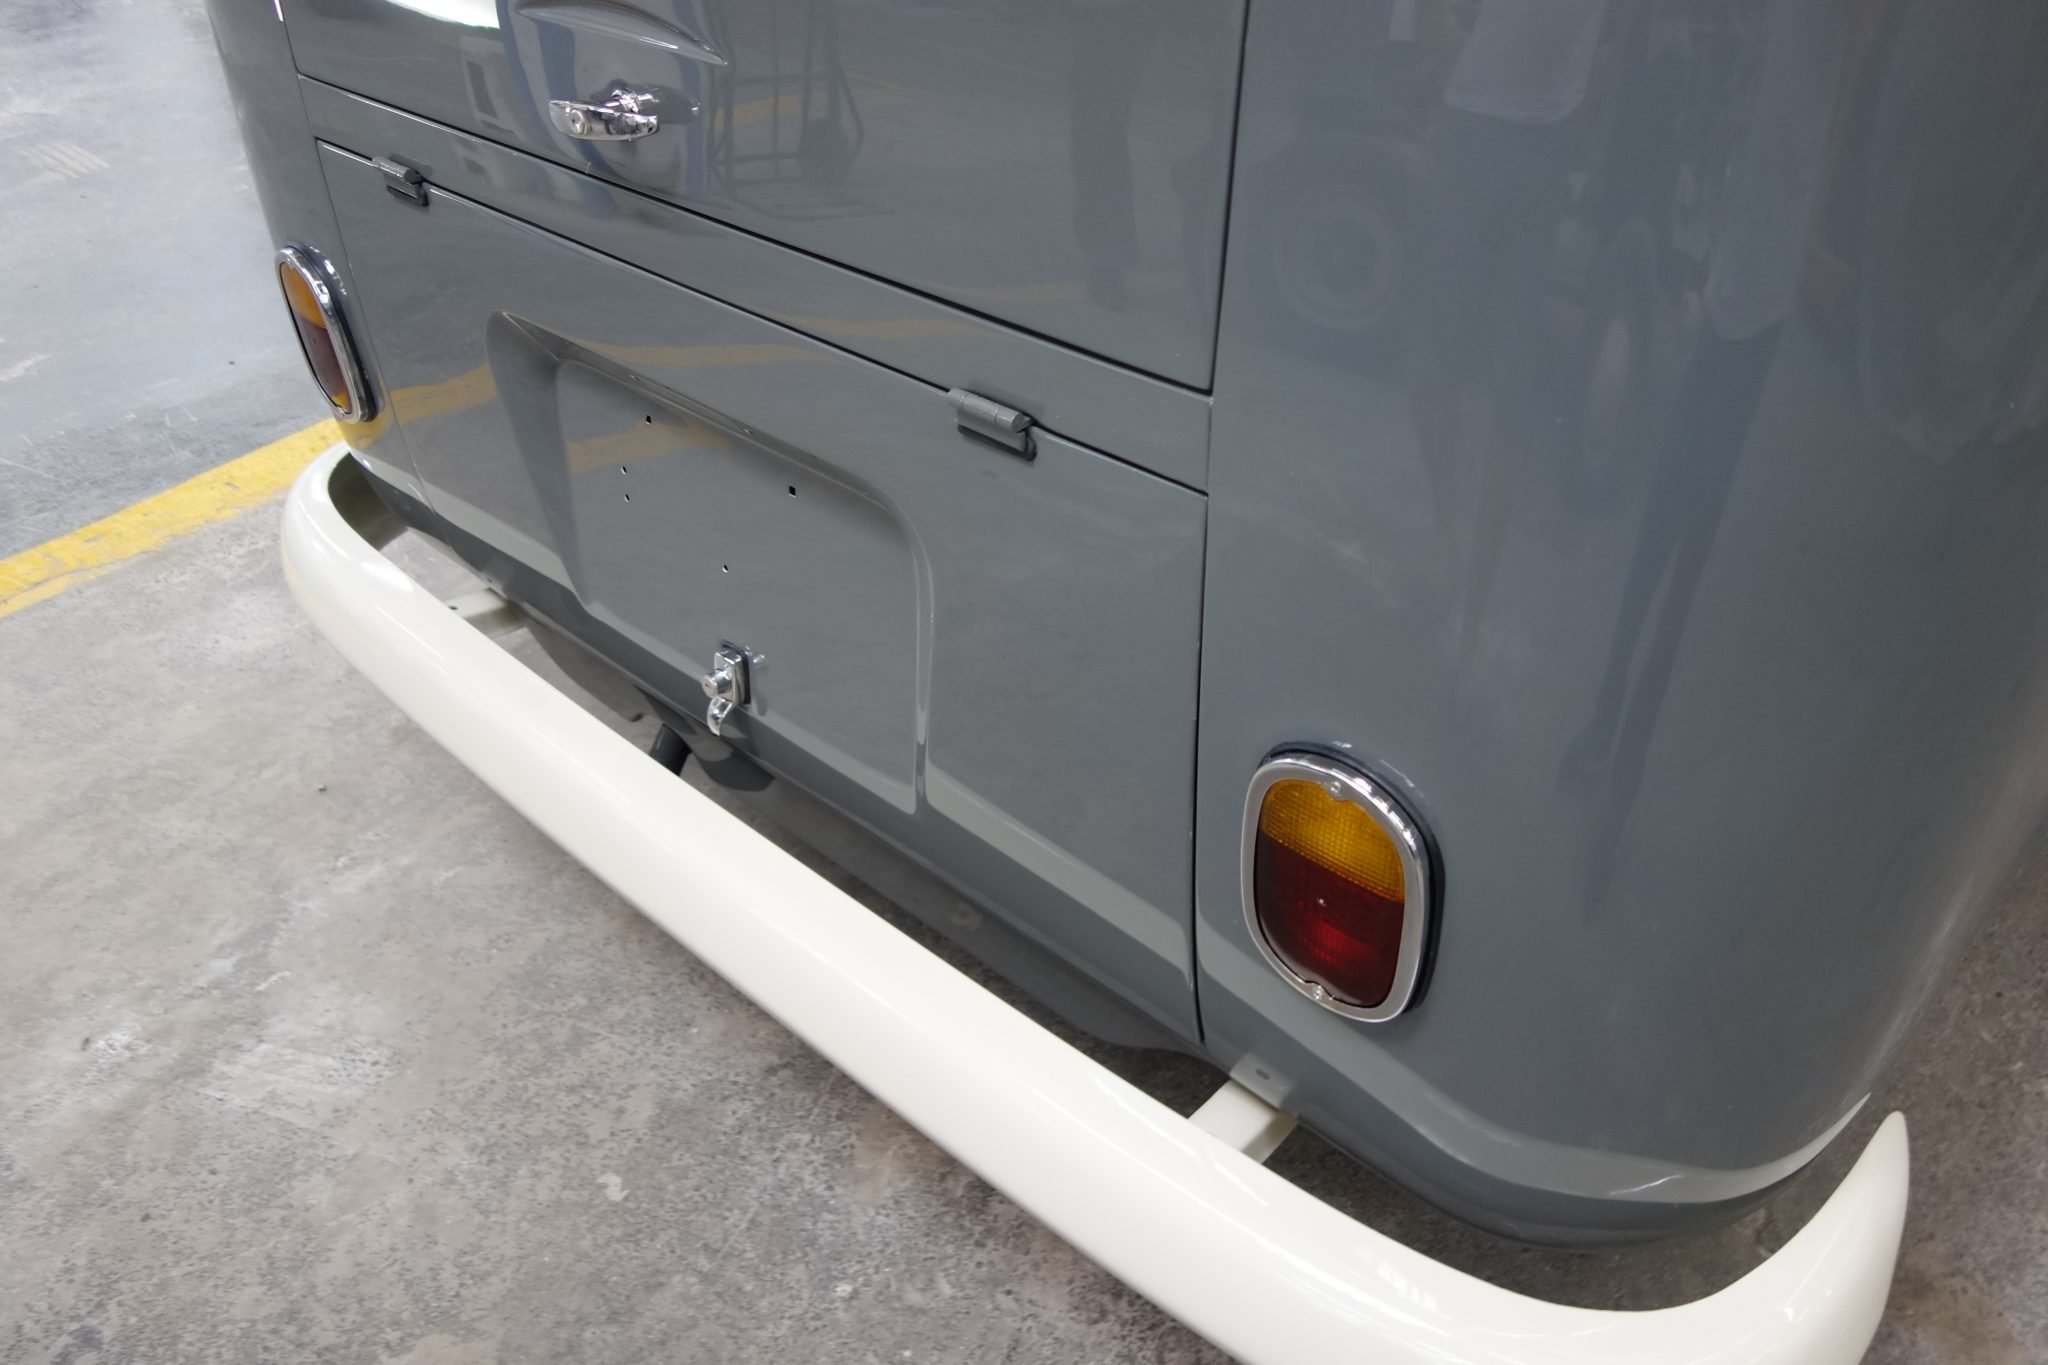
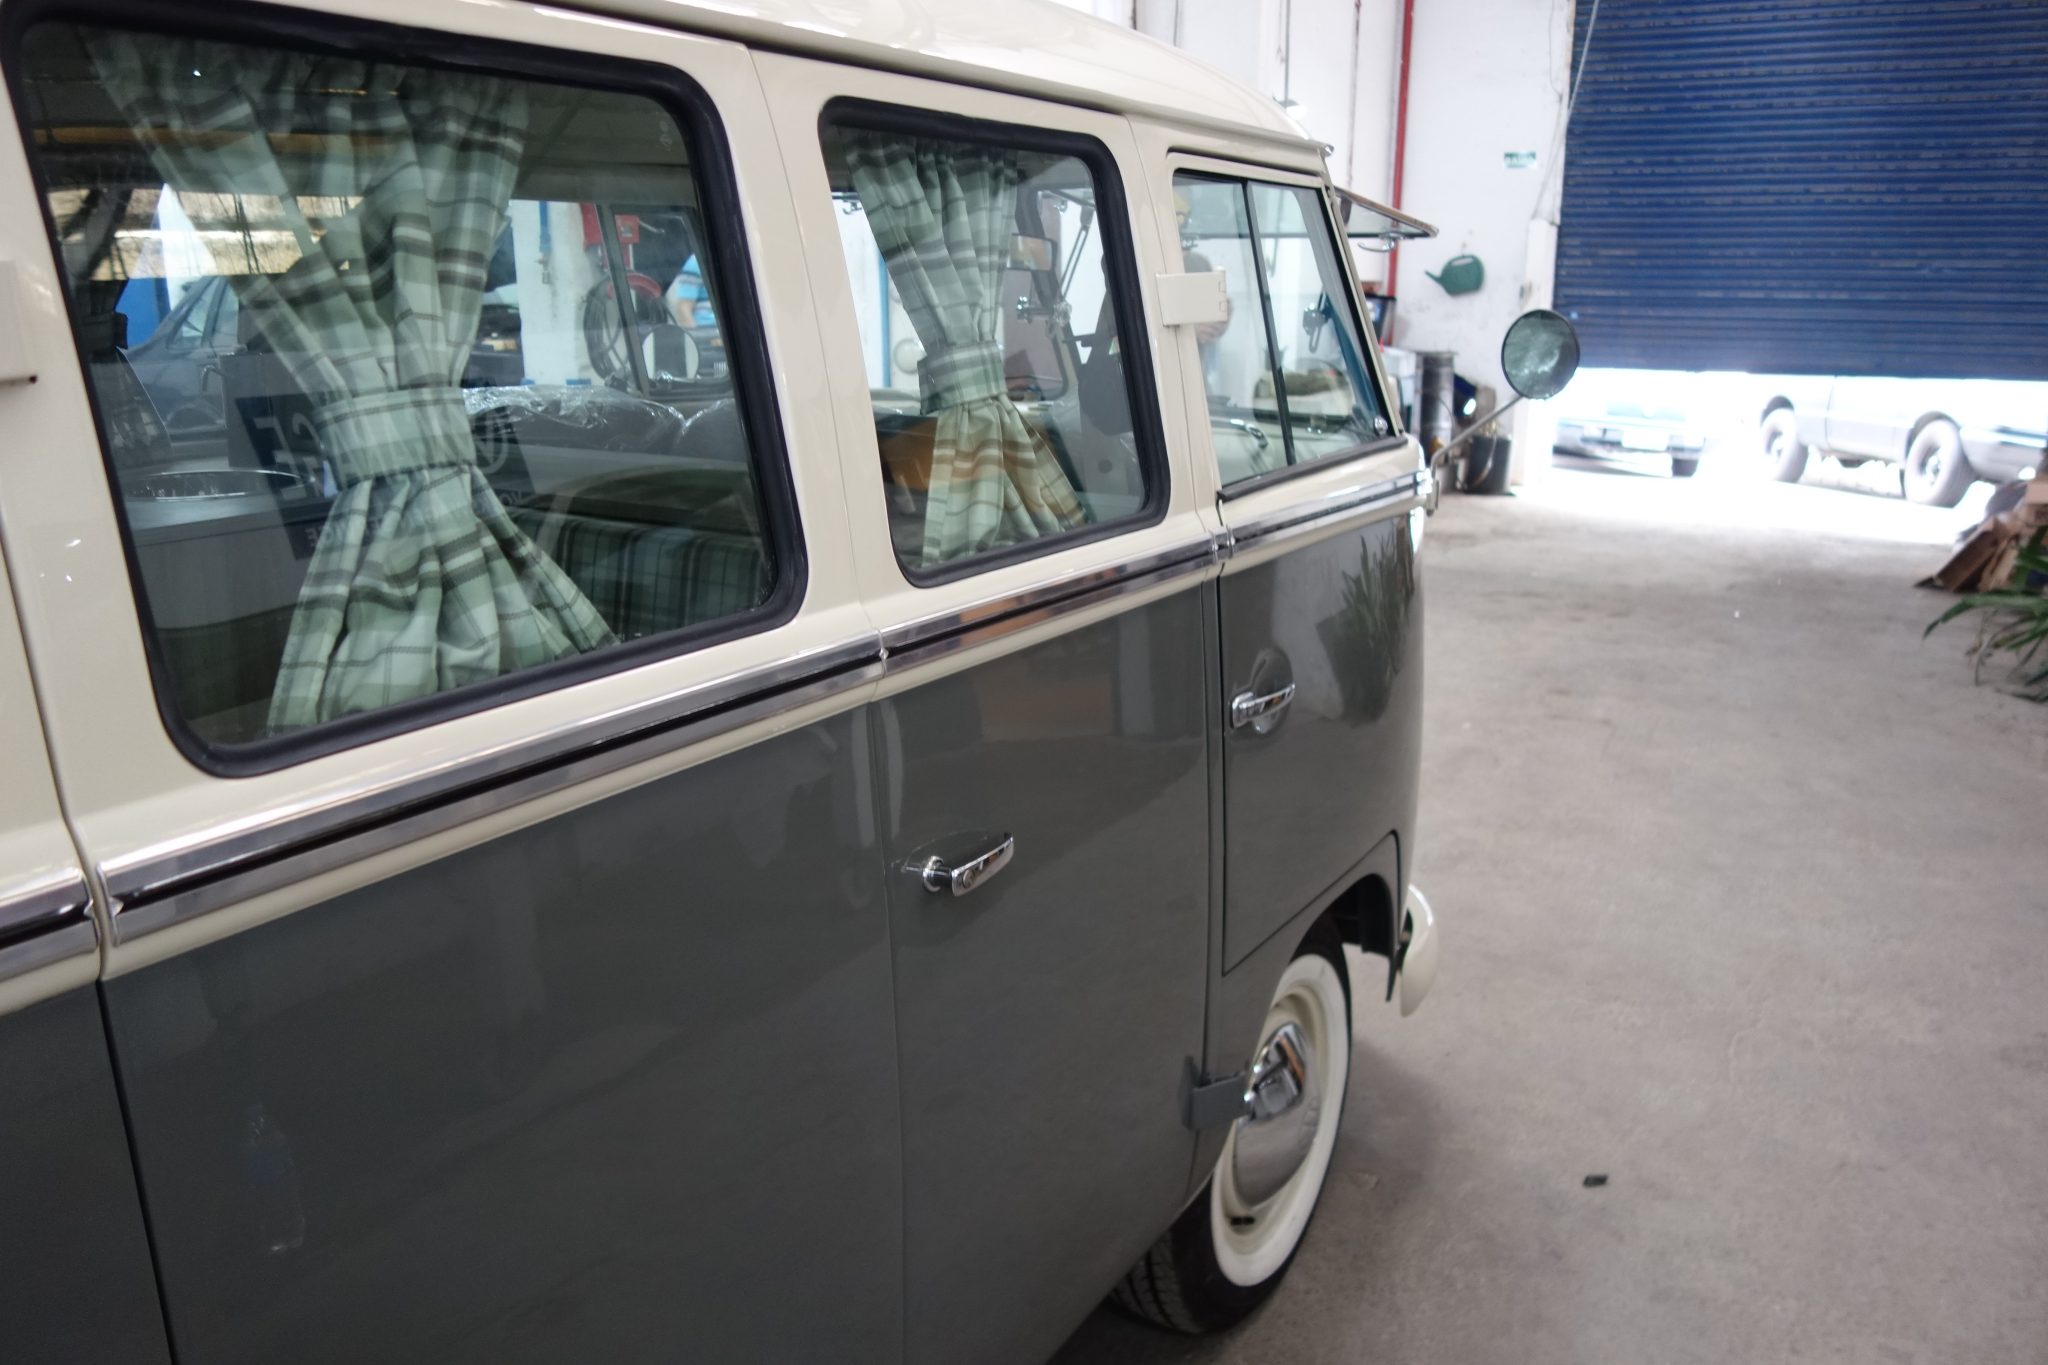
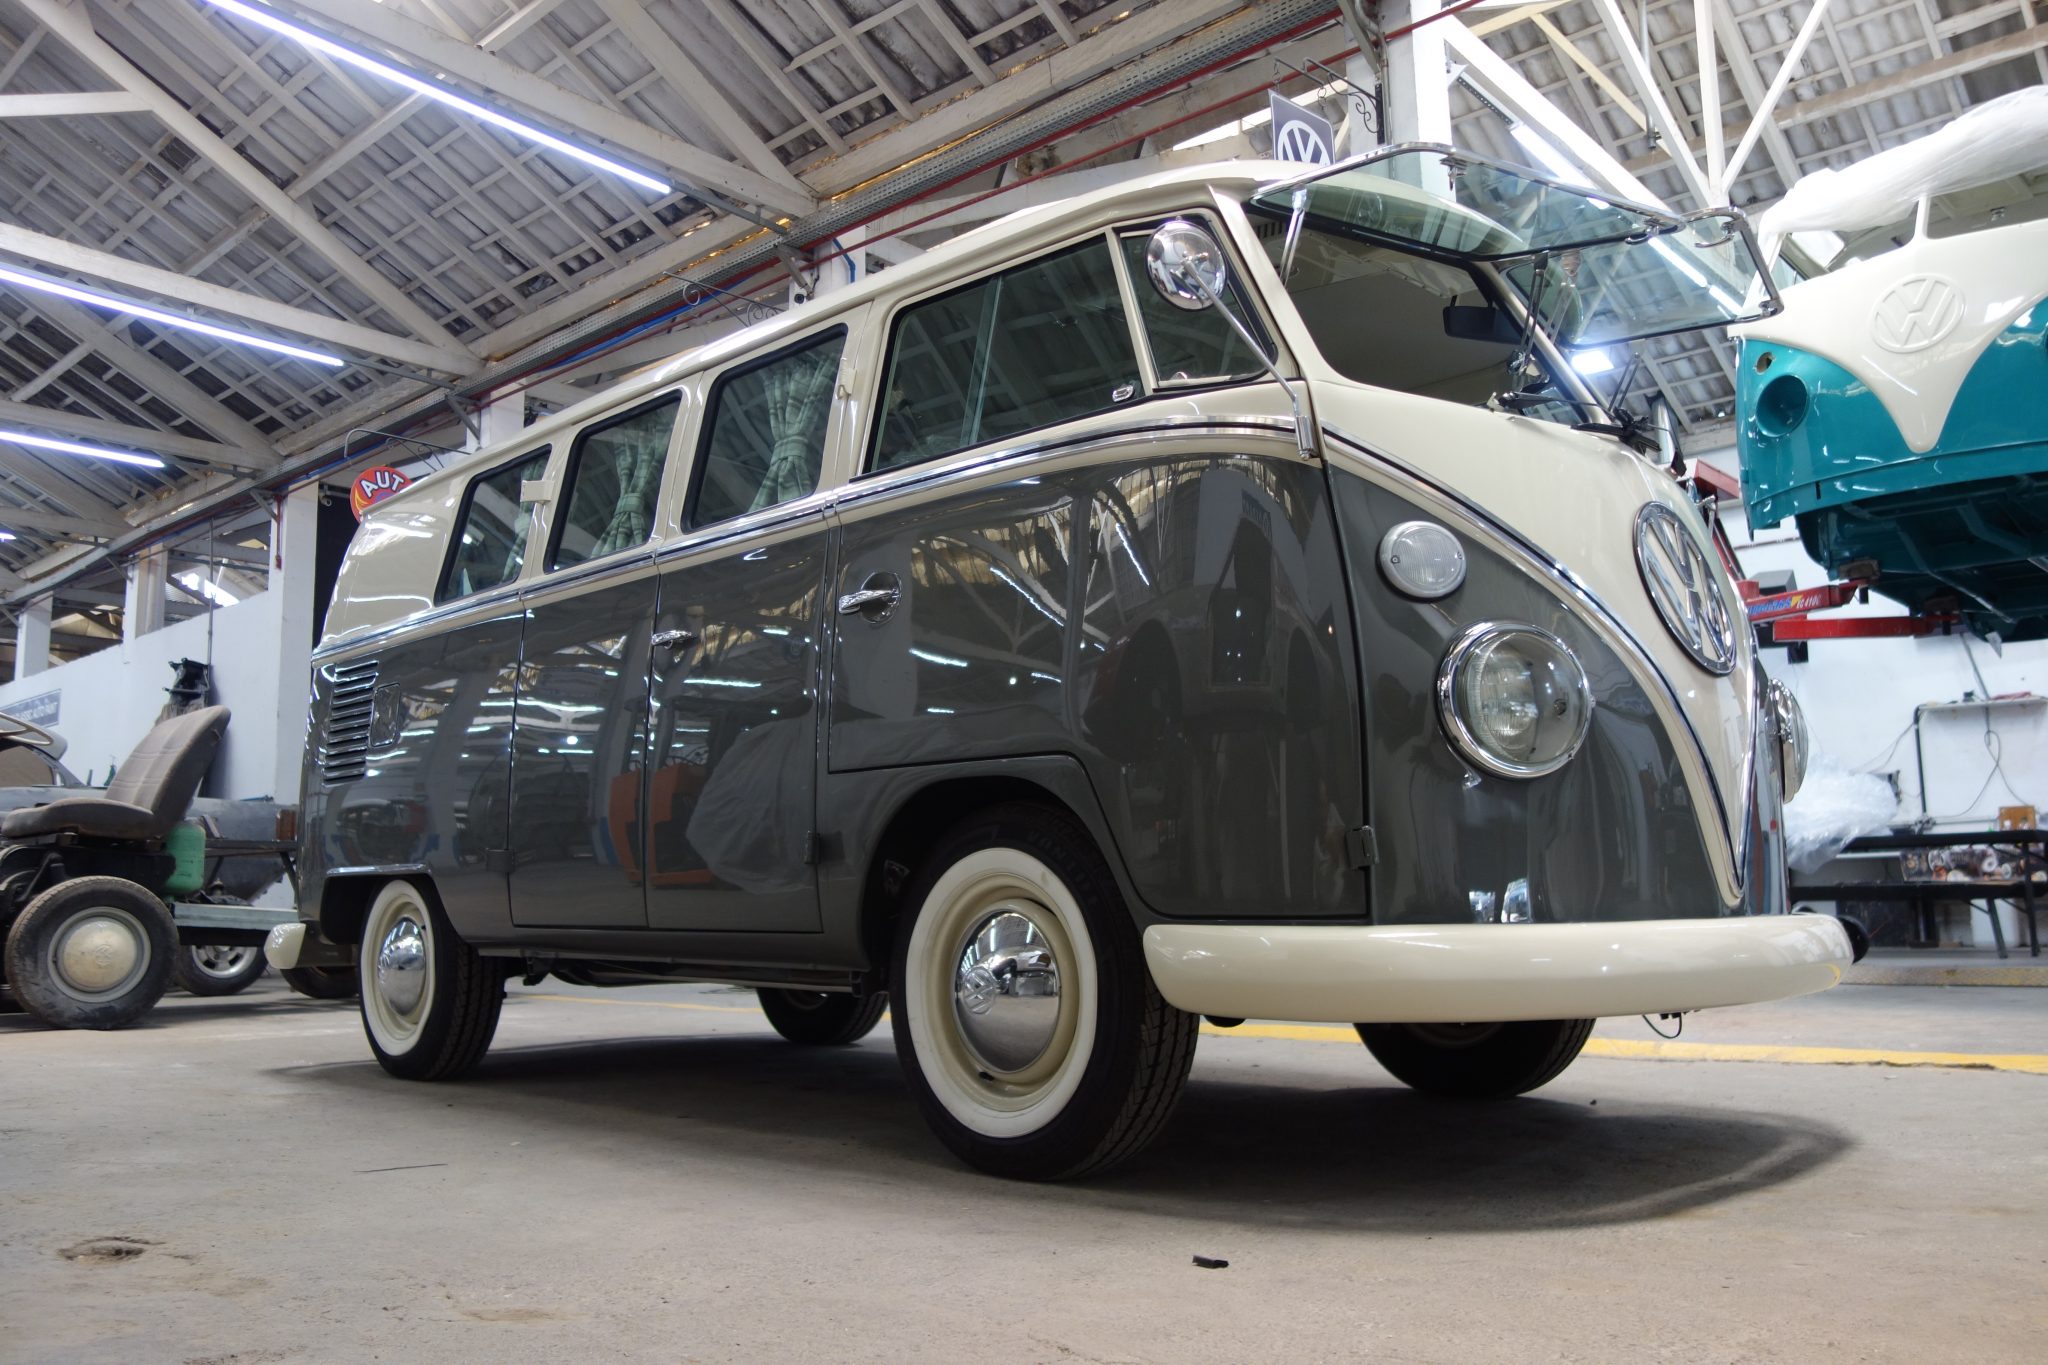
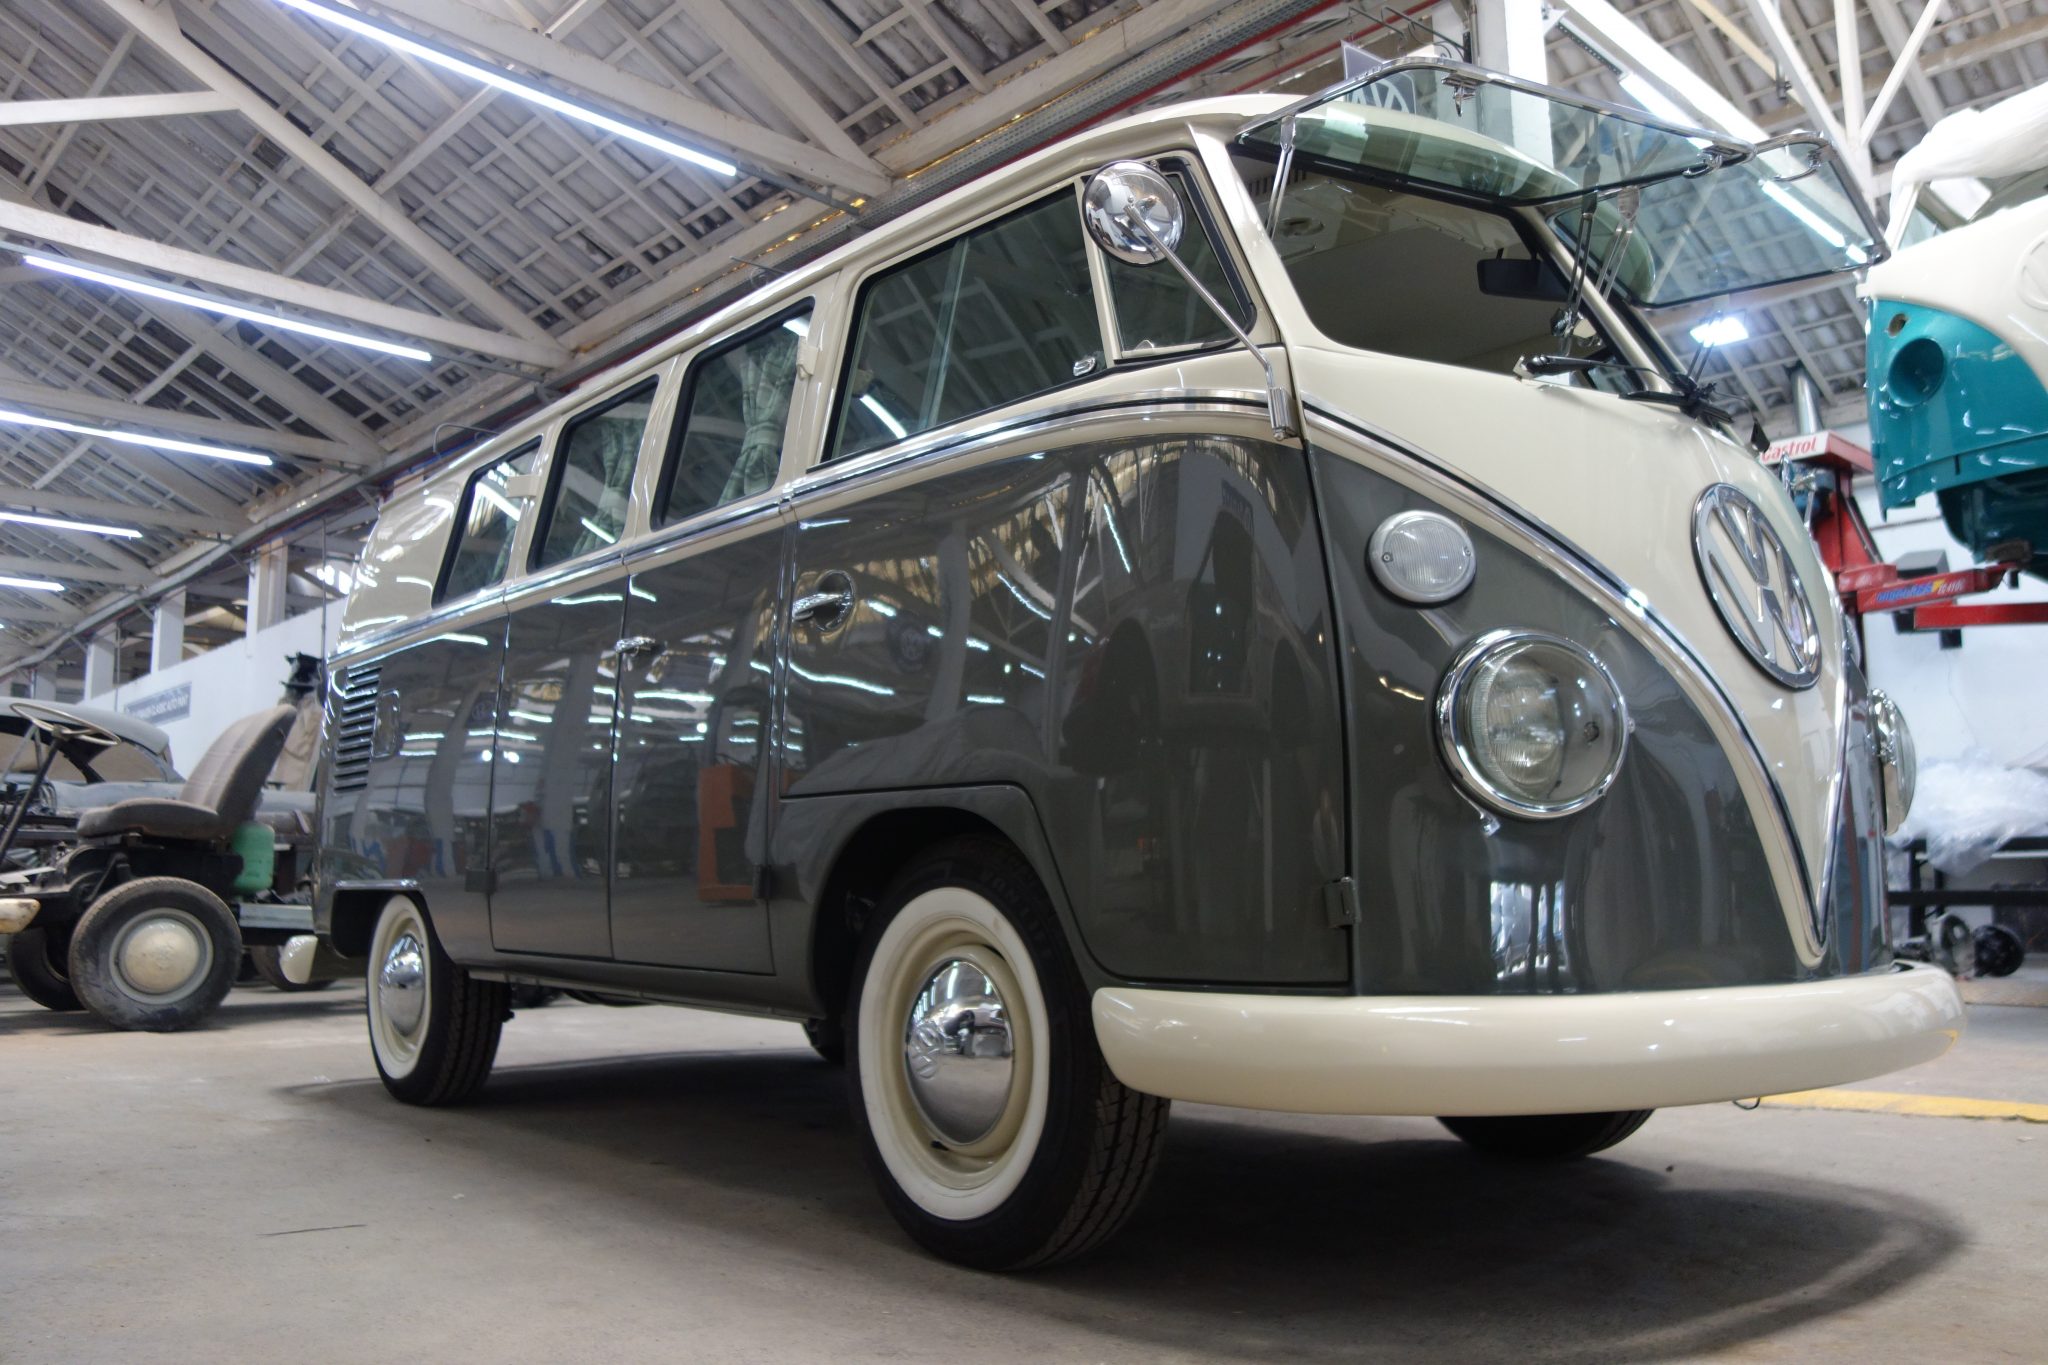
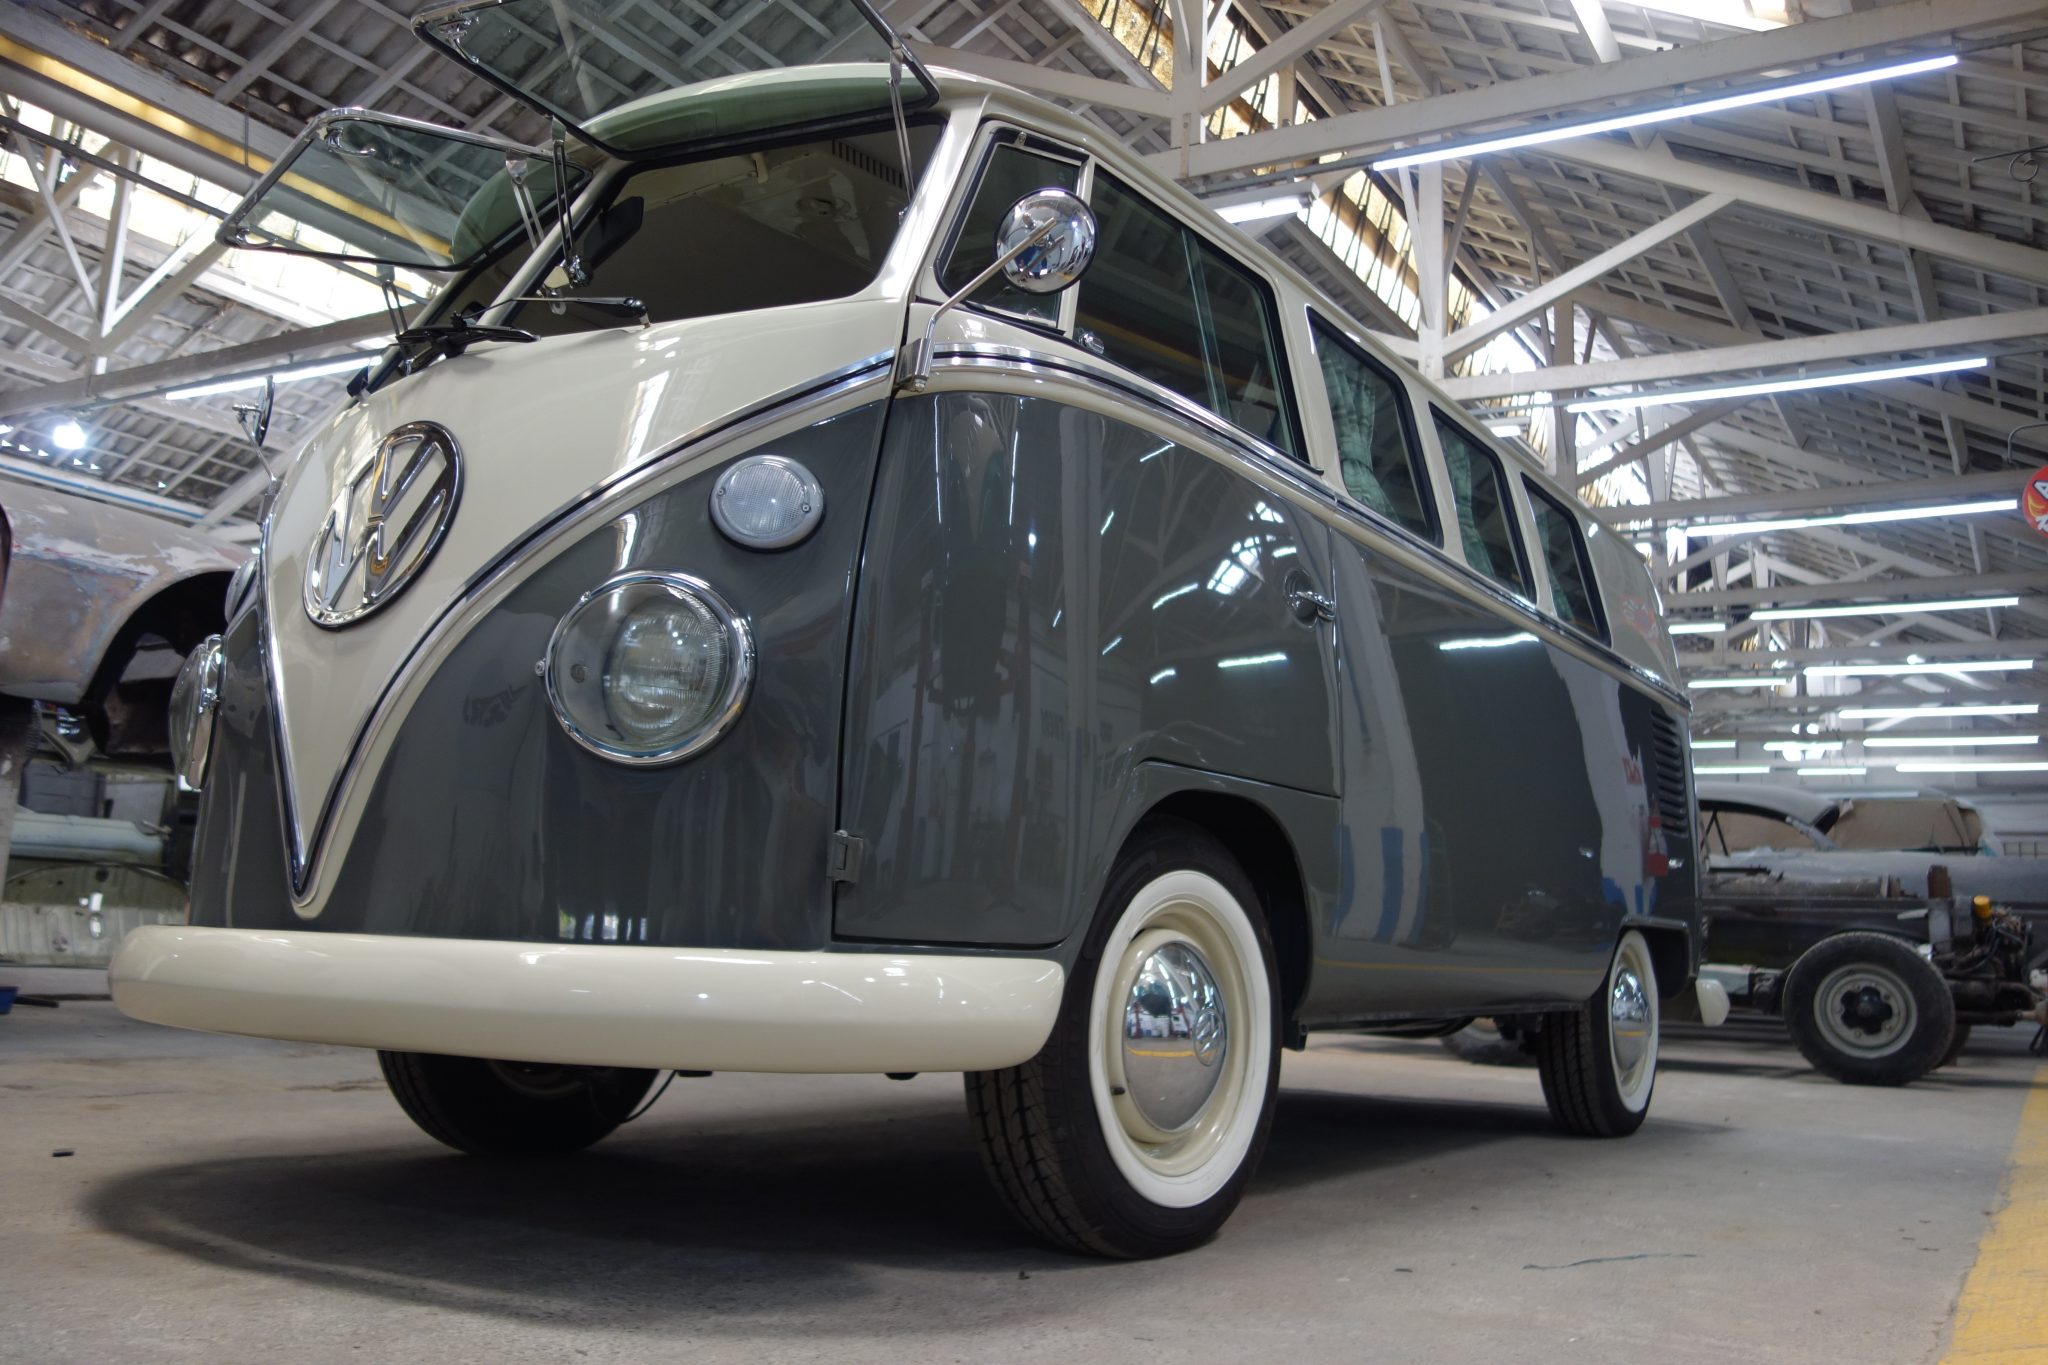
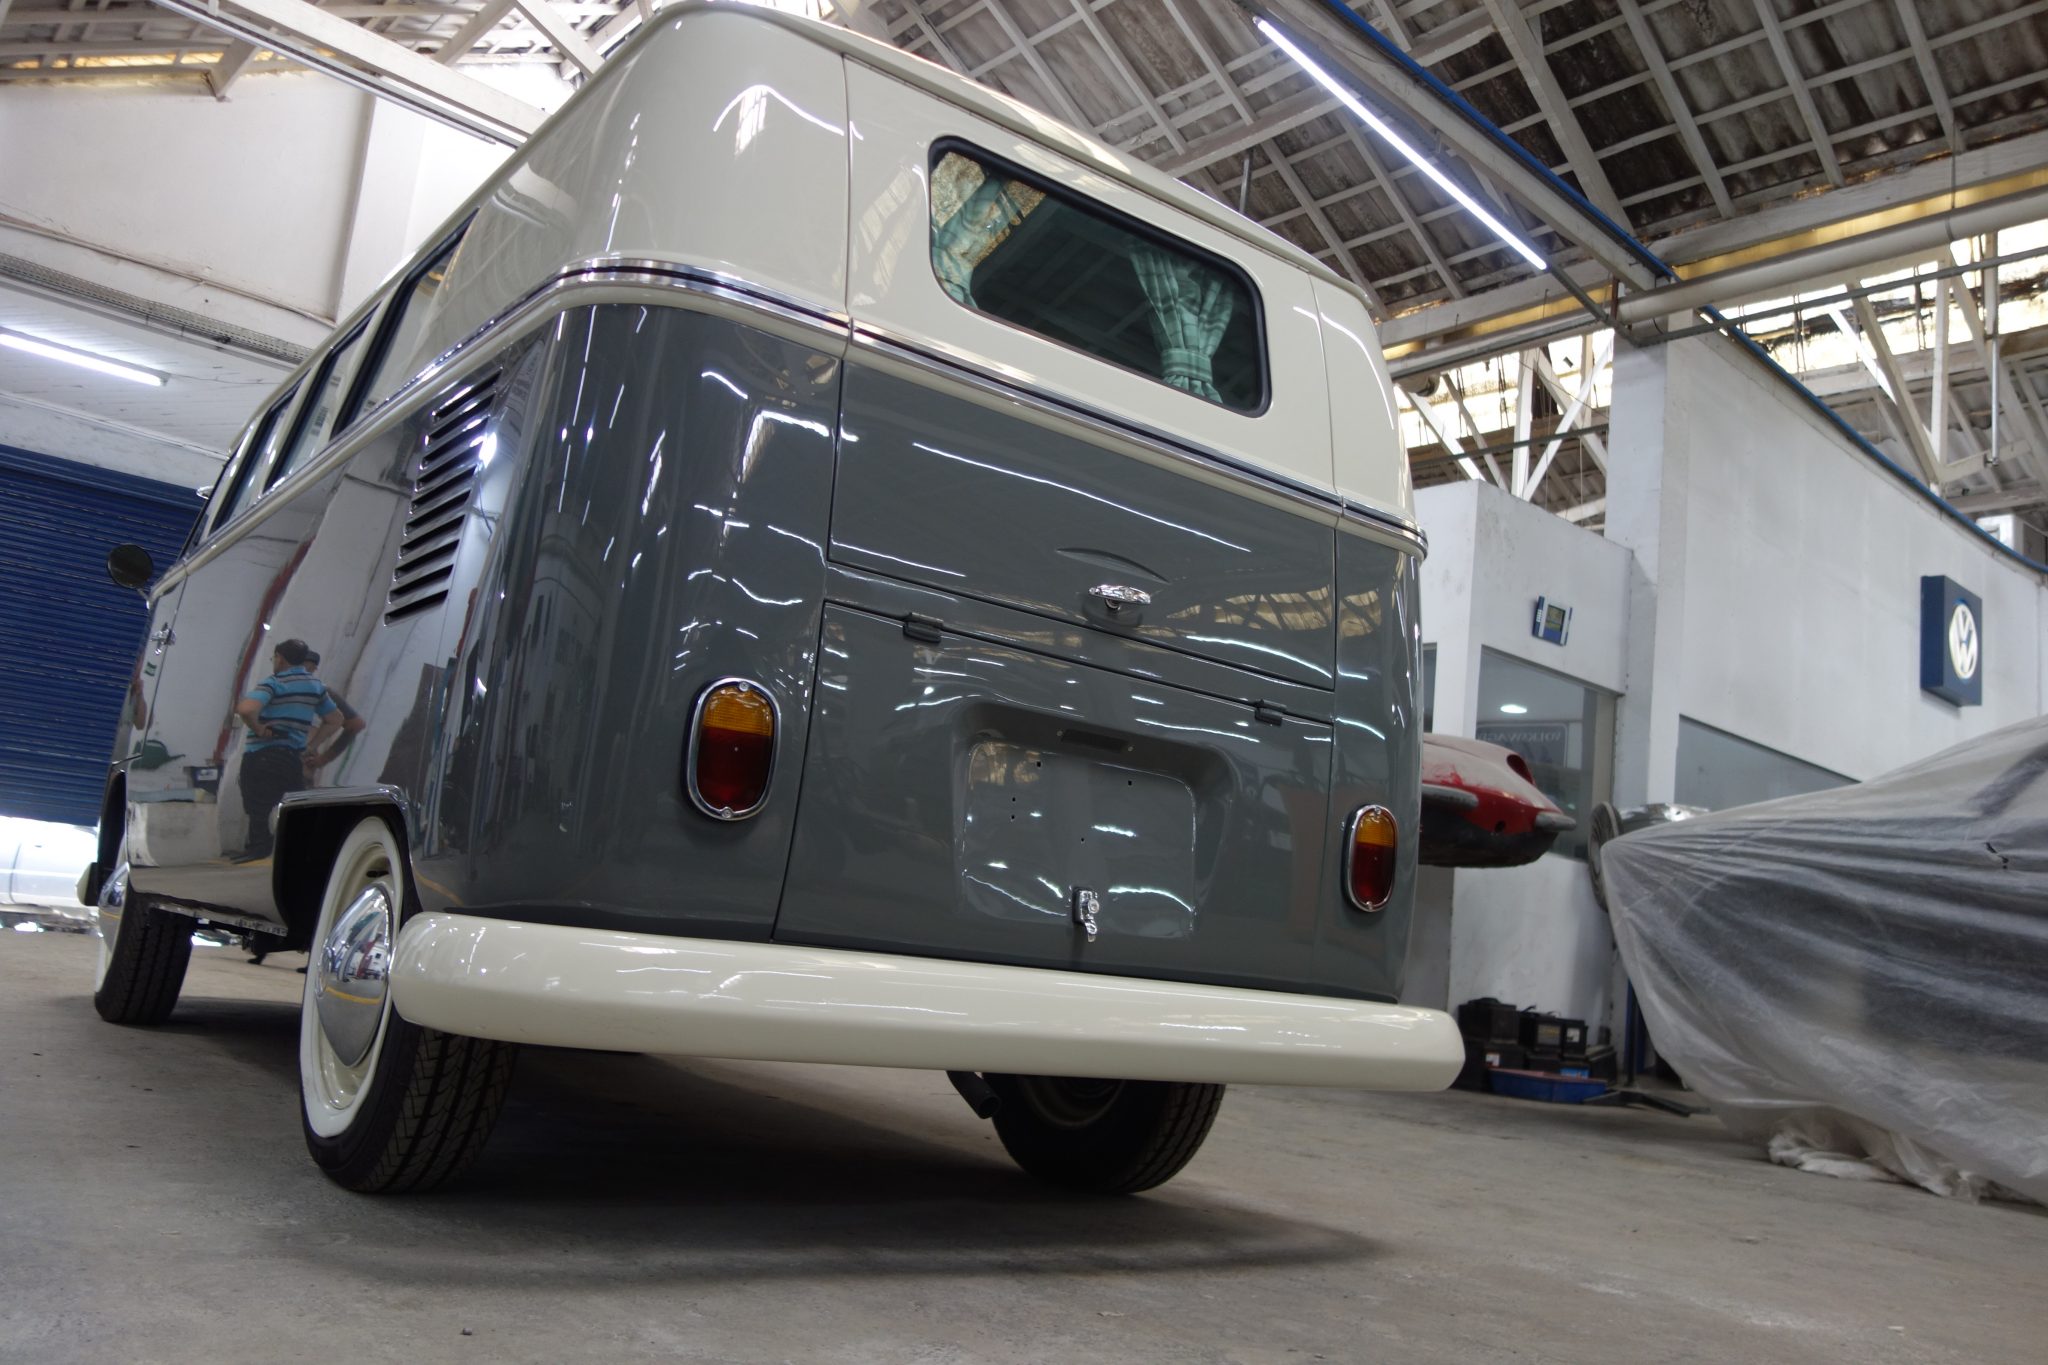
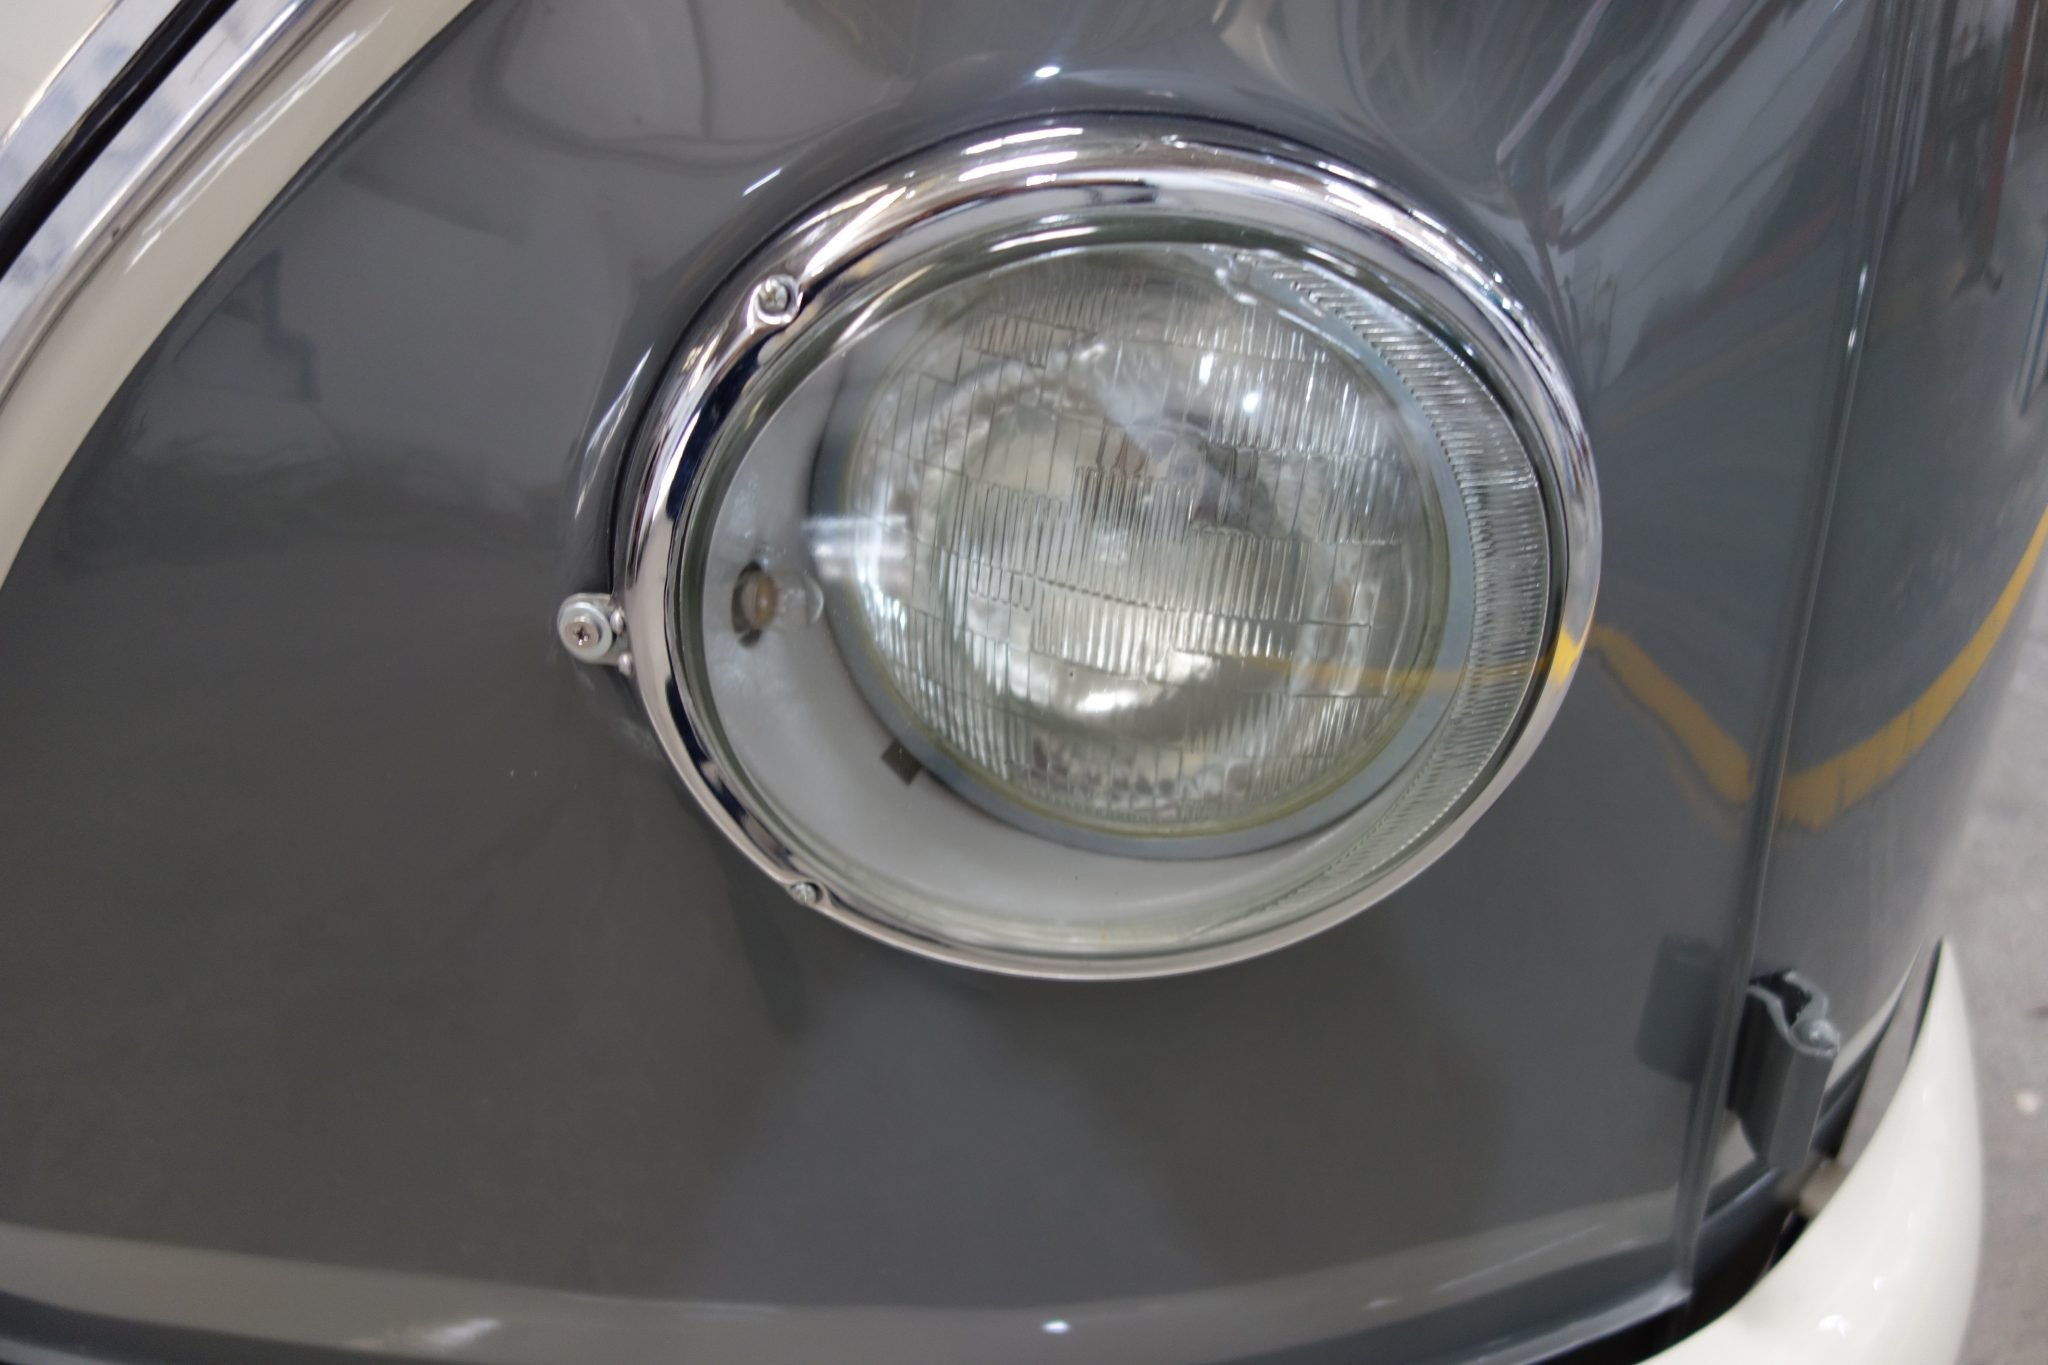
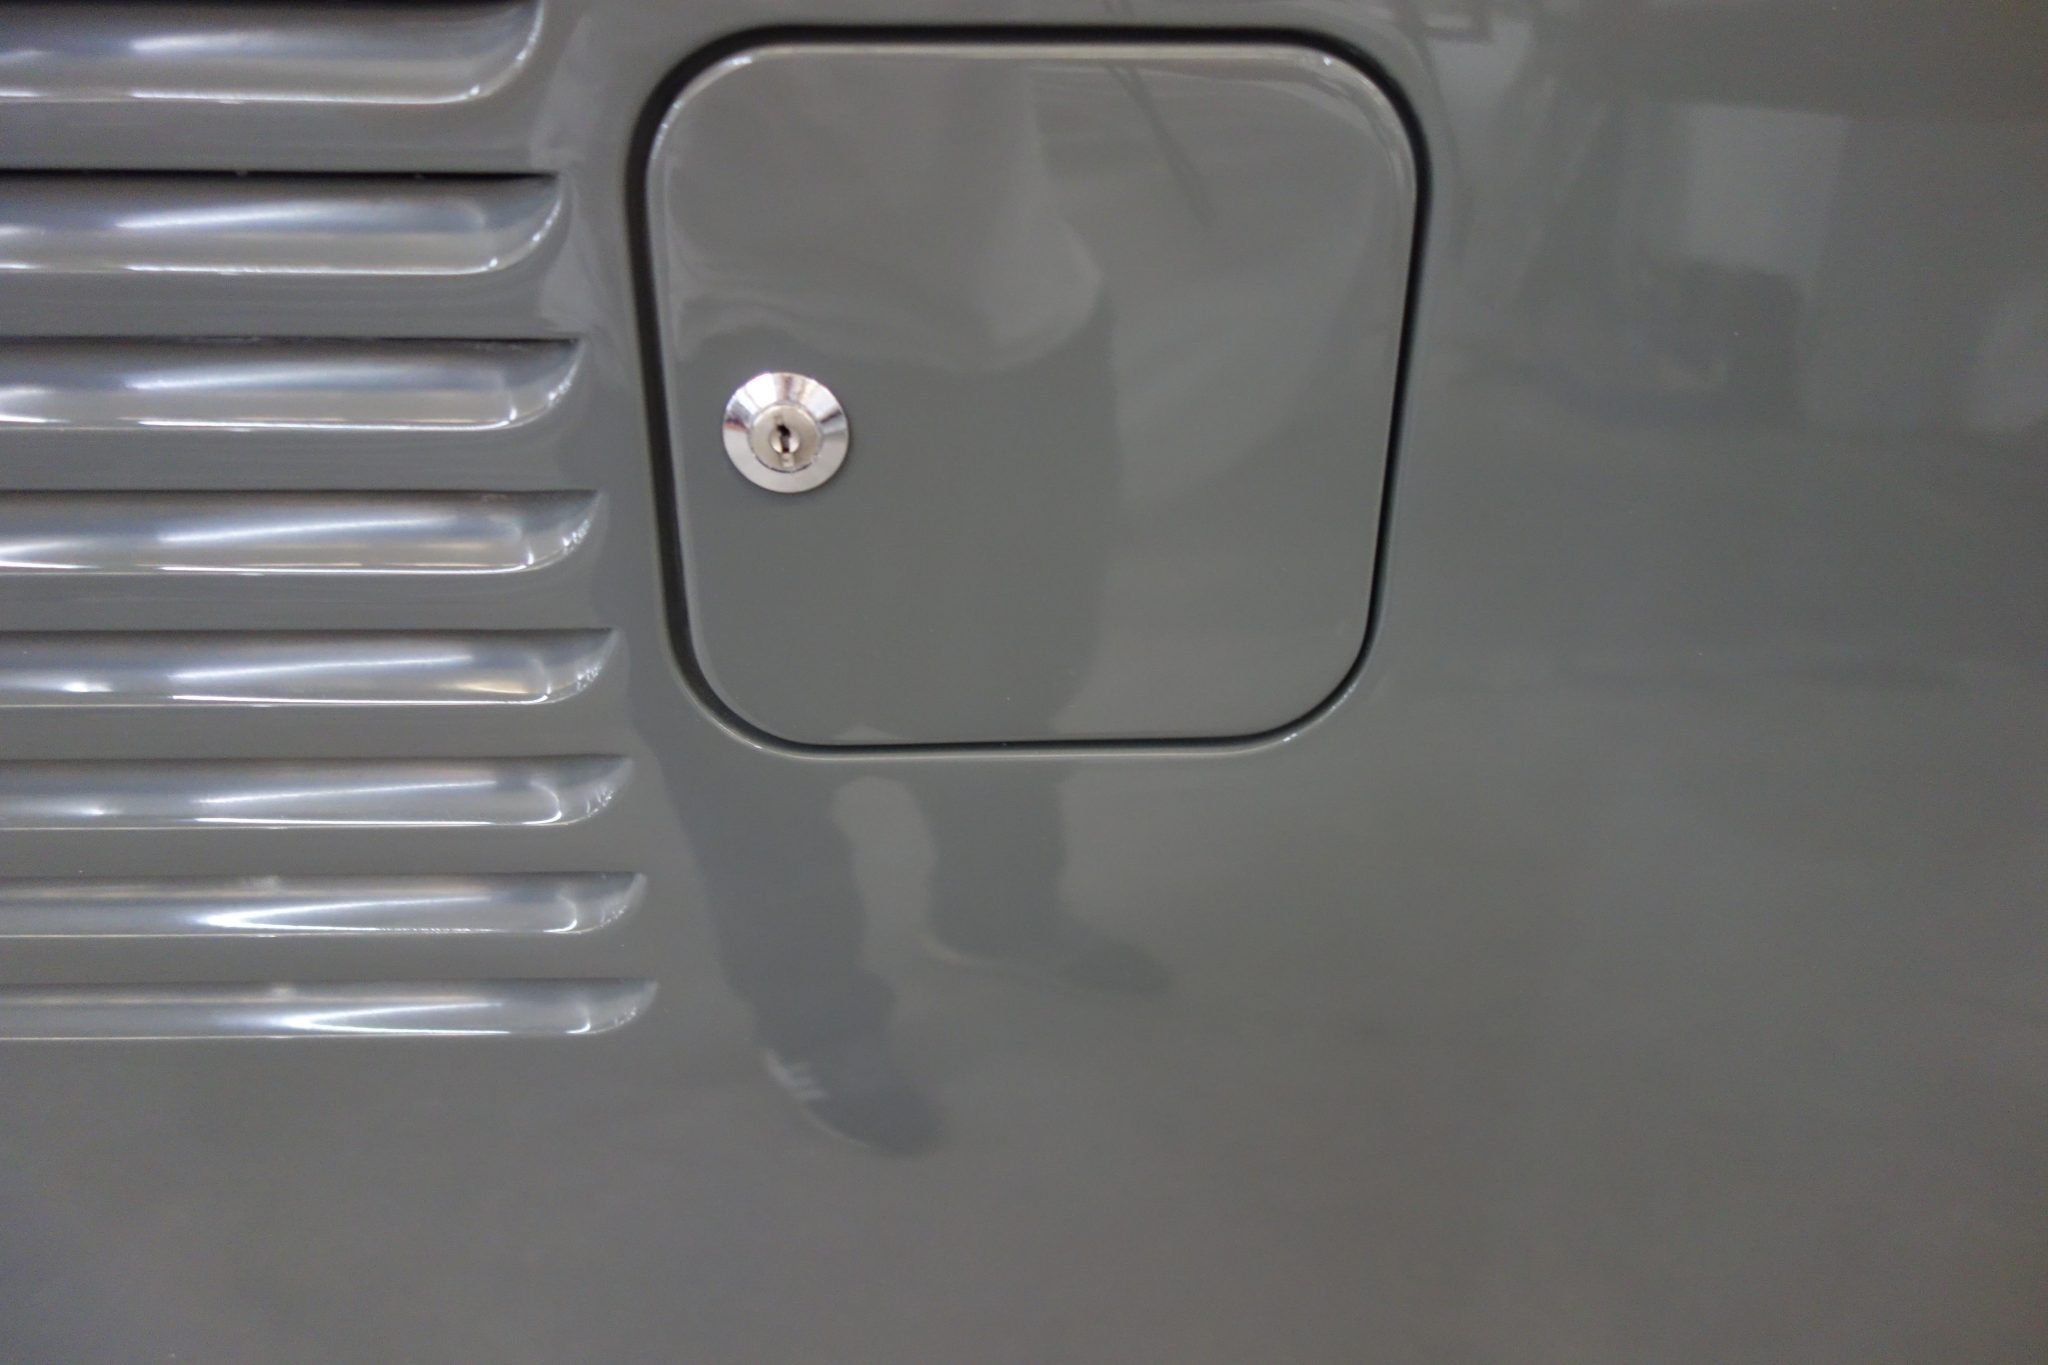
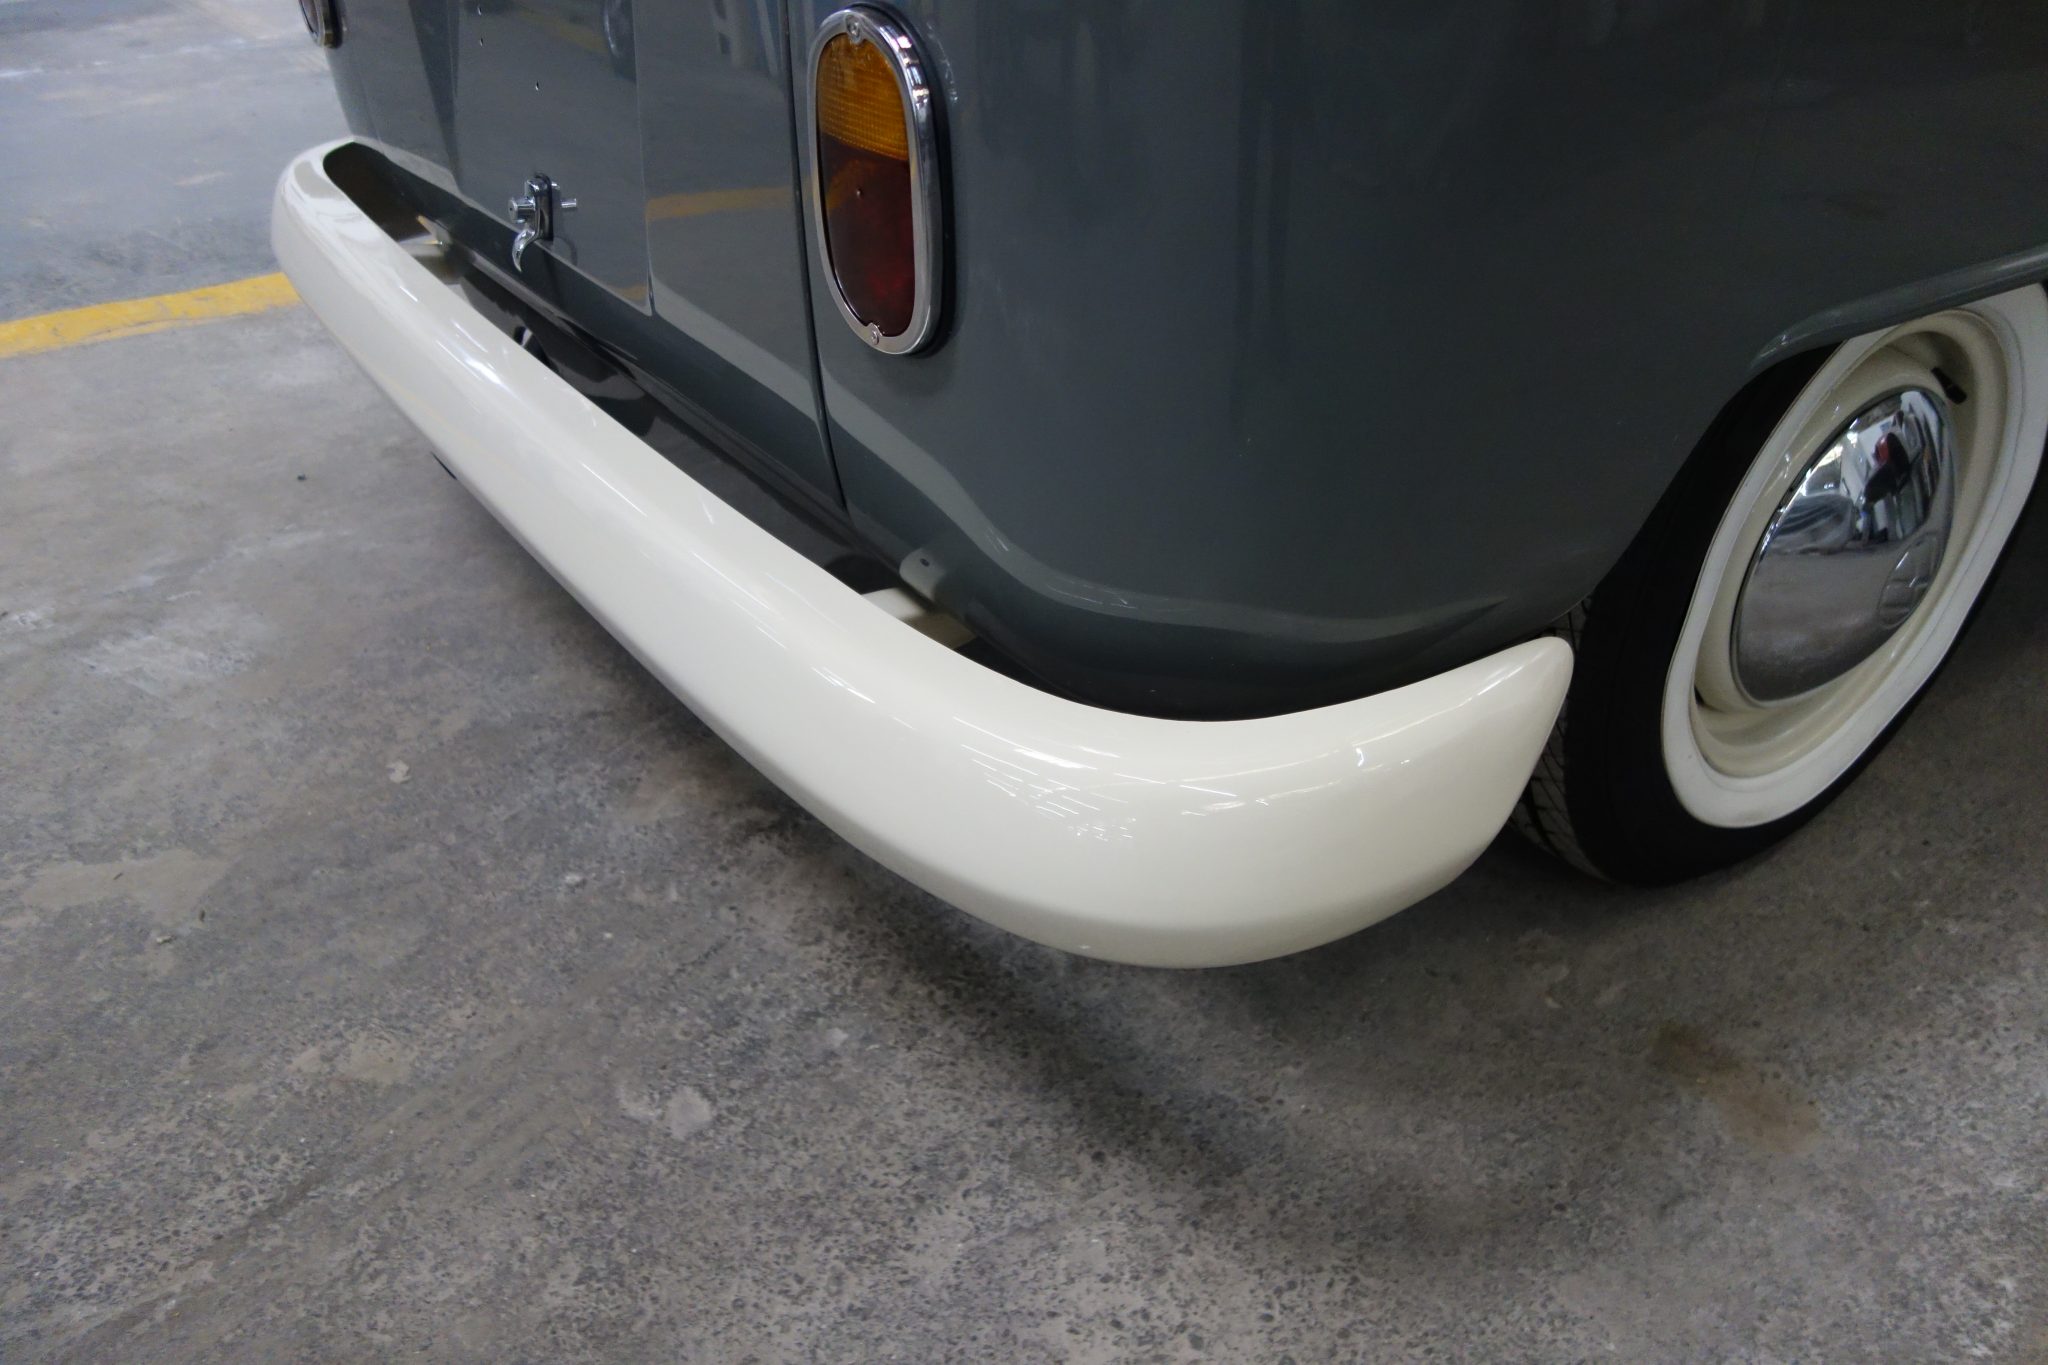
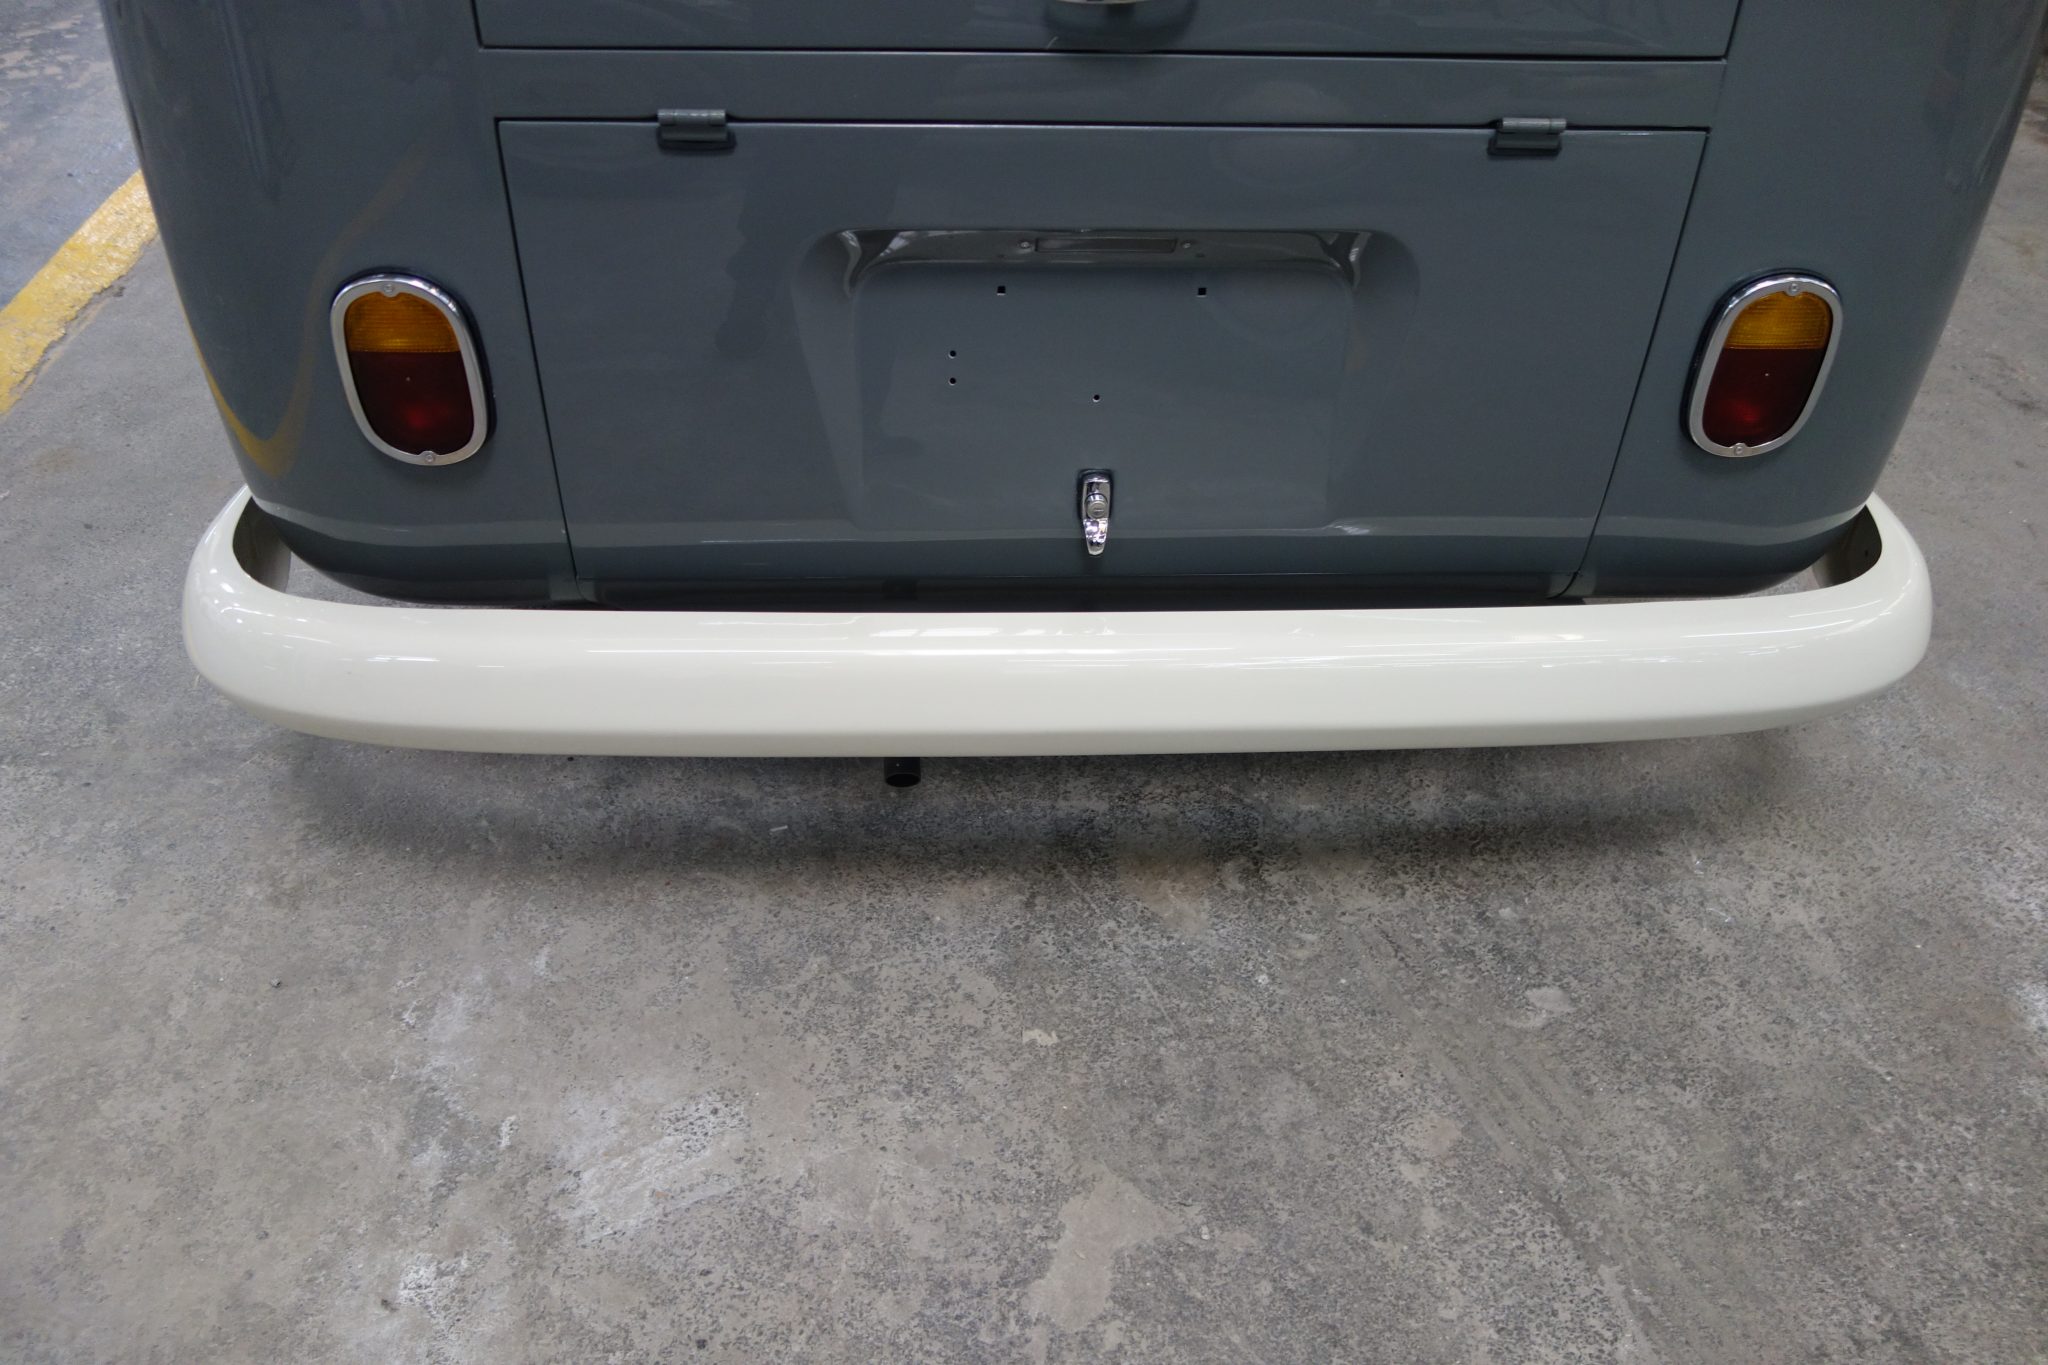
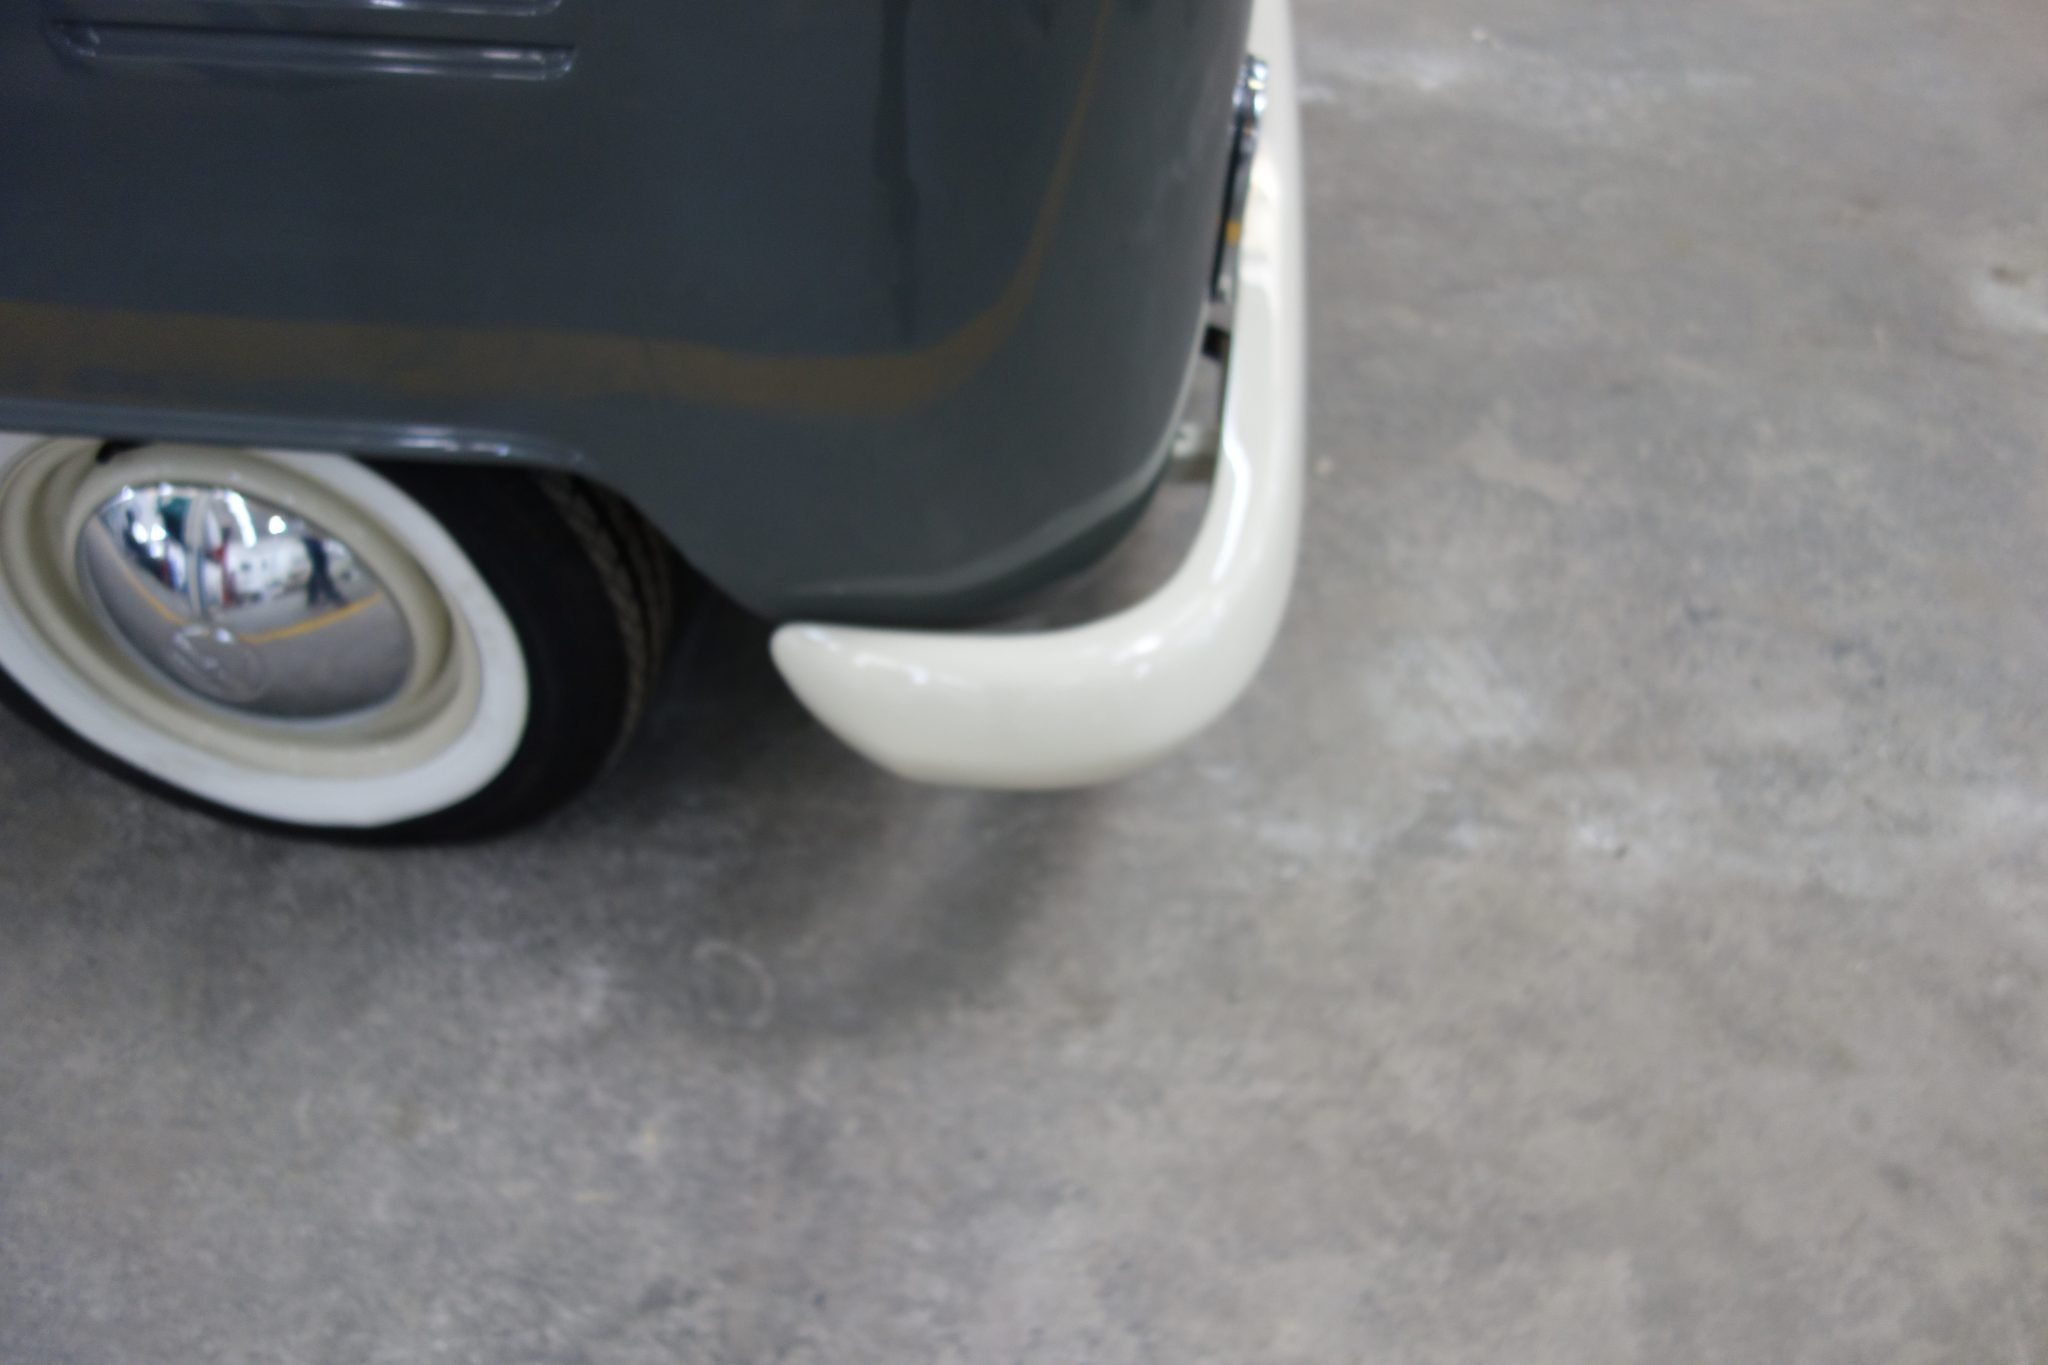
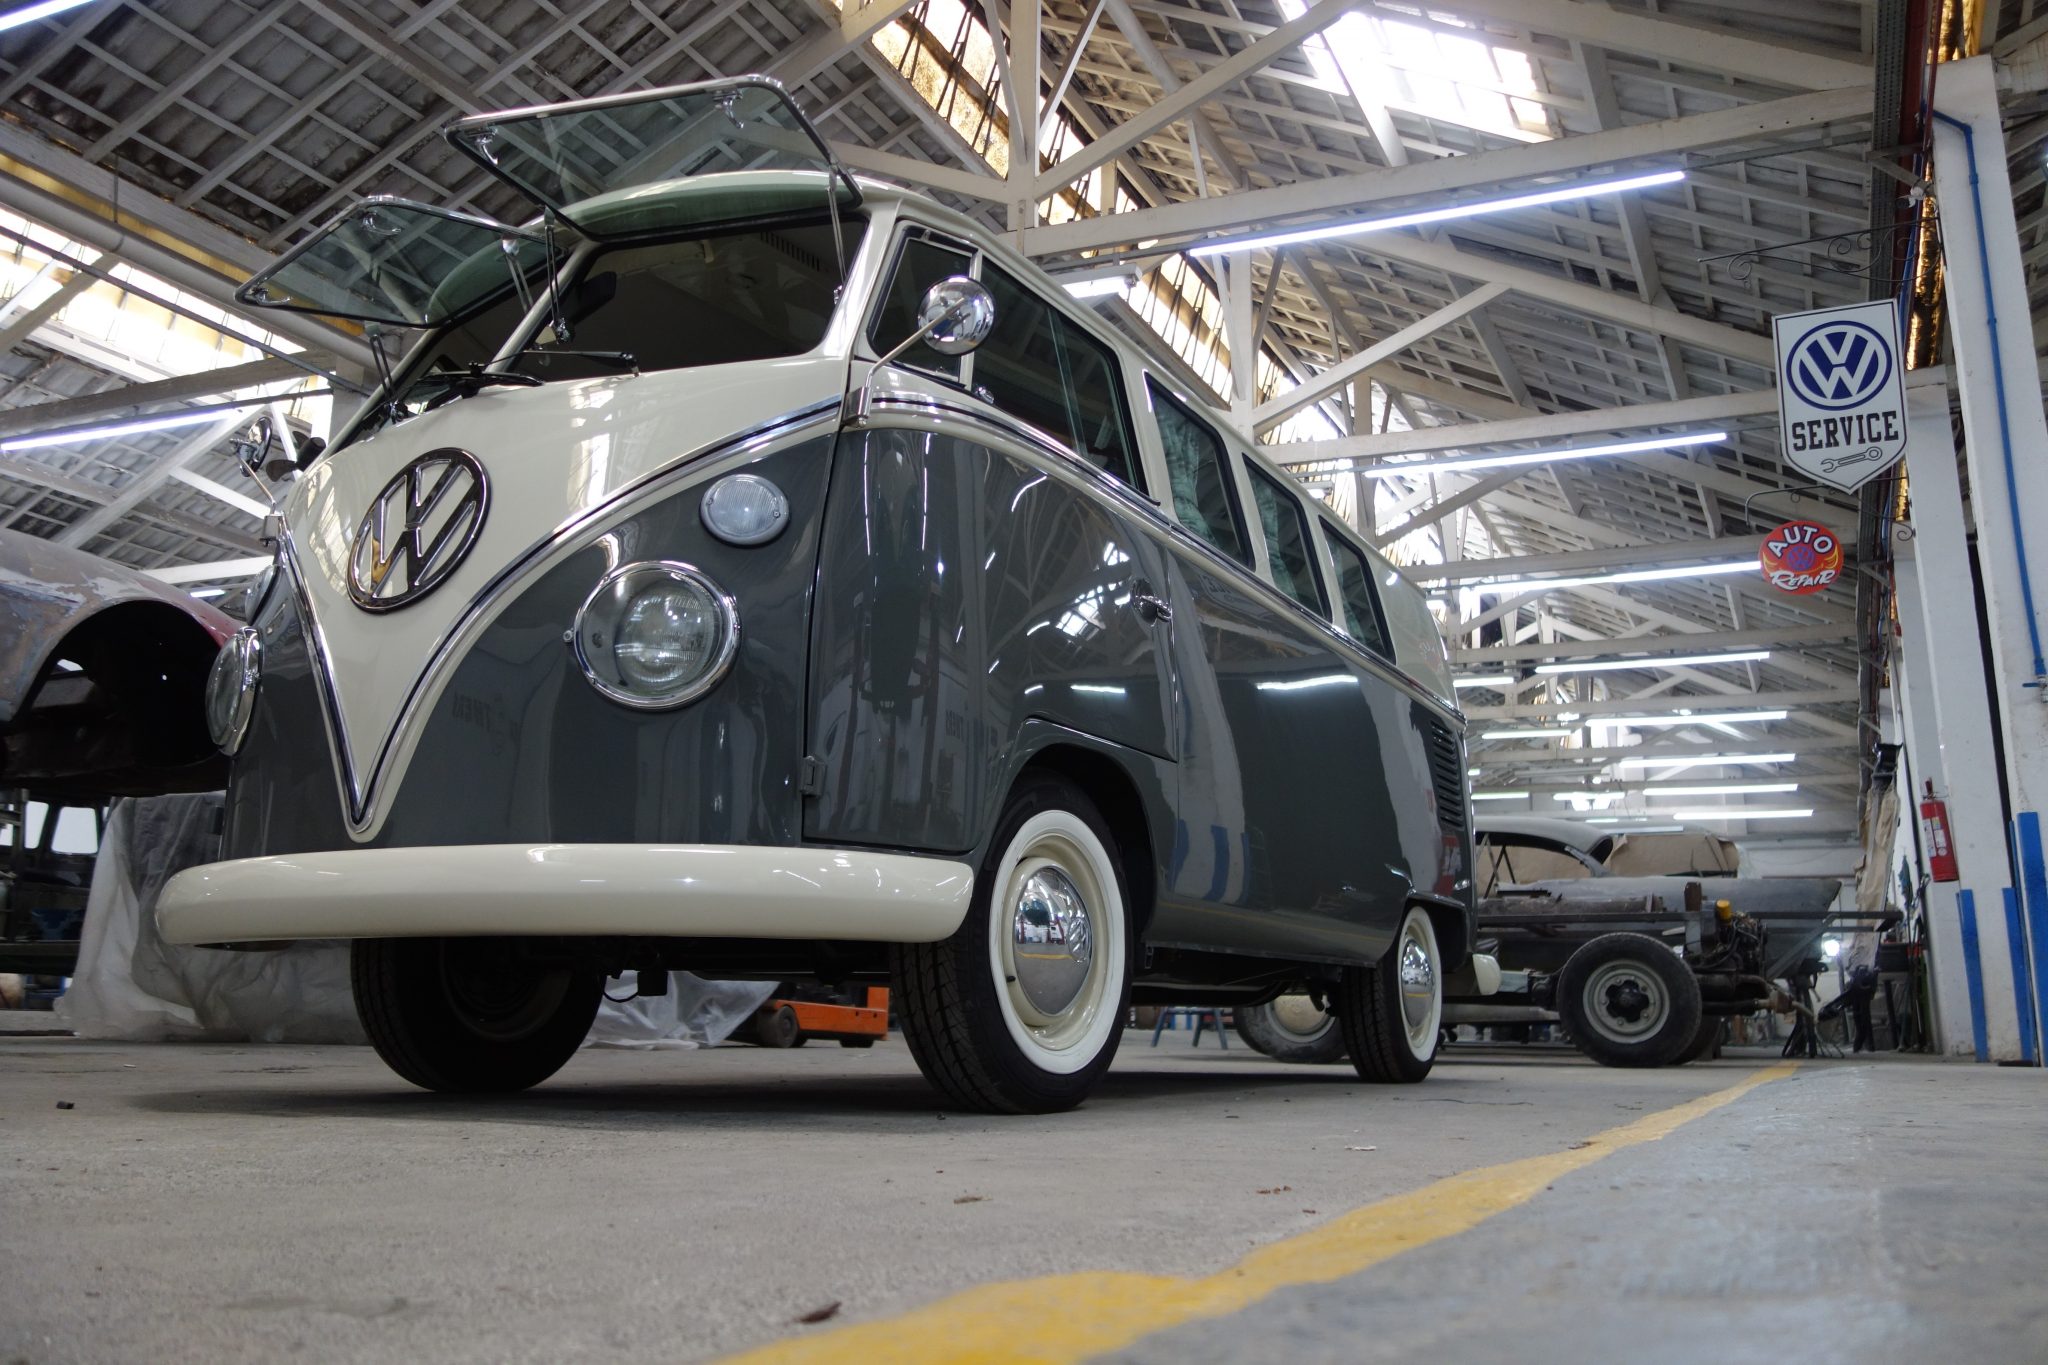
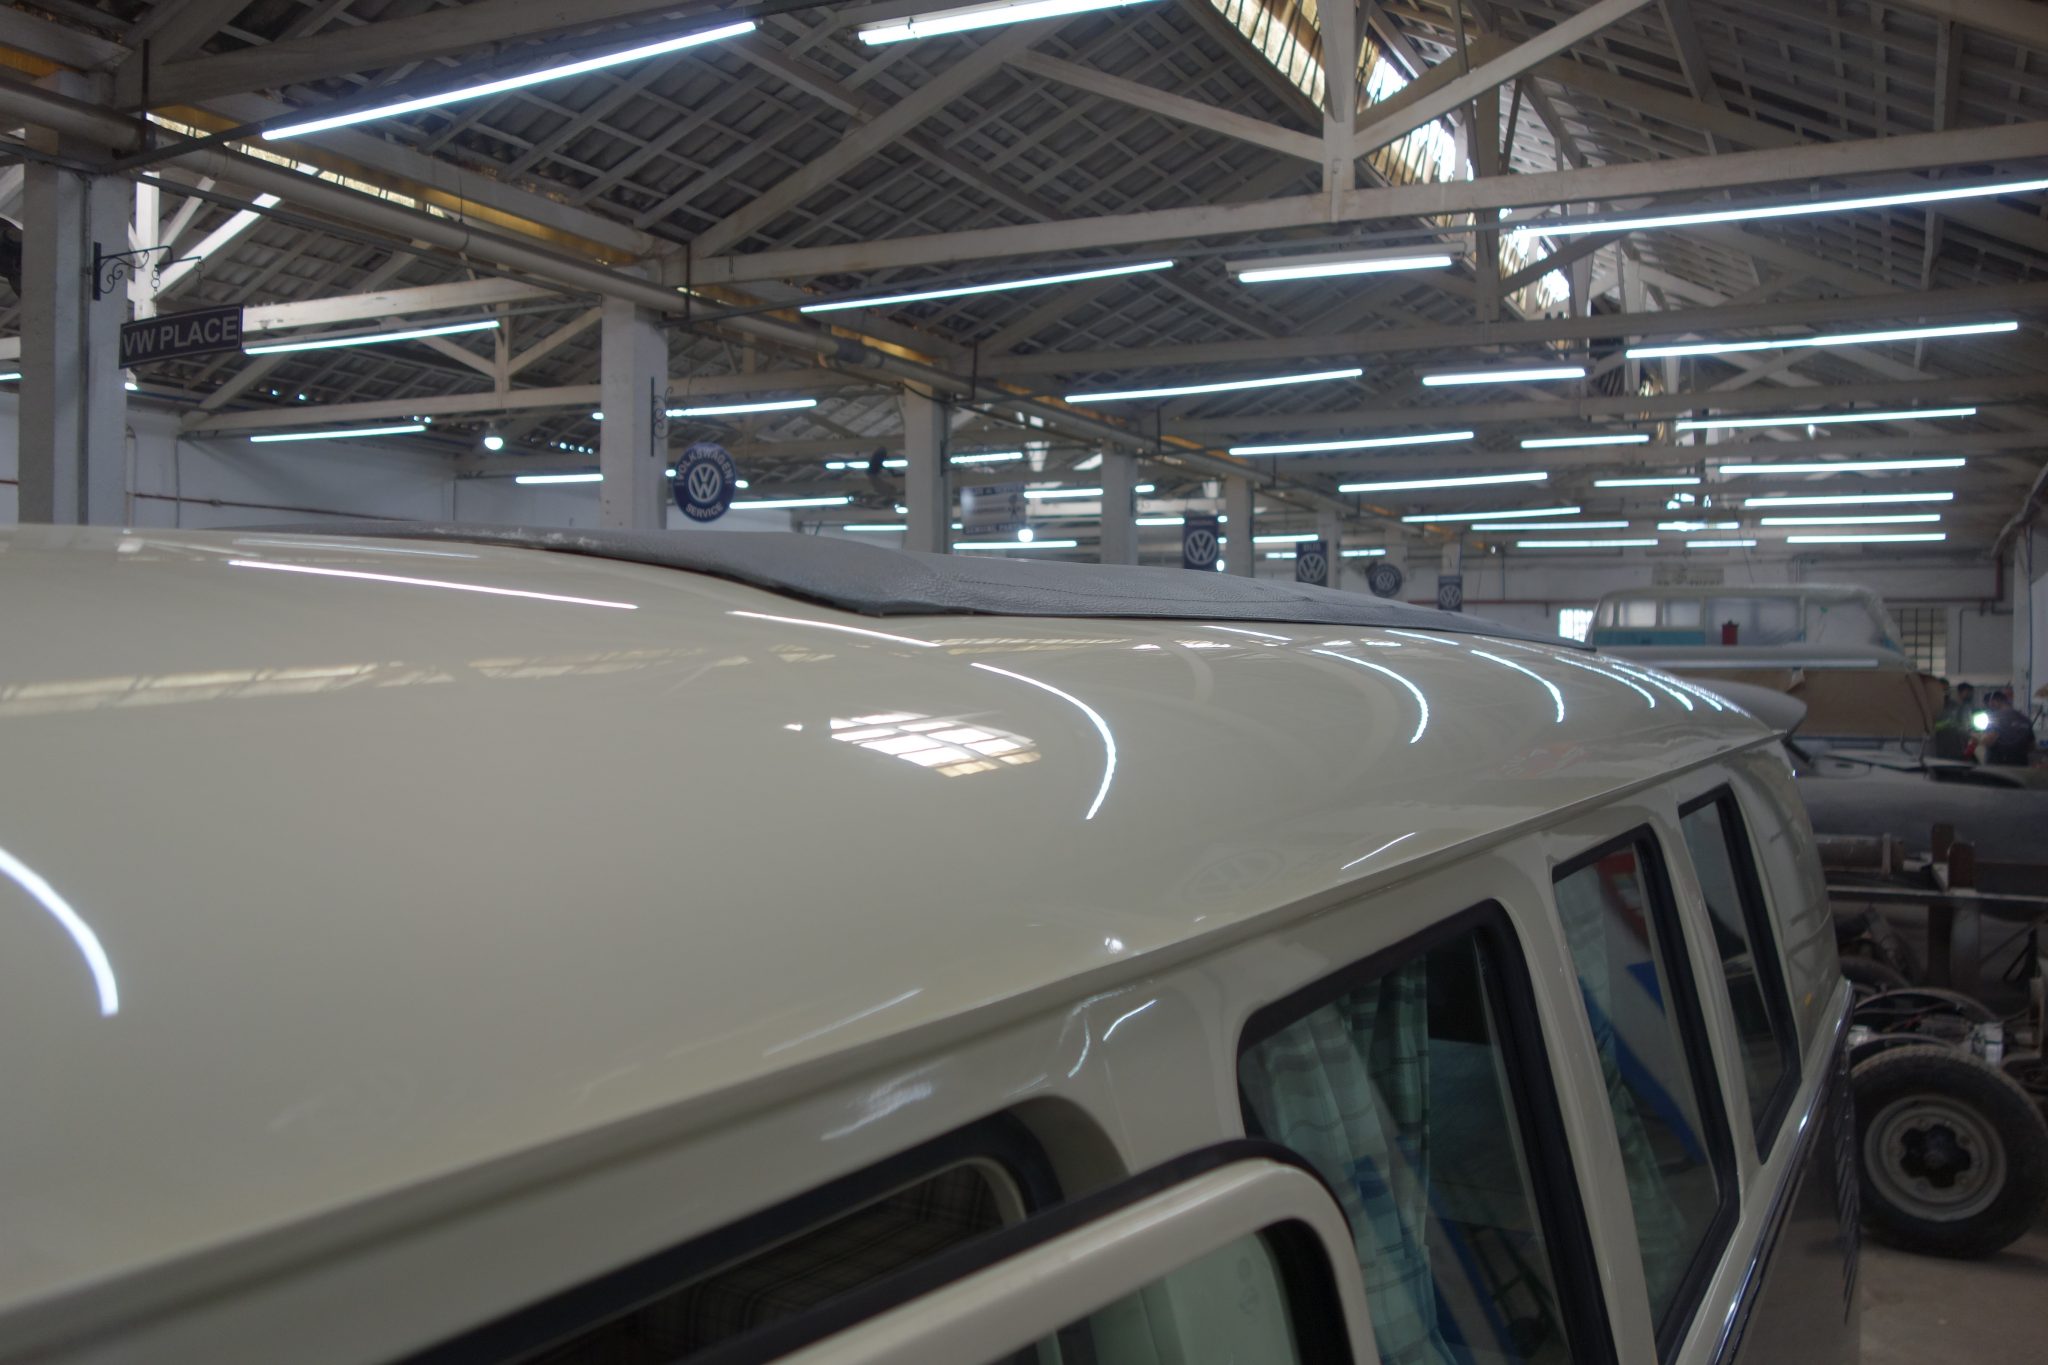
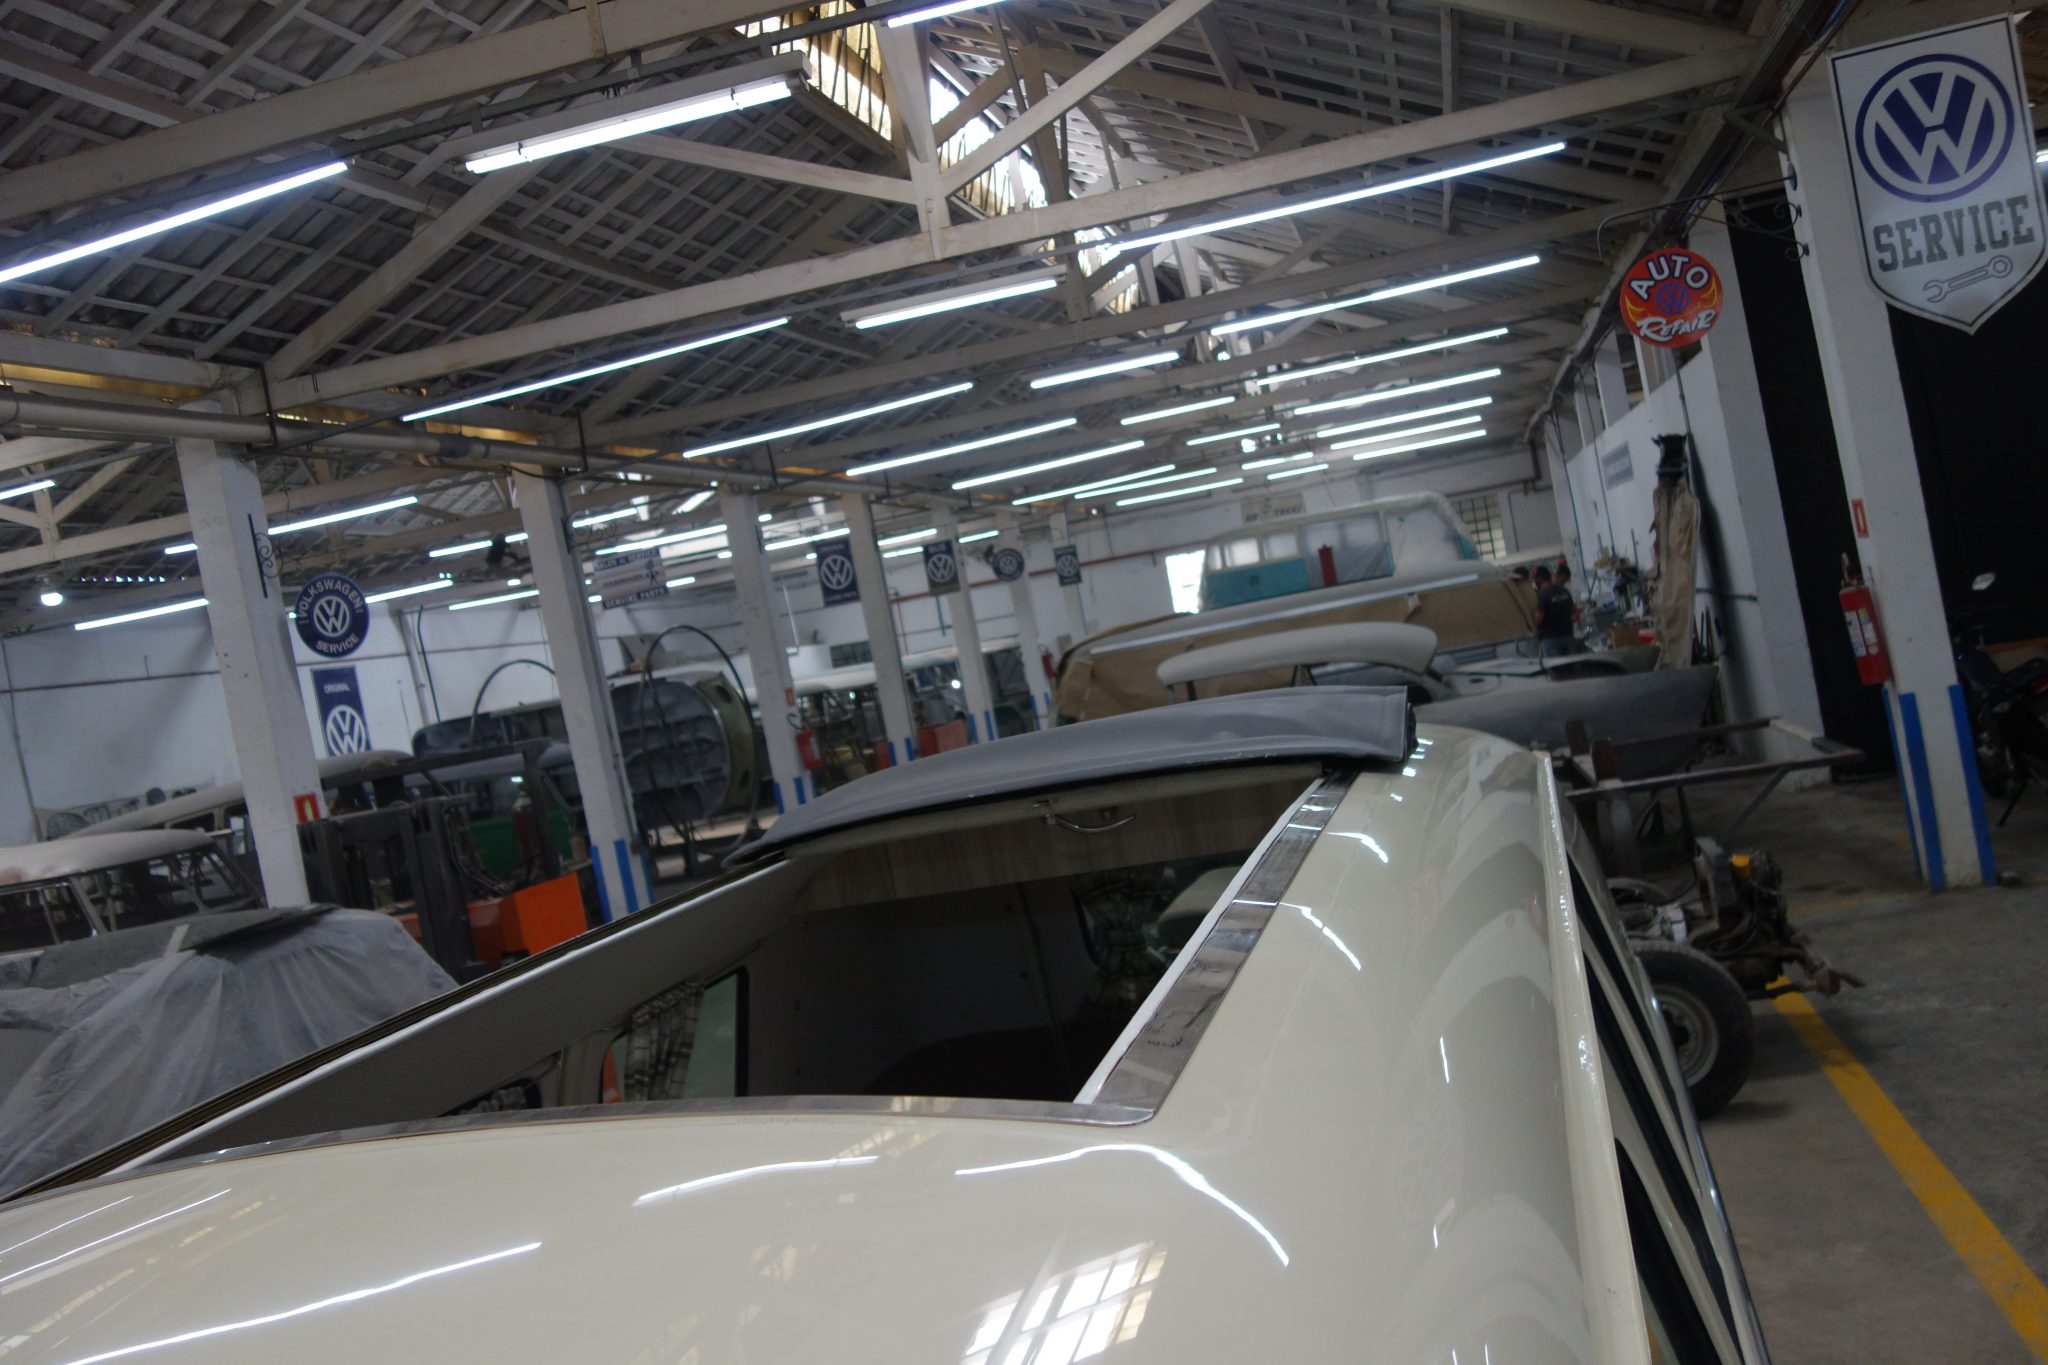
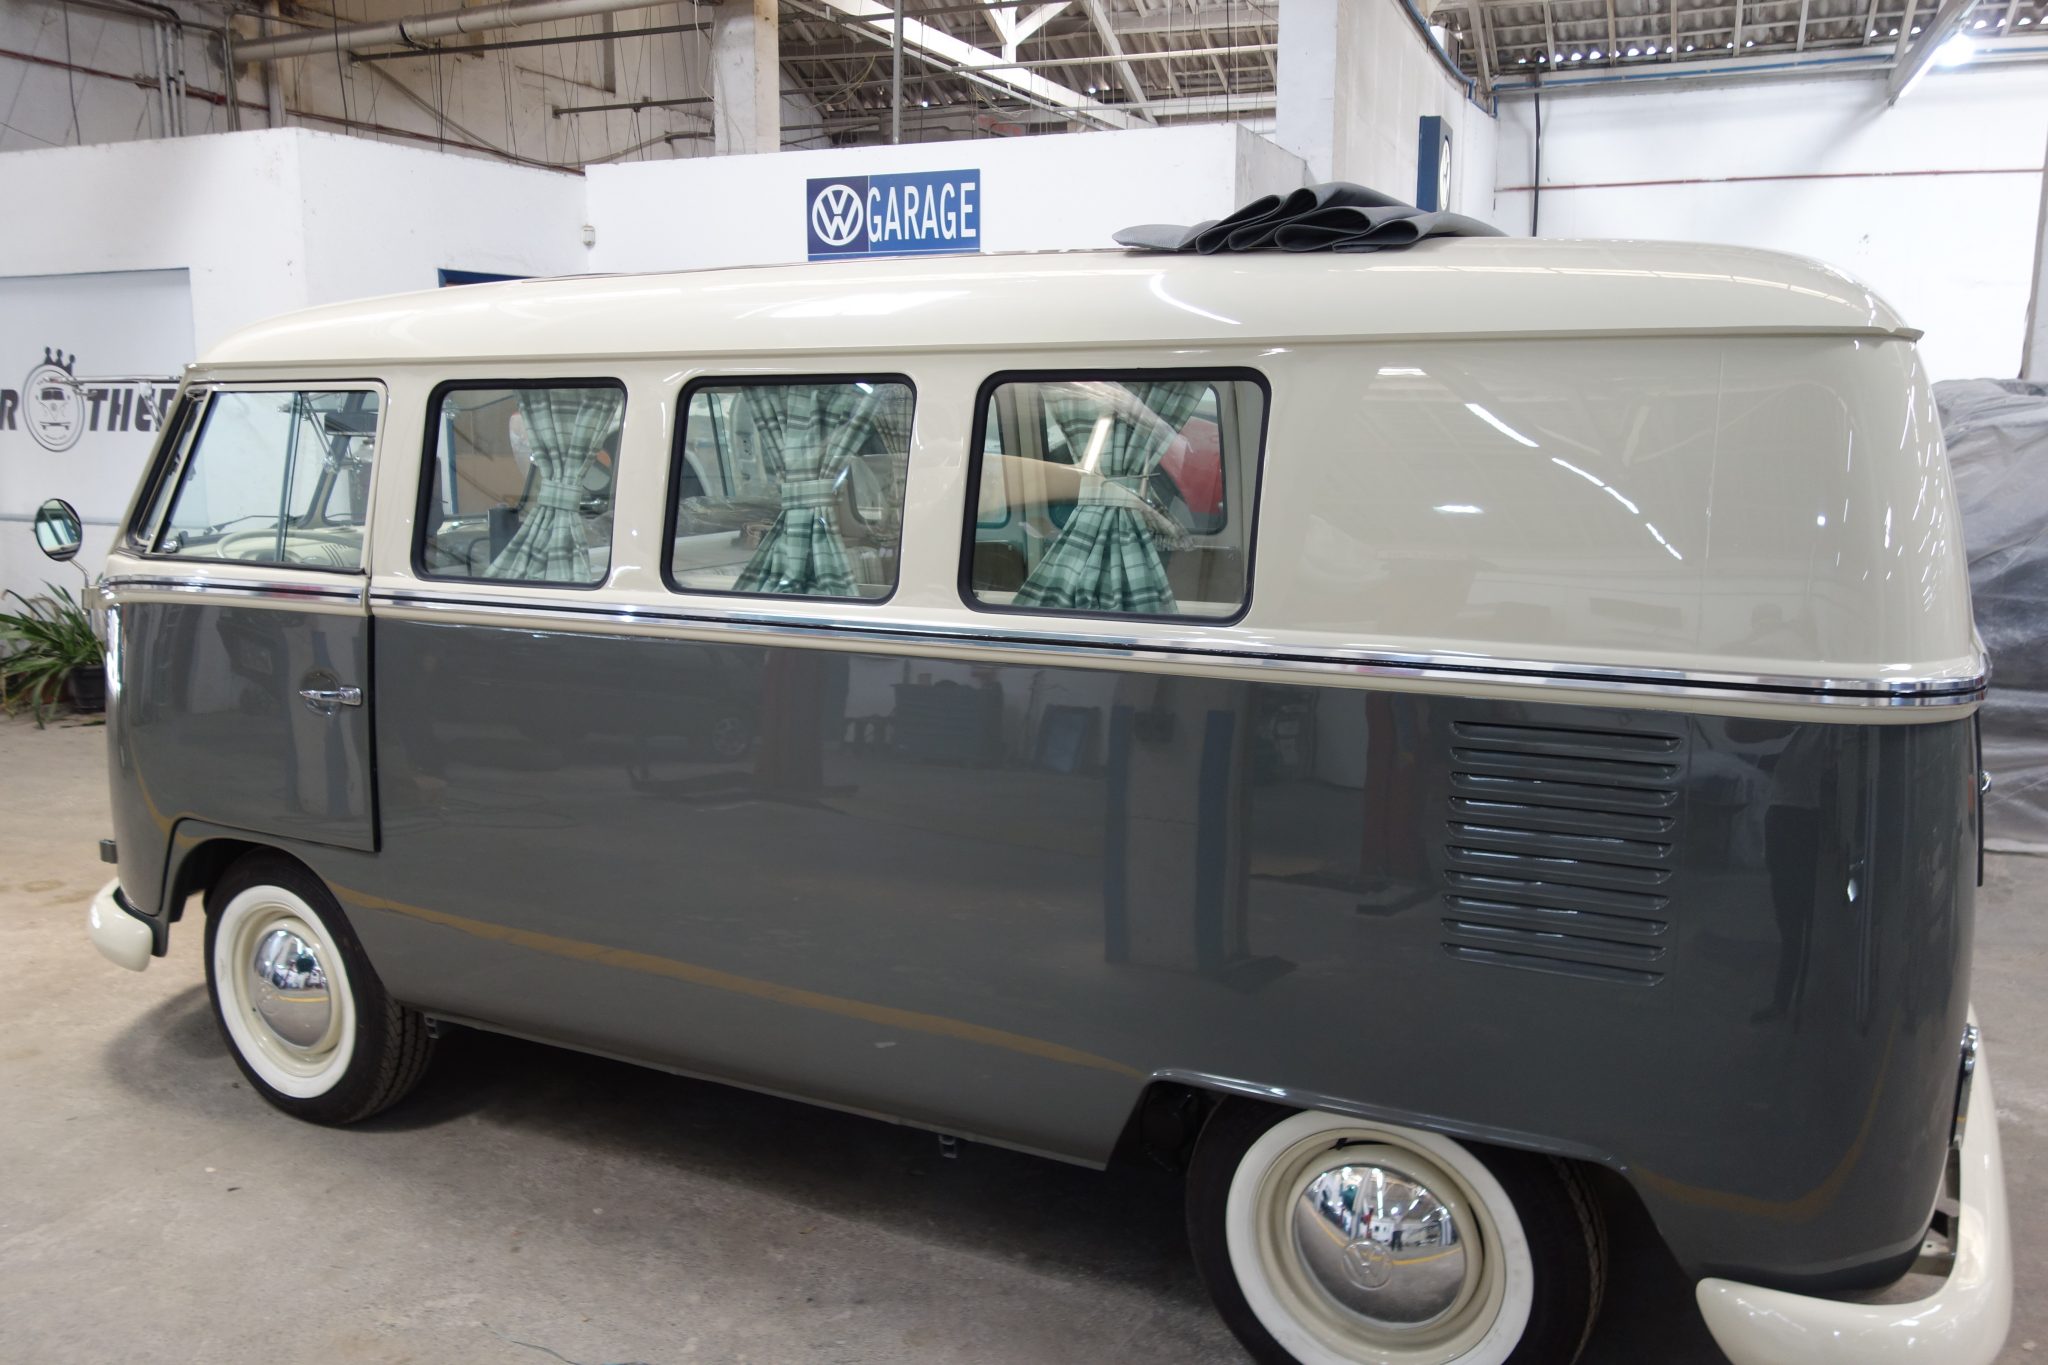
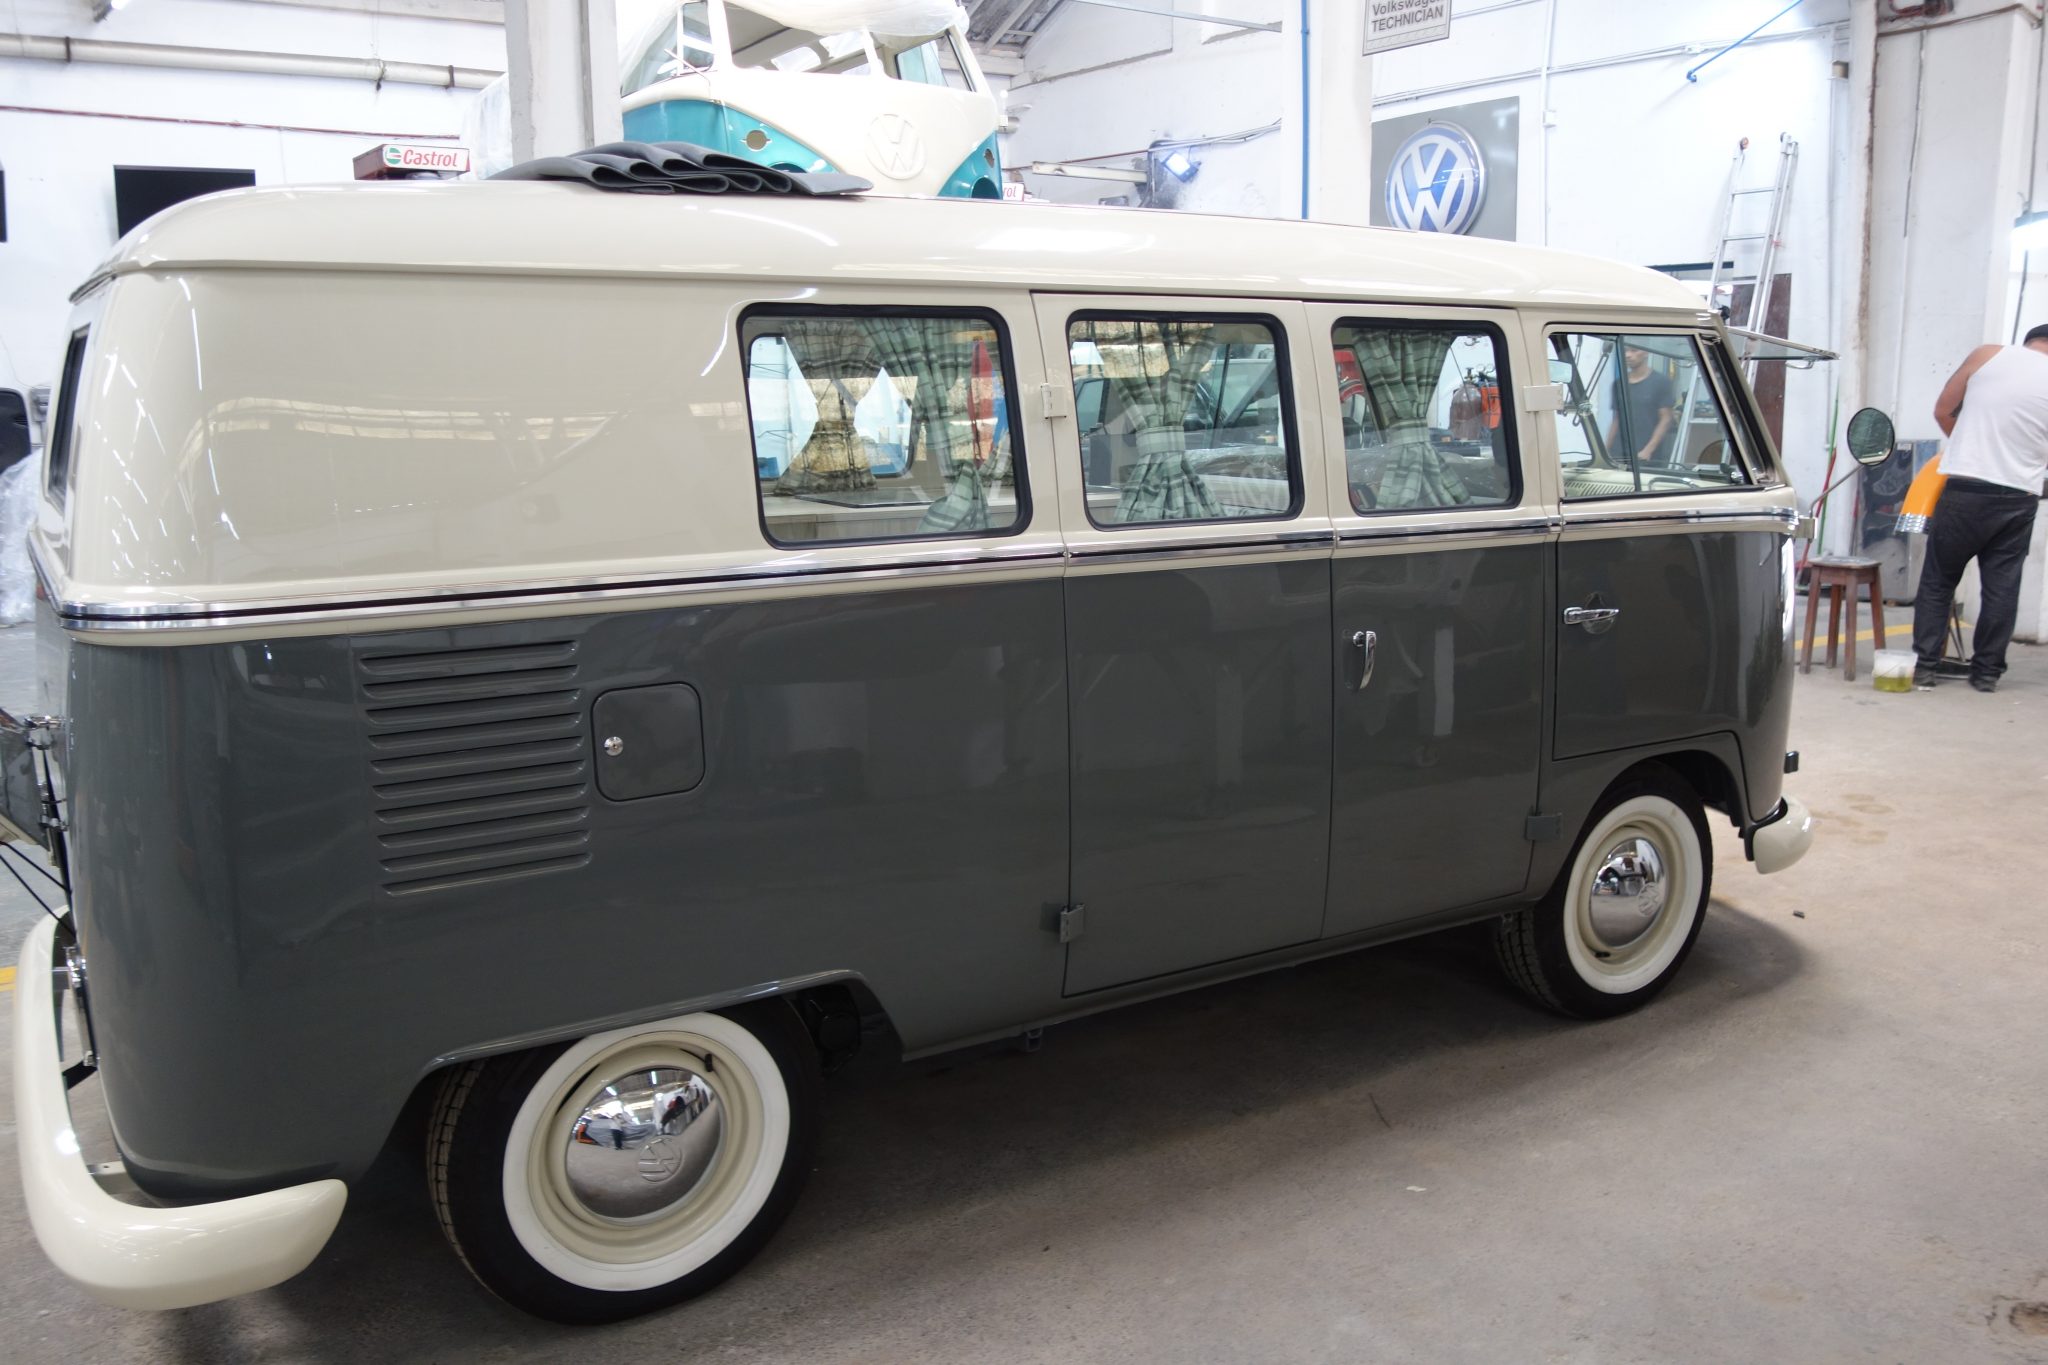
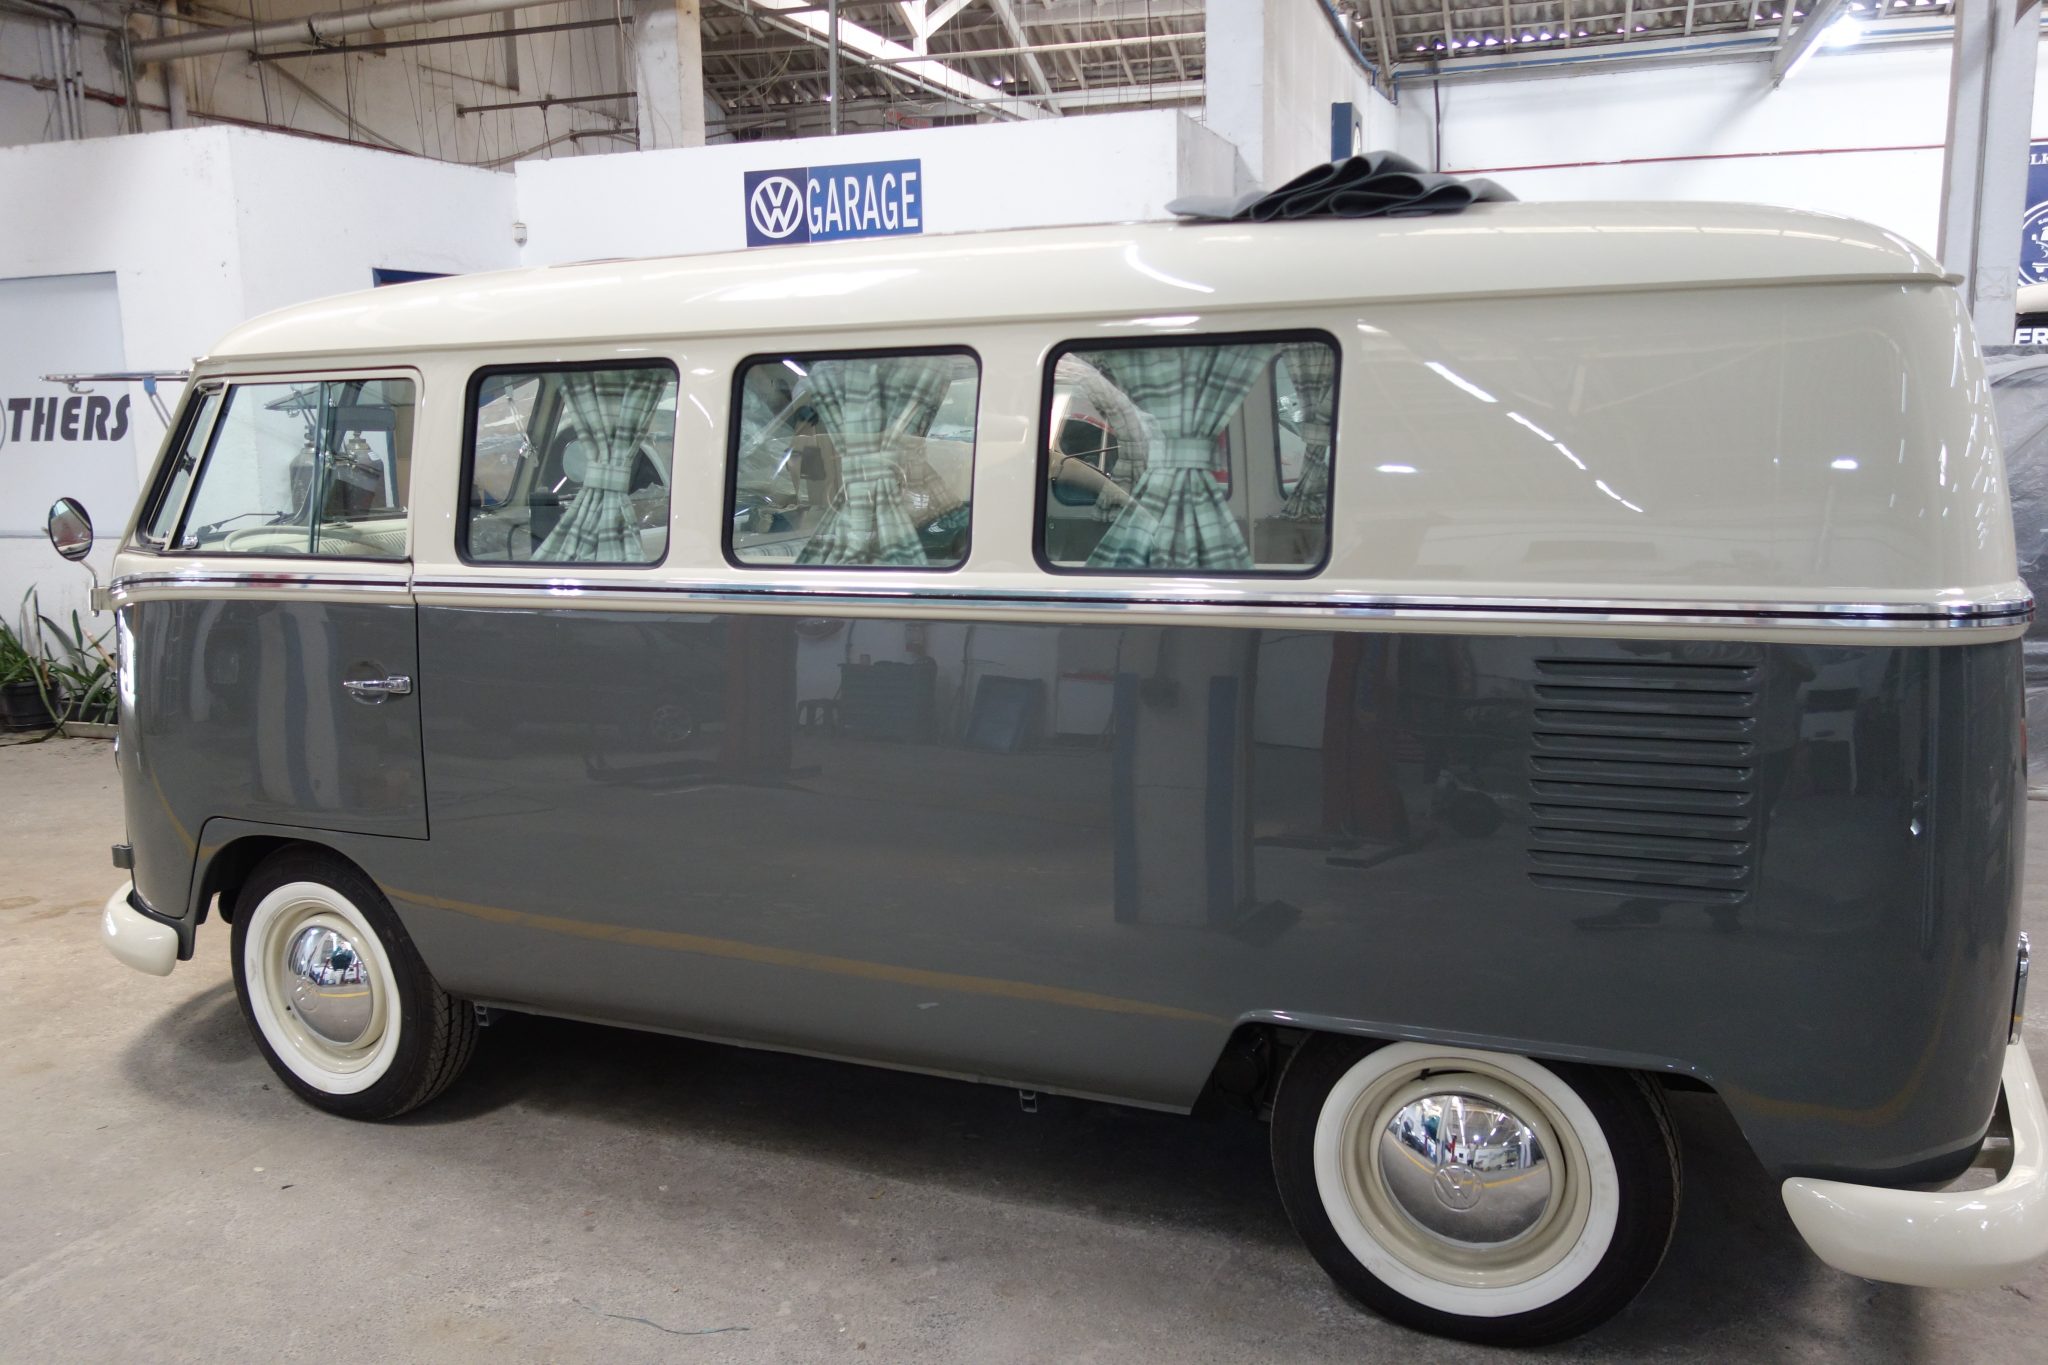
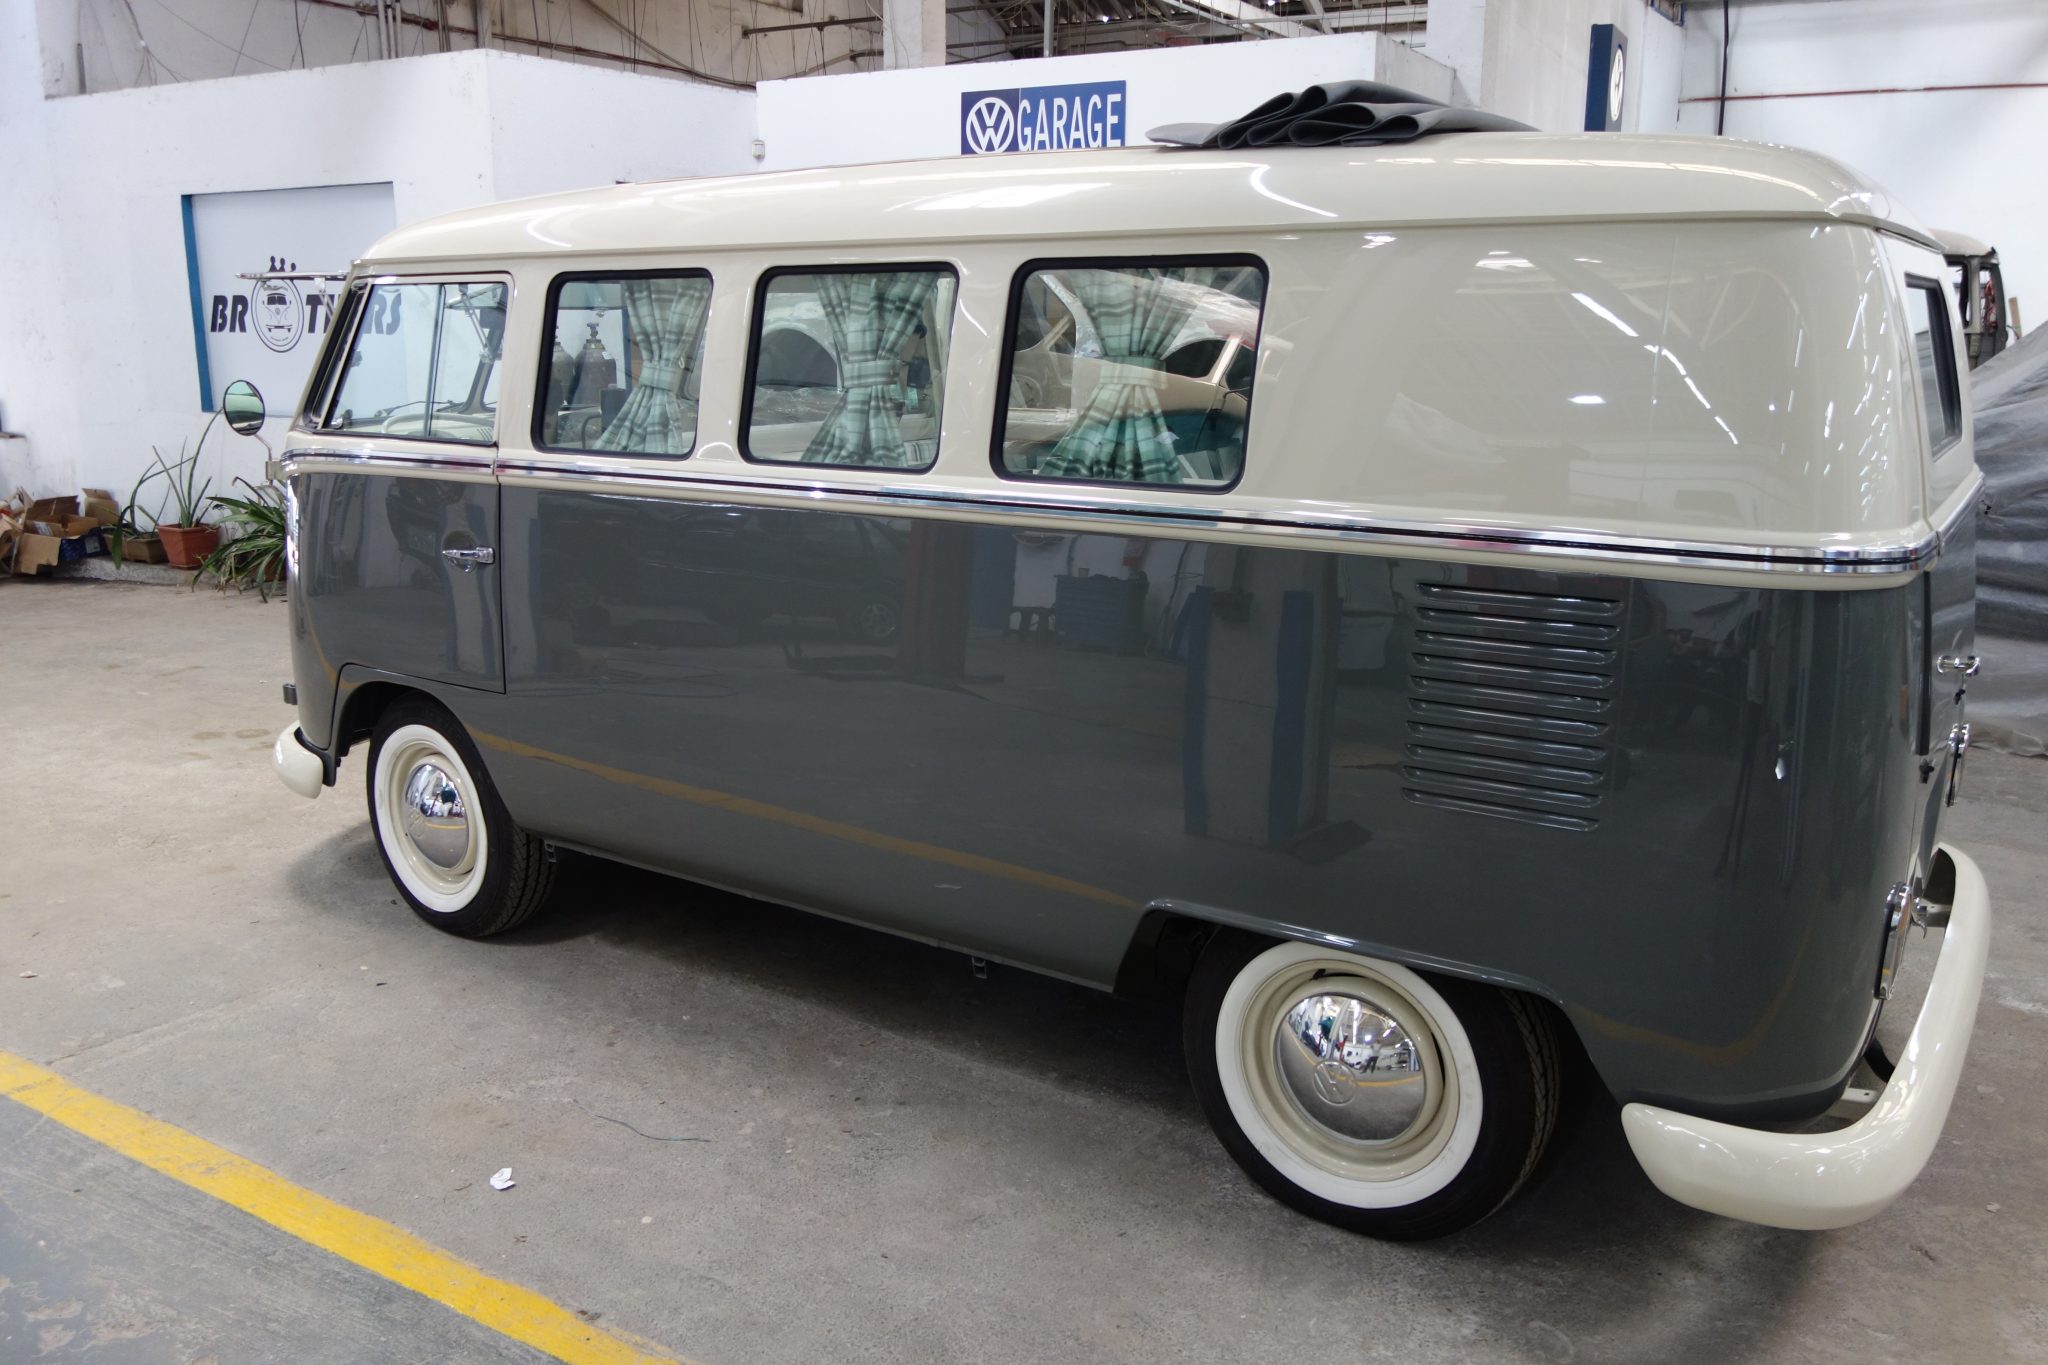
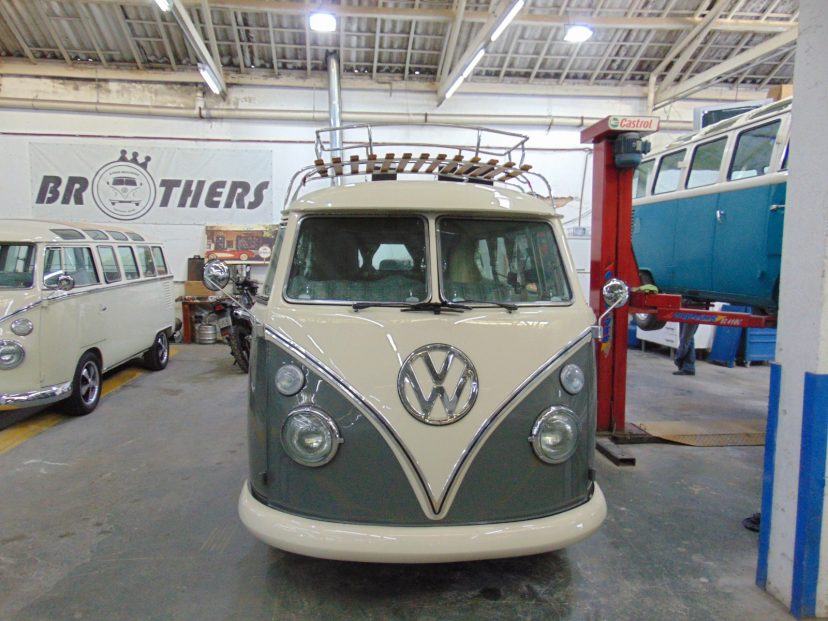
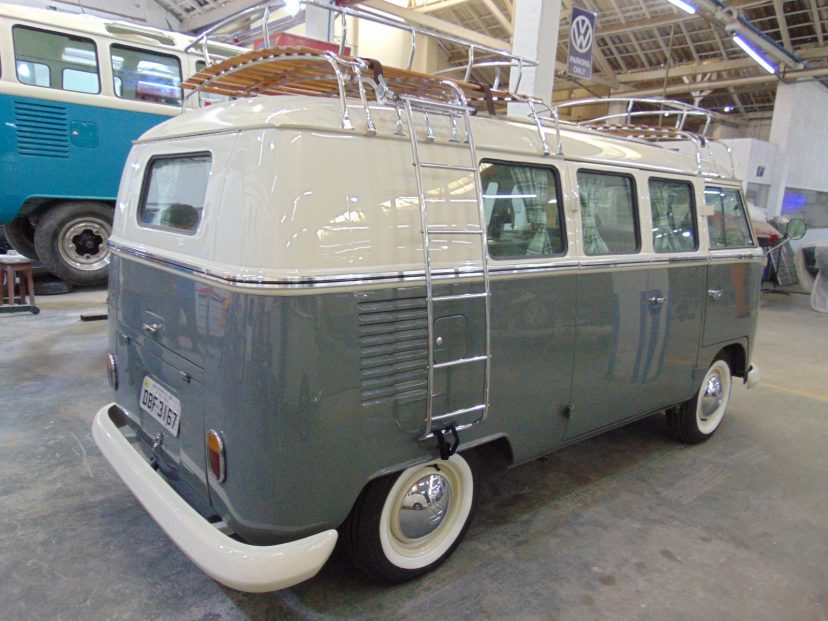
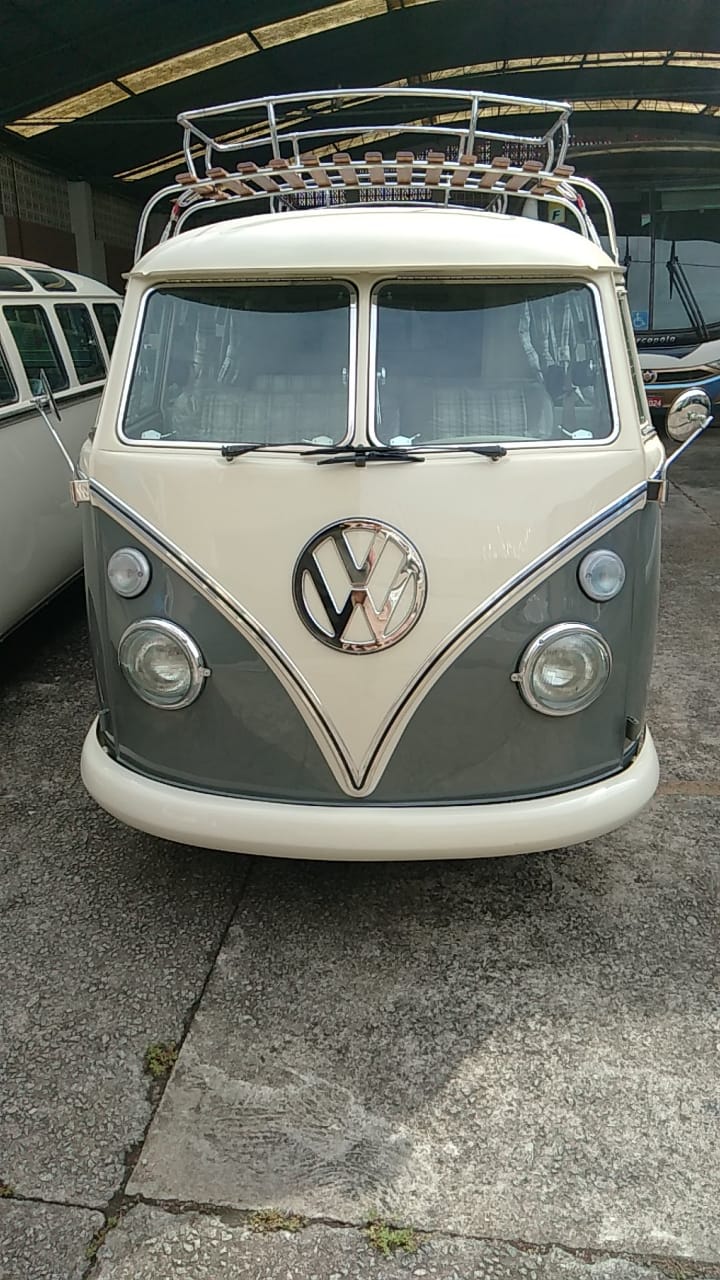
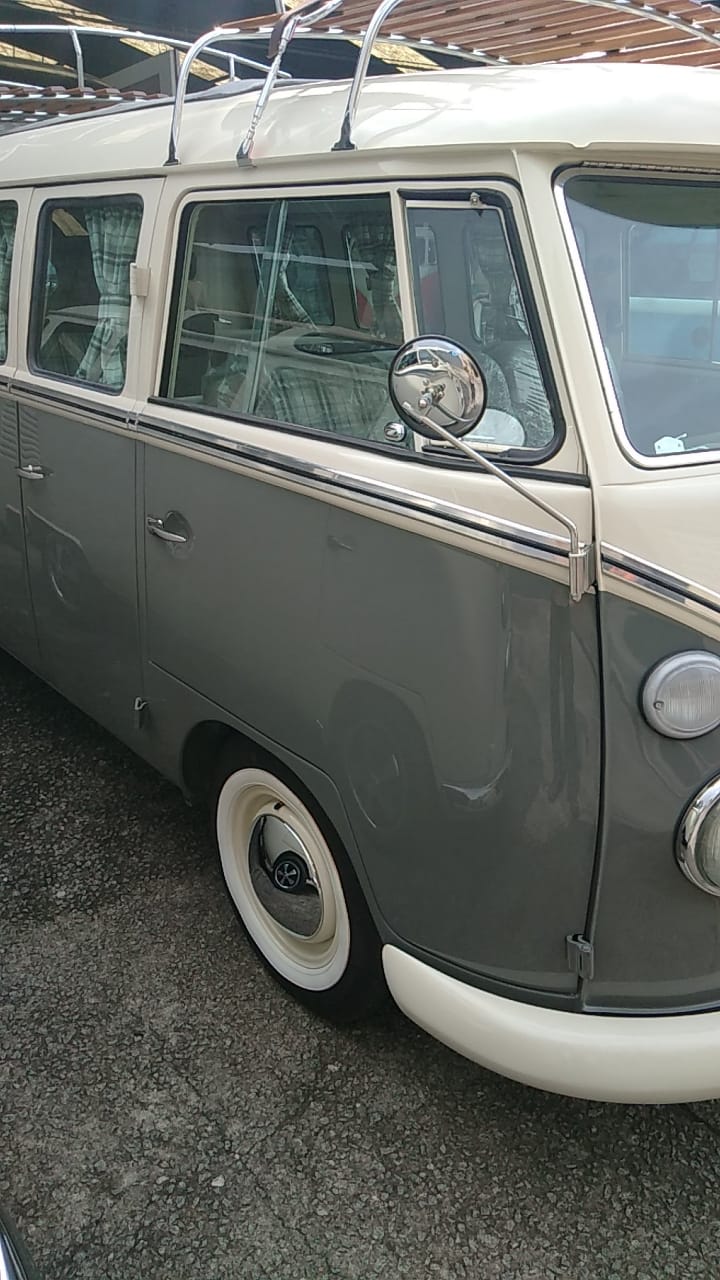
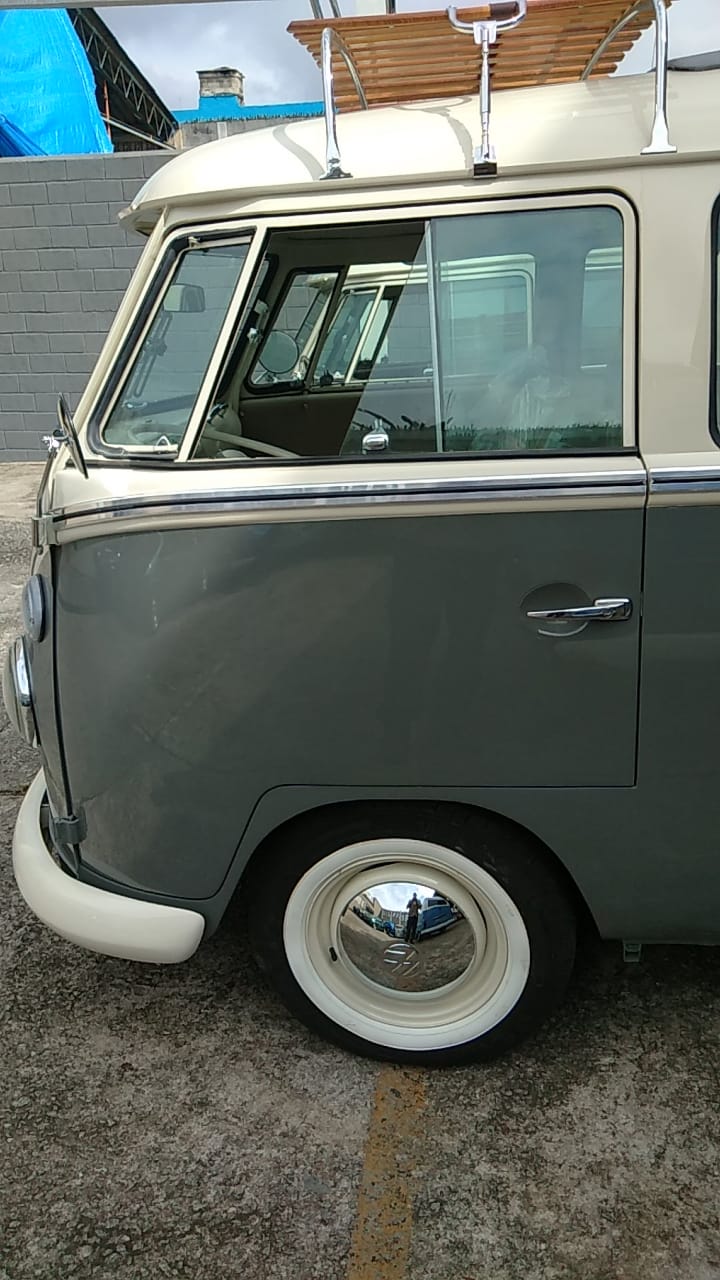
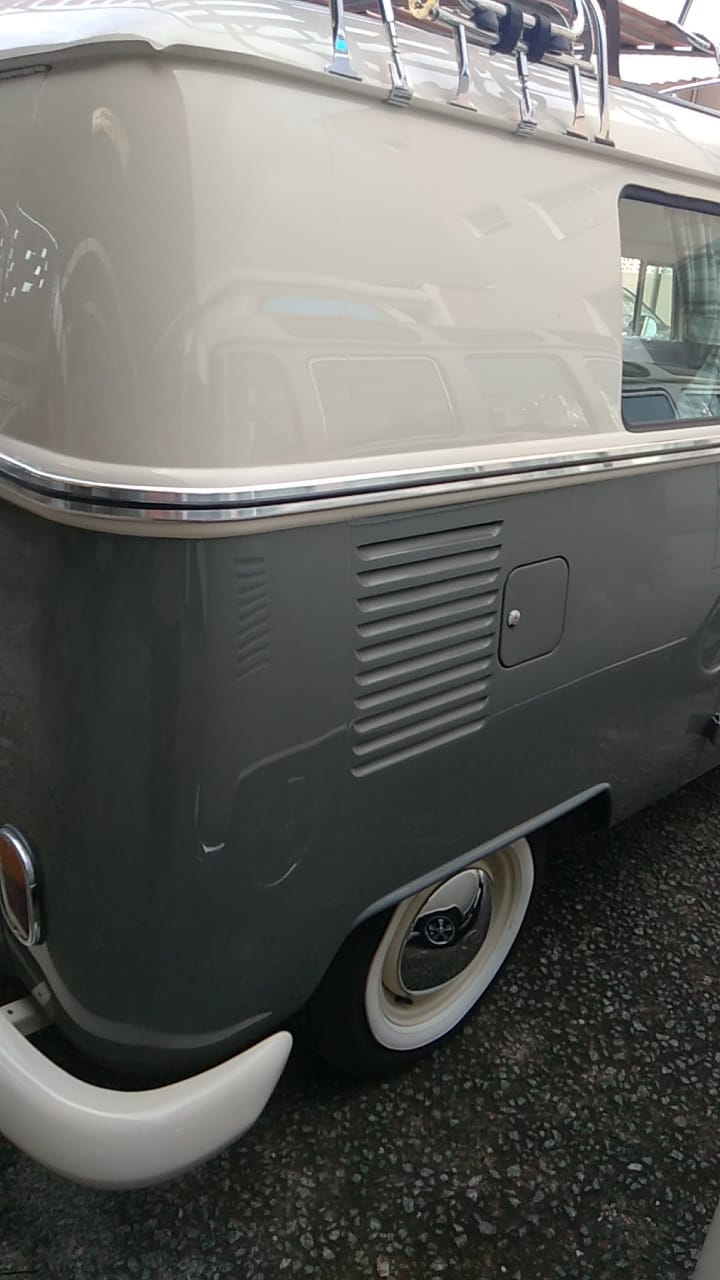
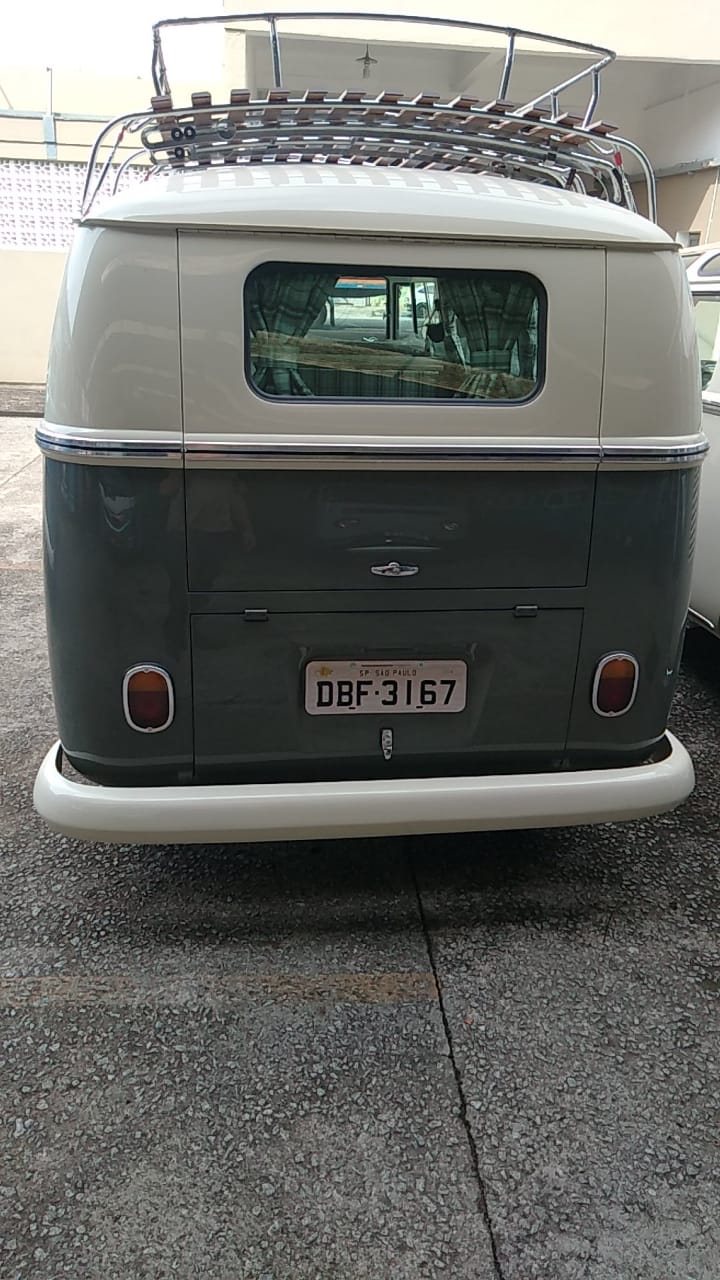
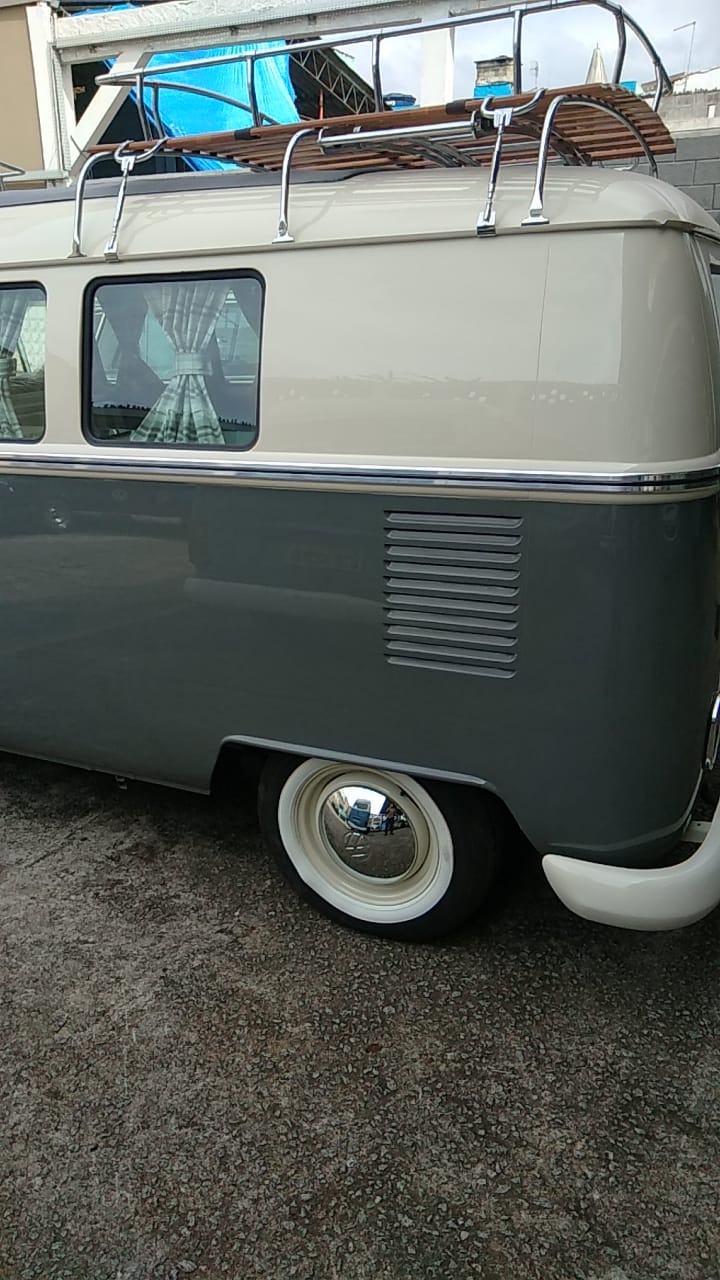
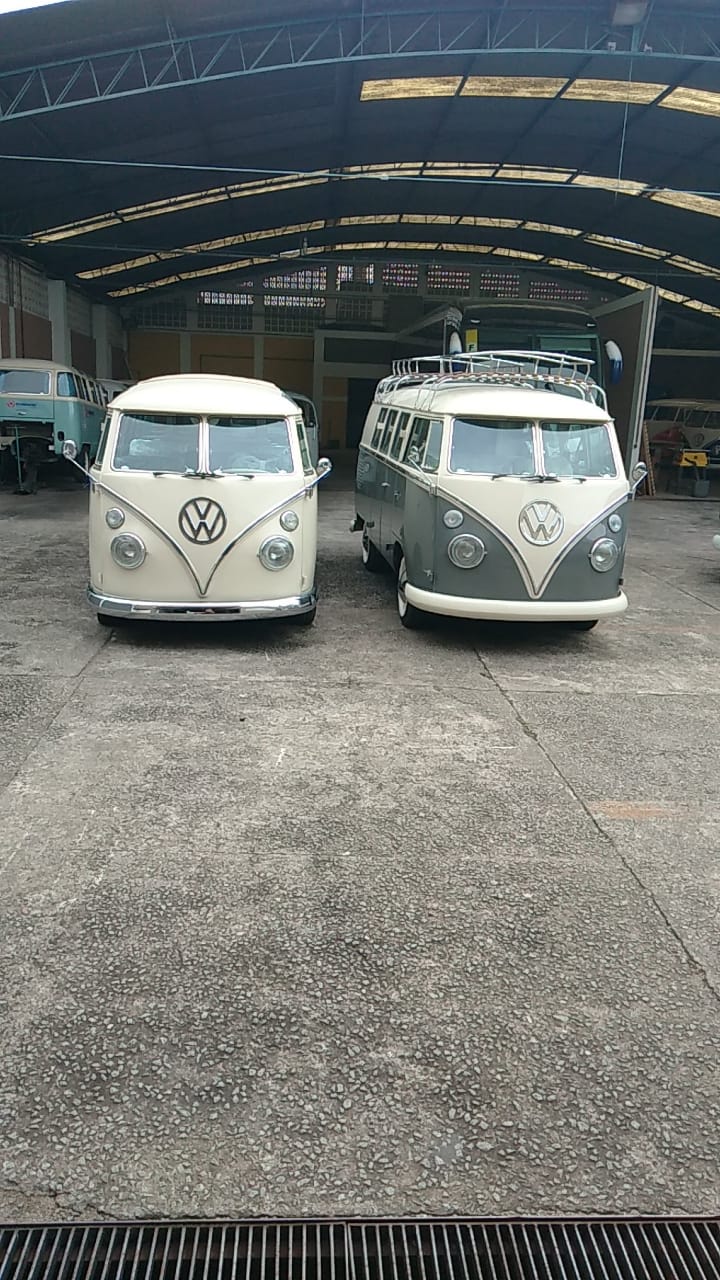
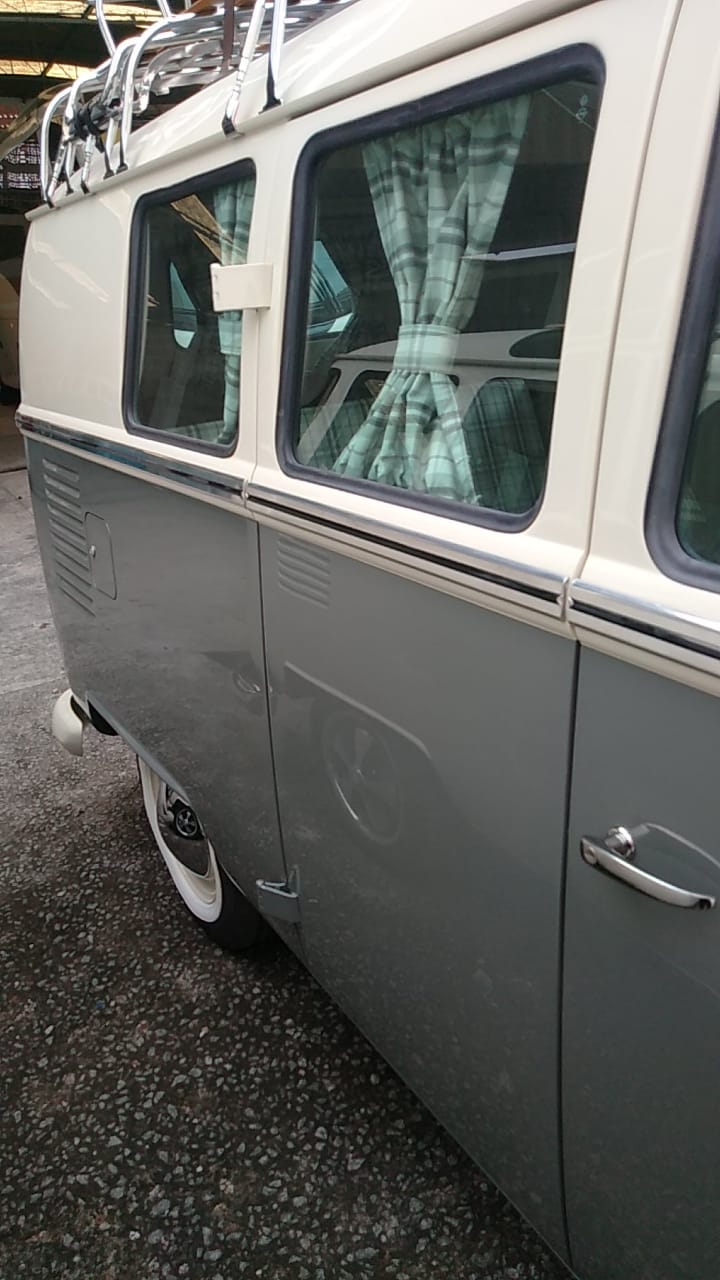
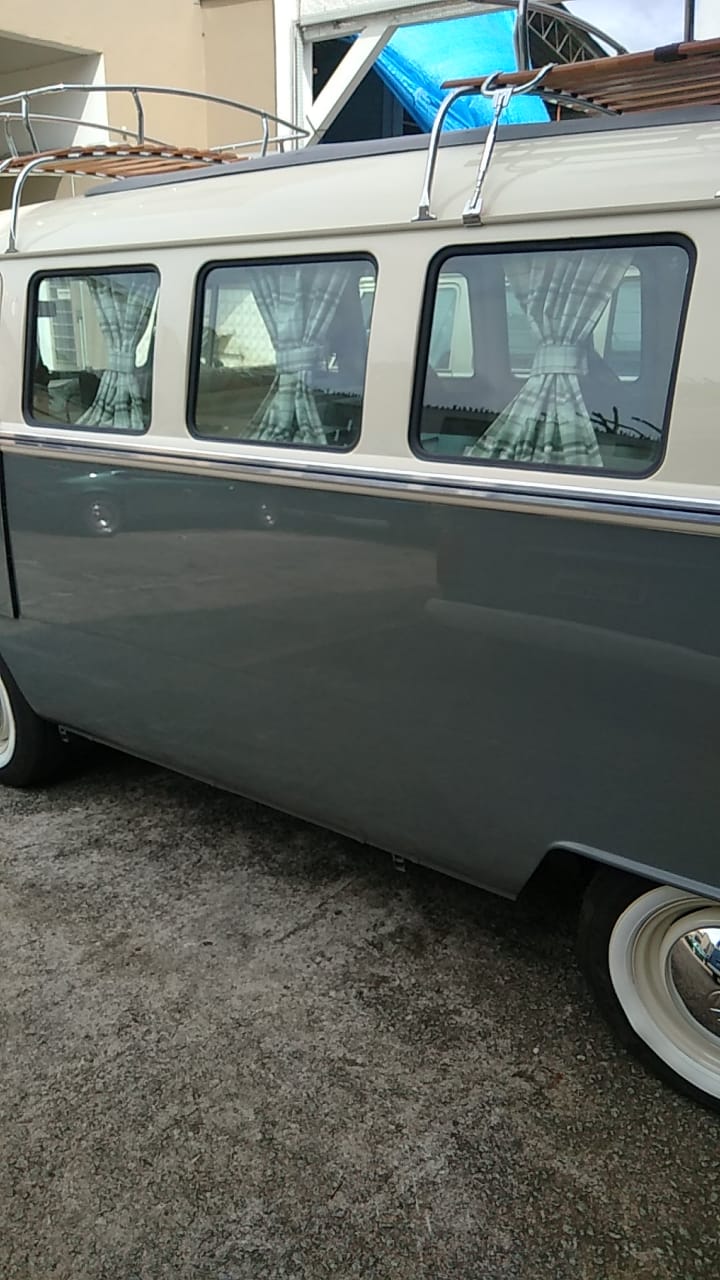
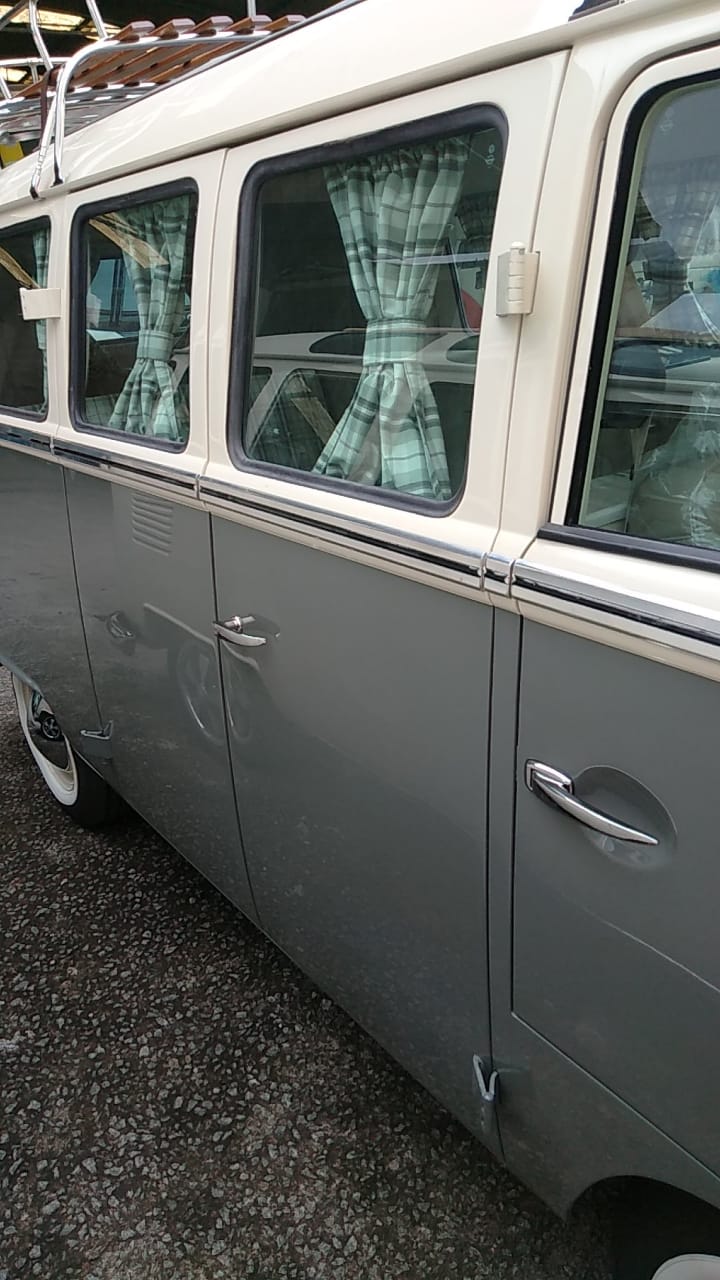
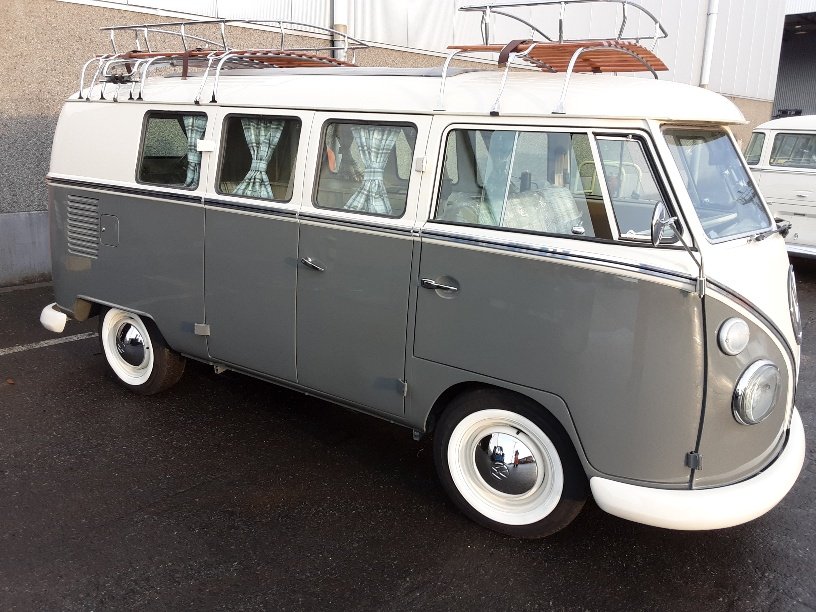
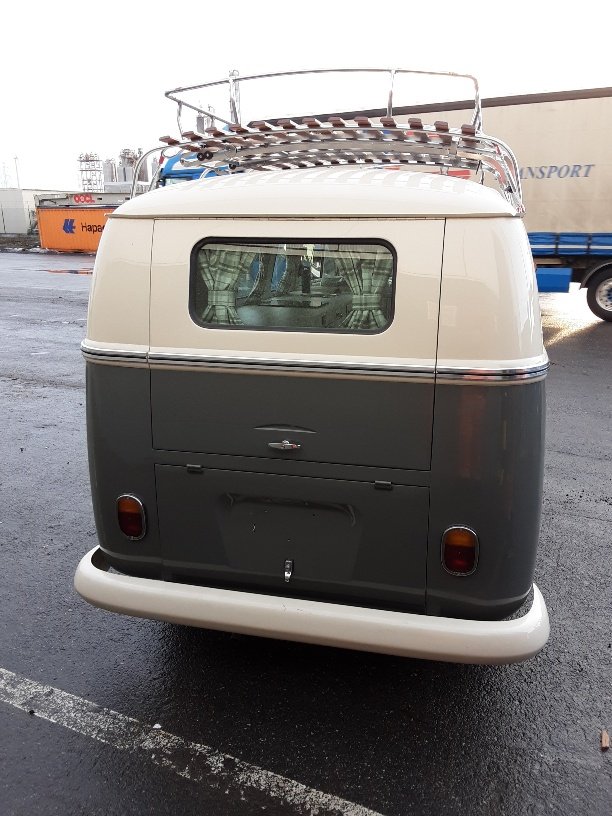
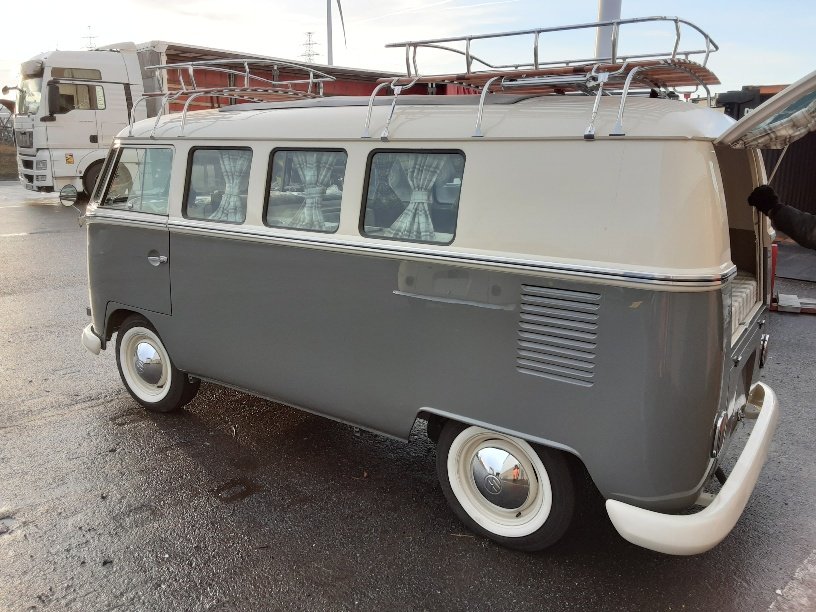
Phase 14: Finished Exterior (Video)
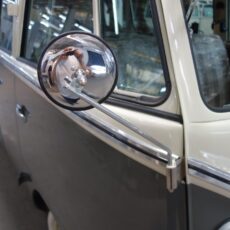
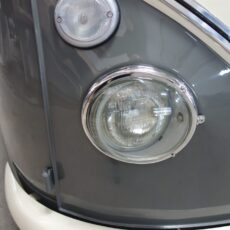
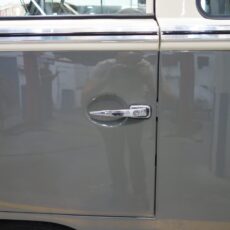
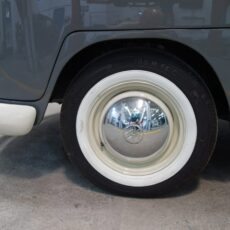
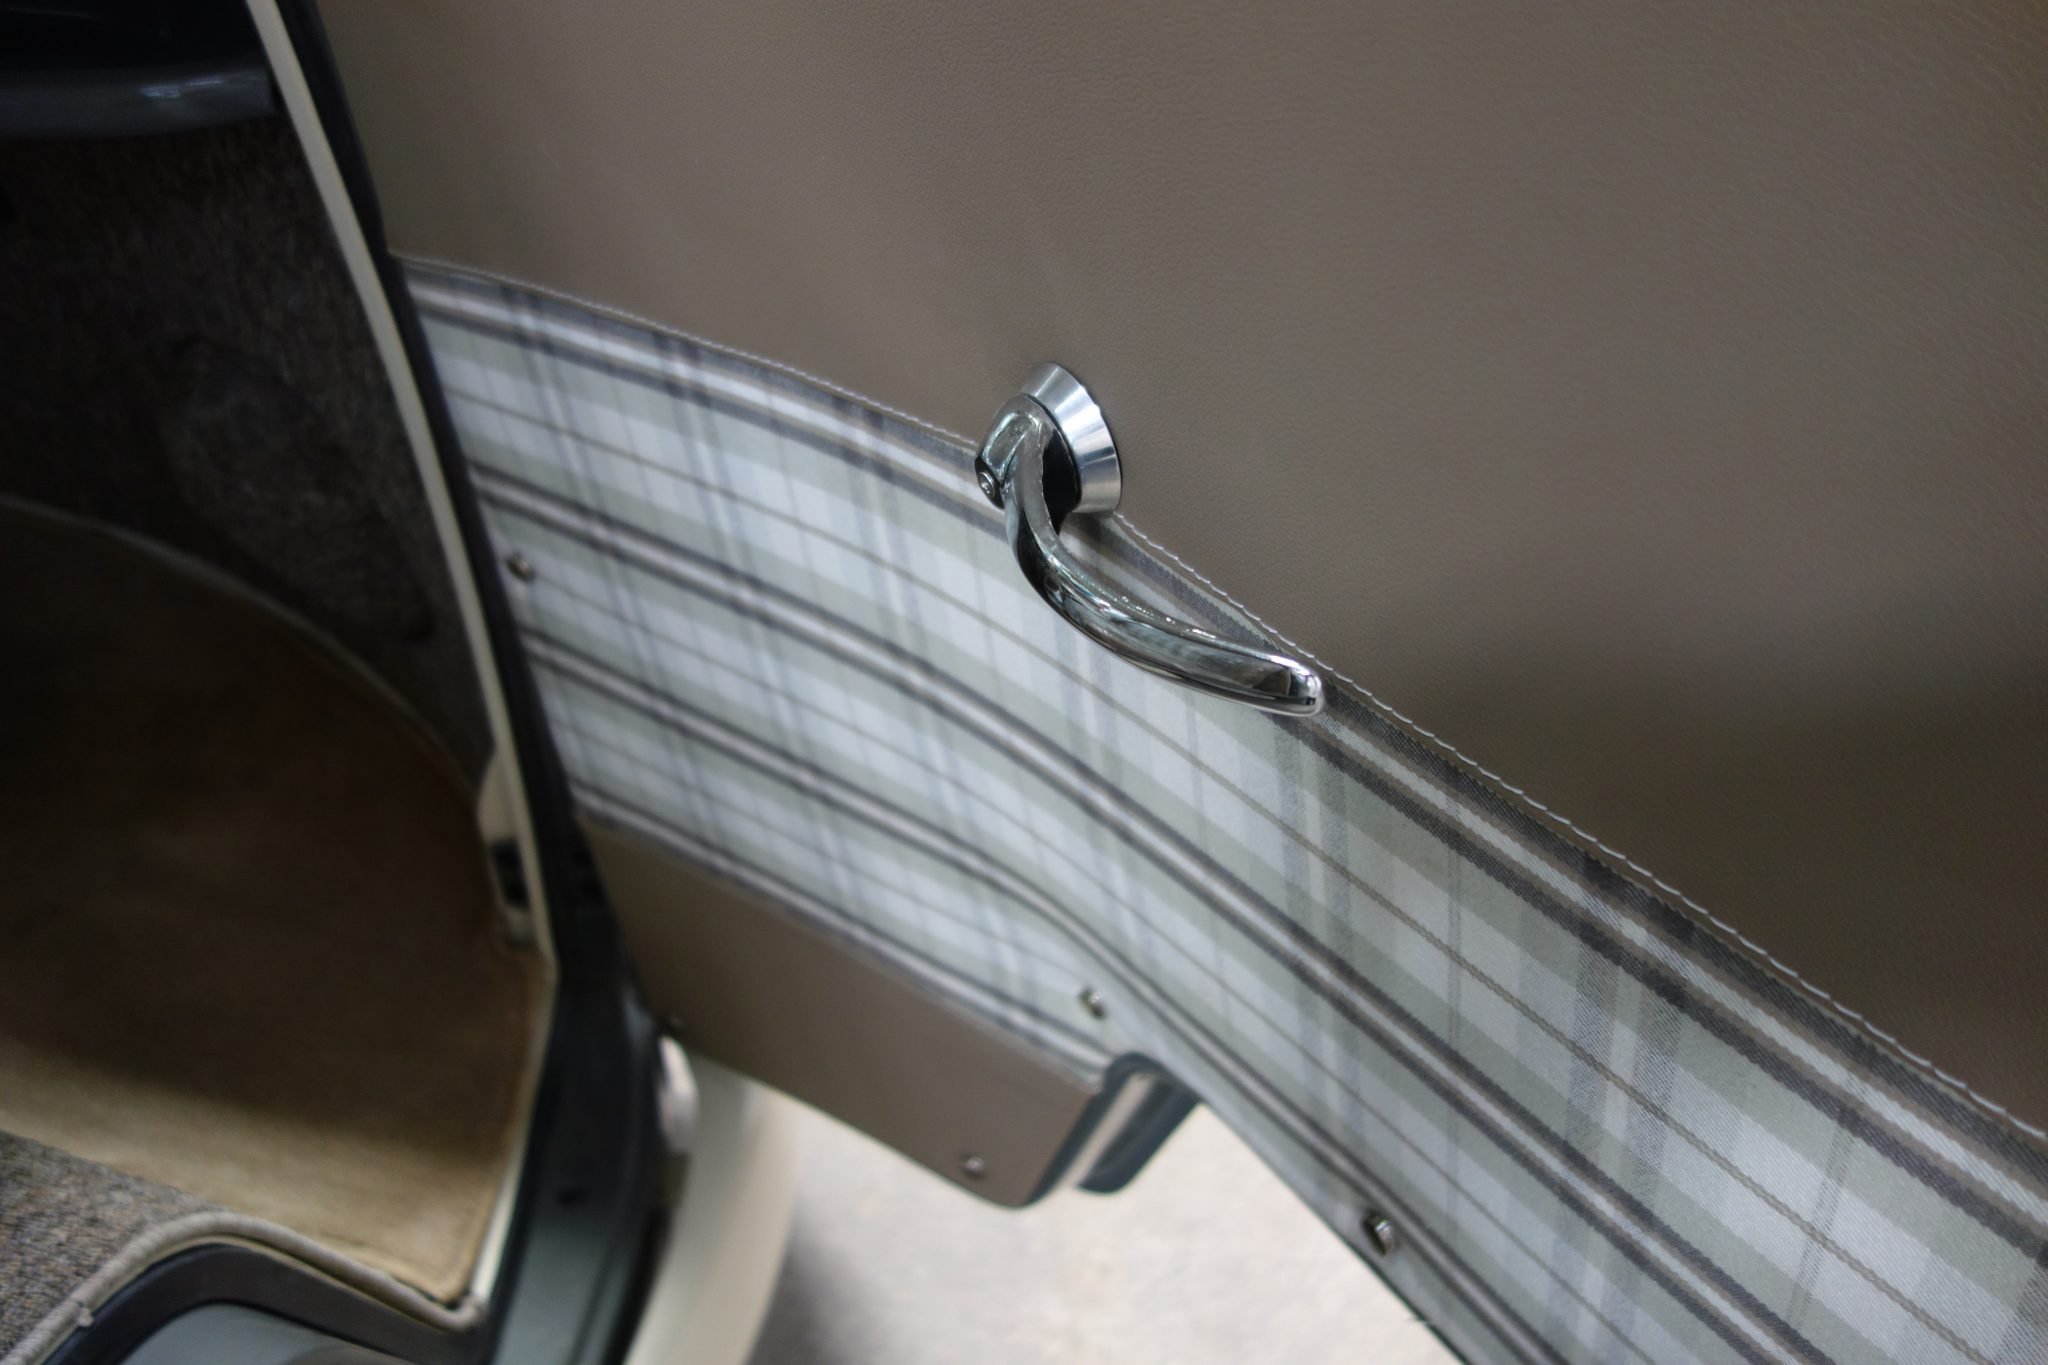
These are the amazing pictures of the exterior of this fantastic T1 camper bus. The paint job is fantastic and the exterior colors combine perfectly with the interior plaid fabrics. This bus is now ready to be exported!


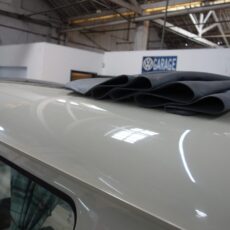


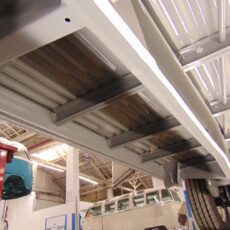
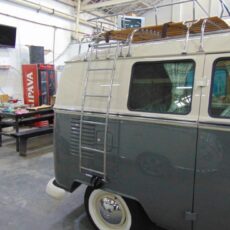
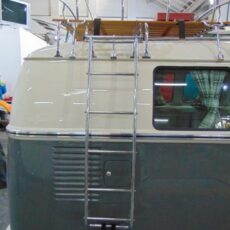
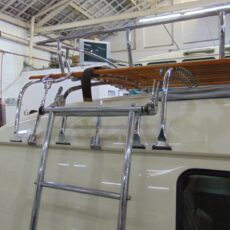
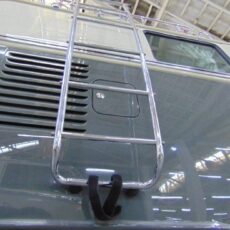
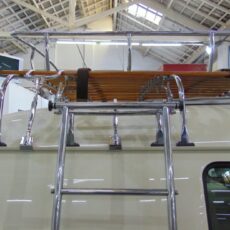
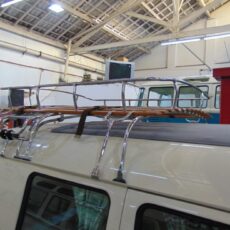
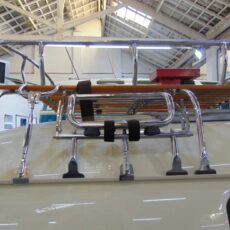
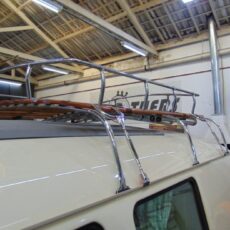
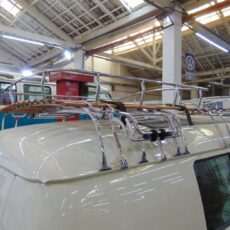
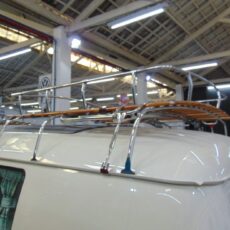
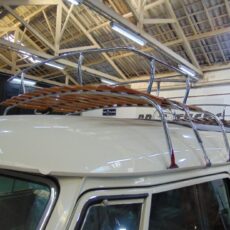
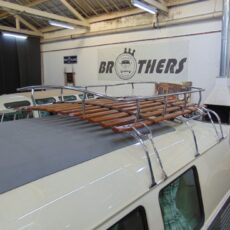
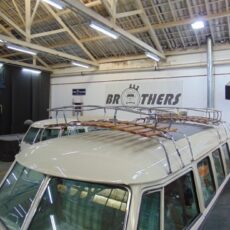
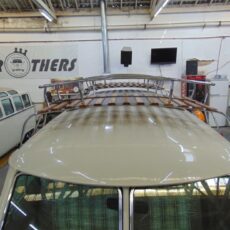
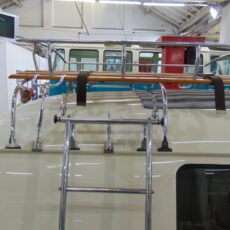
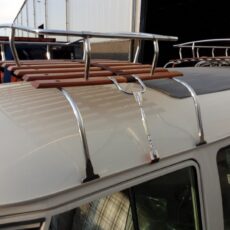
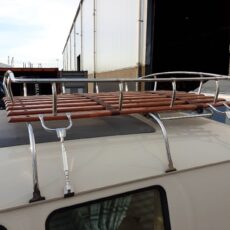
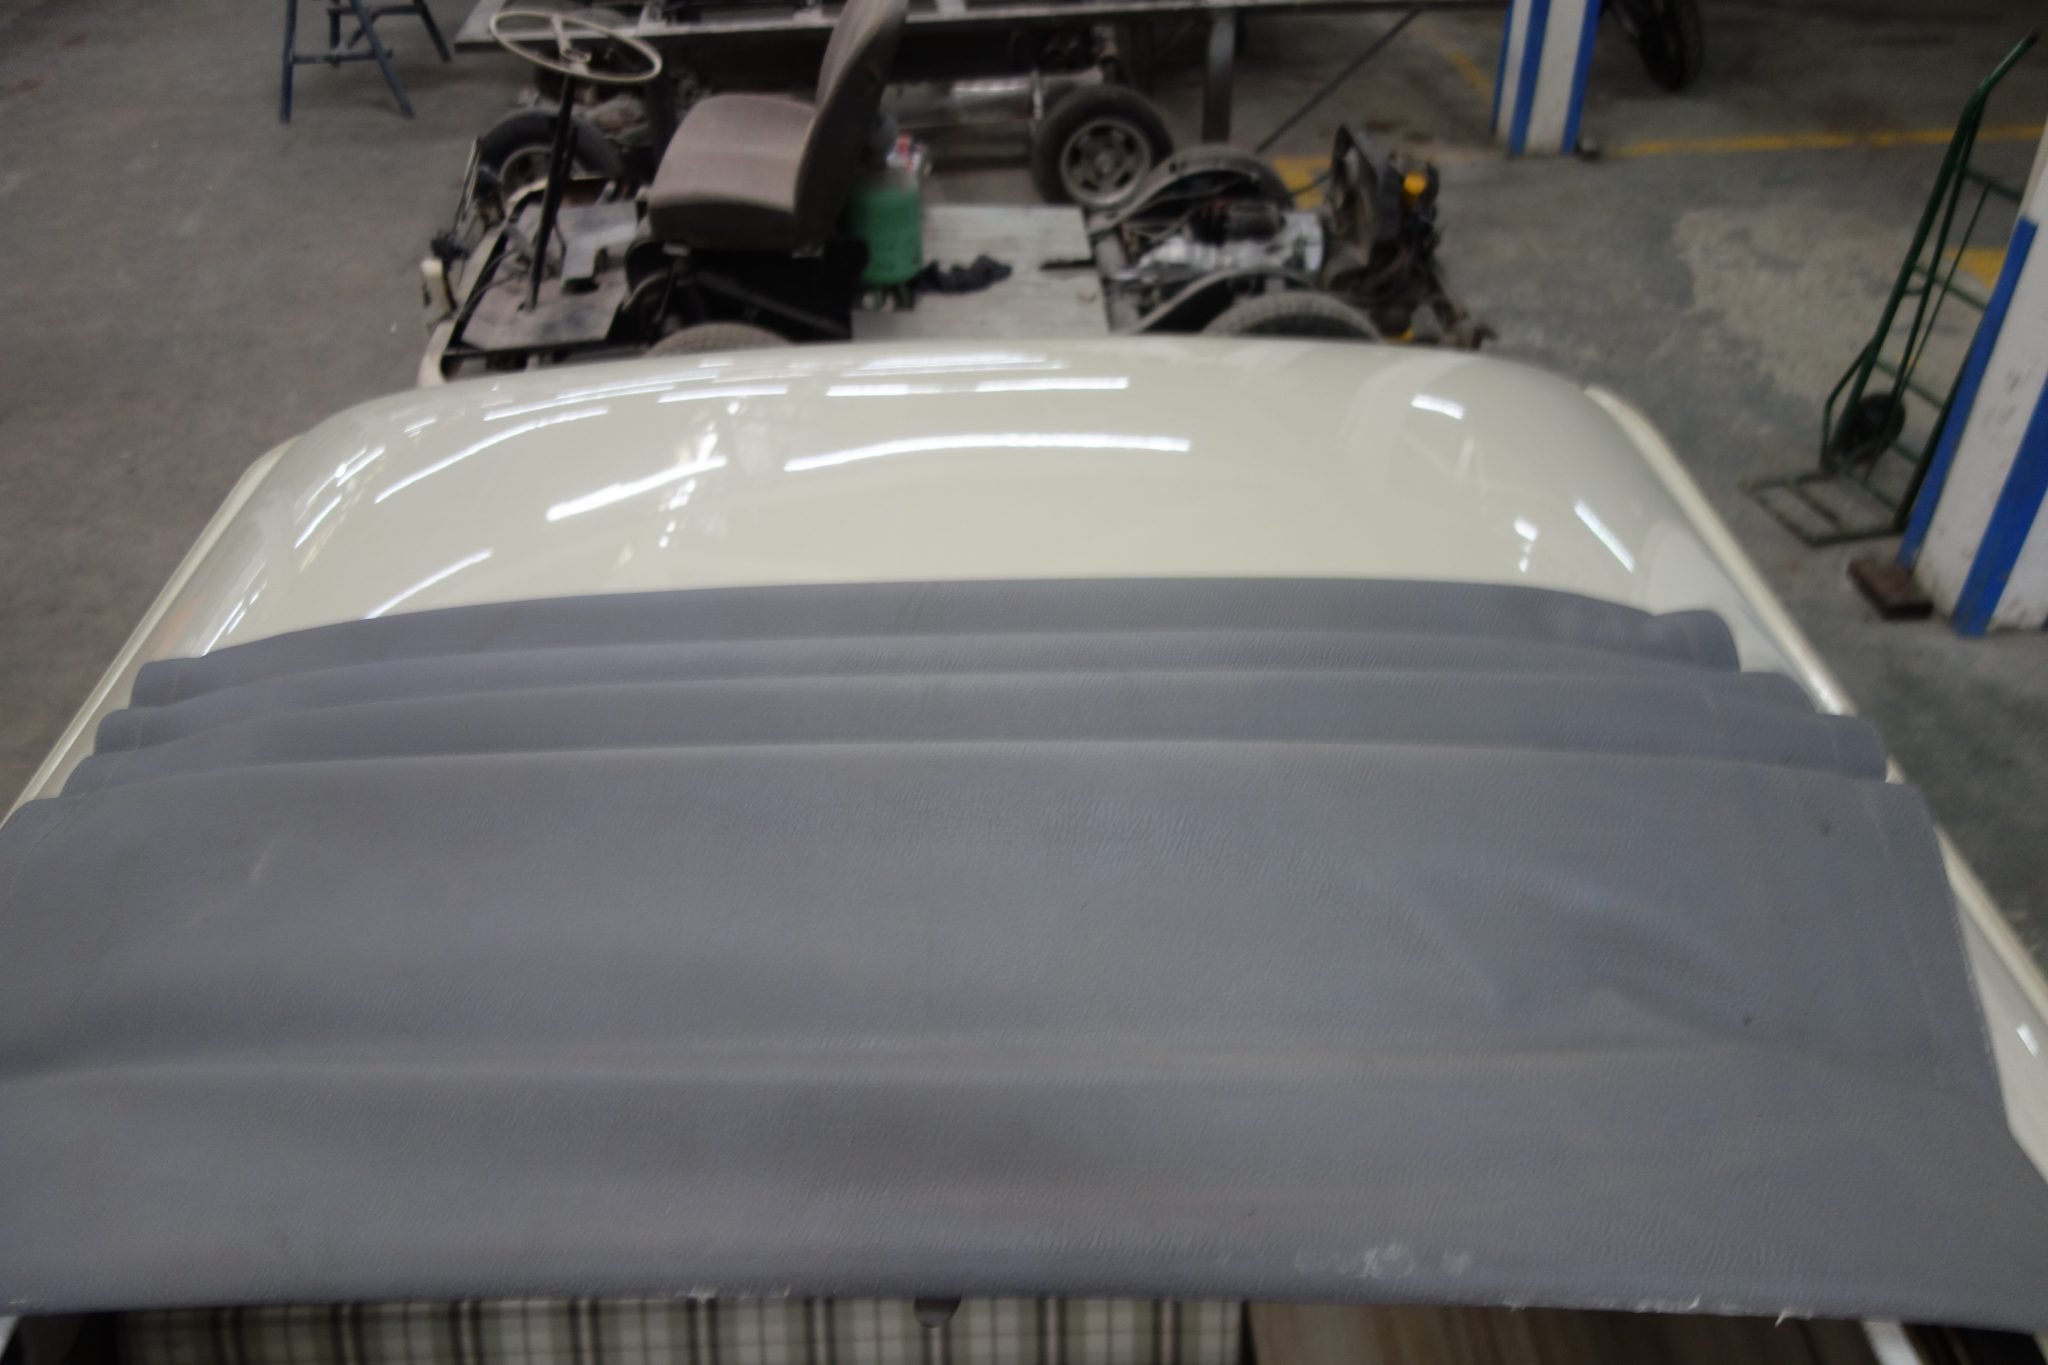
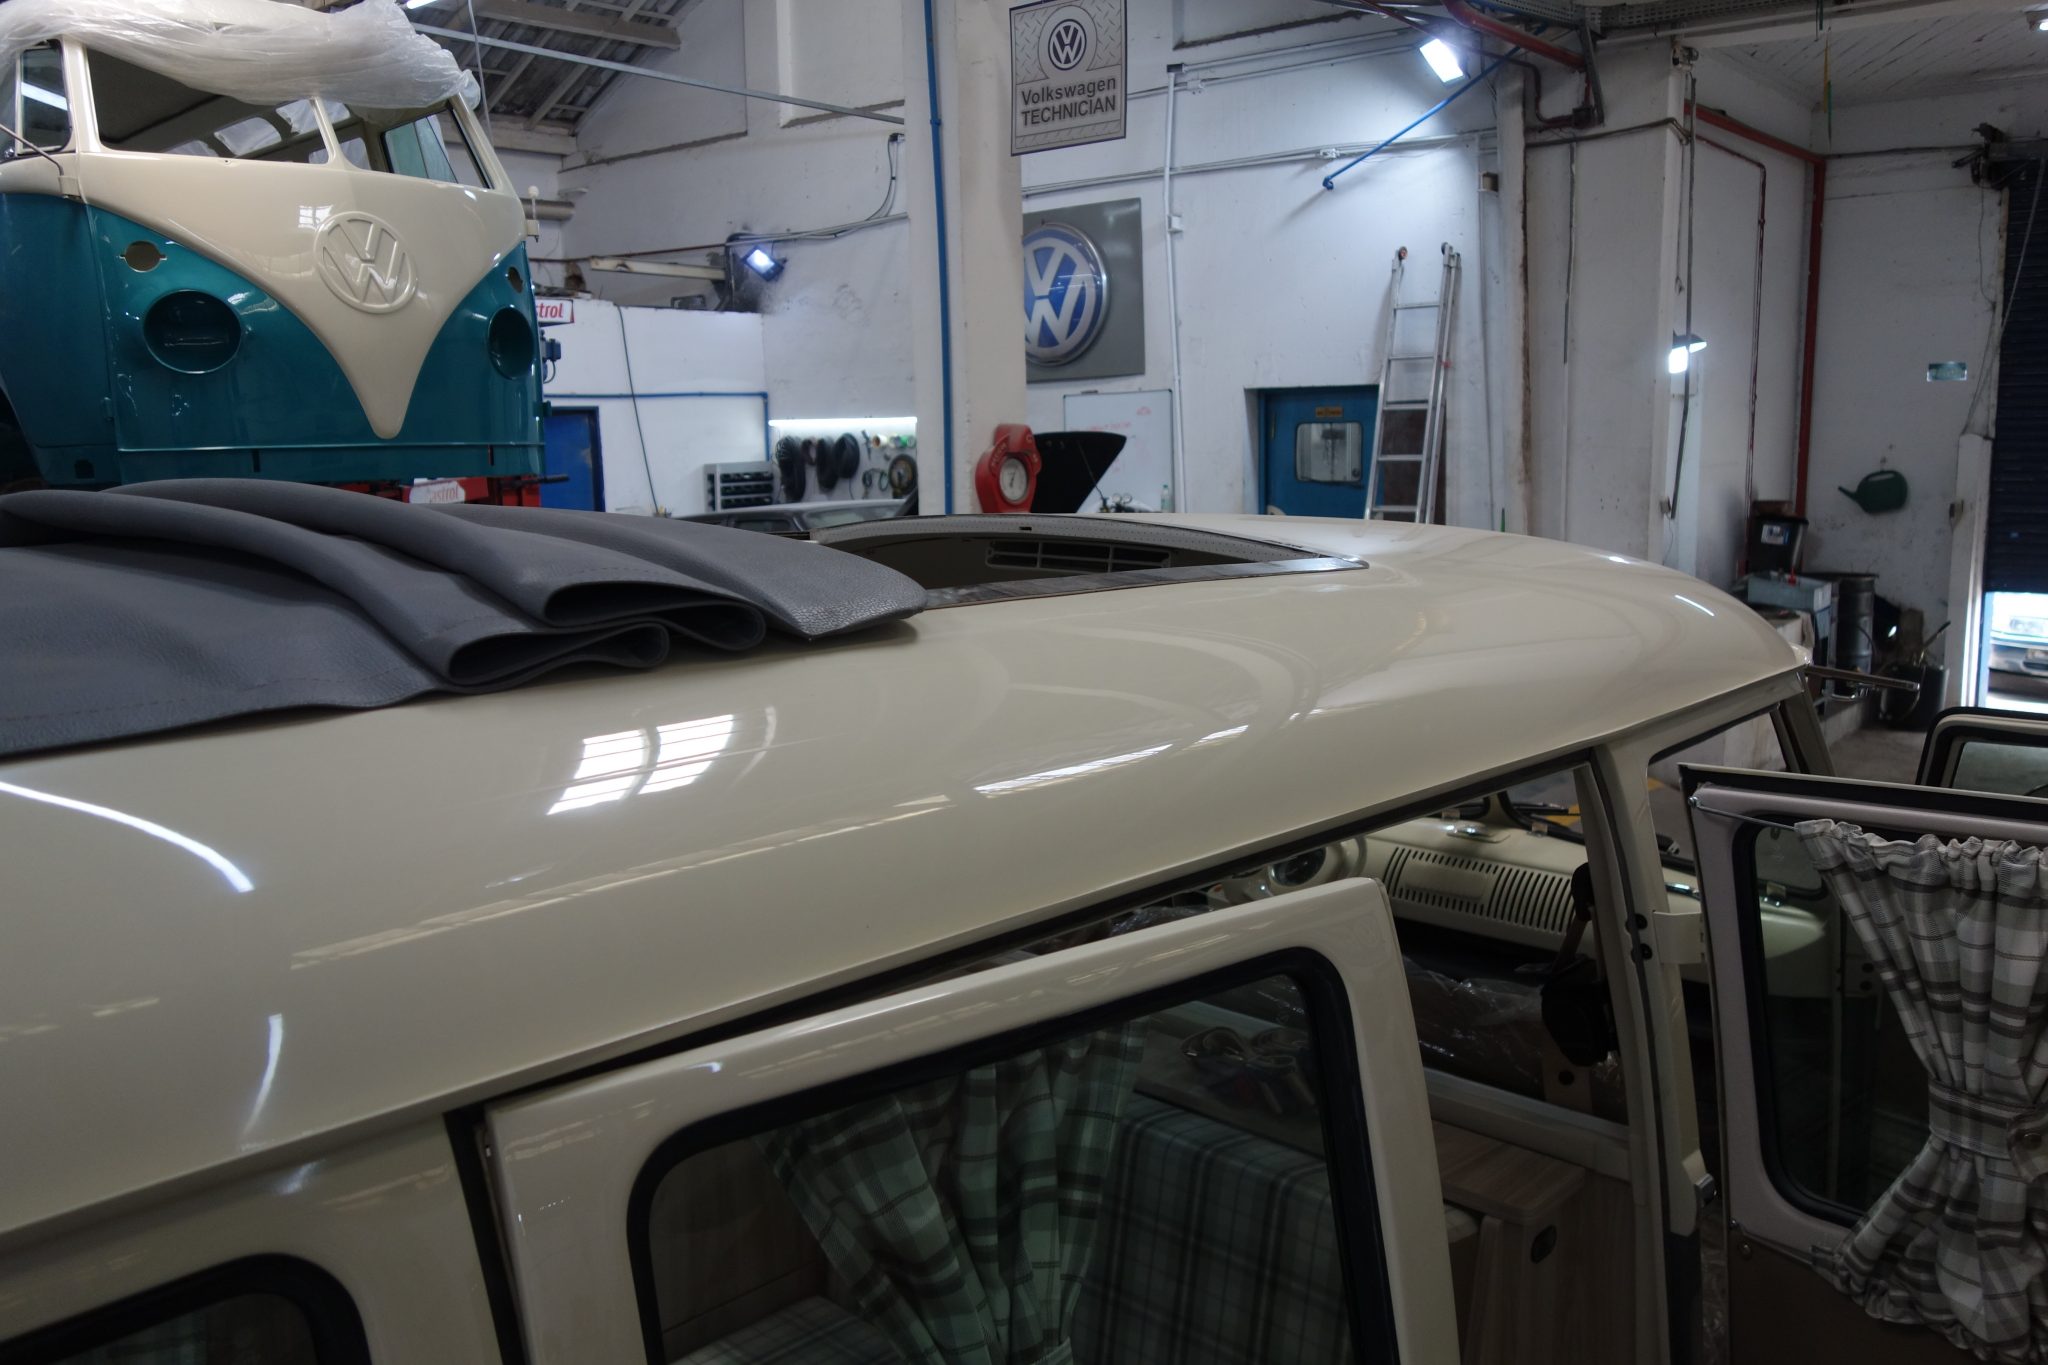
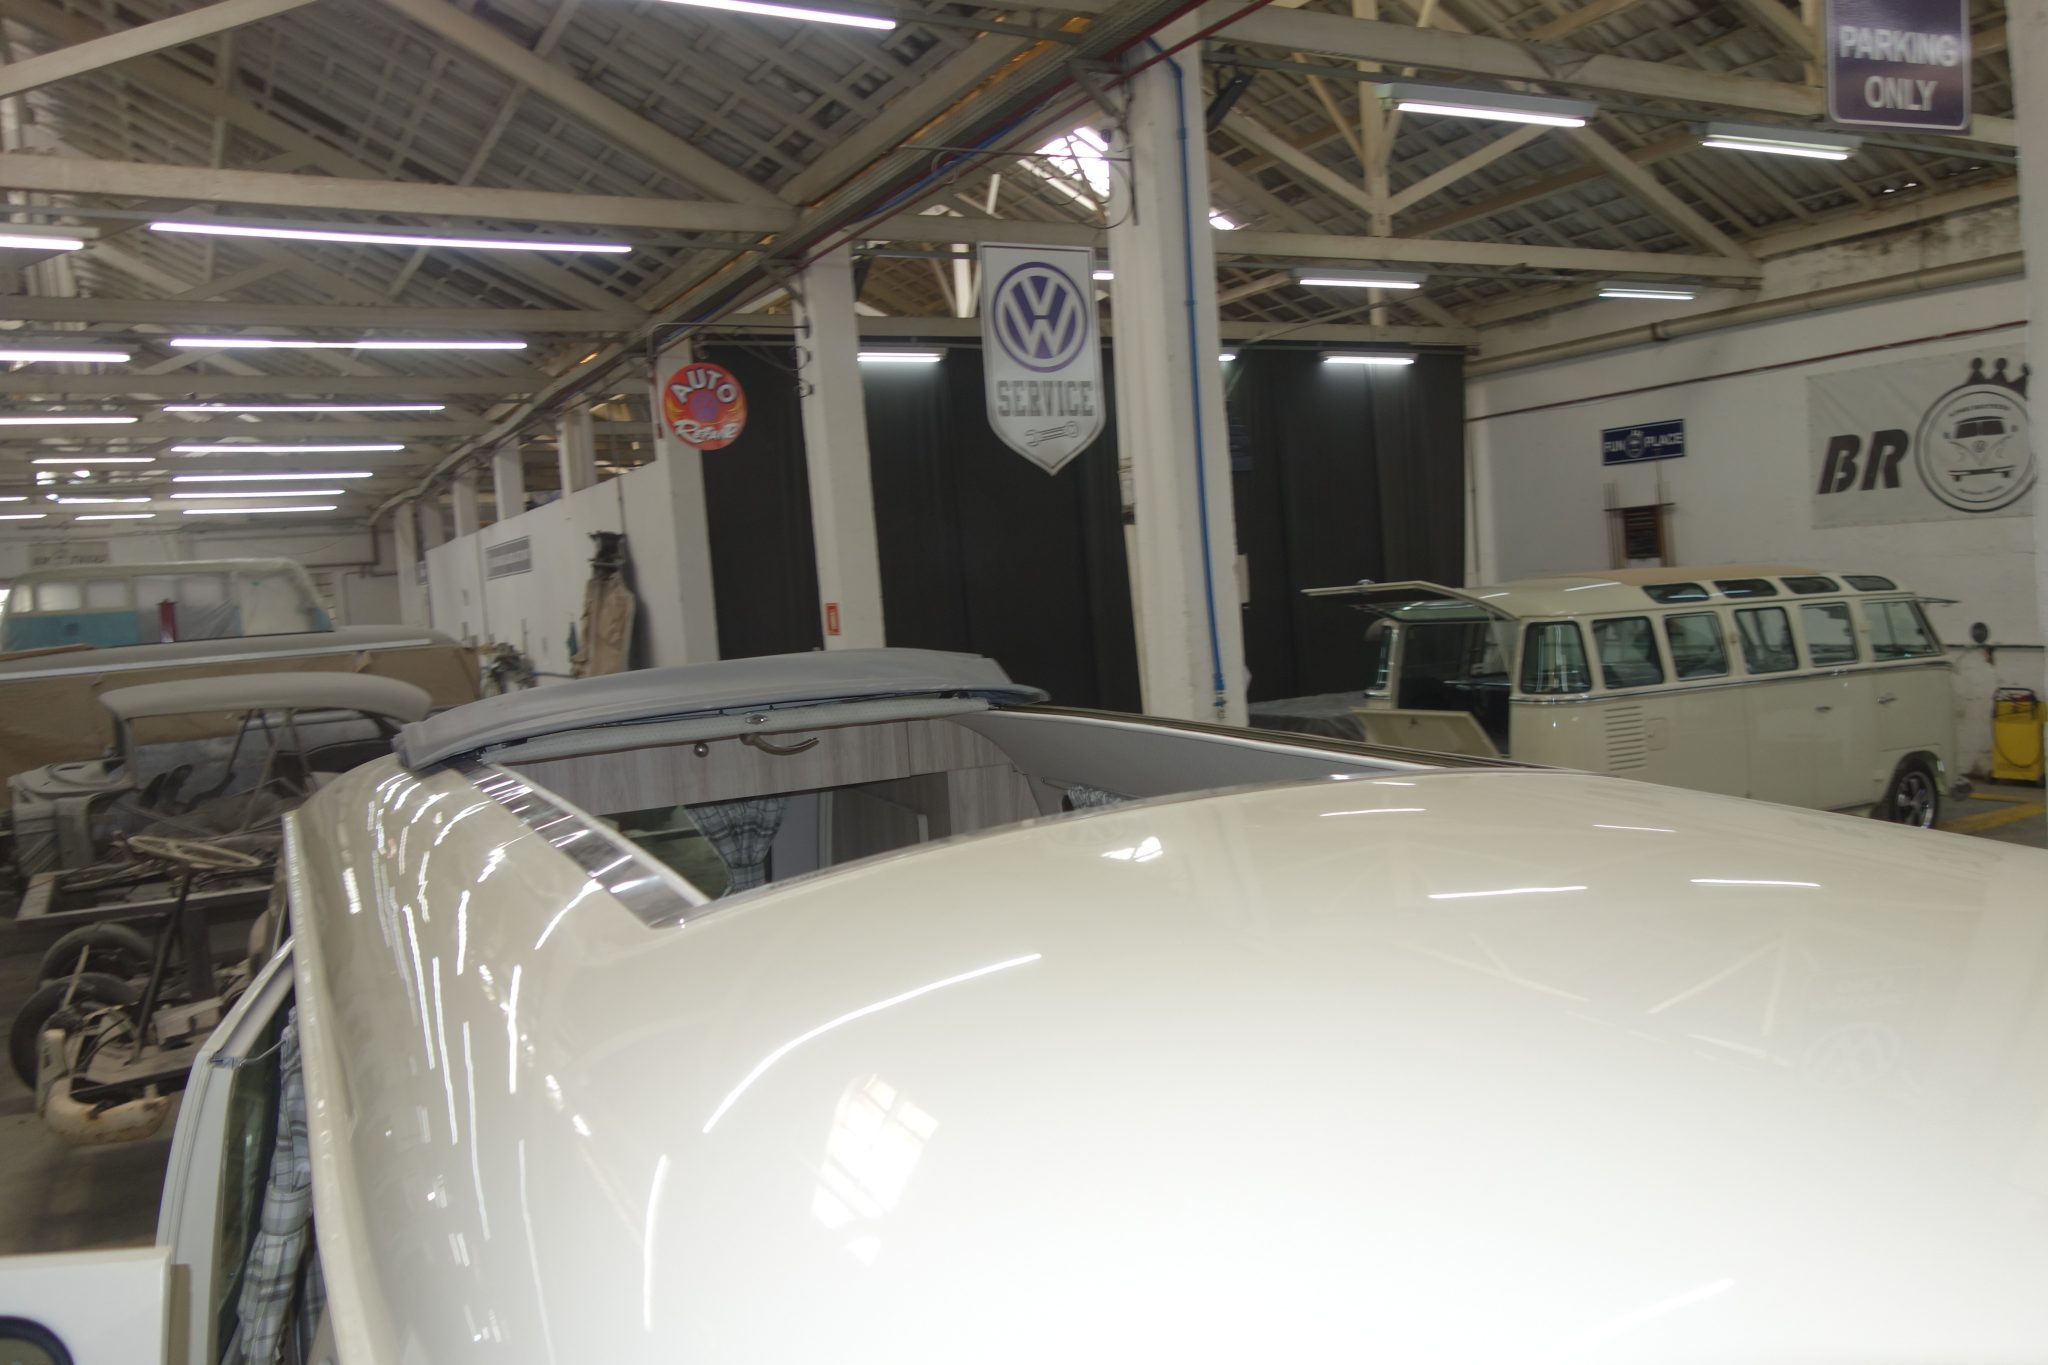
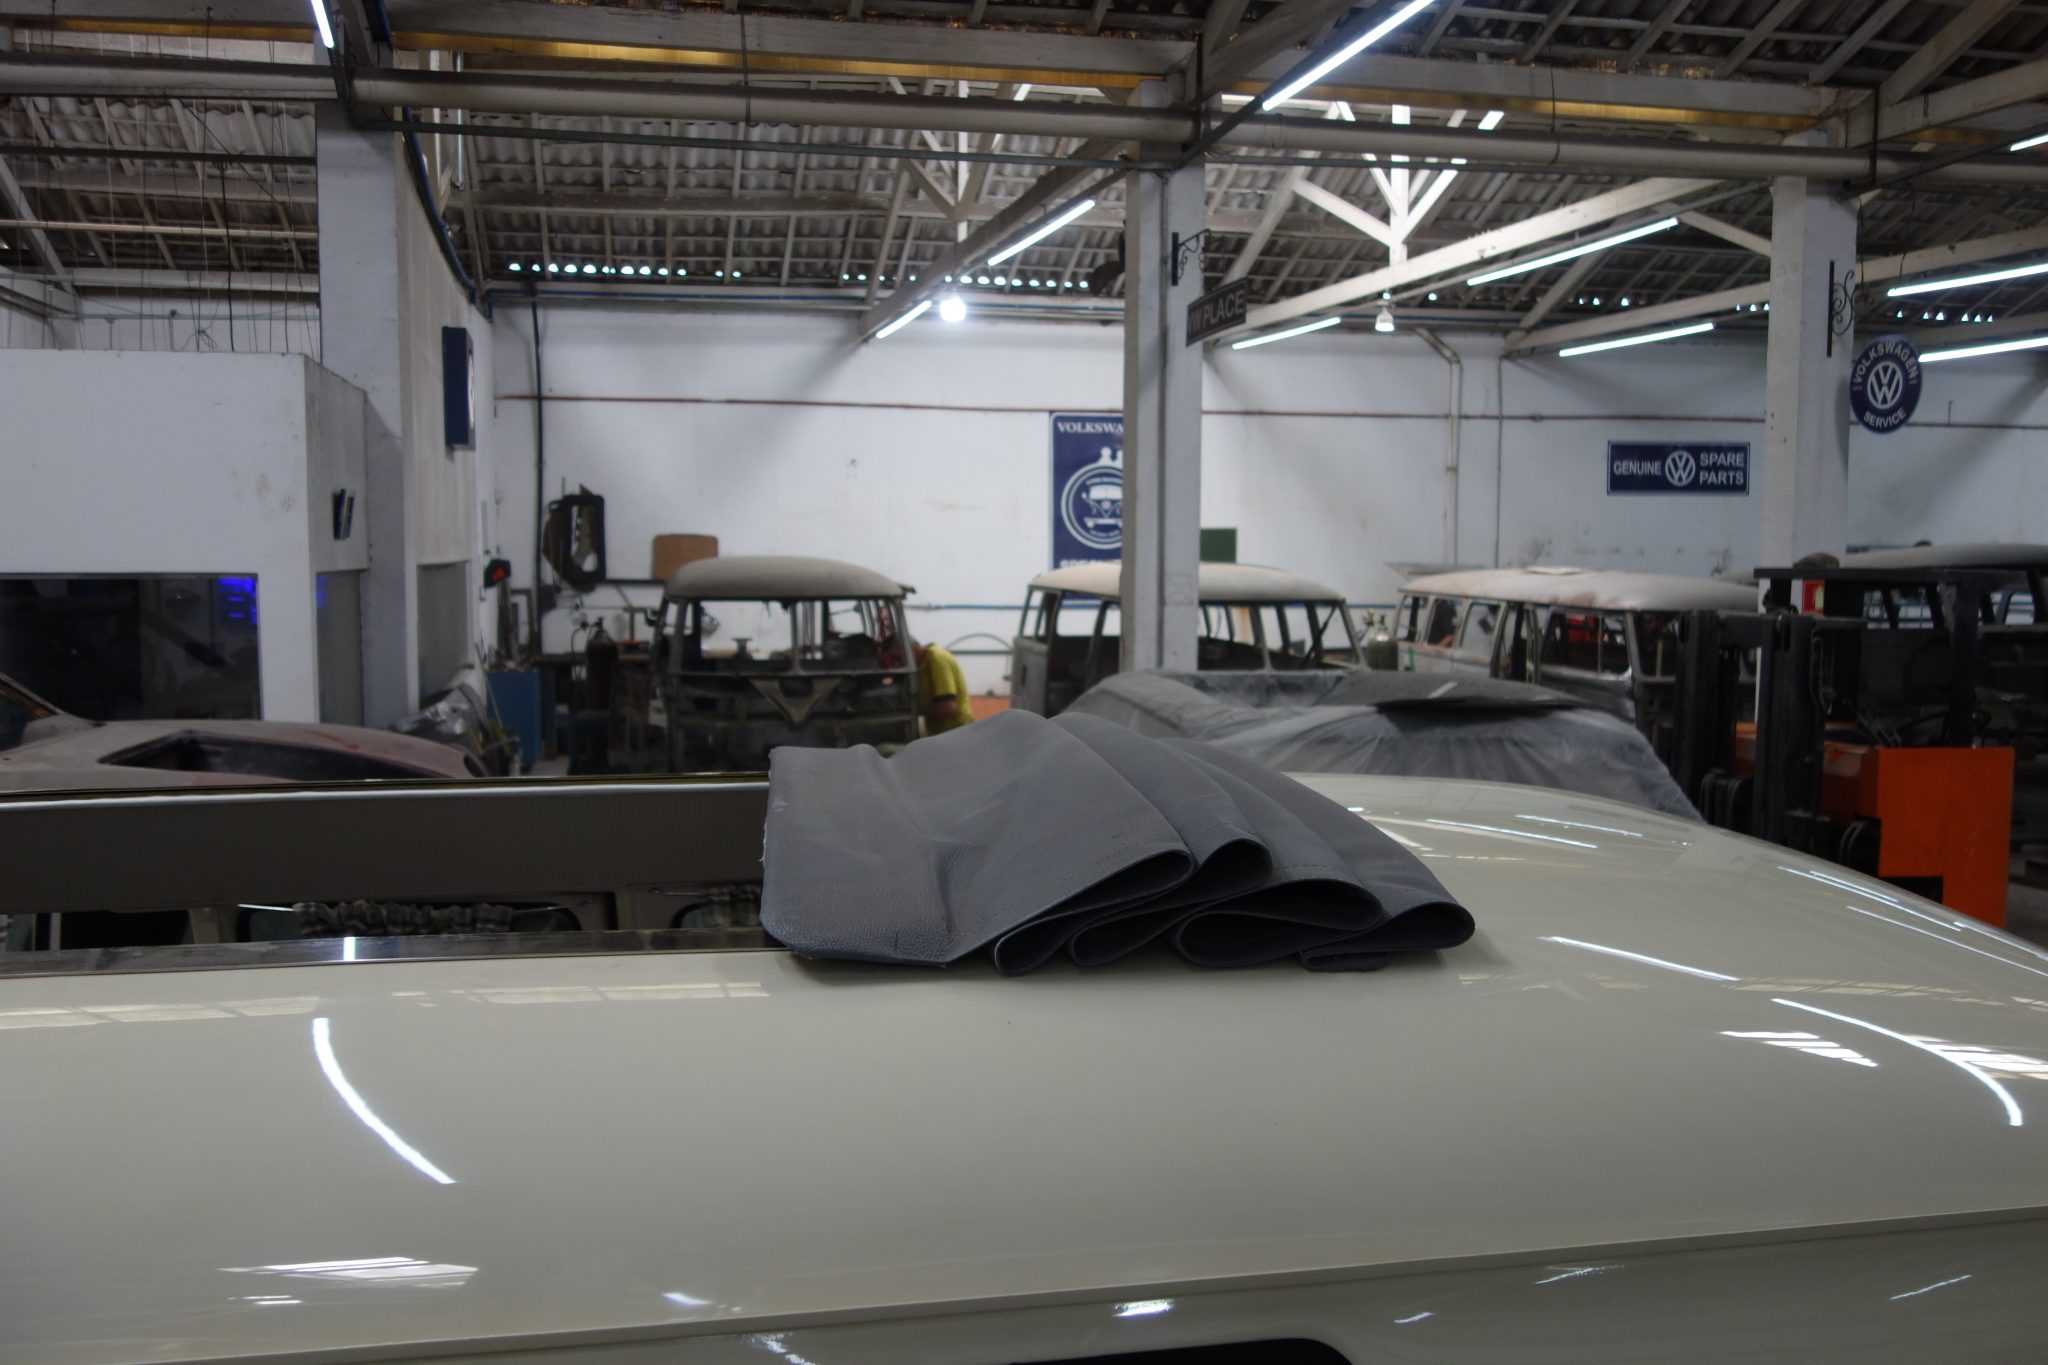
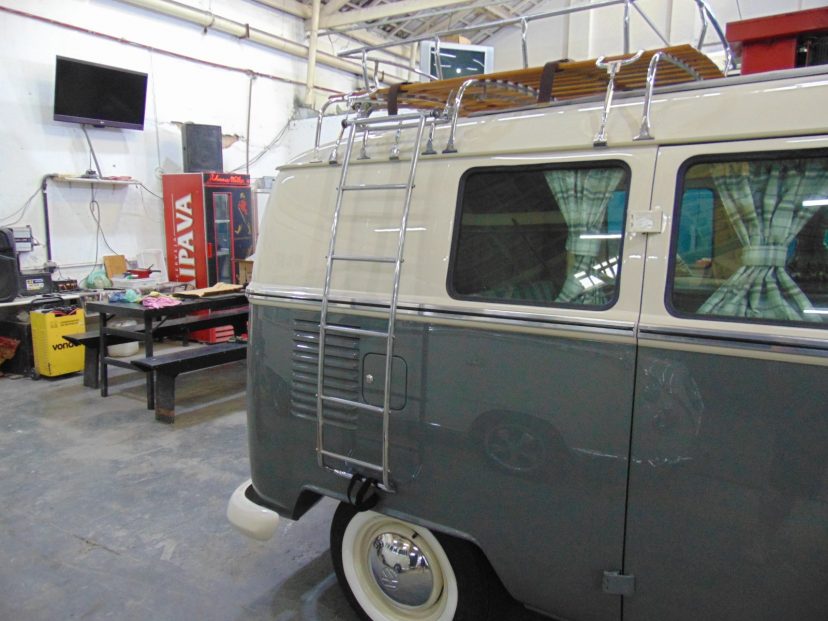
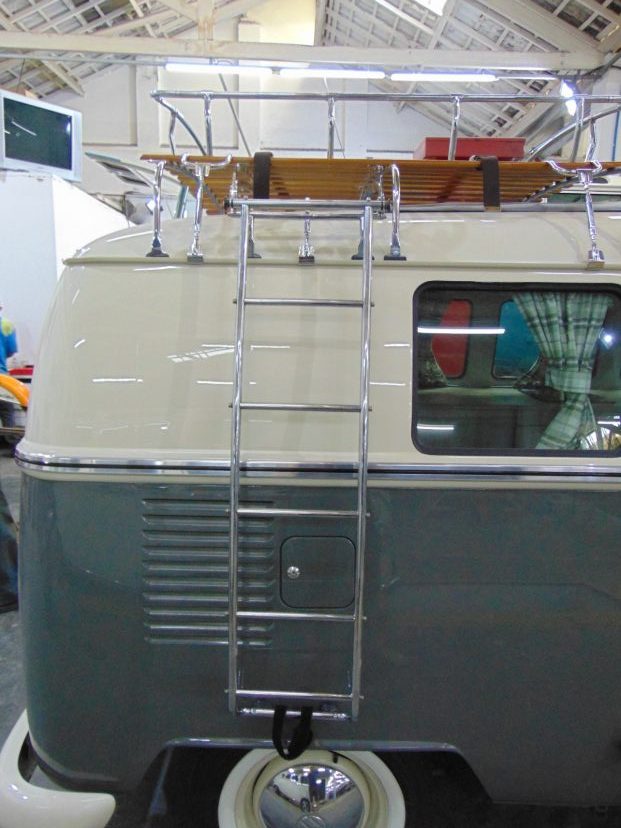
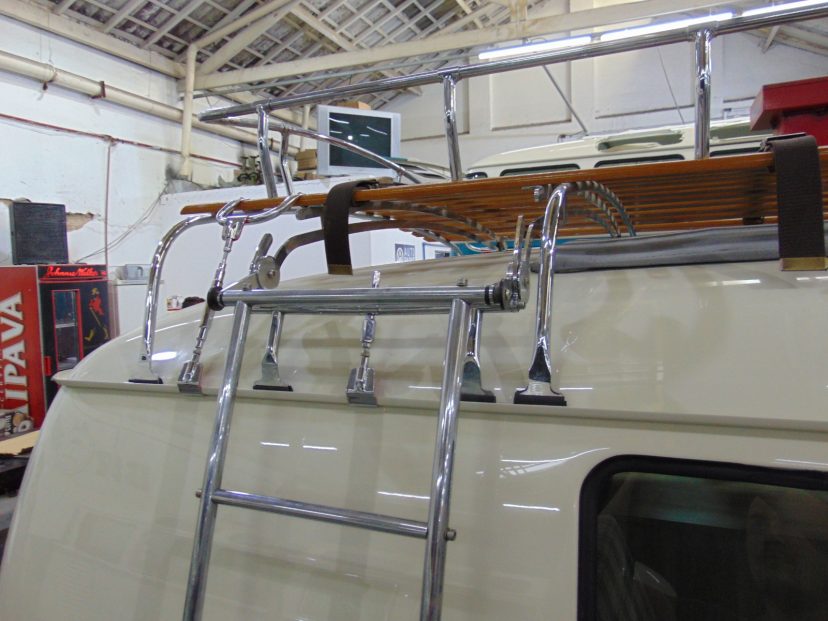
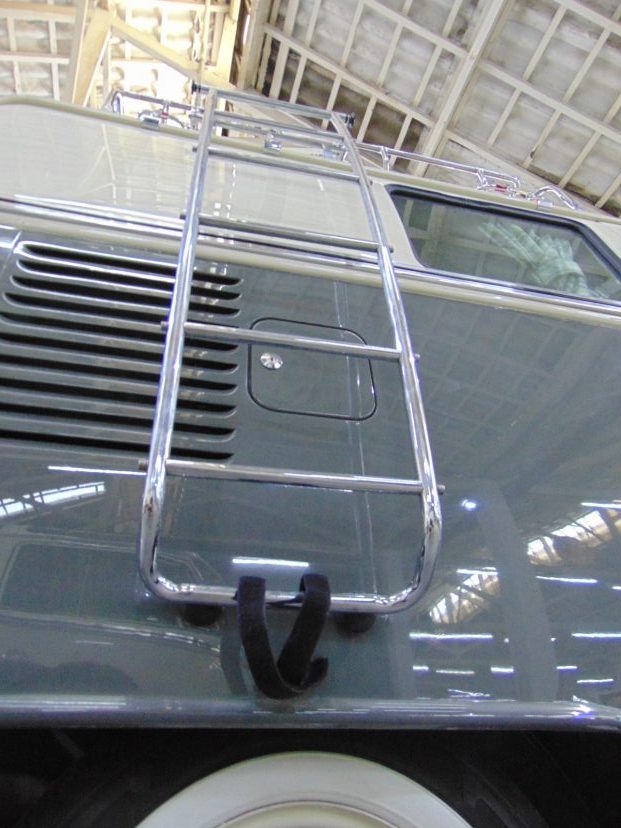
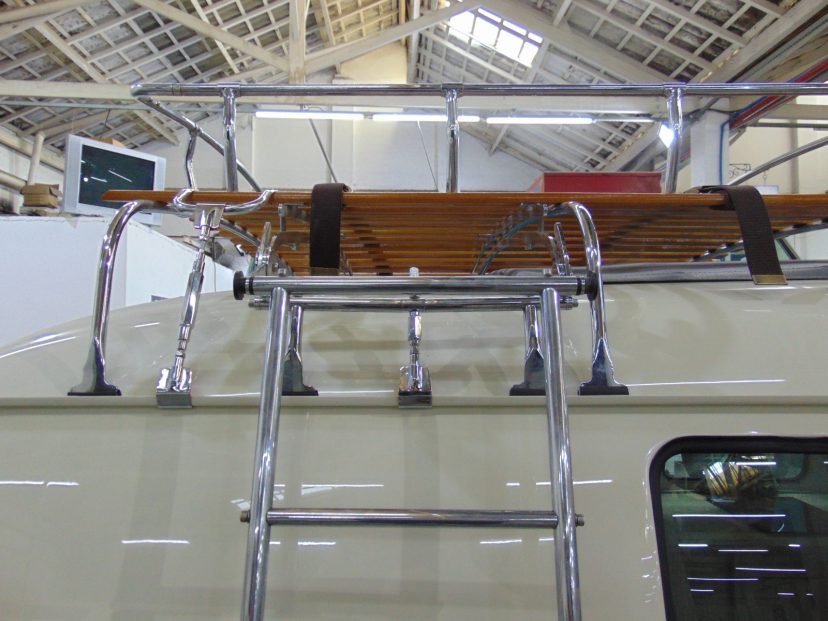
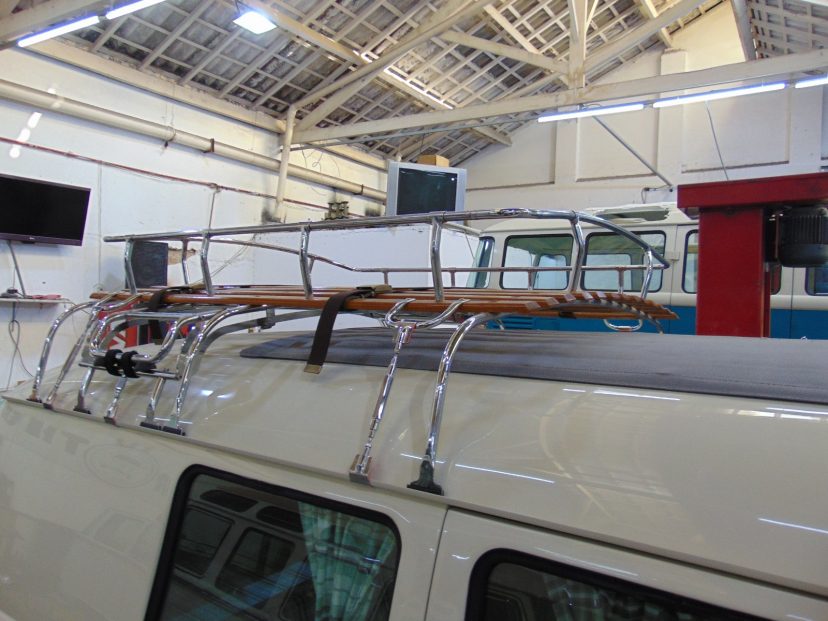
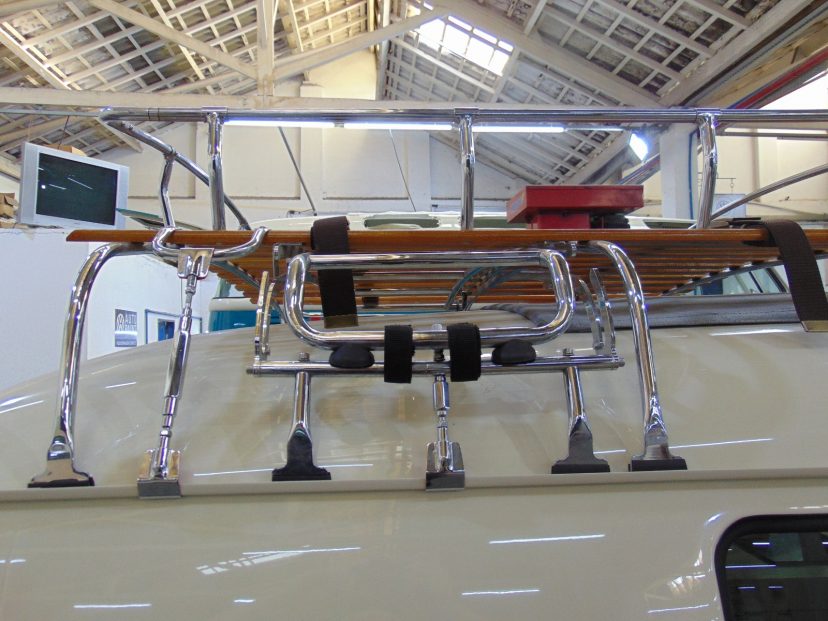
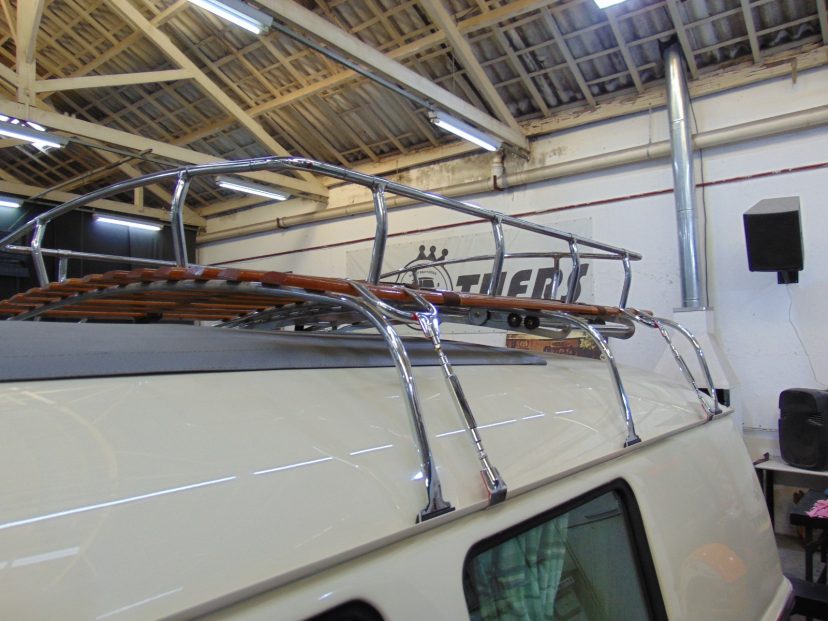
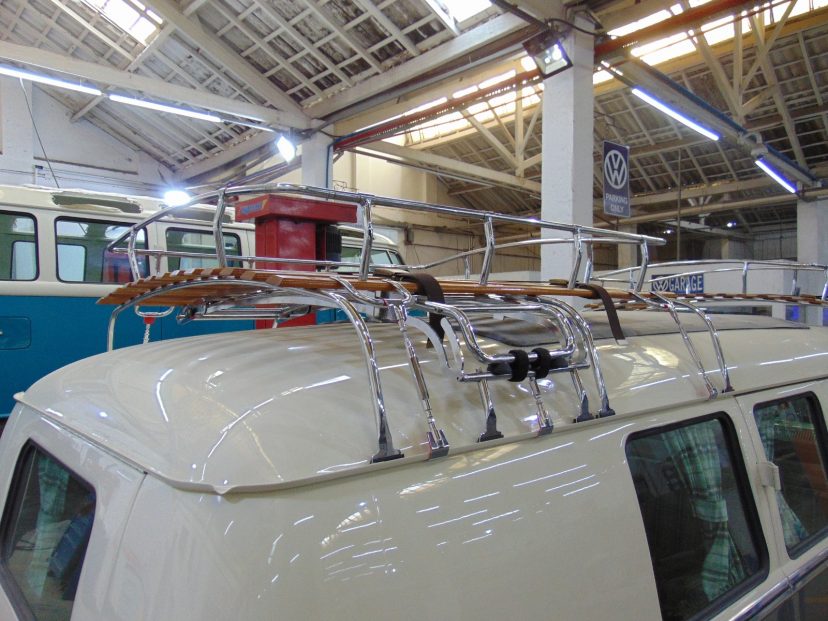
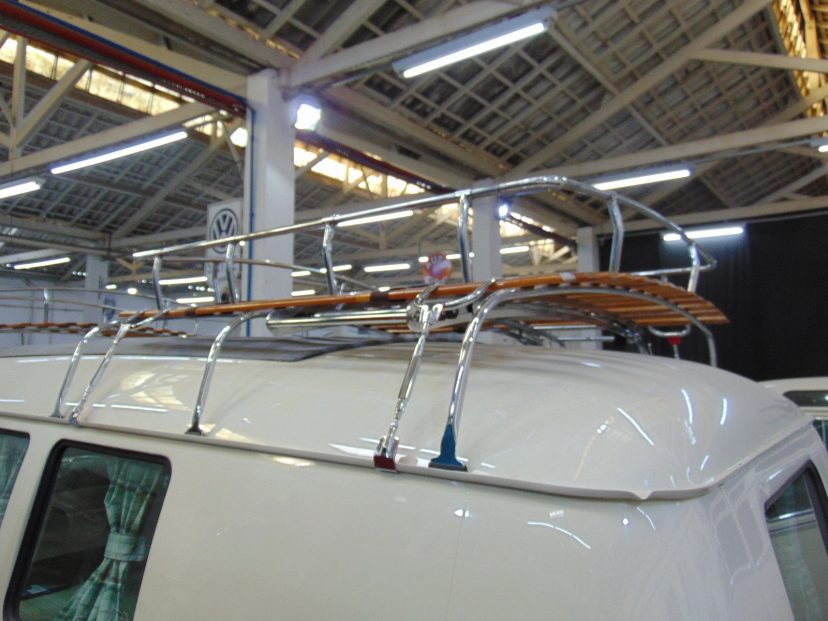
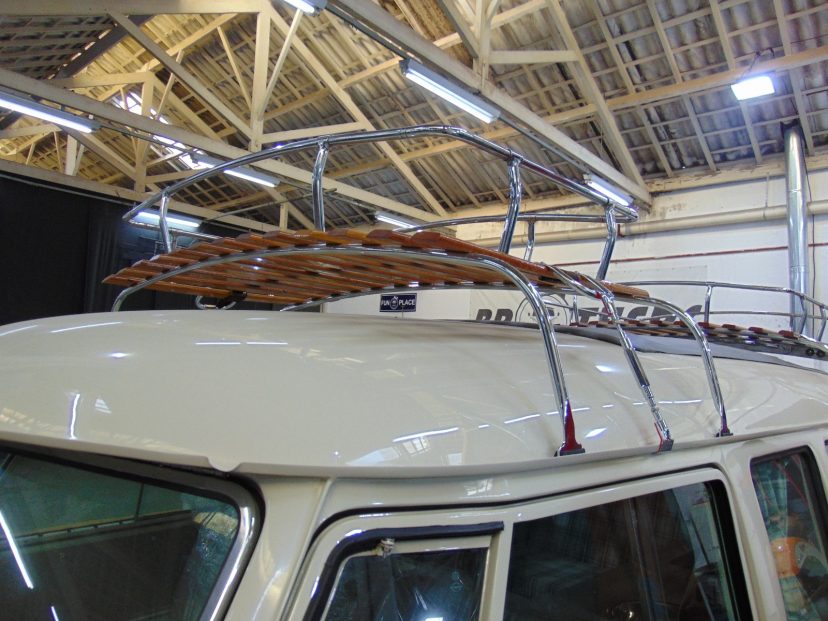
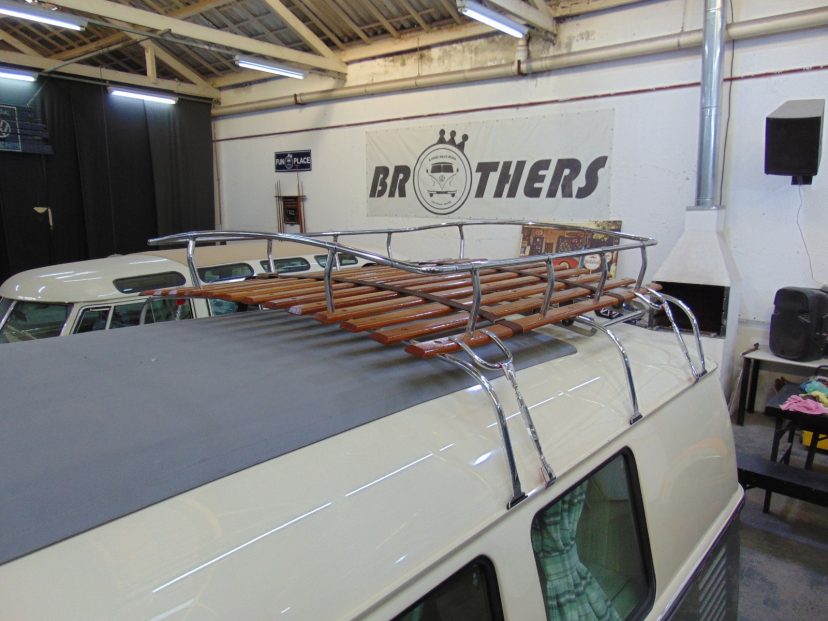
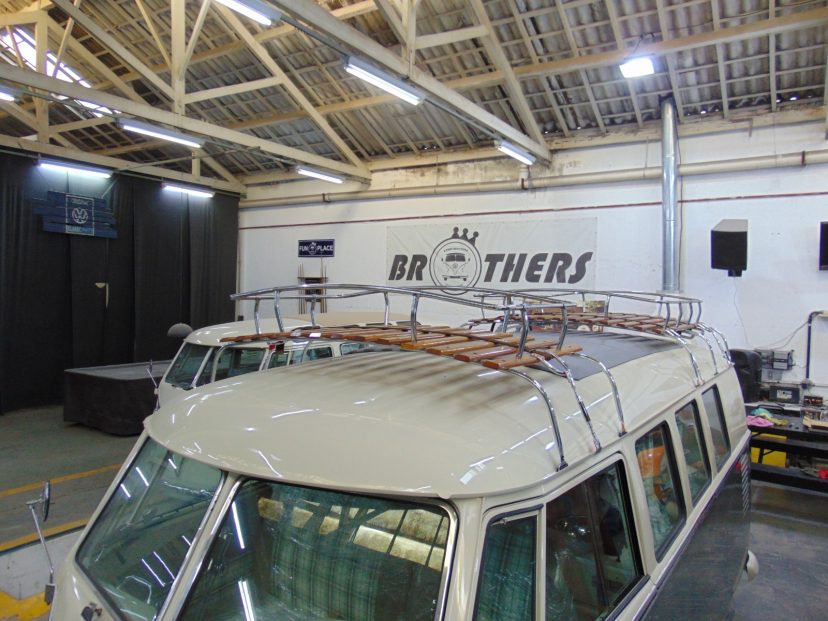
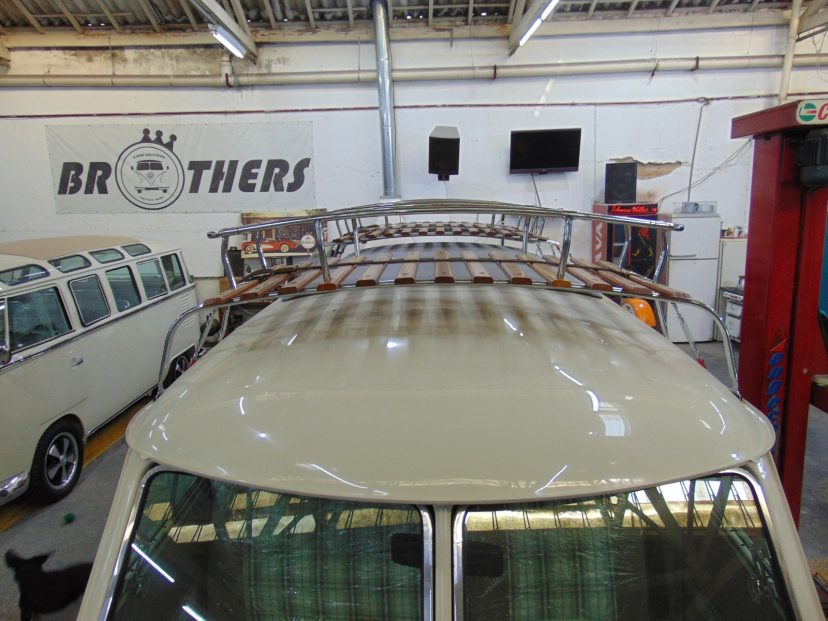
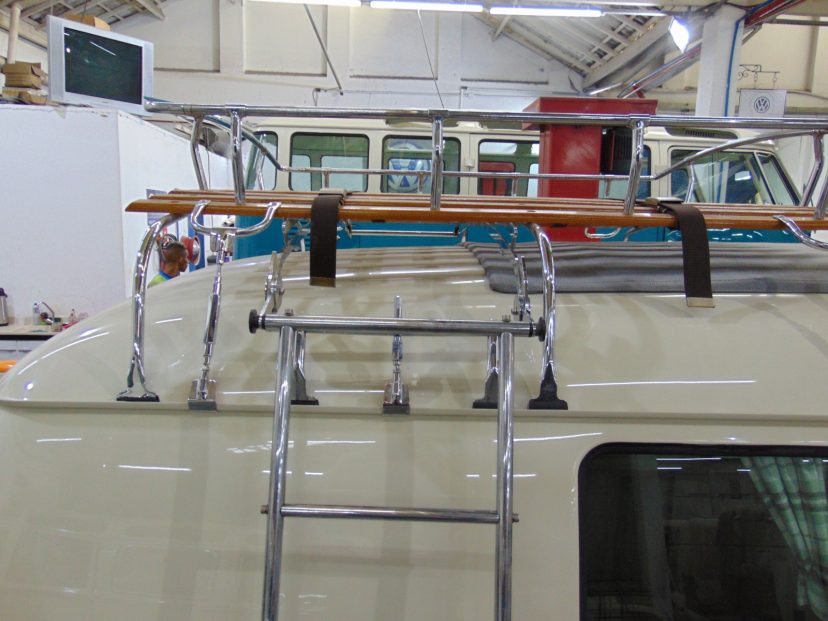
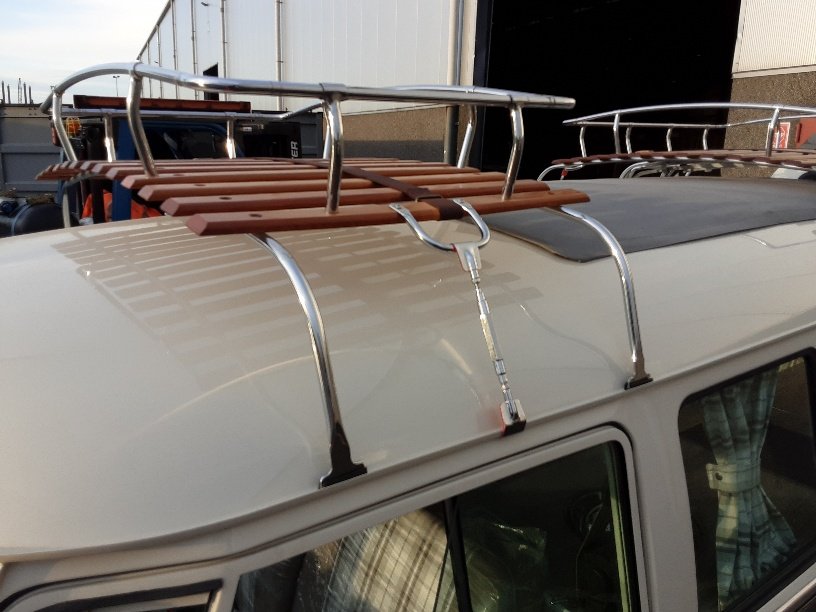
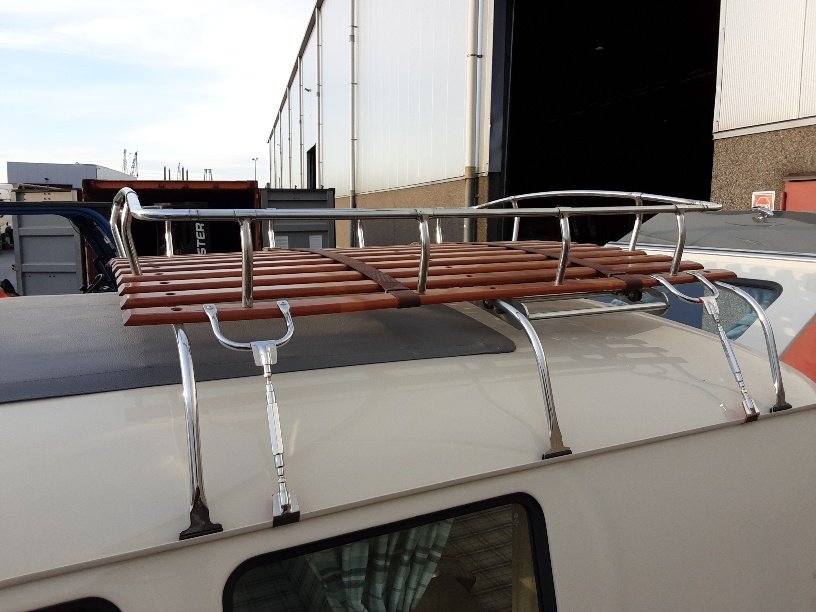
Phase 15: Roof Rack
Check out this great roof rack that we installed on this beautiful camper bus!!
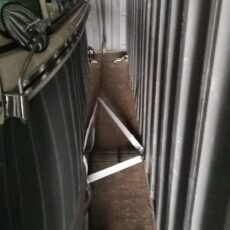
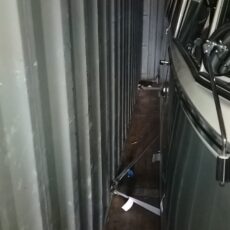
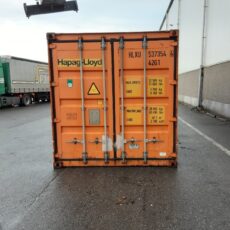
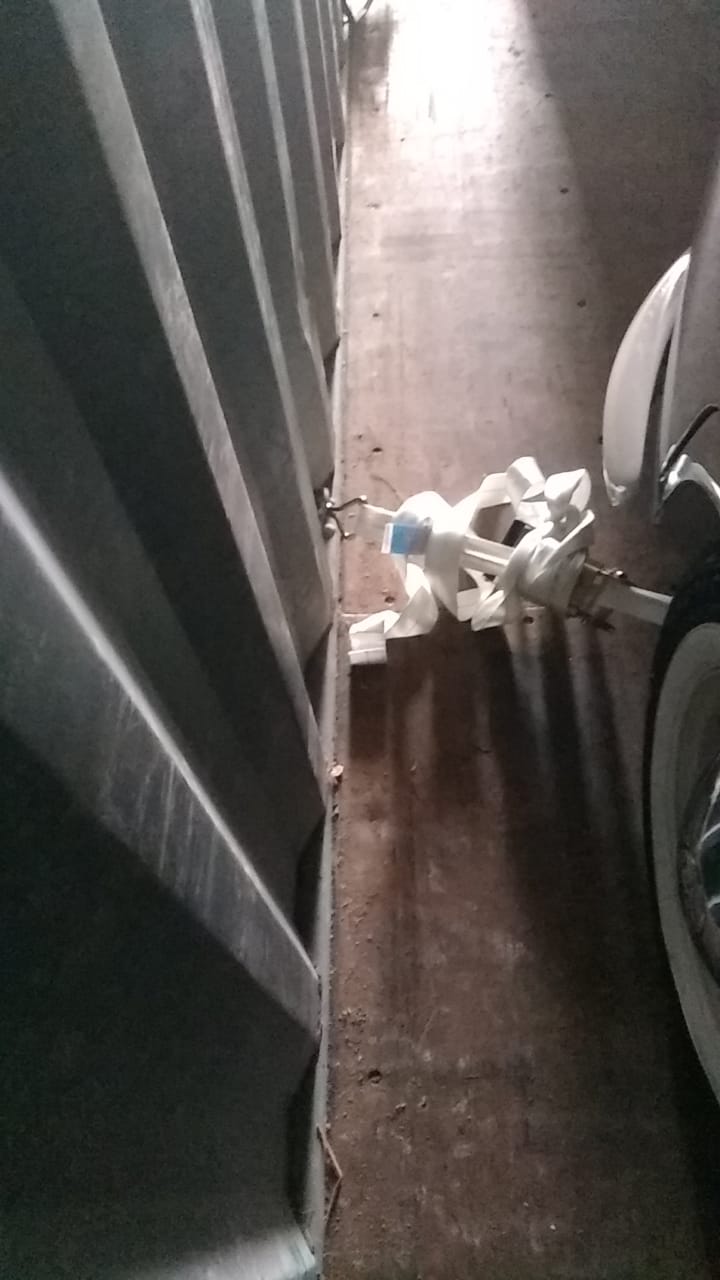
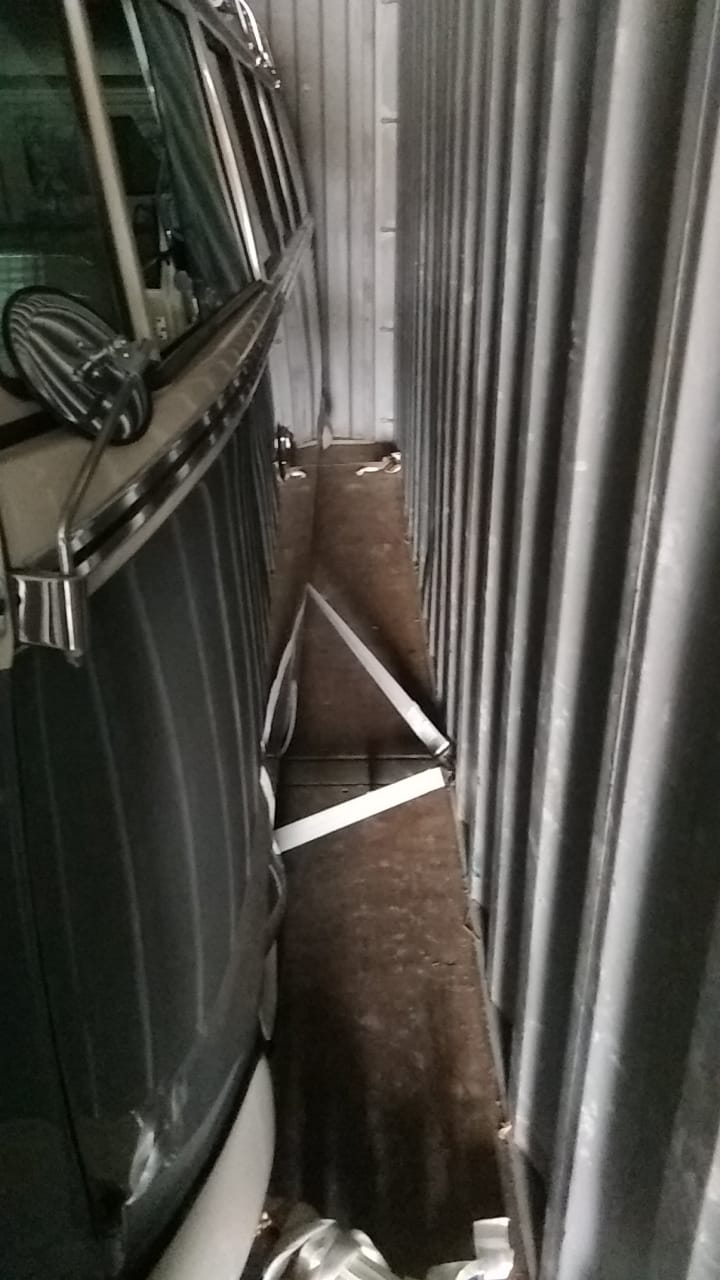
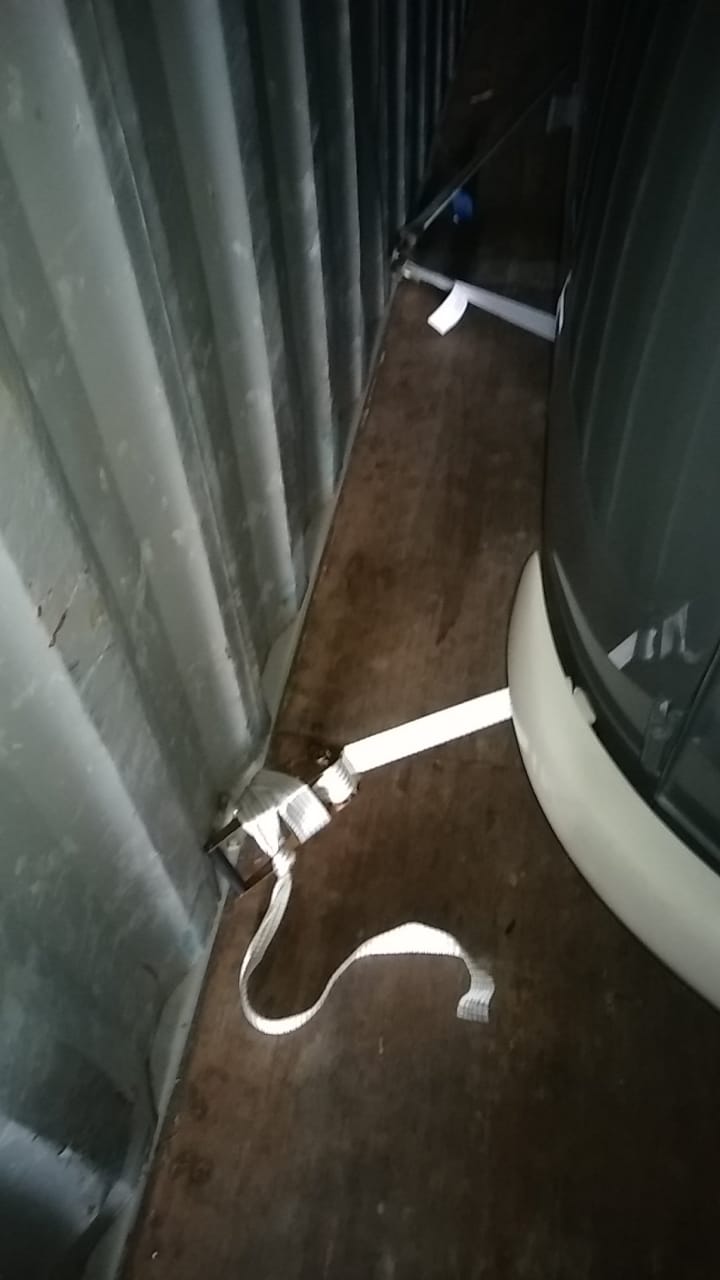
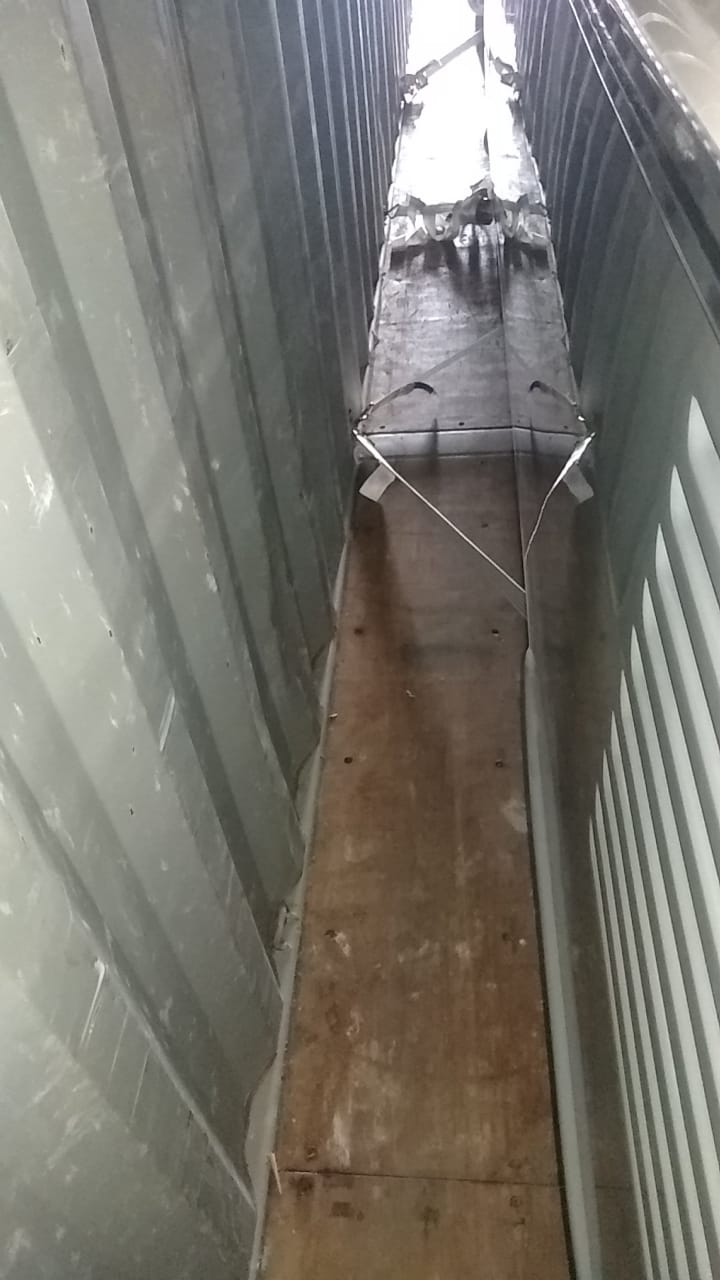
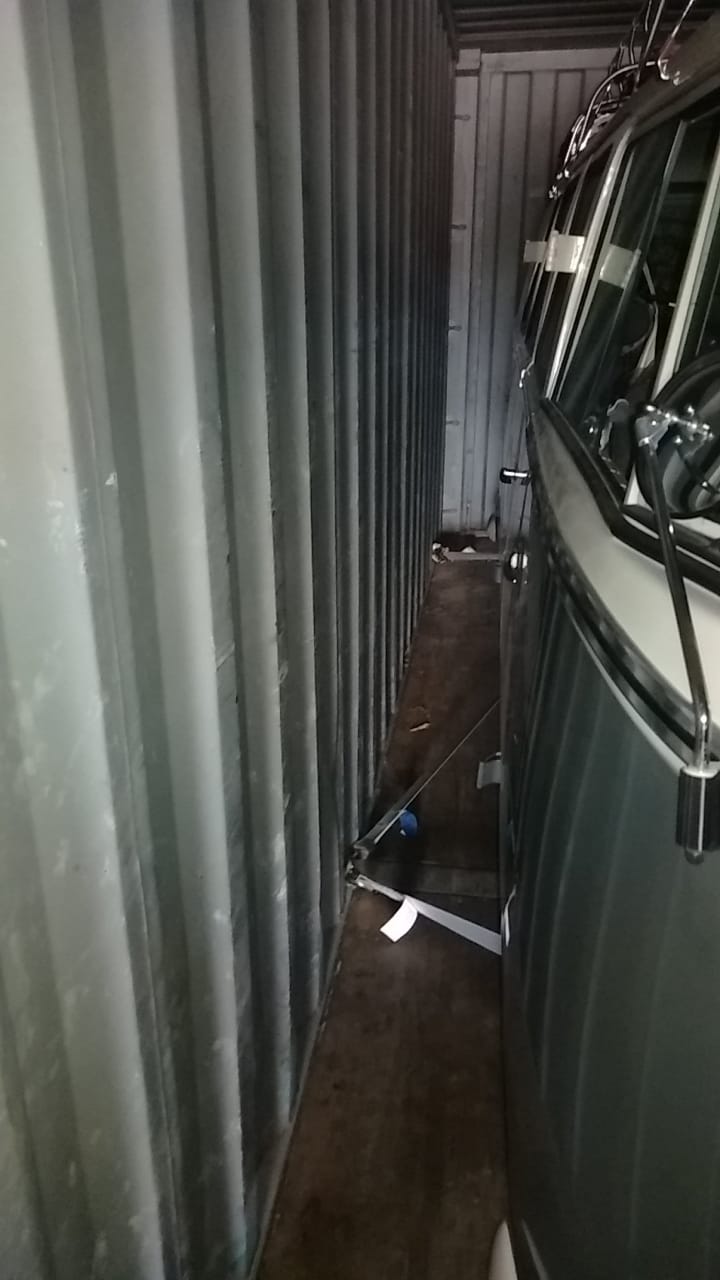
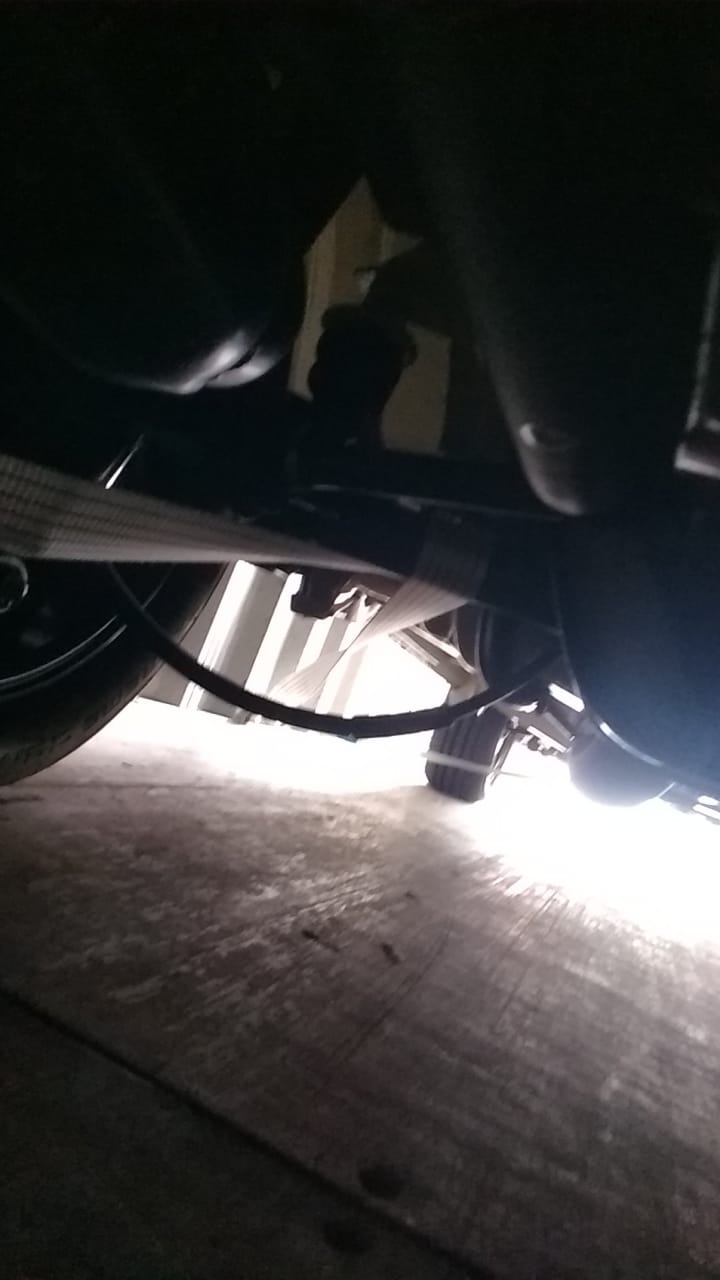
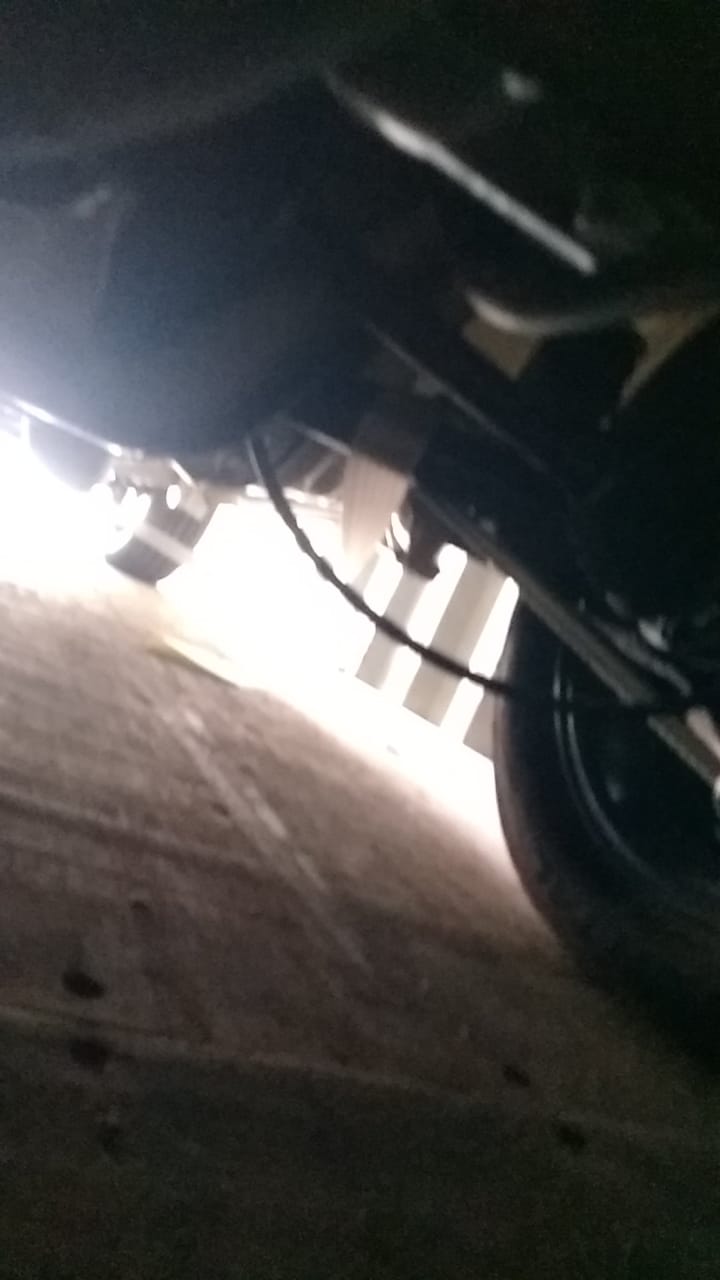
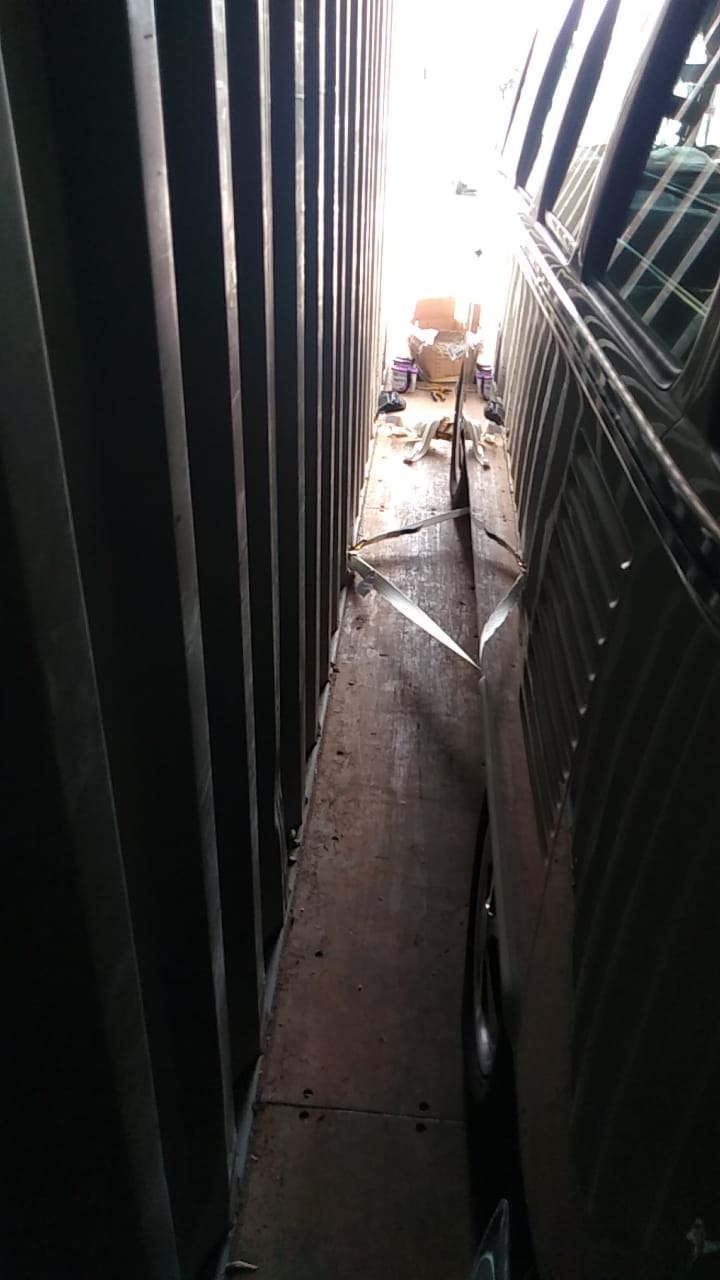
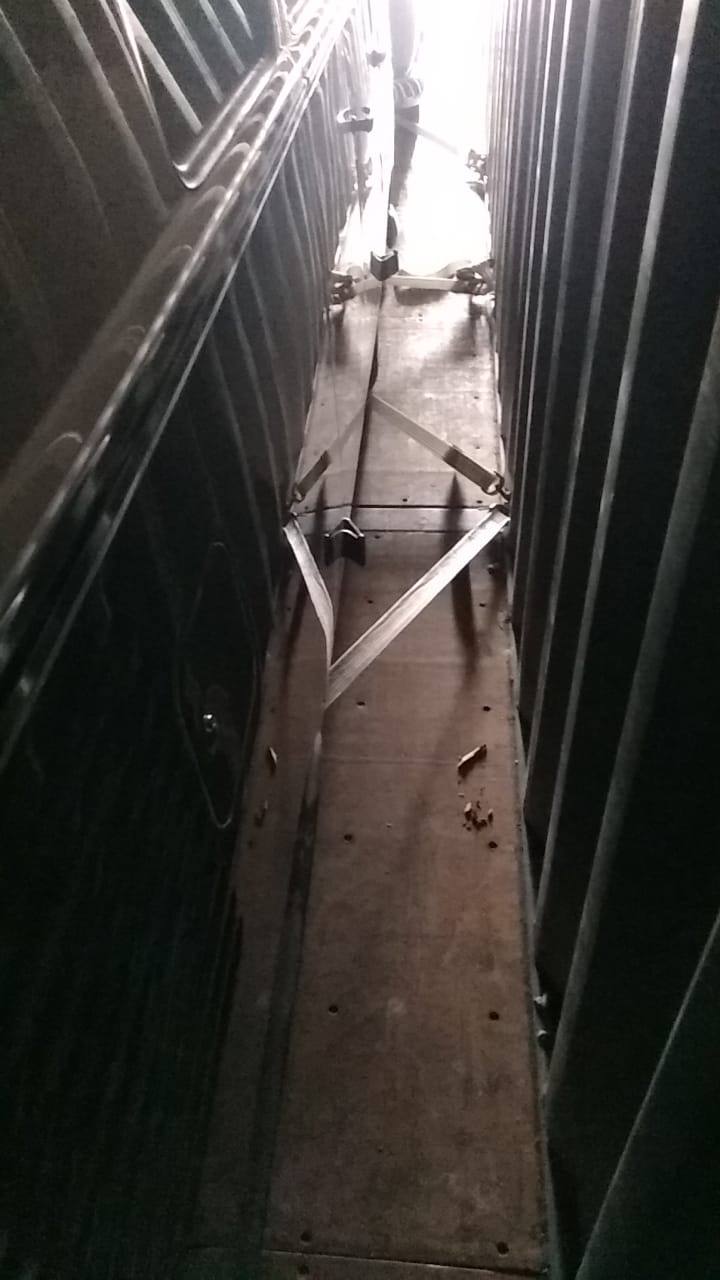
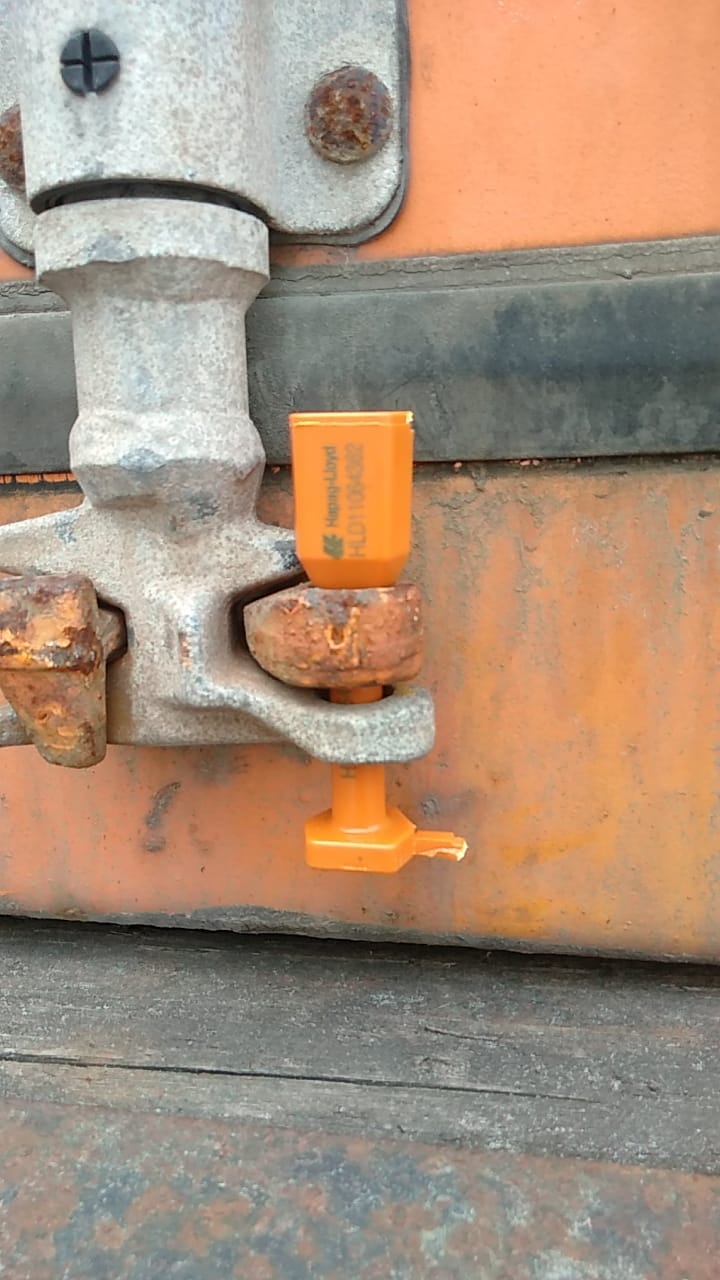
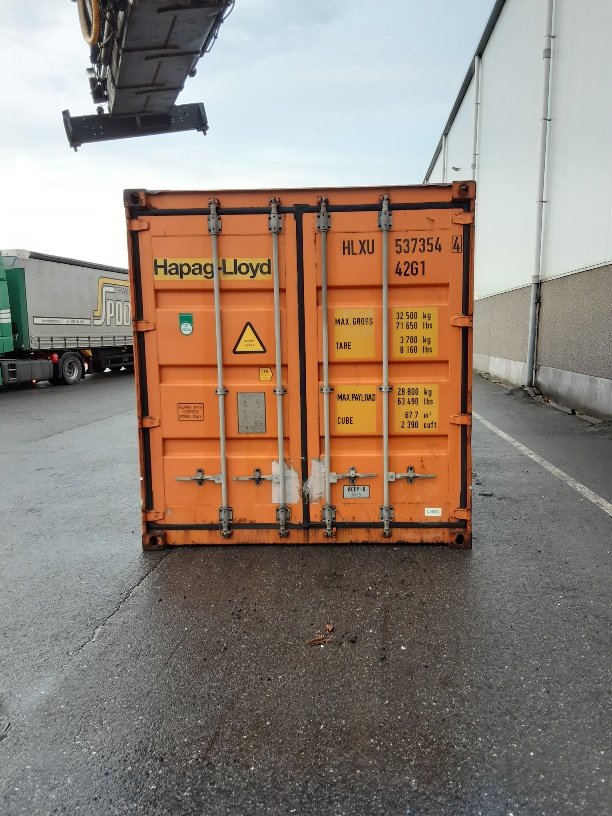
Phase 16: Container Packing
Finally, this project is ready for export. Here are some pictures of us loading this bulli. This is done in our workshop so we can control the quality of the performance.


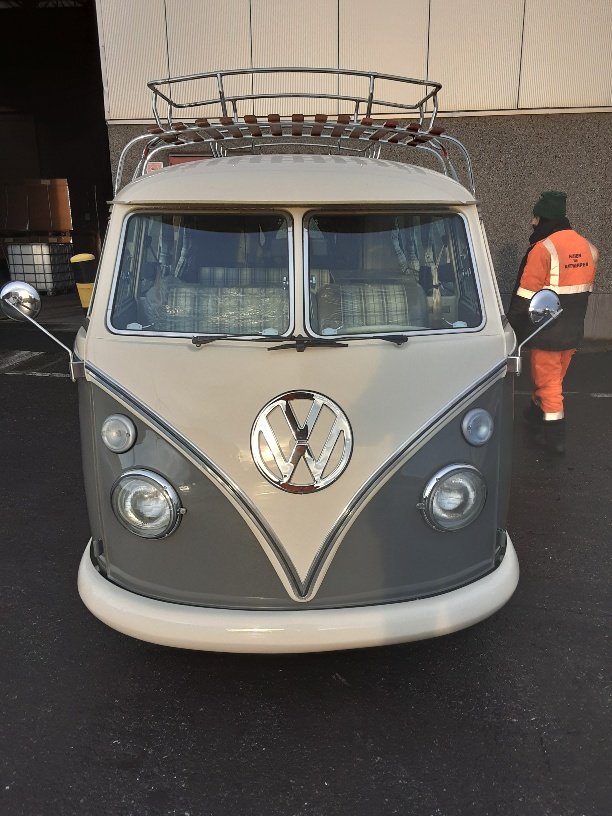
Phase 17: Arrival at Antwerp
The van has arrived in Antwerp,BE and has been cleared by customs. Now we will organise the transport to our customers’ homes.
Phase 18: Customer Delivery
The happy customer finally has his bus at home and can use it during the summer! He is already looking at doing another project with us!


